
Downloading drivers for the device is one of the main mandatory procedures when installing new equipment. The HP Photosmart C4283 printer is no exception.
Install Drivers for HP Photosmart C4283
To begin with, it should be clarified that there are several effective methods for obtaining and installing the necessary drivers. Before choosing one of them, you should carefully consider all available options.Method 1: Official website
In this case, you will need to refer to the resource of the device manufacturer to find the desired software.
- Open the HP website.
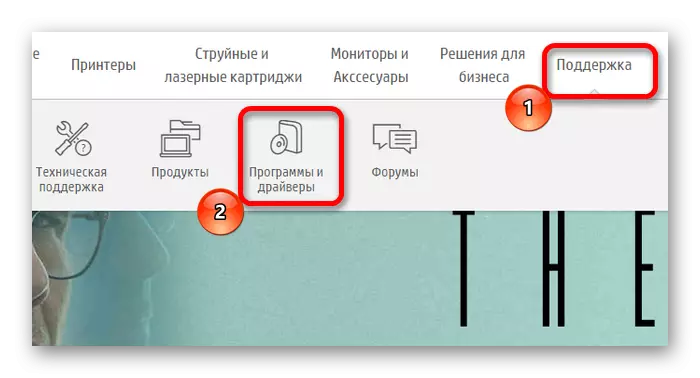
- In the header of the site, find the section "Support". Mouse over it. In the menu that opens, select "Programs and Drivers".
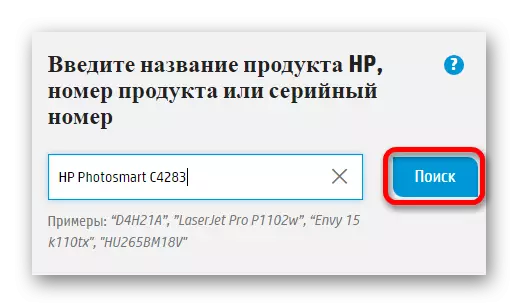
- In the search window, type the printer's name and click the Search button.
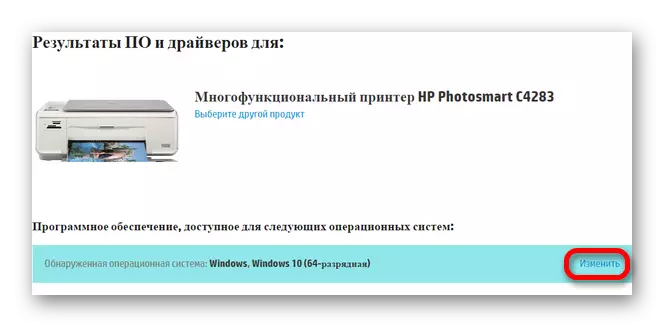
- A page with a printer data and accessible to download programs will be displayed. If necessary, specify the version of the OS (usually determined automatically).
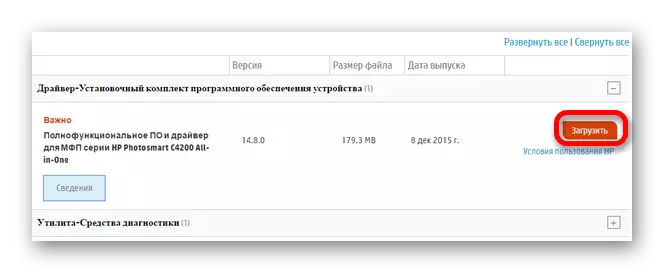
- Scroll down to the section with an affordable software. Among the available items, select the first called "Driver". It has one program you want to download. You can do this by pressing the appropriate button.
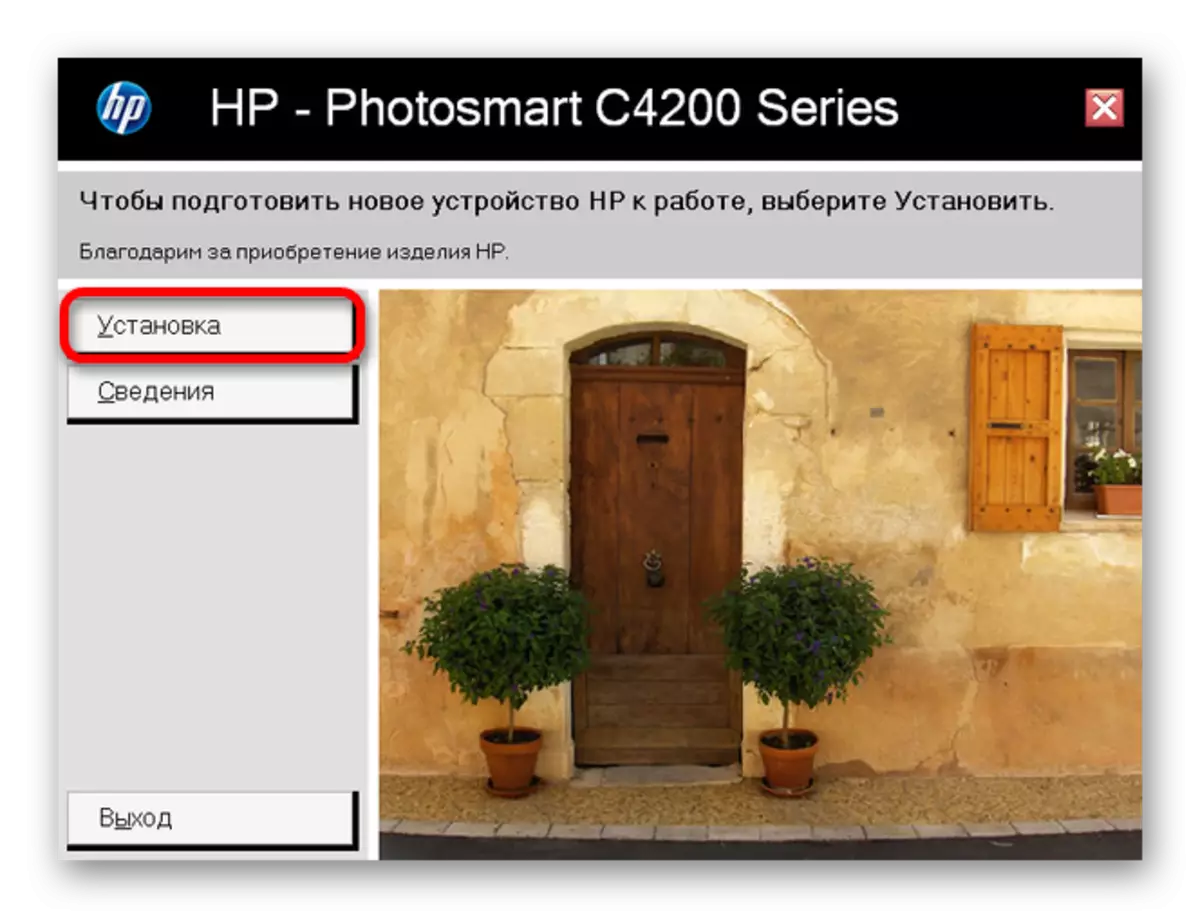
- As soon as the file is downloaded, run it. In the window that opens, you will need to click on the Set button.
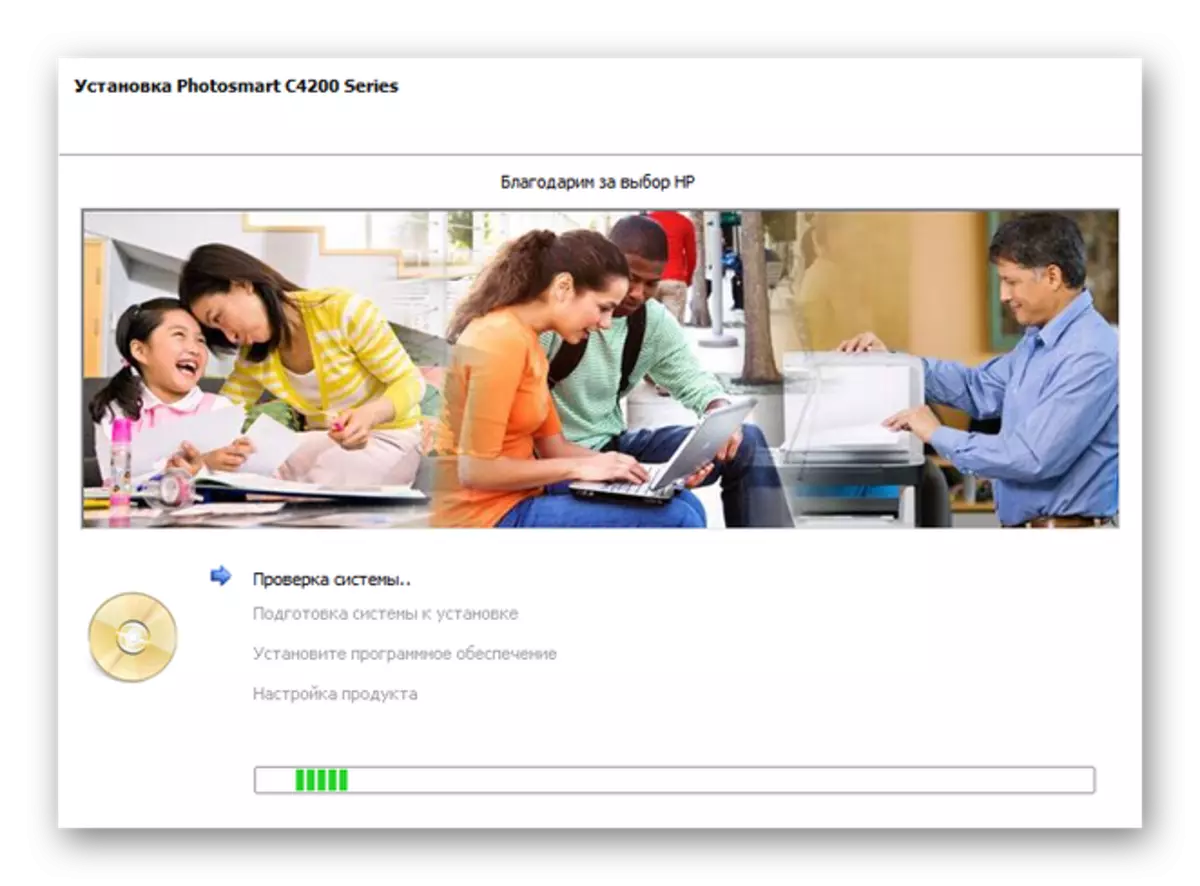
- Further, the user will only remain wait for the end of the installation. The program will independently fulfill all the necessary procedures, after which the driver is installed. The execution step will be shown in the corresponding window.
Method 2: Special Software
An option also requires installation of additional software. Unlike the first, the manufacturer does not matter, since such software is universal. With it, you can update the drivers for any component or device connected to the computer. The choice of such programs is very wide, the best of them are collected in a separate article:
Read more: Select the program to update drivers

DRIVERPACK Solution can be brought as an example. This software has a user-friendly interface, a large drivers database, and also provides the ability to create a recovery point. The latter is especially true for inexperienced users, because in case of problems, it allows you to return the system to the initial state.
Lesson: How to Use Driverpack Solution
Method 3: Device ID
The less well-known method of searching and installing the required software. A distinctive feature is the need to independently search for drivers using the equipment identifier. You can learn the latter in the "Properties" section, which is located in the Device Manager. For HP Photosmart C4283, these are the following values:
HPPhotosmart_420_Serde7e.
Hp_photosmart_420_series_printer

Lesson: How to use the driver for the driver to search for drivers
Method 4: System Functions
This method of installing drivers for the new device is the least effective, but it can be used if all others have not come true. You will need to do the following:
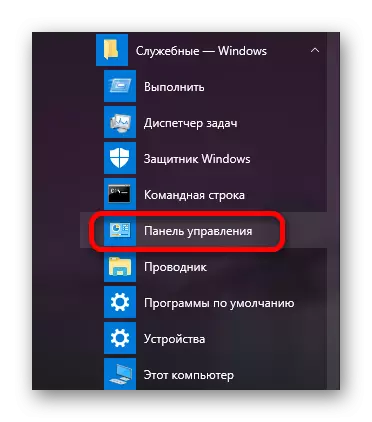
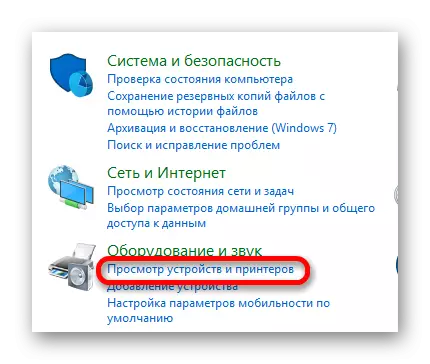
- Run "Control Panel". You can find it in the "Start" menu.
- Select the section "View devices and printers" in the "Equipment and Sound" paragraph.
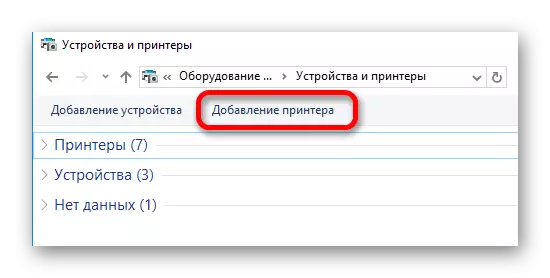
- In the header that opened the window, select "Add printer".
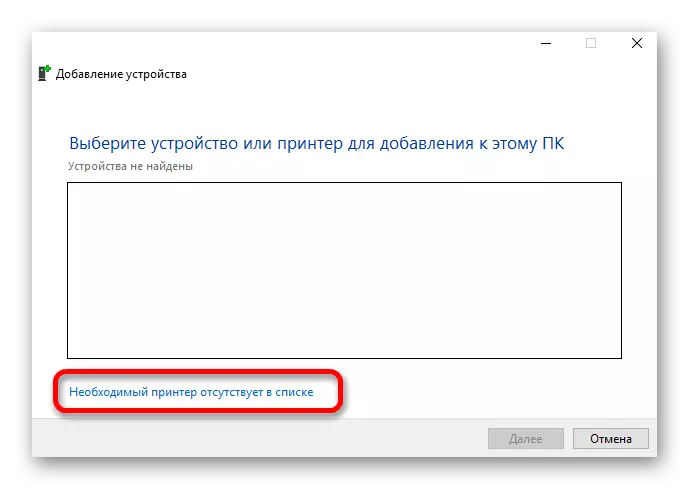
- Wait for the end of the scan, by the results of which the connected printer can be found. In this case, click on it and click the Install button. If this did not happen, the installation will have to spend independently. To do this, click on the "The required printer is missing" button.
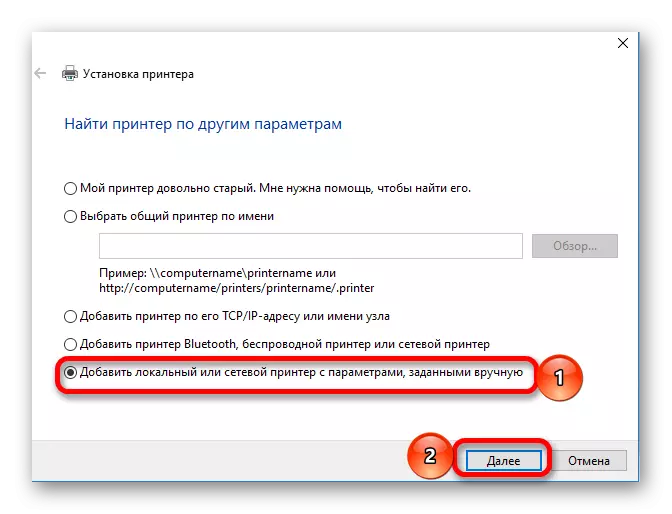
- In a new window, select the last item, "adding a local printer".
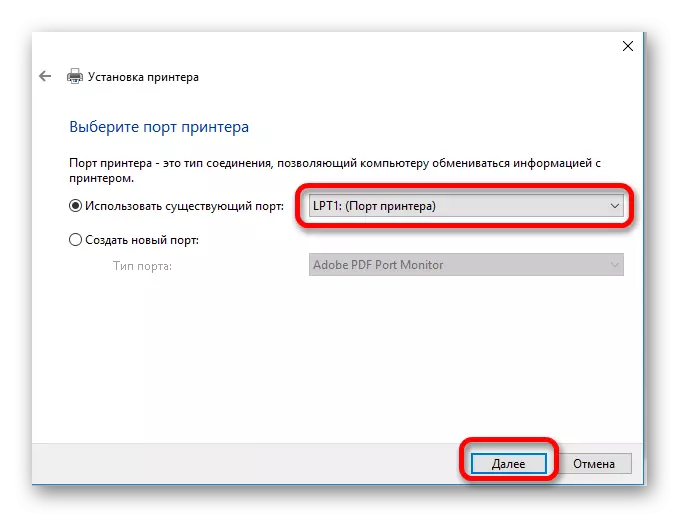
- Select the device connection port. If you wish, you can leave the value defined automatically and click "Next".
- Using the list of lists, you will need to select the desired device model. Specify the manufacturer, then find the name of the printer and click "Next".
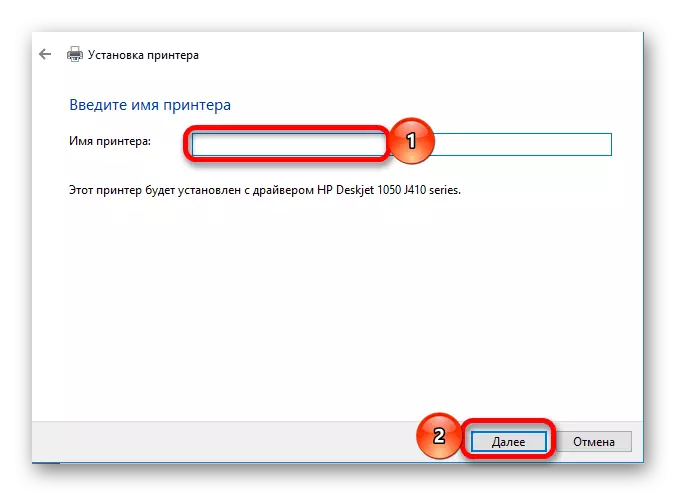
- If necessary, enter a new name for the equipment and click Next.
- In the last window you need to determine the settings of the shared access. Select whether to open access to the printer to others, and click Next.


The installation process will not take much time by the user. To take advantage of the above methods, access to the Internet and the printer connected to the computer is necessary.