

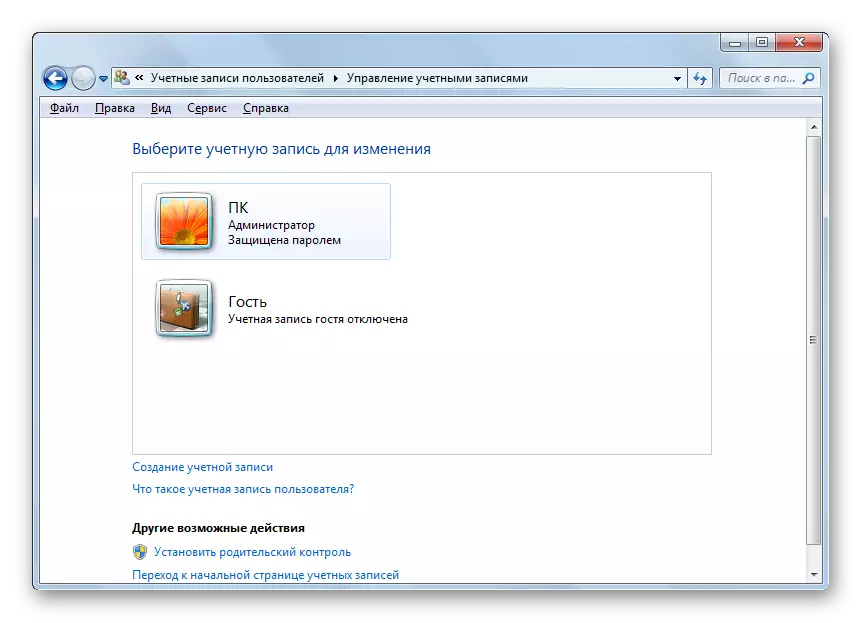
If there are several accounts on the computer, sometimes there is a need to remove one of them. Let's see how it is possible to do on Windows 7.
Method 2: "Account Manager"
There are other options for removing the profile. One of them is carried out through the "Account Manager". This method is especially useful in the case when due to various PC failures, in particular - damage to the profile, the account list is not displayed in the "Control Panel" window. But the use of this method also requires administrative rights.
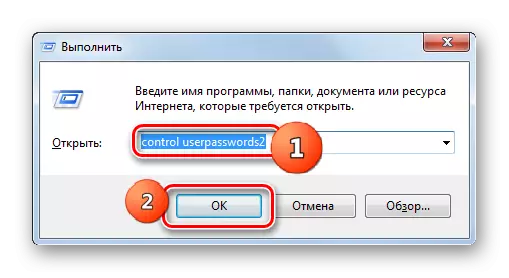
- Call "Run". This is done by a set of Win + R combination. Enter in the field to enter:
Control UserPasswords2.
Click OK.
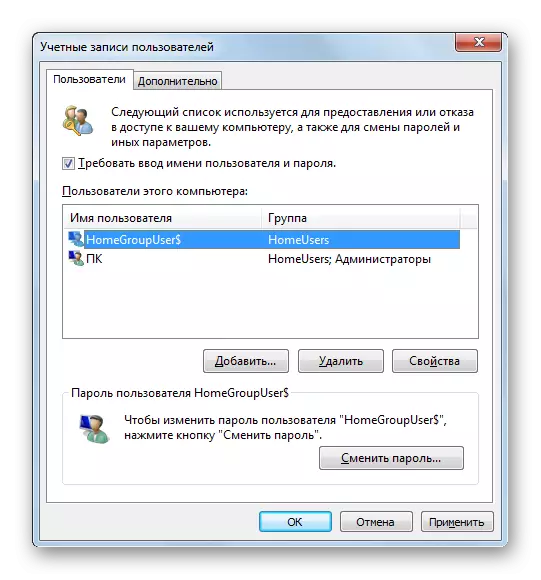
- There is a transition to "Account Manager". If you have a check mark near the "Require user name and password" parameter, then install it. In the opposite case, the procedure does not work. Then in the list, select the name of that user, whose profile should be deactivated. Click "Delete".
- Next, in the dialog that appears, confirm your intentions by clicking the "Yes" button.
- The account will be deleted and disappeared from the manager's list.


True, you need to consider that using this method, the profile folder from the hard disk will not be removed.
Method 3: "Computer Management"
You can remove the profile using the Computer Management Tool.
- Click "Start". Next, right-click on the Mouse (PCM) on the "Computer" inscription. In the menu that appears, select "Management".
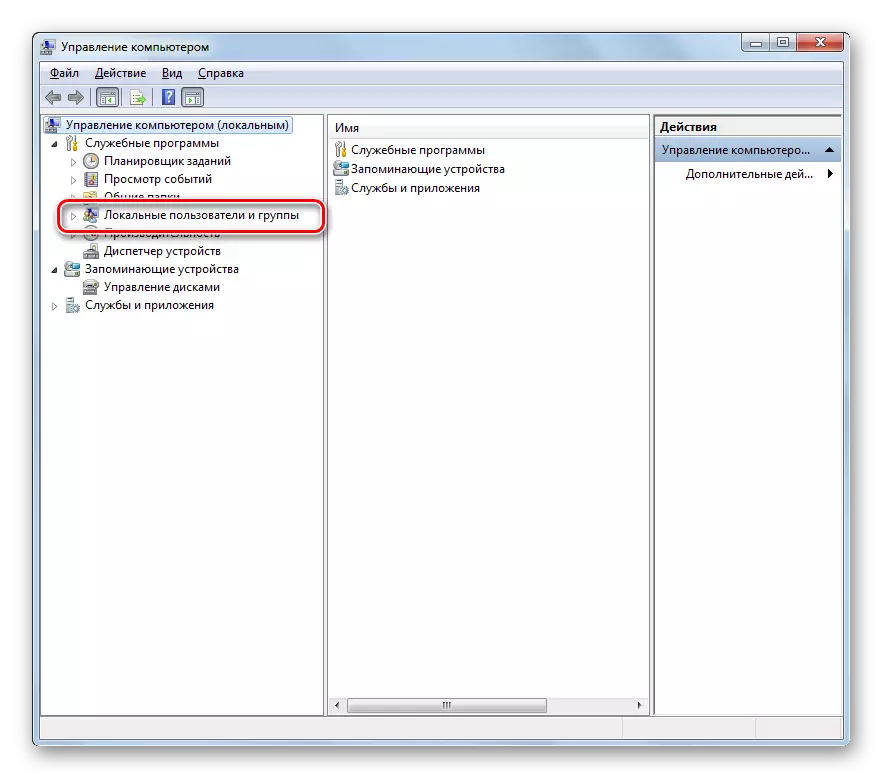
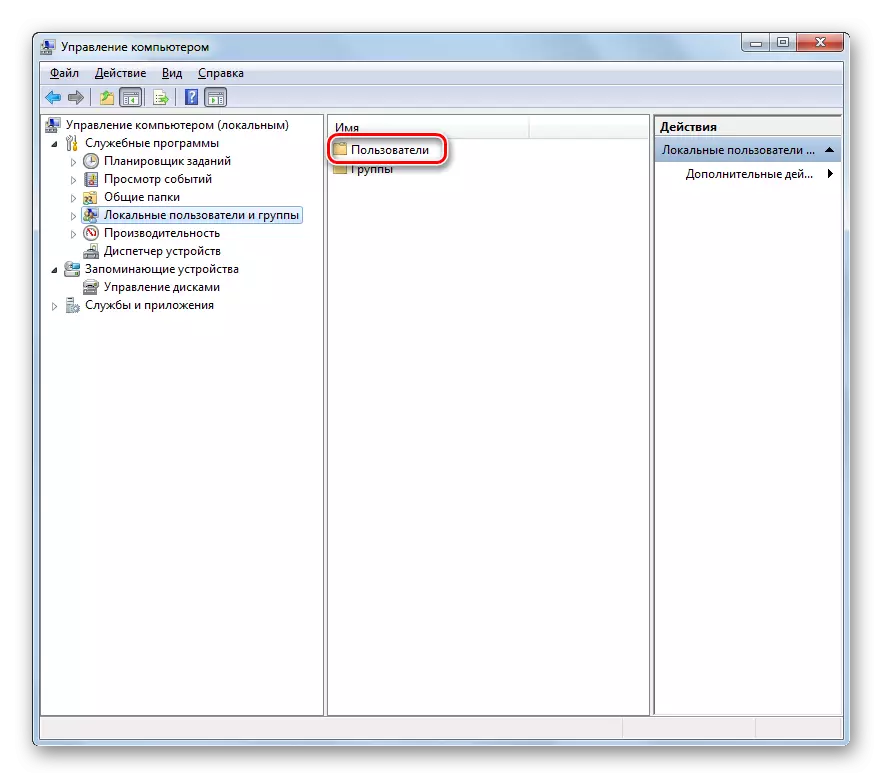
- The computer control window is started. In the left vertical menu, click on the name "Local Users and Groups" section.
- Next, go to the "Users" folder.
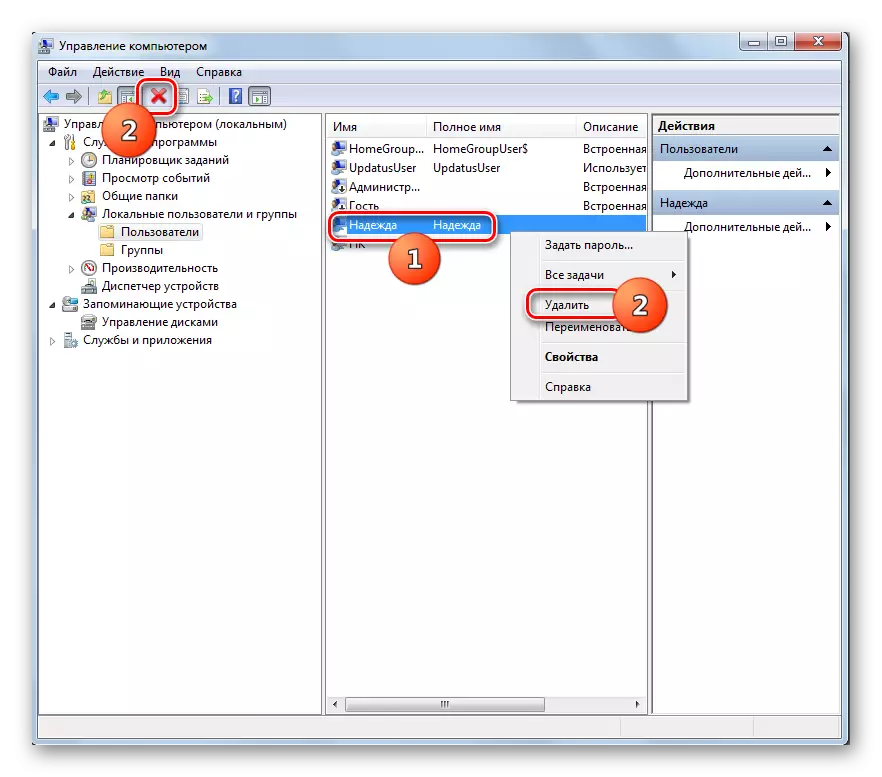
- A list of accounts will appear. Among them find the removal to be deleted. Click on it PKM. In the discontinuing list, select "Delete" or click on the icon in the form of a red cross on the control panel.
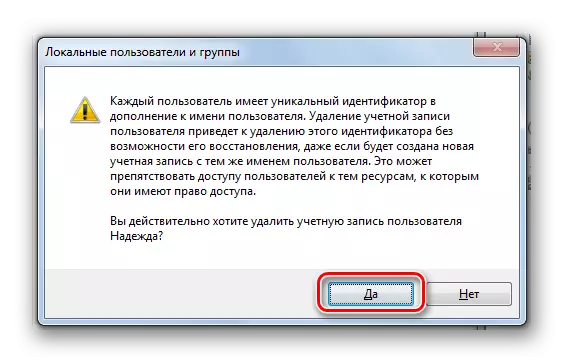
- After that, as in previous cases, a dialog box appears with a warning about the consequences of your actions. If you perform this operation purposefully, then to confirm it, press "Yes."
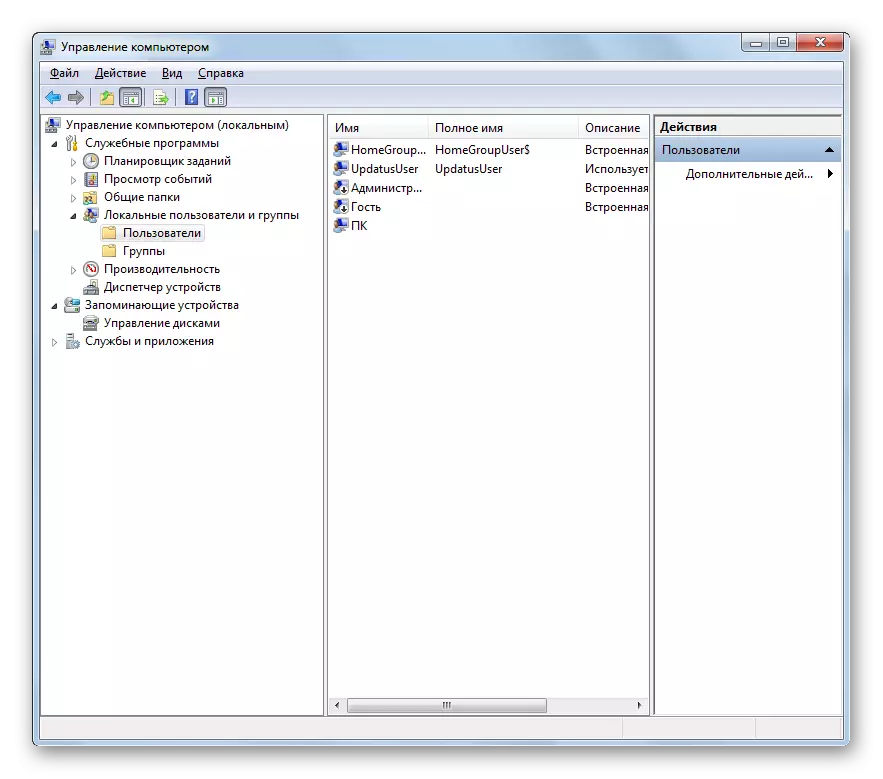
- The profile will be removed this time with the user folder.

Method 4: "Command String"
The following deletion method involves entering the command in the "Command Line", running on the name of the administrator.
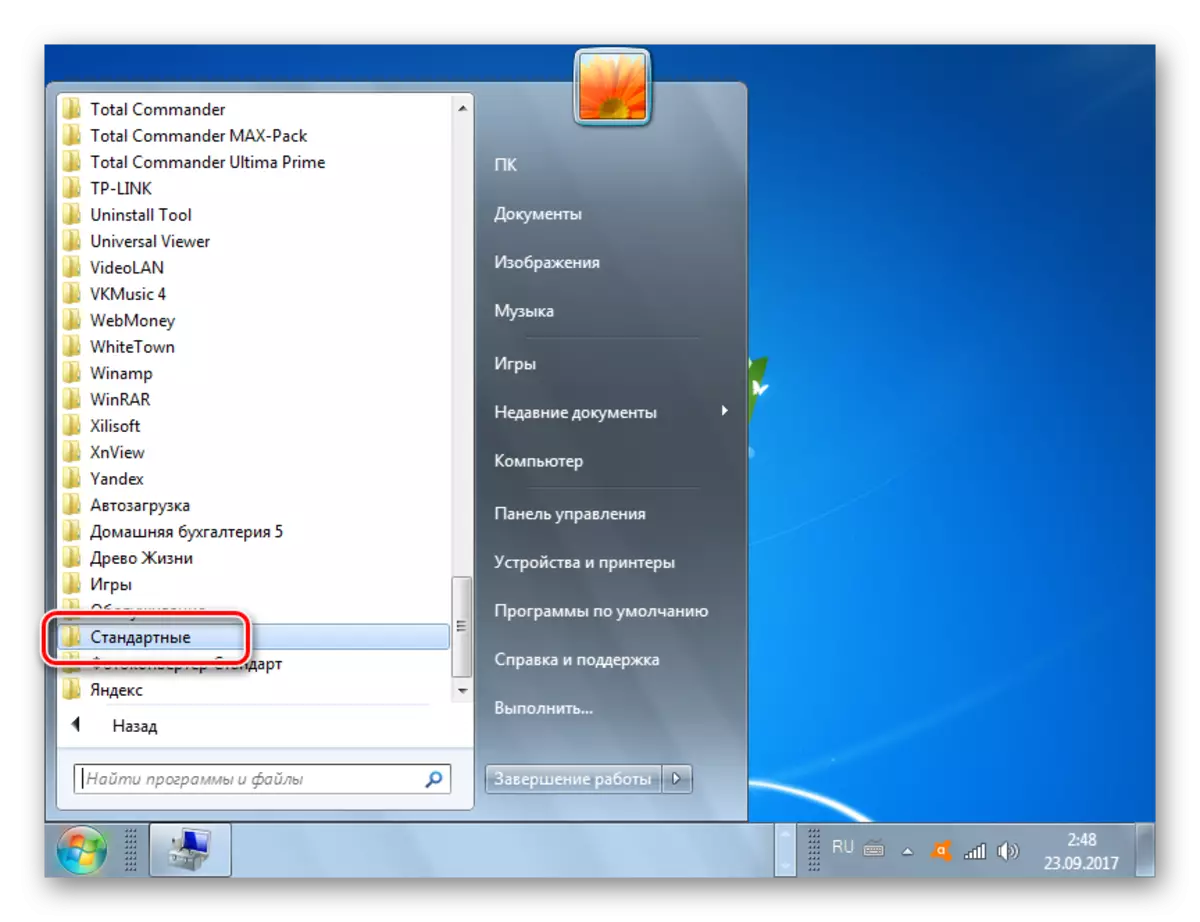
- Click "Start". Click "All Programs".
- Come in the "Standard" directory.
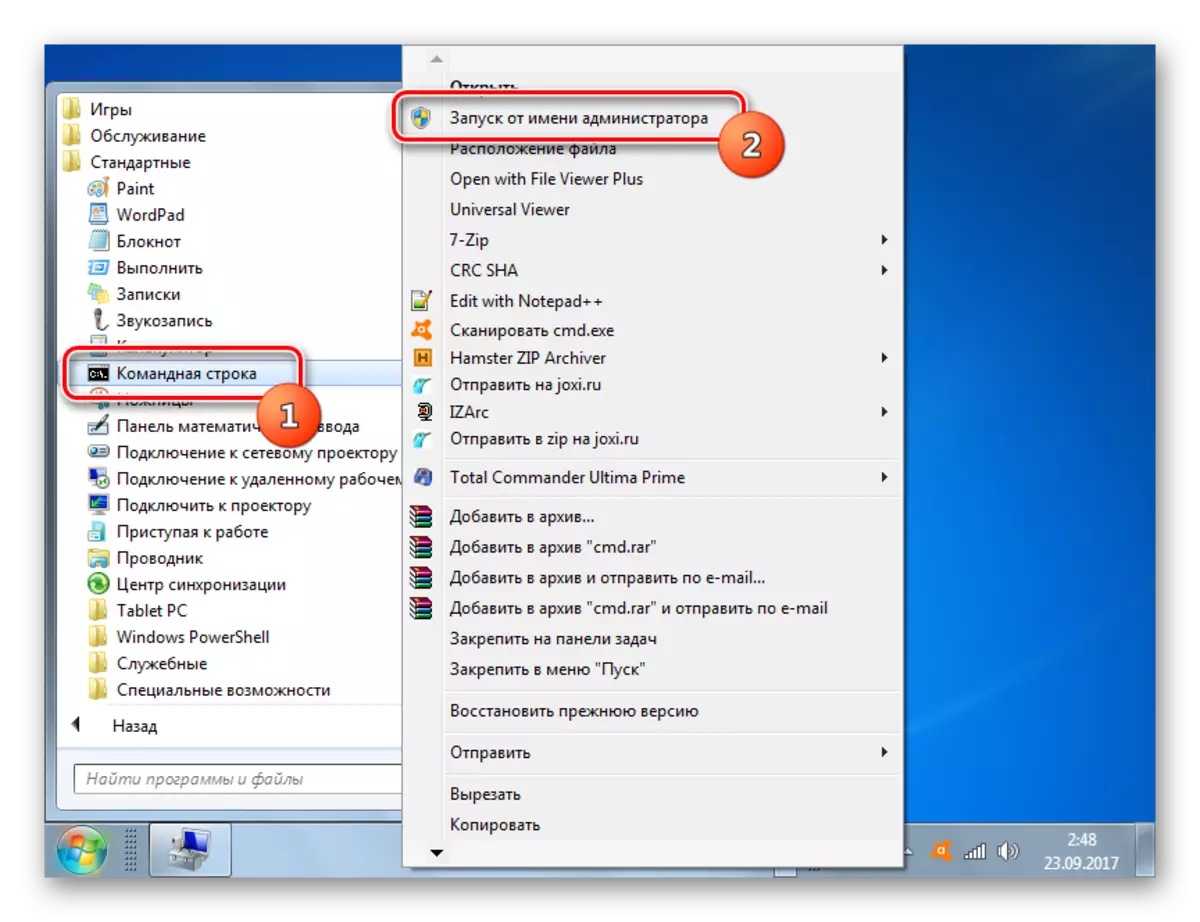
- Having found in it the "Command Line" name, click on it by PKM. Select "Run from the administrator".
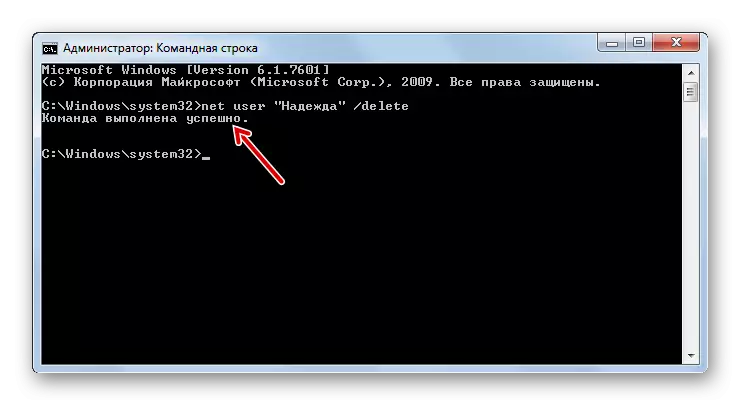
- The shell will start. Enter the following expression:
Net User "Name PRIFILE" / DELETE
Naturally, instead of the value "name_proophil" you need to substitute the name of the user, whose account you are going to remove. Press ENTER.
- The profile will be deleted, as evidenced by the corresponding inscription in the "Command Line".


As you can see, in this case, the removal confirmation window does not appear, and therefore it is necessary to act very carefully, since there is no rights to an error. If you delete the wrong account, it will be restored almost impossible.
Lesson: Run "Command Line" in Windows 7
Method 5: "Registry Editor"
Another removal option provides for the use of the registry editor. As in previous cases, it is necessary to have administrative authority for its implementation. This method is a significant danger to the performance of the system in case of erroneous actions. Therefore, use it only if other options for solving the problem for some reason cannot be used. In addition, before starting the "Registry Editor", we advise you to form a recovery point or backup.
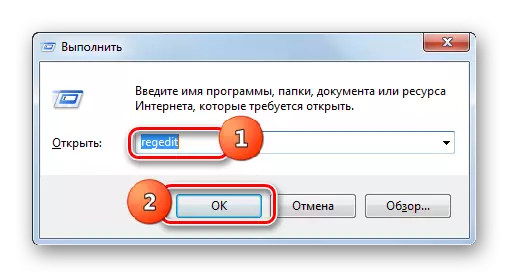
- To go to the Registry Editor, use the "Run" window. Call this tool can apply Win + R. Enter the input area:
Regedit.
Click "OK".
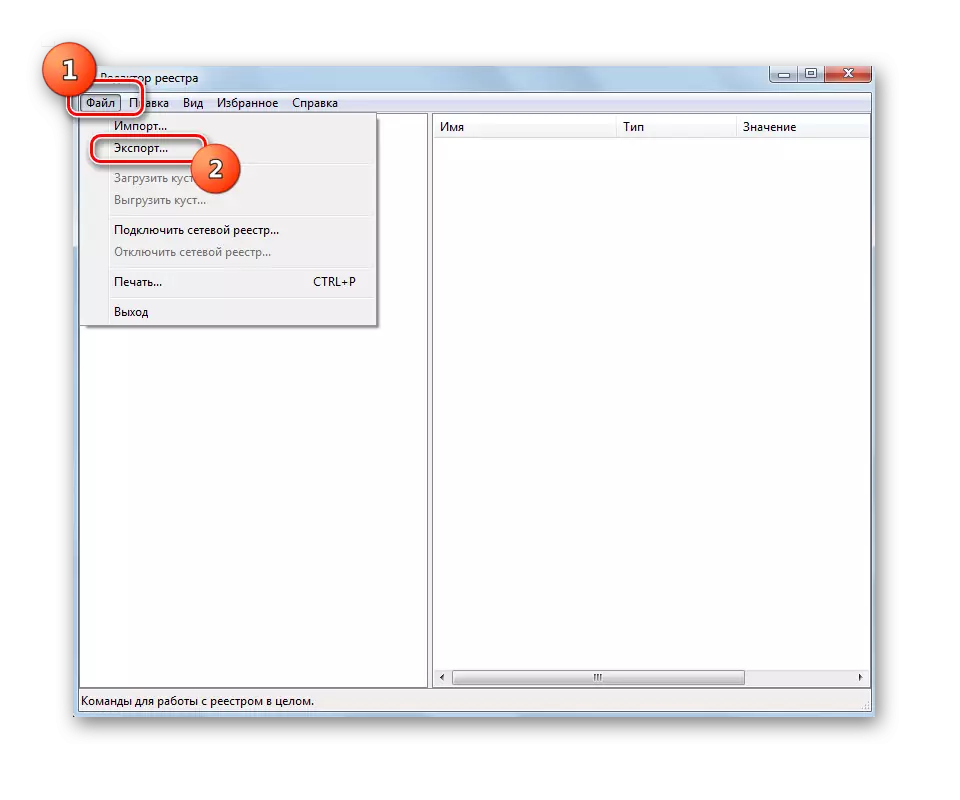
- The registry editor will be launched. You can immediately progress and create a copy of the registry. To do this, click "File" and select "Export ...".
- The Export Registry File window opens. Assign any name in the "File Name" field and go to the directory where you want to store it. Please note that the "Export range" parameters stood the "All Register" value. If the "Selected Branch" value is active, then rearrange the radio button to the desired position. After that, press "Save".

A copy of the registry will be saved. Now even if something goes wrong, you can always restore it by clicking on the "Registry Editor" item "File" menu, and then clicking "Import ...". After that, in the window that opens, you will need to find and select the file that you previously saved.
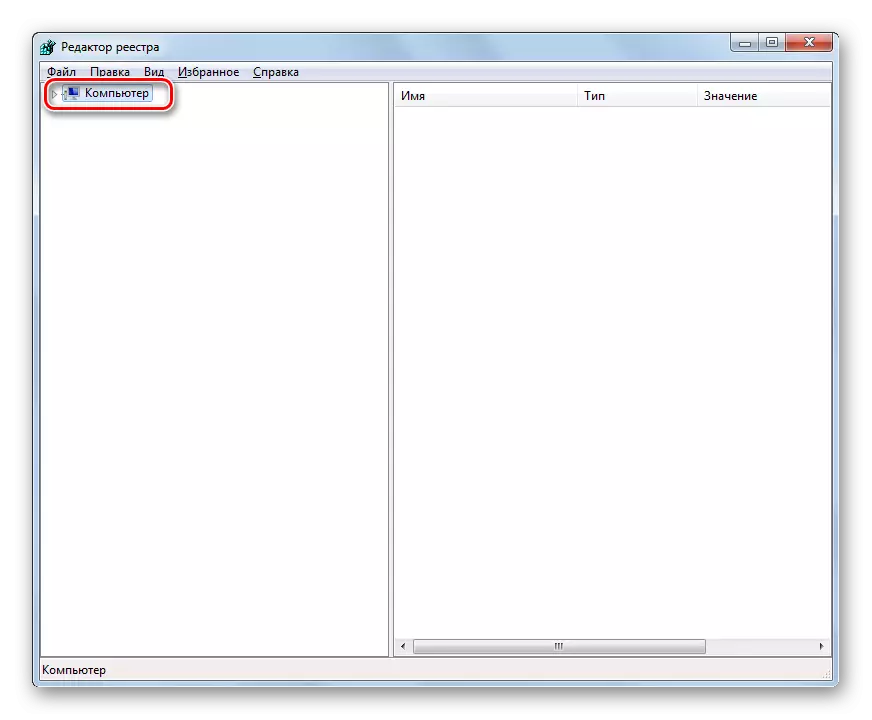
- In the left part of the interface there are registry sections in the form of folders. If they are hidden, then click "Computer" and the necessary directories will be displayed.
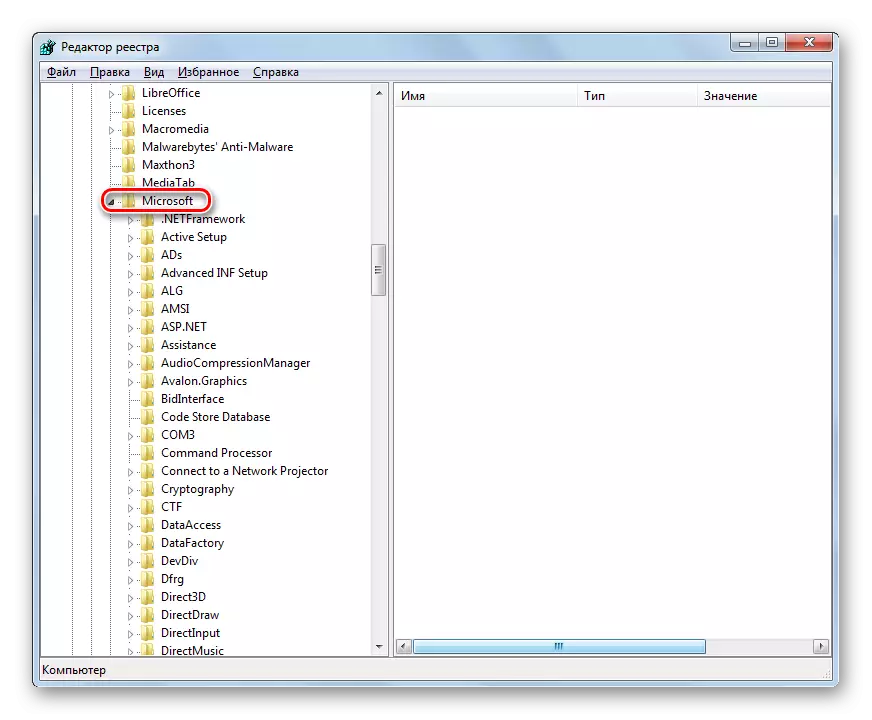
- Come in the following folders "HKEY_LOCAL_MACHINE", and then "Software".
- Now go to the "Microsoft" section.
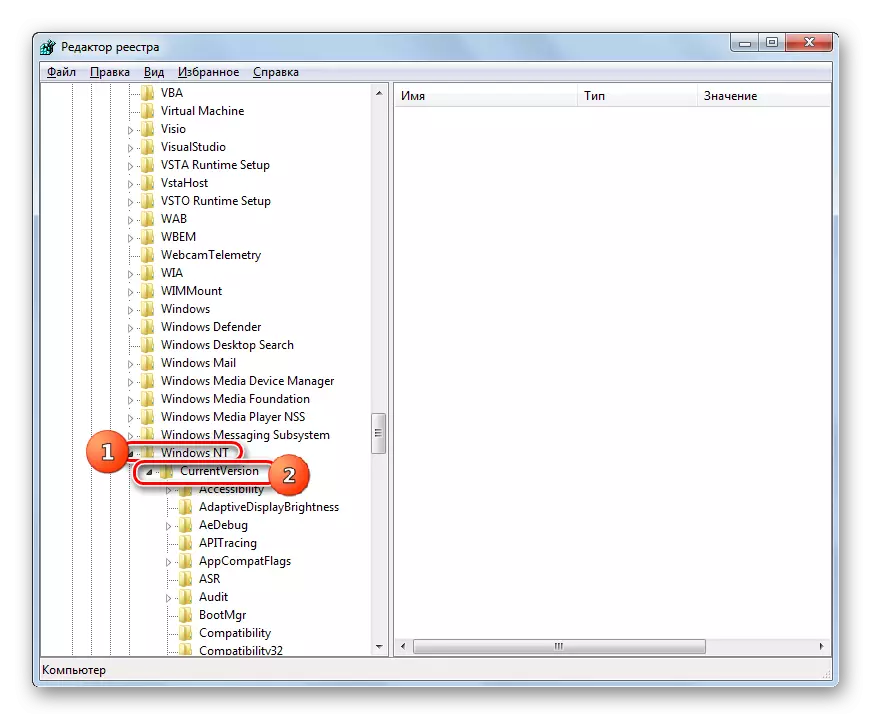
- Next, click on the "Windows NT" and "CurrentVersion" directories.
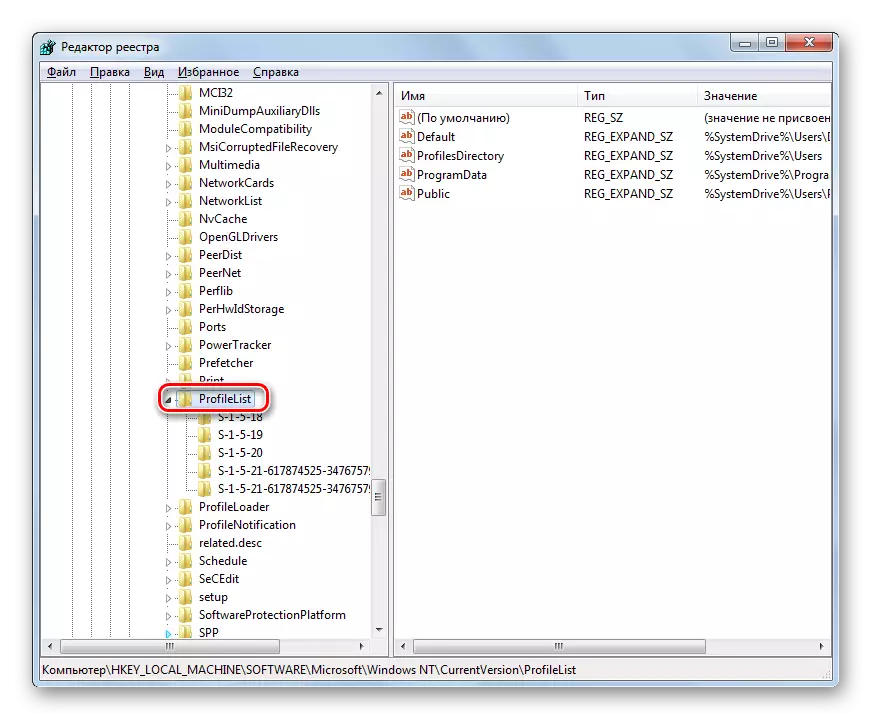
- A large list of directories opens. Among them you need to find the "ProfileList" folder and click on it.
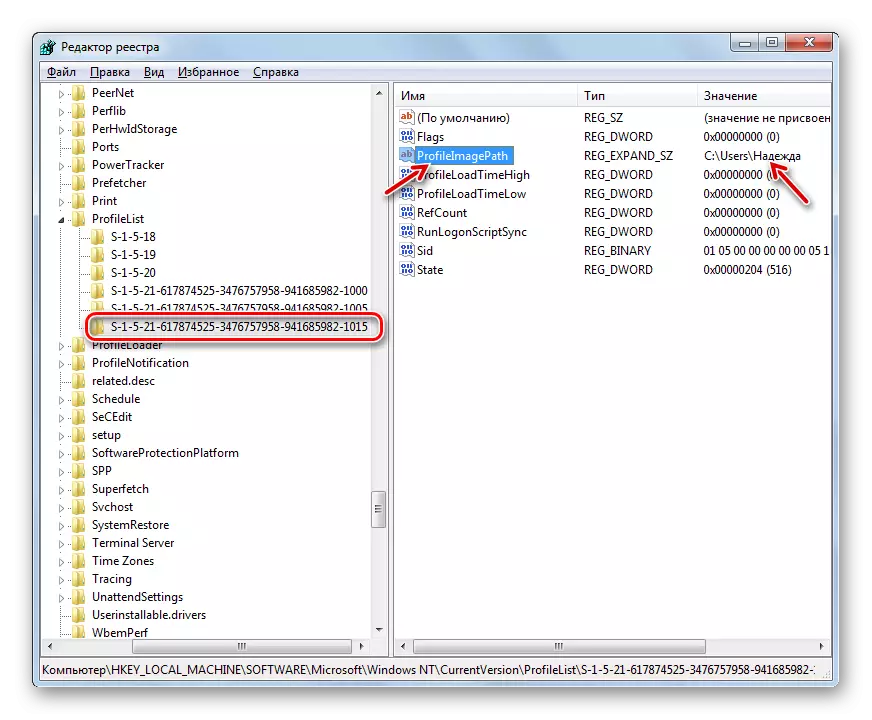
- A number of subdirectories will open, whose name will begin with the expression "S-1-5-". Highlight each of these folders alternately. At the same time, every time in the right part of the registry editor interface, pay attention to the "ProfileImagePass" parameter. If you find that this value is the path to the directory of that profile you want to delete, it means that you have come to the desired subdirectory.
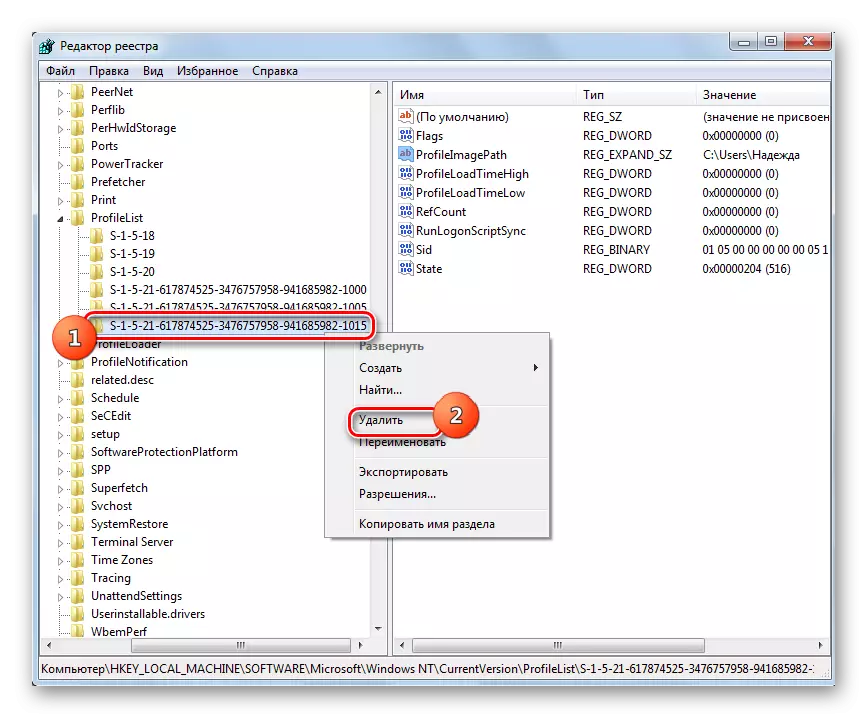
- Next, click the PCM according to the subdirectory, in which, as we found out, contains the desired profile, and from the list that has opened, select "Delete". It is very important not to be mistaken with the choice of a deleted folder, since the consequences can be fatal.
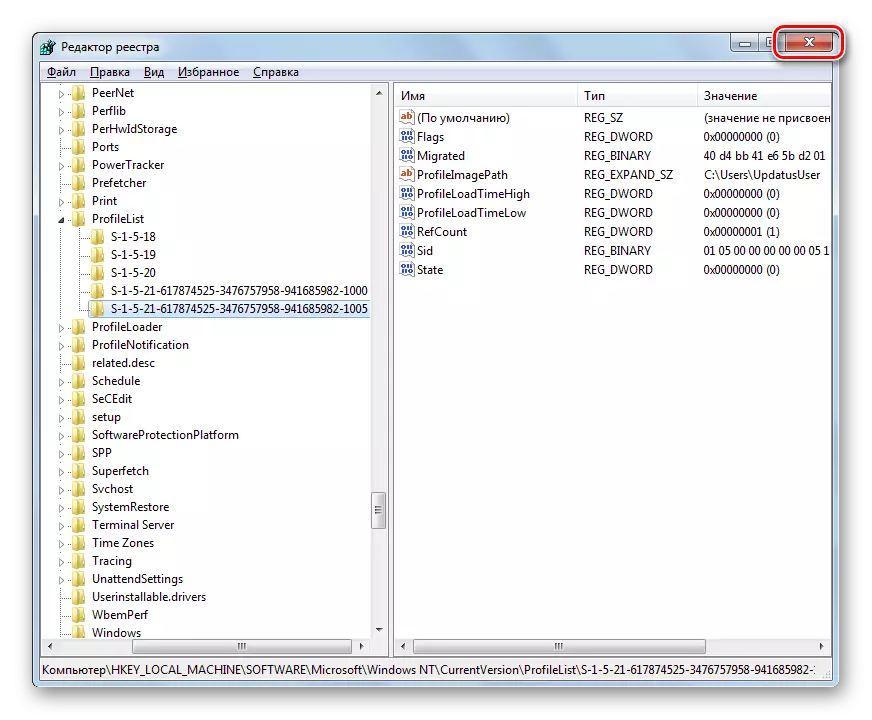
- A dialog box is launched, requesting a confirmation of the deletion of the partition. Make sure that you delete the desired folder, and press "Yes."
- The section will be deleted. You can close the registry editor. Restart the computer.
- But that is not all. If you want to delete the directory of finding the files already eliminated account, then this will also have to do manually. Run the "Explorer".
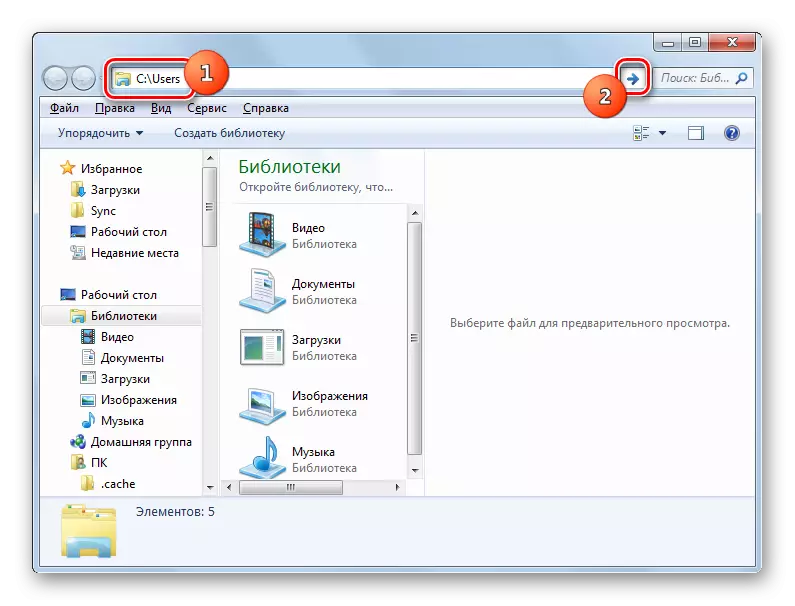
- Insert the next path in its address line:
C: \ Users
Click ENTER or click on the arrow next to the string.
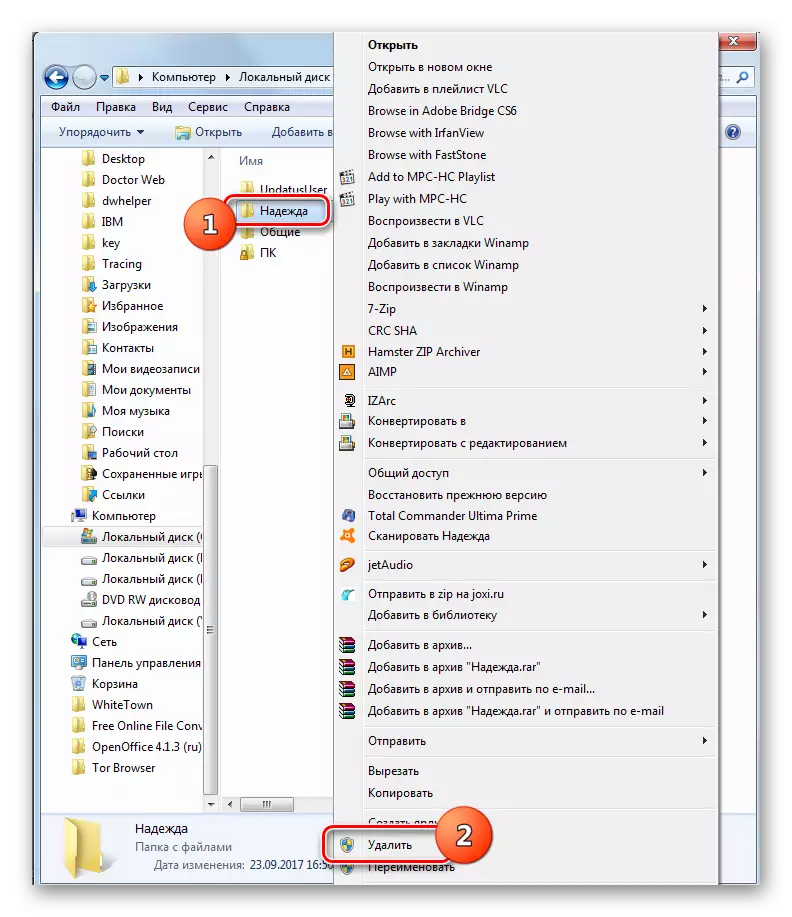
- After hitting the "Users" directory, find a directory whose name is responsible for the name of the account of the previously remote registry key. Click on it by PCM and select "Delete".
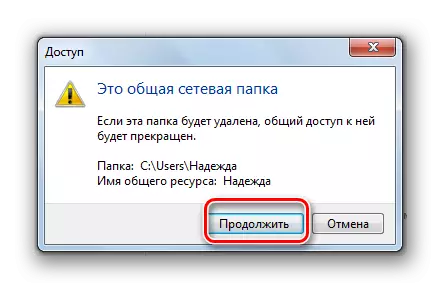
- A warning window opens. Click in it "continue."
- After the folder is removed, restart the PC again. You can read the removal of the account fully completed.


As you can see, there are several ways to remove a user account in Windows 7. If possible, first of all, attempt to solve the problem of the first three methods presented in this article. They are the easiest and safest. And only if they are impossible to implement them, use the "Command Line". Manipulations with the system registry consider as the most extreme option.