

Pop art is the stylization of images under certain colors. To make your photos in this style, it is not necessary to be a photoshop guru, as special online services make it possible to produce pop art stylization in just a couple of clicks, which on most photos it turns out very high quality.
Features of online services
Here you do not need to make special efforts to achieve the desired effect. In most cases, it is enough just to upload an image, select the pop art style of interest, perhaps still adjust a couple of settings and you can download the converted image. However, if you want to apply any other style that is not in the editors, or significantly modify the style built into the editor, you will not be able to do this because of the limited functionality of the service.Method 1: PopArtStudio
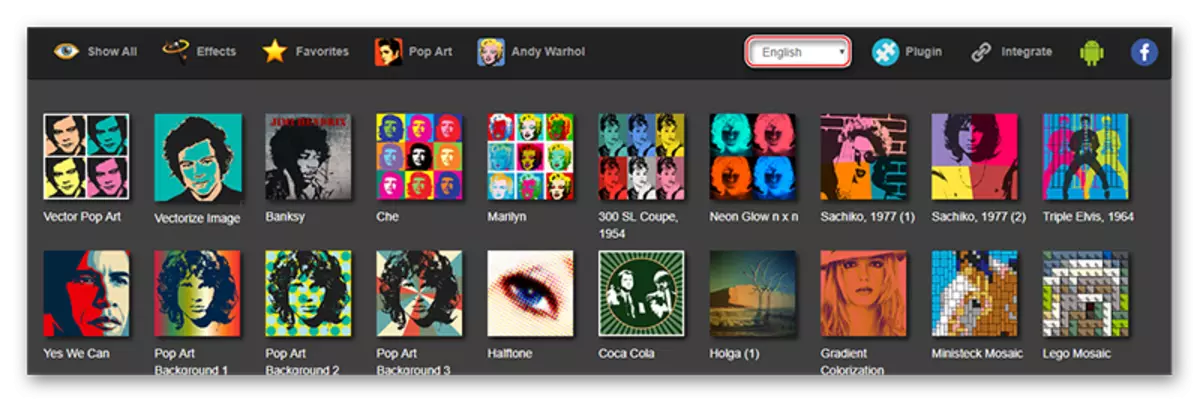
This service gives a large selection of different styles from different eras - from 50s to the end of the 70s. In addition to using the already laid templates, you can edit them using the settings for your needs. All functions and styles are completely free and accessible to users who have not been registered.
However, in order to download the ready-made photo in good quality, without a watermark of the service, you will have to register and pay a monthly subscription worth 9.5 euros. Additionally, the service is fully translated into Russian, but in some places its quality leaves much to be desired.
Go to PopArtStudio.
Step-by-step instruction has the following form:
- On the main page you can view all the available styles and change the language if necessary. To change the language of the site, find the "English" in the top panel and click on it. In the context menu, select "Russian".
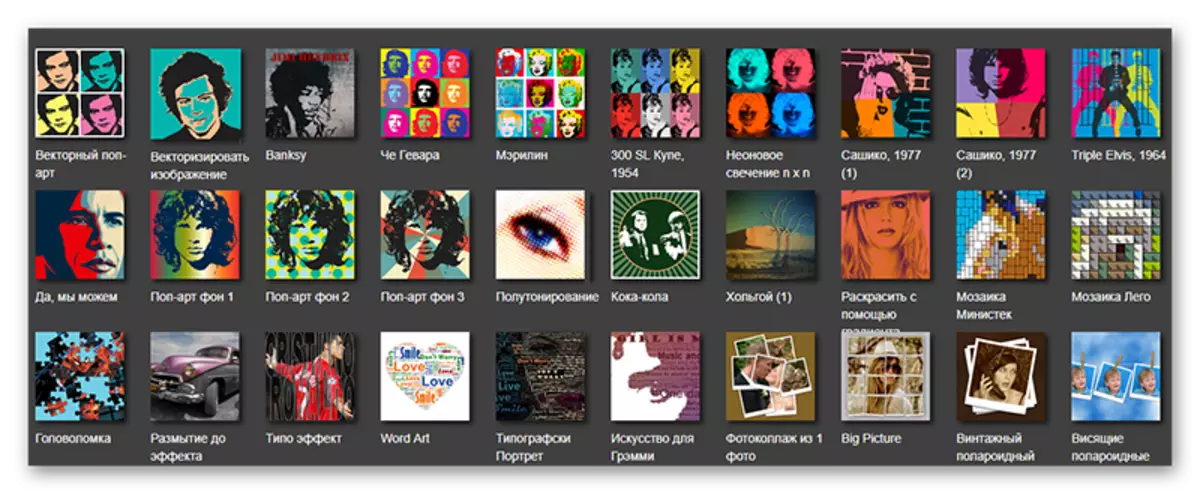
- After setting up the language, you can proceed to the selection of the template. It is worth remembering that depending on the selected layout will be built.
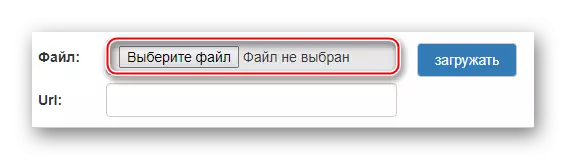
- Once the choice is produced, you will transfer to the page with the settings. Initially, you need to upload the photo with which you plan to work. To do this, click in the File field by "Select File".
- The "Explorer" will open, where you need to specify the path to the image.
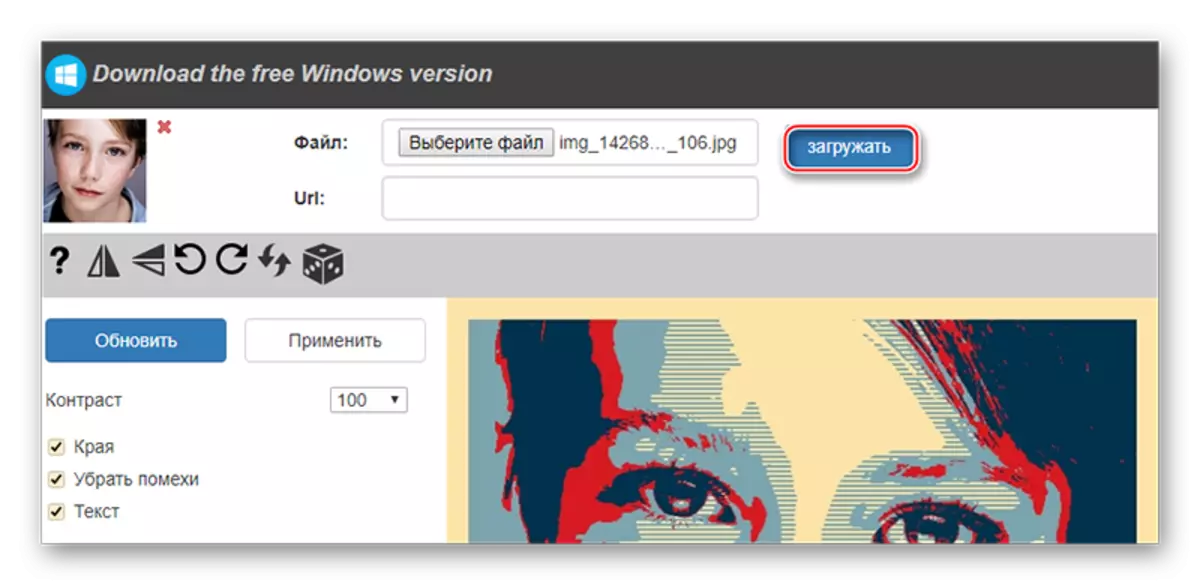
- After loading the image on the site you need to click on the "Download" button, which is opposite the File field. It is necessary that the photo that stands in the editor is always default, has changed to yours.
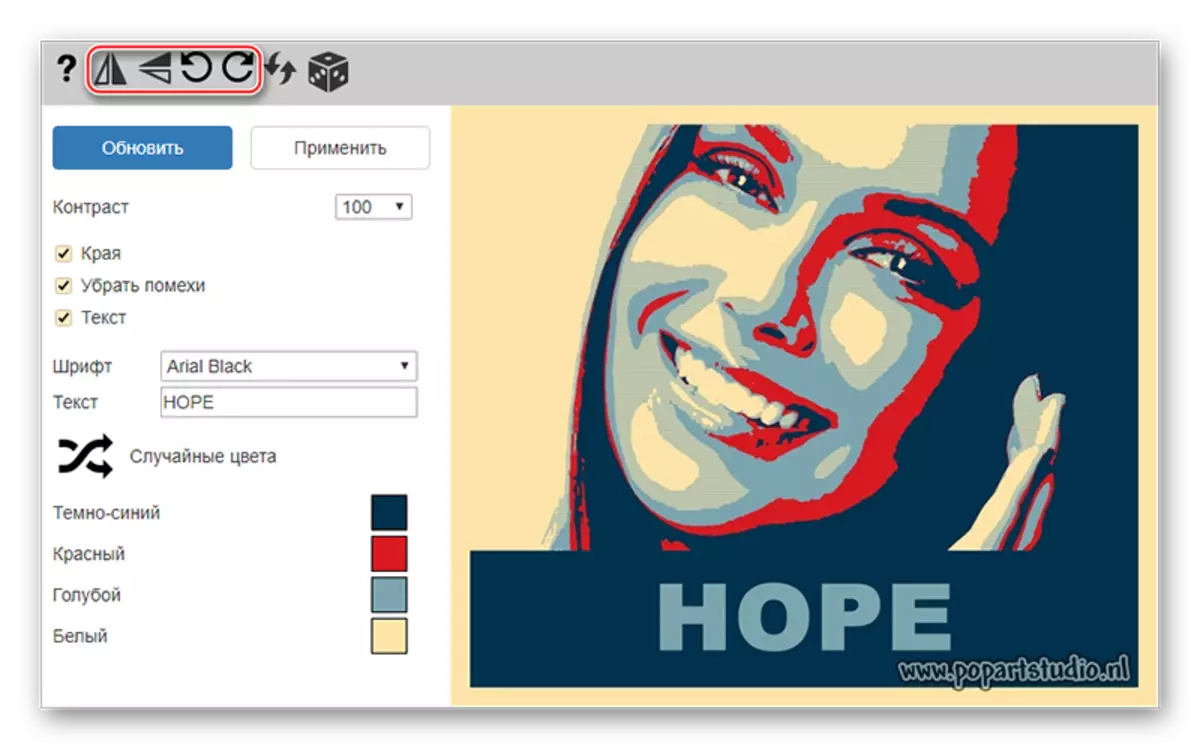
- Initially, pay attention to the top panel in the editor. Here you can reflect and / or rotate the image to a certain degree value. To do this, click on the first four icons on the left.
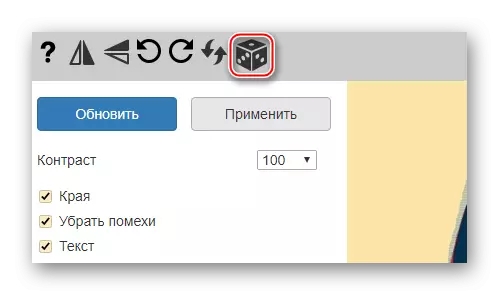
- If you are not satisfied with the values of advanced default settings, but I don't want to mess around with them, then use the "Random Values" button, which is represented as a game bone.
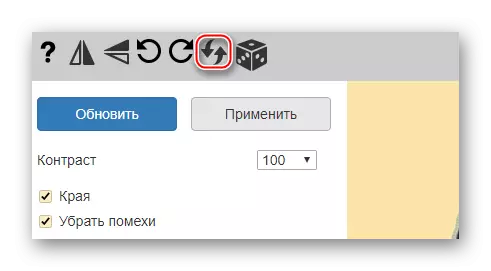
- To return all the default values, pay attention to the arrows icon in the top panel.
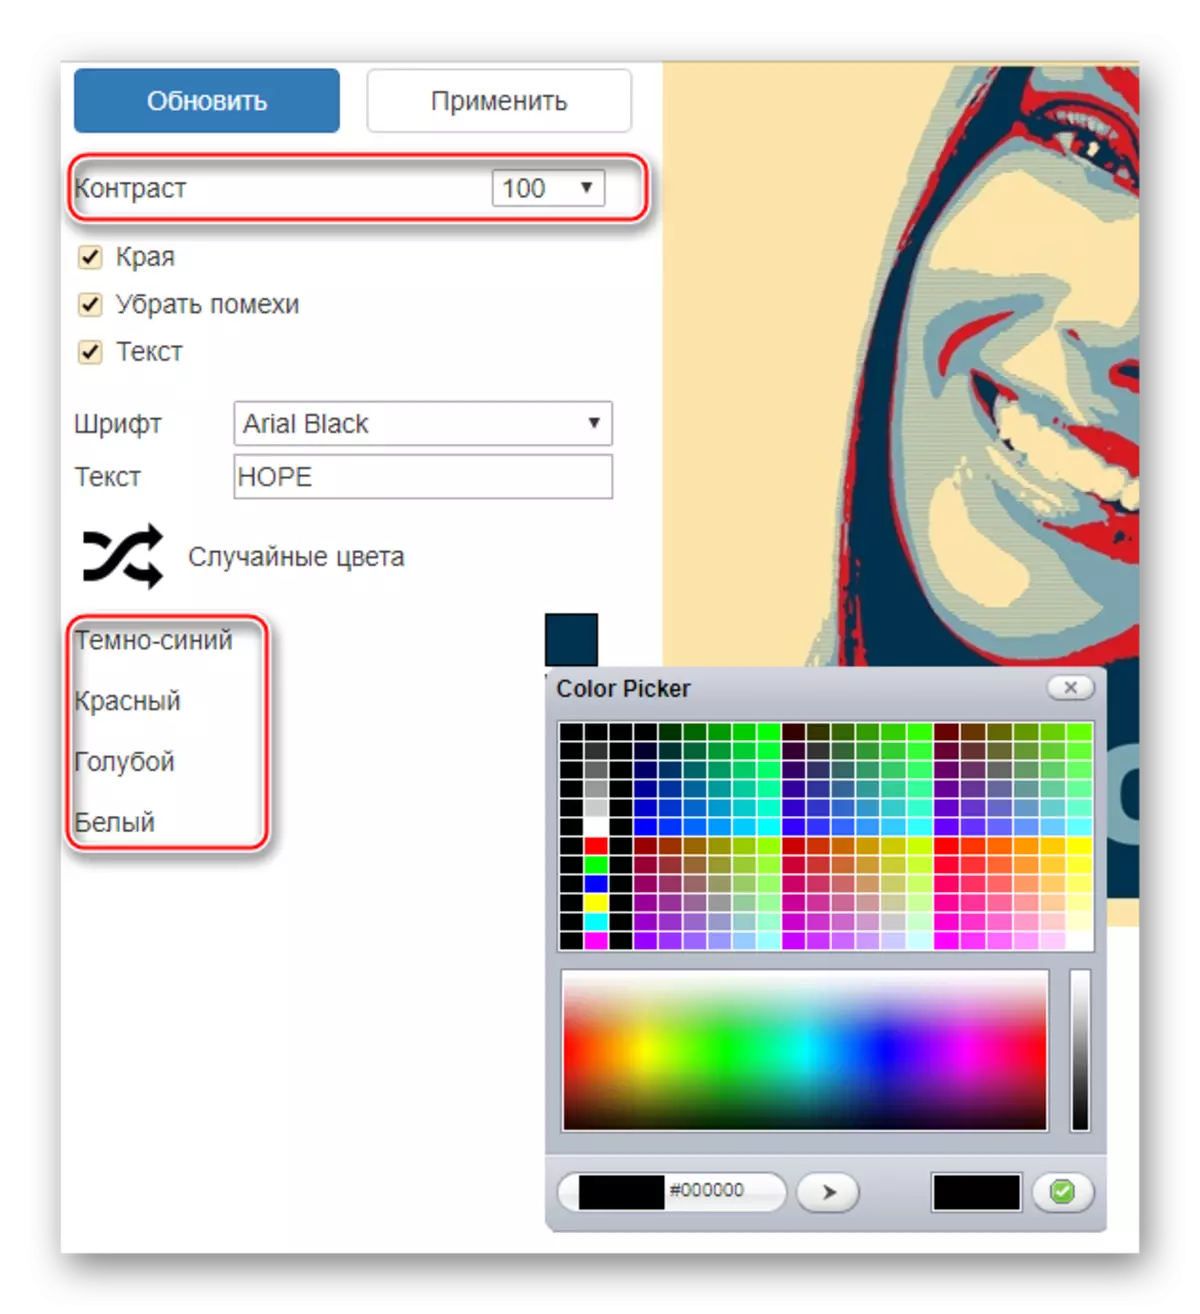
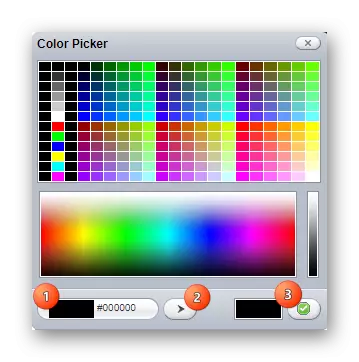
- You can also independently set up colors, contrast, transparency and text (the last two, provided that they are provided for by your template). To change colors, at the bottom of the left toolbar, pay attention to color squares. Click one of them with the left mouse button, after which the colors selection palette opens.
- In the palette, the Office is implemented a little inconvenient. You initially need to click on the desired color, after it will appear in the lower left window of the palette. If he appeared there, then click on the arrow icon, which is right. As soon as the desired color will stand in the lower right side of the palette, click on the Apply icon (it looks like a white tick on a green background).
- Additionally, you can "play" with the contrast and opacity parameters, if any in the template.
- To see the changes made by you, click on the "Update" button.
- If everything suits you, save your work. Unfortunately, there is no normal function "Save" on the site, so Mouse over the finished image, click on the right mouse button and select "Save the image as ...".


Method 2: photofoot
This service has a very meager, but completely free functionality for creating pop art, besides, for downloading the finished result without a watermark you will not be caught to pay. The site is completely in Russian.
Go to photofany
A small step-by-step instruction has the following form:
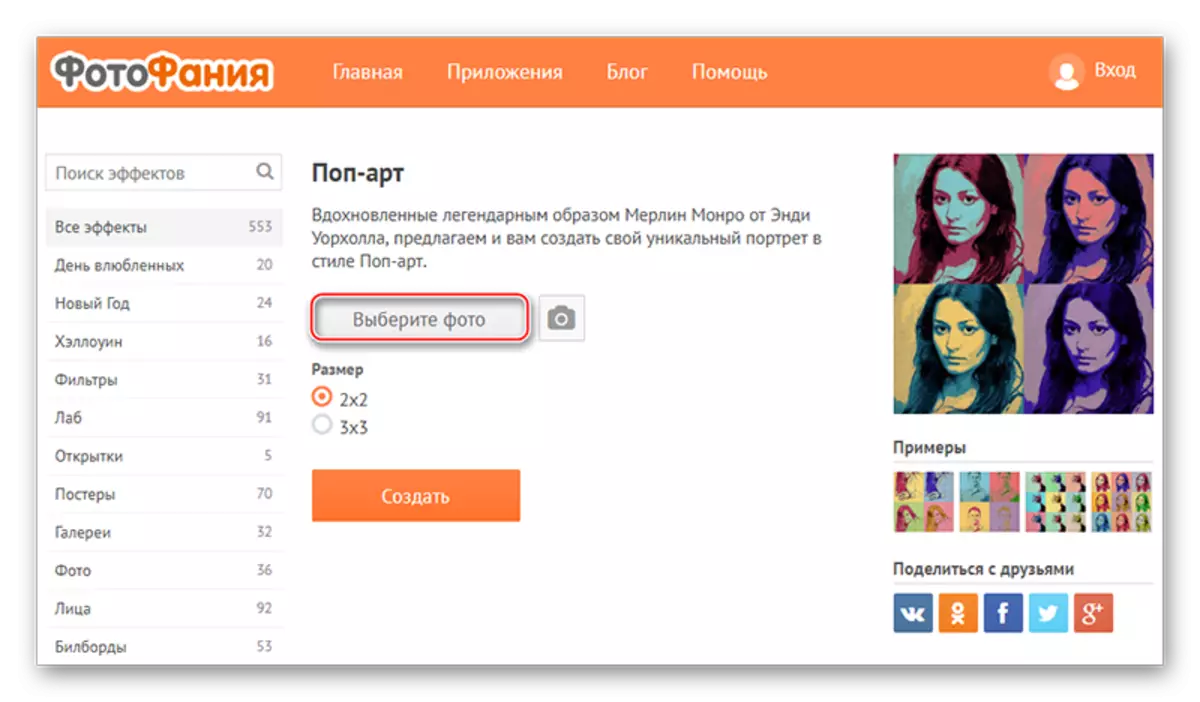
- On the page where you are prompted to create a pop art, click on the button "Select a photo".
- Options for downloading photos The site is presented by several. For example, you can add an image from your computer, to use those that have already been added previously added, take a photo through a webcam or download from any third-party services, such as social networks or cloud storage. The instruction will be reviewed on the photo download from the computer, so the "Downloads" tab is used here, and then the "Download from Computer" button.
- In the "Explorer" indicates the path to the photo.
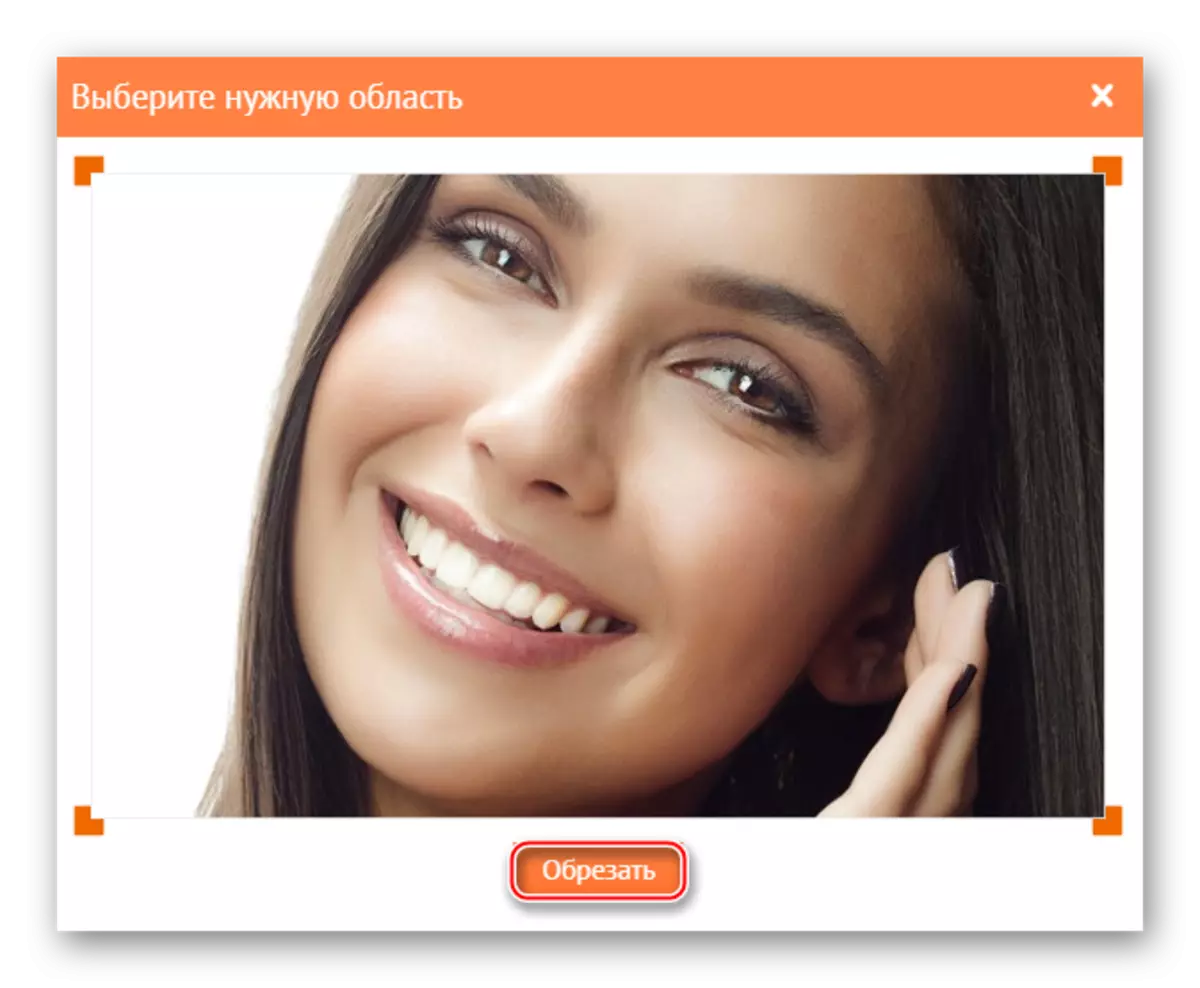
- Wait for the photo download and cut it around the edges, if necessary. To continue, click on the "Trim" button.
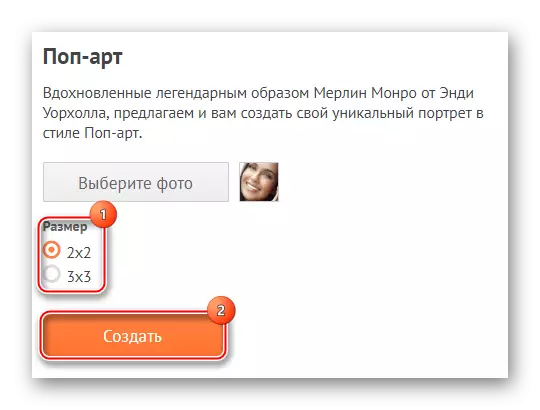
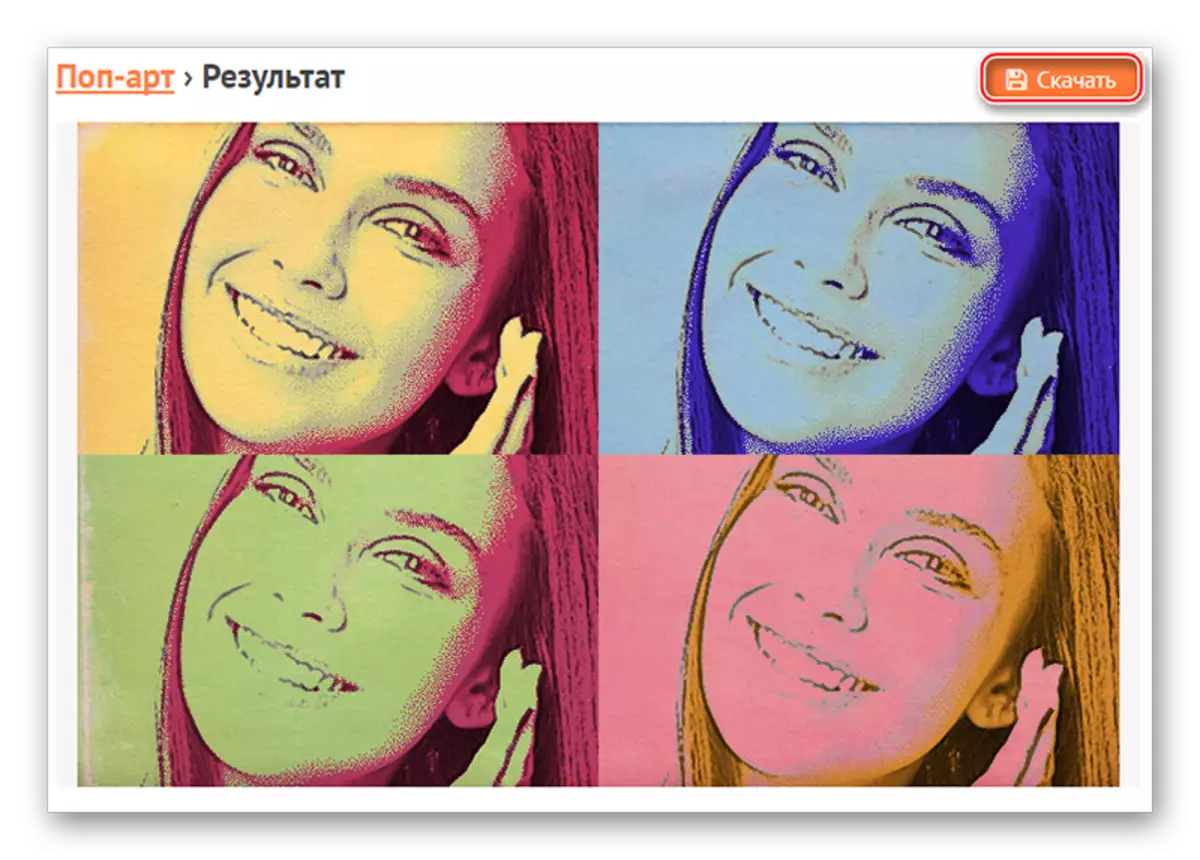
- Choose pop art size. 2 × 2 Spear and stylists photo up to 4 pieces, and 3 × 3 to 9. Unfortunately, it is impossible to leave the default size here.
- After all the settings are specified, click on "Create".
- It is worth remembering that here when creating pop art, random colors are applied to the picture. If you do not like the gamma that generated, then click on the "Back" button in the browser (most browsers are an arrow located near the address string) and repeat all the steps again until the service generates an acceptable color palette.
- If everything suits you, then click on "download", which is located in the upper right corner.

Method 3: Photo-Kako
This is a Chinese site that has been quite well translated into Russian, but it has obvious problems with design and usability - elements of the interface are uncomfortable and run on each other, and there is no design design at all. Fortunately, there is a very large list of settings, which will create a high-quality pop art.
Go to photo-kako
The instruction looks like this:
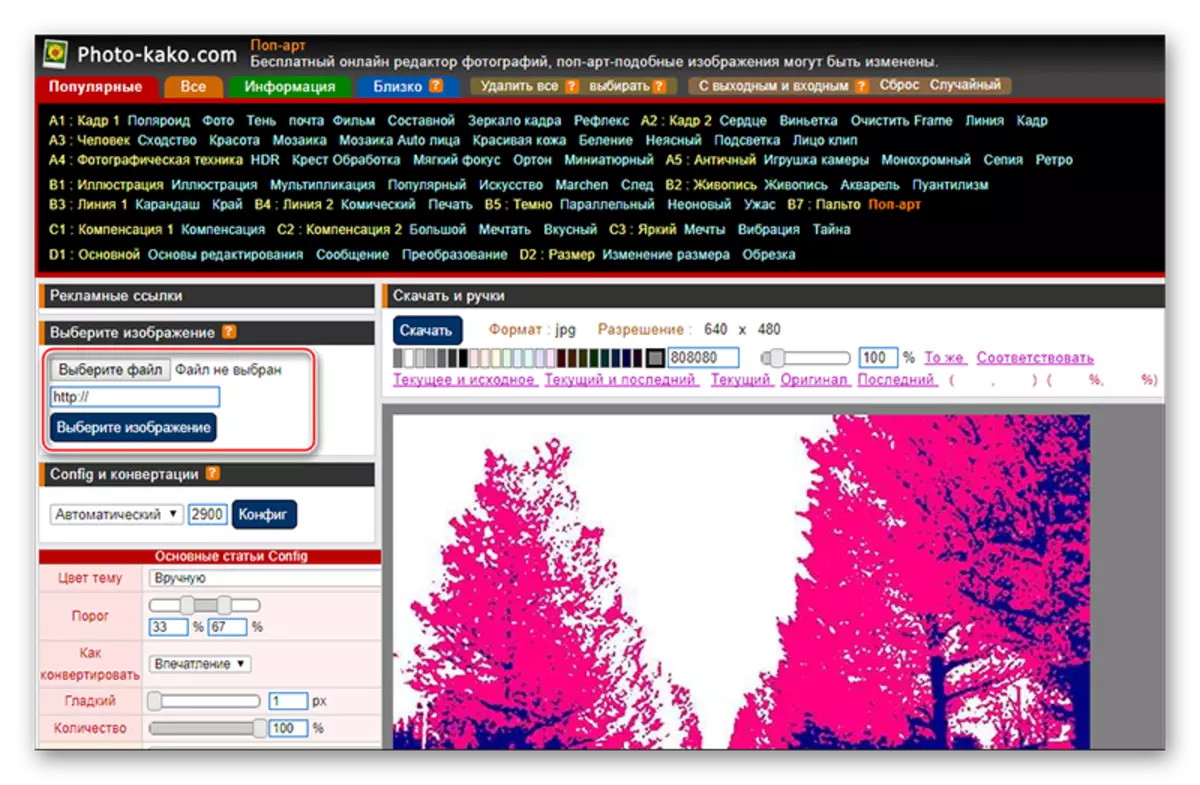
- Pay attention to the left part of the site - there must be a block with the name "Select the image". From here you can either specify a link to it in other sources, or click "Select File".
- A window will open where you specify the path to the picture.
- After downloading, the default effects will automatically be used. To change them somehow, use sluts and tools in the right pane. It is recommended to configure the "Threshold" parameter to the value in the region of 55-70, and the "number" to the value of not more than 80, but not less than 50. With the other values you can also experiment.
- In order to see the changes, click on the "Config" button, which is located in the Config and Conversion unit.
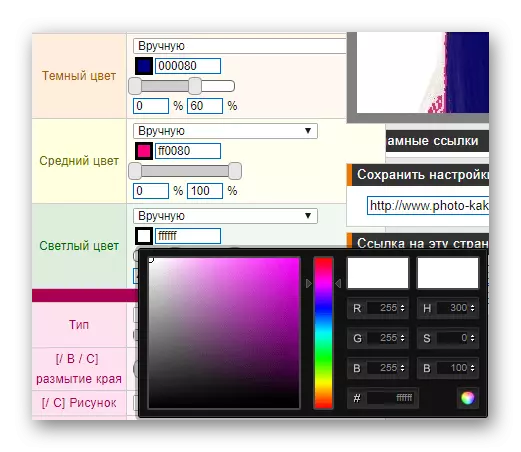
- You can also change colors, but here they are only three. Add new or remove it is impossible. To make changes, just click on the square with the color and in the color palette, select the one you think right.
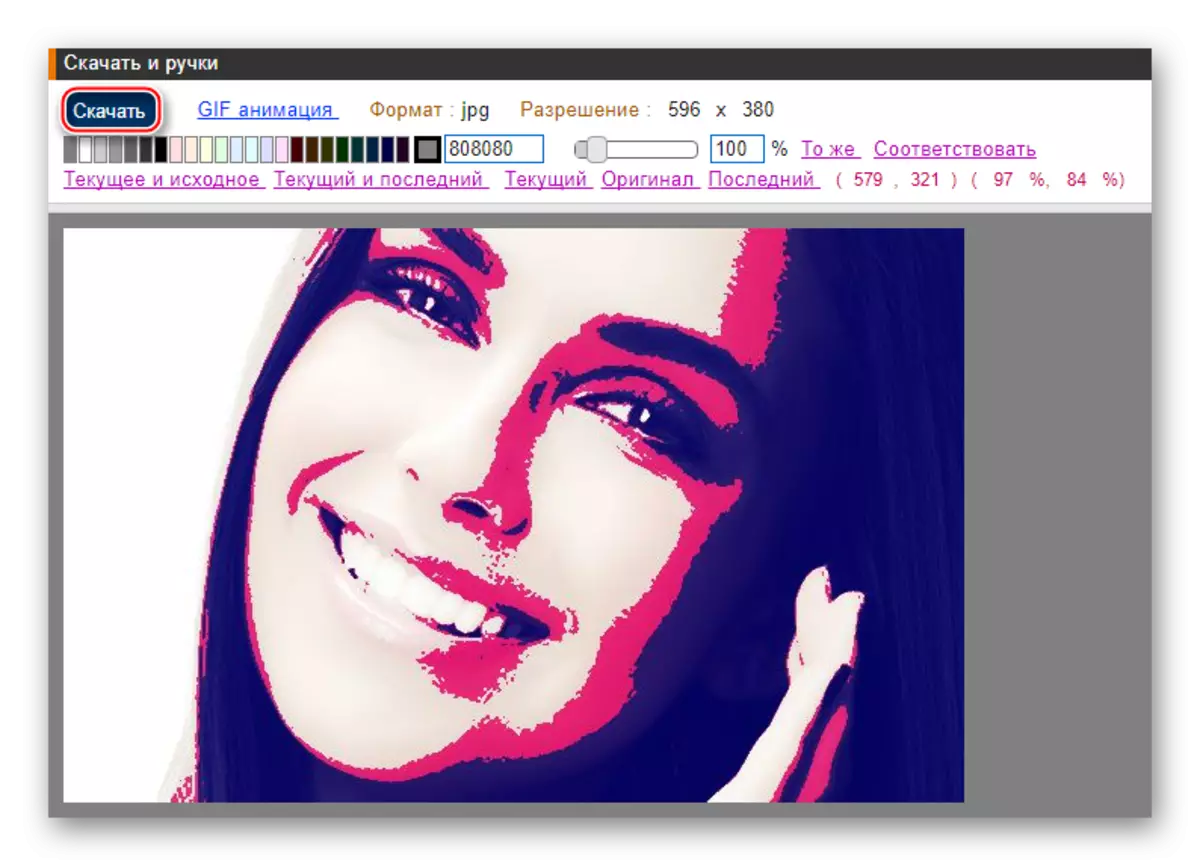
- To save the photo, find a block with the name "download and handles", which is located above the main workspace area. There, use the "Download" button. The image will start booting to your computer automatically.

Make pop art using Internet resources perhaps, but at the same time you may encounter restrictions in the form of a small functionality, an uncomfortable interface and watermarks on the finished image.