

The need to create an inscription in the image may occur in many cases: whether it is a postcard, poster or a memorable inscription in the photo. Make it easy - you can use the online services submitted in the article. Their huge advantage is the lack of need to install complex software. All of them are tested by time and users, as well as completely free.
Creating an inscription photo
The use of these methods does not require special knowledge, as using professional photo editors. Make an inscription even a novice computer user.Method 1: EffectFree
This site provides its users with many tools to work with images. Among them are and necessary to add text to the picture.
Go to EffectFree service
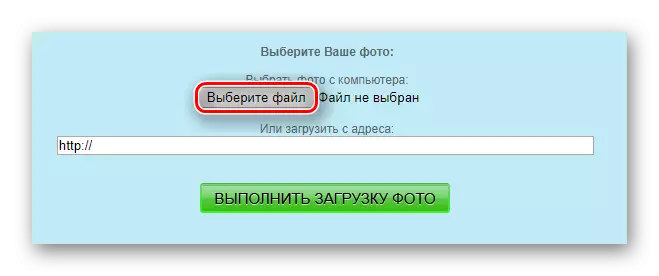
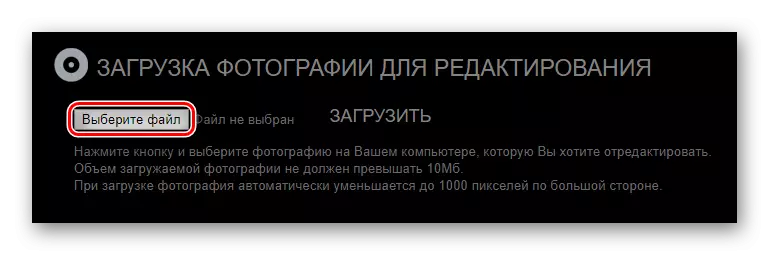
- Click the "Select File" button for subsequent processing.
- Highlight the graphic file that suits you stored in the computer's memory and click "Open".
- Continue by clicking on the "Run Photo Download" button so that the service downloads it to your server.
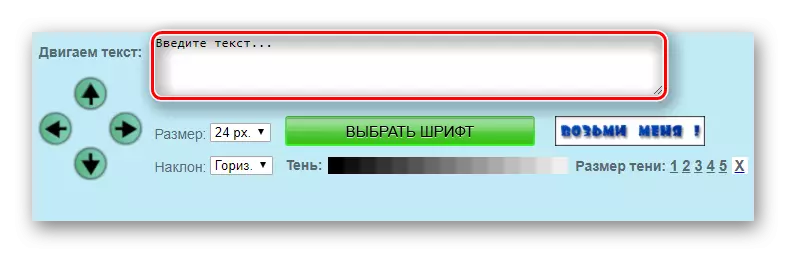
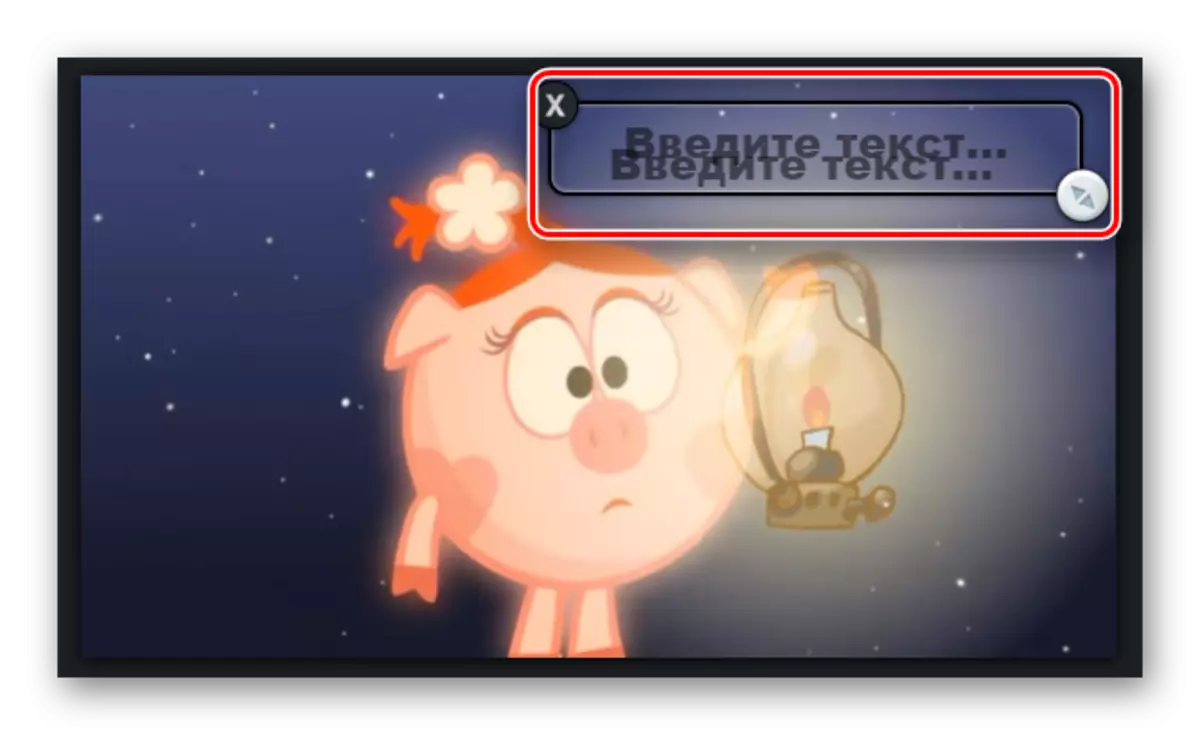
- Enter the desired text that will be applied to the downloaded photo. To do this, click on the "Enter Text" string.
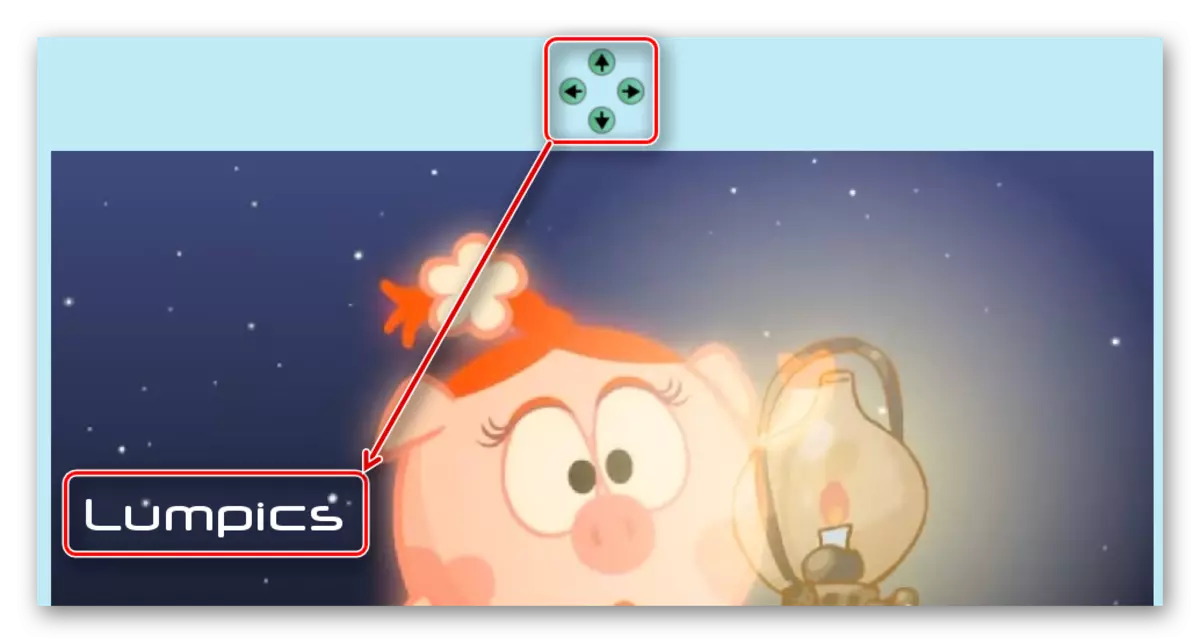
- Move the inscription on the image using the appropriate arrows. The location of the text can be changed both using a computer mouse and buttons on the keyboard.
- Select a color and click "Entertain Text" to complete.
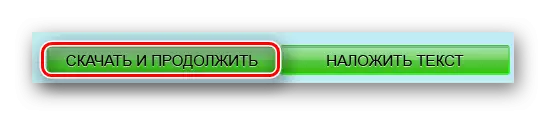
- Save the graphic file to the computer by clicking on the "download and continue" button.


Method 2: Holla
Hall photo editor has a rich set of tools for working with images. He has a modern design and an intuitive interface, which greatly simplifies the process of use.
Go to the Holla service
- Click on the "Select File" button to start selecting the necessary picture for processing.
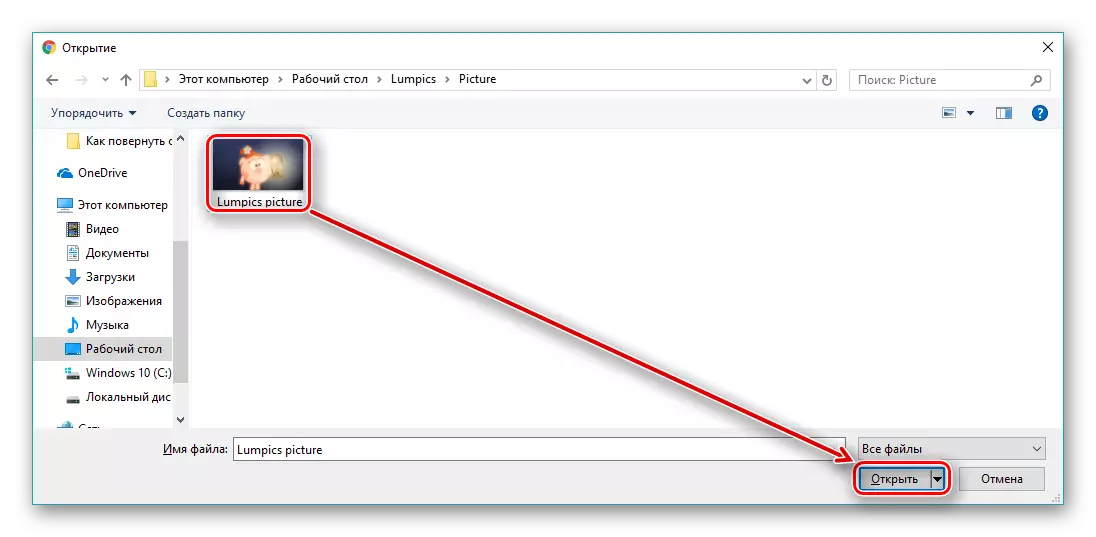
- Select a file and click in the lower right corner of the Open window.
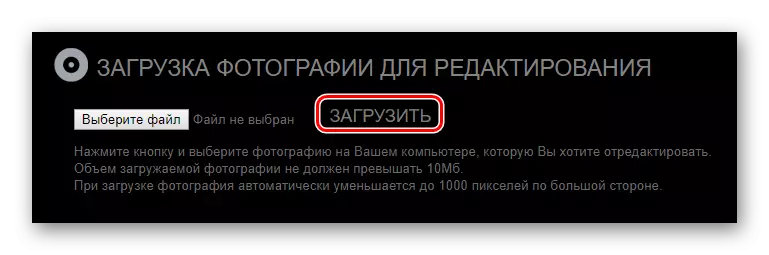
- To continue, click "Download".
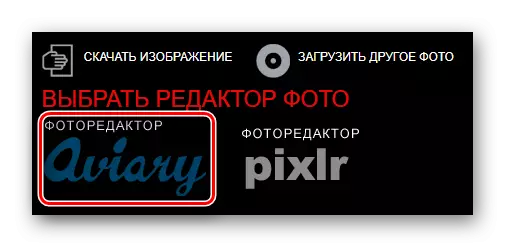
- Then select the Aviary Photo Editor.
- You will open the toolbar to process the picture. Press the right arrow to go to open the rest of the list.
- Select the "Text" tool to add content to the image.
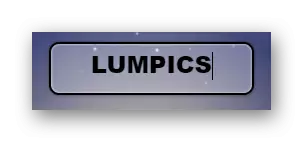
- Highlight a frame with text to edit it.
- Enter the desired text content to this frame. The result should look something as follows:
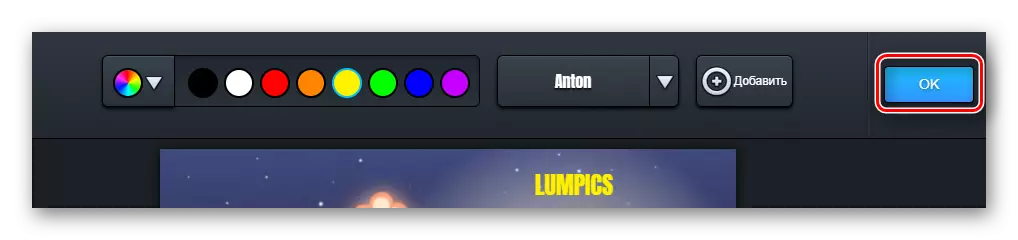
- Optionally, applicable parameters provided: Text color and font.
- When the text of adding text is completed, click Finish.
- If you have finished editing, click the "Download Image" button to start booting to the computer disk.


Method 3: Editor photo
A fairly modern service having a 10 powerful tool editing tab. Allows you to make batch data processing.
Go to the service Editor photo
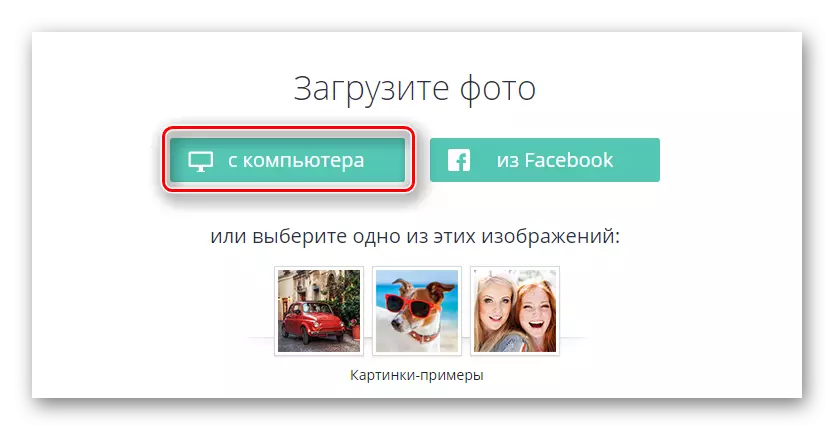
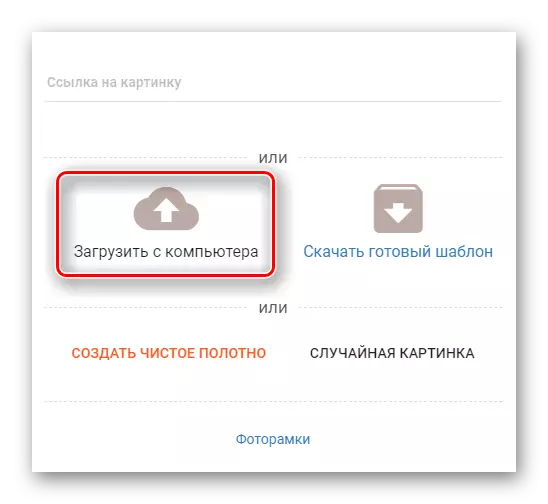
- To start processing a file, click the "From Computer" button.
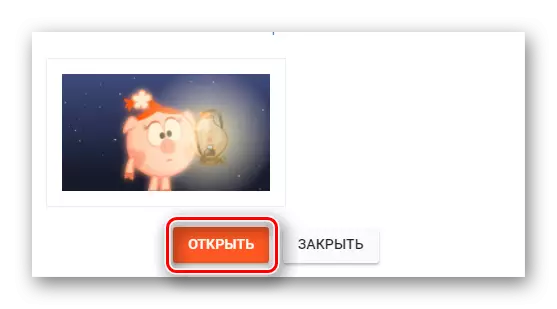
- Select an image for subsequent processing.
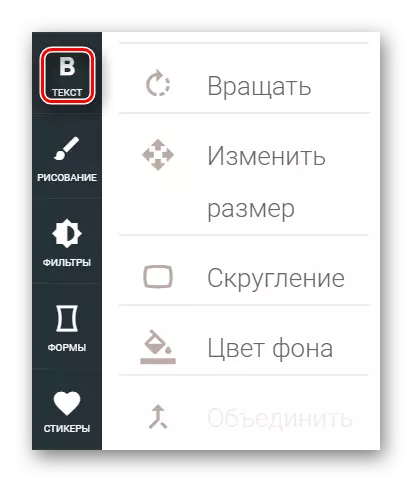
- On the left side of the page will appear the toolbar. Select "Text" among them by clicking on the left mouse button.
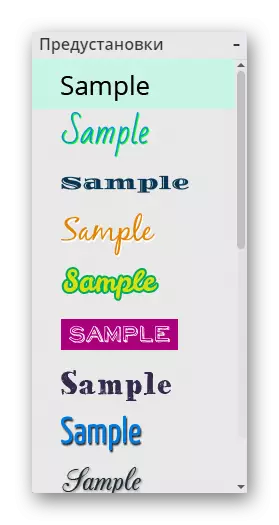
- To insert the text, you need to select a font for it.
- By clicking on the frame with the added text, change it.
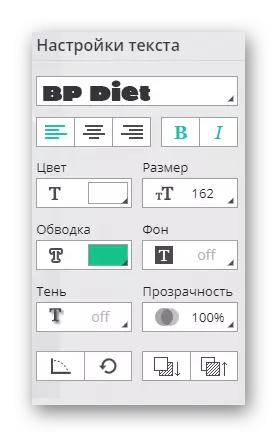
- Select and apply the parameters you need to change the appearance of the inscription.
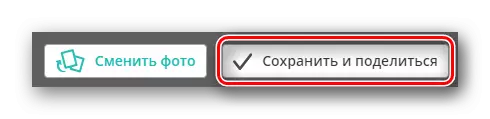
- Save the image by clicking on the "Save and Share" button.
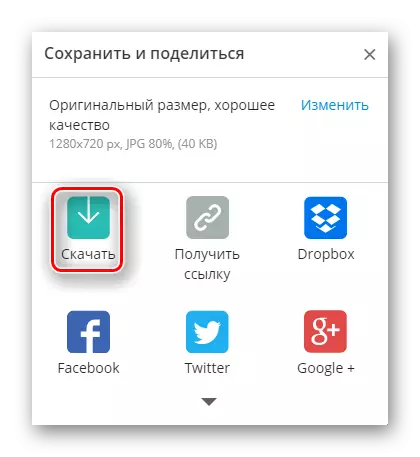
- To start downloading a file to a computer disk, you must click on the "Download" button in the window that appears.


Method 4: Rugraphics
The site design and its set of tools resemble the interface of the popular Adobe Photoshop program, however, the functionality and convenience are not as high as the legendary editor. Rugrafix has a large number of lessons to use it for image processing.
Go to the Rugraphics service
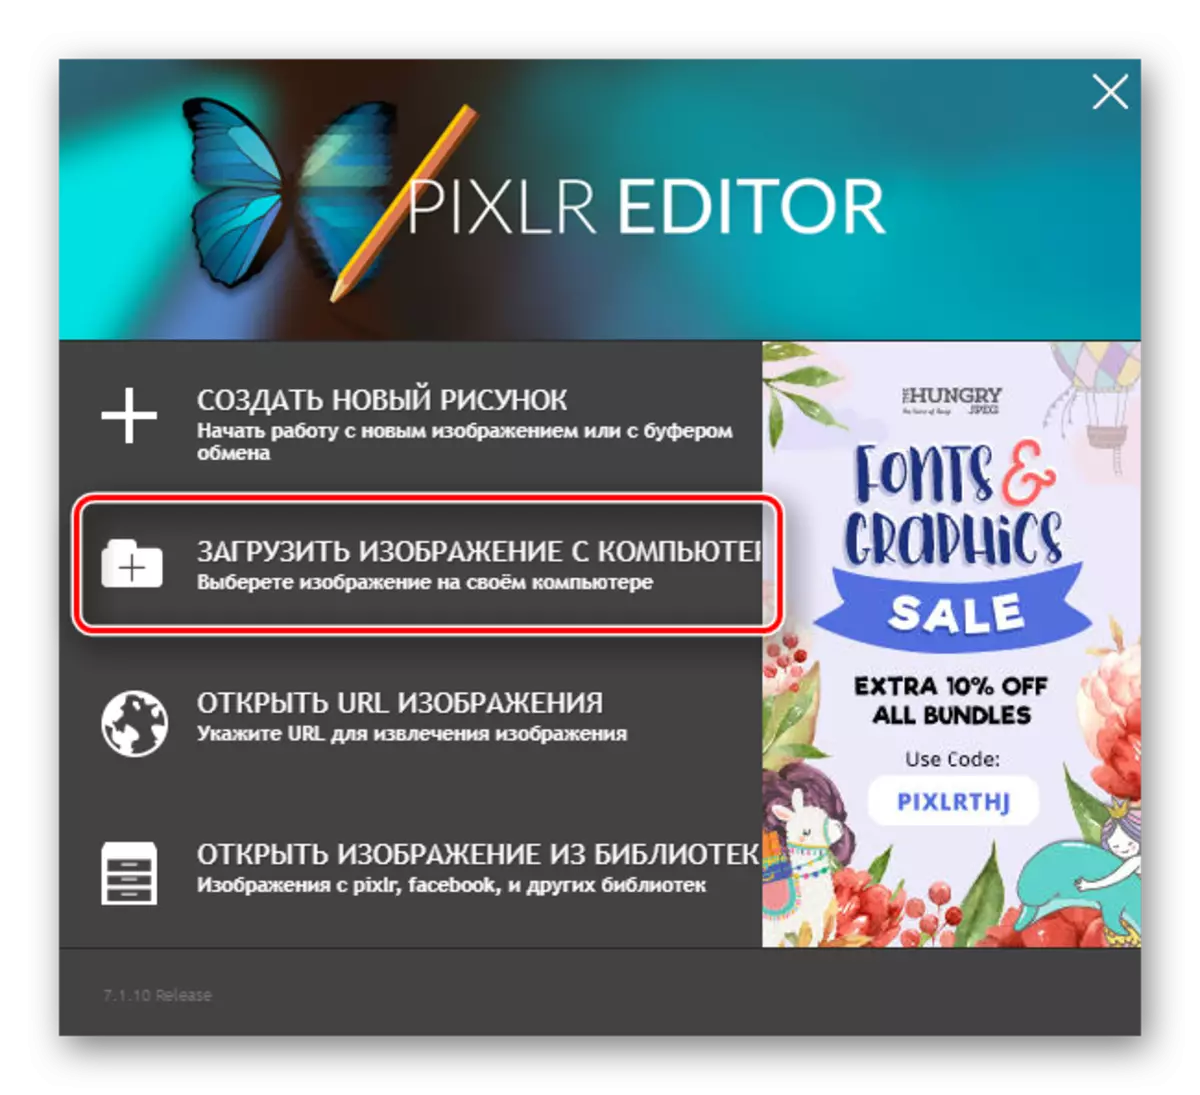
- After switching to the site, click the Download Image from Computer button. If you are more convenient, you can use one of three other ways.
- Among the files on the hard disk, select the appropriate image for processing and click Open.
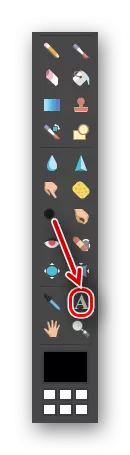
- On the left panel that appears, select "A" - a symbol that denotes tool to work with the text.
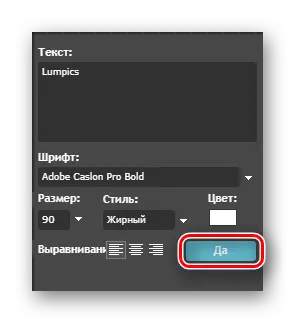
- Enter the desired content in the form "text", if you wish, change the presented parameters and confirm the addition of clicking on the "Yes" button.
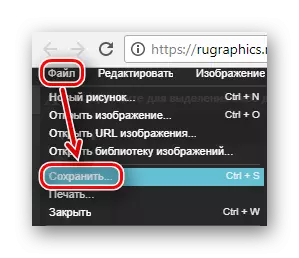
- Enter the "File" tab, then select "Save".
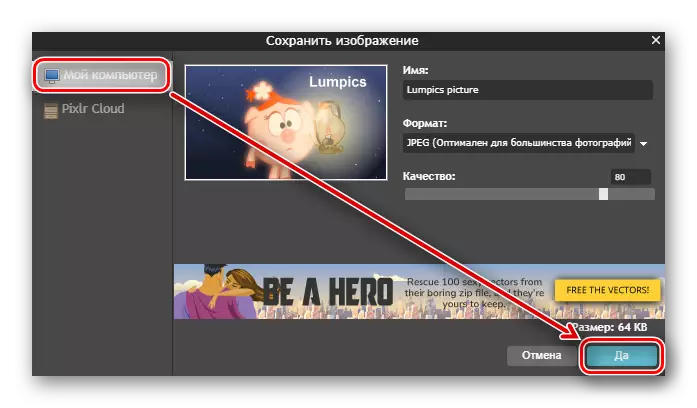
- To save a file to disk, select My Computer, after which you confirm the action by pressing the "Yes" button in the lower right corner of the window.
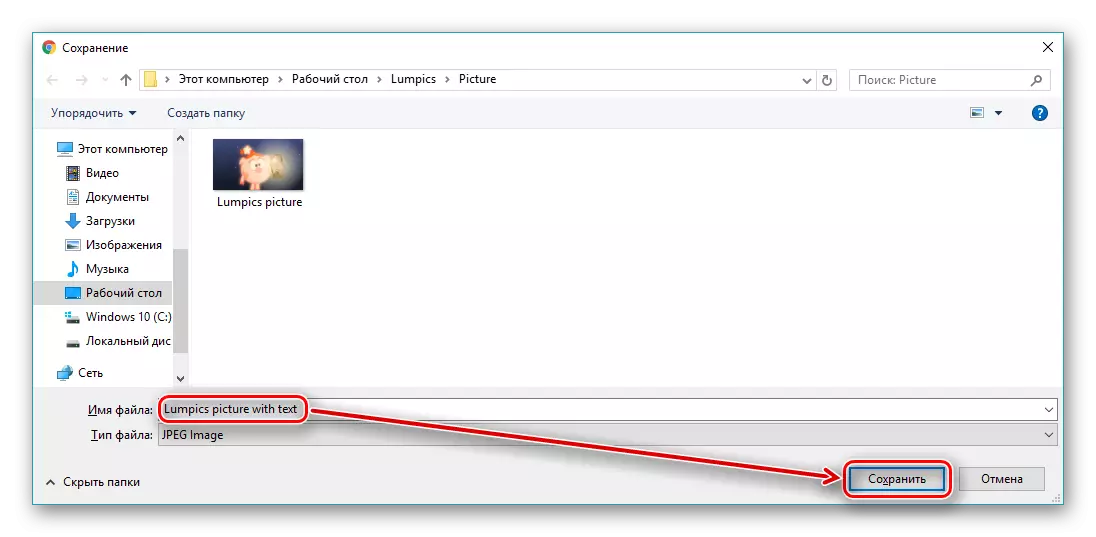
- Enter the name of the saved file and click "Save".

Method 5: FotOUMP
Service that allows you to more effectively use the text tool tool. Compared to all presented in the article, it has a larger set of variable parameters.
Go to service FOTOUMP
- Click on the "Download from Computer" button.
- Select the graphic file you need and click "Open" in the same window.
- To continue the download, click "Open" on the page that appears.
- Go to the "Text" tab to start working with this tool.
- Choose your favorite font. To do this, you can use the list or search by name.
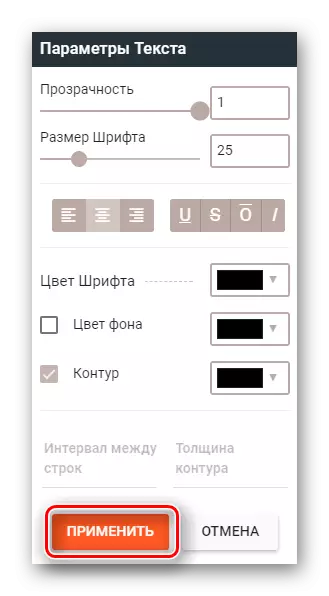
- Install the necessary parameters of the future inscription. To add it, confirm the action by pressing the "Apply" button.
- Double-click the left mouse button on the added text to change it, and enter what you need.
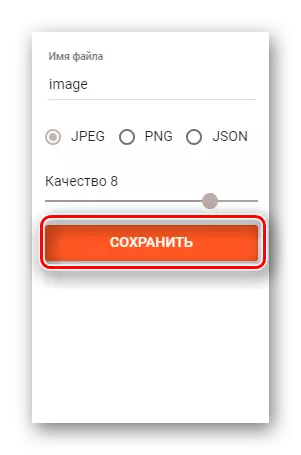
- Save the progress using the Save button on the top panel.
- Enter the name of the stored file, select its format and quality, then press "Save".


Method 6: Lolkot
Humorous site specializing in photographs of funny cattle on the Internet. In addition to using your image to add an inscription on it, you can choose one of tens of thousands of finished pictures in the gallery.
Go to service lolkot
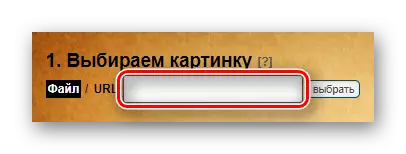
- Click on the empty field in the file string to start the selection.
- Select the appropriate image to add inscriptions to it.
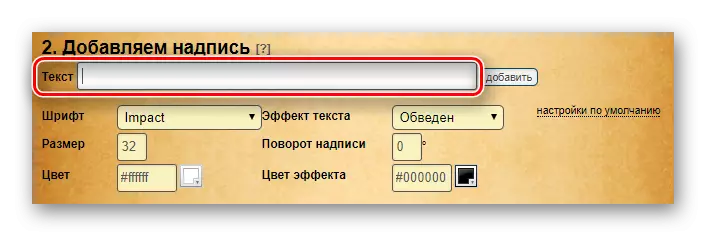
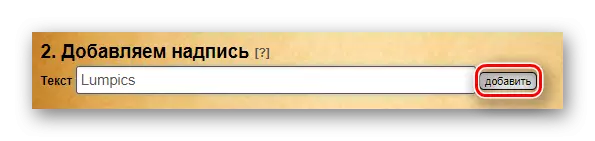
- In the "Text" string, enter the content.
- After entering the text you need, click the Add button.
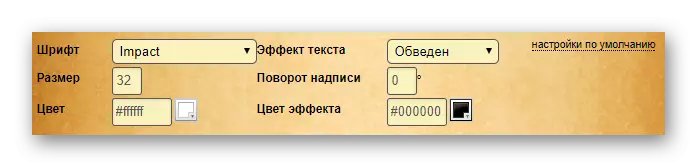
- Select the parameters of the added object you need: font, color, size, and so on to your liking.
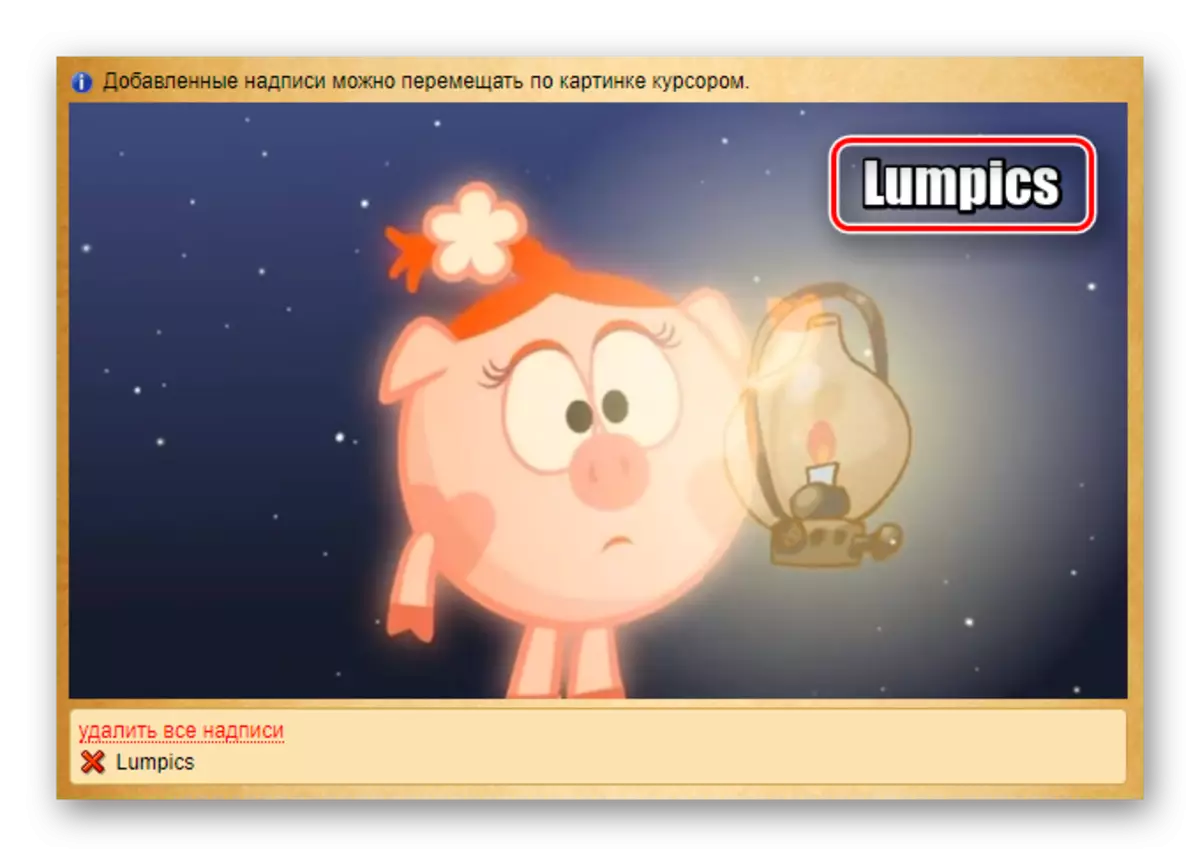
- To place the text, you must move it within the image using the mouse.
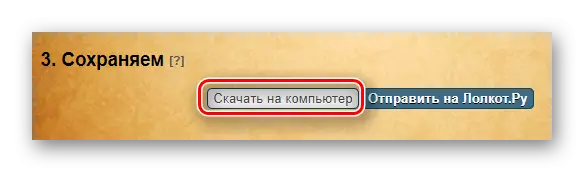
- To download the finished graphic file, click "Download to Computer".

As you can see, the process of adding an inscription on the image is very simple. Some of the presented sites make it possible to use the ready-made images that they store in their galleries. Each resource has its own original tools and different approaches to their use. A wide range of variable parameters allows you to visually decorate the text as it could be done in installed graphic editors.