
Bonding two or more photos into a single image is a rather popular function that is used in photo edits when processing pictures. You can connect images in Photoshop, but this program is quite complex for understanding, in addition, it is demanding of computer resources.
If you need to connect the photos on a weak computer or at all on a mobile device, numerous online editors will come to the rescue.
Photo gluing sites
Today we will tell about the most functional sites that will help combine two photos. The gluing is useful in cases where it is necessary to create a single panoramic photo from several pictures. The considered resources are fully in Russian, so ordinary users will also be able to deal with them.Method 1: Imgonline
An online editor to work with the photo will please users with its simplicity. You just need to upload to the photo site and specify the parameters of their alignment. Overlaying one picture to another will occur in automatic mode, the user remains only to download the result on the computer.
If you need to merge a few photos, then initially glue two pictures, then we attach the third photo to the result and so on.
Go to Imgonline website
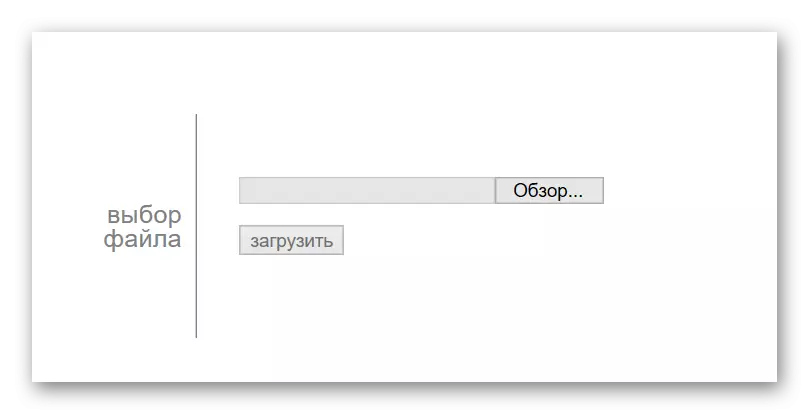
- With the help of "Review" add two photos to the site.

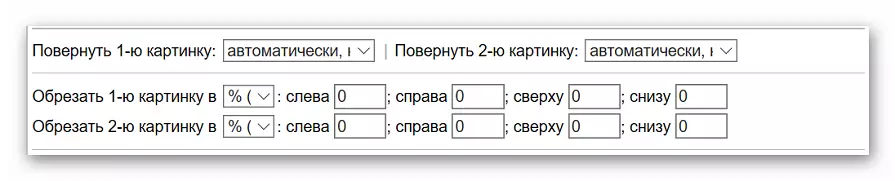
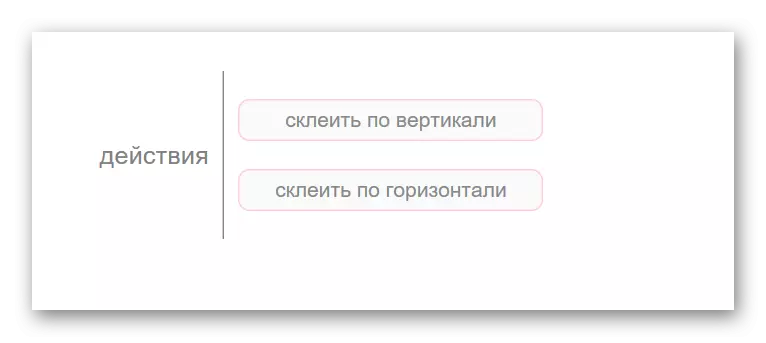
- Choose, in which plane gluing will be made, set the photo format adjustment parameters.

- Customize the rotation of the picture, if necessary, manually exhibit the desired size for both photos.
- Select the display settings and optimize image size.

- Configure expansion and other parameters for the final picture.

- To start gluing, click on "OK".

- We view the result or immediately download it to the PC using the corresponding links.
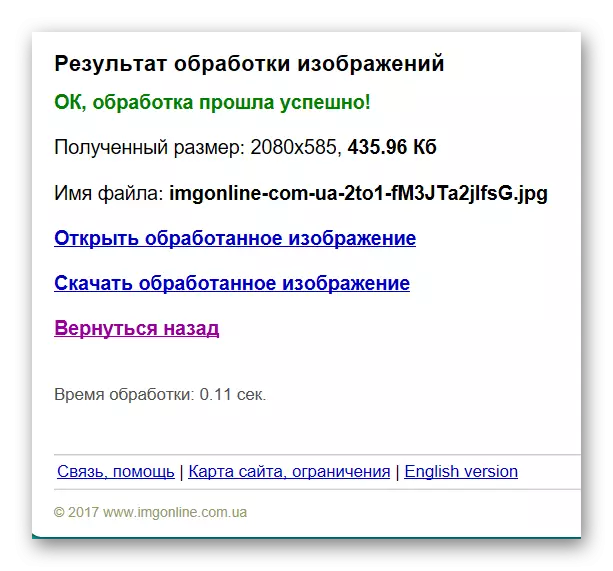
There are many additional tools on the site to help get the desired image to our disposal without having to install and understand the photoshop functionality. The main advantage of the resource is all processing occurs in automatic mode without user intervention, even with the default settings, a worthy result is obtained.
Method 2: Croper
Another resource that helps to connect one picture with the other in just a few clicks with the mouse. The benefits of the resource include a fully Russian-speaking interface and the presence of additional functions that will help to spend post-processing after gluing.
The site requires stable network access, especially if working with a photo in high quality.
Go to the CROPER website
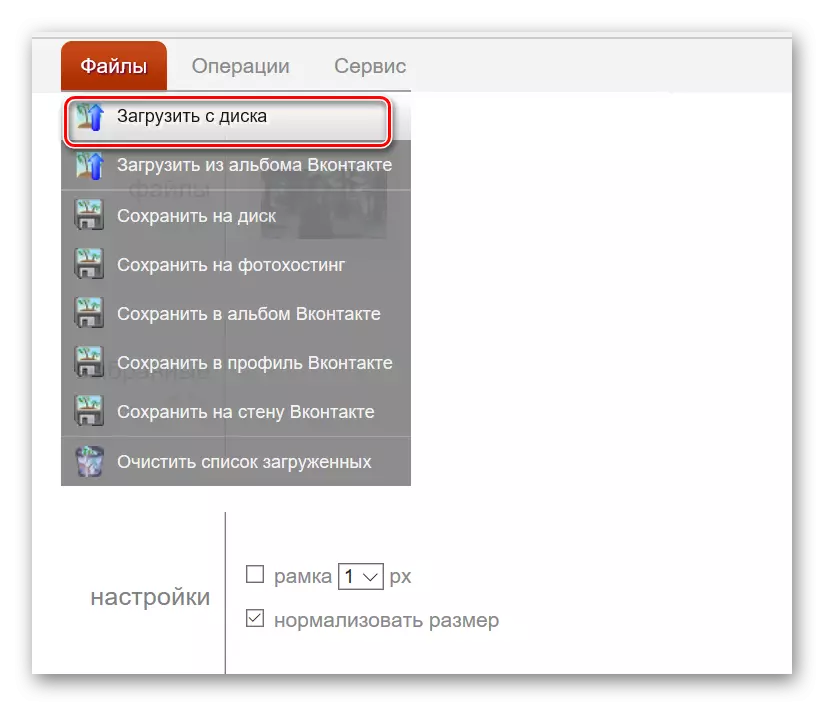
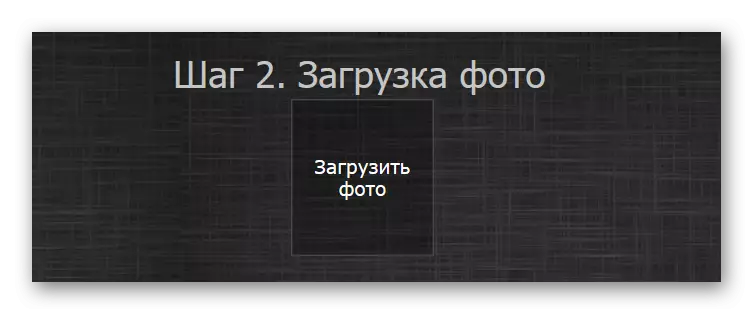
- Click "Upload Files" on the site's main page.
- Add the first image through the "Overview", then click on "Download".
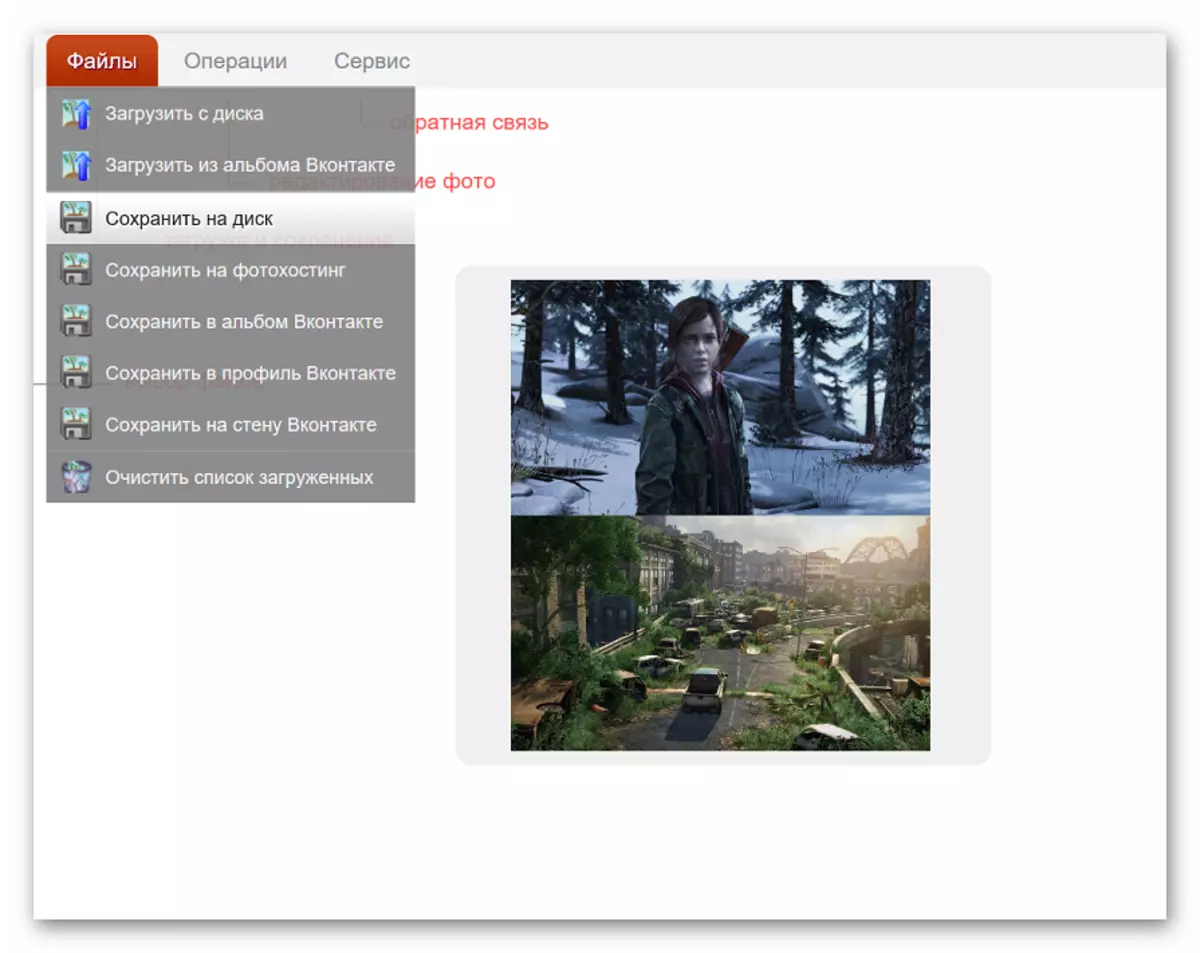
- We load the second photo. To do this, go to the "Files" menu, where you select "Download from the disk". We repeat the actions from clause 2.
- Go to the "Operations" menu, click on "edit" and click "glue several photos".
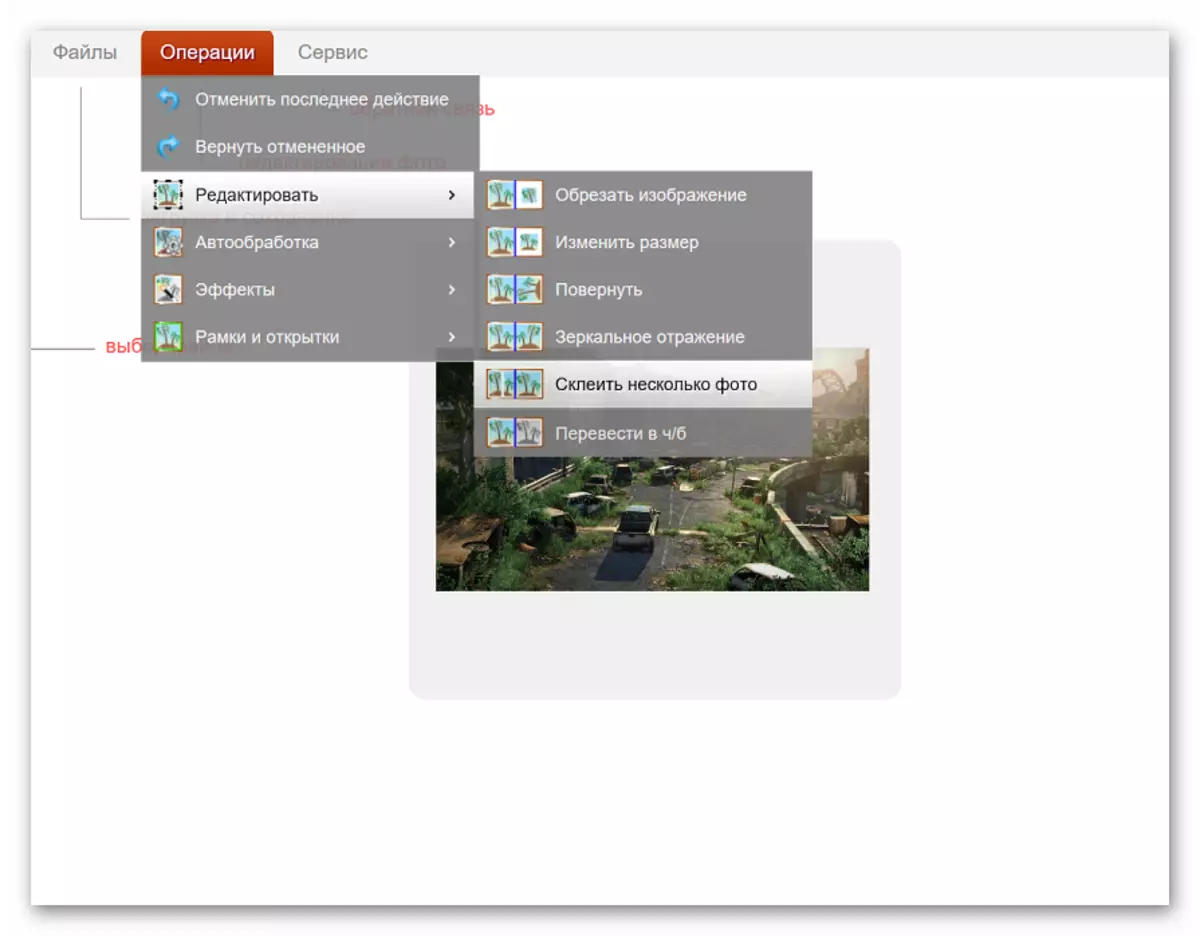
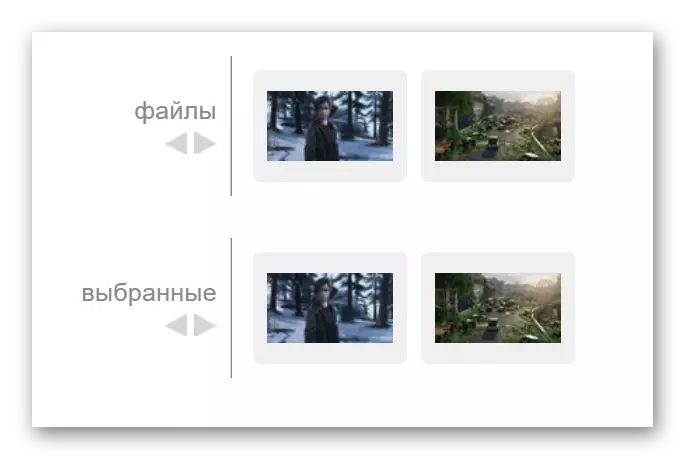
- Add files with which we will work.
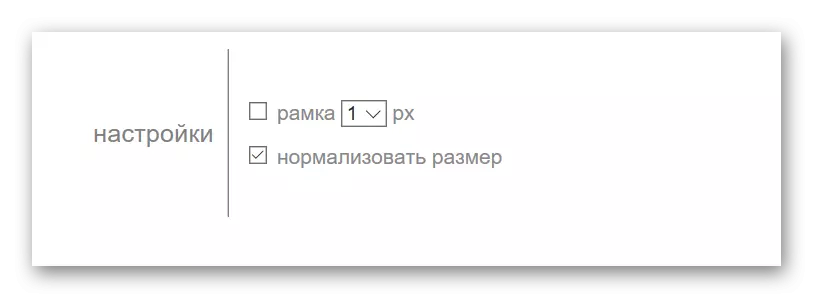
- Enter additional settings, among which the normalization of the size of one image relative to the other and frame parameters.
- We choose, in which plane the gluing of two pictures will be performed.
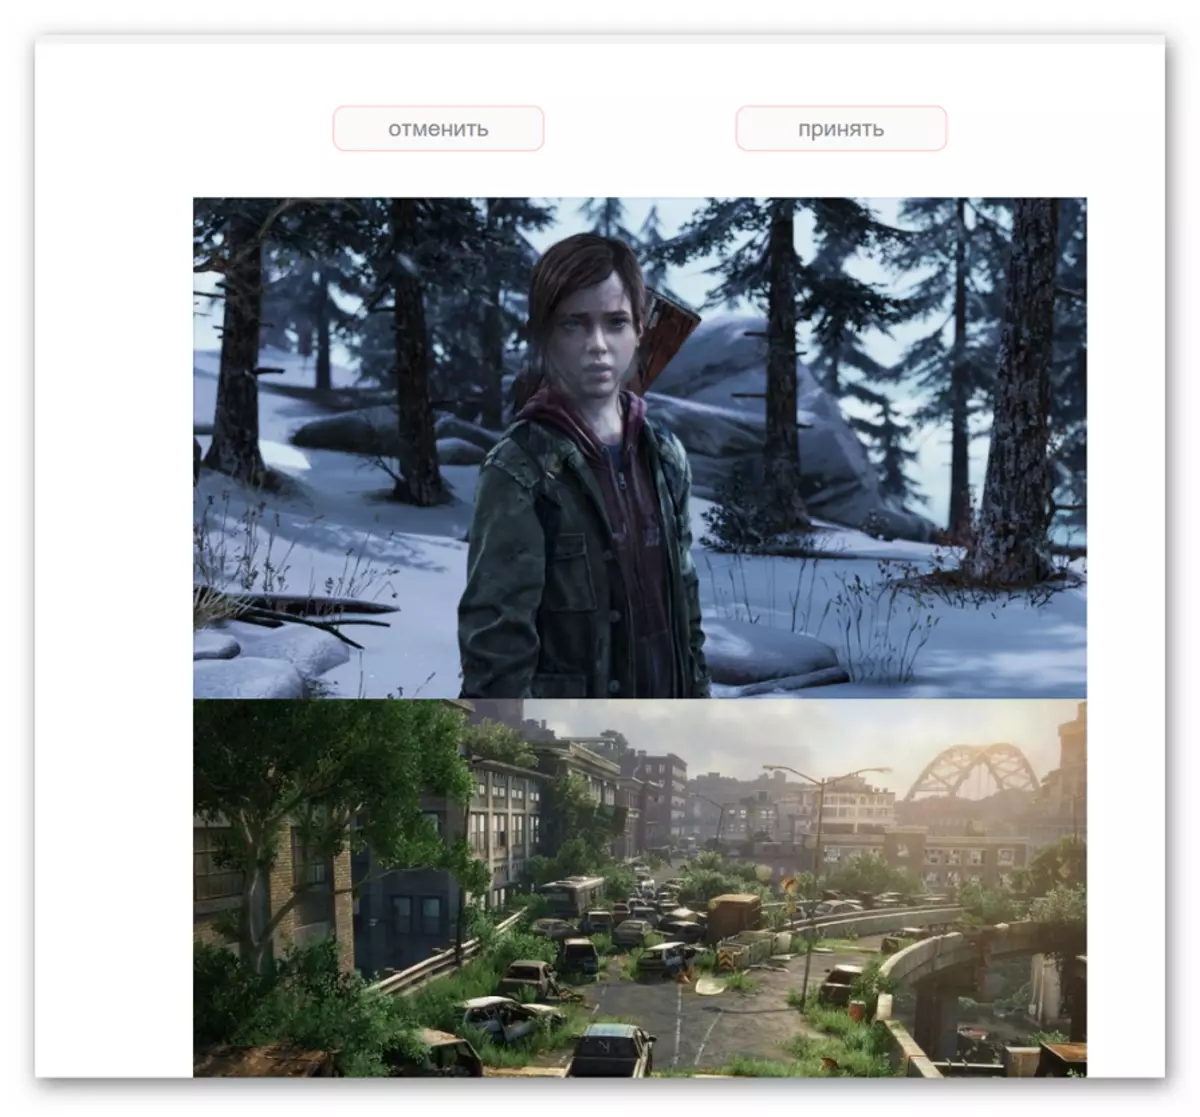
- The processing process of the photo will start automatically, the result will appear in a new window. If the final photo fully complies with your needs, click on the "Accept" button to select other parameters click on "Cancel".
- To save the result, go to the "Files" menu and click on "Save to disk".
You can not only save the finished photo to the computer, but also load it into the cloud storage. After that, access to the picture you can get absolutely from any device that has access to the network.
Method 3: COLLAGE
Unlike previous resources, you can glue to 6 photos simultaneously on the site. Works with a splage quickly and offers users a lot of interesting gluing templates.
The main disadvantage is the lack of extended functions. If you need to additionally process photos after gluing, you will have to upload it to a third-party resource.
Go to the site with a splage
- Select the template, according to which photos will be bonded.

- We download the pictures to the site using the "Upload photo" button. Note that you can work on a resource only with photos in JPEG and JPG formats.
- Rail images to the template area. Thus, photos can be placed on canvas anywhere. In order to resize, it is enough to drag the picture for the corner to the desired format. The best result is obtained in cases where both files occupy the entire free area without spaces.
- Click on "Create a Collage" to save the result.

- In the window that opens, click on the right mouse button, then select the item "Save the image as".

The connection photo takes a few seconds, time varies depending on the size of the pictures with which the work is underway.
We talked about the most convenient sites for connecting images. What resource to work - depends only on your wishes and preferences. If you just need to connect two or more pictures without subsequent processing, an excellent choice will be the site with the Sollage site.