
Disk breakdown into several sections - a very frequent procedure among users. Use such an HDD is much more convenient because it allows you to separate system files from custom and with the convenience of them to control.
Smash the hard disk to the partitions in Windows 10 on the part can not only when installing the system, but also after it, and for this it is not necessary to use third-party programs, since this function is in Windows itself.
Hard disk separation methods
In this article we will analyze how to divide the HDD to logical partitions. This can be done in the already installed operating system and when reinstalling the OS. At your discretion, the user can use a staff utility or third-party program.Method 1: Using programs
One of the options for separating the drive to sections - the use of third-party programs. Many of them can also be used in the running Windows, and as a boot flash drive, when the disk is not obtained when working out.
Minitool Partition Wizard.
A popular free solution operating with different types of drives is Minitool Partition Wizard. The main plus of this program is the ability to download from an official site image with an ISO file to create a boot flash drive. The separation of the disk here can be carried out in two ways in two ways, and we will look at the easiest and fastest.
- Click on the section you want to split, right-click, and select the SPLIT function.

Usually it is the largest section allotted for user files. The remaining sections are systemic, and it is impossible to touch them.
- In the setup window, adjust the dimensions of each disc. Do not give the new section all free space - in the future you may have problems with the system volume due to lack of space for updates and other changes. We recommend leaving on C: from 10-15 GB of free space.
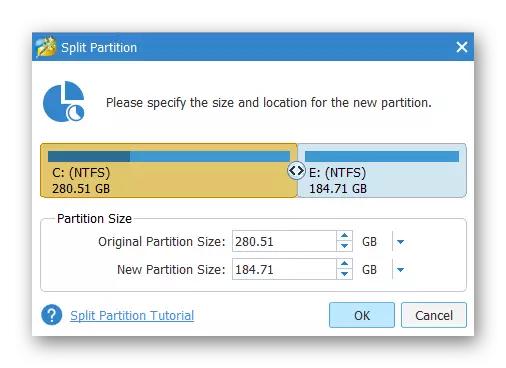
The dimensions are adjustable both interactively by dragging the regulator and manually - input numbers.
- In the main program window, click the "Apply" button to start the procedure. If the operation occurs with a system disk, you will need to restart the PC.
The letter of the new volume can be subsequently changed manually through "Disk Management".
Acronis Disk Director.
In contrast to the previous program, Acronis Disk Director is a paid option that also has a large number of functions and can smash the disk to the sections. The interface is not very different from Minitool Partition Wizard, but it is in Russian. Acronis Disk Director can also be used as bootable software if the operations in the running Windows are not obtained.
- At the bottom of the screen, find the section you want to smash, click on it and on the left side of the window, select "Divide TOM".
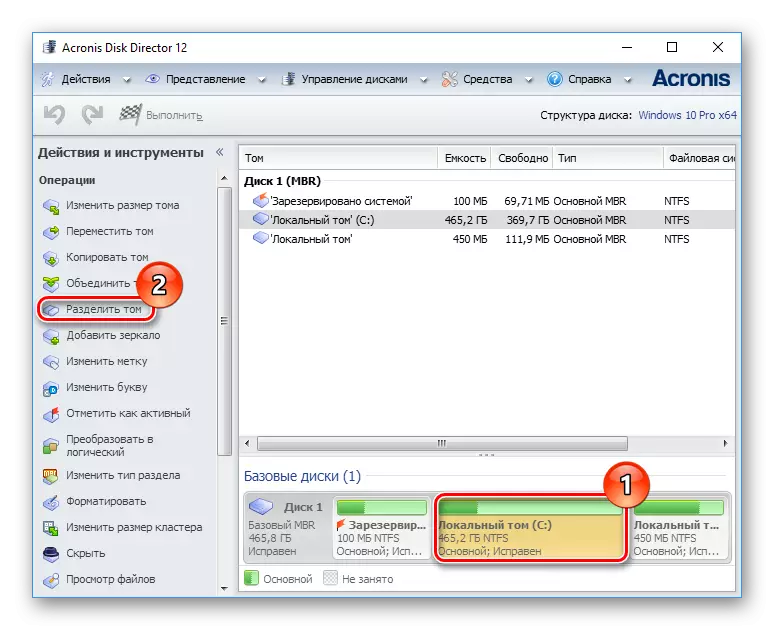
The program already signed which sections are systemic, and they cannot be broken.
- Move the separator to select the size of the new volume, or enter the numbers manually. Do not forget to leave for the current volume of at least 10 GB for systemic needs.
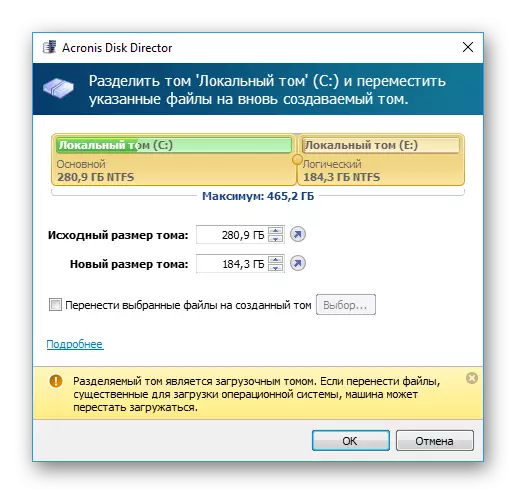
- You can also put a tick next to "Transfer selected files to the created volume" and click on the Select button to select files.
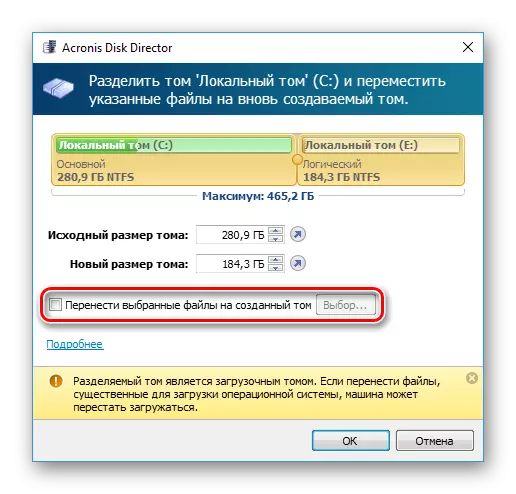
Pay attention to an important notification at the bottom of the window if you are going to share the boot volume.
- In the main program window, click on the "Apply Waiting Operations (1)" button.
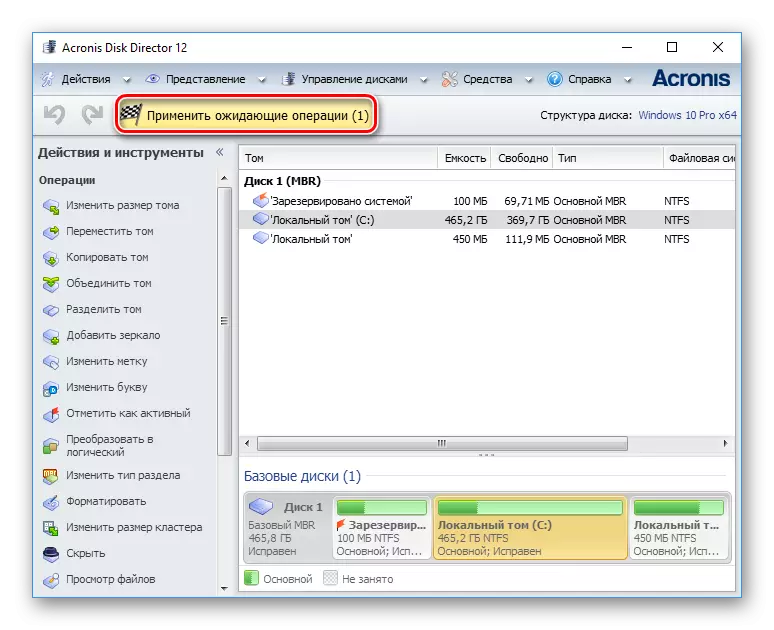
In the confirmation window, click on "OK" and reboot the PC during which the HDD is separated.
Easeus Partition Master.
Easeus Partition Master is a program with a trial period, like Acronis Disk Director. In its functionality, various features, including disk breakdown. In general, it is similar to the two analogue above, and the difference is mainly reduced to appearance. There is no Russian language, but from the official site you can download a language pack.
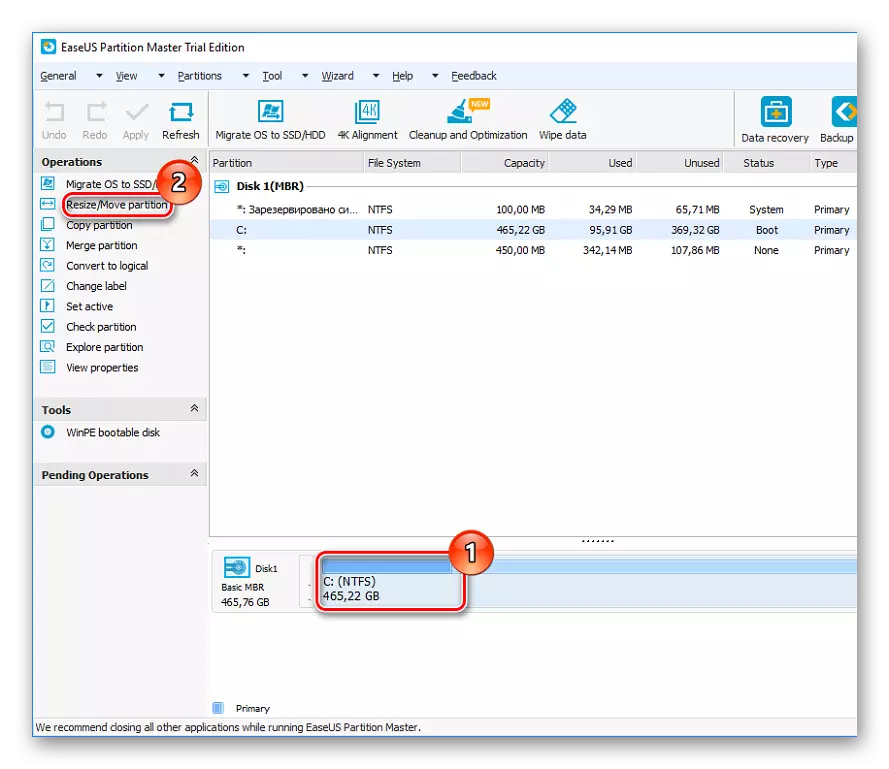
- At the bottom of the window, click on the disk with which you are going to work, and on the left side, select the RESIZE / MOVE Partition feature.
- The program itself will select the section available for separation. Using a separator or manual input, select the amount you need. Leave from 10 GB for Windows to avoid further system errors in the future.
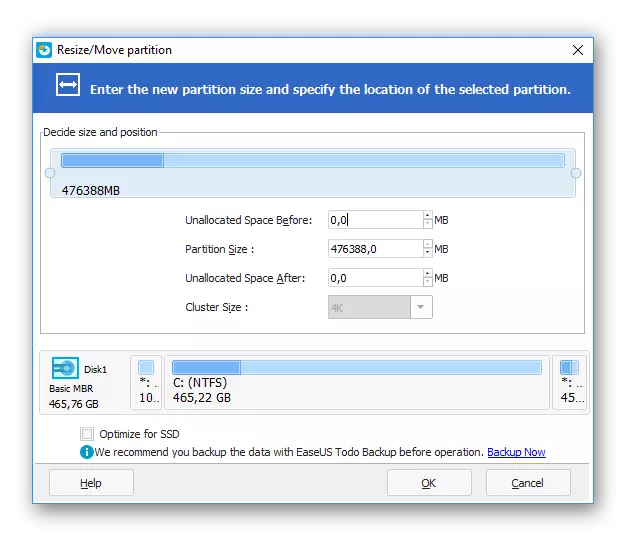
- The selected size for the separation will later be called "Unallocated" - an unallocated area. In the window, click "OK".

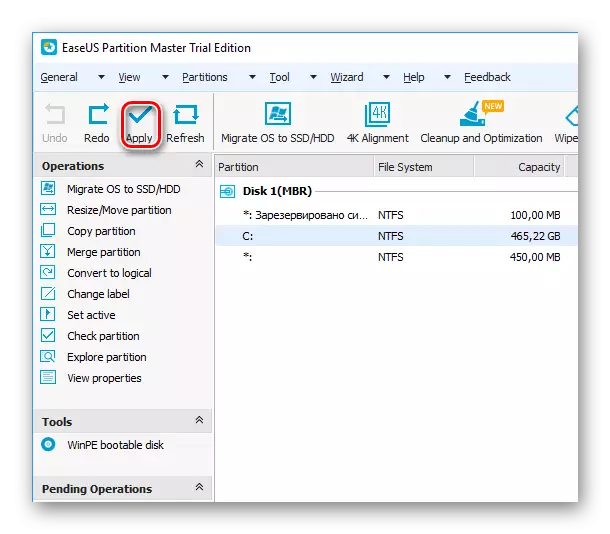
- The "Apply" button will be active, click on it and select "YES" in the confirmation window. During the restart of the computer, the drive will be broken down.
Method 2: Built-in Windows Tool
To perform this task, you must use the built-in disk management utility.
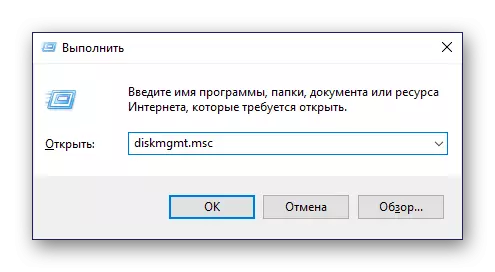
- Click on the Start button right-click and select "Disc Control". Or press on the Win + R keyboard, enter the DiskMGMT.msc in the empty field and click OK.
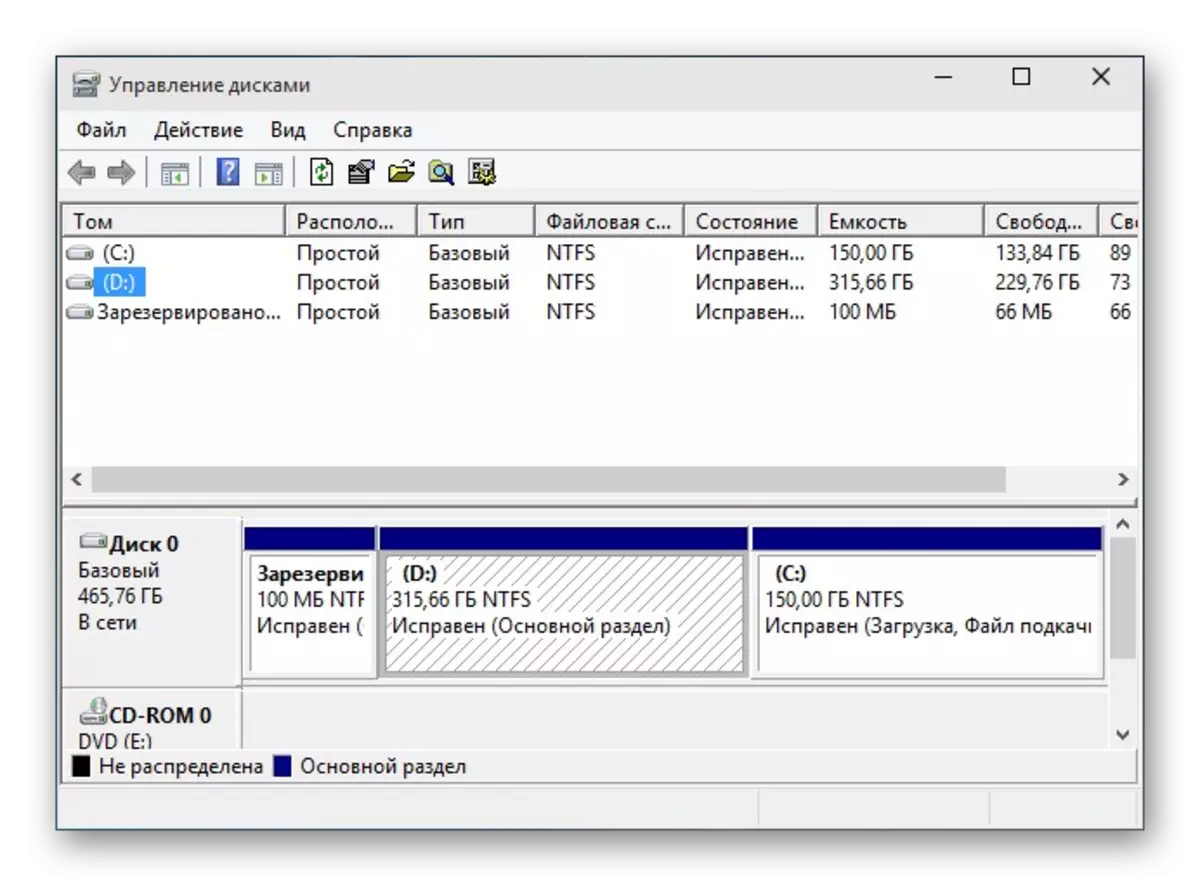
- The main hard drive is usually called Disc 0 and divided into several sections. If 2 or more disks are connected, then its name can be disk 1 or another.
The number of sections themselves can be different, and usually 3: two system and one user.
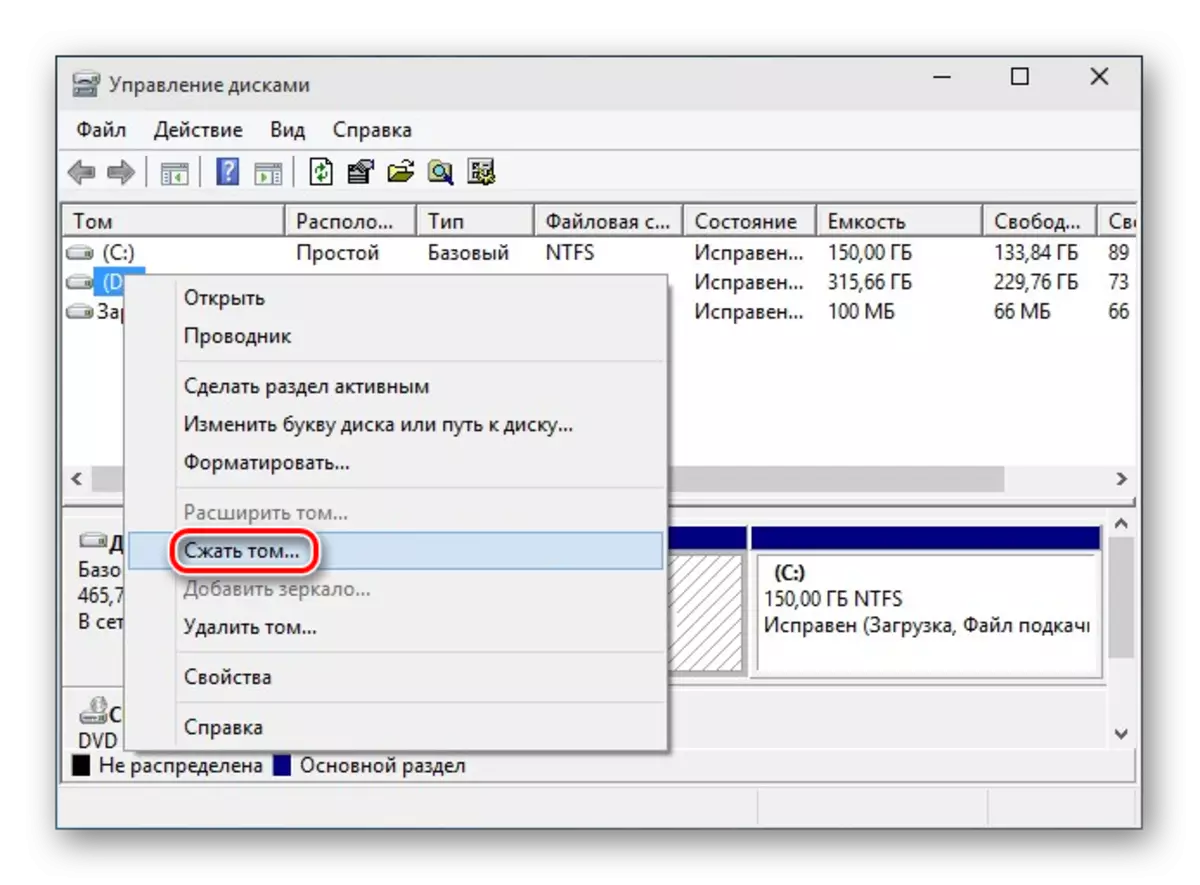
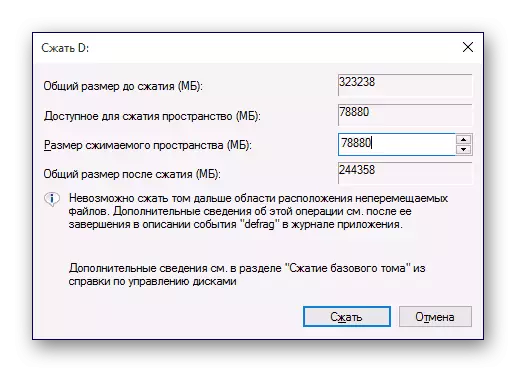
- Click on the disk right-click and select "Compress Tom".
- In the window that opens, it will be proposed to compress the volume for all available location, that is, to create a section with the number of gigabytes that is currently currently at the moment. We strongly do not recommend this to do: In the future, for new Windows files, it may simply do not have enough space - for example, when updating the system, creating backup copies (recovery points) or installing programs without the ability to change their location.
Be sure to leave for C: Additional free space, at least 10-15 GB. In the "Size" field of the compressible space in megabytes, enter the number you need for a new volume, less a place for C:.
- A unallocated region will appear, and the size C: will be reduced in the amount that was allocated in favor of the new section.

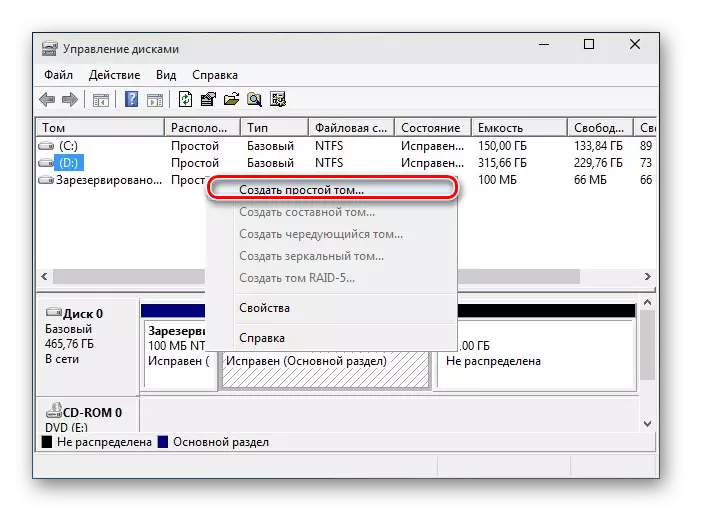
In the area "Not Distributed", right-click and select "Create a Simple Tom".
- The "Wizard of creating simple volumes" will open, in which you will need to specify the size of the new volume. If you want to create only one logical disk from this space, then leave the full size. You can also smash an empty place on several volumes - in this case, specify the desired volume size that you create. The rest of the area will again remain as "not distributed", and you will need to perform steps 5-8 again.
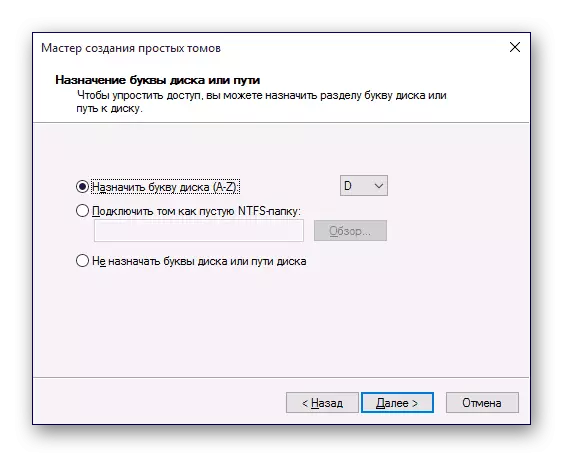
- After that you can assign a letter to the letter.
- Next, it will be necessary to format the created section with an empty place, no your files will be removed.
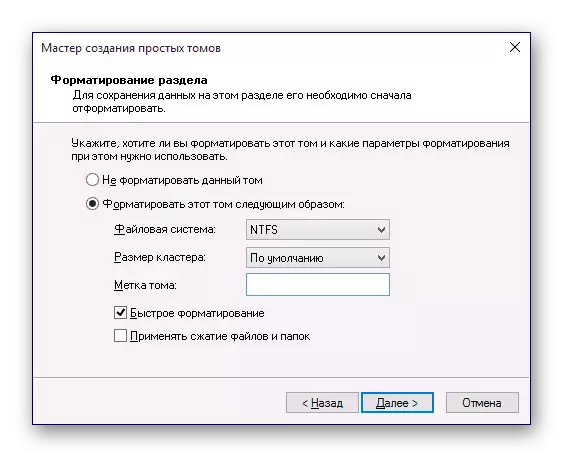
- Formatting parameters must be as follows:
- File system: NTFS;
- Cluster size: by default;
- Tom Tag: Enter the name you want to give a disk;
- Fast formatting.
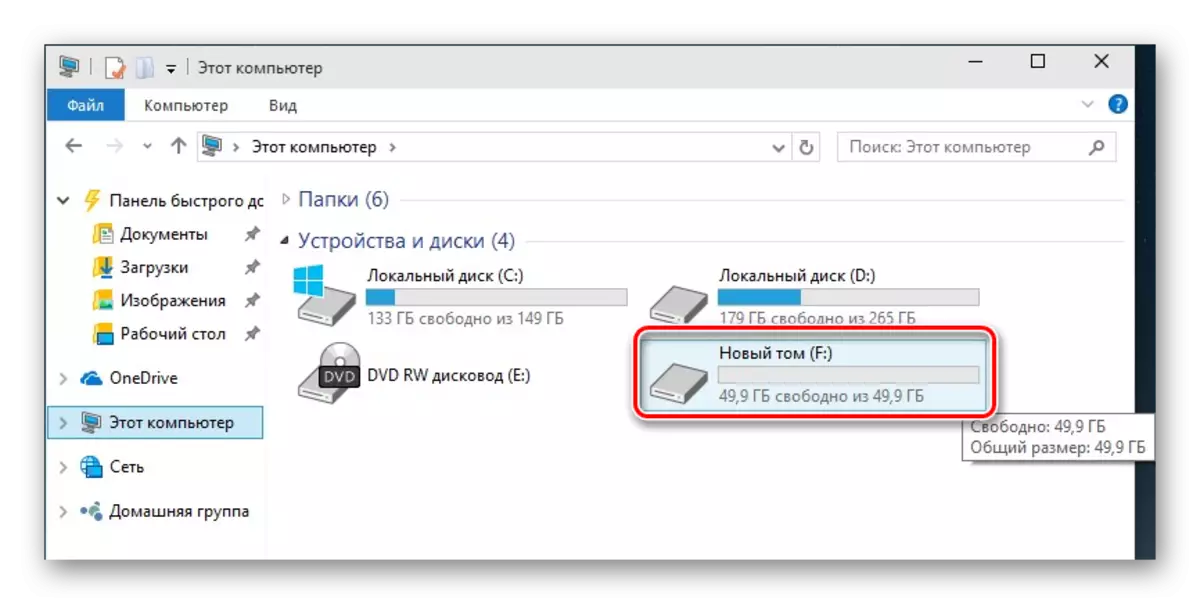
After that, complete the work with the master by clicking OK> "Ready." Created just that will appear in the list of other volumes and in the conductor, in the "Computer" section.
Method 3: Disk breakdown when installing Windows
There is always possible to divide the HDD when installing the system. This can be done with the tools of the Windows Installer itself.
- Run the installation of Windows from a flash drive and get to the "Select Installation Type" step. Click on "Selective: only installing Windows".
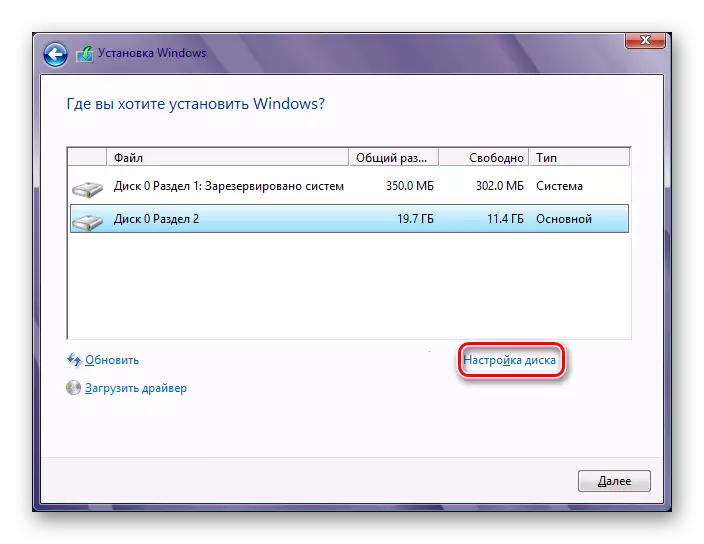
- Highlight the section and click on the "Disk Settings" button.
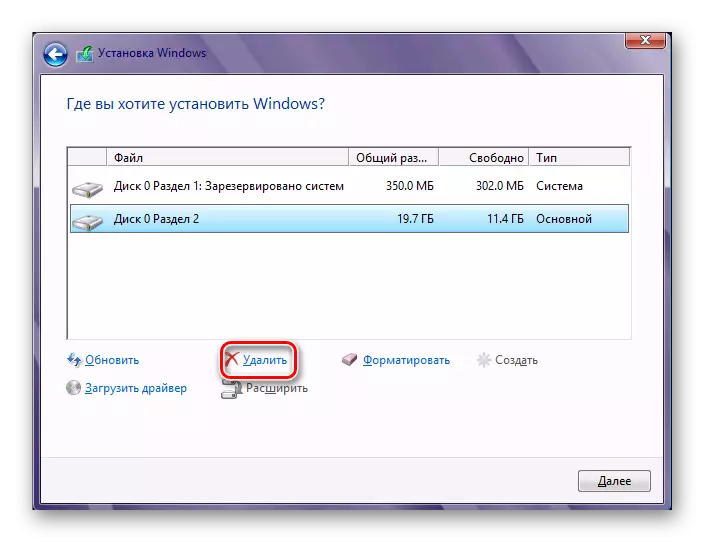
- In the next window, select the section to be removed if you need to redistribute space. Remote sections are converted to "unoccupied disk space". If the drive is not divided, then skip this step.
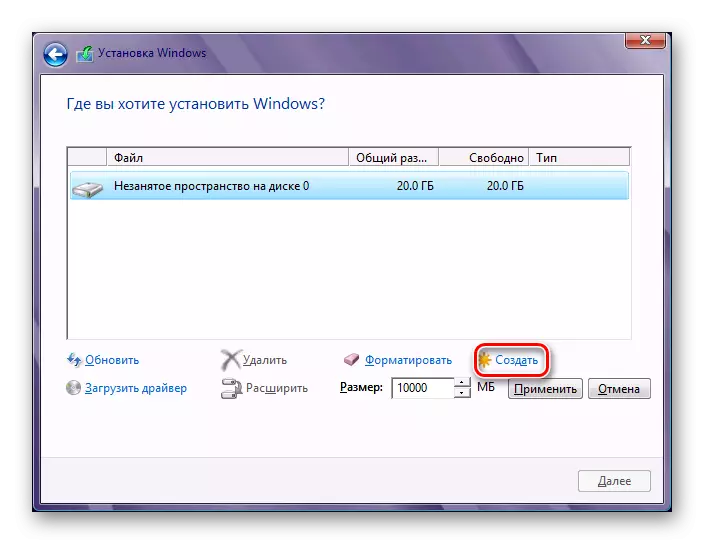
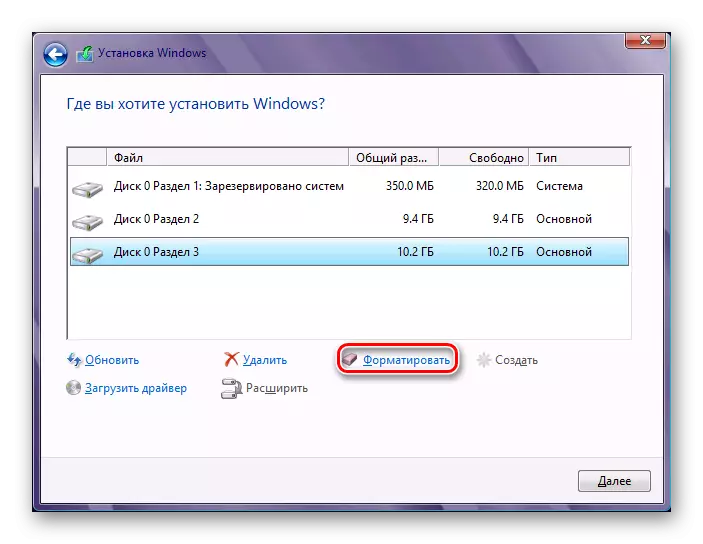
- Select an unoccupied space and click on the "Create" button. In the settings that appeared, specify the size for the future C:. You do not need to specify the entire available size - calculate the separation so that it is with a stock (update and other changes in the file system) for the system partition.
- After creating the second section, it is best to format it immediately. Otherwise, it may not appear in Windows Explorer, and it will still have to format through the system utility "Disks".
- After breakdown and format, select the first section (for installing Windows), click the Next button - the installation of the system on the disk will continue.
Now you know how to split the HDD in different situations. It is not very difficult, and eventually makes work with files and documents more convenient. The principal difference between using the built-in disk management utility and third-party programs is not, since in both options the same result is achieved. However, other programs may have additional features, such as transfer files, which can be useful to some users.