
Unfortunately, in classmates, some users can often observe failures when working with various media content, for example, with photos. As a rule, most complaints fall that the site does not open photos, simplifies them for a very long time or in poor quality.
Why do not download photos in classmates
Most of the problems, due to which the site works incorrectly with photos and other content, usually appears on the side of the user and can be corrected independently. If this is a failure in the work of the site, you either be igniting about it in advance (in the case of planned technical works), or your friends will also have difficulties with watching photos within a few hours.You can try to return the full work of classmates by making one of these actions:
- Reload the open page in OK using a special icon located in a specific location of the address bar, or using the F5 key. Quite often, this advice helps;
- Run classmates in a spare browser and there look at the photos of interest to you. At the same time, do not forget to close the browser you used.
Problem 1: Slow Internet
Low network speed is the most common reason that prevents the normal download of photos on the site classmates. Unfortunately, it is somehow difficult to fix it yourself, so in most cases it remains to wait when the speed is normalized.
Read more: How to remove cache in Opera, Yandex.Browser, Google Chrome, Mozilla Firefox.
Problem 3: Residual Files in the System
Residual files can affect the correctness of all programs on the PC, including Internet browsers, which will prevent the correct display of content on the pages. If the system is not cleaned for a long time, failures can happen very often.
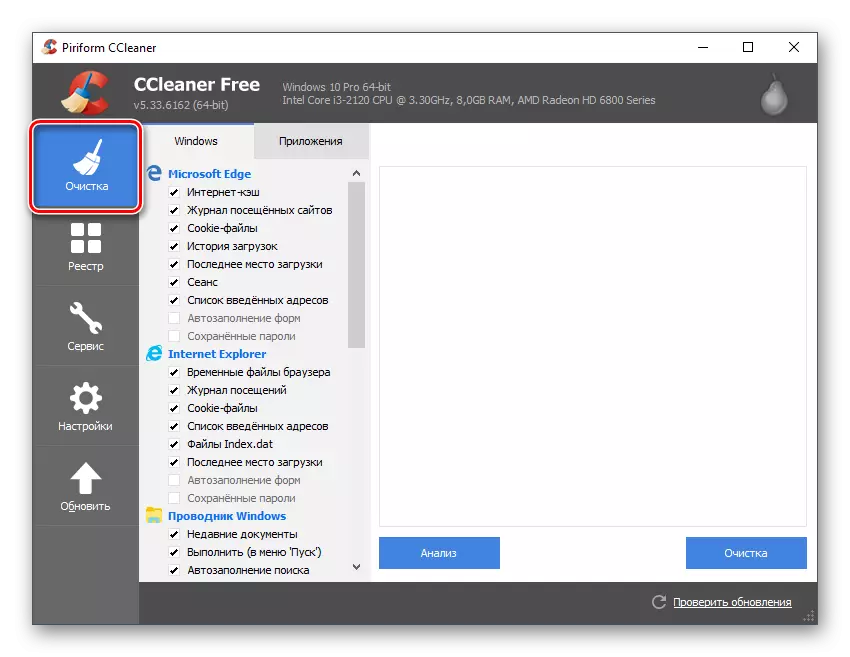
CCleaner is an excellent software solution suitable for cleaning a computer and fix various errors in the registry. It has a fairly simple and understandable interface with high-quality localization. Step-by-step instruction looks like this:
- In the left part of the window, select the "Cleaning" item. By default, it opens immediately when you start the program.
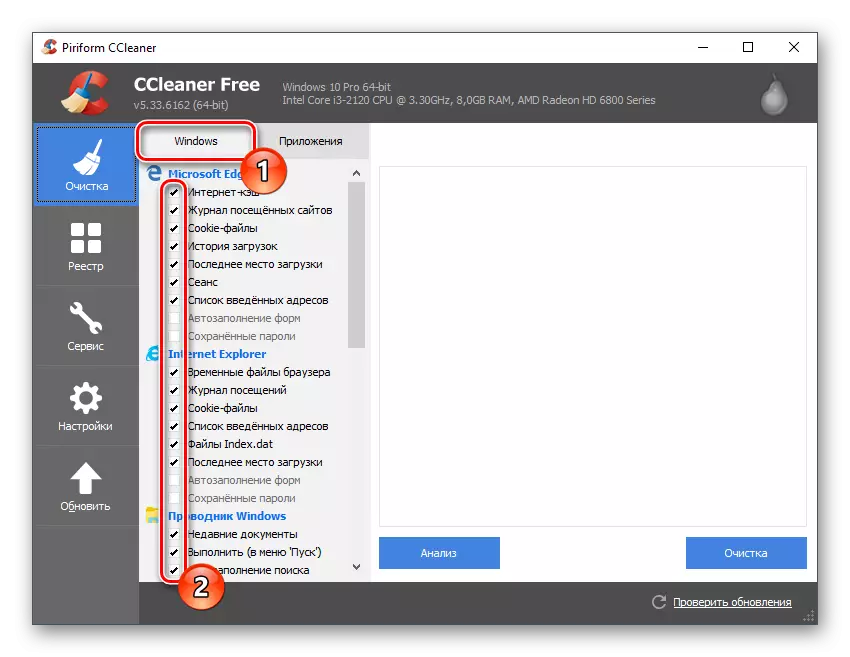
- Initially, you need to clear all the components that are located in the "Windows" tab, which is at the very top. Ticks over the desired elements will already be exhibited, but you can put them further opposite a few points.
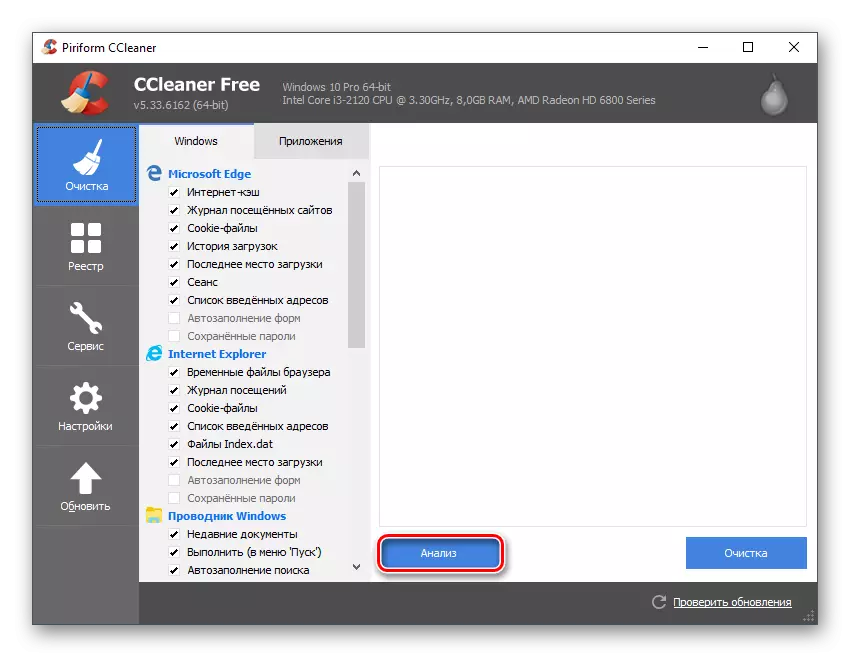
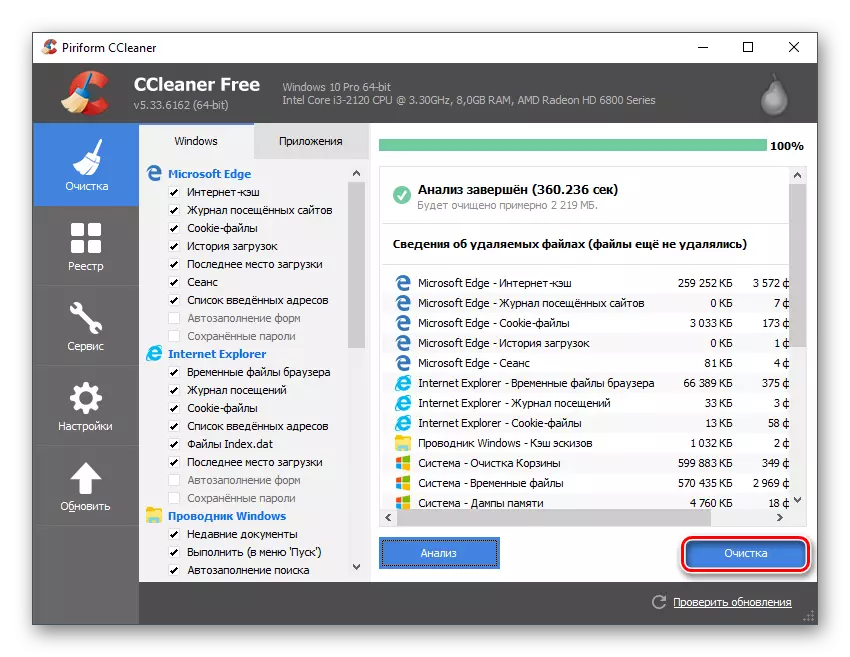
- Click on the "Analysis" button located on the lower right part of the window.
- The duration of the search depends on the characteristics of the computer and on the number of garbage itself. Once the scan is completed, then click on the adjacent "Cleaning" button.
- Cleaning, by analogy with search, also takes different times. Additionally, you can go to the "Applications" tab (located next to the "Windows") and do the same instructions in it.
In certain cases, the problem with the work of classmates lies in the registry errors that are again easily eliminated using CCleaner.
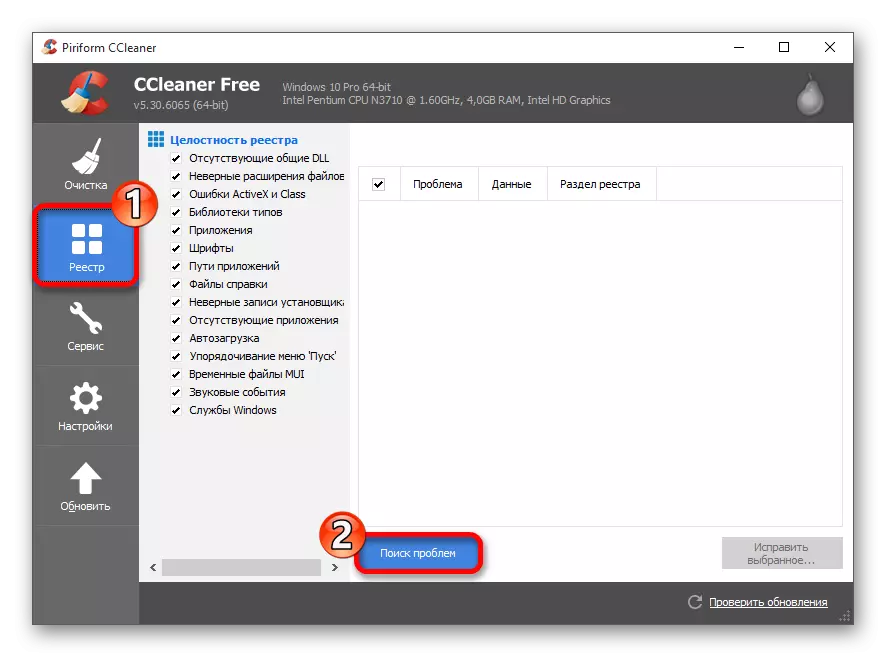
- Once the program opens, go to the "Registry".
- At the bottom of the window click "Search for problems".
- Again, it can last from a few seconds to a few minutes.
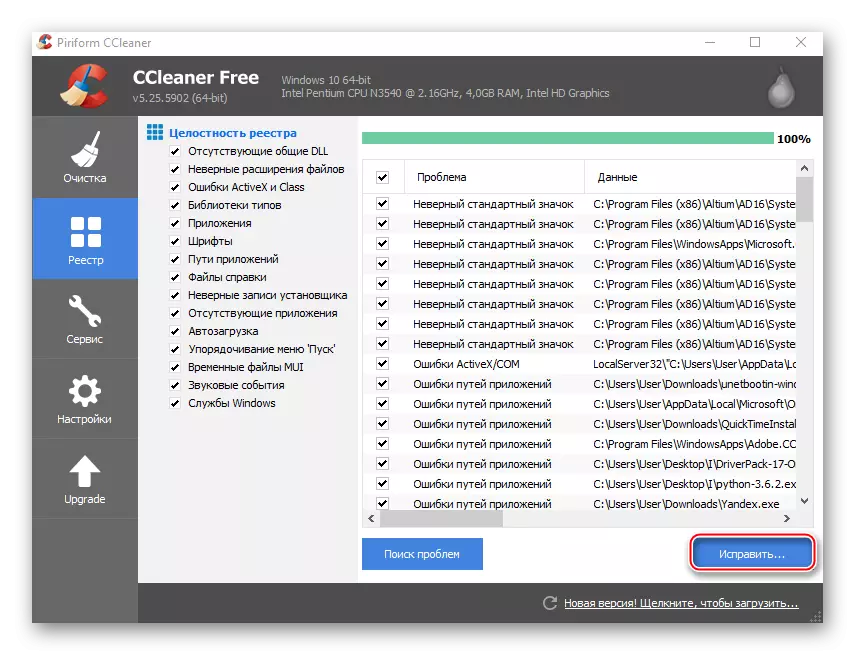
- As a result of the search, several errors will be found in the registry. However, before their correction, it is recommended to check whether the checkbox is set opposite them. If not, then put it manually, otherwise the error will not be corrected.
- Now use the "Fix" button.
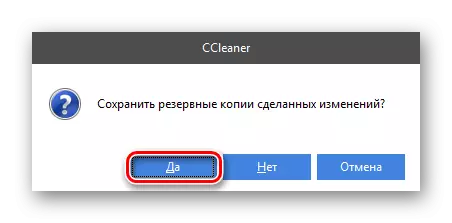
- In order, in case of system failures, during the correction of errors in the registry, it was possible to make a rollback by the time when the computer still worked normally, the program proposes to create a "recovery point". It is recommended to agree.
- Upon completion of the correction of the registry errors and cleaning the system from temporary files, log in to classmates and try to open photos again.

Problem 4: Malicious Programs
If you picked up a virus that connects various advertising to sites or led by a surveillance for your computer, that is, the risk of violation of some sites. In the first embodiment, you will observe a large number of advertising banners, pop-up windows with a content of dubious content, which not only clogs the site with visual garbage, but also breaks his work. The spyware program sends data about you on third-party resources, which additionally takes Internet traffic.
Windows Defender is an anti-virus software that is embedded in each computer running Windows, so it can be used to search and delete pest programs. This is a good free solution, since it finds the most most common viruses without any problems, but if you have the opportunity to use another antivirus (especially paid and with a good reputation), it is better to trust computer scan and eliminate threats with a paid analogue.
Clearing computer will be considered on the example of a standard defender:
- Initially, you need to find and run it. This is the most convenient to do through the search in the "taskbar" or "control panel".
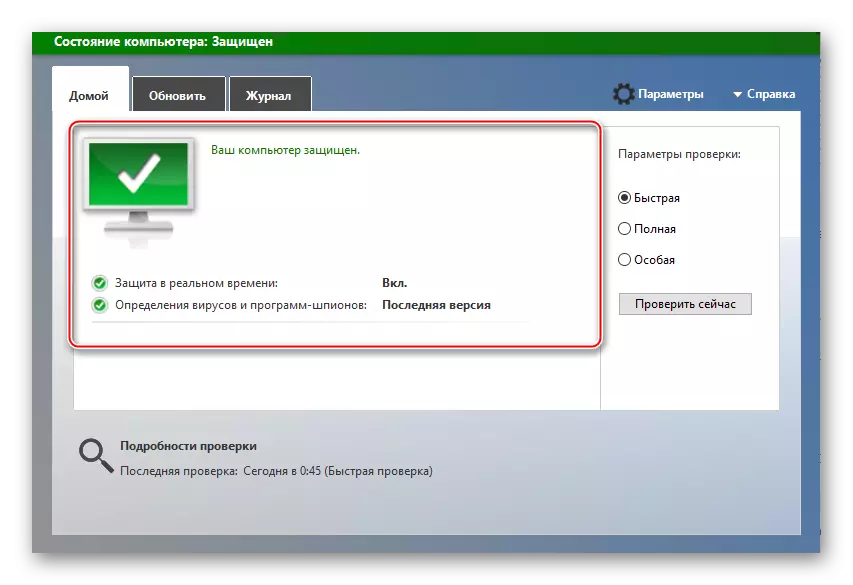
- If, when you start the defender, you see the screen of orange color, not a green, then it means that he found some kind of suspicious / dangerous program and / or file. To get rid of the already discovered virus, click "Clear Computer".
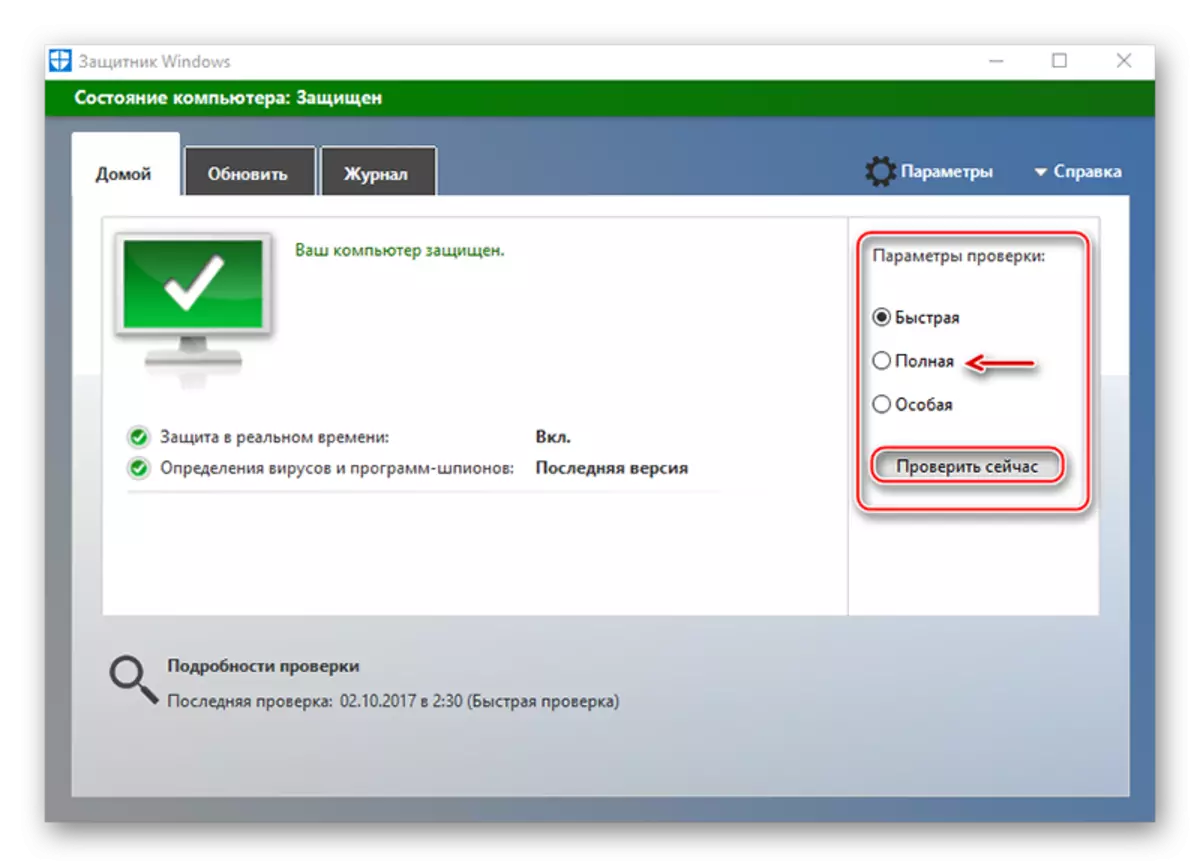
- Even when removing a virus detected during the background check, you must make a complete scan of a computer for other threats. It is required to check, influence viruses on a computer on working classmates. The parameters you need can be seen on the right side of the window. Pay attention to the "Check Settings" header, where it is required to mark the "complete" item and click on "Check Now".
- Upon completion of the check, the antivirus will show you all the detected threats. Next to the name of each of them, click on "Delete" or "Add to Quarantine".
Problem 5: Anti-Virus Failure
In certain antivirus solutions, malfunctions may occur, which rarely entails the blocking of classmates or internal content on the site, since the antivirus begins to count this resource and its contents are potentially dangerous. However, you have nothing to fear because, most likely, this problem is due to an error in updating the bases. To fix it, you do not need to remove the antivirus or make the base rollback to the previous state.
It is usually enough just to make a resource in "exceptions" and the antivirus will stop blocking it. The transfer can occur differently, as it all depends on the software that is installed on your computer, but usually this process does not represent any difficulties.
Read more: Setting "Exceptions" in Avast, NOD32, Avira
You can solve the problems described in the article independently, without waiting for help from the side. They are easy to fix a private PC user.