

For ease of use of PC and deletion of access in Windows Windows 10, there is user identification. The username is usually created when installing the system and may not comply with the requirements of the final owner. On how to change this name in this operating system, you will learn below.
Name change procedure in Windows 10
Rename the user, independently it has the right of administrator or the right of a regular user, easy enough. Moreover, there are several ways to do this, so everyone can choose to suit it and use it. Windows 10 can use two types of credentials (local and Microsoft account). Consider the renaming operation based on this data.Any changes to Windows 10 configuration are potentially dangerous actions, so before starting the procedure, create a backup of the data.
Read more: Instructions for creating a backup of Windows 10.
Method 1: Microsoft website
This method is suitable only for the owners of Microsoft account.
- Transfer to the Microsoft page to edit credentials.
- Press the input button.
- Enter your username and password.
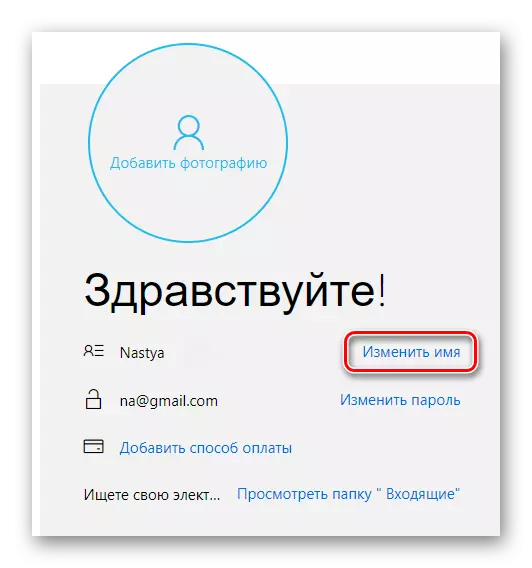
- After clicking on the "Edit Name" button.
- Specify the new data for the account and click on the "Save" item.


Next, the methods for changing the name for the local account will be described.
Method 2: "Control Panel"
This system component is used for many operations with it, including for the configuration of local accounts.
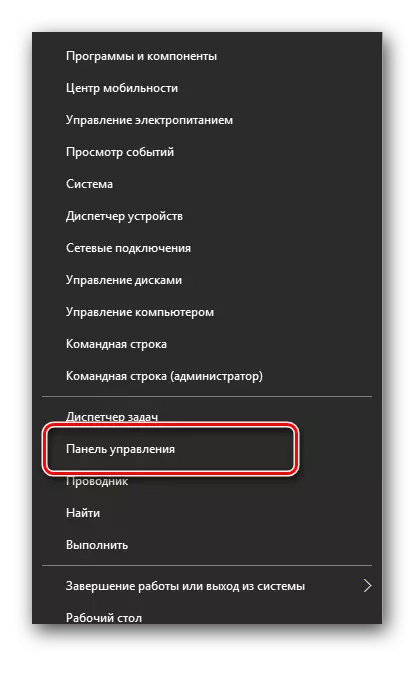
- Right click on the "Start" element, call the menu from which select "Control Panel".
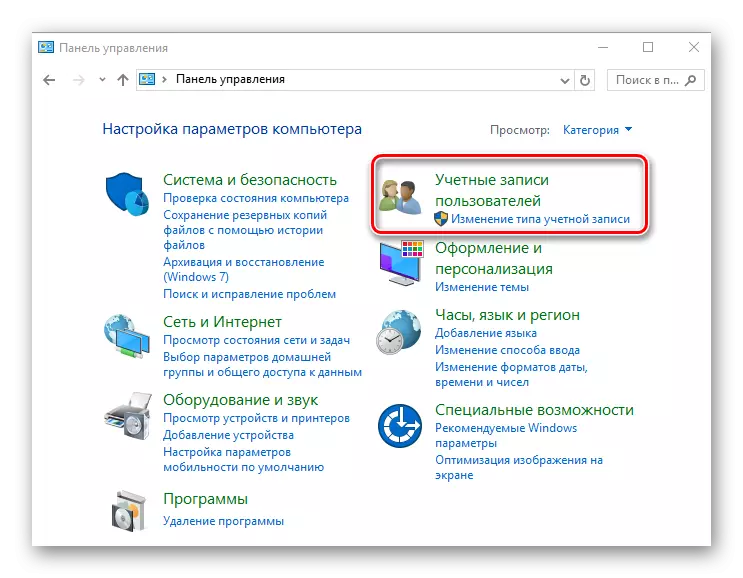
- In the "Category" viewer, click the "User Accounts" section.
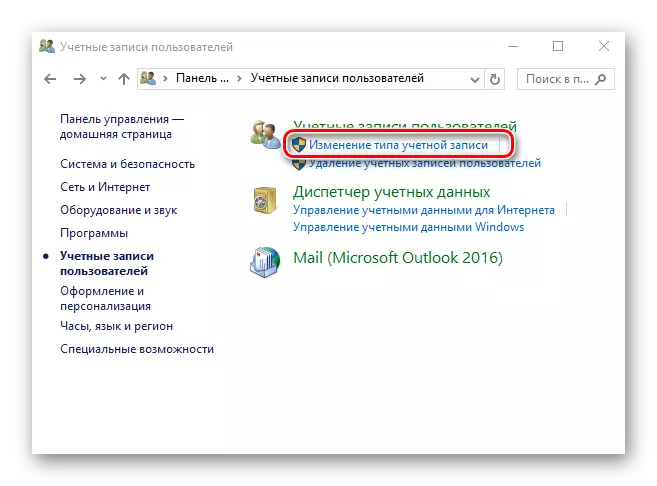
- Then "Changing the type of account".
- Choose user,
- For which you need to change the name, and after click the name of the name.
- Dial a new name and click Rename.


Method 3: Snap "Lusrmgr.msc"
Another way to local renaming is the use of "Lusrmgr.msc" snap ("Local users and groups"). To assign a new name in this way, you must perform the following actions:
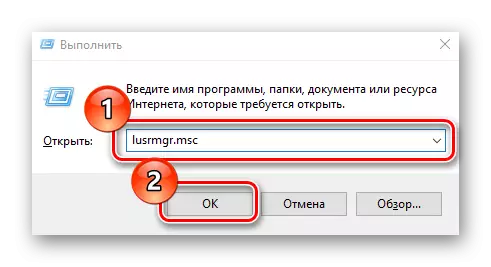
- Press the "Win + R" combination, in the "Run" window, enter Lusrmgr.msc and click OK or ENTER.
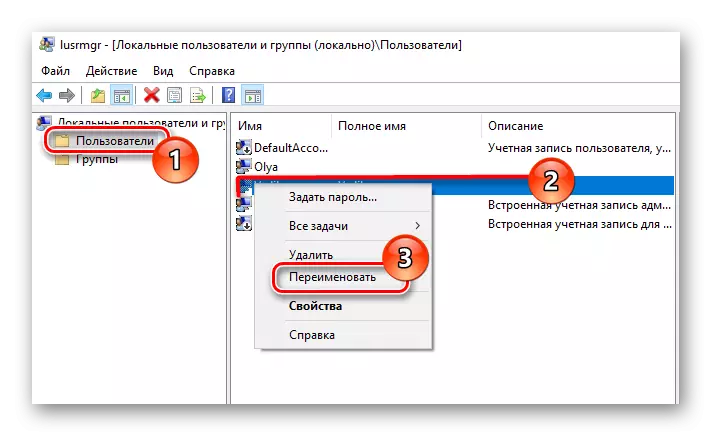
- Next, click on the Users tab and select the account for which you want to set a new name.
- Call the context menu with the right mouse click. Click on Rename.
- Enter the new name value and press "ENTER".
This method is not available for users who have installed Windows 10 home version.
Method 4: "Command String"
For users who prefer to perform most of the operations through the "Command Line", there is also a solution that allows you to perform the task using your favorite tool. You can do it like this:
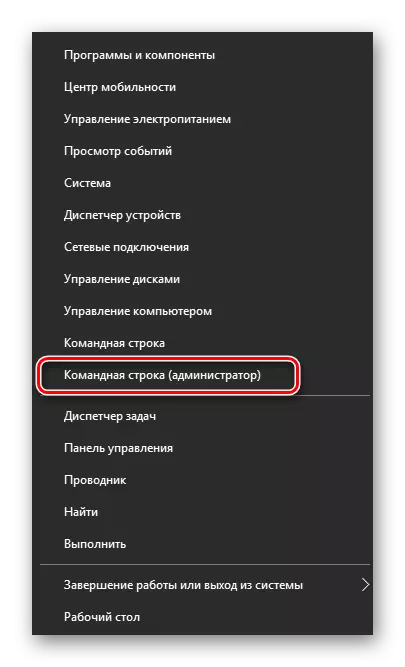
- Run the "Command Line" in the administrator mode. You can do it through the right click on the "Start" menu.
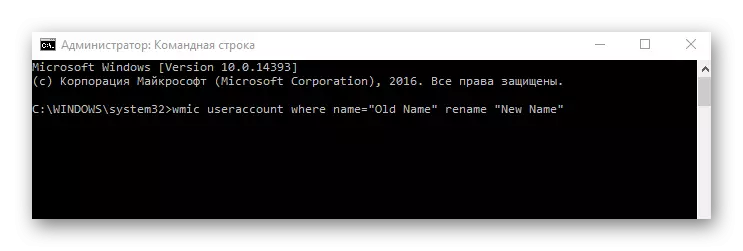
- Dial the command:
WMic UseRacCount WHERE NAME = "OLD NAME" RENAME "NEW NAME"
And press "ENTER". In this case, OLD NAME is the old name of the user, and the New Name is a new one.
- Restart the system.
Here are in such ways, having administrator rights, you can only assign a new name for the user for a few minutes.