
TAR.GZ - Standard archive type used in the Ubuntu operating system. It usually stores programs designed for installation, or various repositories. Install the software of this expansion will not be so easy, it must be unpacked and assembled. Today we would like to discuss this topic in detail, showing all the commands and step by step by playing every necessary action.
Install the archive TAR.GZ in Ubuntu
In the very procedure for unpacking and preparing the software, there is nothing complicated, everything is performed through the standard "terminal" with the preload of additional components. The main thing is only to pick up the work archive so that after unzipping it has not arisen with installations. However, before the start of the instructions, we want to note that the official website of the program developer should be carefully examined for the presence of DEB or RPM packets or official repositories.

The installation of such data can be made much easier. Read more about the analysis of the installation of RPM packets, read in another article, we go to the first step.
The process of installing an additional utility is always successful, so no problems should occur with this step. Moving to further actions.
Step 2: Unpacking the archive with the program
Now you need to connect a drive with a stored archive there or upload an object into one of the folders on the computer. After that, proceed to the following instructions:
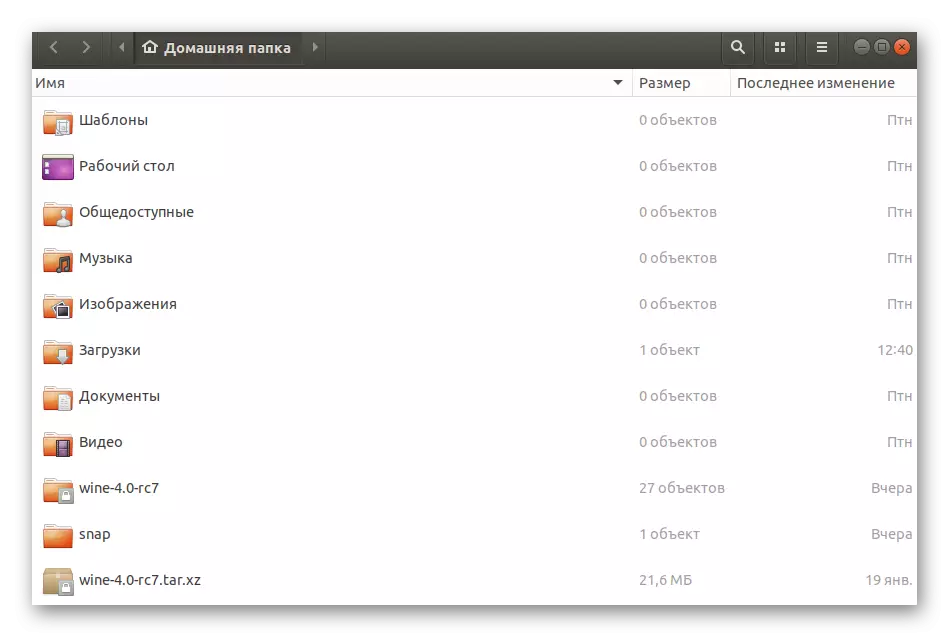
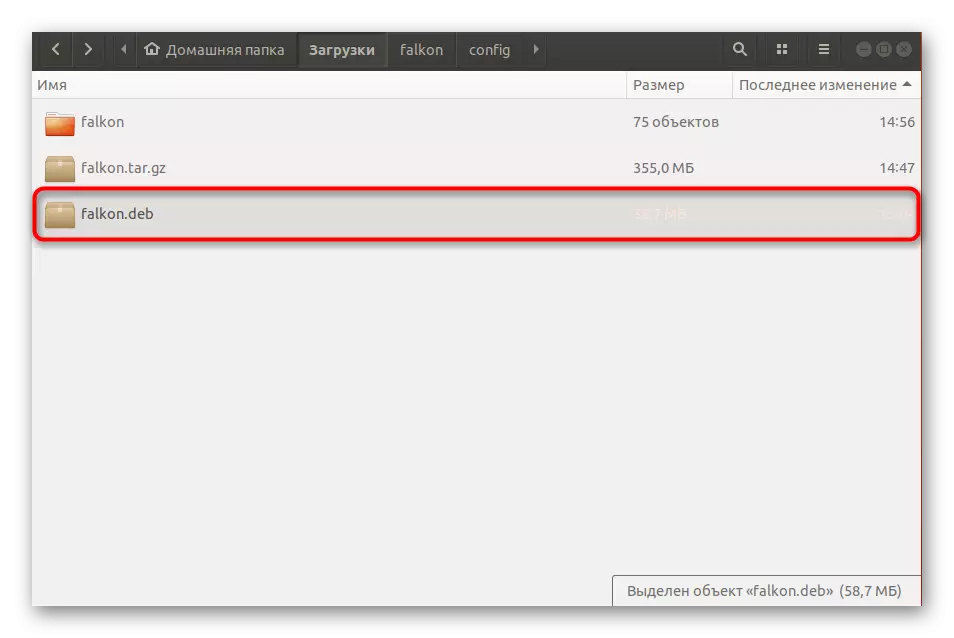
- Open the file manager and go to the archive storage folder.
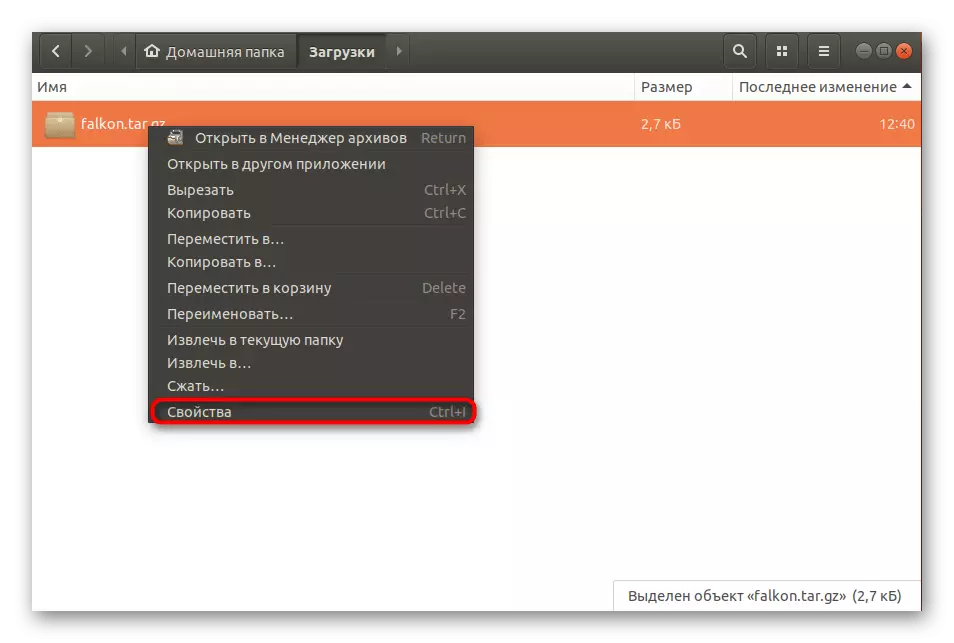
- Click on it right-click and select "Properties".
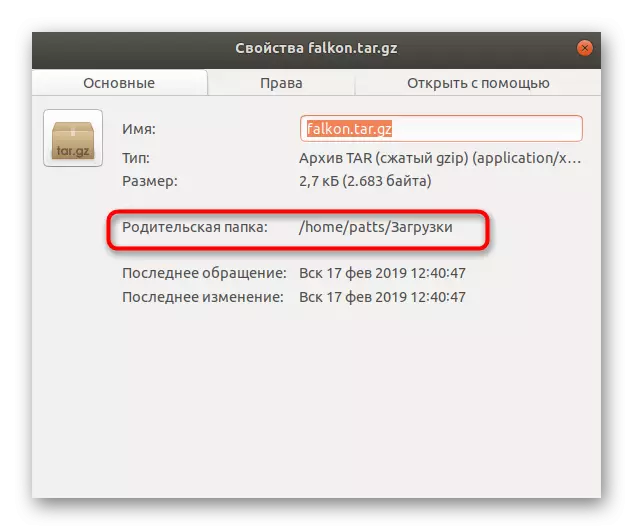
- Find out the way to tar.gz - it is useful for the operations in the console.
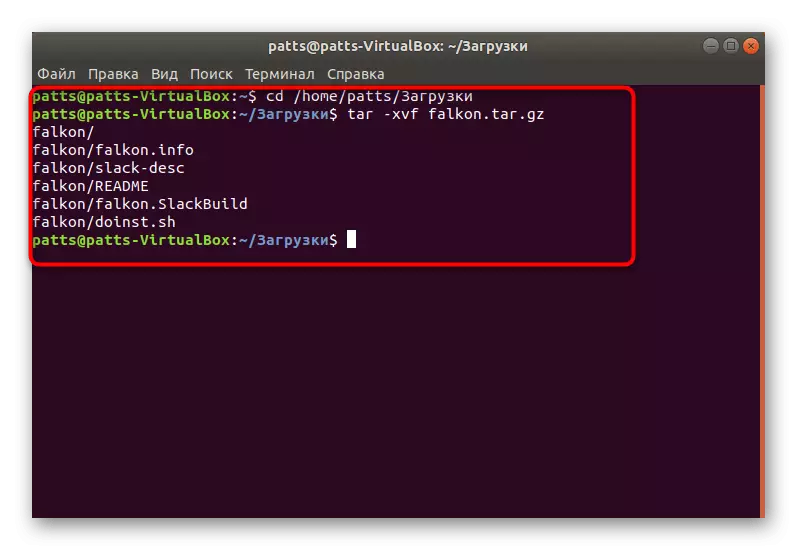
- Run the "Terminal" and go to this archive storage folder using the CD / Home / User / Folder command, where the user is the username, and the Folder is the name of the directory.
- Remove files from the directory, scoring tar -xvf falkon.tar.gz, where falkon.tar.gz is the name of the archive. Be sure to enter not only the name, but also .tar.gz.
- You will be familiar with the list of all the data that managed to extract. They will be saved in a separate new folder located on the same path.


It remains only to collect all the received files in one DEB package for further normal software installation on a computer.
Step 3: Compiling Deb Package
In the second step, you pulled out files from the archive and placed them in a regular directory, but this will not yet provide the normal functioning of the program. It should be collected by giving a logical view and making the desired installer. This uses standard commands in the Terminal.
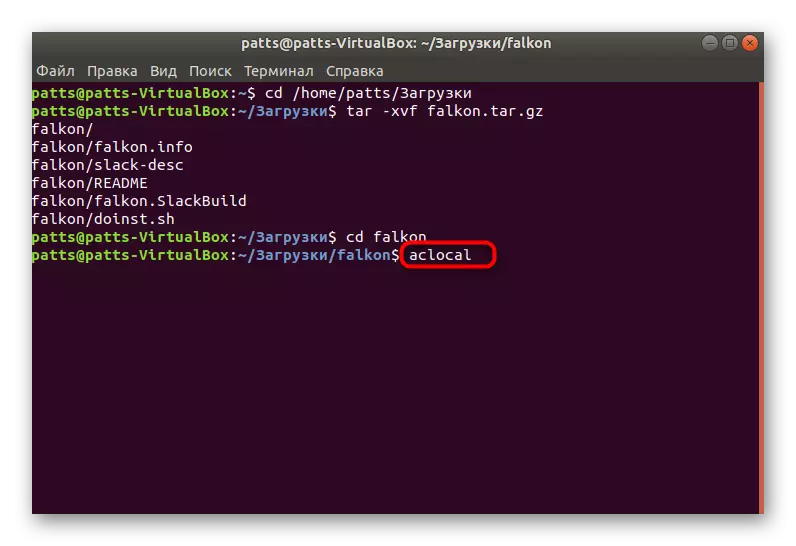
- After the unzip procedure, do not close the console and go to the created folder immediately via the CD Falkon command, where Falkon is the name of the required directory.
- Usually, there are already compilation scripts in the assembly, so we advise you to first check the command ./Bootstrap, and in the case of its inoperability to use ./autogen.sh.
- If both teams turned out to be non-working, you need to add the necessary script yourself. Sequentially enter the command to the console:
Aclocal
AUTOHEADER.
Automake --gnu --Add-Missing --Copy --Foreign
Autoconf -f -wall
During the addition of new packages, it may turn out that the system lacks certain libraries. You will see the appropriate notification in the Terminal. You can install the missing library using the Sudo Apt Install Namelib command, where Namelib is the name of the desired component.
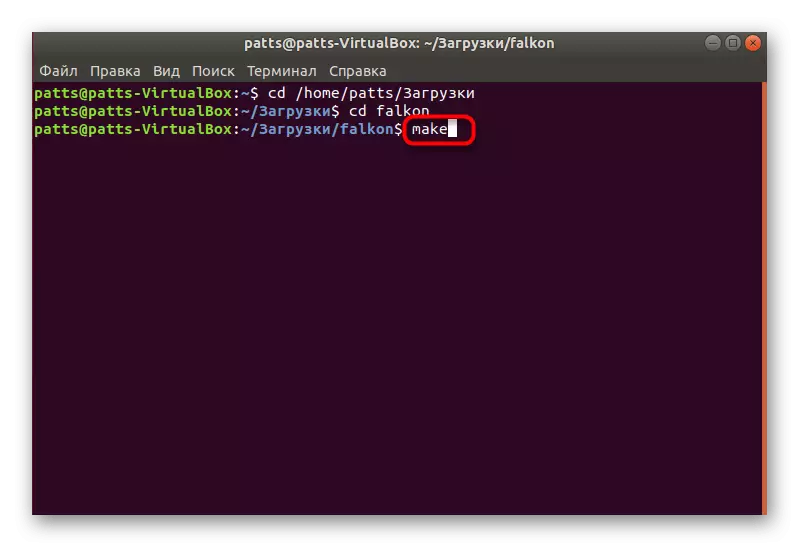
- Upon completion of the previous step, proceed to the compilation, scoring the MAKE command. The assembly time depends on the amount of information in the folder, so do not close the console and wait for the notification of a good compilation.
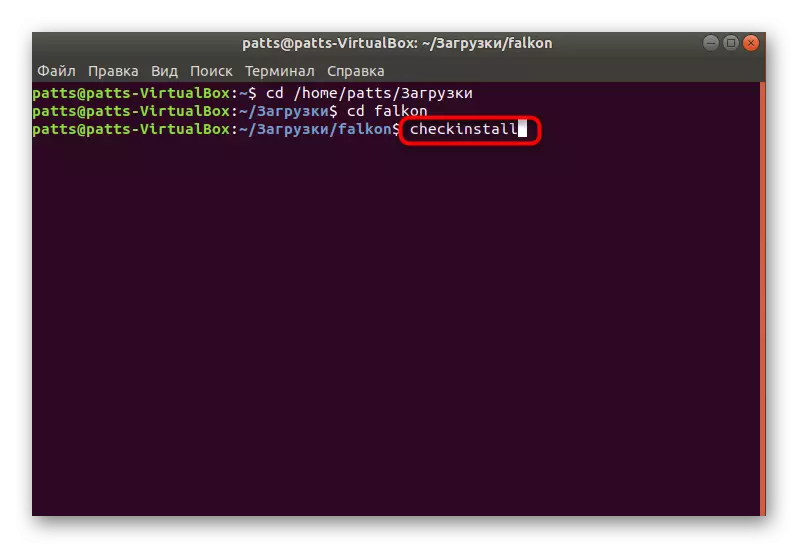
- Last but you will enter Checkinstall.


Step 4: Installing a Finished Package
As we have already mentioned earlier, the method used is used to create a Deb package from the archive for further installation of the program by any convenient ways. The package itself can be found in the same directory where tar.gz is stored, and familiarize yourself with the possible methods of installing it in a separate article below.
Read more: Installing Deb Packages in Ubuntu
When attempting to install the considered archives, it is also important to take into account that some of them have been collected by specific methods. If the above procedure does not work, look at the folder itself of the unpacked TAR.GZ and find the readme or install file there to familiarize yourself with the installation descriptions.