

BIOS is a set of programs that are stored in the system board memory. They serve for the correct interaction of all components and connected devices. The BIOS version depends on how correct equipment will function. Periodically, motherboard developers produce updates, correcting malfunctions or adding innovations. Next, we will talk about how to install the latest version of the BIOS for Lenovo laptops.
Update BIOS on Lenovo laptops
Almost all current models of laptops from Lenovo update occurs equally. Conditionally, the entire procedure can be divided into three steps. Today we will consider in detail every action.Before starting the process, make sure that the laptop computer is connected to a good source of electricity, and its battery is fully charged. Any even minor voltage fluctuations can provoke failures during the installation of components.
Step 1: Preparation
Be sure to prepare for updating. You need to perform the following steps:
- Find out the current version of your BIOS to compare it with the one that is on the official website. Definition methods There are several. Read about each of them, read in another article by reference below.
- Disconnect the antivirus and any other protective software. We will use files only from official sources, so you should not be afraid that malicious software will fall into the operating system. However, the antivirus can react to certain processes during the update, so we advise you to turn it off for a while. Check out the deactivation of popular antiviruses in the following link:
- Restart the laptop. The developers are strongly recommended to do it before entering the installation of components. It may be related to the fact that now programs are performed on the laptop that are able to prevent updates.
Read more: learn the version of BIOS
Read more: Disable antivirus
Step 2: Download Update Programs
Now proceed directly to the update. First you need to download and prepare the necessary files. All actions are carried out in a special auxiliary software from Lenovo. You can download it like this:
Go to Lenovo Support Page
- The link above or through any convenient browser, go to the Lenovo support page.
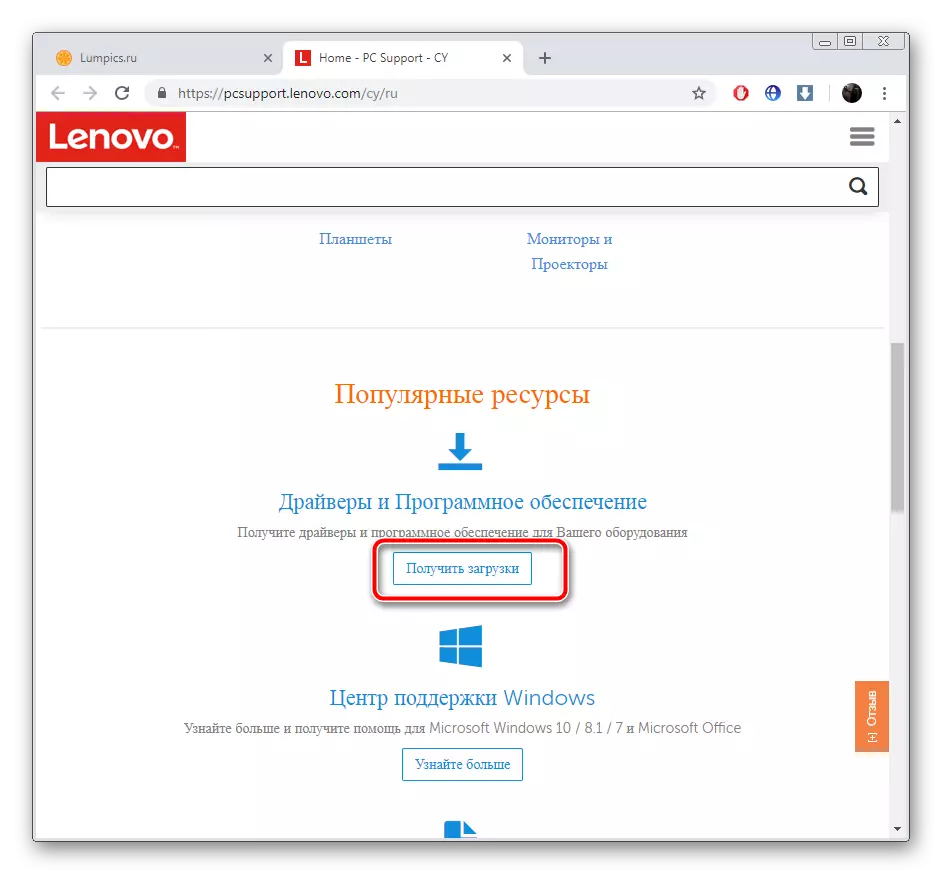
- Roll down a bit down, where to find the "Drivers and Software" section. Next, click on the Download button.
- In the displayed string, enter the name of your laptop model. If it is unknown to you, pay attention to the sticker that is located on the back cover. If it is erased or fails to disassemble the inscription, use one of the special programs that help learn the basic information about the device. Check out the best representatives of such software in our other article on the link below.
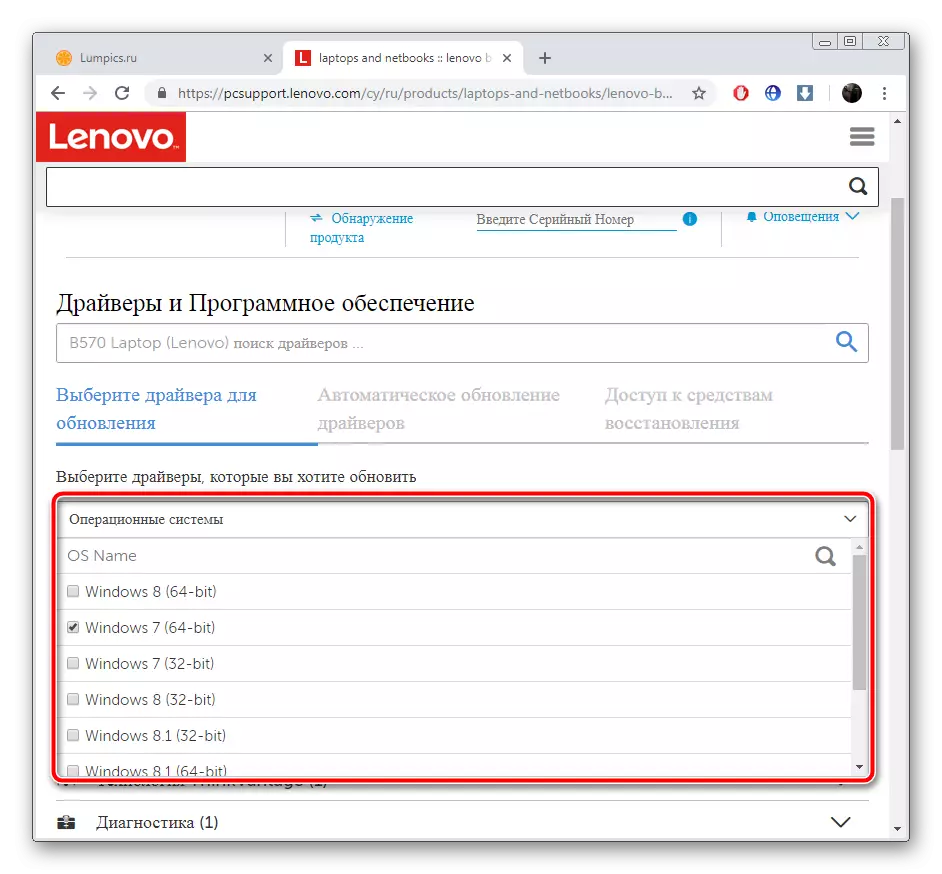
- You will be moved to the product support page. First, make sure that the Operating System parameter was selected correctly. If it does not match your version of the OS, check the box near the required item.
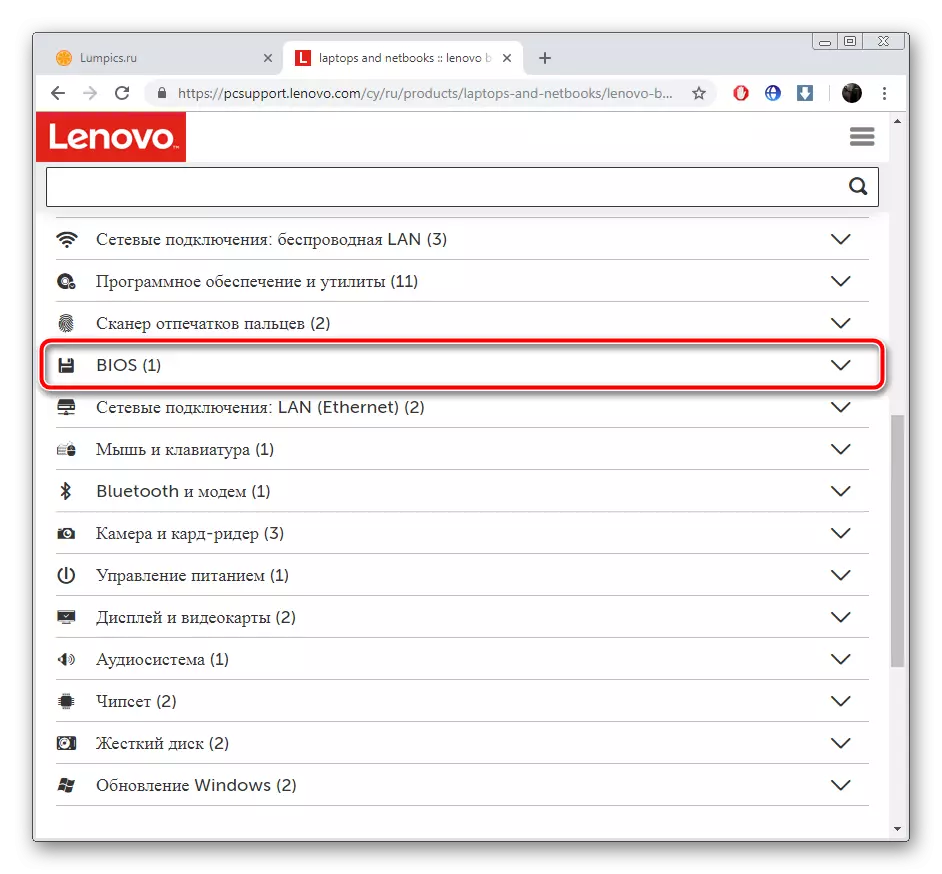
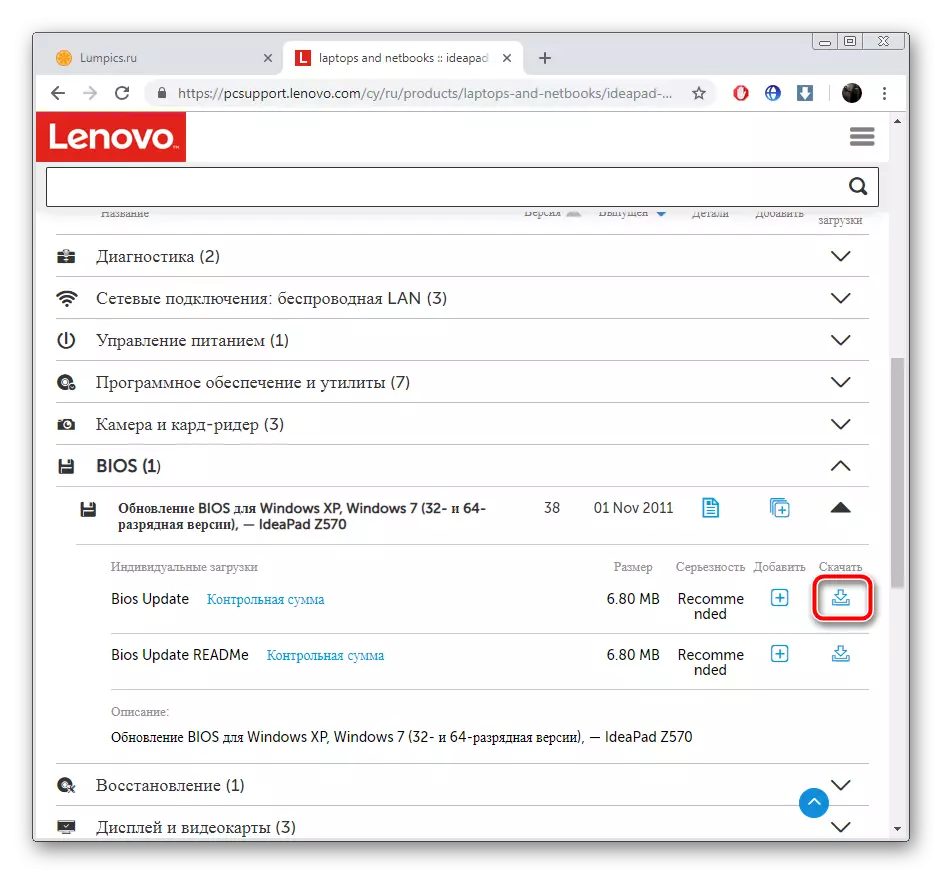
- Among the driver list and by find the section "BIOS" and click on it so that it opens.
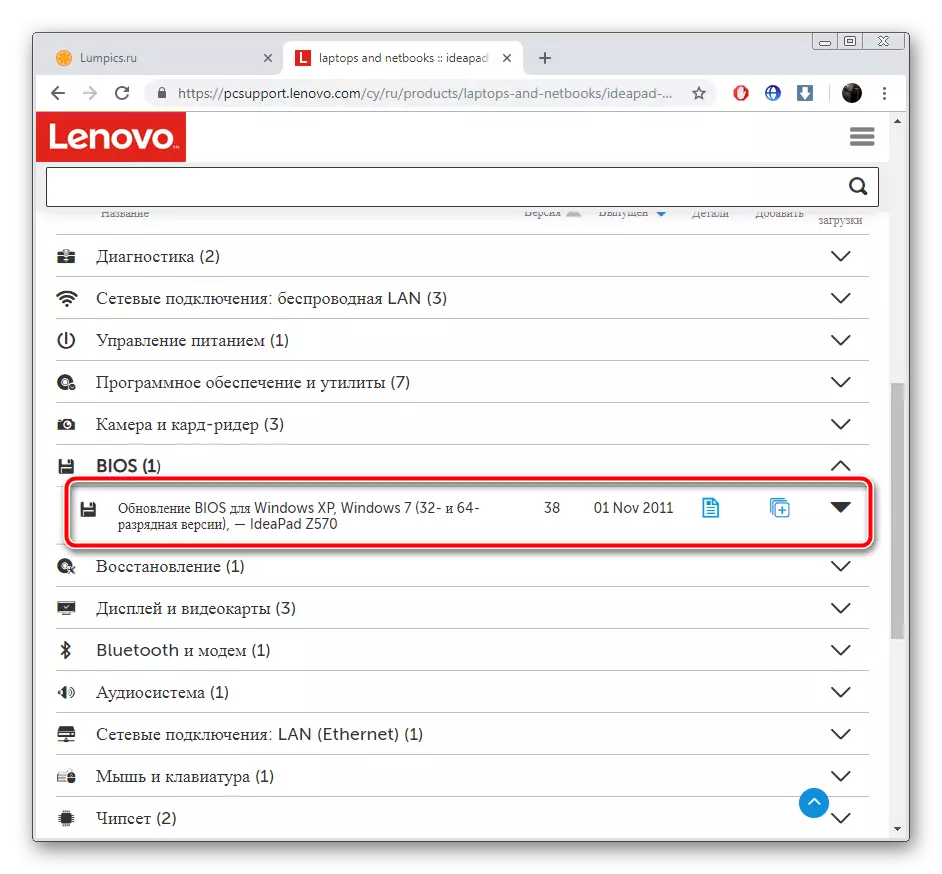
- Once again, click on the name "BIOS Update" to view all available versions.
- Find the latest assembly and click on "Download".
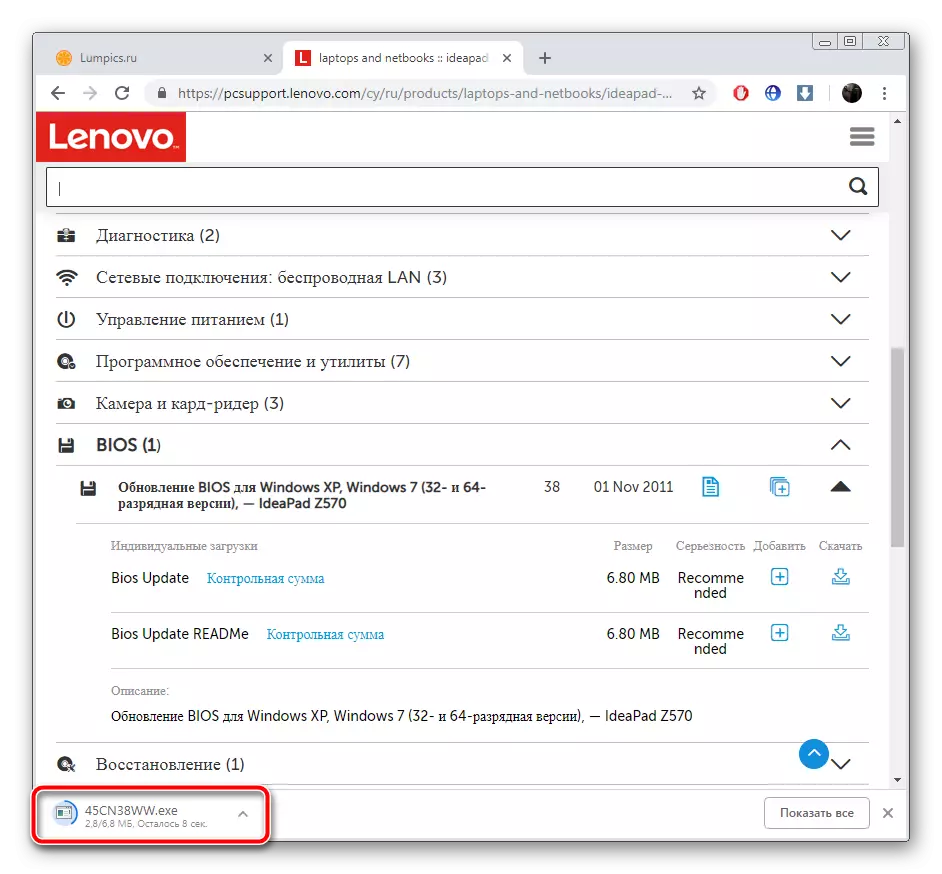
- Wait until the download is completed and start the installer.

Read more: Programs for determining the iron of the computer
Running and further actions are best done under the administrator account, so we strongly recommend entering the system under this profile, and then go to the next step.
Read more:
Use the Administrator account in Windows
How to change the user account in Windows 7
Step 3: Setting and Installation
Now you have a downloaded official utility on your computer, which will automatically update the BIOS. You also need to make sure that all parameters are correctly listed and, in fact, start the process of installing files. Perform the following manipulations:
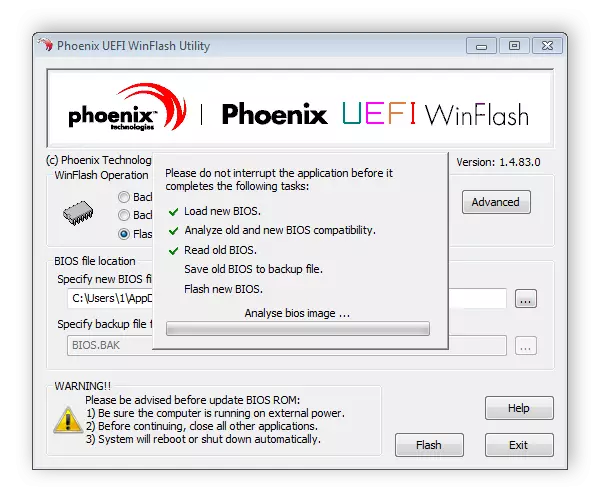
- After starting, wait for the end of the analysis and preparation of components.
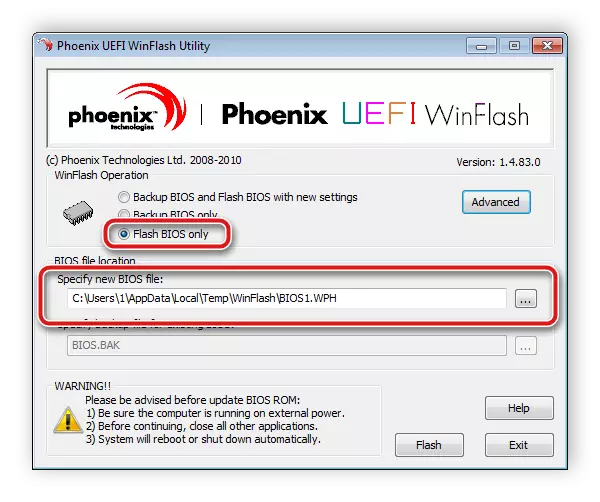
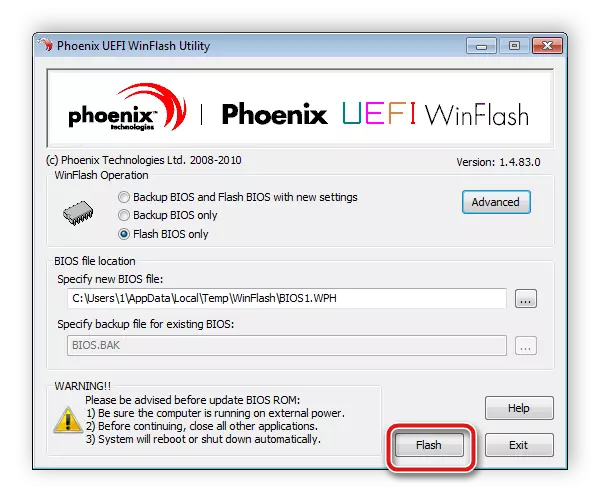
- Make sure that the marker is marked with the Flash Bios Only point and the new file specification is stored in the system section of the hard disk.
- Click on the "Flash" button.
- During the update, do not make any other procedures on your computer. Expect a successful completion notification.
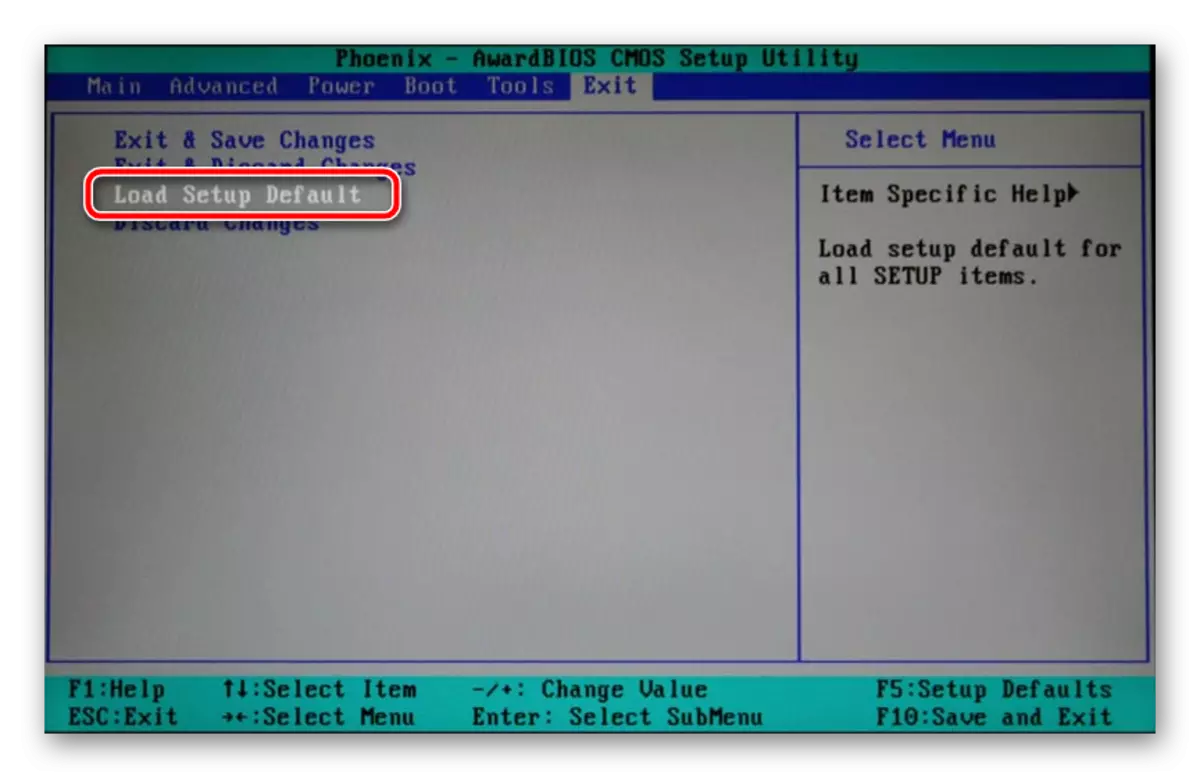
- Now restart the laptop and log in to the BIOS.
- In the "Exit" tab, find the "Load Setup Default" item and confirm the changes. So you download the BIOS basic settings.
Read more:
How to get to the BIOS on the computer
BIOS entry options on Lenovo laptop
Wait for Laptop Restart. This update procedure is completed. Already then you can return to BIOS again to set all the parameters for yourself there. Read more in the article from another our author as follows:
Read more: Configure BIOS on your computer
As you can see, there is nothing complicated in the installation of the new BIOS version. You only need to make sure that the selected parameters are correct and follow the simple manual. The process itself will not take much time, but I will cope with it even not possess special knowledge or user skills.
See also: How to update BIOS on ASUS, HP, Acer Laptop