

Installing Ubuntu Server is not much different from the installation of the desktop version of this operating system, but many users still fear their own to install the OS server version on the hard disk. This is partly justified, but the installation process will not cause any difficulties, if you use our instructions.
Install Ubuntu Server
Ubuntu Server will be able to install on most computers, as OS supports the most popular processor architectures:- AMD64;
- Intel x86;
- Arm.
Although the server version of the OS requires a minimum of PC power, system requirements cannot be missed:
- RAM - 128 MB;
- Processor frequency - 300 MHz;
- The occupied memory capacity is 500 MB with a basic installation or 1 GB with full.
If the characteristics of your device meet the requirements, you can proceed directly to the Ubuntu Server installation.
Step 1: Download Ubuntu Server
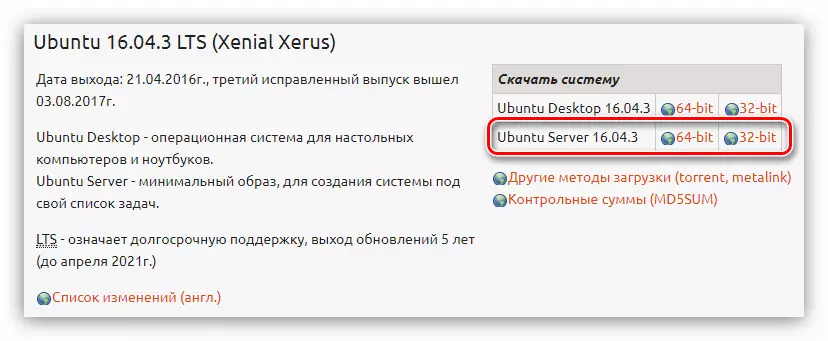
First of all, you will need to download the image itself by the server Ubuntu to record it on the flash drive. You should make downloads exclusively from the official site of the operating system, because in this way you will receive a non-modified assembly, without critical errors and with the most fresh updates.
Upload Ubuntu Server from the official site
On the site you can download two versions of OS (16.04 and 14.04) with different trimming (64-bit and 32-bit) by pressing the appropriate link.
Step 2: Creating a bootable flash drive
After downloading one of the versions of Ubuntu Server to the computer, you must create a bootable flash drive. This process takes a minimum of time. If earlier you did not record an ISO image on a USB flash drive, then on our site there is an appropriate article in which detailed instructions are presented.Read more: How to create a loading flash drive with Linux distribution
Step 3: Run PC with Flash-Drive
When installing any operating system, it is necessary to run a computer from the drive on which the image image is recorded. This step is sometimes the most problematic for an inexperienced user, due to the differences between different versions of the BIOS. Our site has all the necessary material, with a detailed description of the computer startup process from the flash drive.
Read more:
How to set up different BIOS versions for download from flash drive
How to find out the BIOS version
Step 4: Setting up the future system
Immediately after launching a computer from a flash drive, you will have a list from which you want to select the installer language:

In our example, the Russian language will be selected, you can determine for yourself another.
Note: When installing OS, all actions are made exclusively from the keyboard, so to interact with the elements of the interface, use the following keys: arrows, Tab and ENTER.
After selecting a language, you will appear the menu of the installer in which you want to click "Install Ubuntu Server".
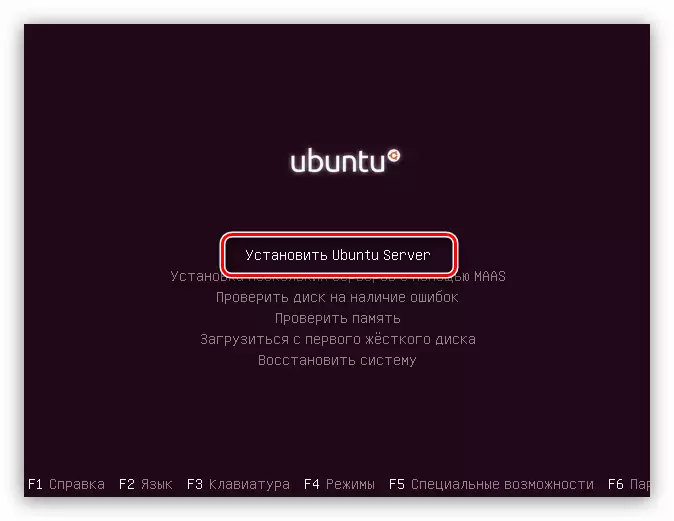
From this point on, the pretty configuration of the future system will begin, during which you define the fundamental parameters and enter all the necessary data.
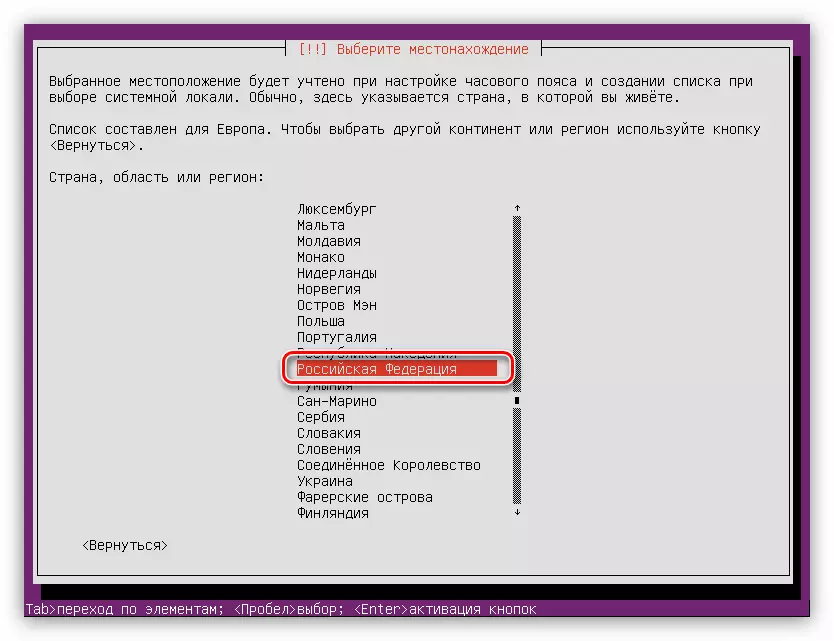
- In the first window you will be asked to specify the country of residence. This will allow the system to automatically set the time on the computer, as well as the corresponding localization. If there is no list in your country, then click on the "Other" button - the list of countries of the world will appear.
- The next step will be the choice of keyboard layout. It is recommended to determine the layout manually by pressing the "No" button and selecting the desired list from the list.
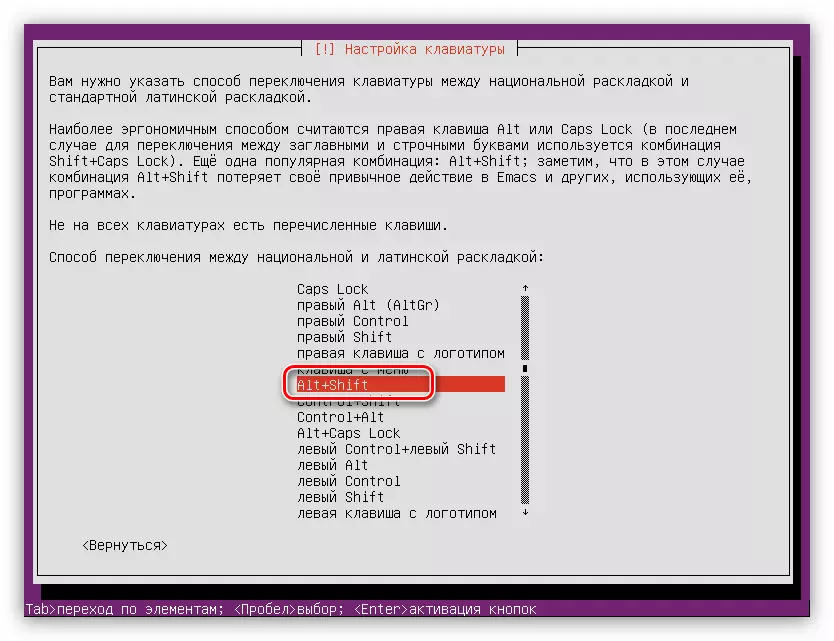
- Next, you need to determine the key combination, after pressing the keyboard layout will change. In the example, the combination of "Alt + Shift" will be selected, you can choose another.
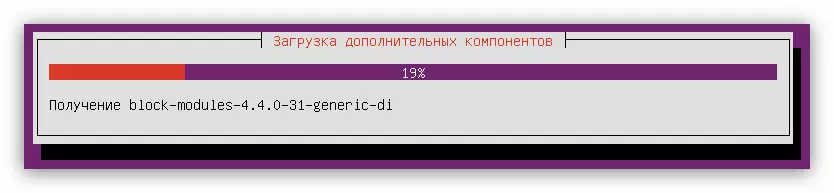
- After the selection, there will be quite long-lasting downloads, during which additional components will be downloaded:
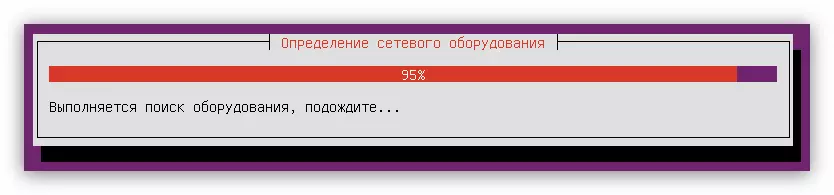
Network equipment will be determined:
And a connection to the Internet is connected:
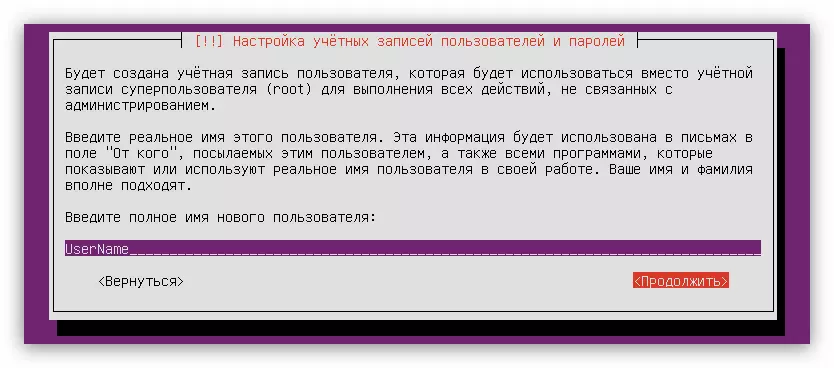
- In the Account Settings window, enter the name of the new user. If you are planning to use the server at home, you can enter an arbitrary name if you are installed in some organization, then consult the administrator.
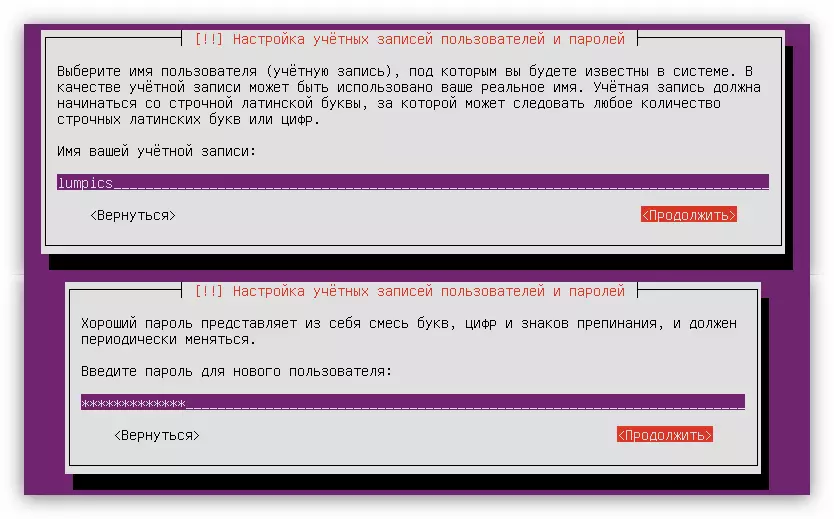
- Now it will be necessary to enter the account name and set the password. For the name, use the lower register, and the password is better to install using special characters.
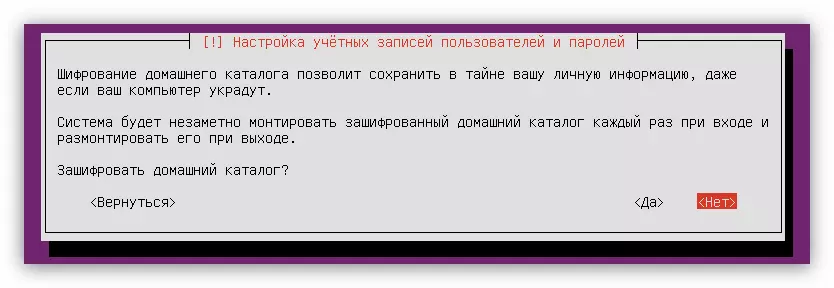
- In the next window, click Yes, if the server is planned to be used for commercial purposes, if there are no concerns about the safety of all data, press the "No" button.
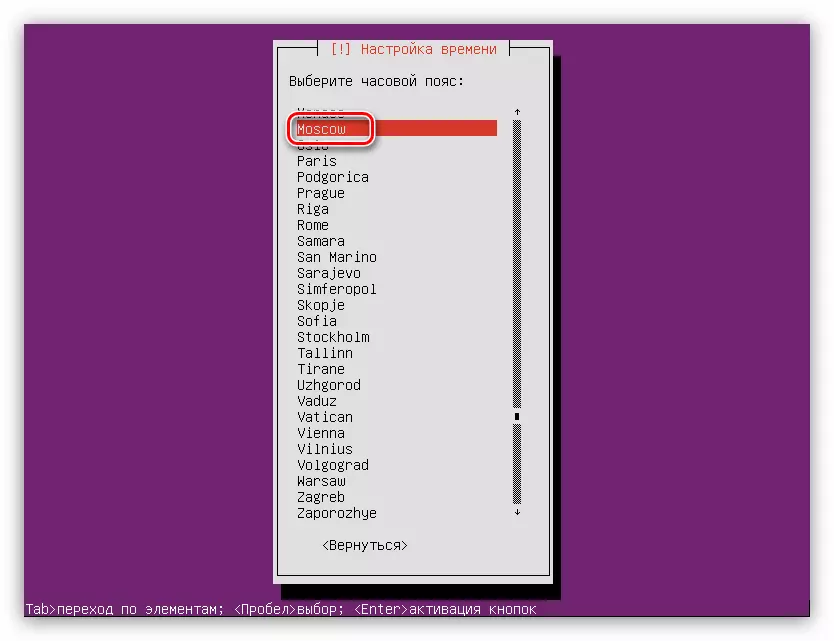
- The last step of pre-configuration will be the definition of the time zone (again). More precisely, the system will try to automatically determine your time, but often it turns out that it turns out badly, so in the first window, click "No", and in the second one will independently determine your locality.


After all the actions made, the system scan your computer for equipment and, if necessary, downloads the desired components for it, after which the disk markup utility will load.
Step 5: Disc markup
At this stage, you can go in two ways: to automatically mark the discs or do everything manually. So, if you install Ubuntu Server on a clean disk or you do not care about it, you can safely choose the "Auto - use the entire disk" item. When there is important information on the disk or another operating system is installed, for example, Windows, then it is better to choose the "manual" item.
Automatic disk markup
To automatically mark up the disk, you need:
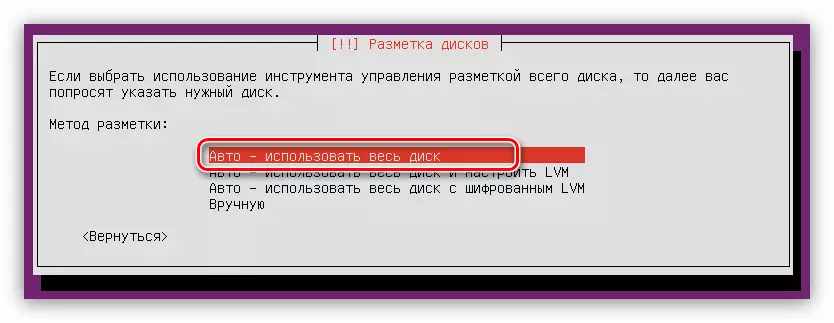
- Select the markup method "Auto - use the entire disk."
- Determine the disk to which the operating system will be installed.
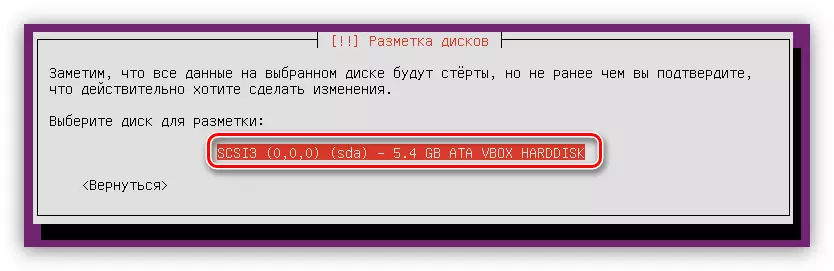
In this case, the disk is only one.
- Wait for the completion of the process and confirm the proposed disk markup option by clicking on "finish markup and write changes to the disk."
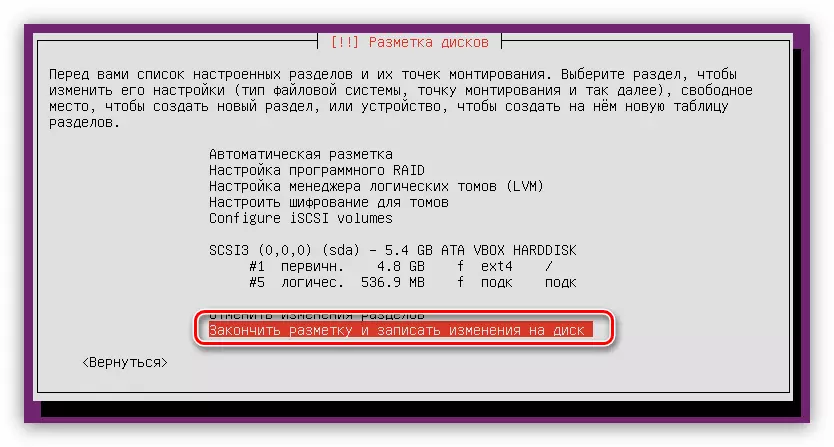
Please note that the automatic markup offers to create only two sections: root and section paging. If these settings are not satisfied, then click "Cancel Section Changes" and use the following method.
Hand markup disc
Placing the disk space manually, you can create a variety of partitions that will perform certain functions. This article creates the optimal markup for Ubuntu Server, which implies the average system security level.
In the method of selecting the method you need to press "manually". Next, a window will appear with a list of all disks installed on the computer, and their sections. In this example, the disk is one and there are no partitions in it, as it is completely empty. Therefore, choose it and press ENTER.

After that, to the question, whether you want to create a new partition table Answer "Yes."
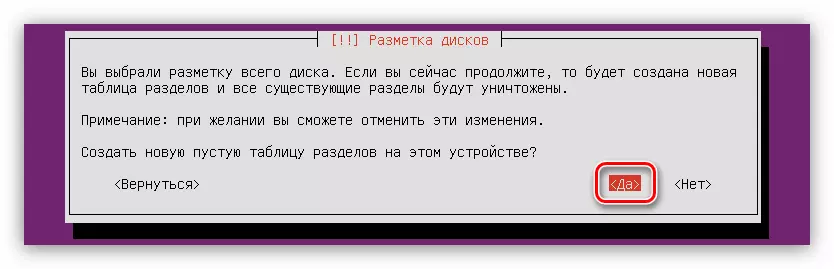
Note: If you are placing a disk with sections already available on it, this window will not.
Now, under the name of the hard disk, a string "Free space" appeared. It is with him we will work. First you need to create a root directory:
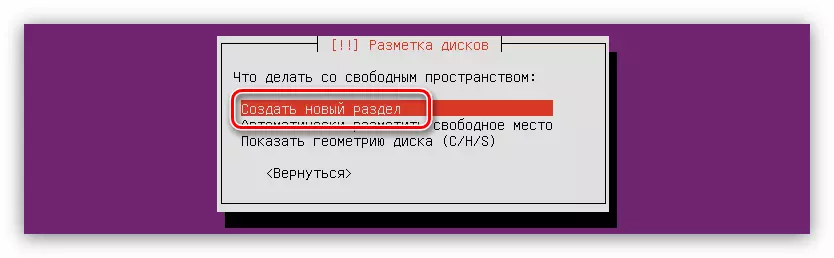
- Press ENTER at the free space paragraph.
- Select "Create a new section".
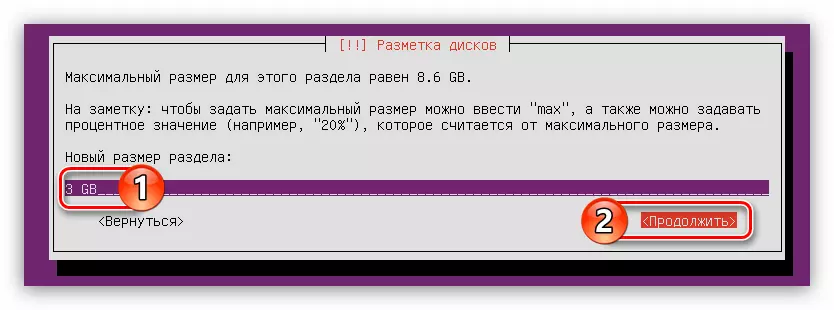
- Specify the volume of the allocated space under the root section. Recall that the minimum allowable - 500 MB. After entering, click "Continue".
- Now you need to select the type of new section. It all depends on how much you plan to create them. The fact is that the maximum number is equal to four, but this limitation can be bypass by creating logical sections, and not primary. Therefore, if you plan to install only one Ubuntu Server on a hard disk, choose the "primary" item (4 sections is enough), if another operating system is installed nearby - "logical".
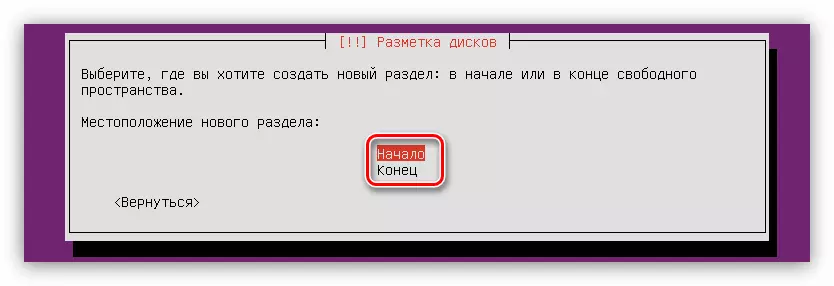
- When choosing a location, follow your preferences, it does not affect anything.
- At the last stage, you need to specify the most important parameters: file system, mount point, mount parameters and other options. When creating a root section, it is recommended to use the settings shown below in the image.
- After entering all variables, click "Setting the section is completed."


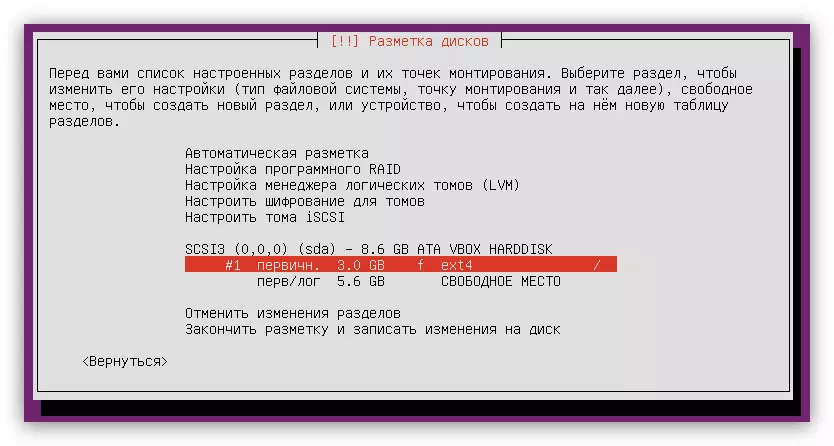
Now your disk space should look like this:
But this is not enough that the system function normally, you need to create a section of the paging. It's just done:
- Start creating a new partition by completing the two first points of the previous list.
- Determine the amount of disk space allocated equal to the volume of your RAM, and click "Continue".
- Select the type of new section.
- Specify its location.
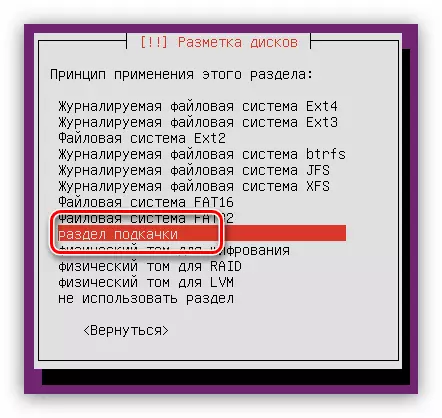
- Next, click on the "Use How" item ...
... and select "Switch section".
- Click "Setting the section is completed."
The general view of the disk markup will have this kind:

It remains only to highlight all free space under the home section:
- Follow the first two points of the instructions for creating the root section.
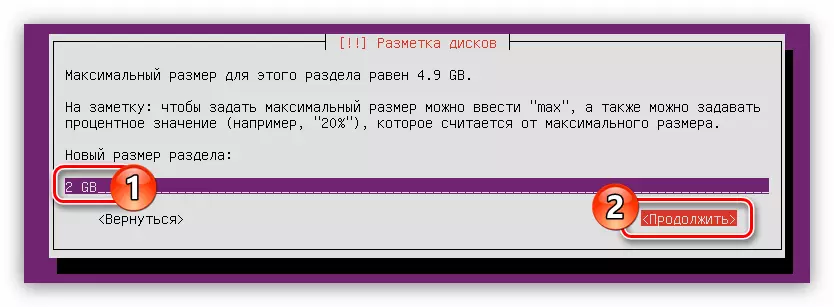
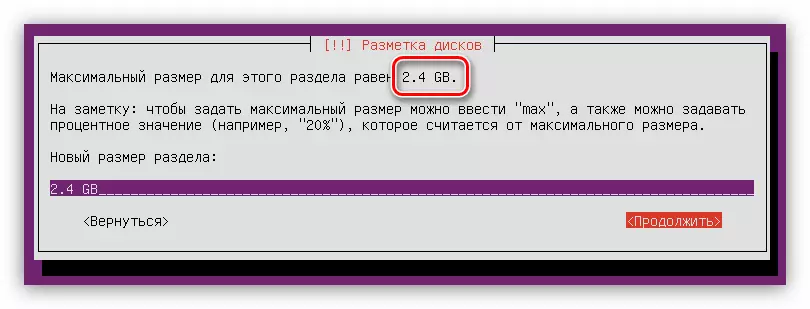
- In the section size definition window, specify the maximum possible and click "Continue".
Note: The remaining disk space can be found in the first string of the same window.
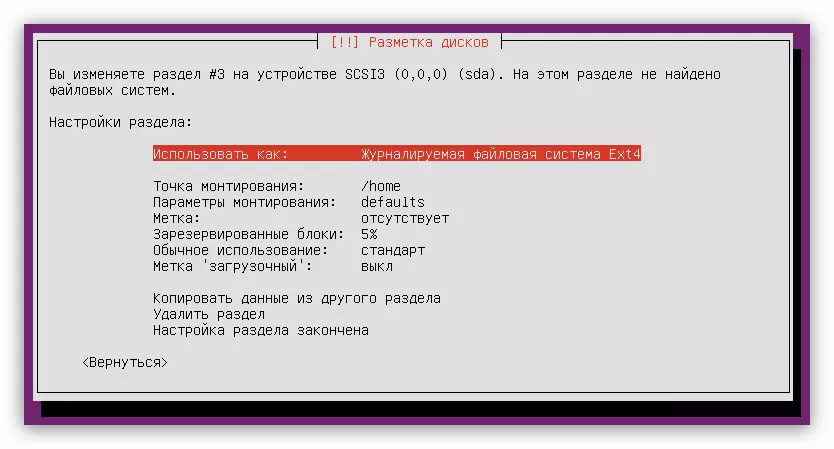
- Determine the type of section.
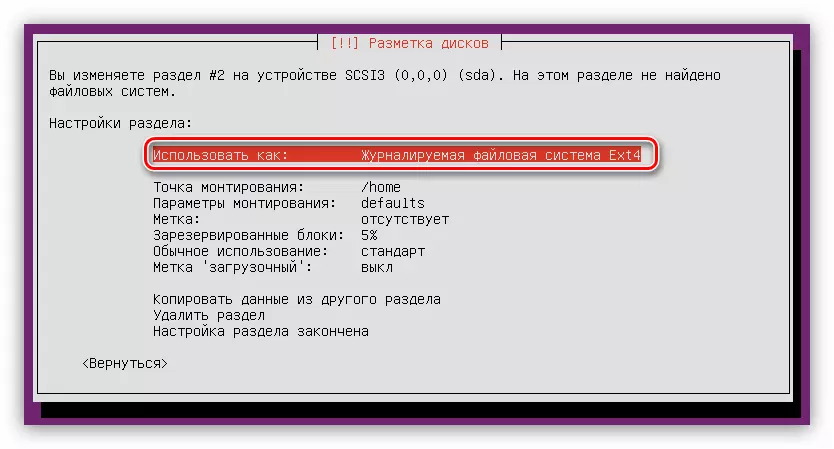
- Set all the remaining parameters in accordance with the image below.
- Click "Setting the section is completed."
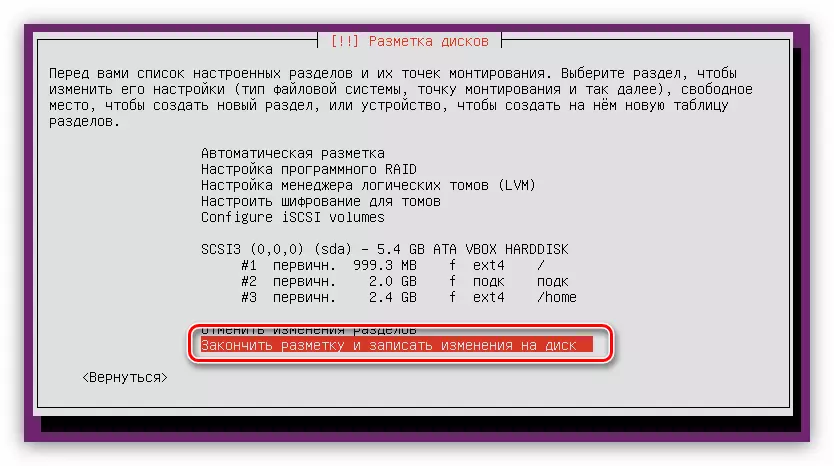
Now the full disk markup looks like this:

As you can see, there is no free space on the disk, you can use not all space so that you can install another operating system next to Ubuntu Server.
If all the actions of you have been completed correctly and you are satisfied with the result, then press "finish markup and write changes to the disk."
Before starting the process, a report will be provided in which all changes are listed that they will be recorded on the disk. Again, if all you are satisfied, press "yes."
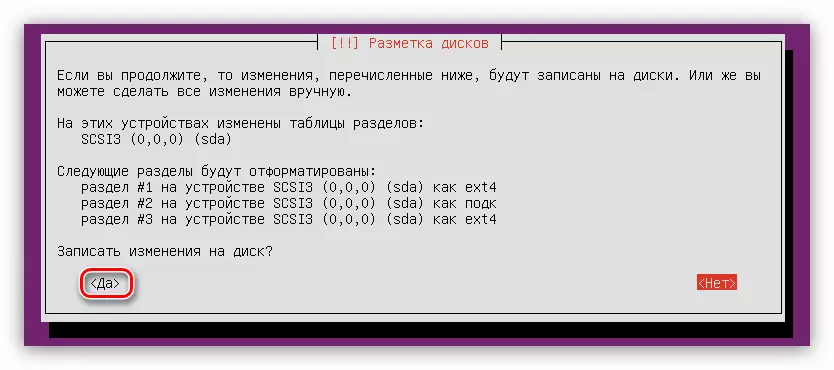
At this stage of the disc marker can be considered over.
Step 6: Completing the installation
After the disk marking, you need to perform several more settings to make a full installation of the Ubuntu Server operating system.
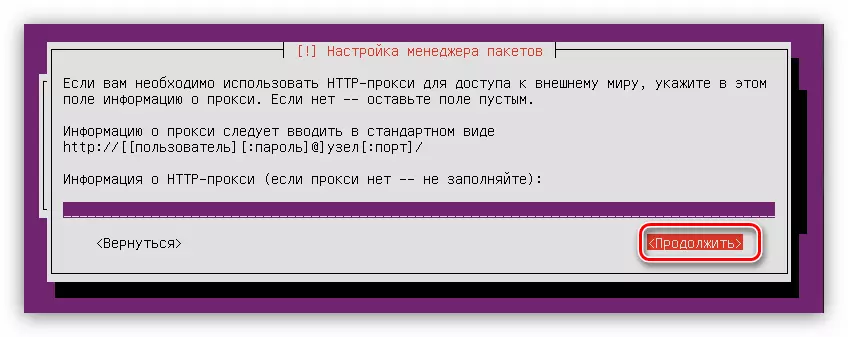
- In the "Package Manager Setup" window, specify the proxy server and click "Continue". If you do not have the servers, then click "Continue", leaving the field blank.
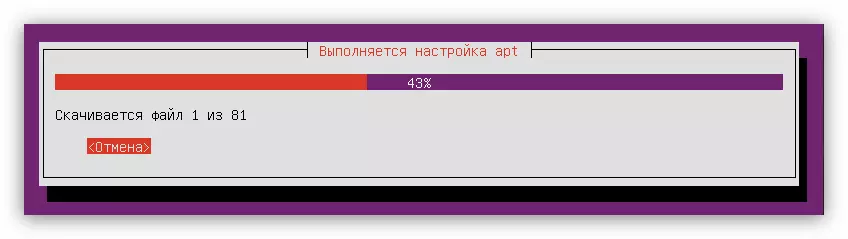
- Wait until the OS installer loads and install the necessary packets from the network.
- Select Ubuntu Server Update.
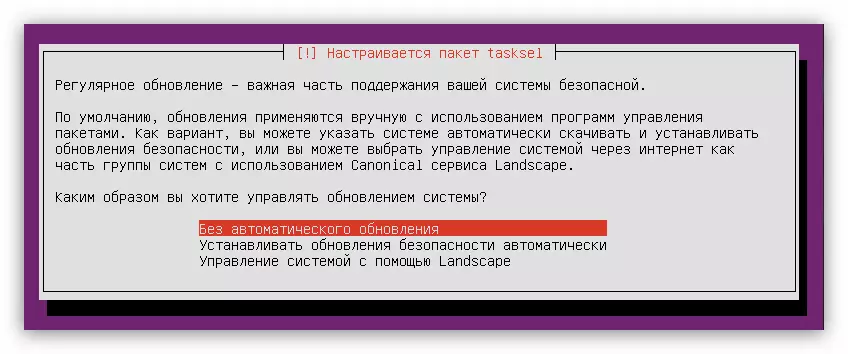
Note: To improve the security of the system, it is necessary to refuse to automatically update, and carry out this operation manually.
- From the list, select programs that will be preset in the system, and click "Continue".
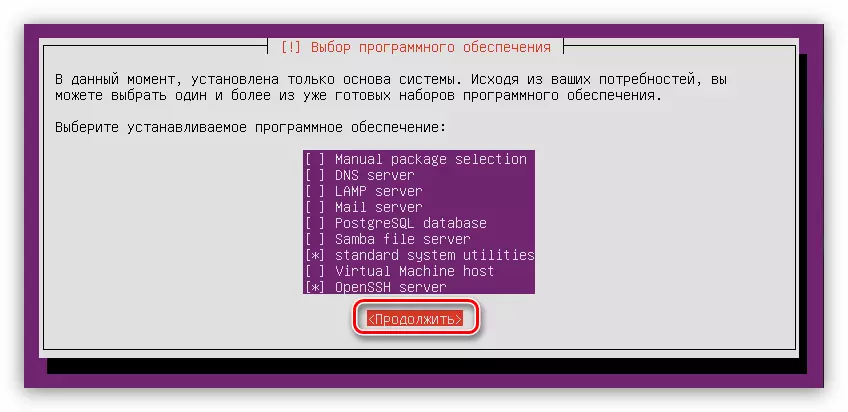
From the whole list it is recommended to mark "Standard System Utilities" and "OpenSsh Server", but in any case they can be installed after the installation is completed.
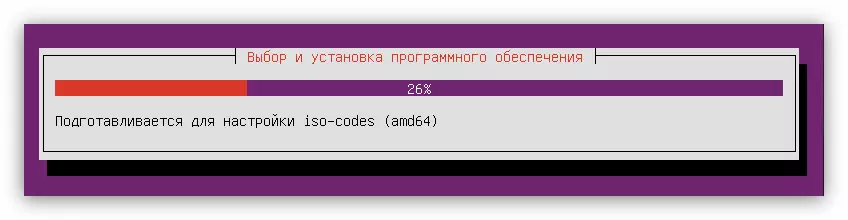
- Wait for the end of the download process and install previously selected software.
- Install the GRUB system loader. Note that when installing Ubuntu Server on a clean disc, you will be offered to install it in the main boot record. In this case, choose "Yes."
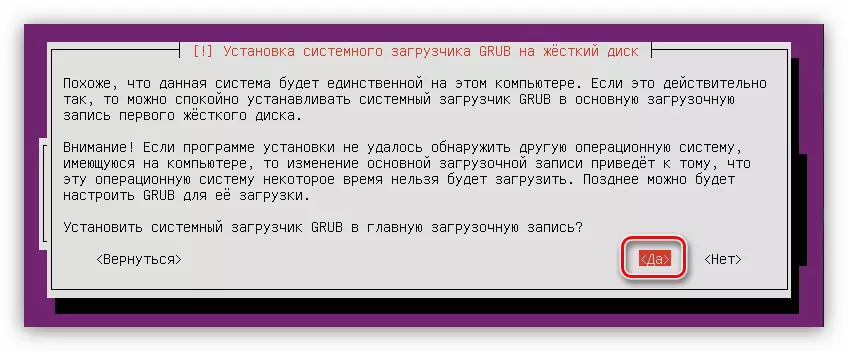
If the second operating system is on the hard disk, and this window appears, then select "No" and determine the boot record yourself.
- At the last stage in the "Completion of the installation" window, you need to extract a flash drive with which the installation was installed, and click the "Continue" button.

Conclusion
According to the results of the instruction, the computer will be rebooted and the main menu of the Ubuntu Server operating system will appear on the screen, in which you want to enter the username and password specified during installation. Please note that the password does not appear when entering.