
Images of raster graphic format BMP are formed without compression, and therefore occupy a significant place on the hard drive. In this regard, they often have to convert into more compact formats, for example, in JPG.
Methods of transformation
There are two main directions for converting BMP in JPG: using software installed on PC and the application of online converters. In this article, we will consider exclusively methods based on the involvement of the software installed on the computer. Completed task can programs of various types:- Converters;
- Applications for viewing images;
- Graphics editors.
Let's talk about the practical application of these groups of methods to transform one format of pictures to another.
Method 1: Format Factory
Let's start a description of methods with converters, namely from the Format Factory program, which in Russian is called a format factory.
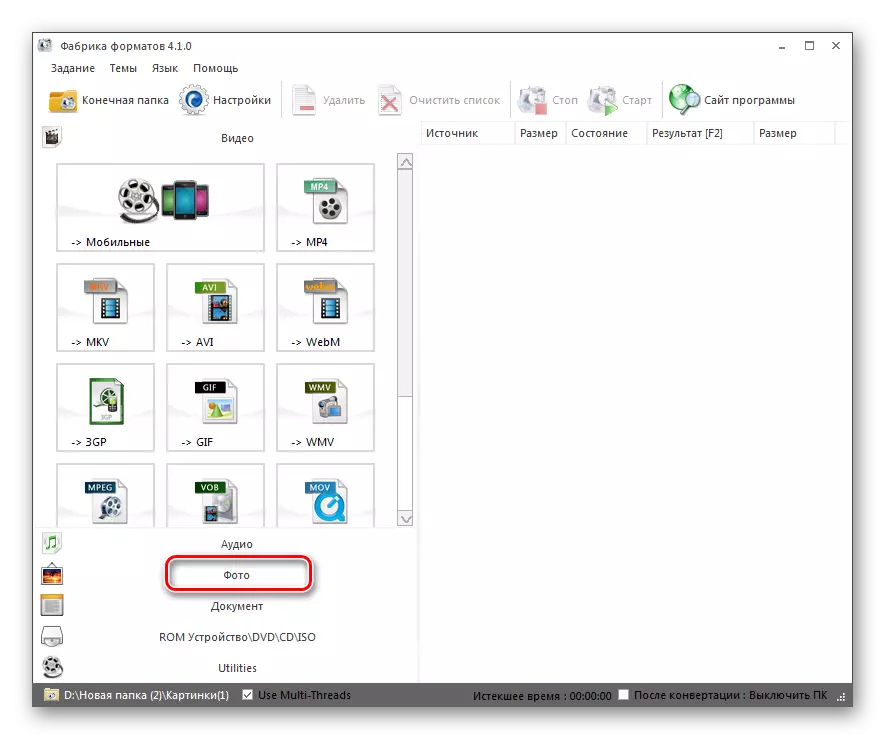
- Run Format Factory. Click on the name of the "Photo" block.
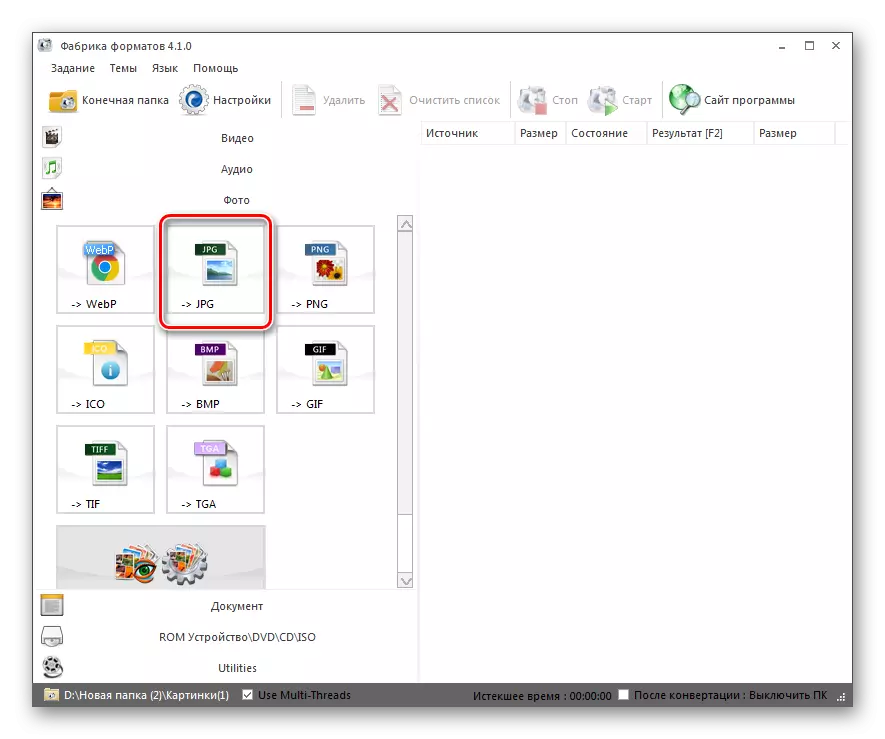
- The list of various image formats will be revealed. Click on the JPG icon.
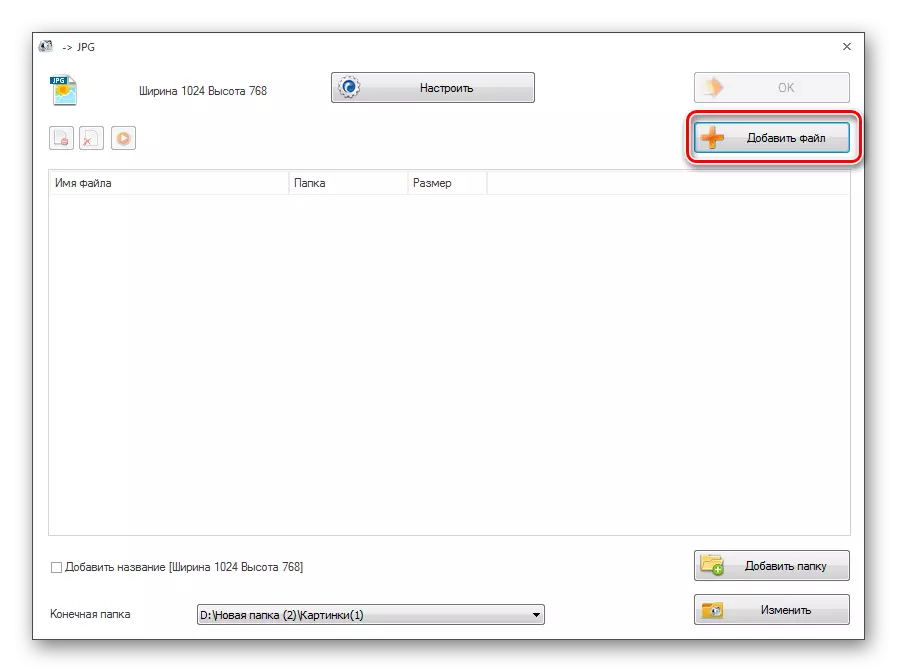
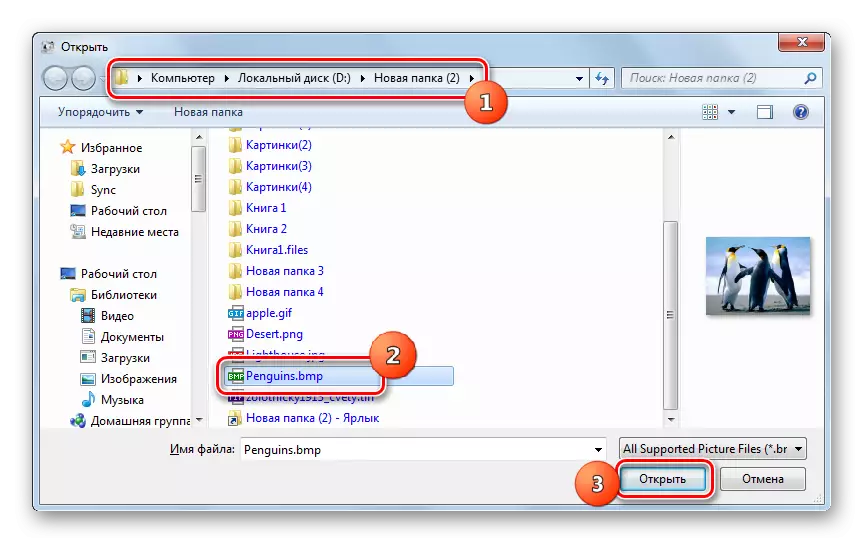
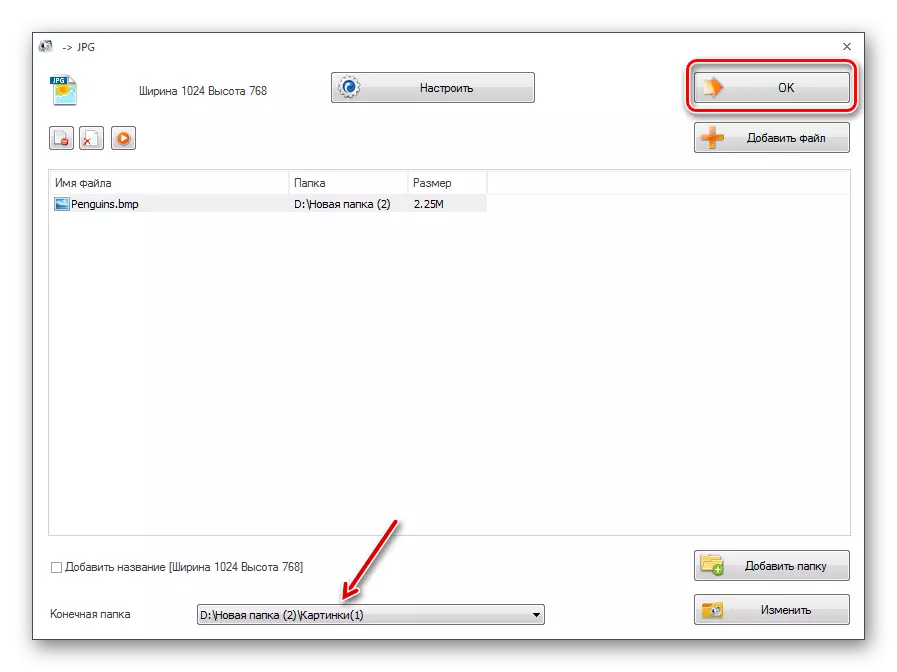
- The conversion parameters window in JPG starts. First of all, you must specify the convertible source, for which click "Add File".
- The object selection window is activated. Find the place where the BMP source is stored, highlight it and press "Open". If necessary, in this way you can add multiple items.
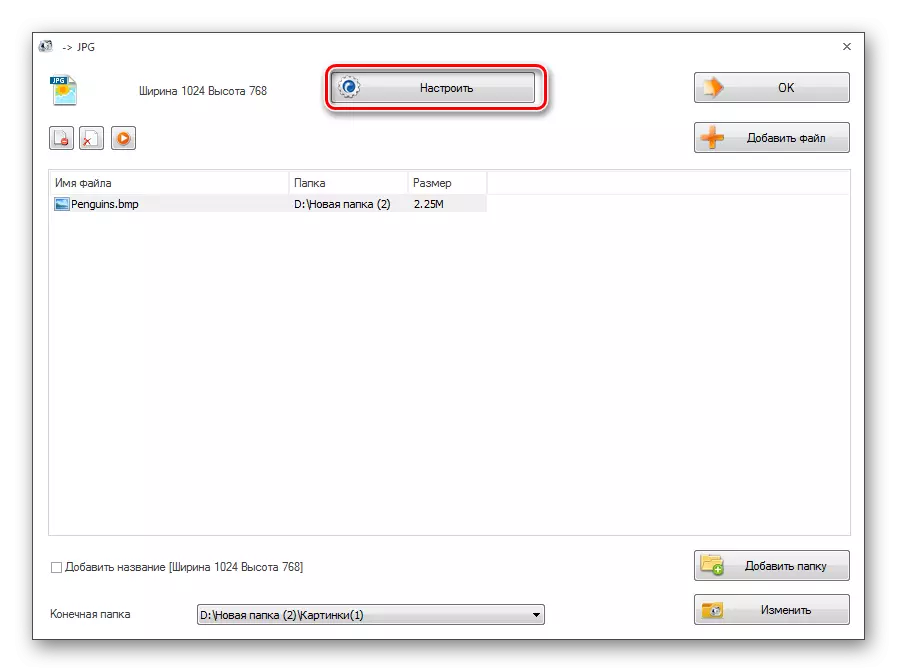
- The name and address of the selected file will appear in the conversion parameters window in JPG. You can make additional setting by clicking on the "Configure" button.
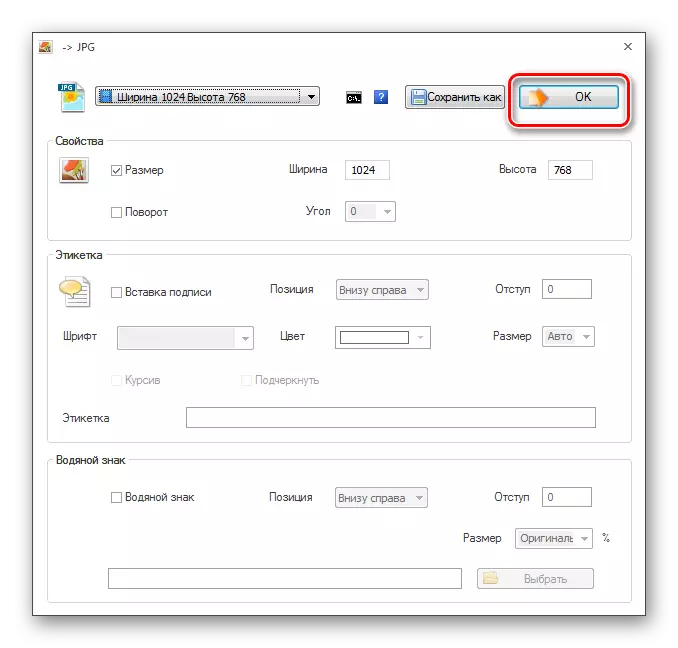
- In the window that opens, you can change the size of the image, set the angle of rotation, add a label and watermarks. After completing all those manipulations that you consider it necessary to produce, press "OK".
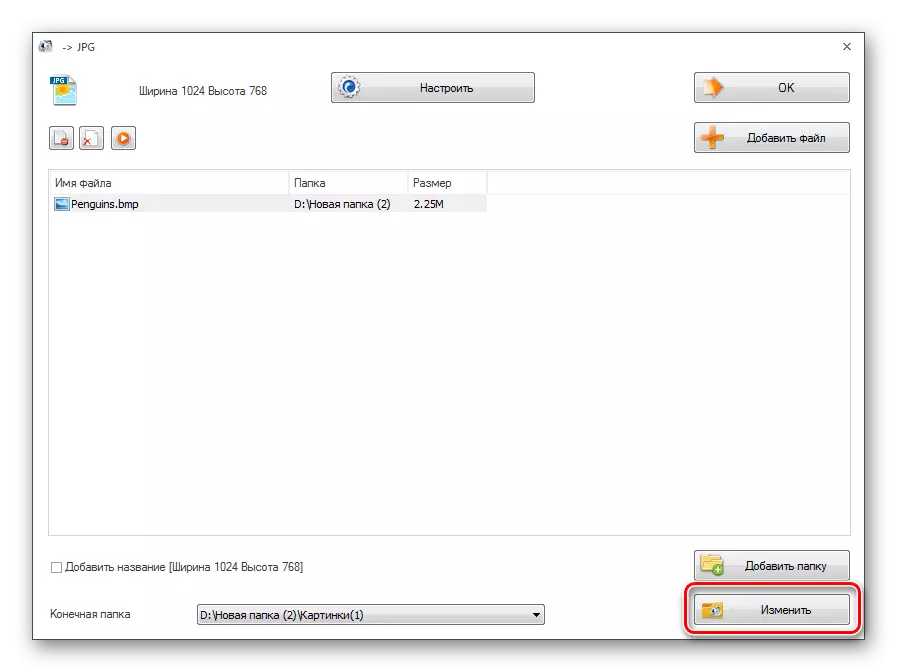
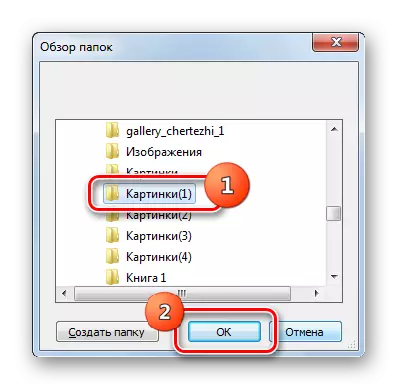
- Returning to the main window of the parameters of the selected direction of the conversion, you need to install the directory where the outgoing picture will be sent. Click "Change".
- Overview of the folder overview directories opens. Highlight the directory in which the Ready JPG will be placed. Click "OK".
- In the main setting window of the selected conversion direction in the "End Folder" field, the specified path will appear. Now you can close the settings window by pressing OK.
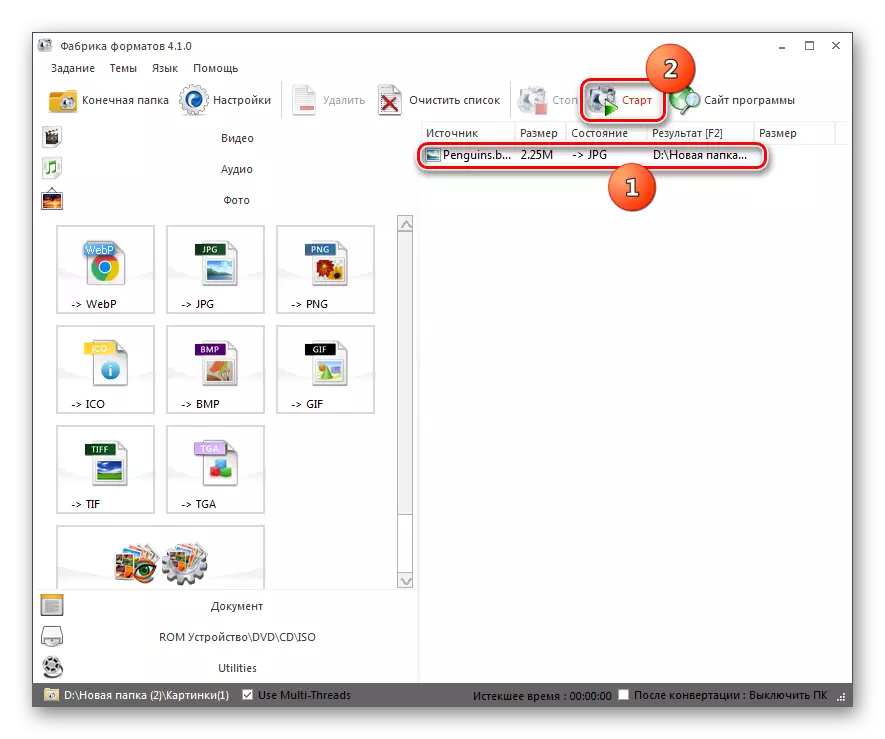
- The formed task will be displayed in the main window of the format factory. To start the conversion, select it and click "Start".
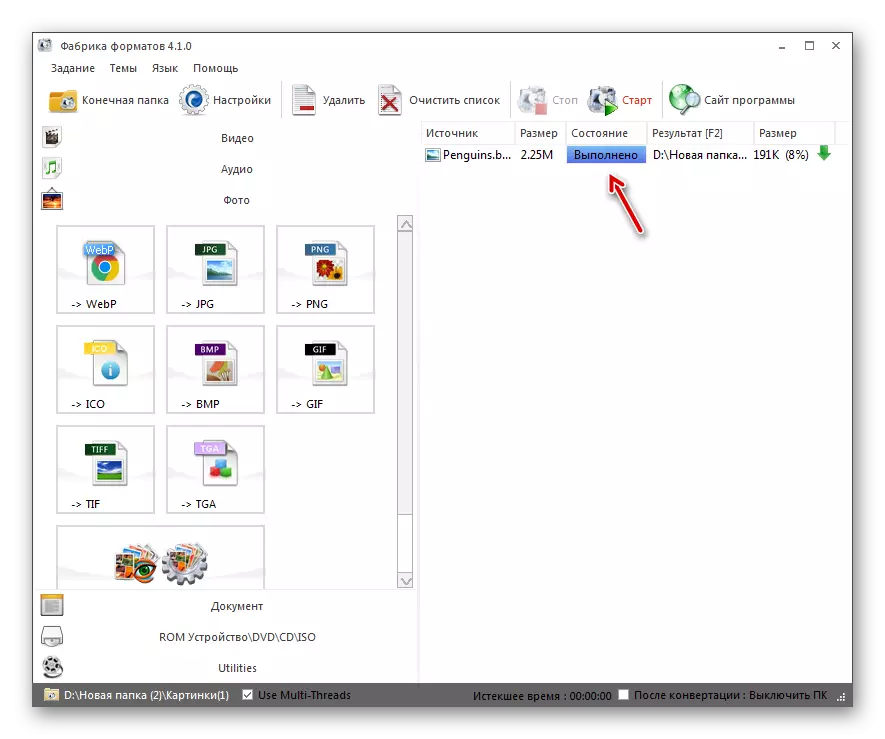
- Conversion produced. This is evidenced by the appearance of the status "executed" in the Status column.
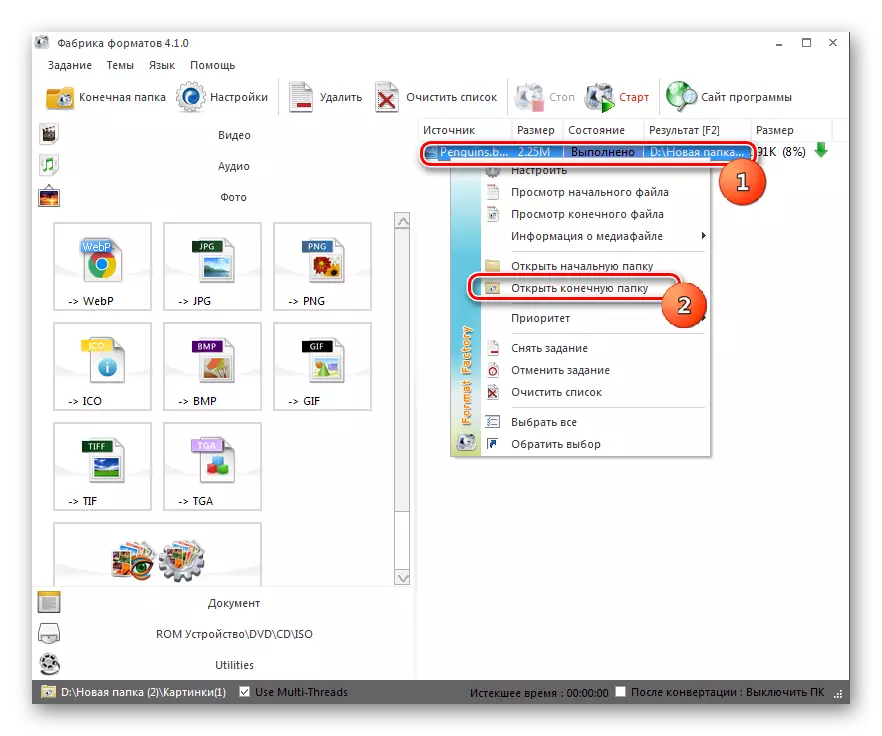
- The processed picture jpg will be saved in the place that the user itself is assigned in the settings. Go to this directory can be through the format factory interface. To do this, right-click the task name in the main program window. In the displayed list, click "Open the end folder".
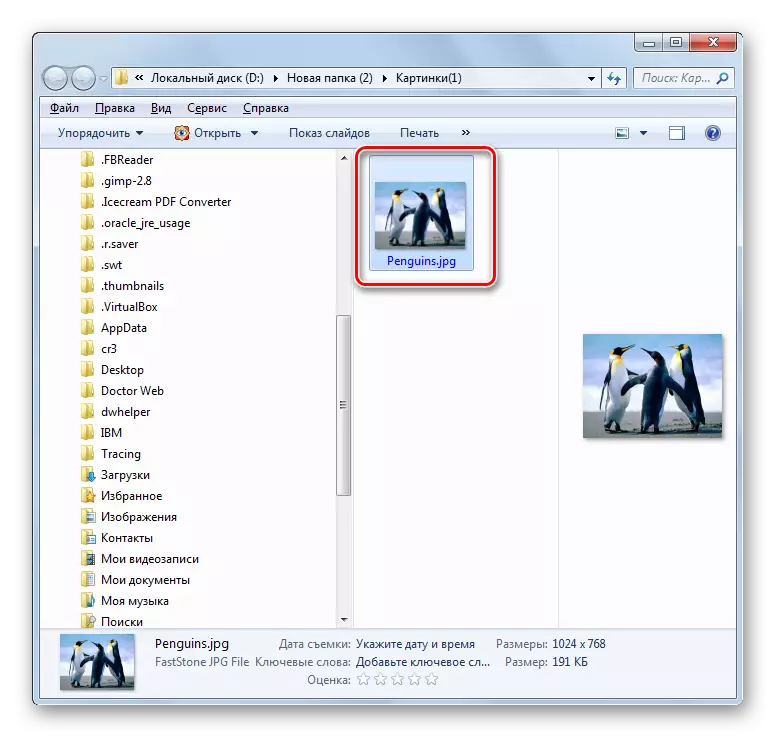
- The "Explorer" is activated where the final picture of the JPG is stored.
This method is good because the Factory Format Factory and allows you to transform from BMP to a large number of objects simultaneously.
Method 2: Movavi Video Converter
The following software used to convert BMP to JPG is Movavi Video Converter, which, despite its name, can convert not only video, but also audio and images.
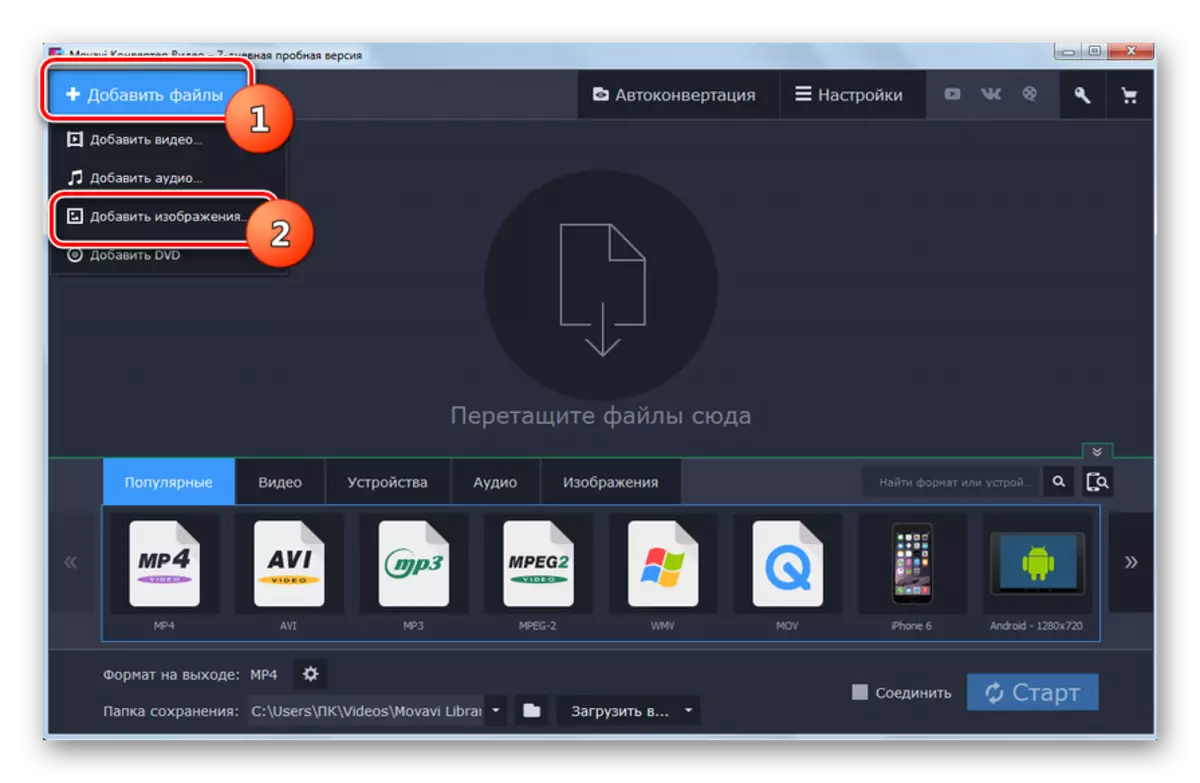
- Run Movavi Video Converter. To go to the Select Picture window, click "Add Files". From the opening list, select "Add images ...".
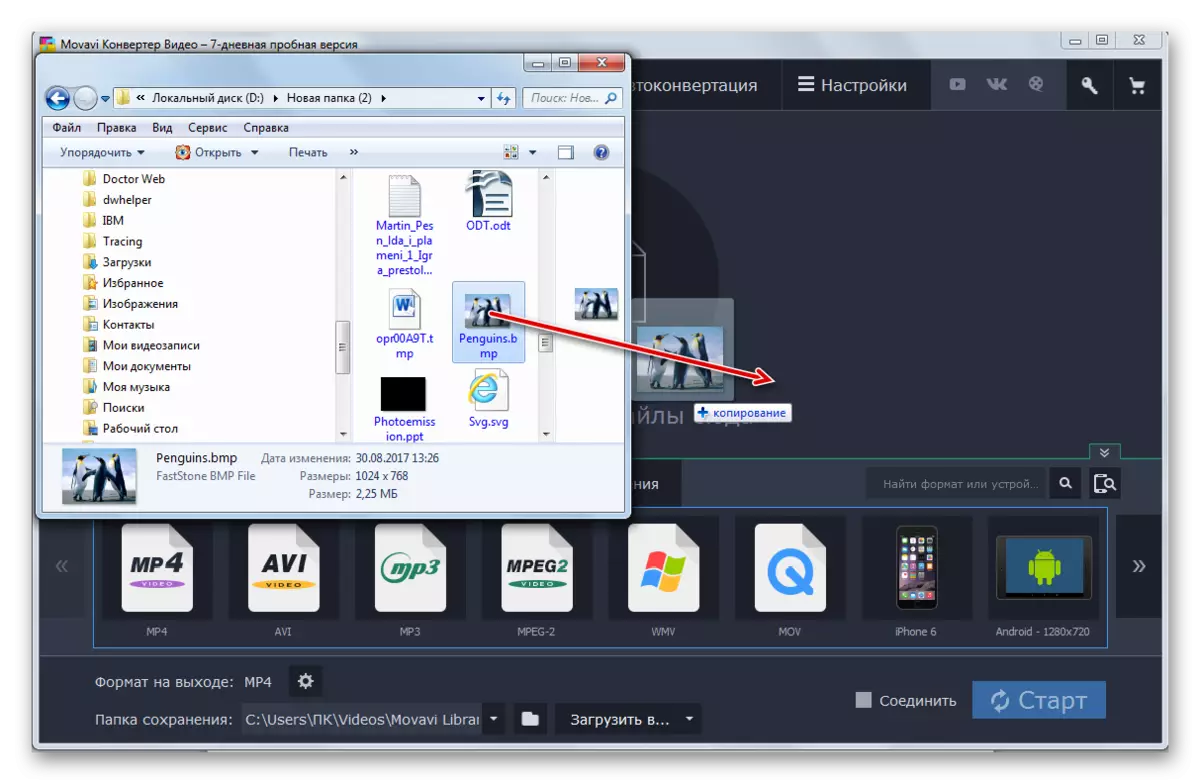
- The opening window is launched. Find the file system location where the original BMP is located. Highlight it, press "Open". You can add not one object, but immediately several.

There is another option to add the source picture. It does not provide for the opening window. You need to drag the BMP source object from the "Explorer" in Movavi Video Converter.
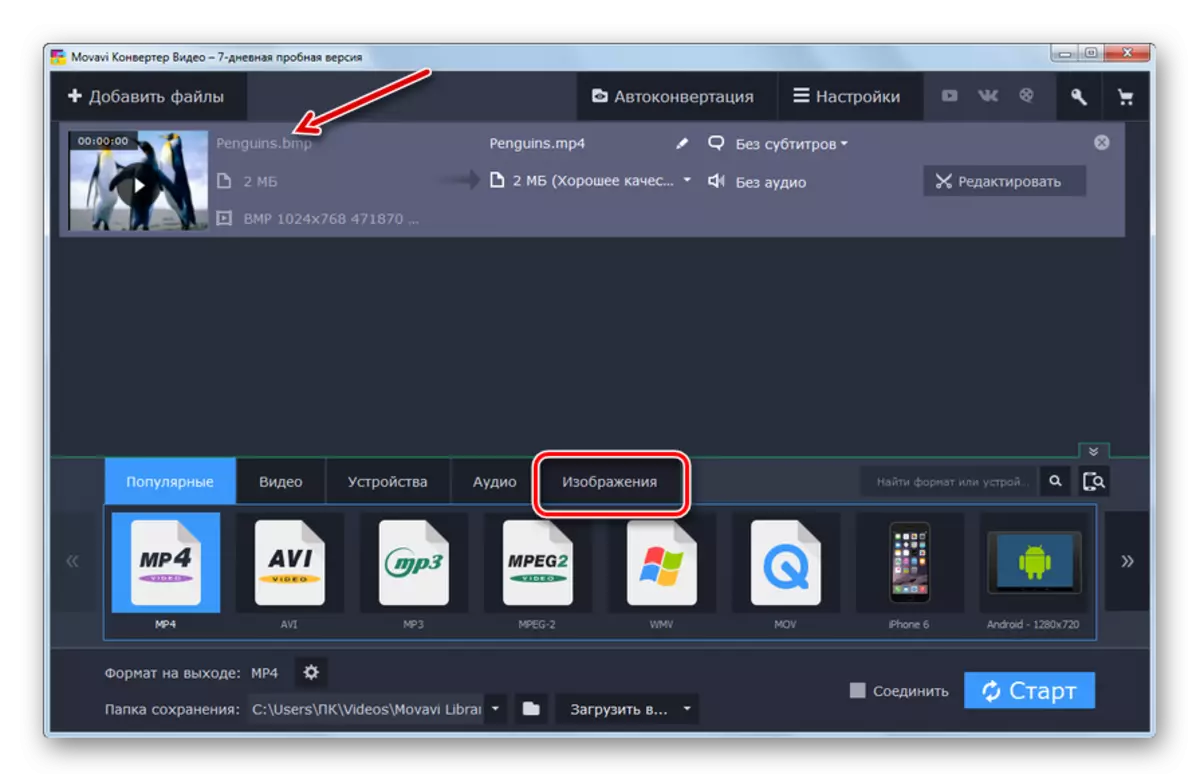
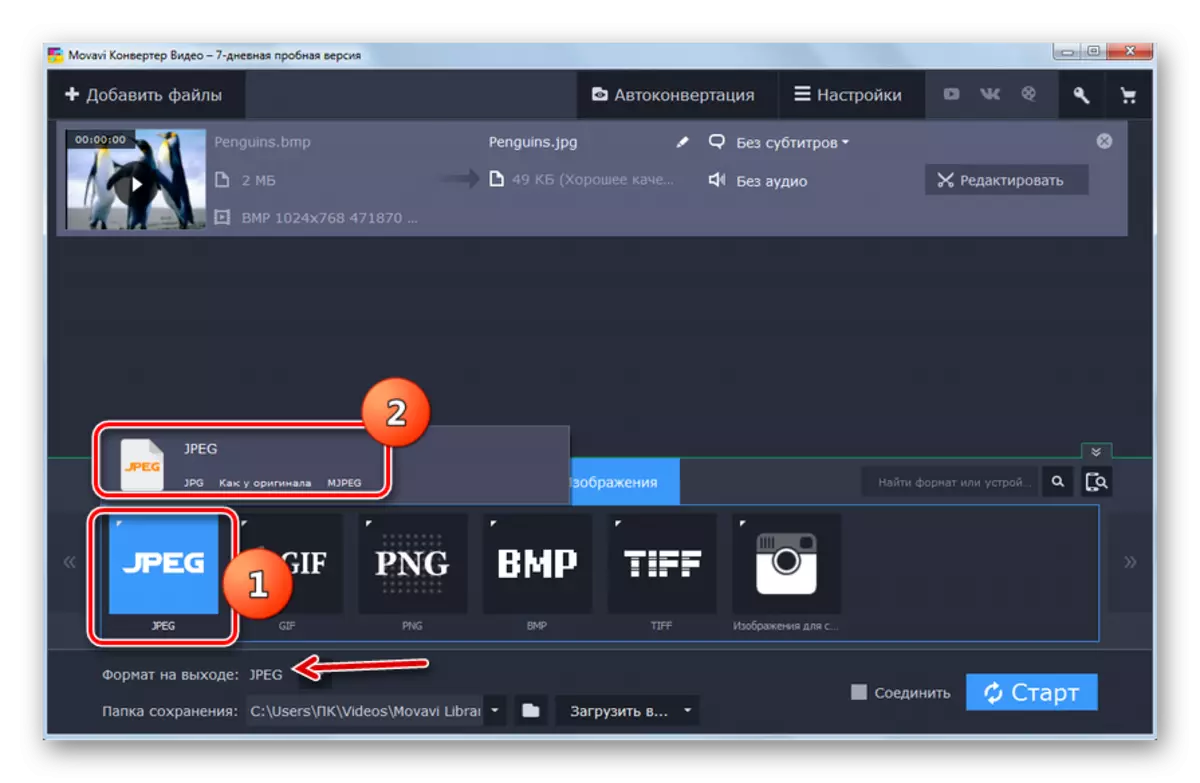
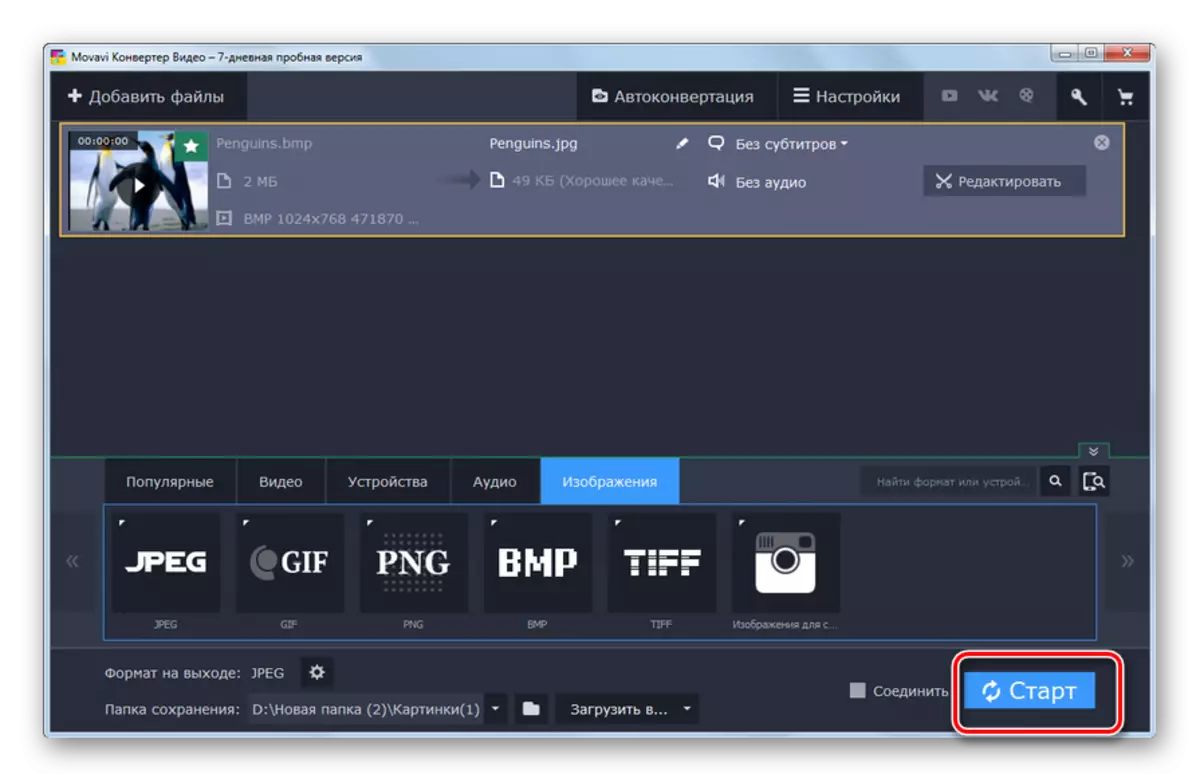
- The drawing will be added to the main program window. Now you need to specify the outgoing format. At the bottom of the interface, click on the name of the "Image" block.
- Then from the list, select "JPEG". Must appear a list of types of formats. In this case, it will consist of just one point "JPEG". Click on it. After that, about the "output format" parameter should be displayed "JPEG".
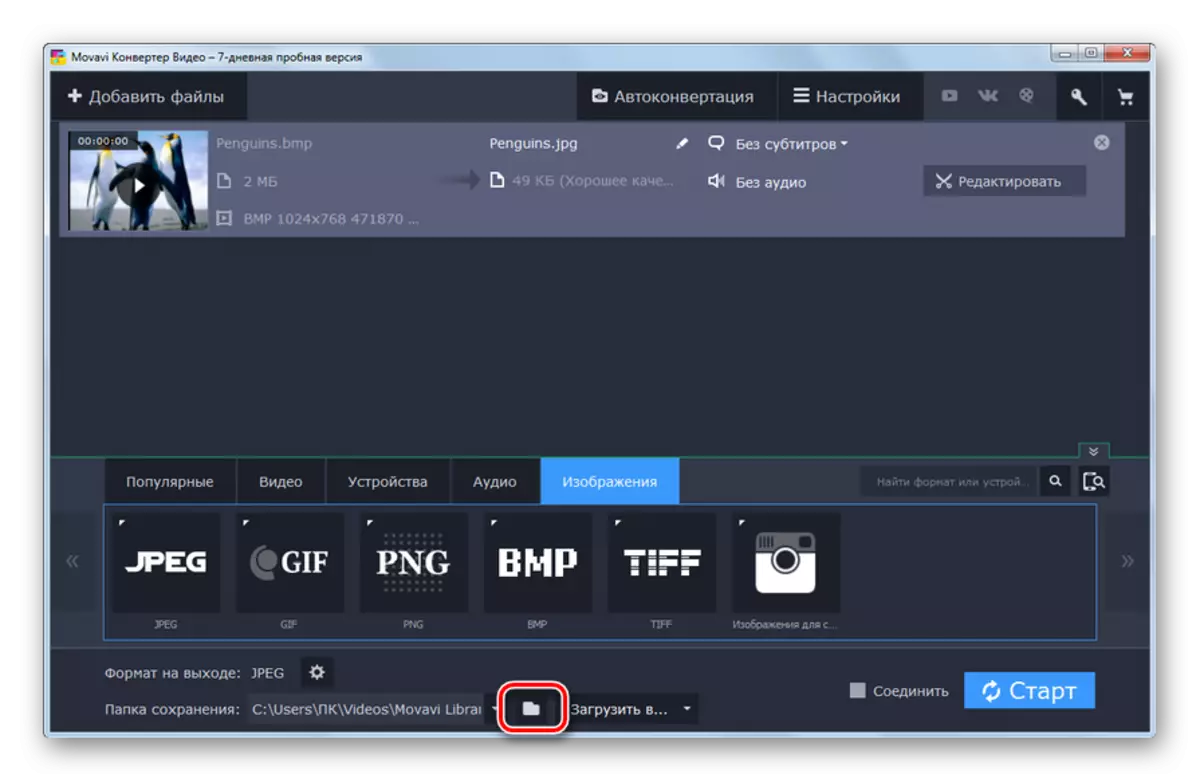
- By default, the conversion is made in a special folder of the Movavi Library program. But quite often users do not suit this position of things. They want to assign the final reform directory themselves. To produce the necessary changes, you need to click on the "Select Folder to save ready-made files" button, which is presented in the form of the catalog logo.
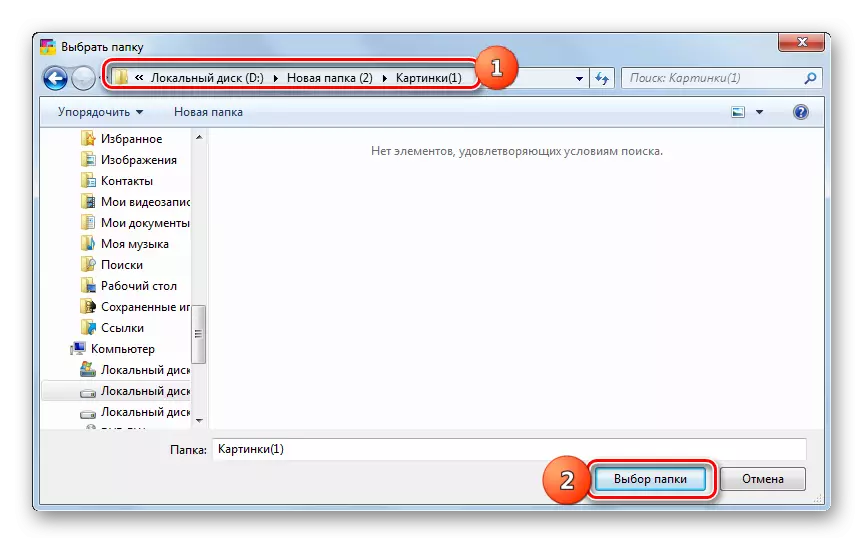
- The "Select Folder" is launched. Go to the directory where you want to store ready-made JPG. Click "Folder Choice."
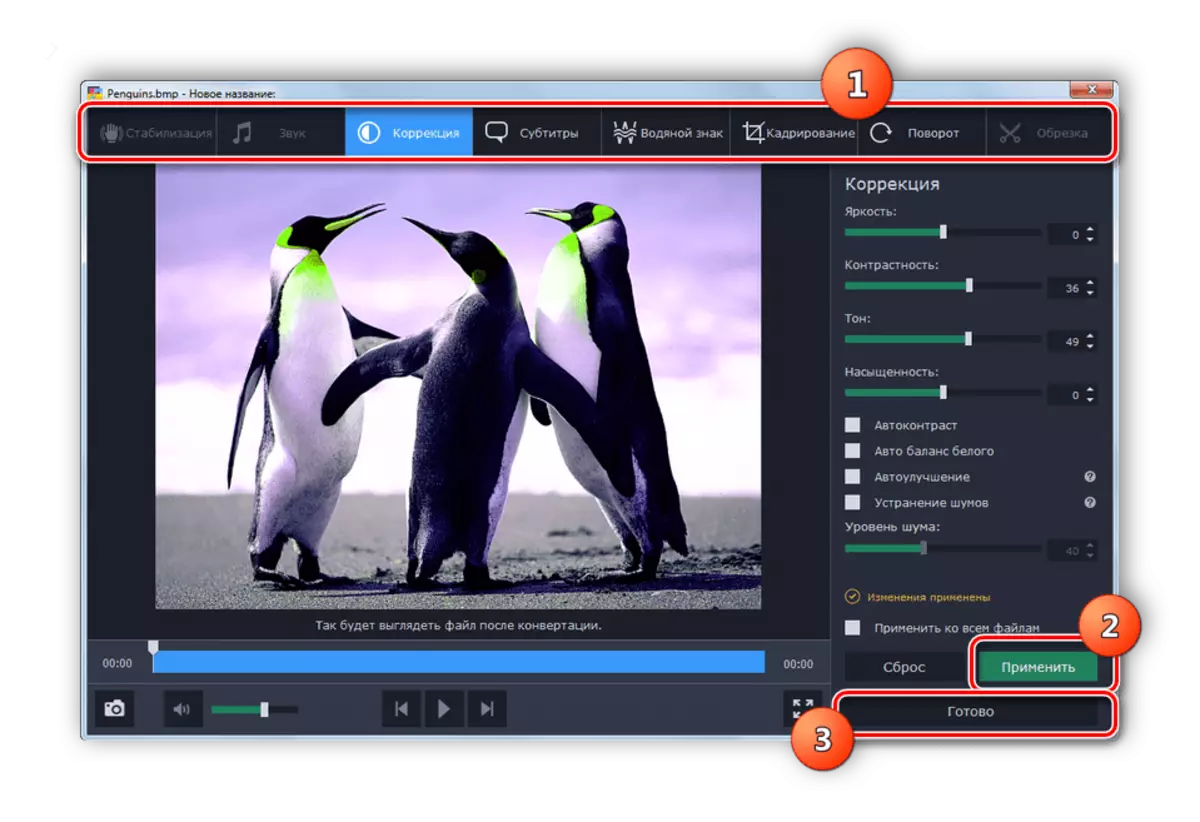
- Now the specified directory address will be displayed in the "Output format" field of the main window. In most cases, the manipulations made are quite enough in order to start the transformation process. But those users who want to make deeper adjustments can do this by clicking on the "Edit" button located in a block with the name of the added source BMP.
- The edit tool opens. Here it will be possible to make the following actions:
- Reflect the image vertically or horizontal;
- Rotate a picture clockwise or against it;
- Correct the display of colors;
- Cut drawing;
- Impose watermarks, etc.
Switching between different settings blocks is performed using the top menu. After the necessary adjustments are completed, press "apply" and "ready".
- Returning to the main shell of the Movavi Video Converter, to start the conversion, you must click "Start".
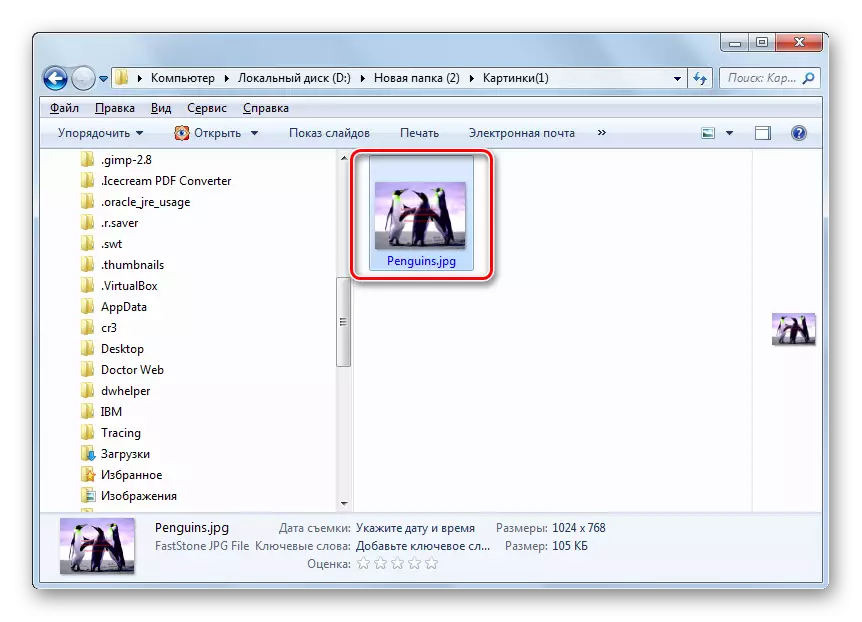
- Transformation will be executed. After its end, the "Explorer" is automatically activated where the transformed pattern is stored.

Like the previous method, this version of actions involves the ability to convert a large number of pictures at the same time. Only in contrast to the format factory, the Movavi Video Converter application is paid. The trial version is available only 7 days with the imposition of watermarks on the outgoing object.
Method 3: IrfanView
Convert BMP in JPG can also programs for viewing pictures with advanced features to which the IRFanView belongs.
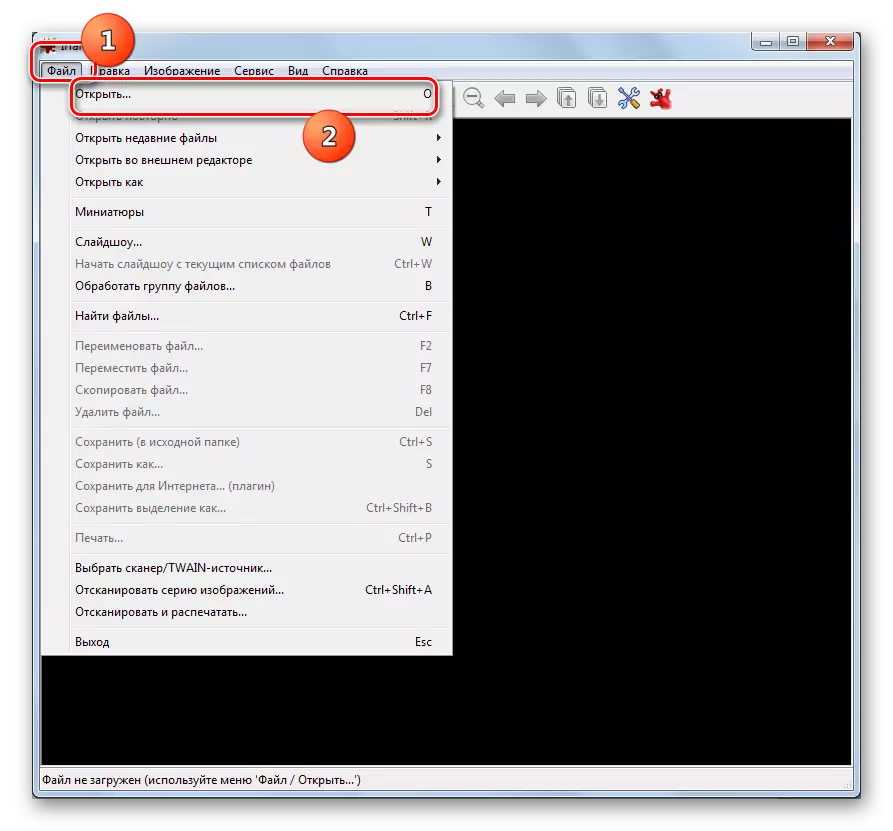
- Run IrfanView. Click on the "Open" icon in the folder form.
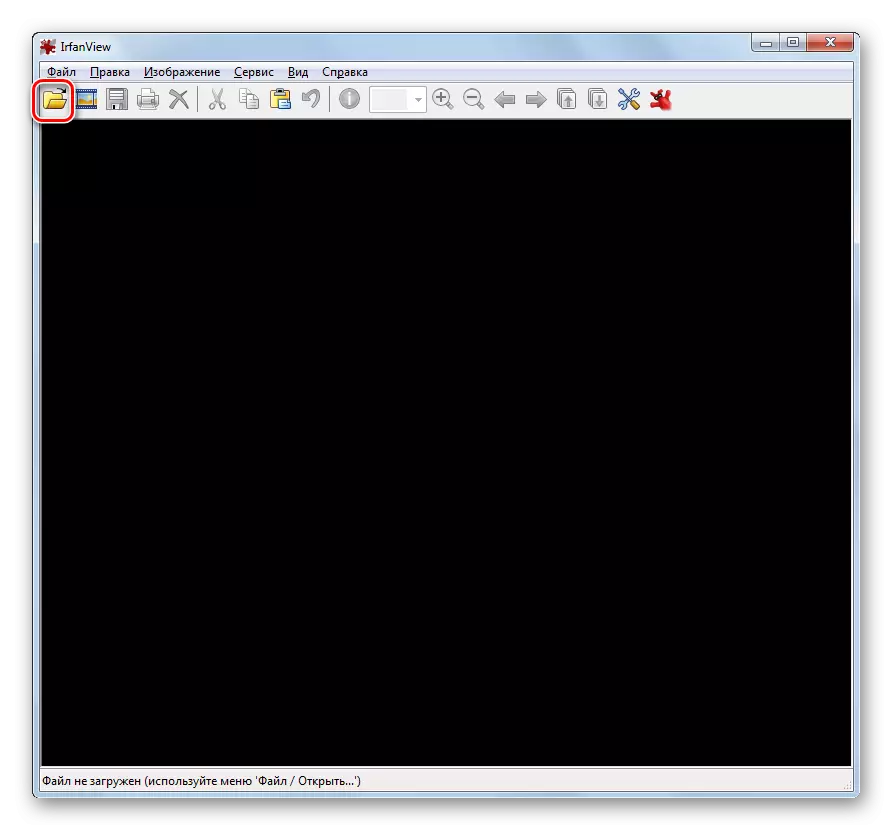
If you are more conveniently manipulated through the menu, then use the "File" and "open" click. If you prefer to act with the help of "hot" keys, then you can simply press the O button in the English-speaking keyboard layout.
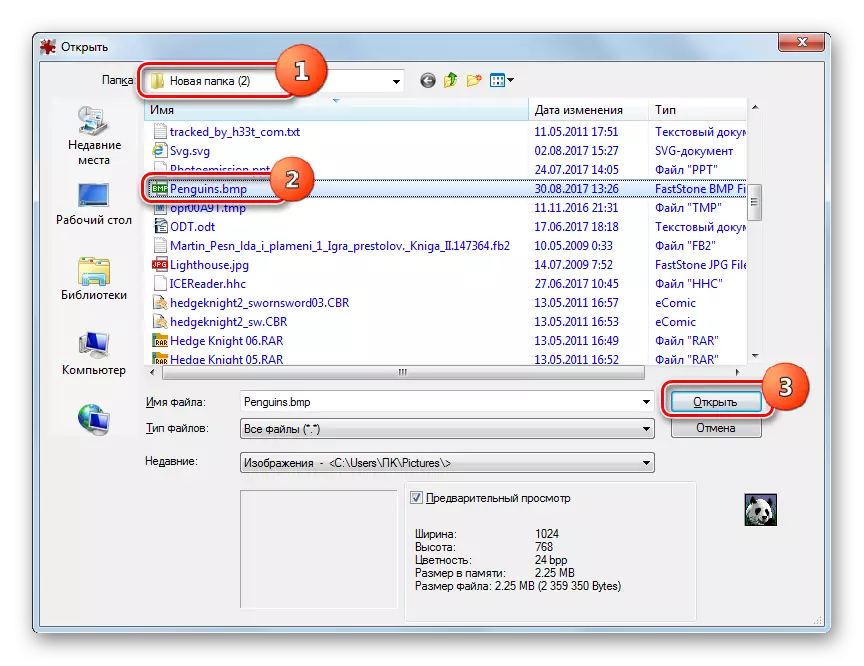
- Any of these three actions will cause the image selection window. Find the place where the original BMP is located and click "open" after it.
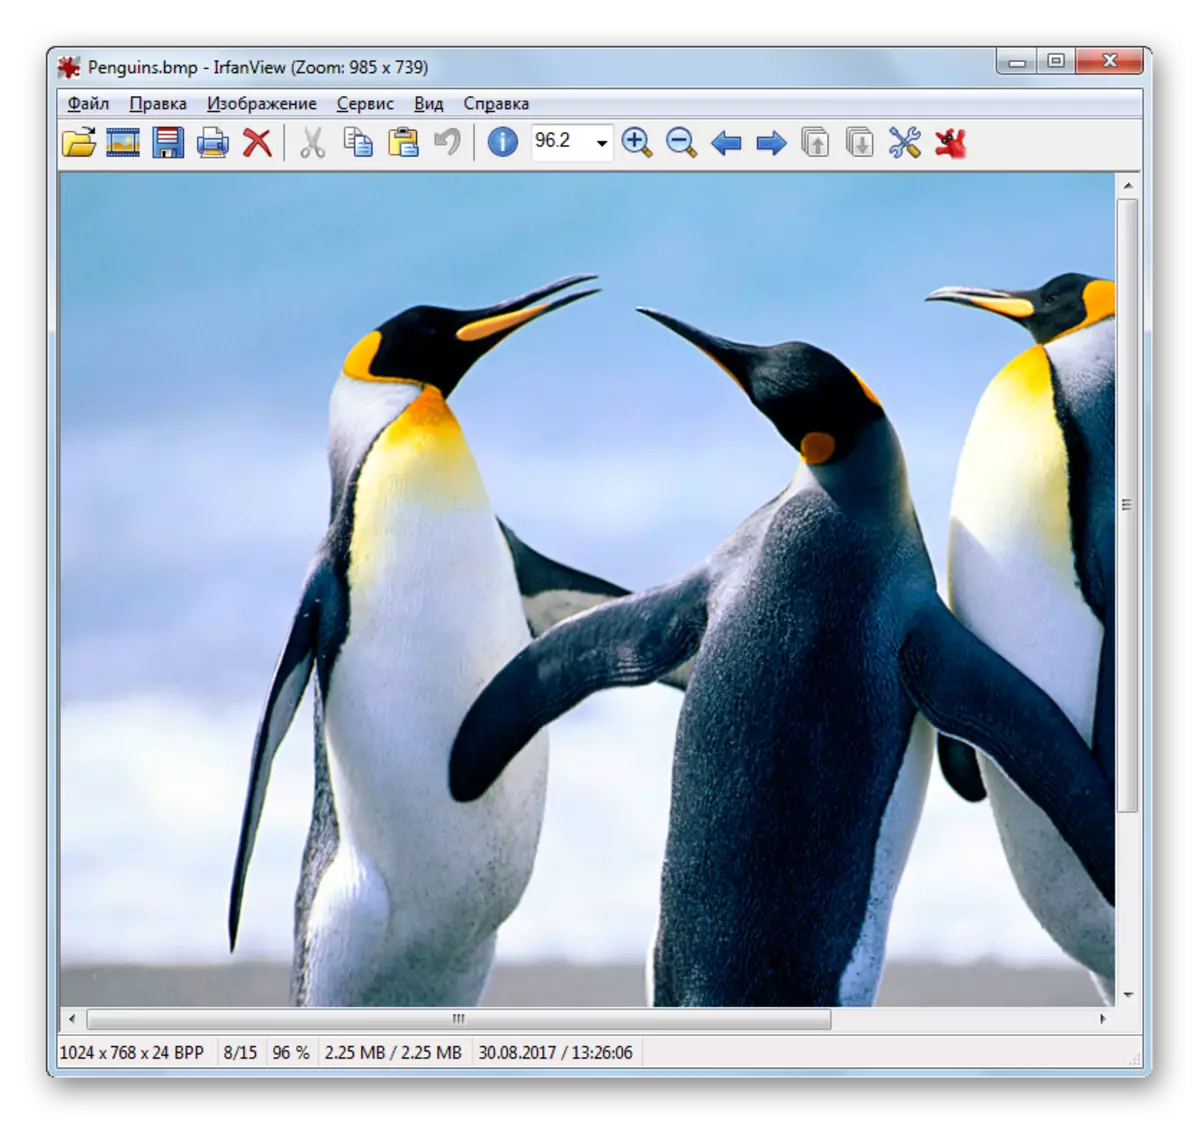
- The image is displayed in the IrfanView shell.
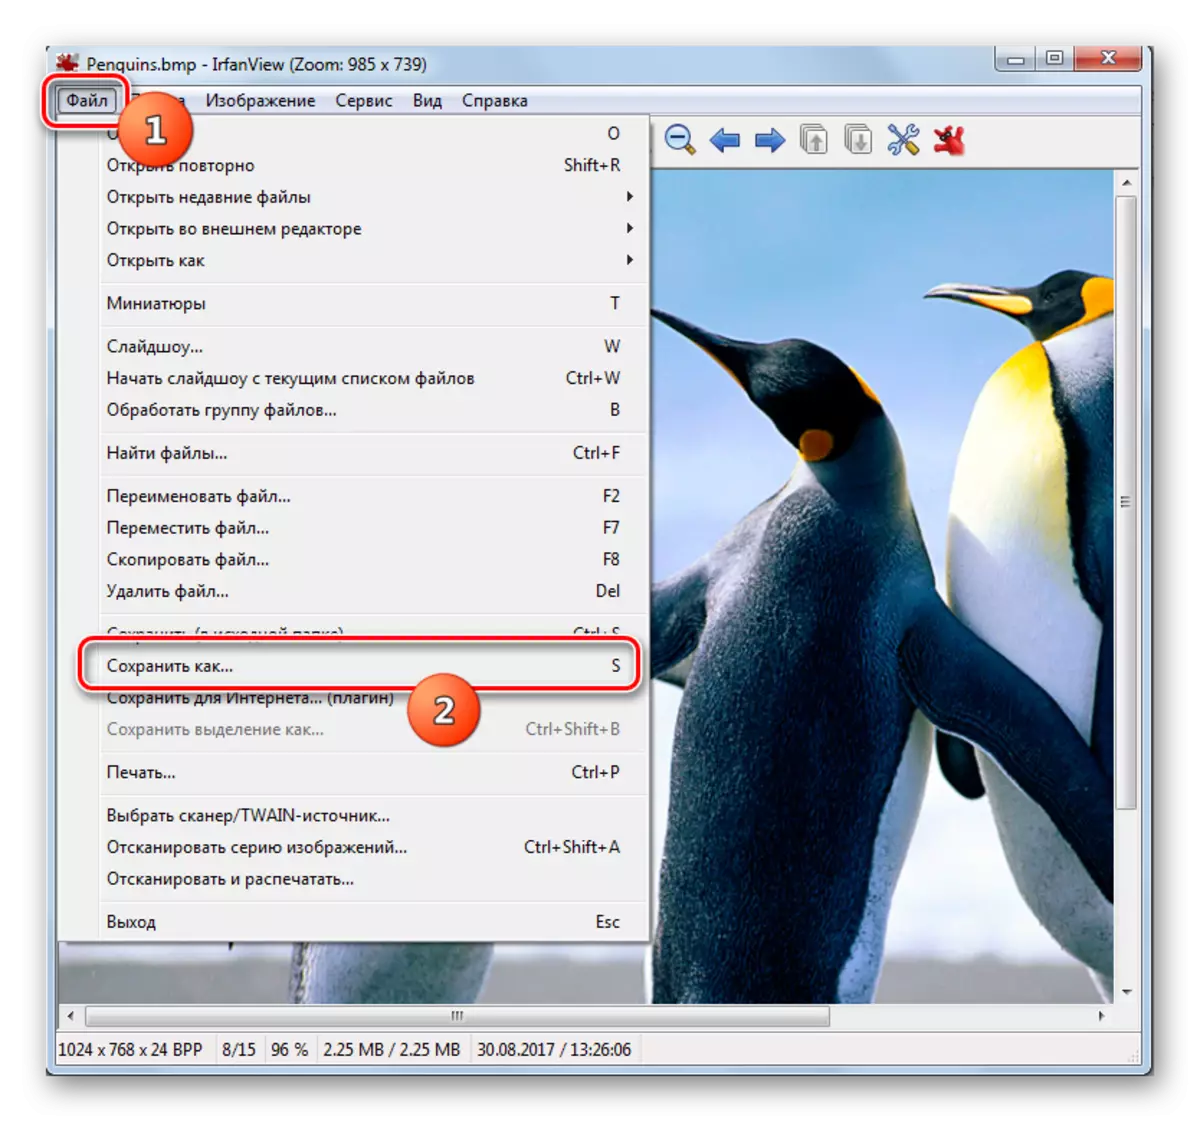
- To export it in the target format, click on the logo having a diskette view.
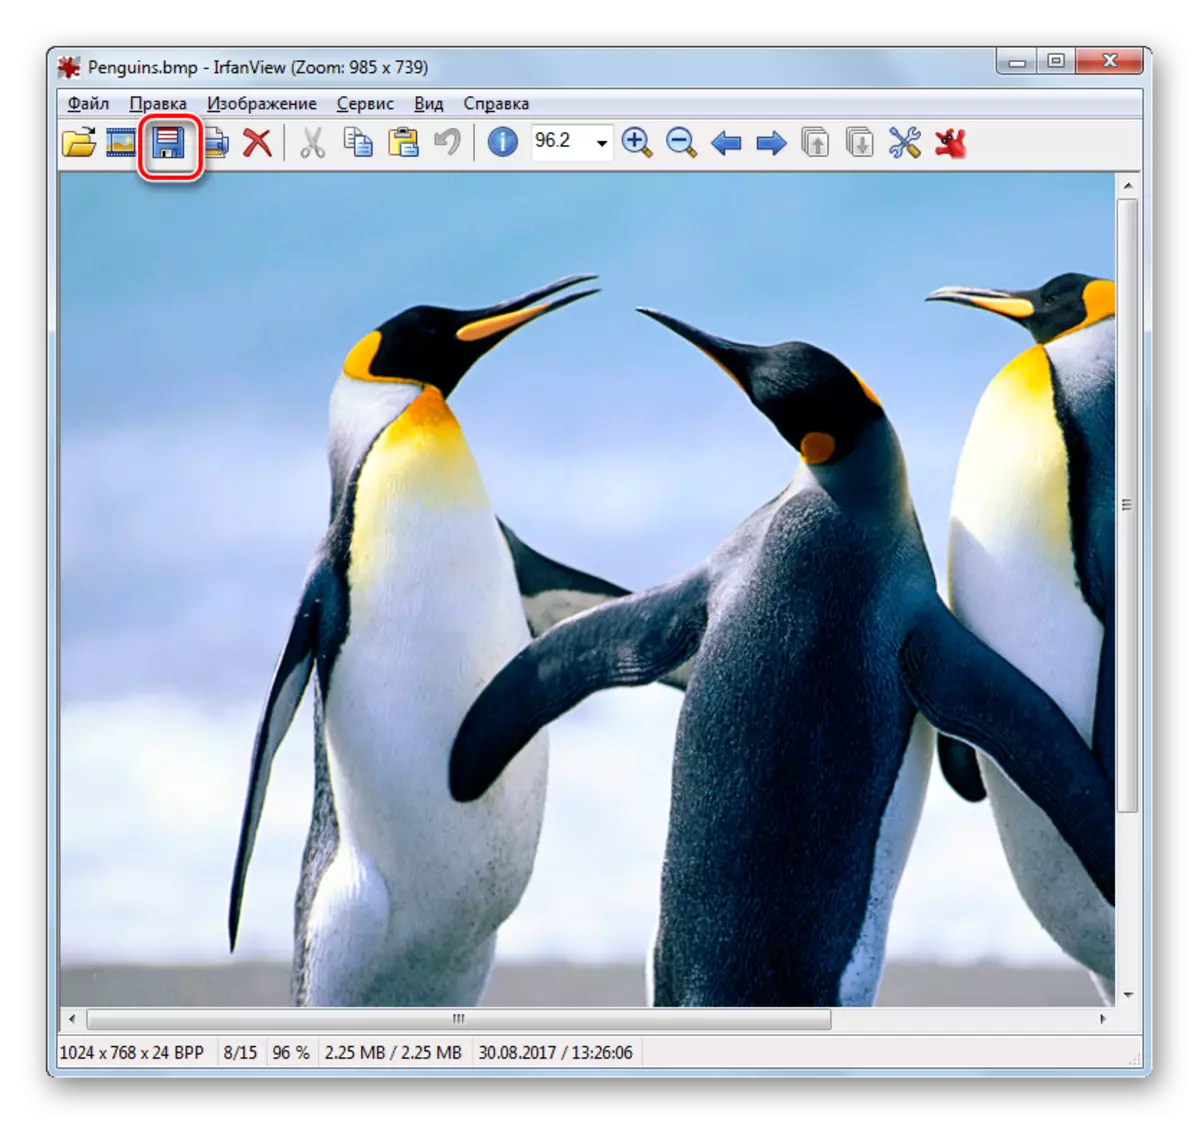
You can apply transitions to the "File" and "Save As ..." or use Press S.
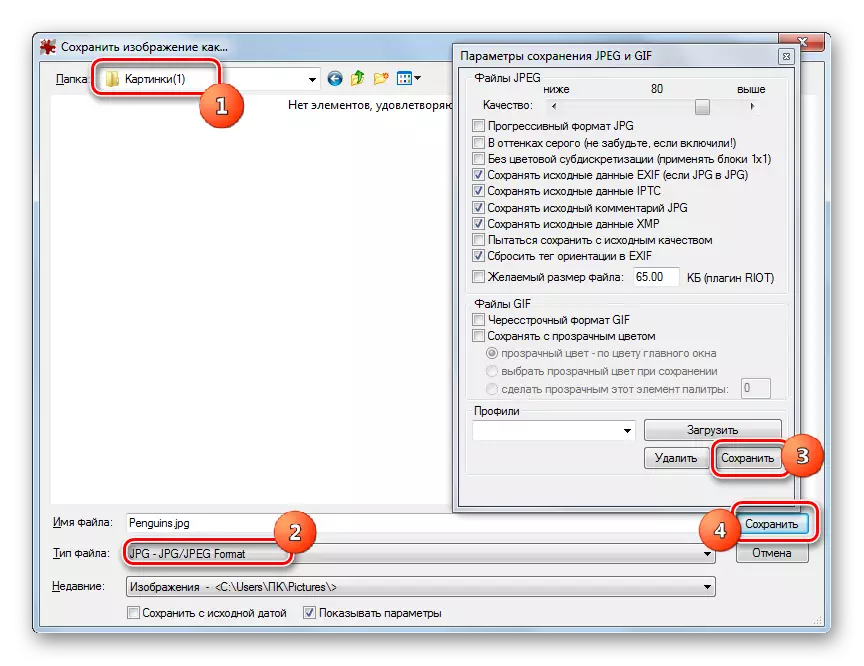
- The basic file saving window opens. This will automatically open and an additional window, where the save parameters will be displayed. Make a transition in the base window to where you are going to place a converted element. In the List "File Type" Select "JPG - JPG / JPEG FORMAT". In the additional window "Save JPEG and GIF" options, it is possible to change such settings:
- Image quality;
- Establish a progressive format;
- Save IPTC information, XMP, EXIF, etc.
After making changes, click "Save" in the optional window, and then click the key with the same name in the base window.
- The drawing is converted to JPG and saved where the user has previously specified.
In comparison with the methods previously discussed, the use of this program for the conversion facilities has the disadvantage that only one object can be converted at a time.
Method 4: Faststone Image Viewer
Reformat BMP in JPG is able to another pictures viewer - Faststone Image Viewer.
- Launate Faststone Image Vyver. In the horizontal menu, click "File" and "Open". Either type Ctrl + O.
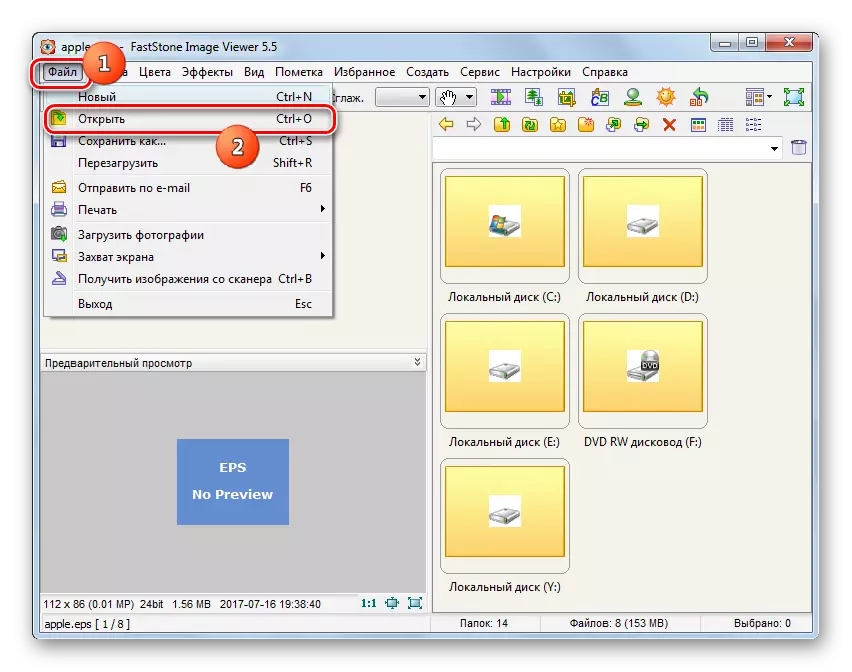
You can click on the logo in the form of a directory.
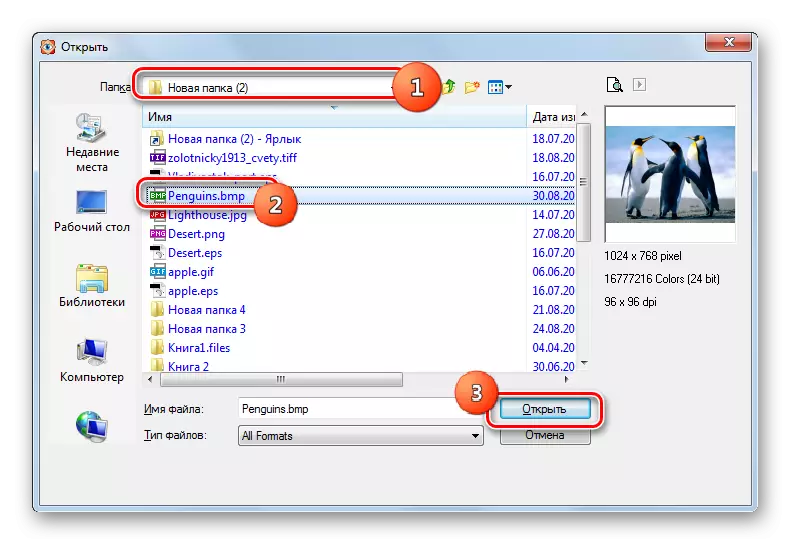
- The picture selection window is launched. Find the place where BMP is located. Drawing this image, press "Open".
But you can go to the desired object and without launching the opening window. To do this, make a transition using the file dispatcher, which is embedded in the image viewer. Transitions are carried out by directories placed in the left upper area of the shell interface.
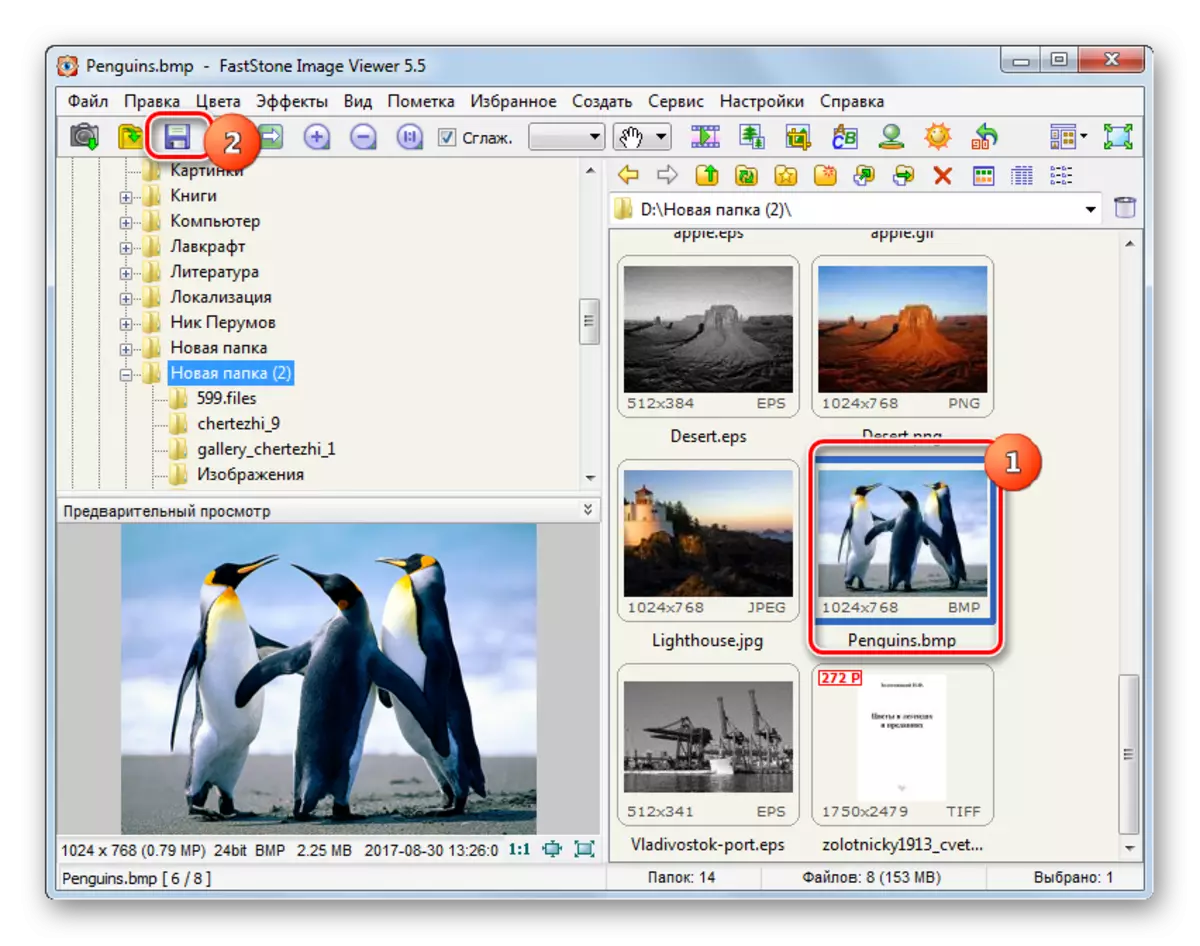
- After the transition to the directory of the file placement was performed, in the right area of the program shell, select the required BMP object. Then click "File" and "Save As ...". You can use an alternative method by using the Ctrl + S element.
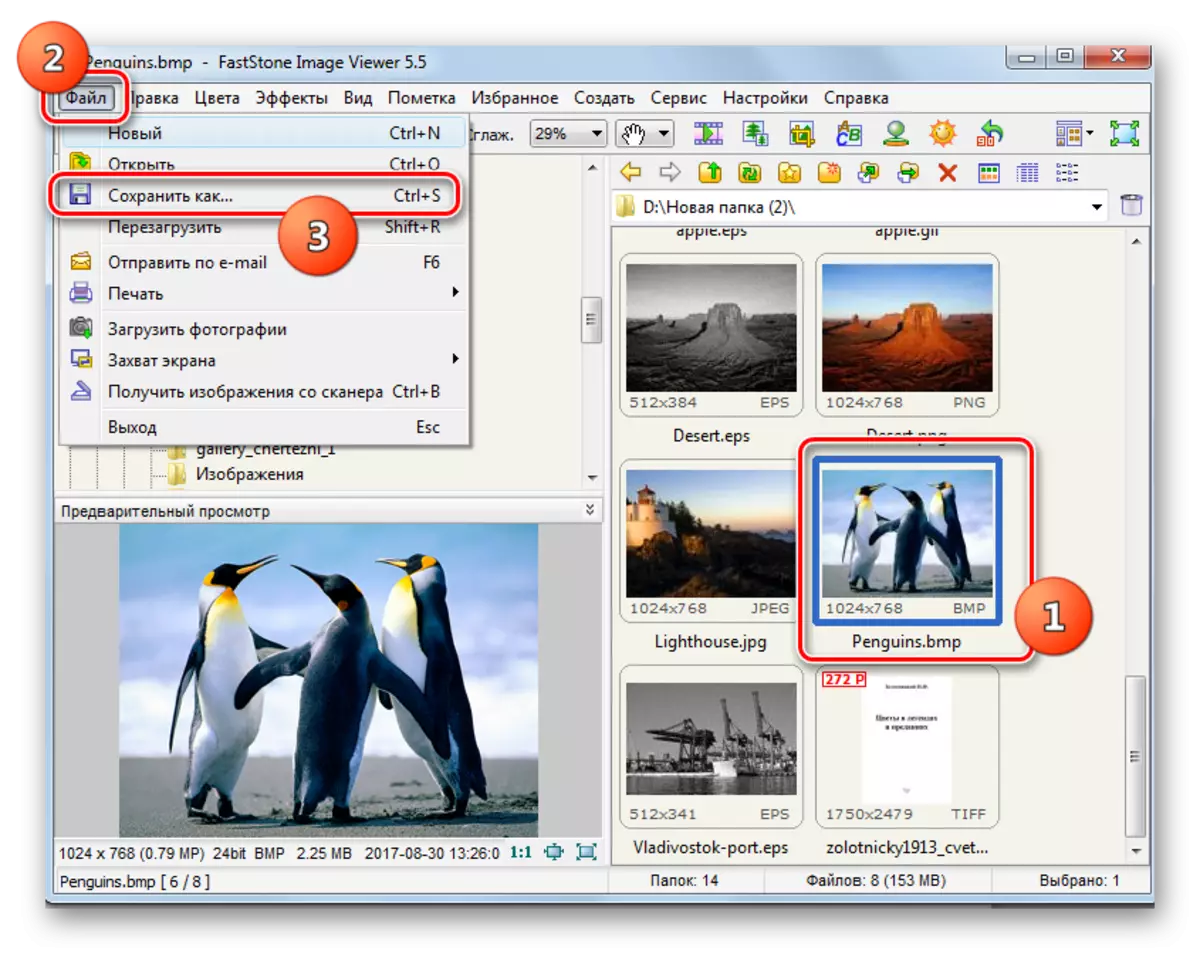
Another option provides a click on the "Save As ..." logo in the form of a floppy disk after object designation.
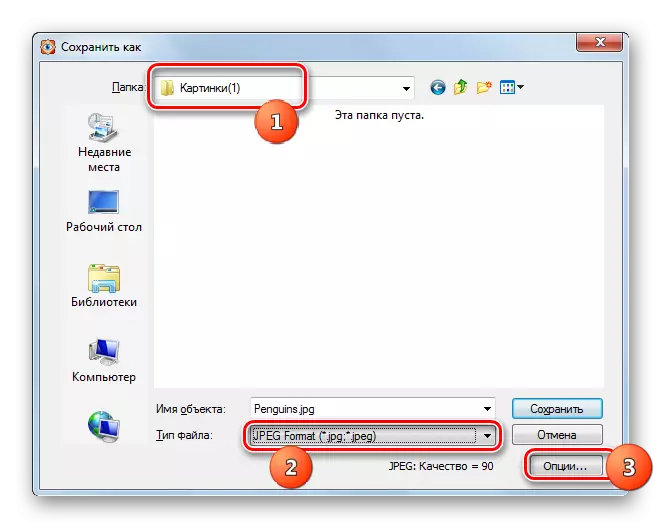
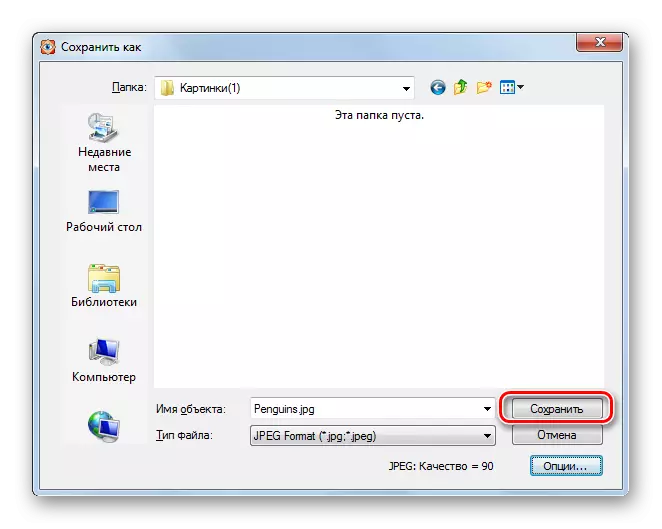
- The save sheath is started. Move where you want to save the JPG object. In the list "File type", mark "JPEG FORMAT". If you need to make more detailed conversion setting, then click "Options ...".
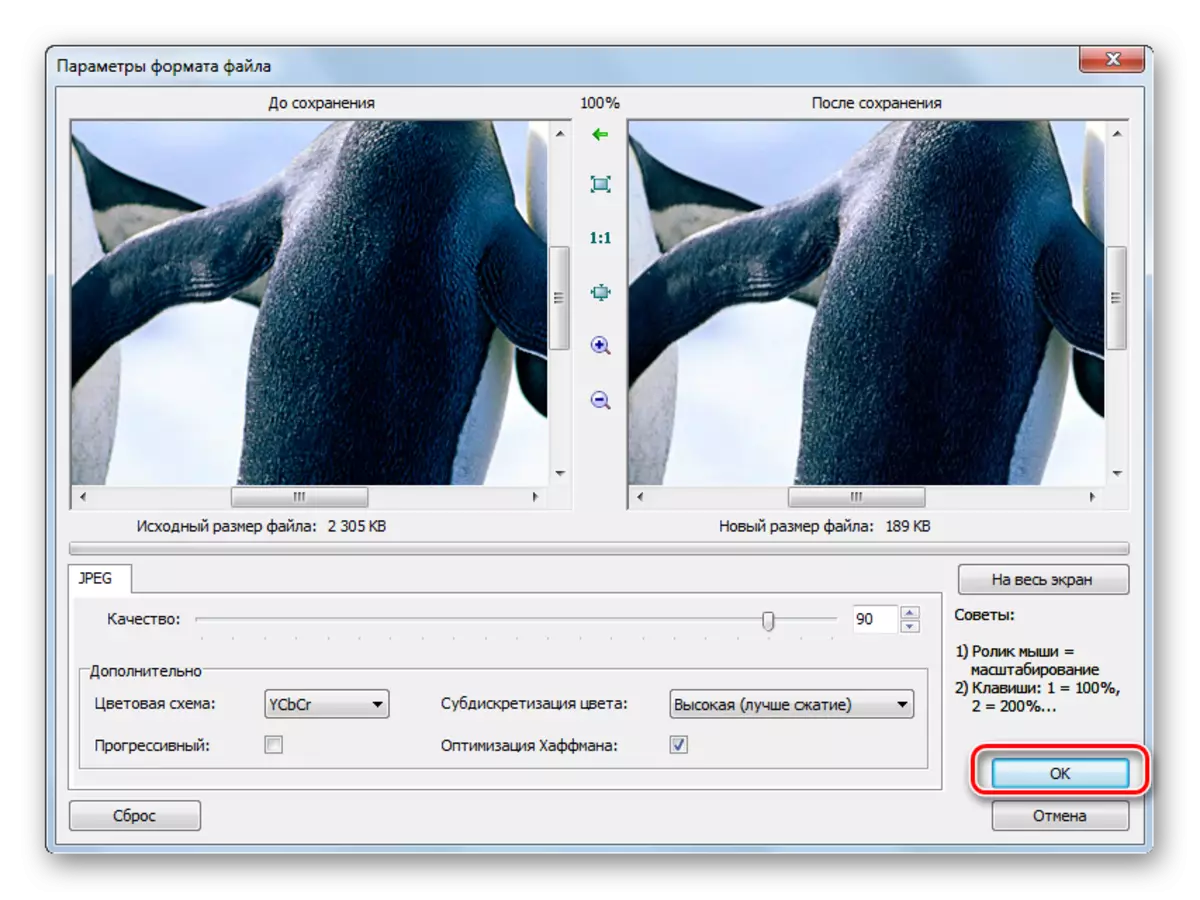
- "File format parameters" is activated. In this window, by dragging the runner, you can adjust the quality of the pattern and the degree of its compression. In addition, you can immediately change the settings:
- Color scheme;
- Condiscritation of color;
- Optimization of Hoffman and others.
Click OK.
- Returning to the save window, to complete all the manipulations for converting the image, it remains only to click on the "Save" button.
- A picture or drawing in JPG format will be stored by the path that was set by the user.

Method 5: GIMP
With the task set in the current article, a free GIMP graphics editor can successfully cope.
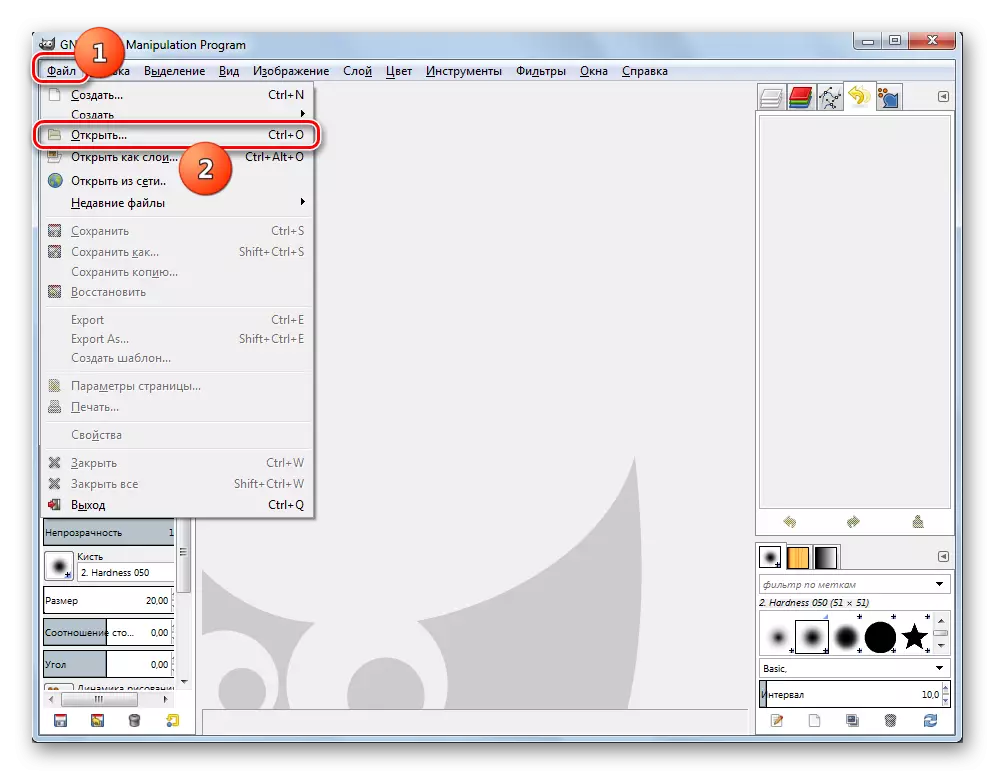
- Run GIMP. To add an object, click "File" and "Open".
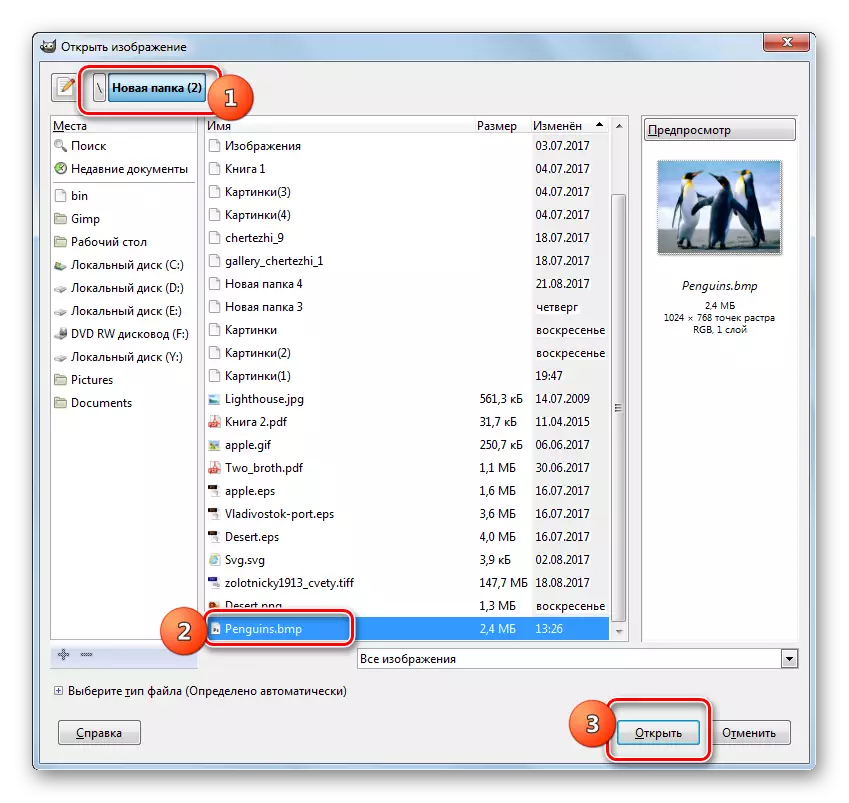
- A picture selection window is started. Find the BMP location area and click "Open" after it is selected.
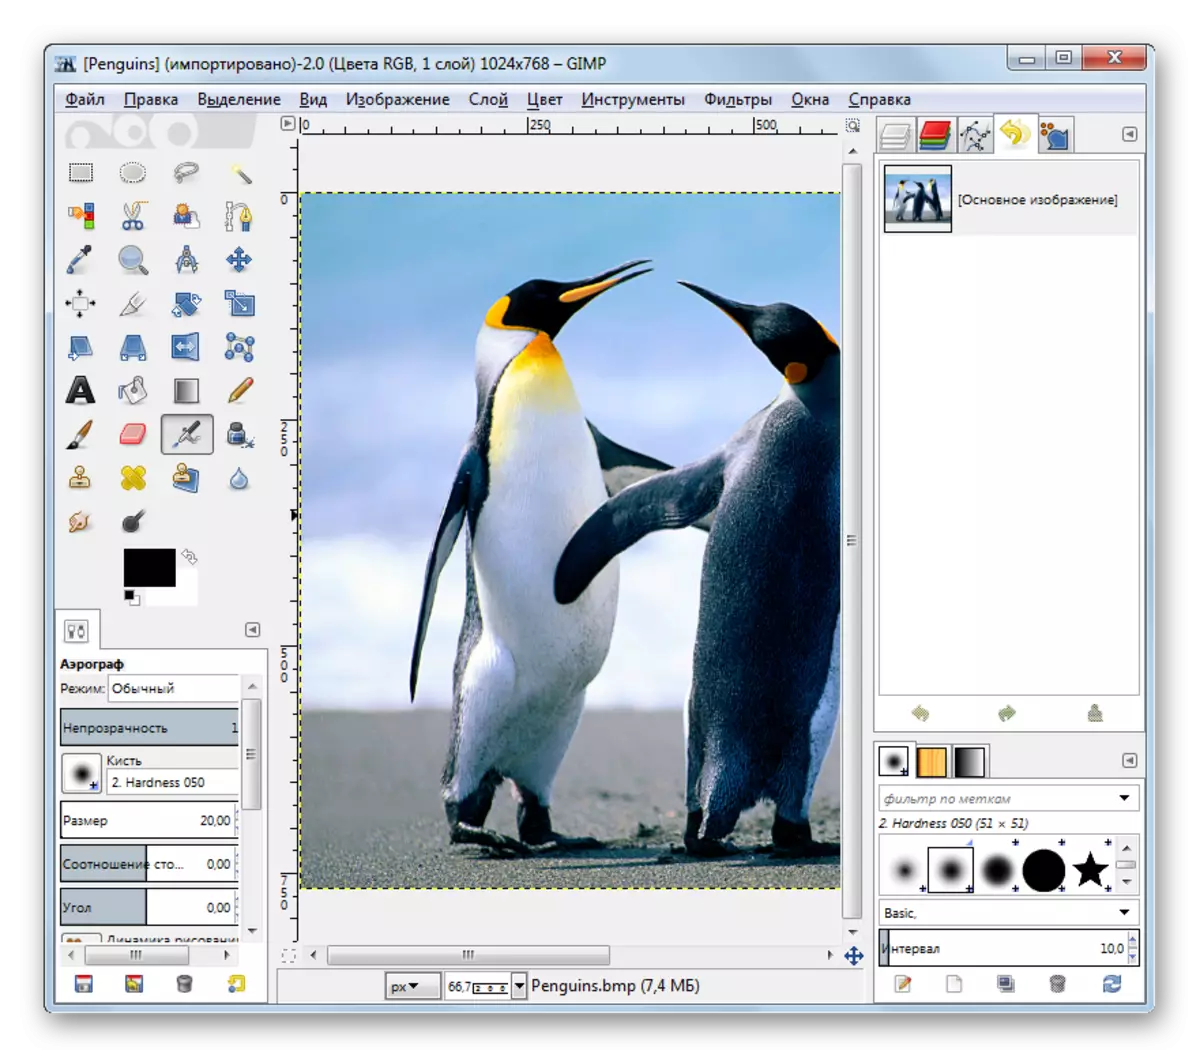
- The drawing will be displayed in the GIMP interface.
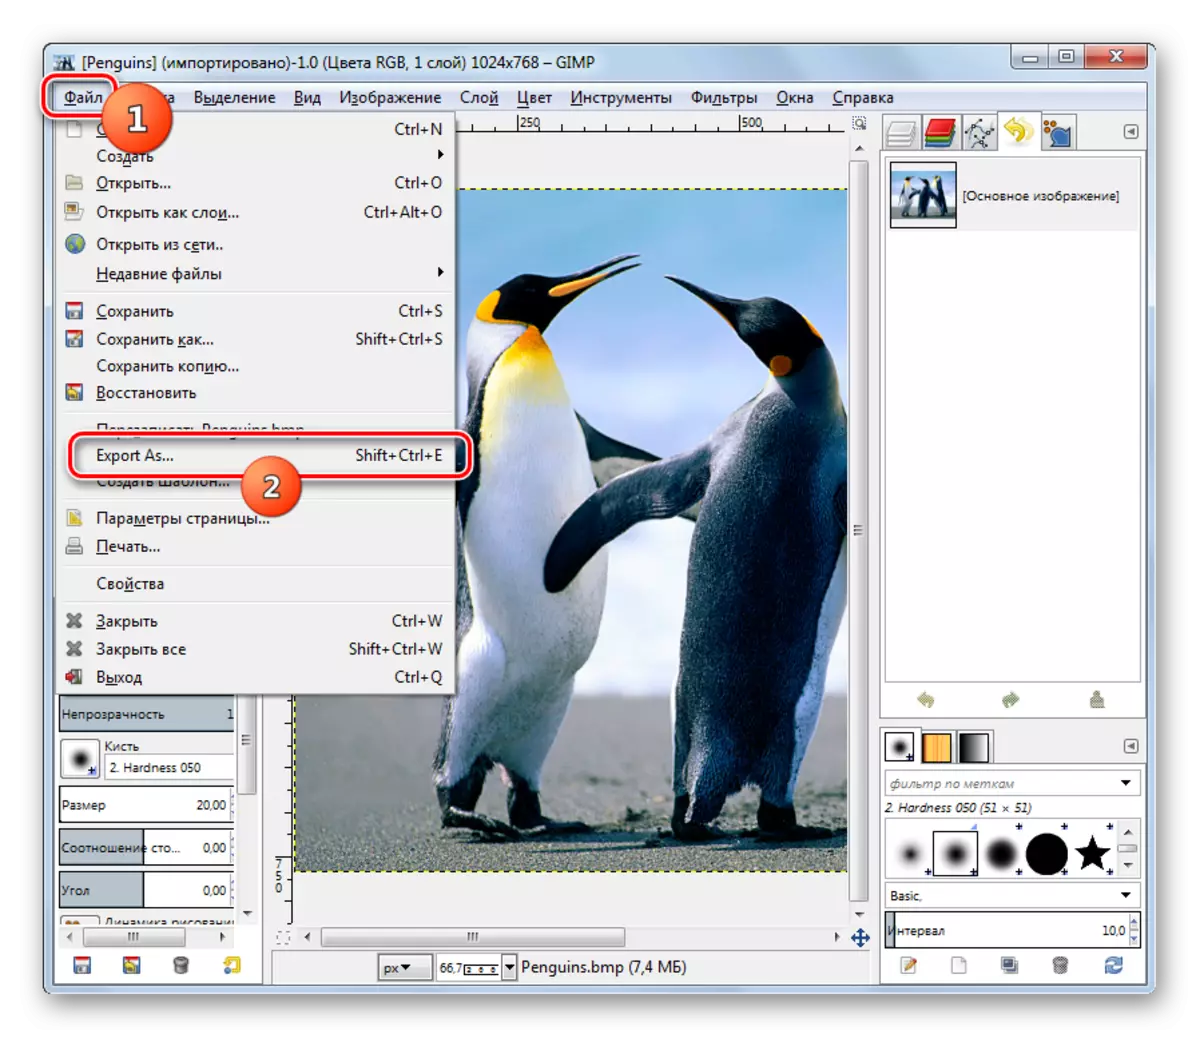
- To make conversion, click "File", and then move to "Export As ...".
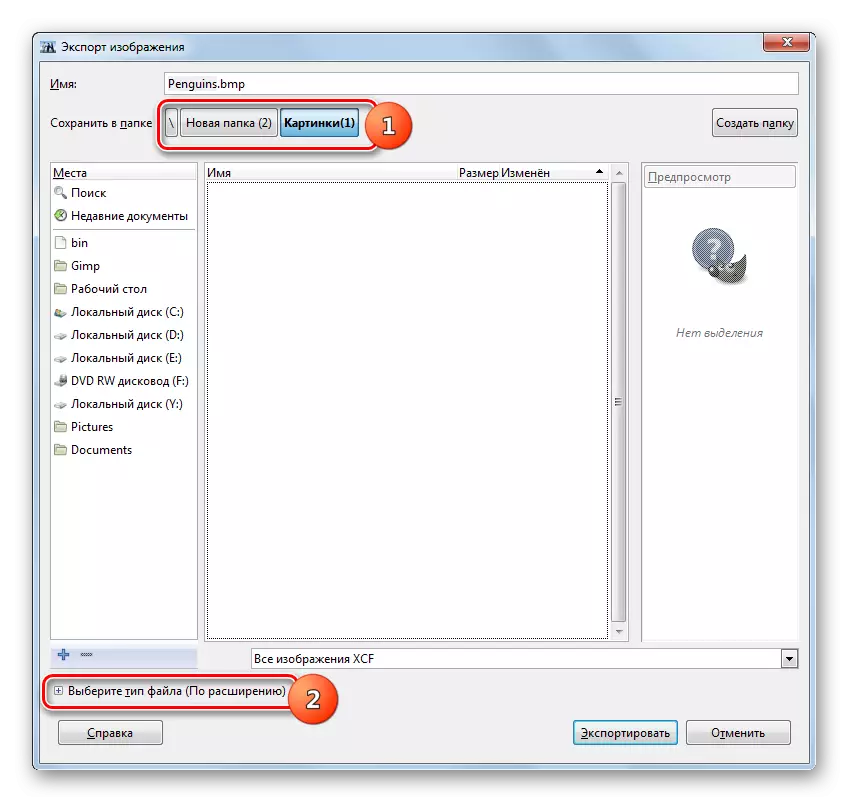
- The shell "Export images" is started. It is necessary using the navigation tools to go to where you plan to place the converted picture. After that, click on the "Select File Type".
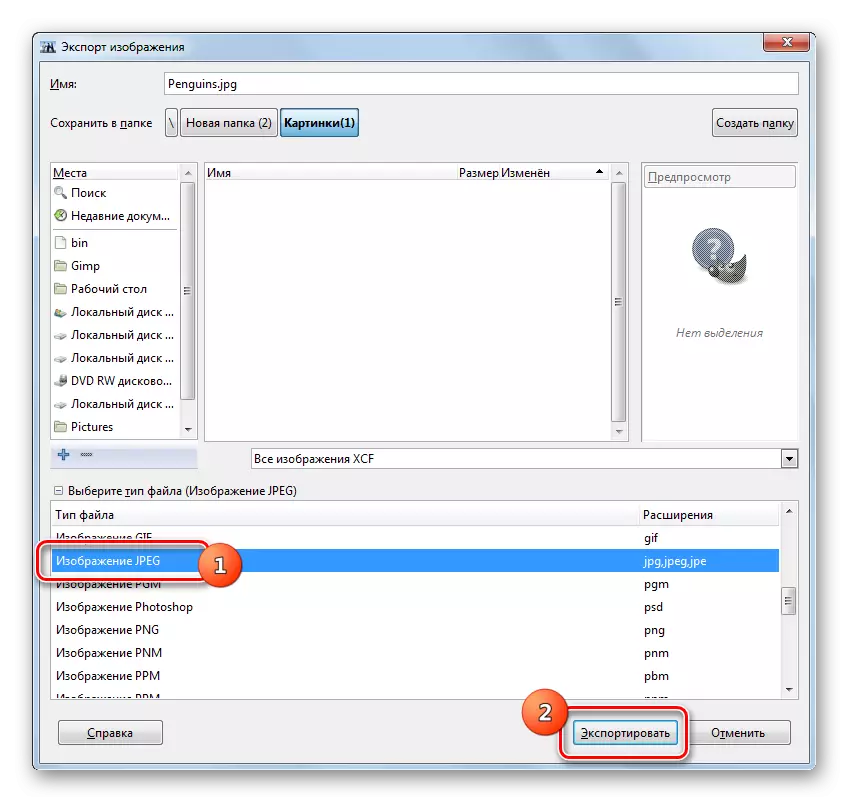
- A list of various graphic formats opens. Find and designate the section "JPEG image" in it. Then click "Export".
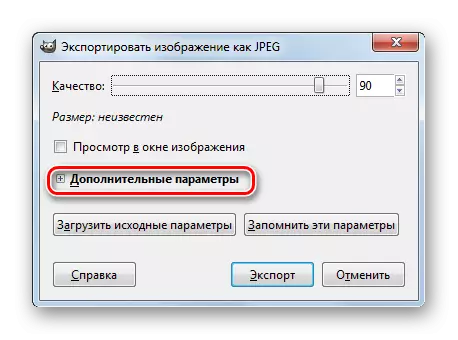
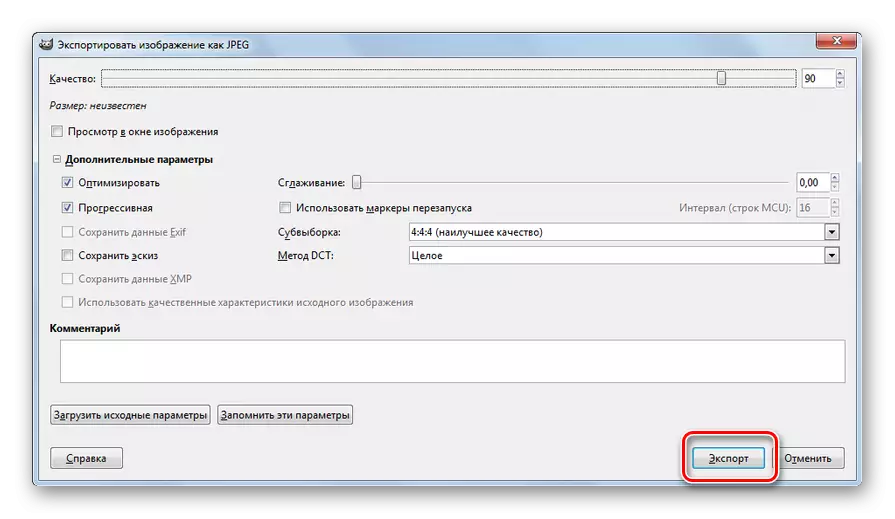
- The "Export Image as JPEG" is started. If you need to set up the outgoing file, then click on the current "Advanced Settings" window.
- The window is significantly expanding. It appears various outgoing pattern editing tools. Here you can install or change the following settings:
- Drawing quality;
- Optimization;
- Smoothing;
- DCT method;
- Sub-examination;
- Preservation of sketch and others.
After editing the parameters, press Export.
- After executing the last BMP action will be exported to JPG. You can detect a picture in the place that indicated earlier in the image export window.
Method 6: Adobe Photoshop
Another editor of the graphics, which solves the task is the popular Adobe Photoshop application.
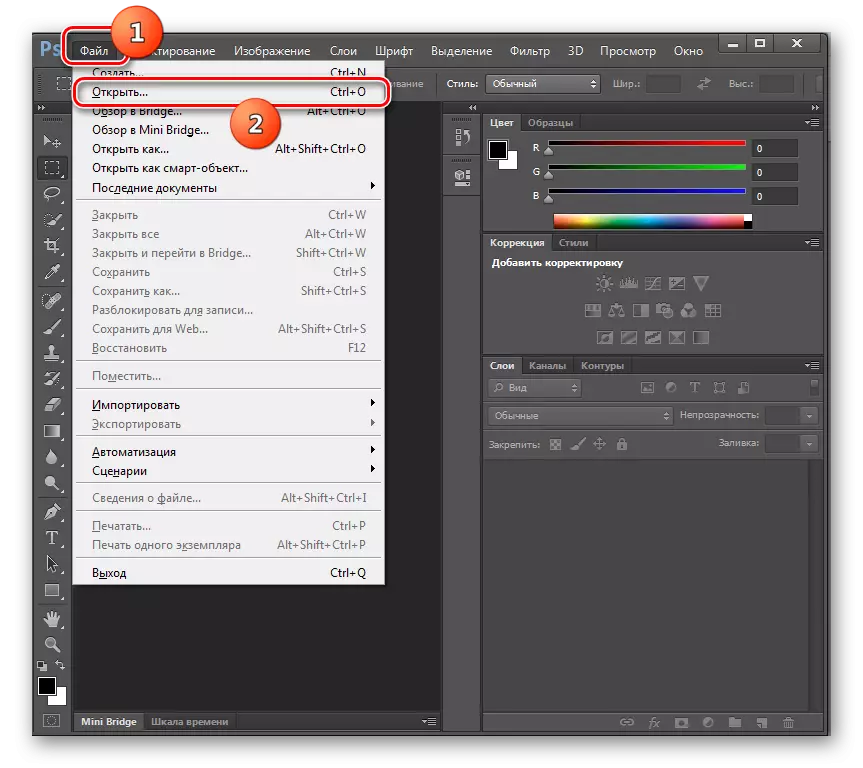
- Open photoshop. Press "File" and click "Open". You can also use Ctrl + O.
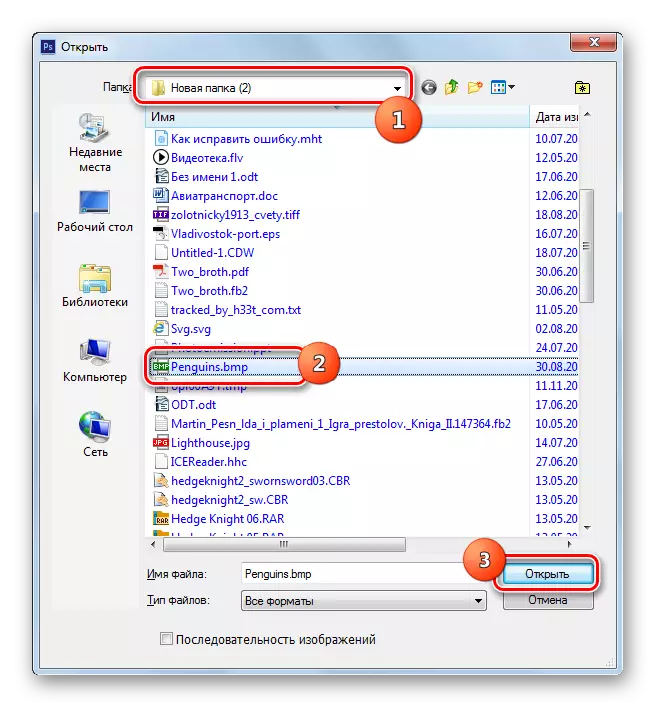
- The opening tool appears. Find a place where the desired BMP is located. After its selection, press "Open".
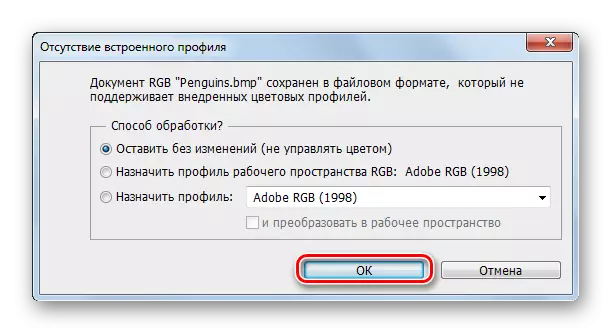
- The window will start, where it is informed that the document is a file that does not support color profiles. You do not need any additional actions, but simply click OK.
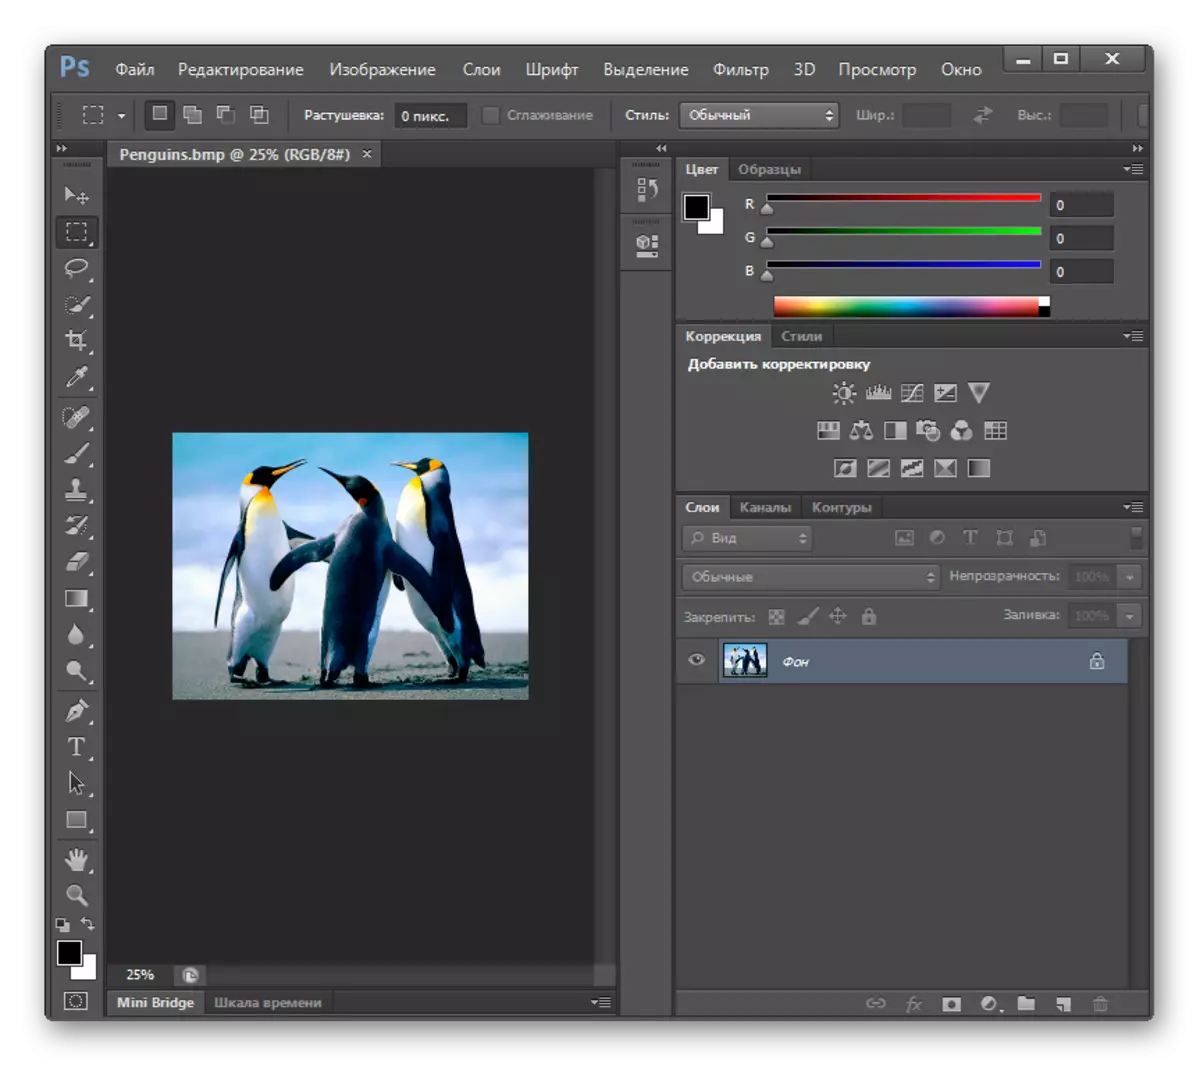
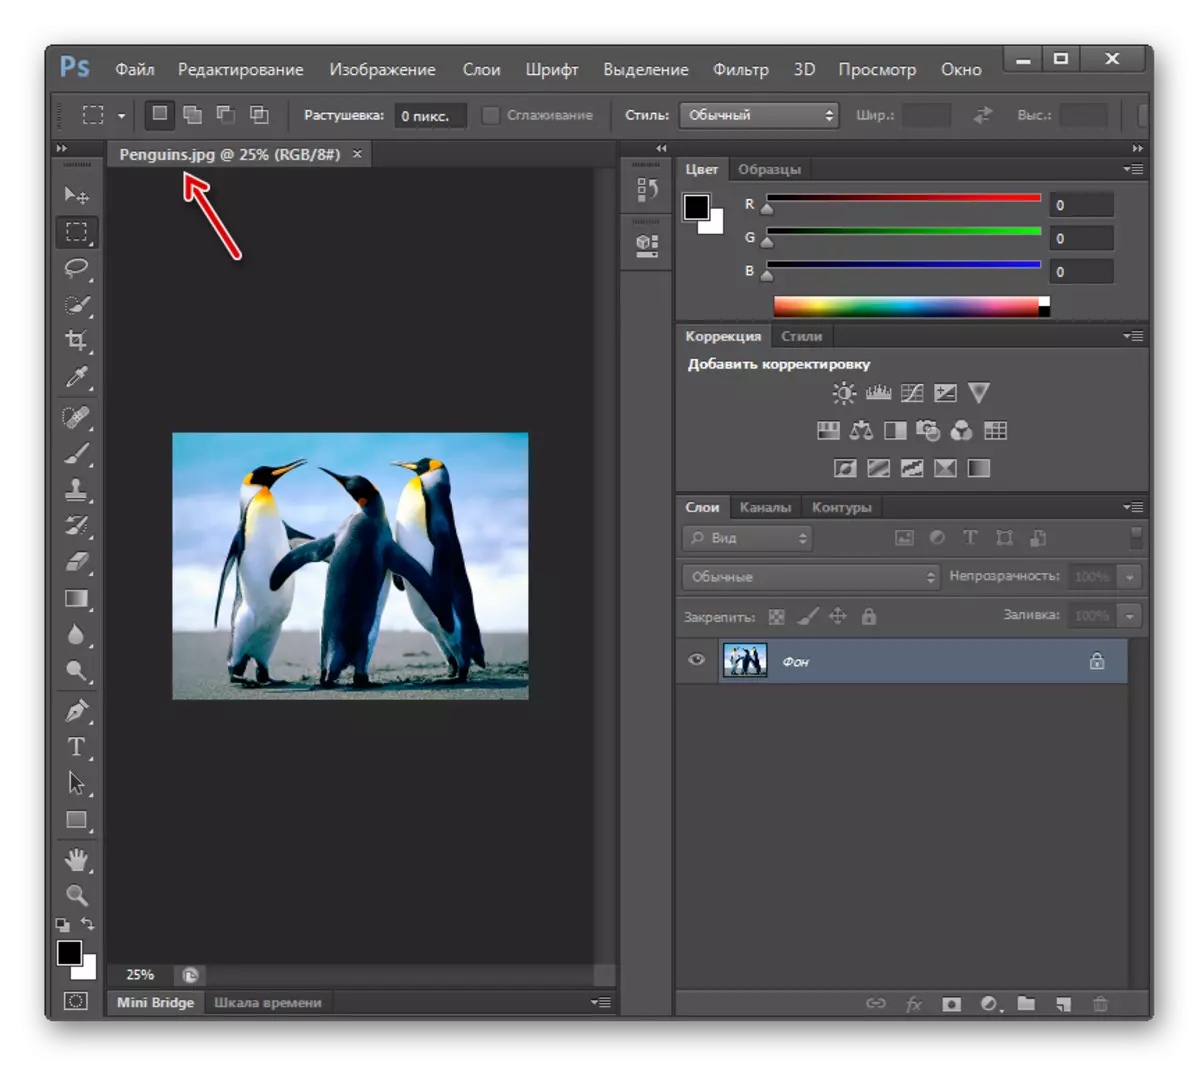
- The drawing will open in Photoshop.
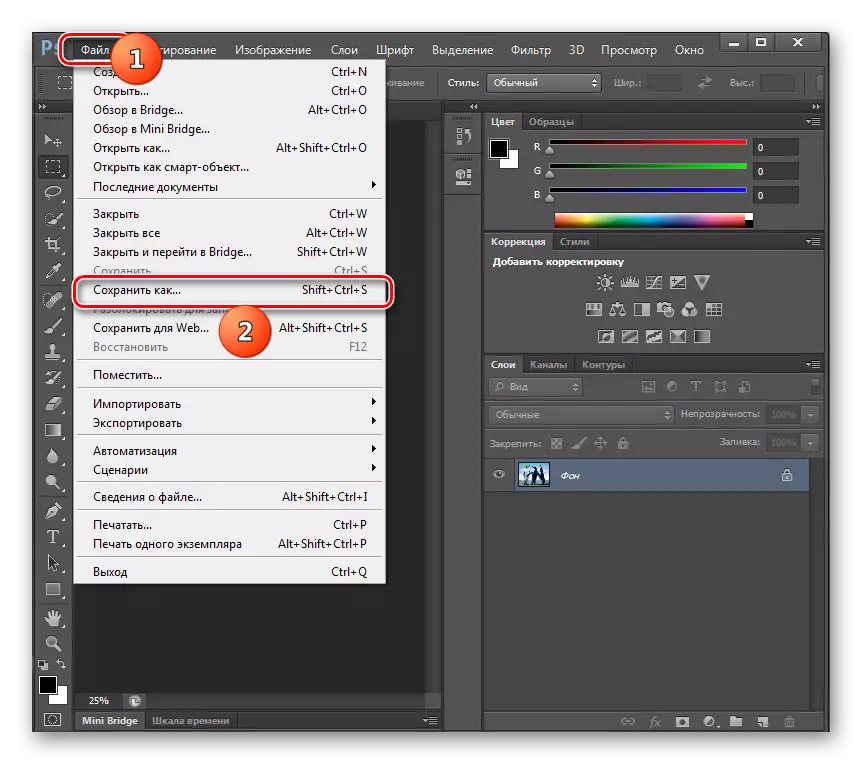
- Now you need to reformatting. Click the "File" and click on "Save As ..." or use Ctrl + SHIFT + S.
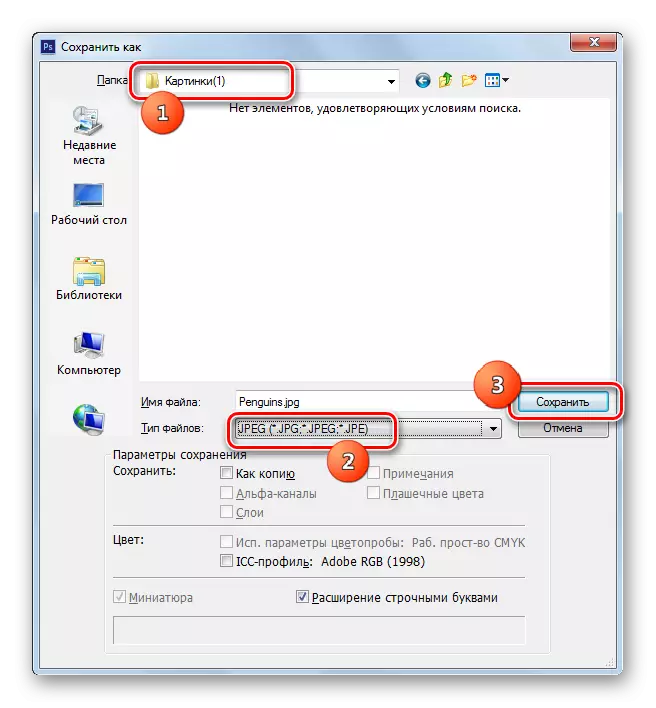
- The save sheath is started. Move where the converted file intends to place. In the list "File Type" Choose "JPEG". Click "Save".
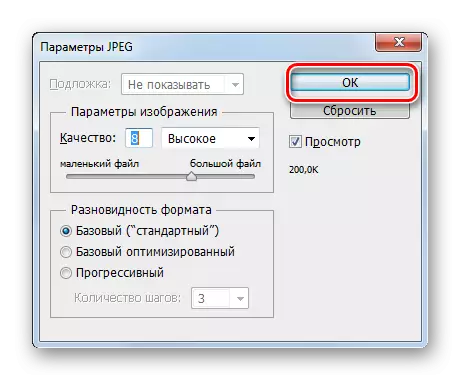
- JPEG Options tool will start. It will be significantly less settings than a similar tool GIMP. Here it will be possible to edit the quality level of the picture by dragging the runner or the simplicity of it manually in numbers from 0 to 12. You can also select one of three varieties of formats by switching radioconbs. More in this window cannot be changed. Regardless of whether you produced a change in this window or left everything by default, press OK.
- The picture will be reformatted in JPG and will be located where the user asked her to find it.
Method 7: Paint
To fulfill the procedures you are interested in, it is not necessary to install third-party software, and you can use the built-in graphic editor of Windows - Paint.
- Run Paint. In various versions of Windows, this is done in different ways, but most often this application can be found in the "Standard" section "All Programs" menu "Start".
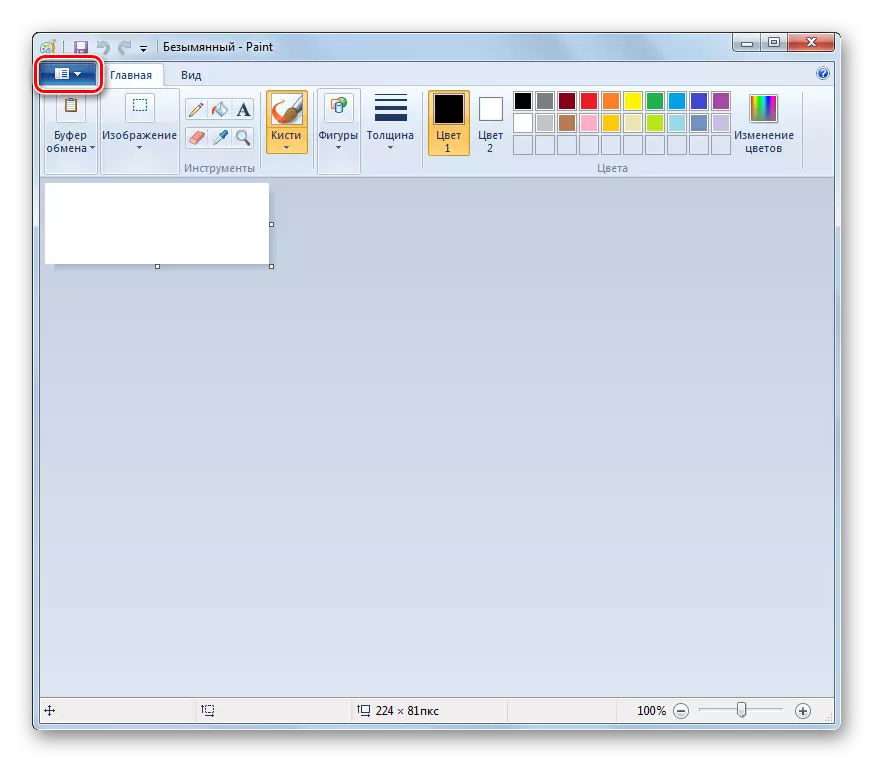
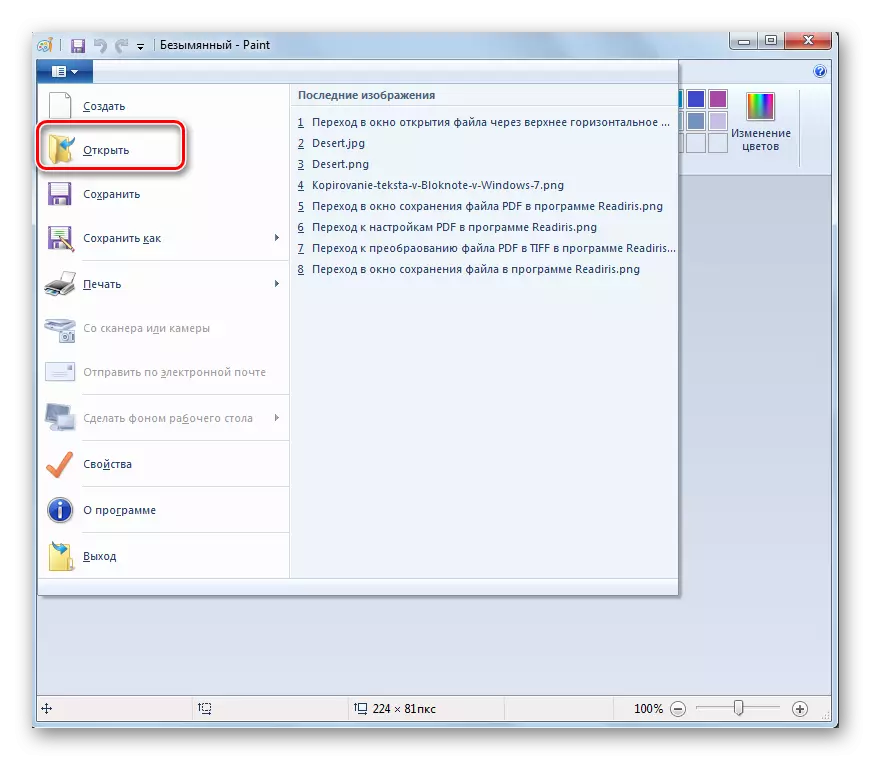
- Click the icon to open the menu in the form of the triangle to the left of the Home tab.
- In the list that opens, click "Open" or type Ctrl + O.
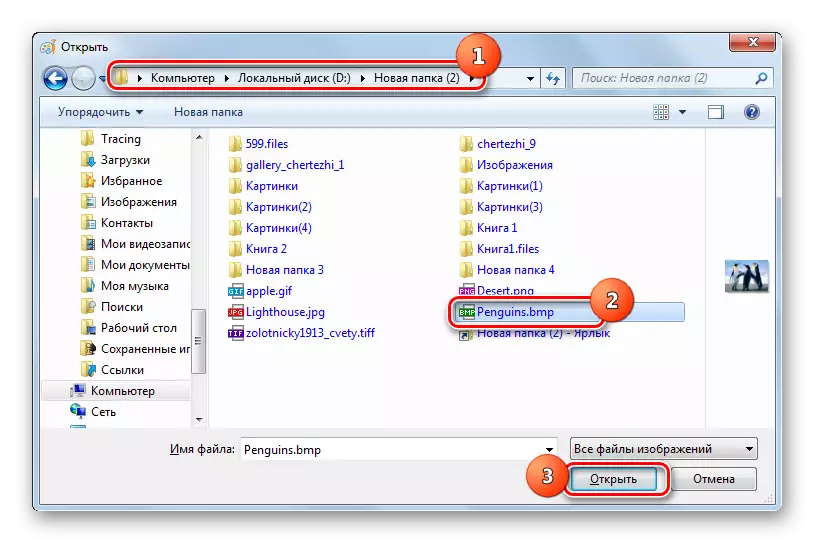
- The selection tool is started. Find the place of placement of the desired BMP, select the item and click "Open".
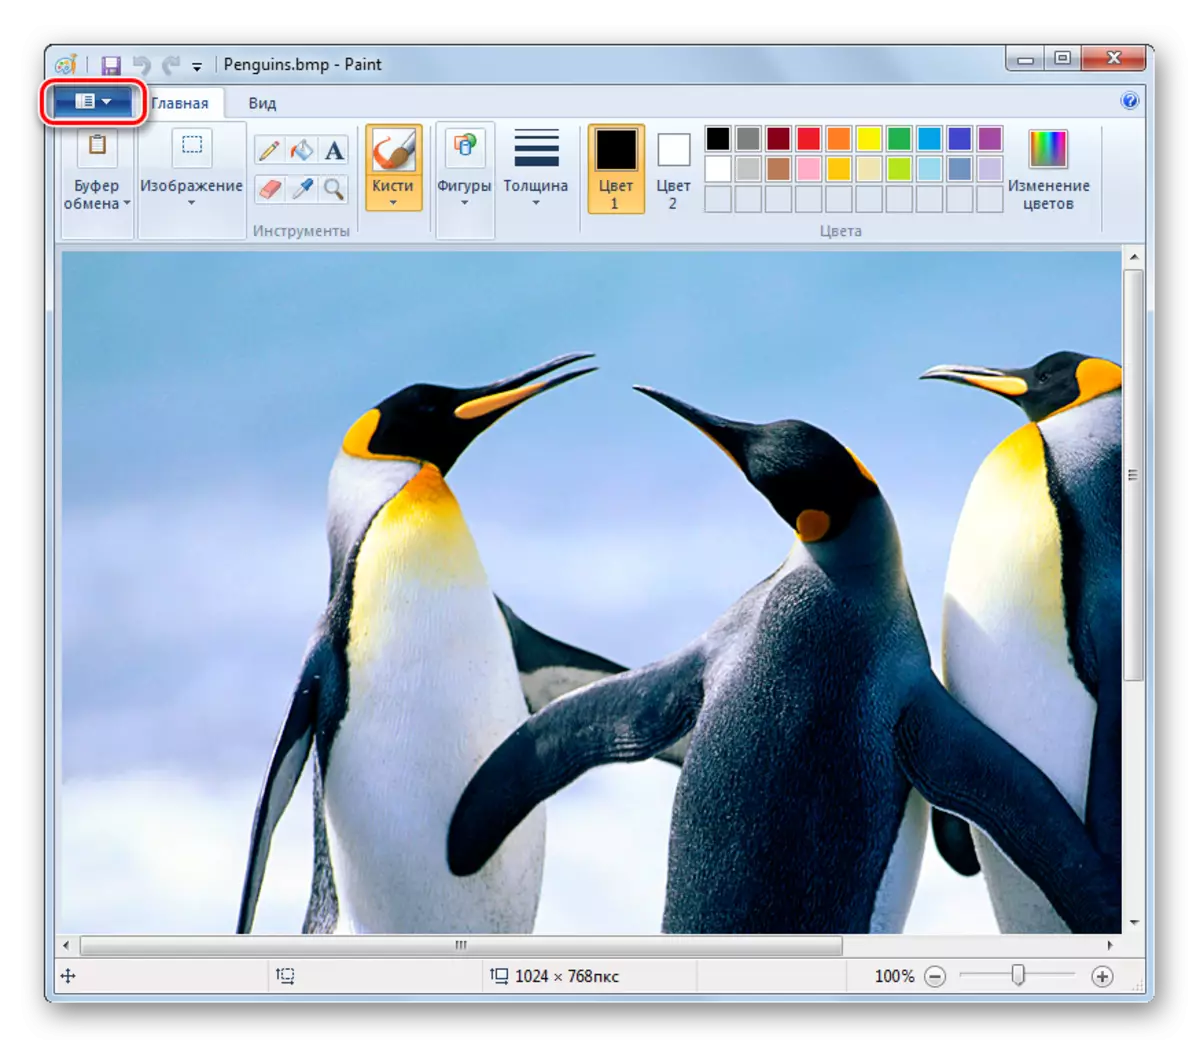
- Figure is loaded into a graphic editor. To transform it into the desired format, press the menu activation icon again.
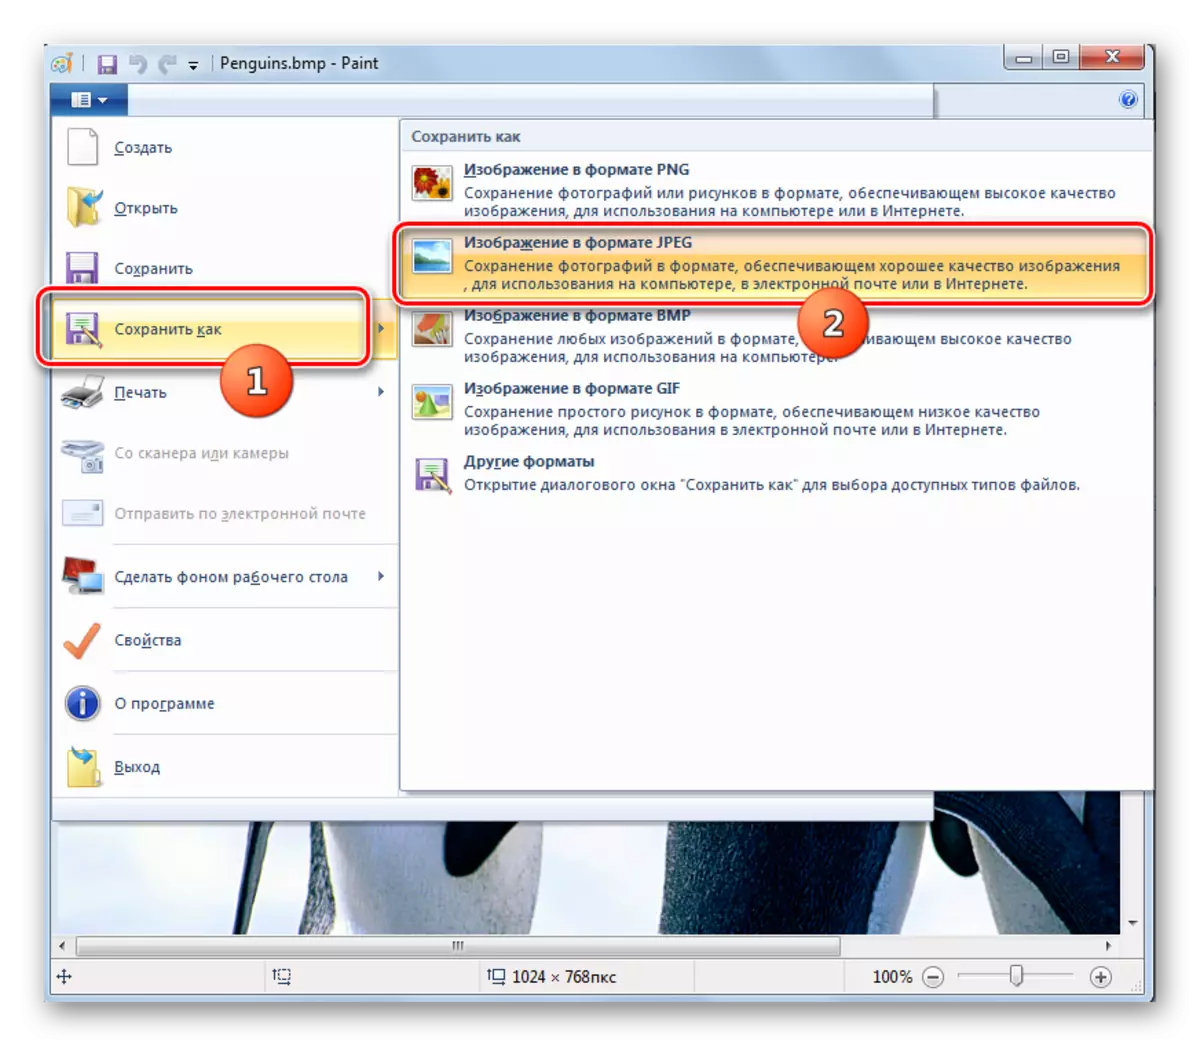
- Click on "Save As" and "JPEG Image".
- The save window is started. Move to where you intend to place the converted object. The type of file is not required to additionally specify, as it was assigned in the previous step. The ability to change the parameters of the picture, as it was in previous graphics editors, Paint does not provide. So it remains only to click "Save".
- The picture will be saved by the expansion of the JPG and go to the catalog that the user appointed earlier.

Method 8: Scissors (or any screenshoter)
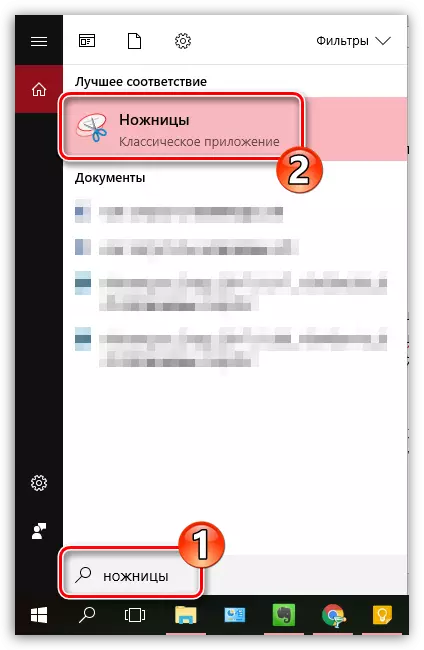
Using any screenshoter installed on your computer, you can capture BMP images, and then save the result to a computer as a JPG file. Consider the further process on the example of the standard scissors tool.
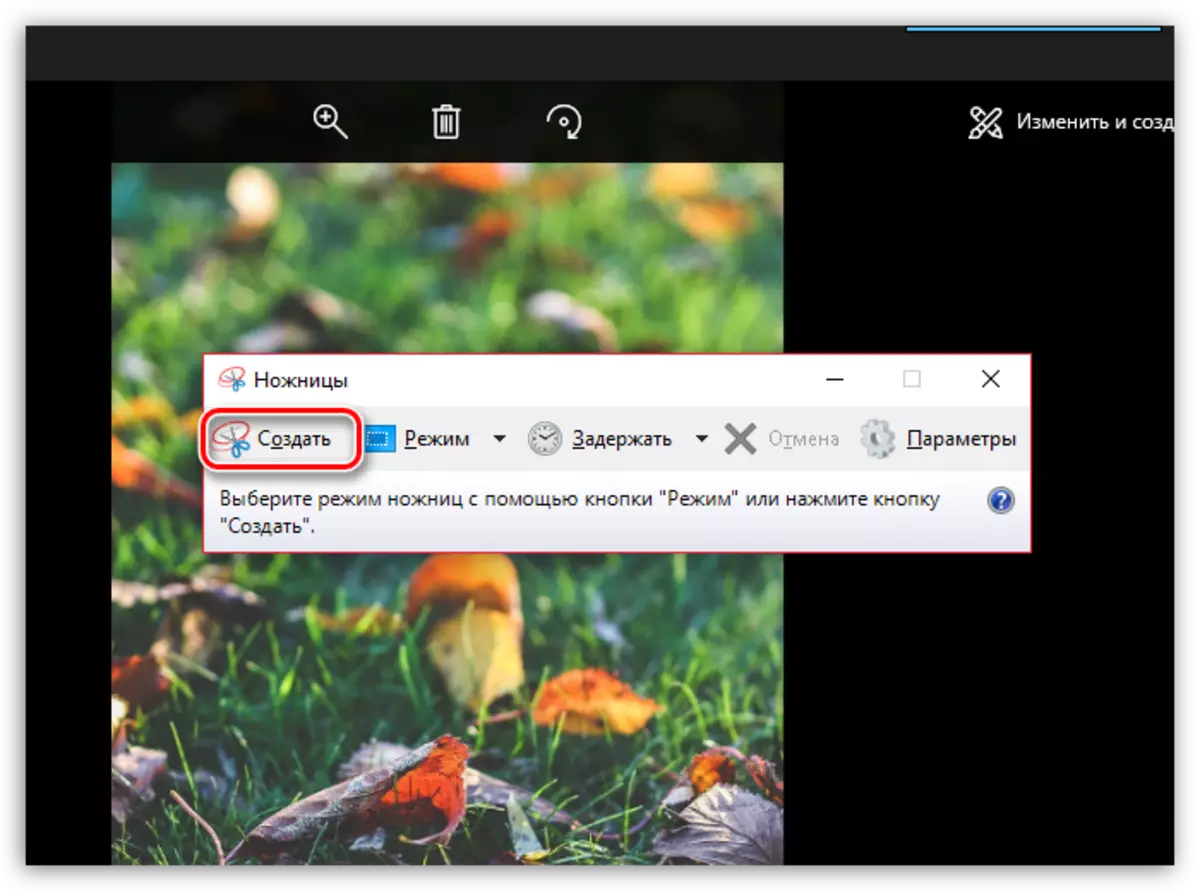
- Run the scissors tool. You can easily find them using Windows Search.
- Follow the BMP image with any viewer. For focus to work, the image should not be resolved to exceed the screen of your computer, otherwise the quality of the transformed file will be lower.
- Returning to the scissors tool, click on the "Create" button, and then circle into a BMP image rectangle.
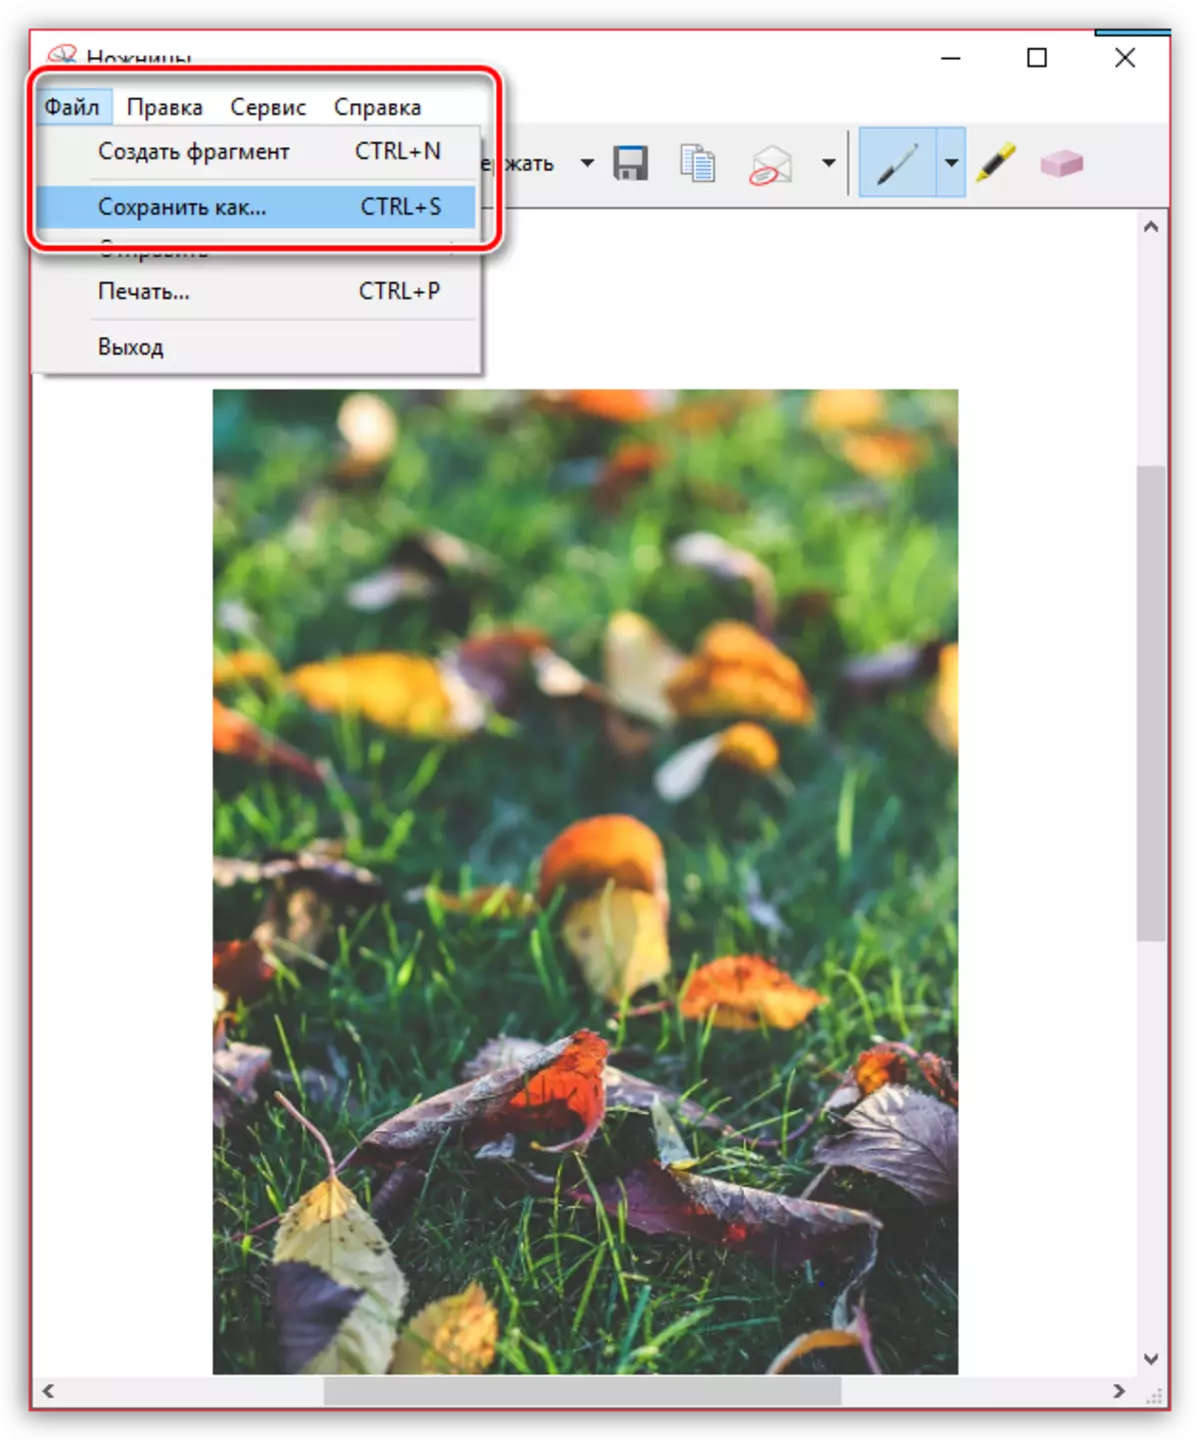
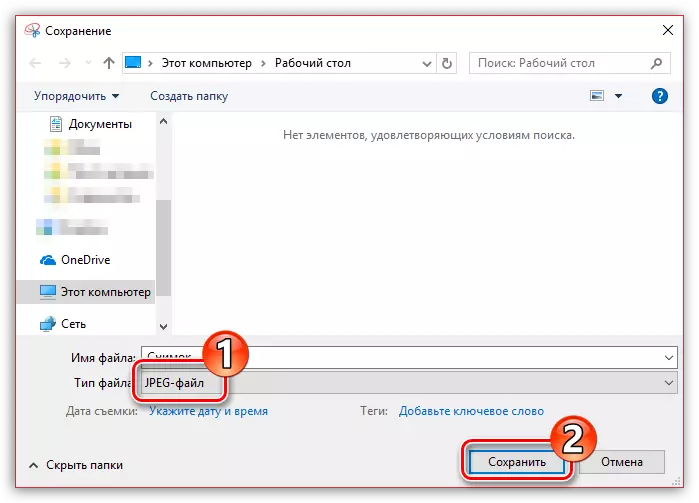
- As soon as you release the mouse button, the resulting screenshot will open in a small editor. Here we only have to save: To do this, select the "File" button and go to "Save As".
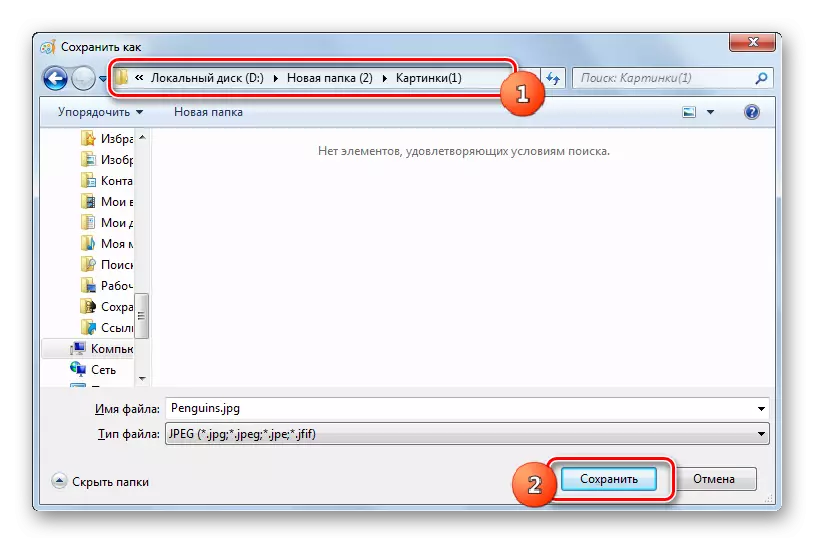
- If necessary, set the image to the desired name and change the folder to save. In addition, you will need to specify the image format - the JPEG file. Complete saving.
Method 9: Online Service Convertio
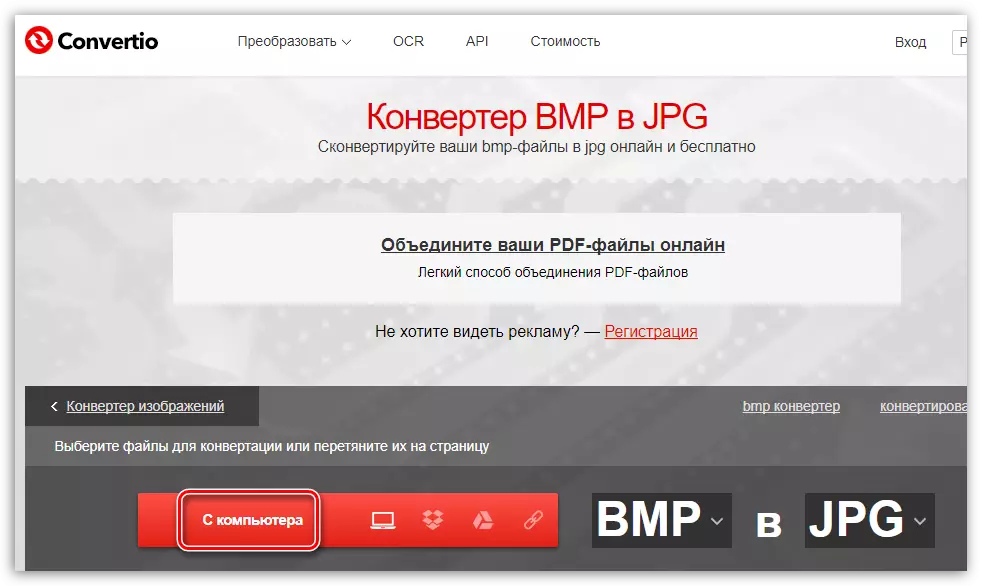
The entire conversion process can be performed online, without using any programs, because for conversion, we will use the Convertio online service.
- Go to the Convertio online service page. First you need to add a BMP image. To do this, click on the "From Computer" button, after which the Windows Explorer is displayed on the screen, with which you want to select the desired picture.
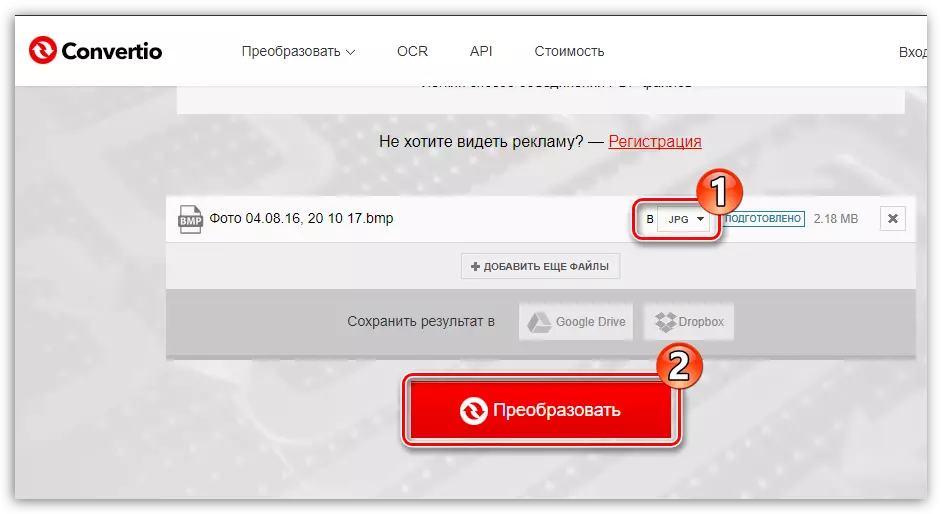
- When the file is loaded, make sure that it will be converted to JPG (by default it is in this format that it offers to redo the image), after which you can start the start of the process by pressing the "Convert" button.
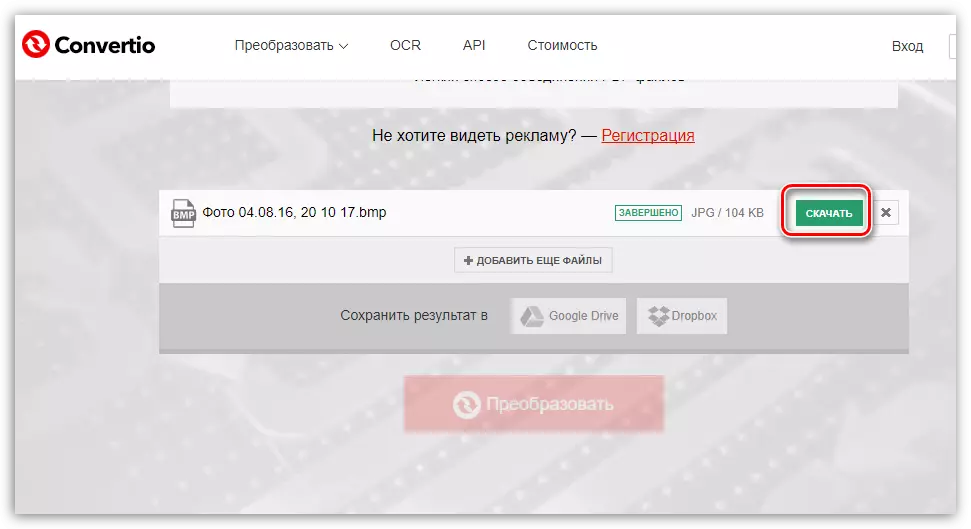
- The conversion process will begin, which will take some time.
- As soon as the online service work is completed, you just stay the resulting result on the computer - for this, click on the button "Download". Ready!

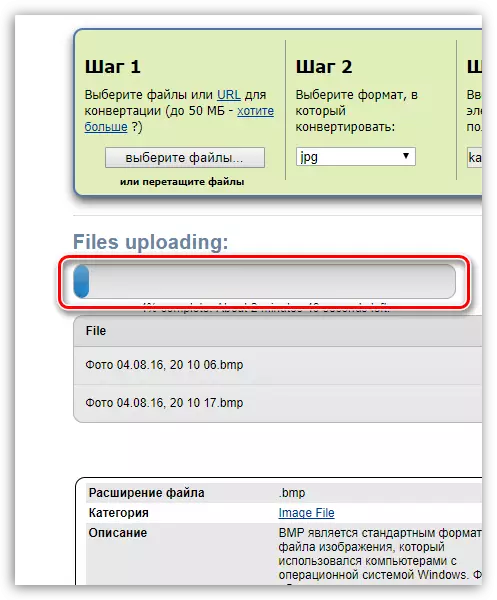
Method 10: Online service ZAMZAR
Another online service that is notable to perform batch conversion, that is, several BMP images simultaneously.
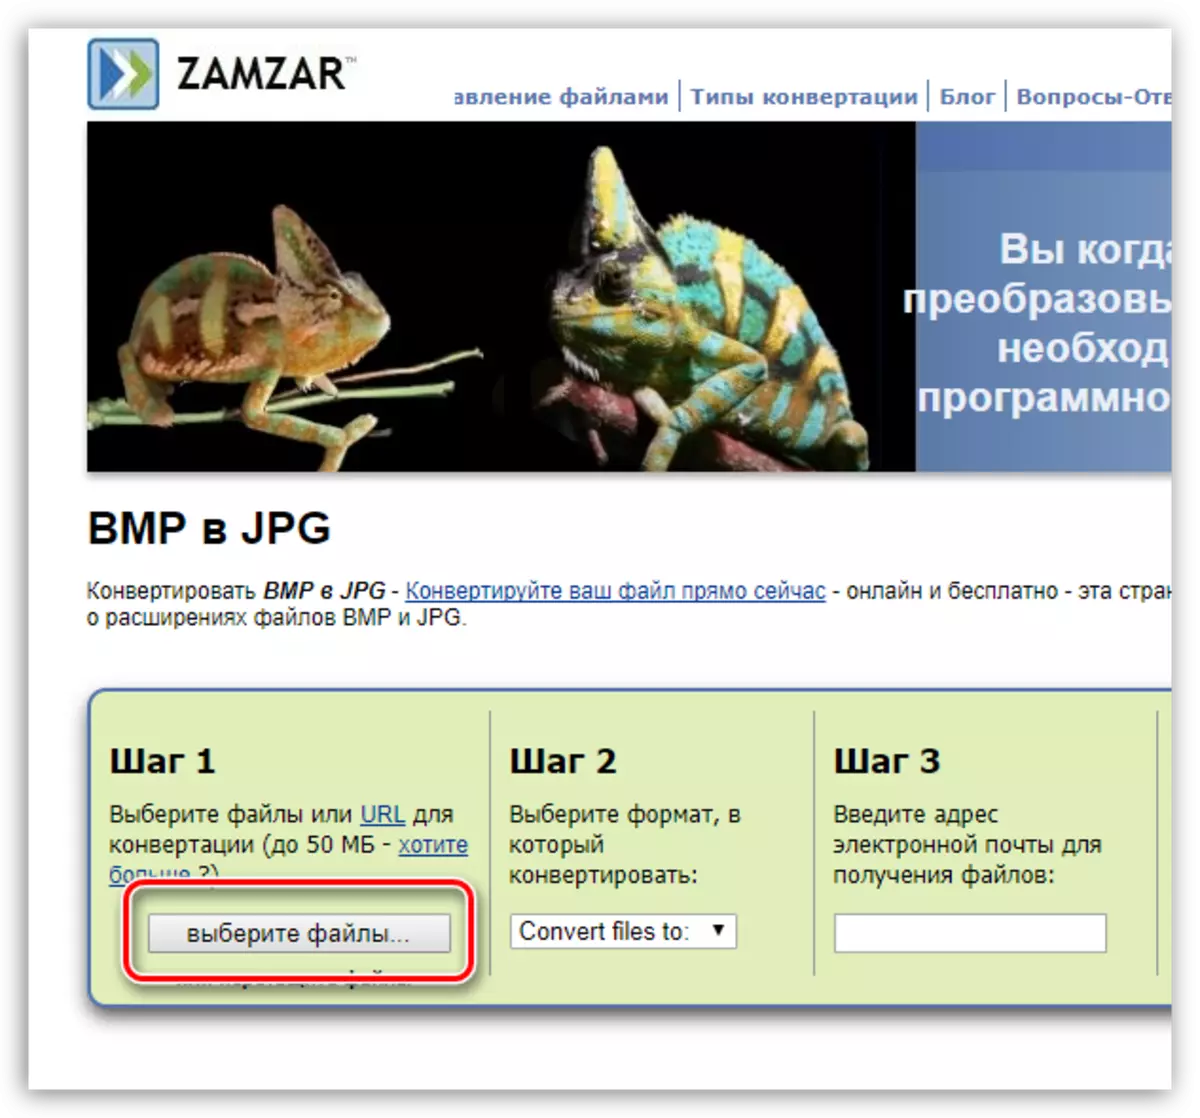
- Go to the Zamzar online service page. In the "Step 1" block, click on the "Select Files" button, after which you select one or more files with which further work will be performed.
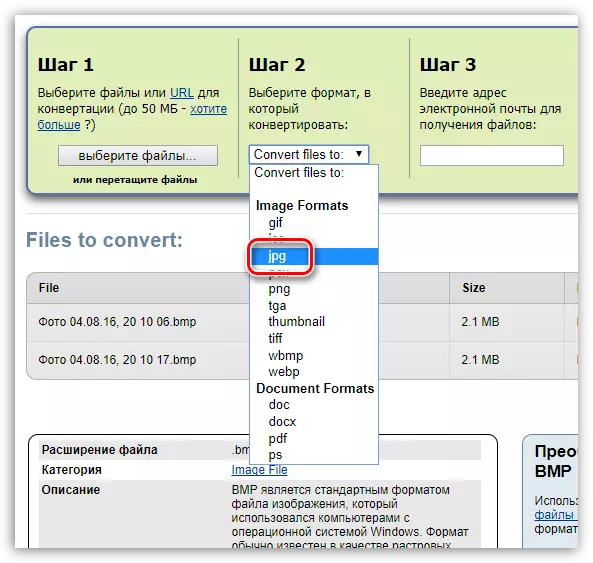
- In the "Step 2" block, select the format in which it will be converted - JPG.
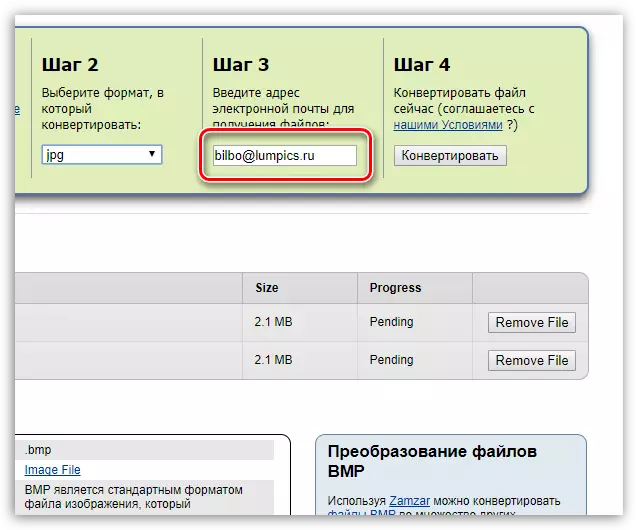
- In the "Step 3" block, specify your email address where converted images will be sent.
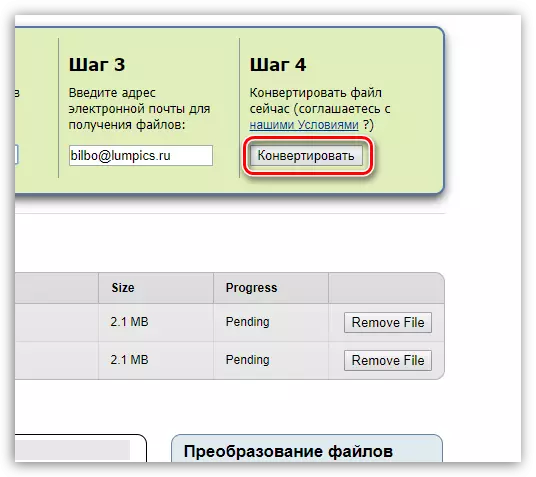
- Run the process of transforming files by clicking on the "Convert" button.
- The conversion process will begin, the duration of which will depend on the number and size of the BMP file, as well as, of course, the speed of your Internet connection.
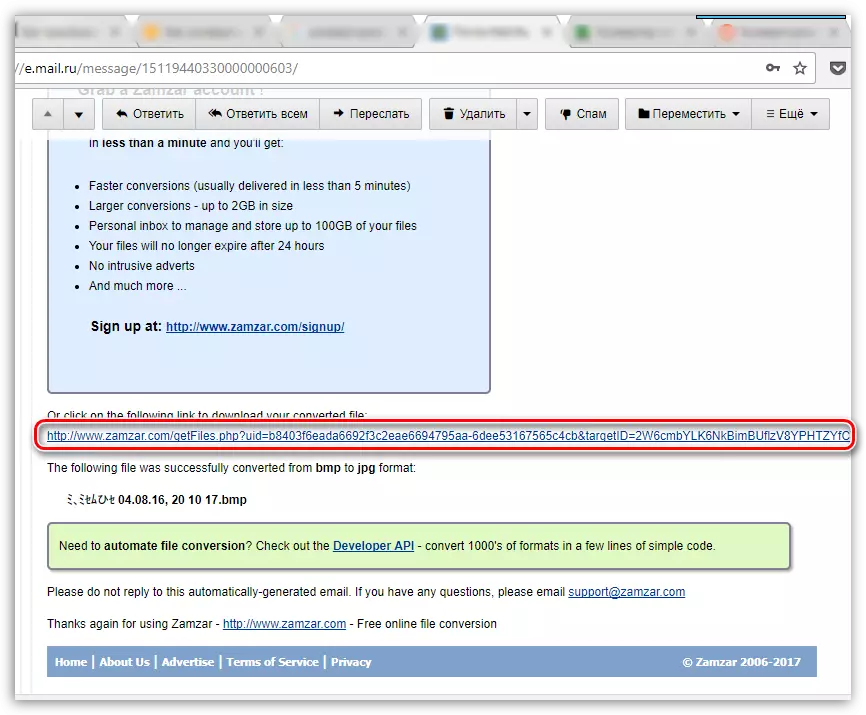
- When the conversion is completed, the converted files will be sent to the previously specified email address. The incoming letter will contain a link in which you need to pass.
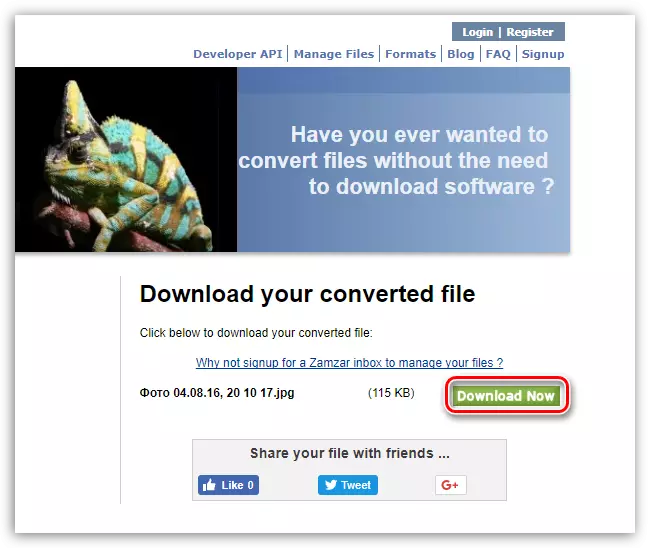
- Click on the "Download Now" button to download the converted file.
Please note that each image will receive a separate letter with reference.
There are quite a few programs that allow you to convert BMP pictures in JPG. These include converters, graphic editors and image viewers. The first group of software is optimal to use with a large volume of the convertible material when you have to convert the set of drawings. But the two last groups of programs, although they allow only one transformation for the function cycle, but at the same time, with their help, you can set more accurate conversion settings.