

Inkscape is a very popular tool for creating vector graphics. The image in it is drawn not by pixels, but with the help of various lines and figures. One of the main advantages of this approach is the ability to scale the image without loss of quality, which is impossible to do with raster graphics. In this article we will tell you about basic work techniques in Inkscape. In addition, we will analyze the application interface and give some tips.
Basics of work in Inkscape
This material is more focused on novice users inkscape. Therefore, we will only tell about the basic techniques that are used when working with the editor. If, after reading the article, you will have individual questions, you can ask them in the comments.Program Interface
Before proceeding with the description of the editor's capabilities, we would like to tell a little about how the Inkscape interface is arranged. This will allow you to quickly find certain tools in the future and navigate in the workspace. After starting the editor window, it has the following form.
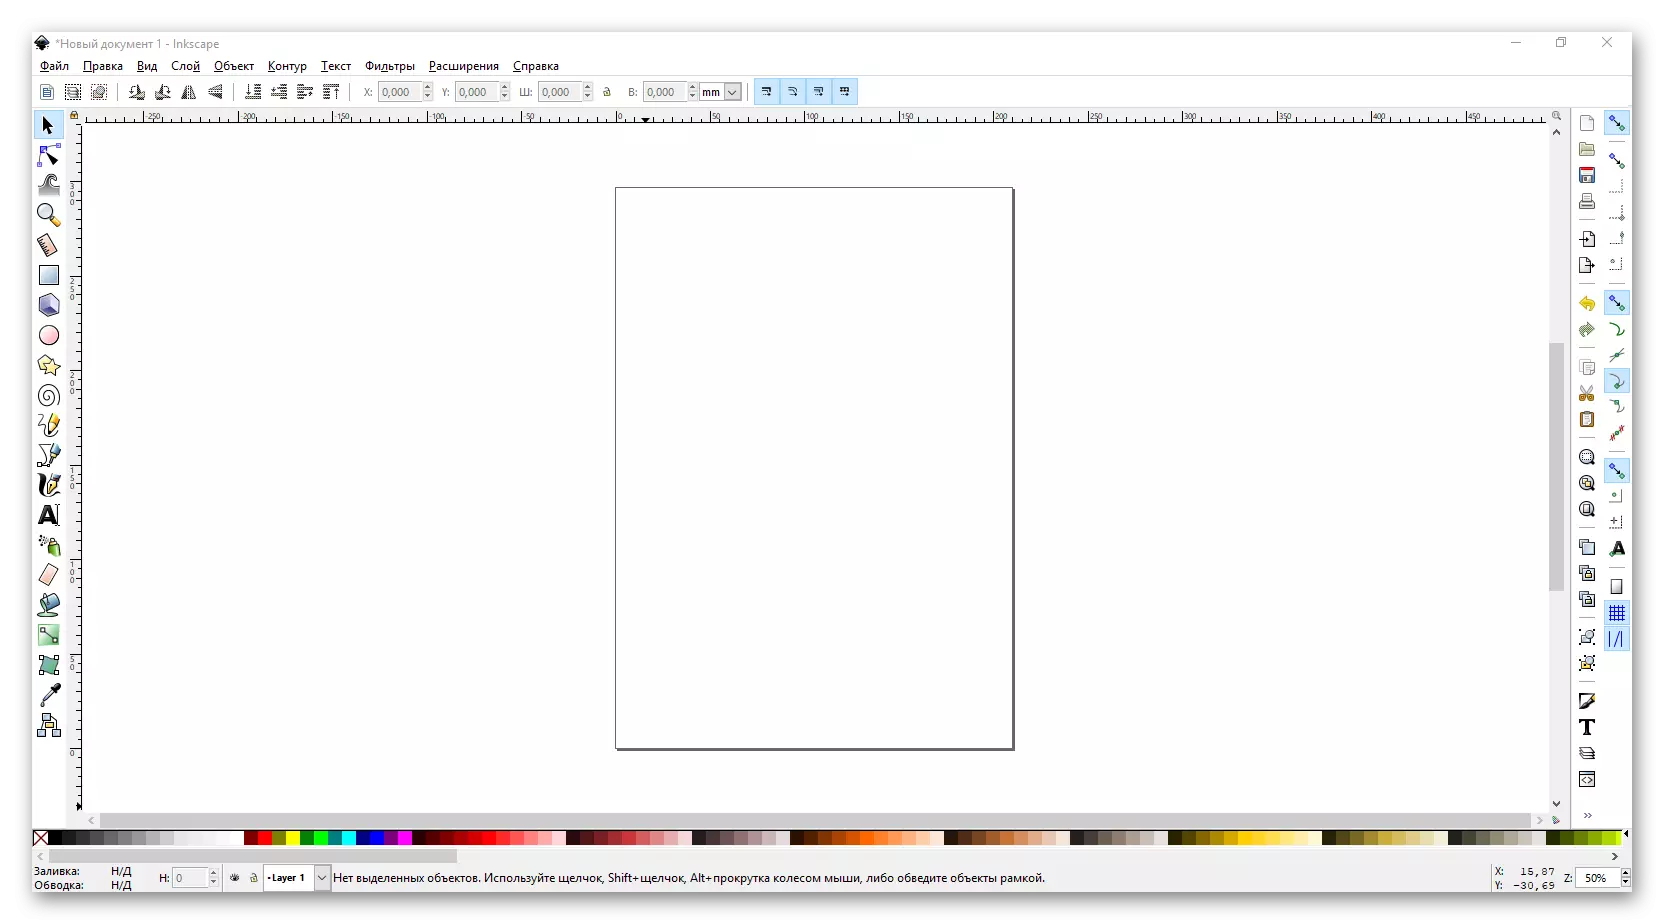
You can allocate 6 main areas:
Main menu

Here, the most useful functions that you can use when creating graphics are collected in the form of sub-clauses and drop-down menus. In the future we describe some of them. Separately, I would like to mark the first menu - "File". It is here that such popular teams like "open", "save", "Create" and "Print".
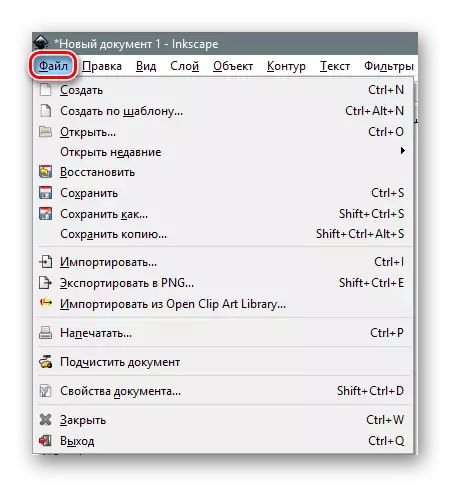
From him and the work begins in most cases. By default, when starting inkscape, a 210 × 297 millimeters work area is created (A4 sheet). If necessary, these parameters can be changed in the "Document Properties" subparagraph. By the way, it is here that at any time you can change the color of the canvas background.
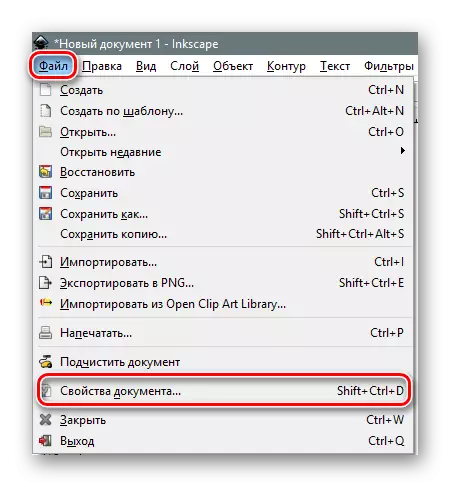
By clicking on the specified line, you will see a new window. In it, you can set the size of the workspace according to the common standards or specify your own value in the corresponding fields. In addition, you can change the orientation of the document, remove the kaym and set the color of the canvas background.

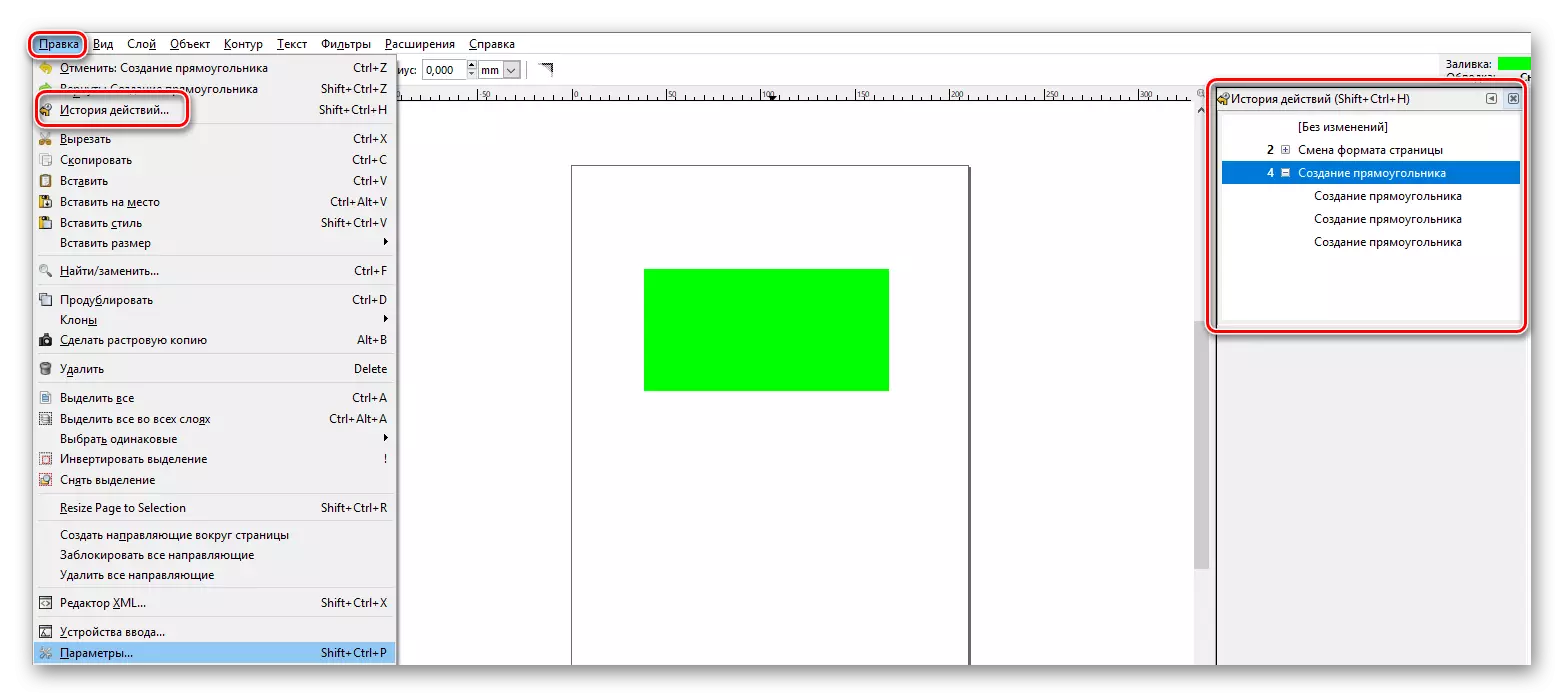
We also recommend entering the Edit menu and turn on the panel display with the action history. This will allow you at any time to cancel one or several recent steps. The specified panel will open on the right side of the editor window.
Toolbar
It is to this panel that you will constantly handle drawing. There are all figures and functions. To select the desired item, it is enough to click on its icon once the left mouse button. If you simply bring the cursor to the image of the product, you will see a pop-up window with the name and description.

Tool properties
With this group of items, you can configure the parameters of the selected tool. This includes smoothing, size, ratio of radii, angle of inclination, the number of corners and much more. Each of them has its own set of options.

Accommodation parameter panel and command panel
By default, they are located nearby, in the right area of the application window and have the following form:

As the name follows, the adhesion parameter panel (this is the official name) allows you to choose whether your object can be adjusted automatically to another object. If so, where exactly it is worth doing - to the center, nodes, guides and so on. If you wish, you can turn off all sticking. This is done when pressed the corresponding button on the panel.

On the commands panel, in turn, the main items from the File menu are made, and such important features such as fill, scale, facilities and other are added.

Flower samples and status panel
These two areas are also nearby. They are located at the bottom of the windows and look as follows:

Here you can choose the desired color of the shape, fill or stroke. In addition, a scale control panel is located on the status bar, which will allow closer or remove the canvas. As practice shows, it is not very convenient. It is easier to press the "Ctrl" key on the keyboard and twist the mouse wheel up or down.
Workspace
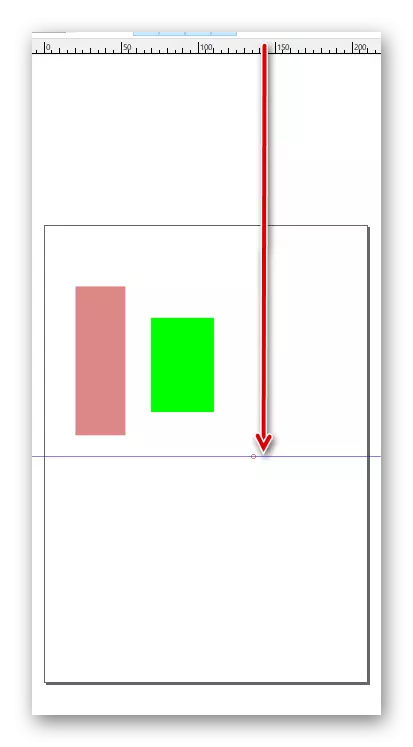
This is the most central part of the application window. It is here that your canvas is located. In the perimeter of the workspace, you will see the sliders that allow you to scroll down the window down or up when the scale changes. At the top and left are the rules. It allows you to determine the size of the figure, as well as set the guides if necessary.
In order to set the guides, it is enough to bring the mouse pointer to a horizontal or vertical line, after which itching the left mouse button and drag the line that appears in the desired direction. If you need to remove the guide, then move it back to the ruler.
Here's actually all the elements of the interface that we wanted to tell you first. Now let's go directly to practical examples.
Load the picture or create canvas
If you open a raster image in the editor, you can further handle it or manually draw the vector image.
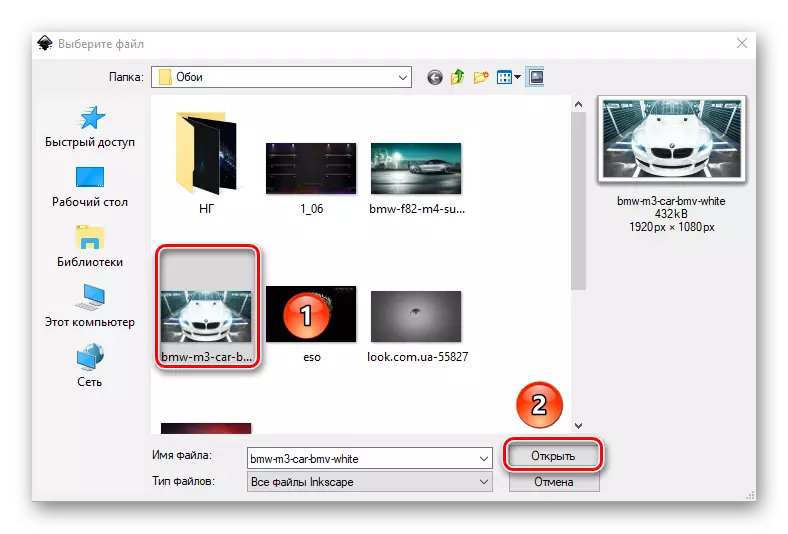
- Using the "File" menu or the CTRL + O key combination, open the file selection window. We mark the desired document and click the "Open" button.
- A menu will appear with raster image import parameters in Inkscape. All items leave unchanged and click the "OK" button.

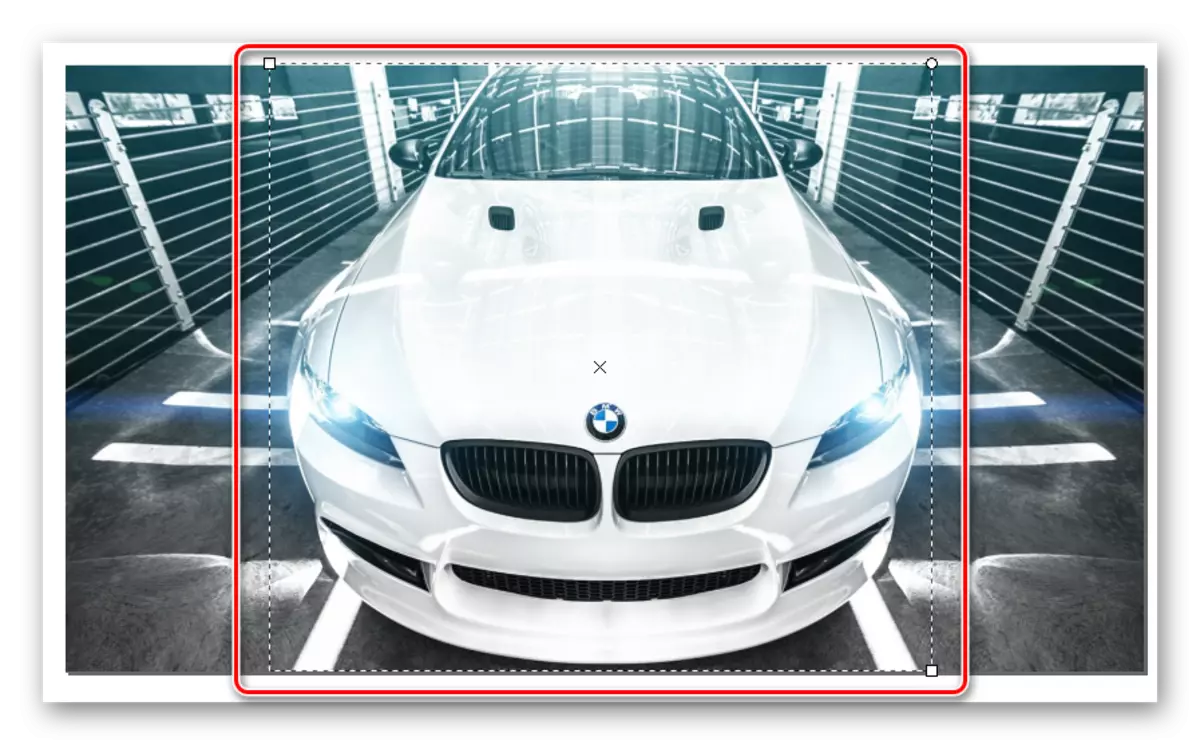
As a result, the selected image will appear on the workspace. At the same time, the size of the canvas will automatically be the same as the resolution of the picture. In our case, it is 1920 × 1080 pixels. It can always be changed to another. As we spoke at the beginning of the article, the quality of the photo from this will not change. If you do not want to use any image as a source, then you can simply use the automatically created canvas.
Cut the image fragment
Sometimes there may be a situation where you need not a whole image for processing, but only its specific plot. In this case, this is how to do:
- Select the tool "Rectangles and Squares".
- We highlight that section of the image you want to cut. To do this, clamp on the picture with the left mouse button and pull in any direction. Let's release the left mouse button and see a rectangle. If you need to correct the boundaries, then you clamp the LKM on one of the corners and stretch.
- Next, switch to "Selection and Transformation" mode.
- Press the "Shift" key on the keyboard and click the left mouse button at any place within the selected square.
- Now go to the "Object" menu and select the item marked in the image.


As a result, only a dedicated canvas section will remain. You can go to the next step.
Work with layers
Placing objects on different layers will not only distinguish between space, but also to avoid accidental changes in the process of drawing.
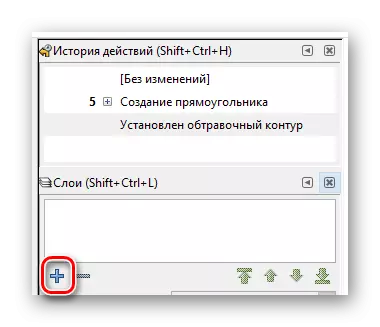
- Click on the keyboard, the keyboard shortcut "Ctrl + Shift + L" or the "Layer panel" button on the command panel.
- In the new window that opens, click the "Add Layer" button.
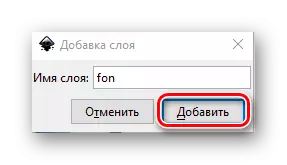
- A small window will appear, in which it is necessary to give the name to a new layer. We enter the name and click "Add".
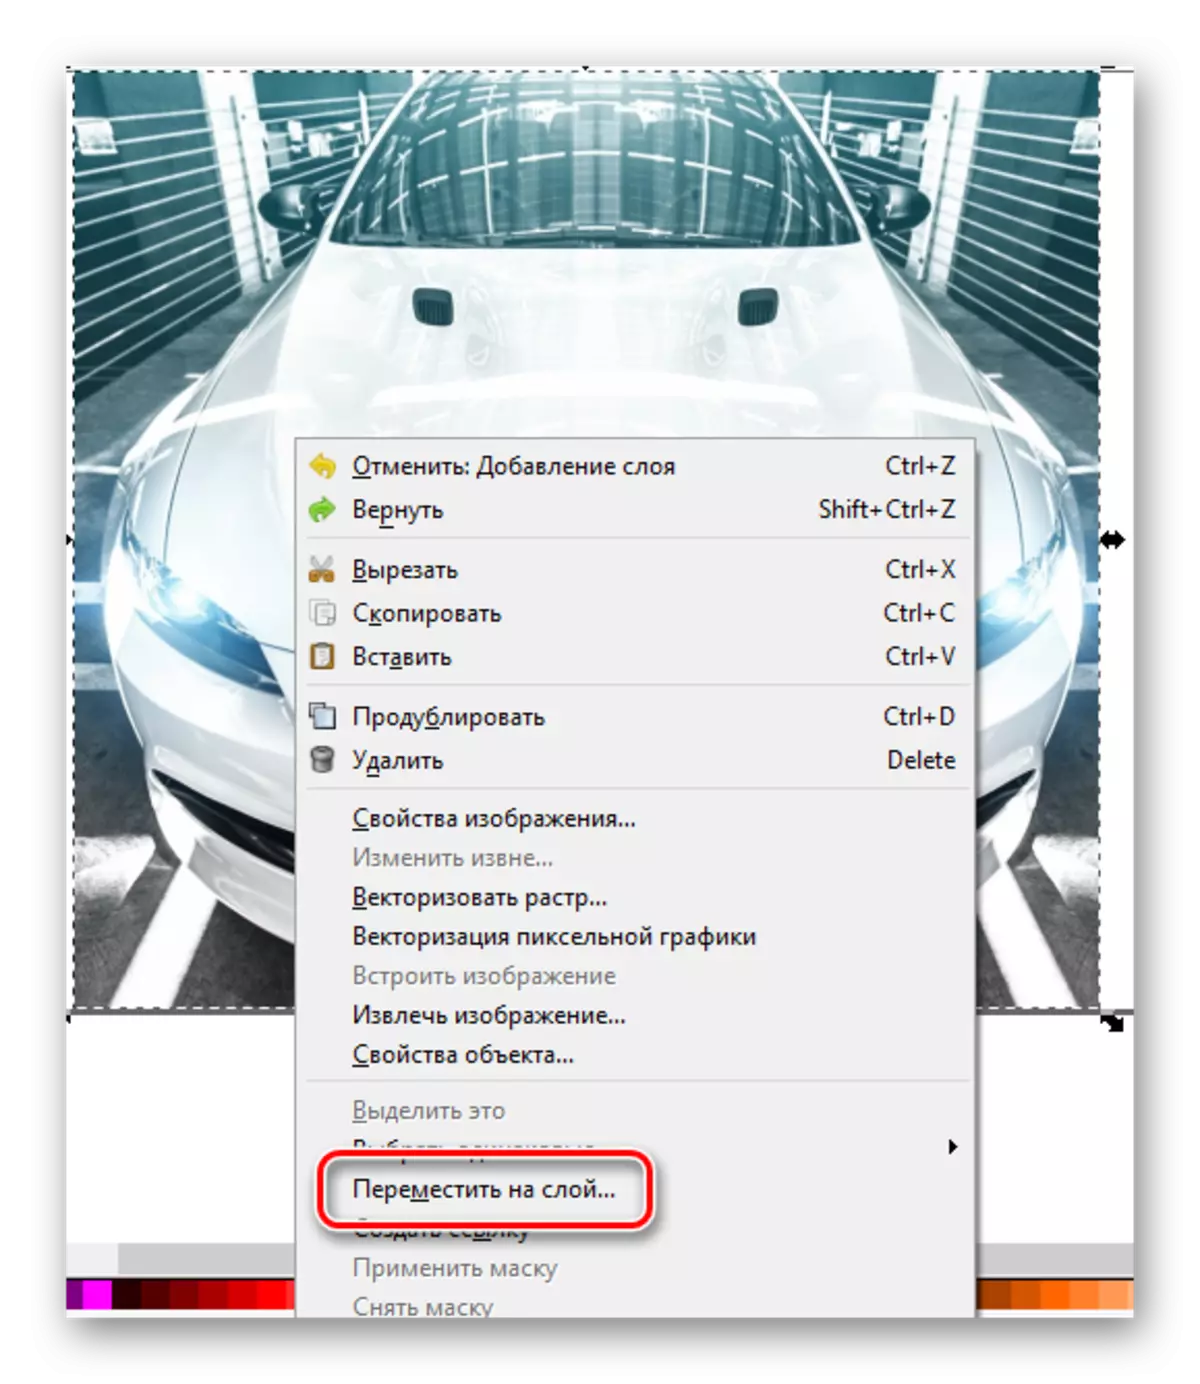
- Now we highlight a picture and click on it right-click. In the context menu, click on the "Move on the layer" line.
- The window will appear. Select the layer from the list to which the image will be transferred, and click the corresponding confirmation button.
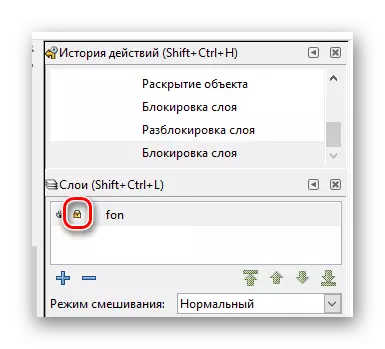
- That's all. The picture was on the desired layer. For reliability, you can fix it by clicking on the image of the castle next to the title.


Similarly, you can create as much as the layers and transfer to any of them the necessary figure or object.
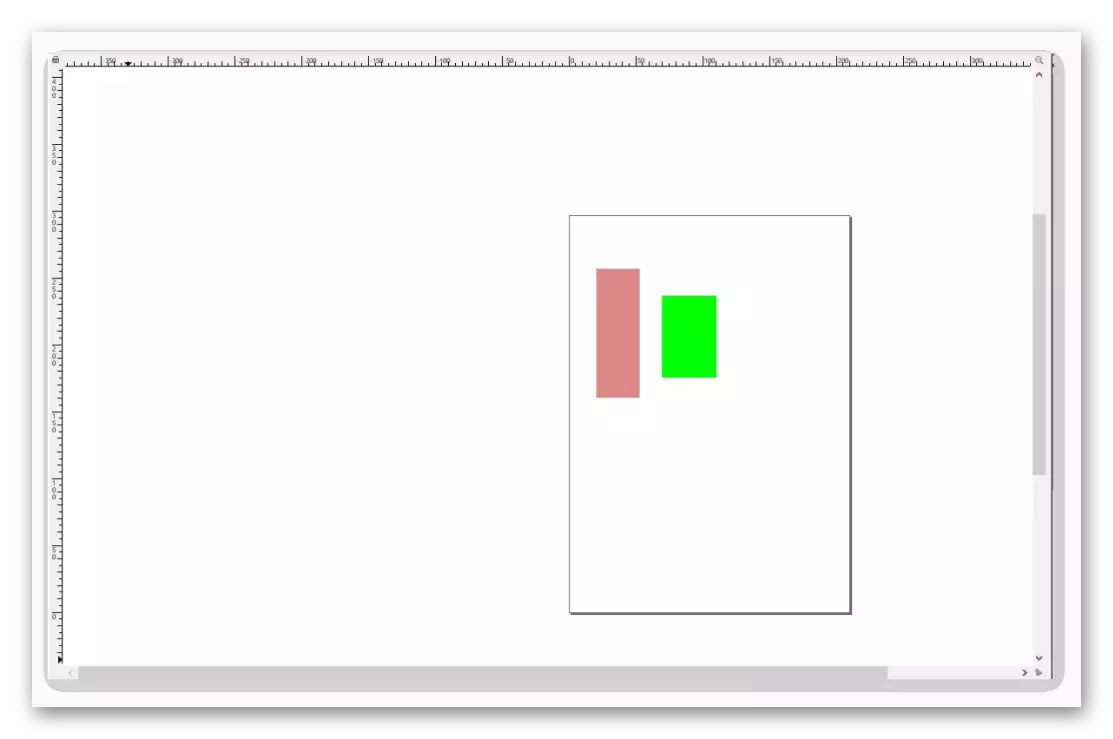
Drawing rectangles and squares
In order to draw the above figures, you need to use the tool with the same name. The sequence of actions will look like this:
- We click once the left mouse button along the button of the corresponding item on the panel.
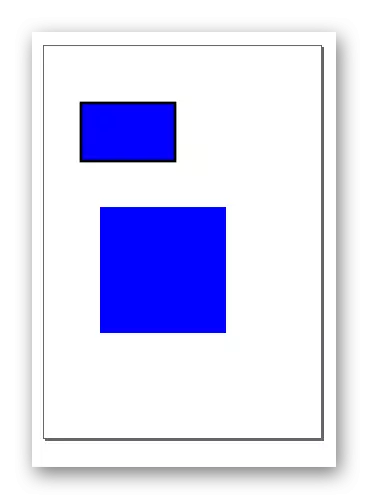
- After that we carry the mouse pointer to the canvas. Press the LKM and begin to pull the appearing image of the rectangle in the desired direction. If you need to draw a square, then just tighten the "Ctrl" during drawing.
- If you click on the object right-click and from the menu that appears, select "Fill and Stroke", you can configure the corresponding parameters. These include color, type and thickness of the contour, as well as similar fill properties.
- In the Tool Properties panel you will find parameters such as "horizontal" and "vertical radius". By changing the value data, you round the edges of the drawn figure. You can cancel these changes by pressing the "Remove Corners" button.
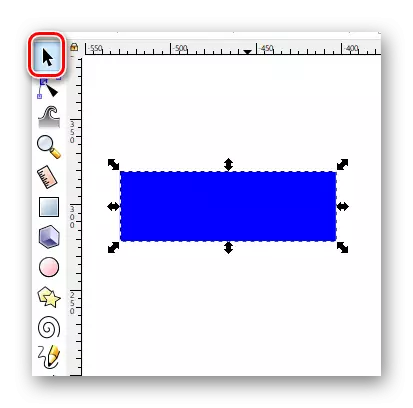
- You can move the object on the canvas using the "Selection and Transformation" tool. To do this, it is enough to hold the LKM on the rectangle and move it to the right place.


Drawing of circles and oval
Circularities in Inkscape are drawn by the same principle as rectangles.
- Choose the desired tool.
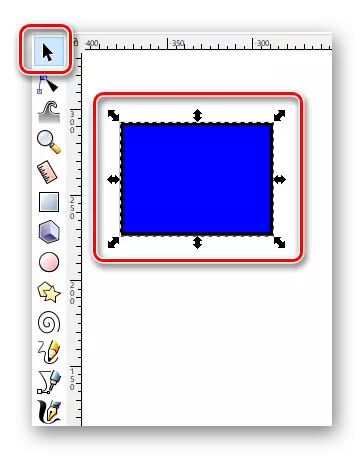
- On the canvas, clash the left mouse button and move the cursor in the right direction.
- Using properties, you can change the general view of the circumference and the angle of its reversal. To do this, it is enough to specify the desired degree in the corresponding field and select one of the three types of circle.
- As in the case of rectangles, the circles can be defined the color of the fill and stroke through the context menu.
- Moves the canvas object also using the "Allocation" function.

Drawing stars and polygons
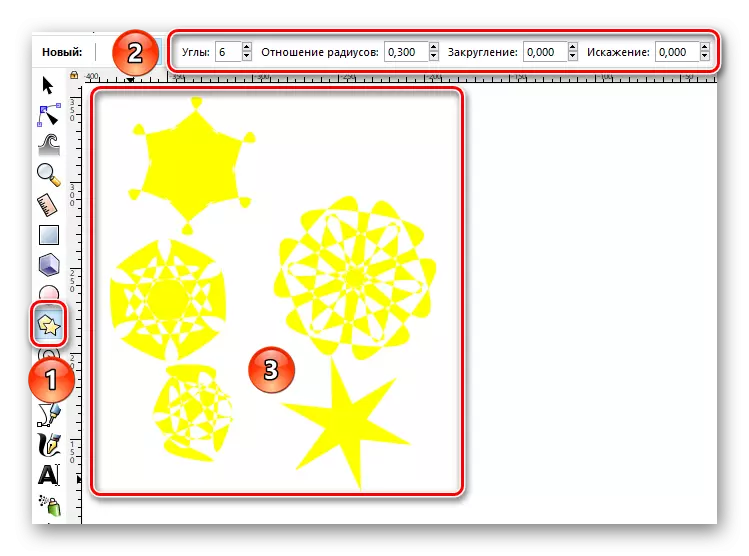
Polygons in Inkscape can be drawn in just a few seconds. There is a special tool for this that allows you to finely adjust the figures of this type.
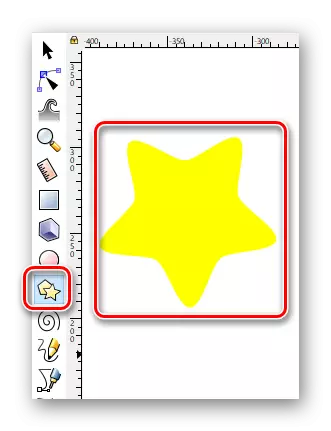
- Activate the "Stars and Polygons" to the panel.
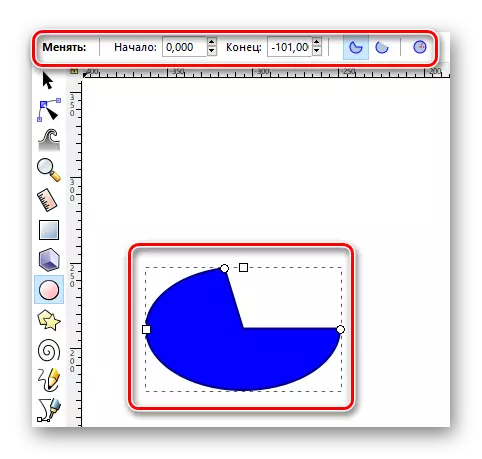
- Close the left mouse button on the canvas and move the cursor in any available direction. As a result, you will have the following figure.
- In the properties of this tool, such parameters as "number of angles", the "radius ratio", "rounding" and "distortion" can be set. By changing them, you will receive absolutely different results.
- Such properties as color, stroke and moving on the canvas are changed in a similar way, as in the previous figures.
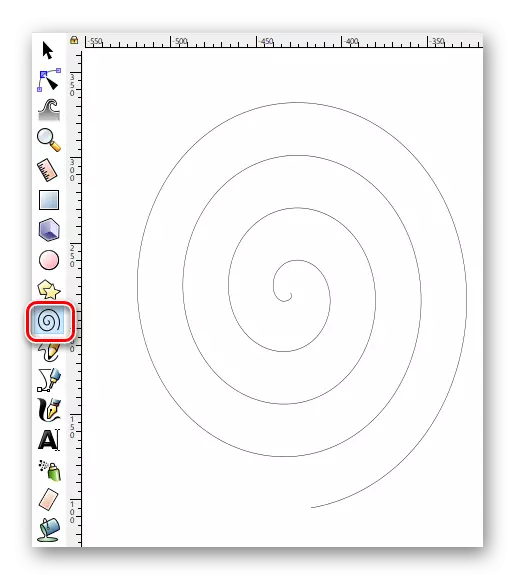
Drawing spirals
This is the last figure that we would like to tell you in this article. The process of its drawing is practically no different from the previous ones.
- Select the point "Spiral" on the toolbar.
- Click on the working area of the LKM and carry the mouse pointer, not the release button, in any direction.
- In the properties panel you can always change the number of spiral turns, its inner radius and nonlinearity indicator.
- The "Select" tool allows you to change the size of the shape and move it within the canvas.

Editing knots and levers
Despite the fact that all the figures are relatively simple, any of them can be changed beyond recognition. I thank this and result in vector pictures. In order to edit the element nodes, you need to do the following:
- Select any drawn object using the "Select" tool.
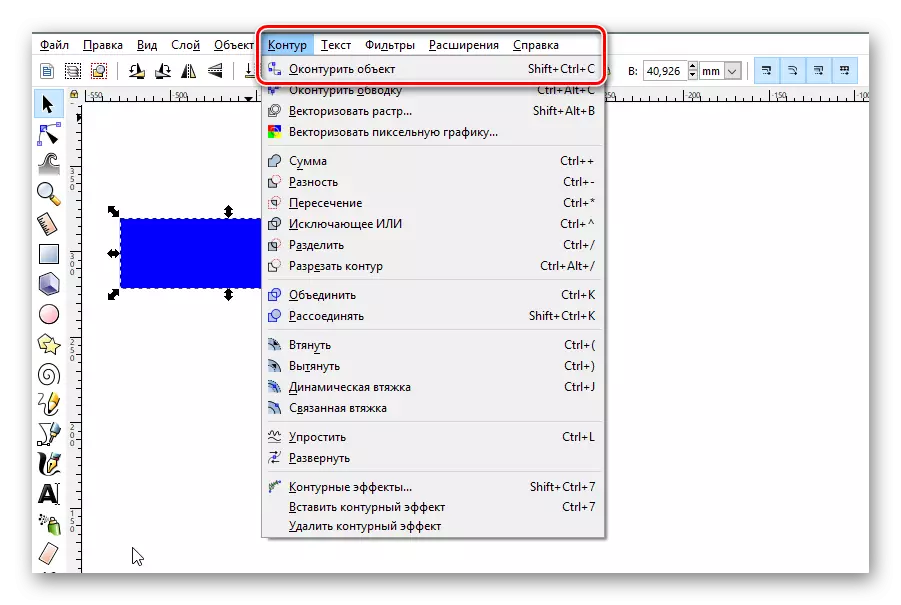
- Next, go to the "Contour" menu and select the Object Object item from the context list.
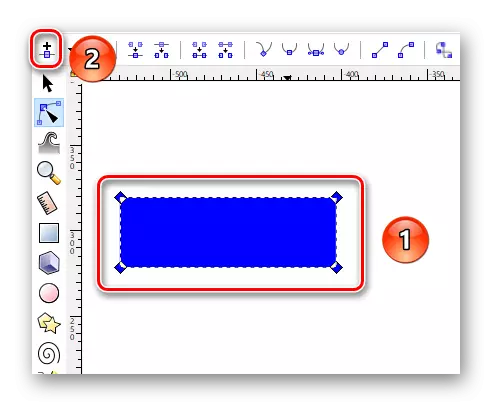
- After that, turn on the "editing of nodes and levers".
- Now you need to highlight the entire figure. If you are all done correctly, the nodes will be painted in the color of the fill of the object.
- On the properties panel, we click the first "insert nodes" button.
- As a result, new ones will appear between the existing nodes.

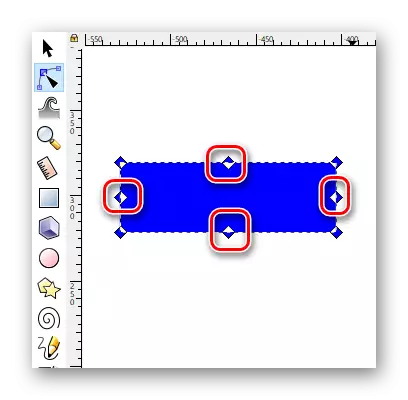
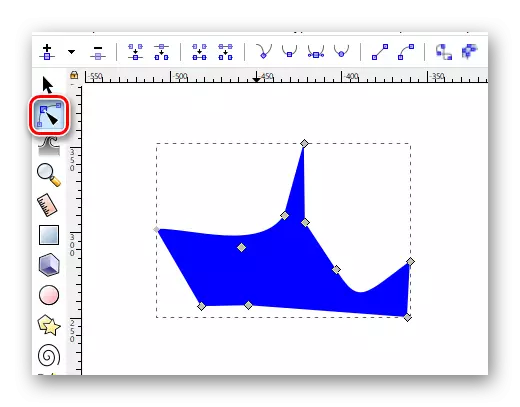
This action can not be performed with the whole figure, but only with its selected area. By adding new nodes, you can change the object form more and more. To do this, it is enough to bring the mouse pointer to the desired node, clamp the LKM and pull out the element in the desired direction. In addition, you can pull over the edge using this tool. Thus, the object of the object will be more concave or convex.
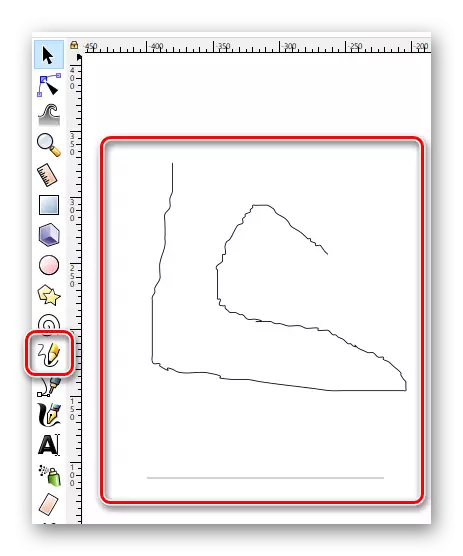
Drawing arbitrary contours
With this feature, you can draw both smooth straight lines and arbitrary figures. Everything is done very simple.
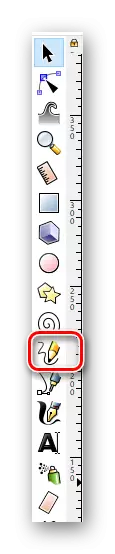
- Choose a tool with the appropriate name.
- If you want to draw an arbitrary line, then pushing the left mouse button on canvas anywhere. It will be the initial point of the drawing. After that, lead the cursor in the direction where you want to see this very line.
- You can also click on the left mouse button on the canvas and stretch the pointer to any side. As a result, a perfectly smooth line is formed.
Please note that the lines, like the figures you can move around the canvas, change their size and edit nodes.
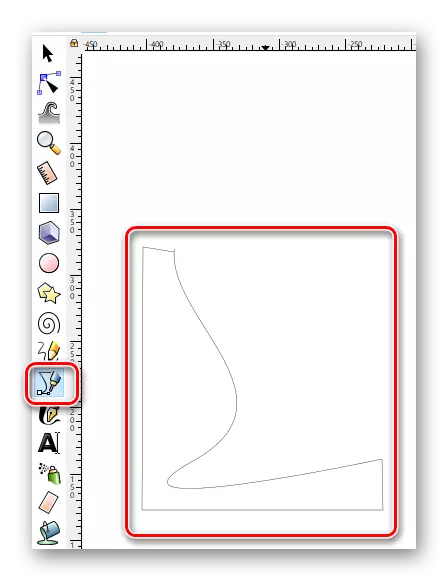
Drawing curves Beziers
This tool will also work with straight. It will be very useful in situations when you need to make an object circuit using direct lines or draw something.
- Activate the function that is so called - "Bezier and straight lines" curves.
- Next, we make single press on the left mouse button on the canvas. Each point will connect the straight line with the previous one. If at the same time clamping the LKM, then you can immediately bend this very direct.
- As in all other cases, you can add new nodes at any time to all the lines, resize and move the element of the resulting image.

Using calligraphic pen
As clearly out of the name, this tool will allow you to make beautiful inscriptions or image elements. To do this, it is enough to choose it, set up properties (angle, fixation, width, and so on) and you can proceed to drawing.

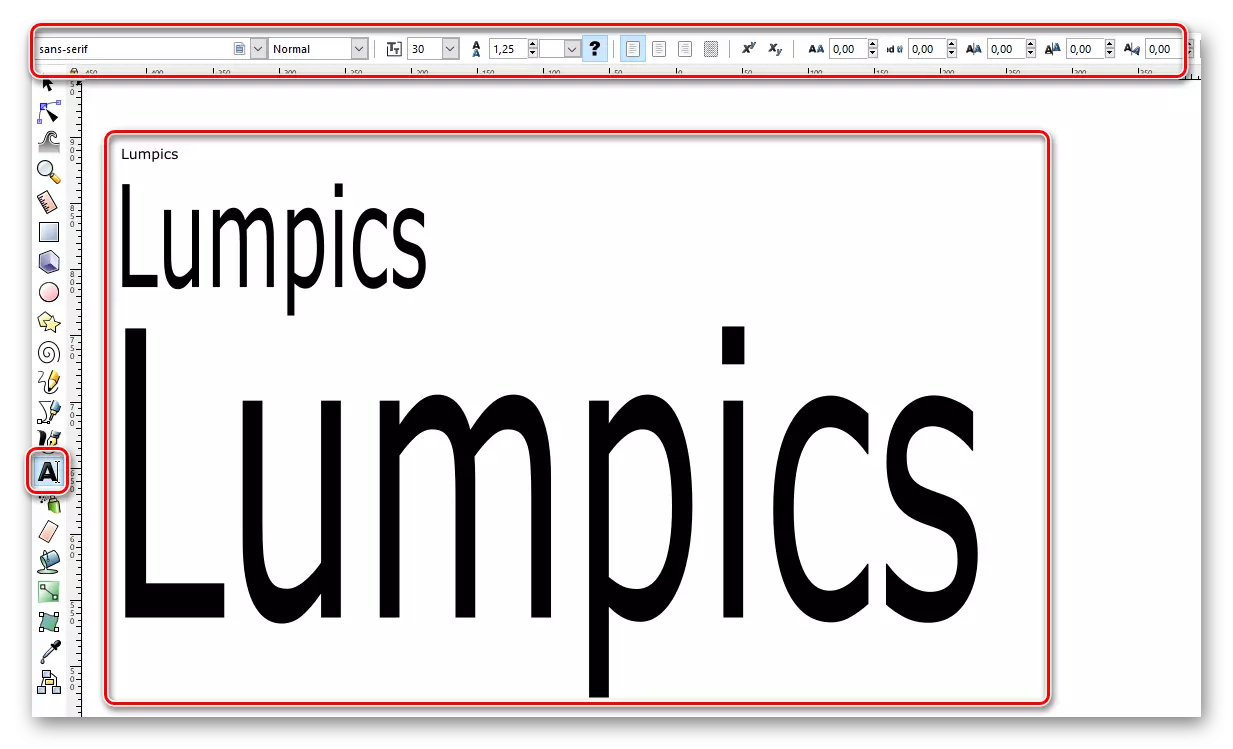
Adding text
In addition to various figures and lines, in the described editor, you can also work with the text. A distinctive feature of this process is that initially text can be written even in the smallest font. But if you increase it to the maximum, then the quality image is absolutely not lost. The process of using text in Inkscape is very simple.
- Select the "Text objects" tool.
- Indicate its properties on the corresponding panel.
- We put the cursor pointer in the place of the canvas, where we want to position the text itself. In the future it can be moved. Therefore, you should not delete the result if you accidentally placed the text not where they wanted.
- It remains only to write the desired text.
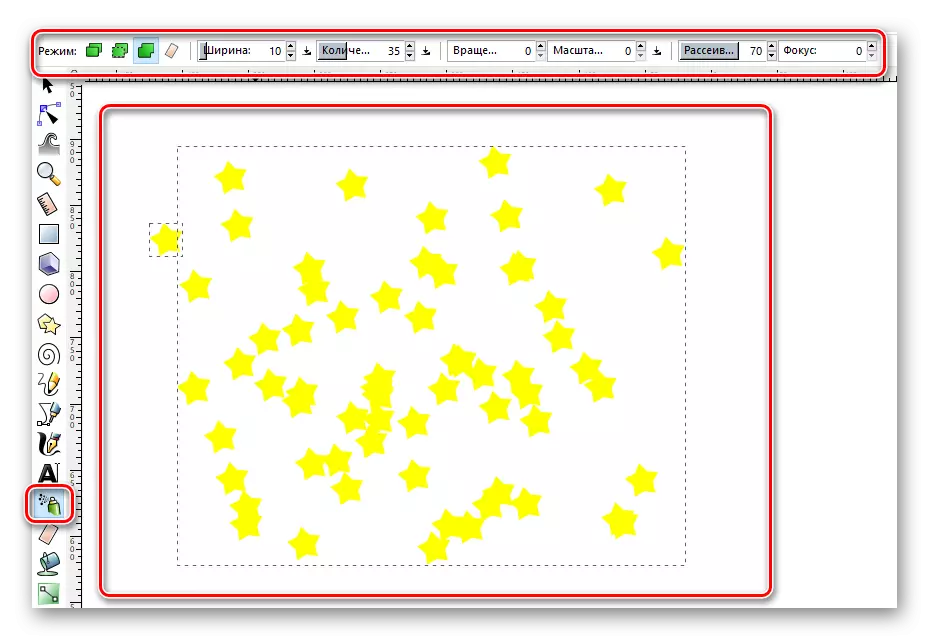
Sprayer objects
There is one interesting feature in this editor. It allows you to fill all the workspace in the same few seconds in a few seconds. Applications of this function can come up with a lot, so we decided not to bypass it.
- First of all, you need to draw any shape or object on canvas.
- Next, select the "Spray Objects" function.
- You will see a circle of a certain radius. Configure its properties, if you consider it necessary. These include the radius of the circle, the number of figures drawn and so on.
- Move the tool to the place of the work area where you want to create clones of the previously drawn item.
- Hold the LKM and hold it as much as you find fit.
The result should be as follows.
Removing elements
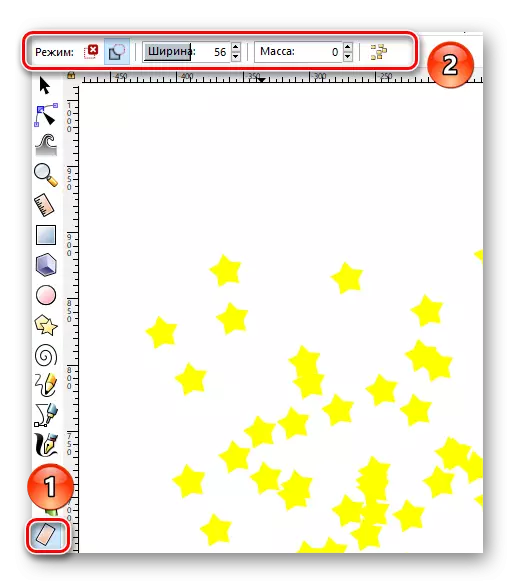
Probably you will agree with the fact that no drawing can do without an eraser. And inkscape is no exception. It is about how to remove the drawn elements from the canvas, we would like to tell finally.
By default, any object or group can be allocated using the "Select" function. If you then click on the keyboard the "Del" or "Delete" key, then the objects will be entirely removed. But if you select a special tool, you can wash only specific pieces of figures or images. This feature works on the principle of eraths in Photoshop.
That's actually all the main techniques that we would like to tell in this material. Combining them with each other, you can create vector images. Of course, in the Inkscape Arsenal there are many other useful features. But in order to use them, you need to have deeper knowledge. Remember that you can ask your question at any time in the comments to this article. And if after reading the article you have doubts about the need for this editor, then we suggest familiarizing yourself with its counterparts. Among them you will find not only vector editors, but also raster.
Read more: Comparison of photo editing programs