
Users who are closely following the development of Ubuntu, know that with updating 17.10, which has a code name ARTFUL AARDVARK, Canonical (Distribution Developer) decided to abandon the standard Unity graphic shell by replacing it on GNOME Shell.
Note: Before downloading, you will need to enter a superuser password and confirm the actions by entering the letter "D" and pressing ENTER.
After installation, the Unity is required to restart the system and in the user selection menu, specify which graphic shell you want to use.
After Synaptic has been installed, you can go directly to install Unity.
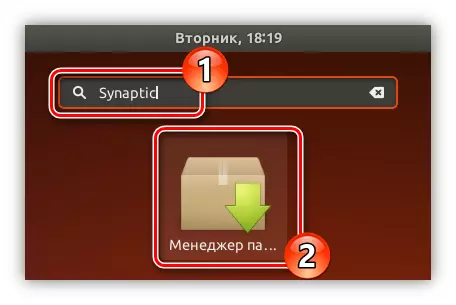
- Run the package manager using the search menu.
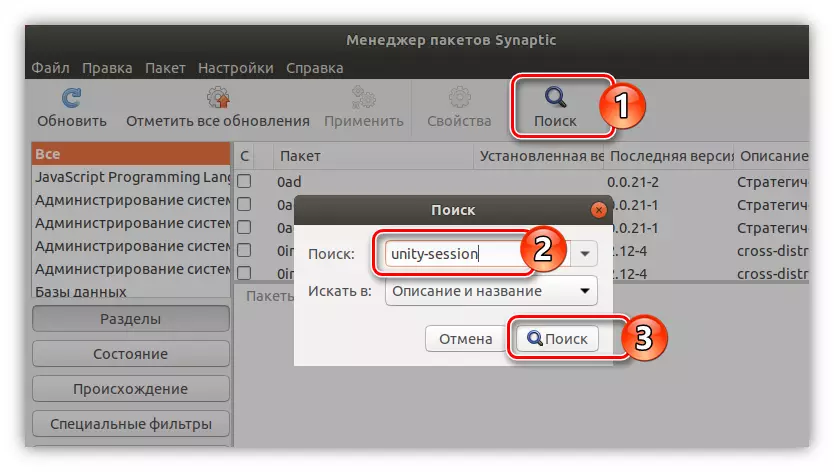
- In the program, click on the "Search" button and follow "Unity-Session".
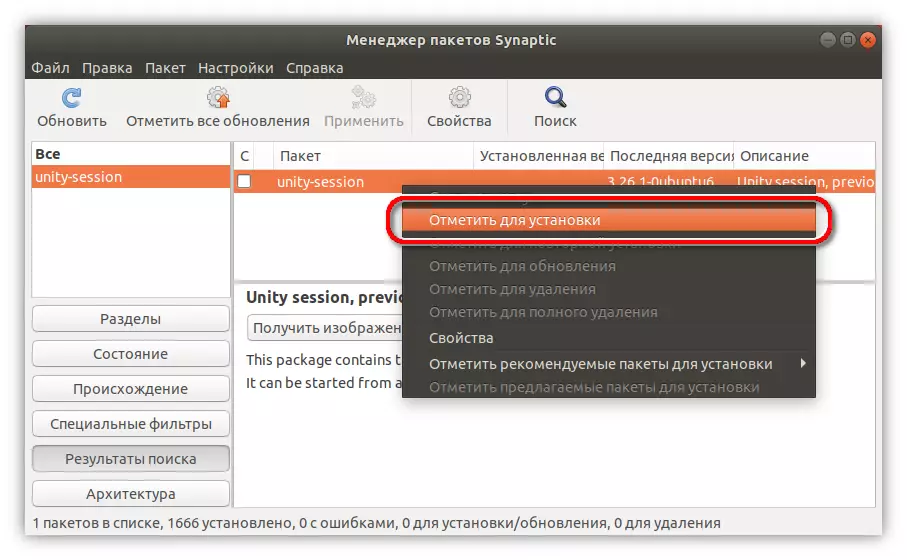
- Highlight the found packet for the installation by clicking on it with the right mouse button and selecting "Mark for installation".
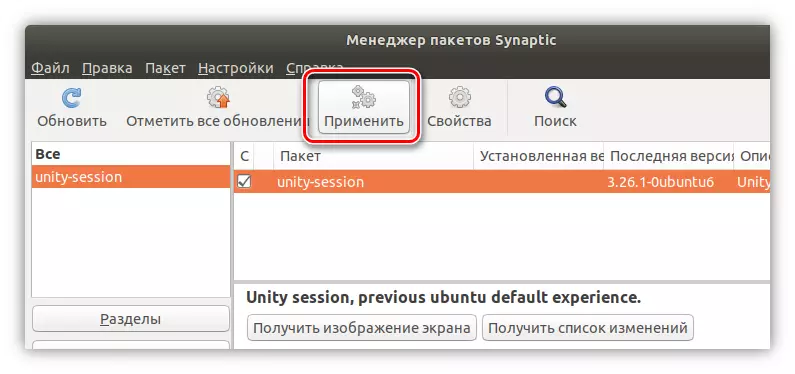
- In the window that appears, click the Apply button.
- Click "Apply" on the top panel.
After that, it remains to wait for the completion of the boot process and install the package into the system. As soon as this happens, restart the computer and in the user password entry menu, select Unity Settlement.
Conclusion
Although Canonical and abandoned Unity as the main working environment, they still left the ability to use it. In addition, on the day of a full release (April 2018), the developers promise full-fledged support for the Unity created by the enthusiast team.