
Sometimes when using a computer, you can notice problems in the hard disk. It may manifest itself in slowing the speed of opening files, in increasing the volume of the work of the HDD itself, in the periodic occurrence of BSOD or other errors. Ultimately, such a situation may result in loss of valuable data or to the full track of the operating system. We will analyze the main ways to diagnose problems connected to a PC with Windows 7 disk drive.
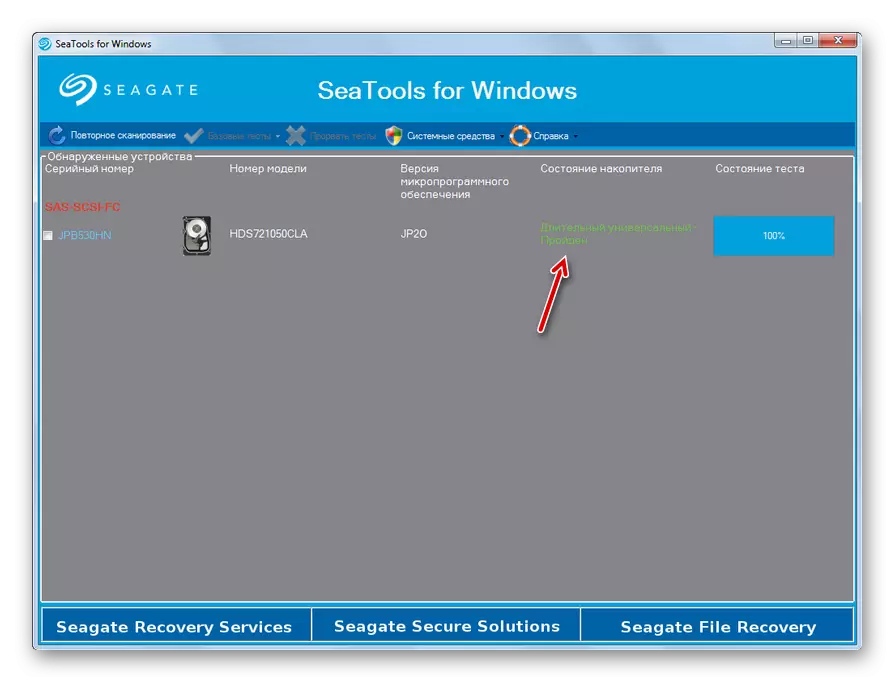
As you can see, Seagate Seatools is quite comfortable and, most importantly, the free tool for diagnosing the hard disk of the computer. It offers several options for checking in the level of depth. Time costs for the test will depend just from scanning.
Method 2: Western Digital Data Lifeguard Diagnostic
Western Digital Data Lifeguard Diagnostic will be most relevant to test hard drives manufactured by Western Diditital, but it can also be used to diagnose drives from other manufacturers. The functionality of this tool makes it possible to view the information about the HDD and scan it sectors. As a bonus, the program can finally erase any information from the hard drive without the possibility of its recovery.
Download Western Digital Data Lifeguard Diagnostic
- After a simple installation procedure, launch the lifeguard diagnostic on your computer. A license agreement opens. Near the "I Accept This License Agreement" parameter, install the mark. Next click "Next".
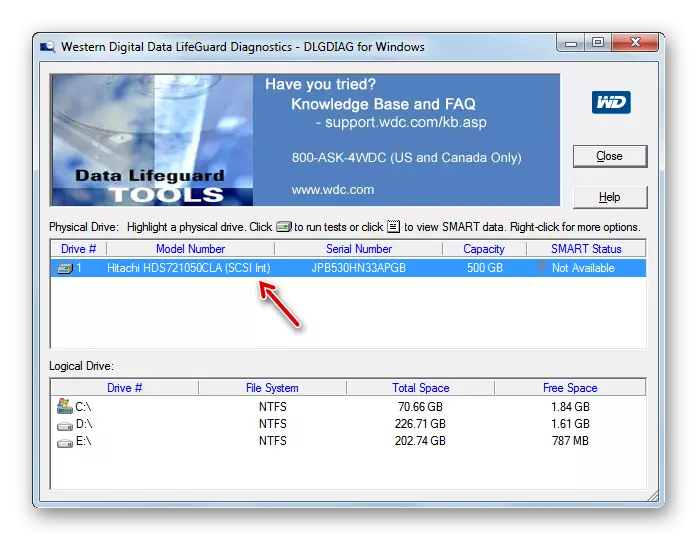
- The program window opens. It will explain the following data on the disk drives connected to the computer:
- Disk number in the system;
- Model;
- Serial number;
- Volume;
- Smart status.
- In order to start testing, select the name of the target disk and click on the icon near the name "Click to Run Test".
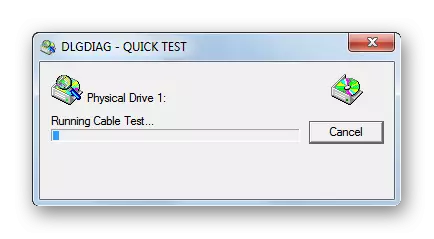
- A window opens, which will offer several options for checking. First, select "Quick Test. To start the procedure, press "Start".
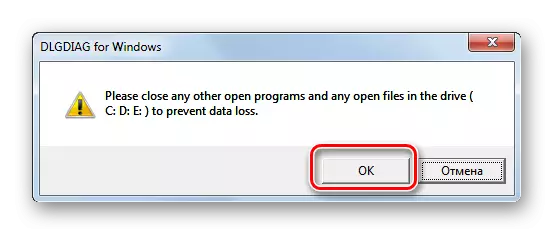
- The window will open, where it will be proposed for the purity of the test. Close all other programs that are running on the PC. Complete jobs in applications, then click "OK" in this window. You can not worry about the lost time, since the test will not save him a lot.
- The test procedure begins, the dynamics of which can be observed in a separate window due to the dynamic indicator.
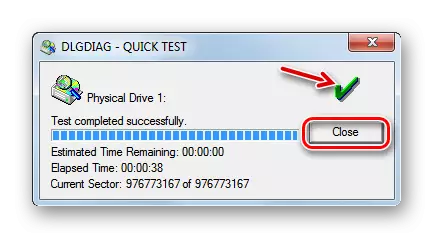
- After completing the procedure, if everything ended well and has not been identified, the green tick will be displayed in the same window. In case of problems, the mark will be red. To close the window, click "Close".
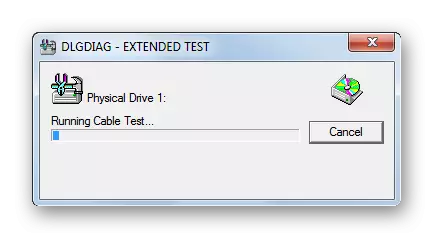
- The mark will also appear in the test list window. To start the next type of test, select the "Extended Test" item and press "Start".
- The window will appear again with a proposal to complete other programs. Do it and press OK.
- The scanning procedure is launched, which will take the user a much larger period of time than the previous test.
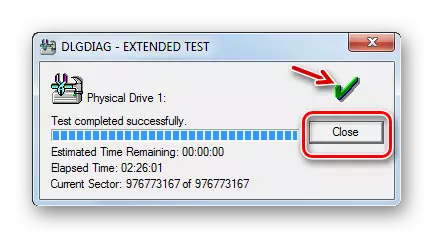
- After completing it, as in the previous case, a mark of the successful end or, on the contrary, the presence of problems is. Close "Close" to close the test window. On this diagnosis of Winchester in Lifeguard Diagnostic can be considered completed.


Method 3: HDD Scan
HDD Scan is a simple and free software that copes with all its tasks: checking sectors and conducting hard drive tests. True, the error correction is not included in its purpose - only their search on the device. But the program is supported not only standard hard drives, but also SSD, and even flash drives.
Download HDD Scan.
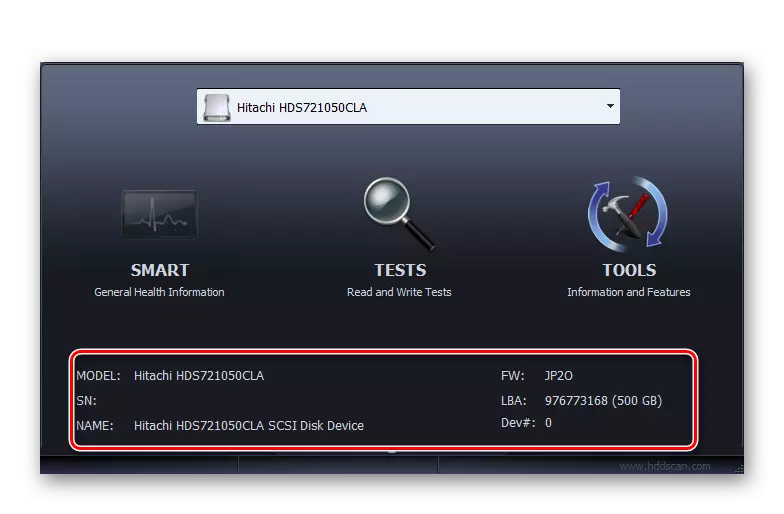
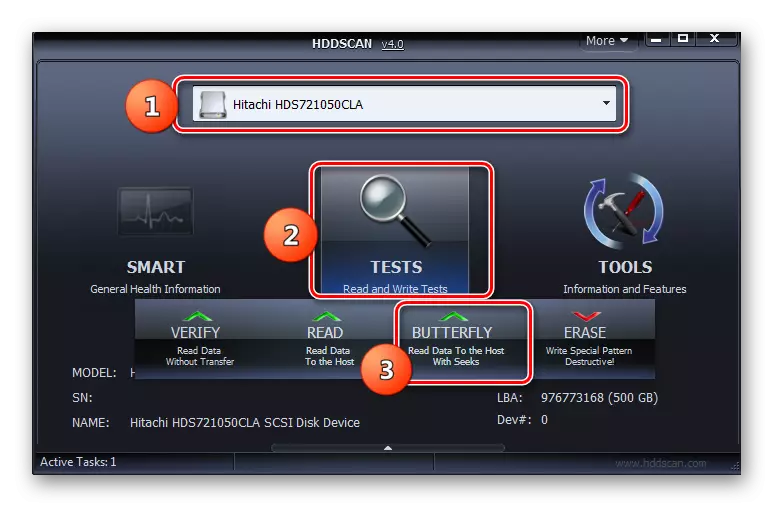
- This application is good because it does not require installation. Just run HDD Scan on PC. A window will open, which displays the name of the brand and model of your hard drive. Immediately indicates the version of the firmware and the capacity of the information carrier.
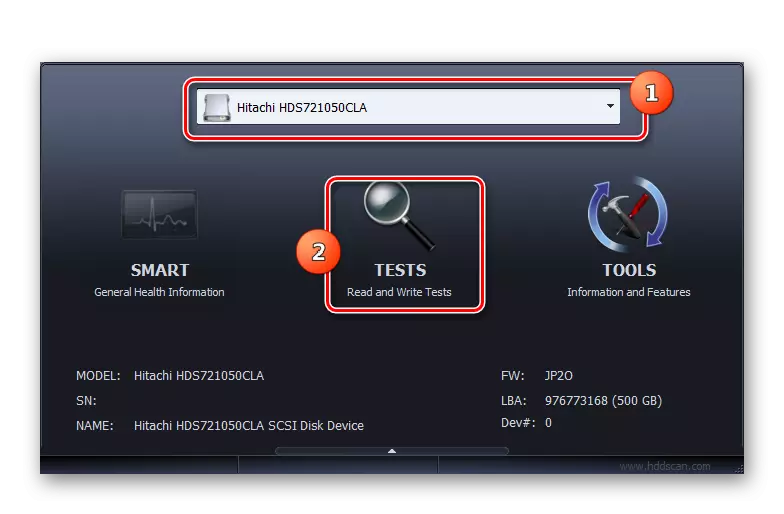
- If several drives are connected to the computer, then in this case you can choose from the drop-down list that option you want to check. After that, to start the diagnostics, click the "Test" button.
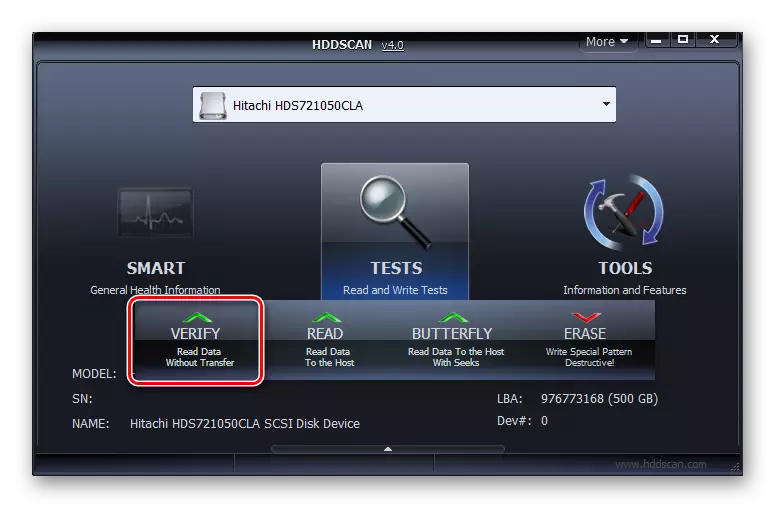
- Next opens additional menus with verification options. Choose the version "verify".
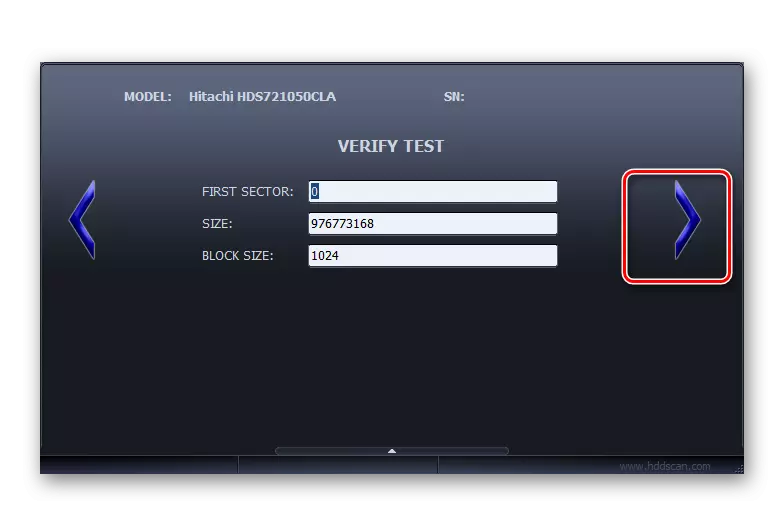
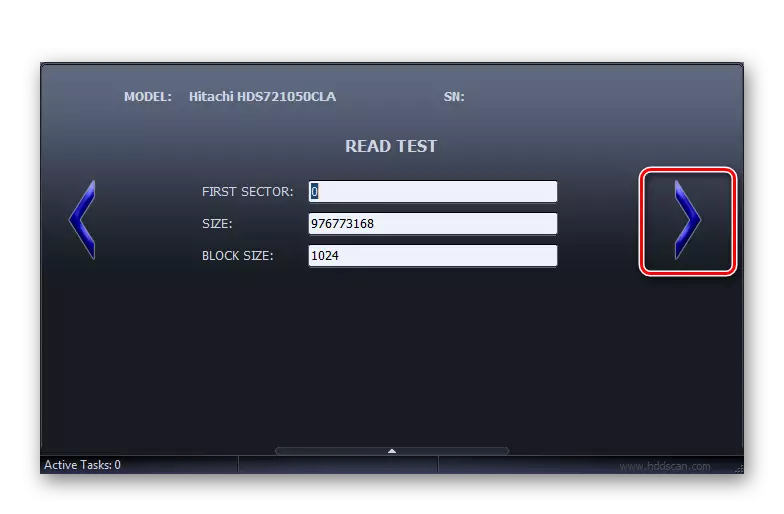
- After that, the settings window will immediately open, where the number of the first HDD sector will be specified from which the check will begin, the total number of sectors and size. This data can be changed if desired, but it is not recommended. To directly start testing, click on the right arrow from the settings.
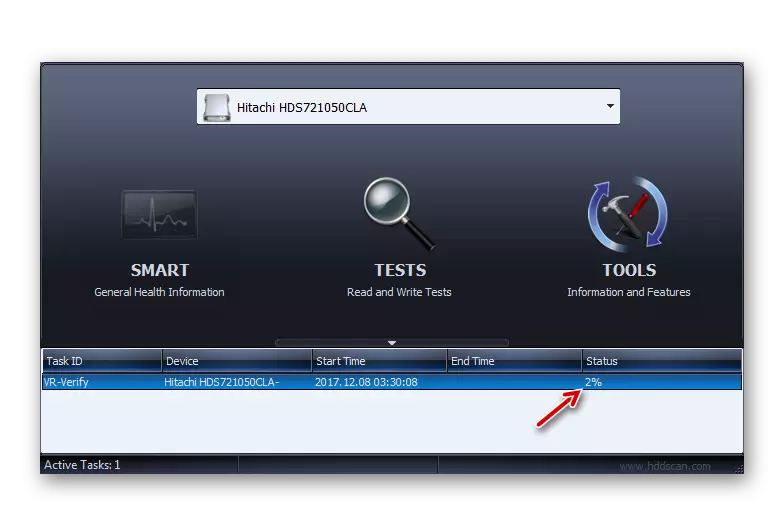
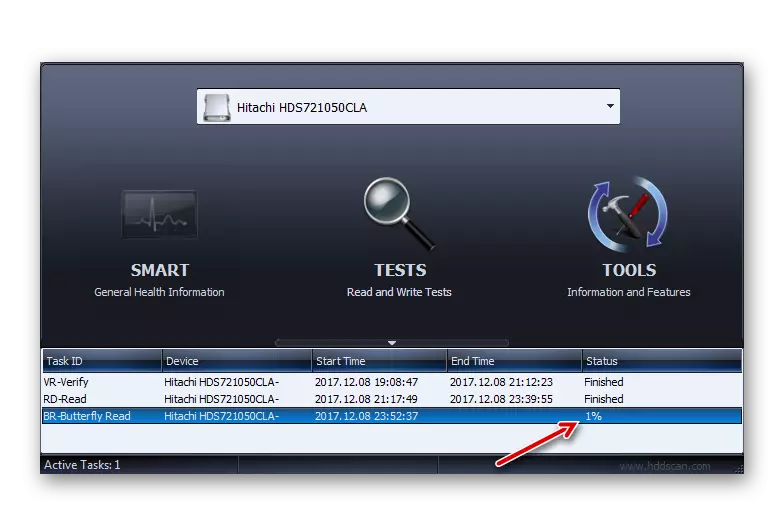
- Testing in Verify mode will be launched. You can watch his progress if you click on the triangle at the bottom of the window.
- The area of the interface in which the test name will be contained and the percentage of its completion is specified.
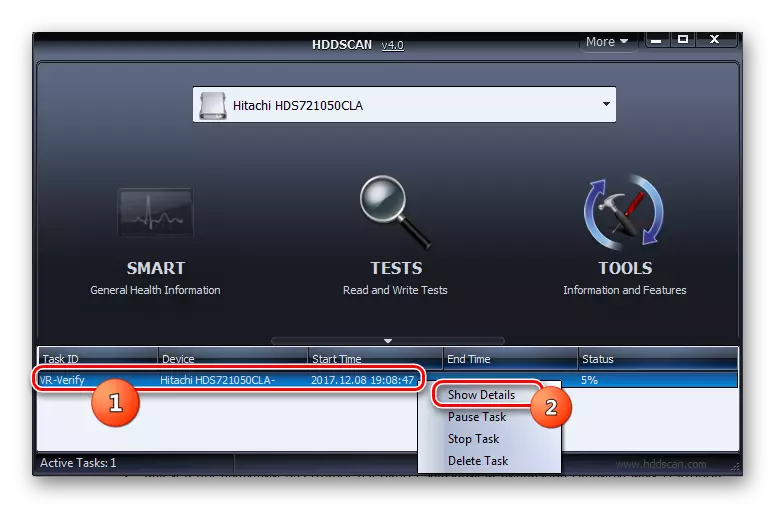
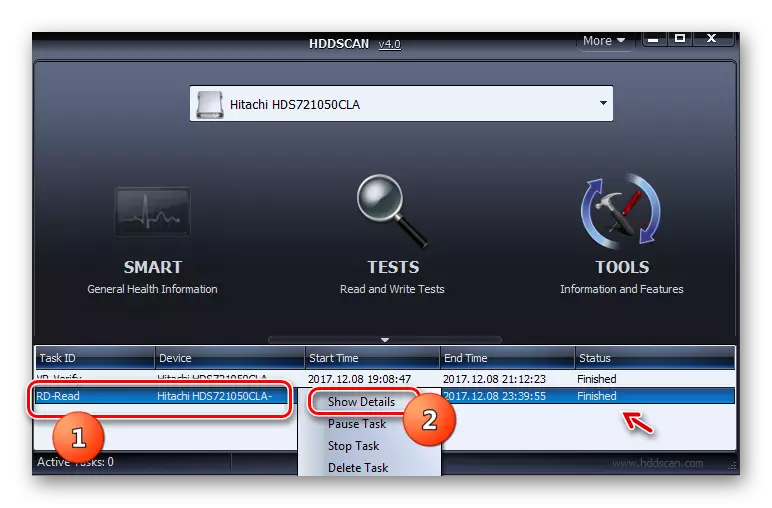
- In order to view more, as the procedure takes place, right-click on the name of this test. In the context menu, select the "Show Detail" option.
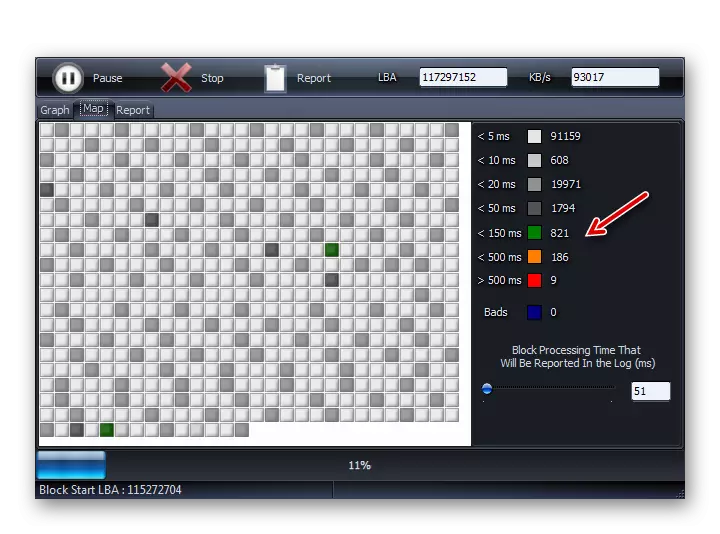
- A window will open with detailed information for the procedure. On the process of process map Problem sectors of the disk with a response exceeding 500 ms and from 150 to 500 ms, will be marked with red and orange, and broken sectors - dark blue with an indication of such elements.
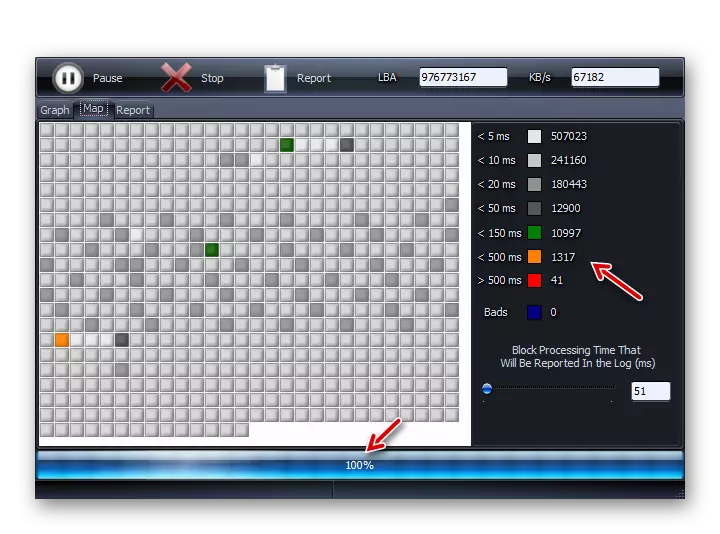
- After completion of testing on the indicator in the additional window, the value "100%" should be displayed. In the right side of the same window, detailed statistics on the response time of the hard disk sectors will be displayed.
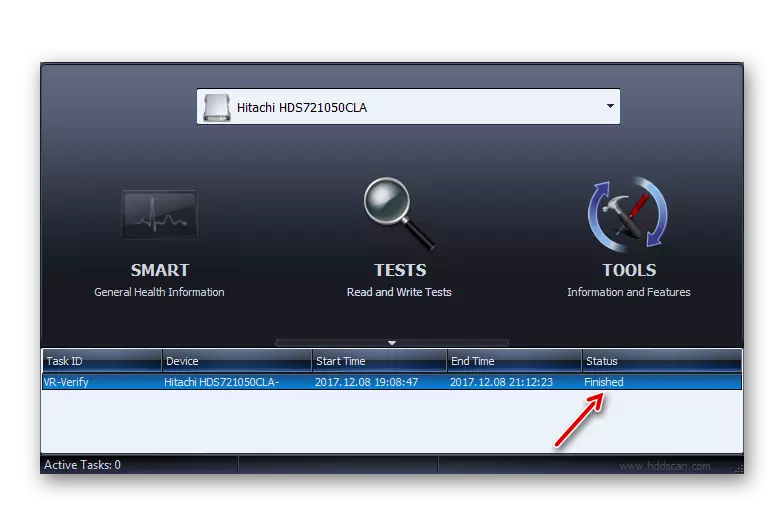
- When you return to the main window, the status of the completed task must be "FINISHED".
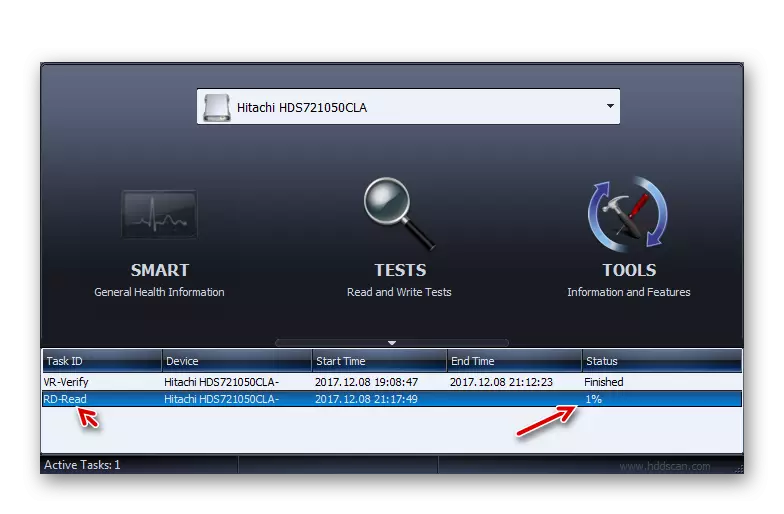
- To start the next test, select the desired disk again, click on the "Test" button, but this time you click on the "read" item in the menu that appears.
- As in the previous case, a window will open with an indication of the range of scanned storage sectors. For complete text, you need to leave these settings without changing. To activate the task, click on the arrow to the right of the parameters of the Sector Verification range.
- Will starts testing for reading. Behind its dynamics can also be followed by opening the bottom area of the program window.
- During the procedure or after its completion, when the task status is changed to "finished", through the context menu, selecting the "Show detail" item described in the previous way to go to the detailed scanning results window.
- After that, in a separate window in the MAP tab, you can view the details of the response time of the HDD sectors for reading.
- To start the last version of the diagnostics of the hard drive in HDD Scan, again we click the "Test" button, but now choose the option "Butterfly".
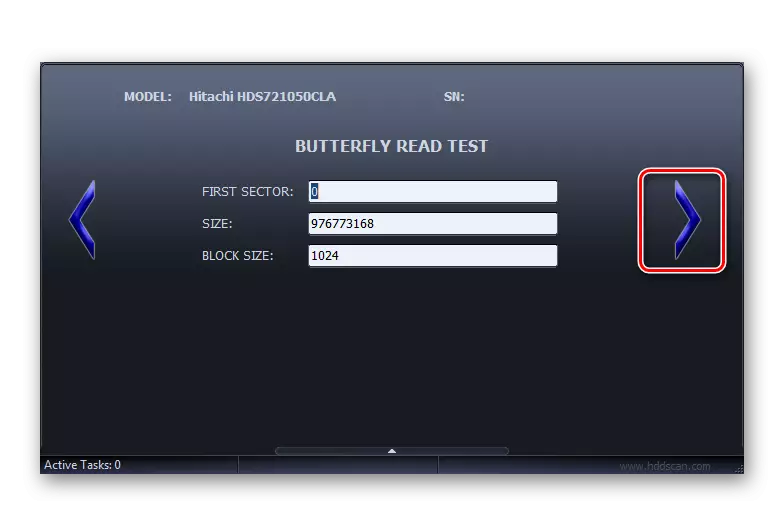
- As in the previous cases, the settings of the Sector Testing Range Settings window opens. Without changing data in it, click on the right arrow.
- The "Butterfly" test runs, which is to check the disk to read the data using queries. Over the dynamics of the procedure, as always, can be monitored using an informator at the bottom of the main HDD SCAN window. After the test is completed, if you wish, you can view its detailed results in a separate window with the same method that was used for other types of testing in this program.


This method has an advantage over the use of the previous program in that it does not require a mandatory completion of working applications, although for greater diagnostic accuracy, it is also recommended to do.
Method 4: CrystalDiskinfo
Using the CrystalDiskInfo program, you can quickly quickly digitize the hard drive on a computer with Windows 7. This program is characterized by the fact that it provides the most complete information about the HDD status according to various parameters.
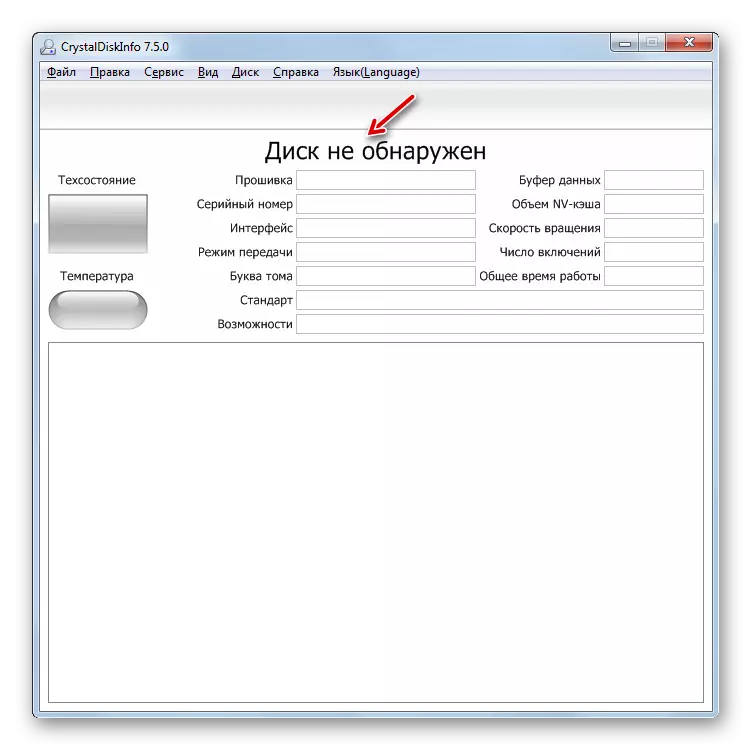
- Run Crystaldiskinfo. Regardless often, when you first start this program, a message appears that the disk is not detected.
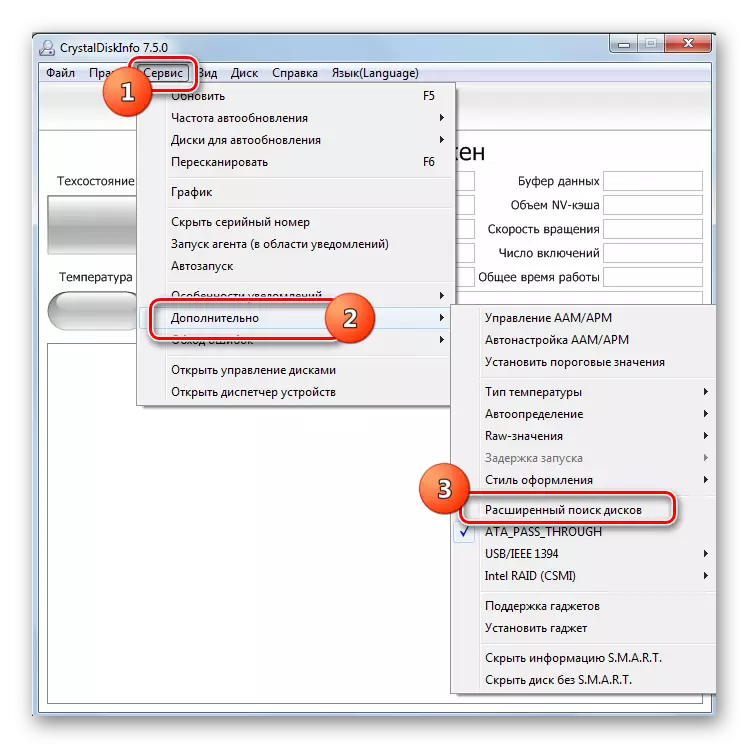
- In this case, click on the "Service" menu, go to the "Advanced" position and in the list that opens, click on the "Advanced Disc Search".
- After that, the name of the hard drive (model and brand name), if it is not initially displayed, you should see. Under the name will show basic hard disk data:
- Firmware (firmware);
- Interface type;
- Maximum speed of rotation;
- The number of inclusions;
- Total working time, etc.
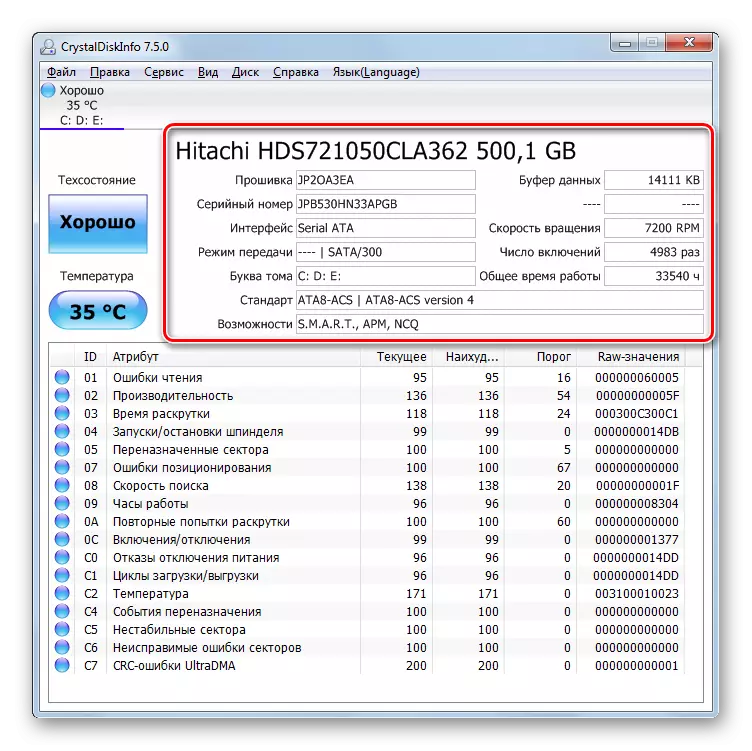
In addition, there is no delay in a separate table displays information about the state of the hard drive in the long list of criteria. Among them are:
- Performance;
- reading error;
- promotion time;
- positioning errors;
- Unstable sectors;
- Temperature;
- Failures of power failure and others.
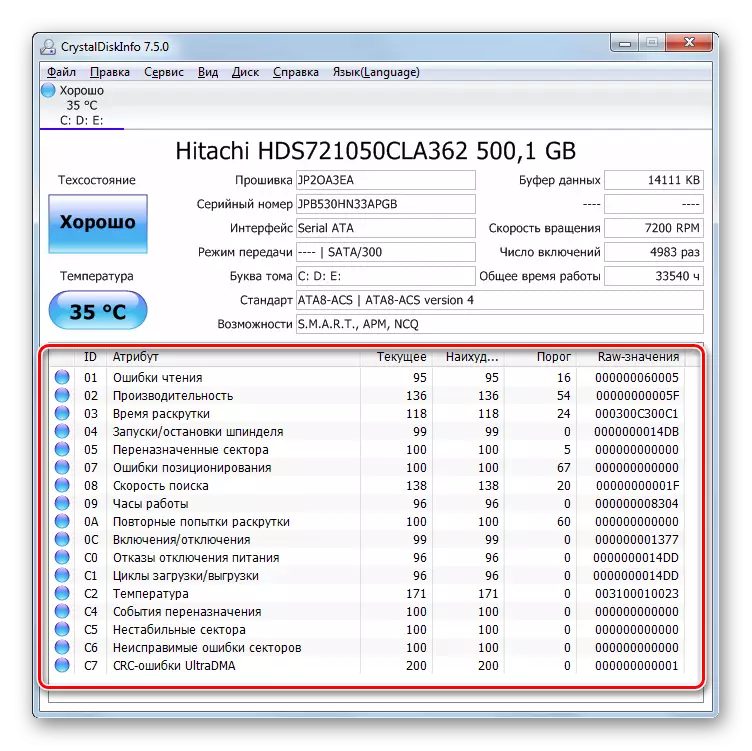
To the right of these parameters are current and their worst value and the minimum acceptable threshold of these values. Left are the status indicators. If they are blue or green, then the value of the criteria about which they are located, is satisfactory. If the red or orange - there are problems in the operation.
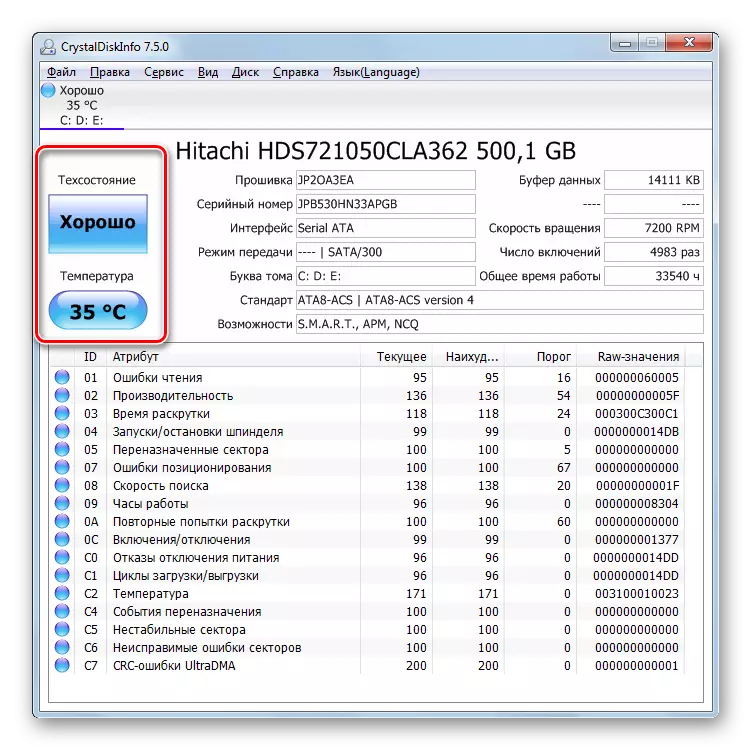
Furthermore, above the table evaluation of individual operating parameters indicated overall assessment of the hard disk and its current temperature.
CrystalDiskInfo, in comparison with other instruments for monitoring the status of the hard drive on a running Vindovs 7 computers pleasing result display speed and completeness of the information by various criteria. That is why the use of this software to set goals in this article is considered by many users and experts the best option.
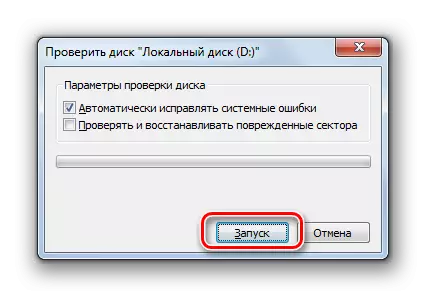
Method 5: Check the Windows features
HDD can diagnose and opportunities through most Windows 7. However, the operating system does not offer a full-scale testing, and only checking the hard drive for errors. But with the help of internal utility «Check Disk» is possible not only to perform a hard disk scan, but also try to fix the problem if they are detected. Run this tool, you can both through the graphical interface of the OS, and using the "Command Prompt", using the command "the chkdsk". Details HDD test the algorithm we have presented in a separate article.
Lesson: Verification of disk for errors in Windows 7
As we see in windose 7 it is possible to make a diagnosis as a hard drive with the help of third-party software, and applying a built-in utility systems. Of course, the use of third-party software provides a more in-depth and diverse picture of the hard drive, than the use of standard technologies that can only detect errors. But to use the Check Disk You do not need to download or install anything, and besides, internal system utility will attempt to correct the mistakes if they are detected.