

There are several ways to configure the computer to automatically switch on, there are several. This can be done using the tools available in the computer hardware, methods provided for in the operating system, or special programs from third-party manufacturers. We will analyze these methods in more detail.
Video instruction
Method 1: BIOS and UEFI
The existence of the BIOS (Basic Input-Output System) was heard, probably all who at least a little familiar with the principles of the computer. It is responsible for testing and regular inclusion of all PC hardware components, and then transmits control by the operating system. Bios contains many different settings, among which there is and the ability to turn on the computer in automatic mode. Let's notify immediately that this function is far from all BIOS, but only in more or less modern versions.
To schedule the launch of your PC on the machine through the BIOS, you must do the following:
- Log in to the BIOS Setup parameters menu. To do this, immediately after turning on the power, you must click on the Delete or F2 key (depending on the manufacturer and the BIOS version). There may be other options. Usually the system shows how to enter the BIOS immediately after the PC is turned on.
- Go to the "Power Managevent Setup" section. If there is no such partition, it means that in this version of the BIOS the ability to include your computer on the machine is not provided.
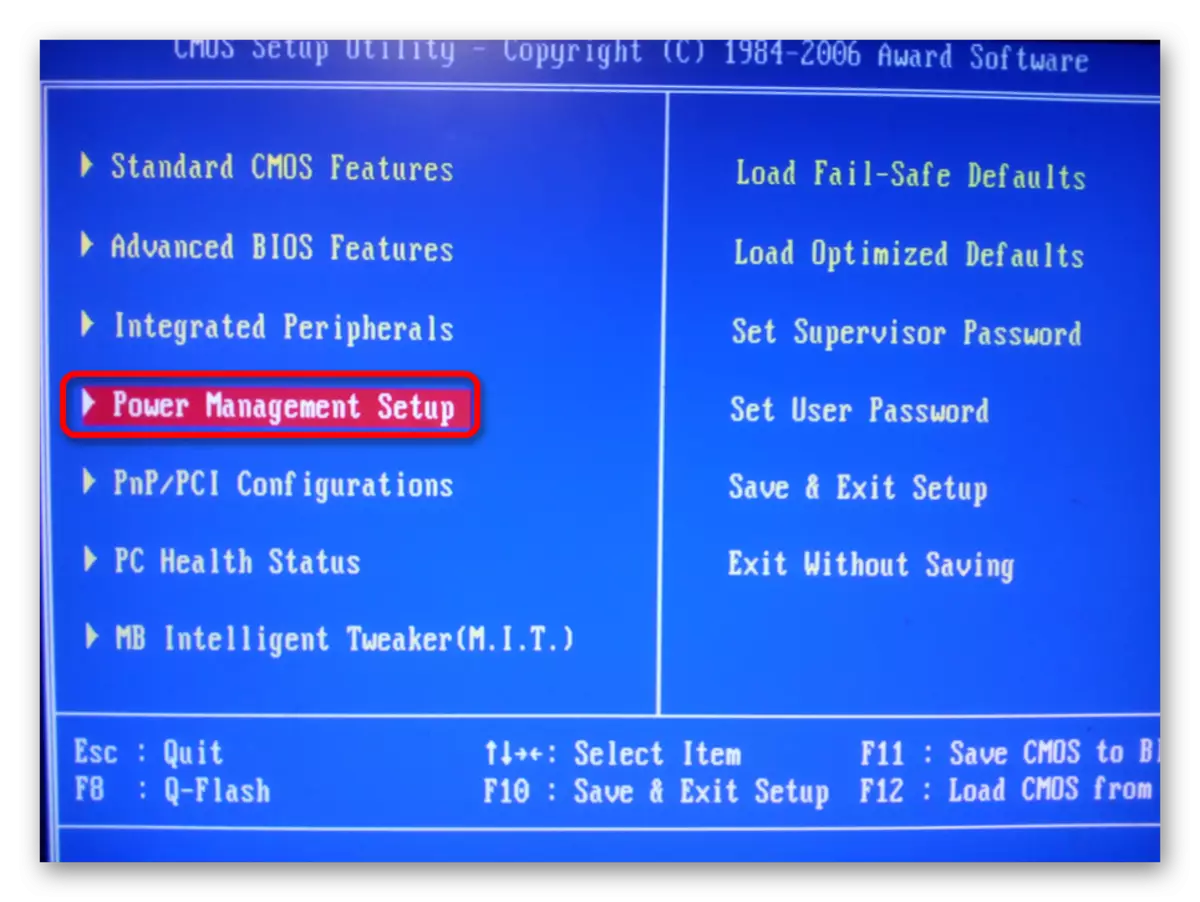
In some versions of the BIOS, this section is not in the main menu, but in the form of a subsection in "Advanced Bios Features" or "Acpi Configuration" and called a little differently, but it is always the same in the same way - there are settings for the power supply of the computer.
- Find in the "Power Management Setup" section Power-On by Alarm item and set it "Enabled" mode.
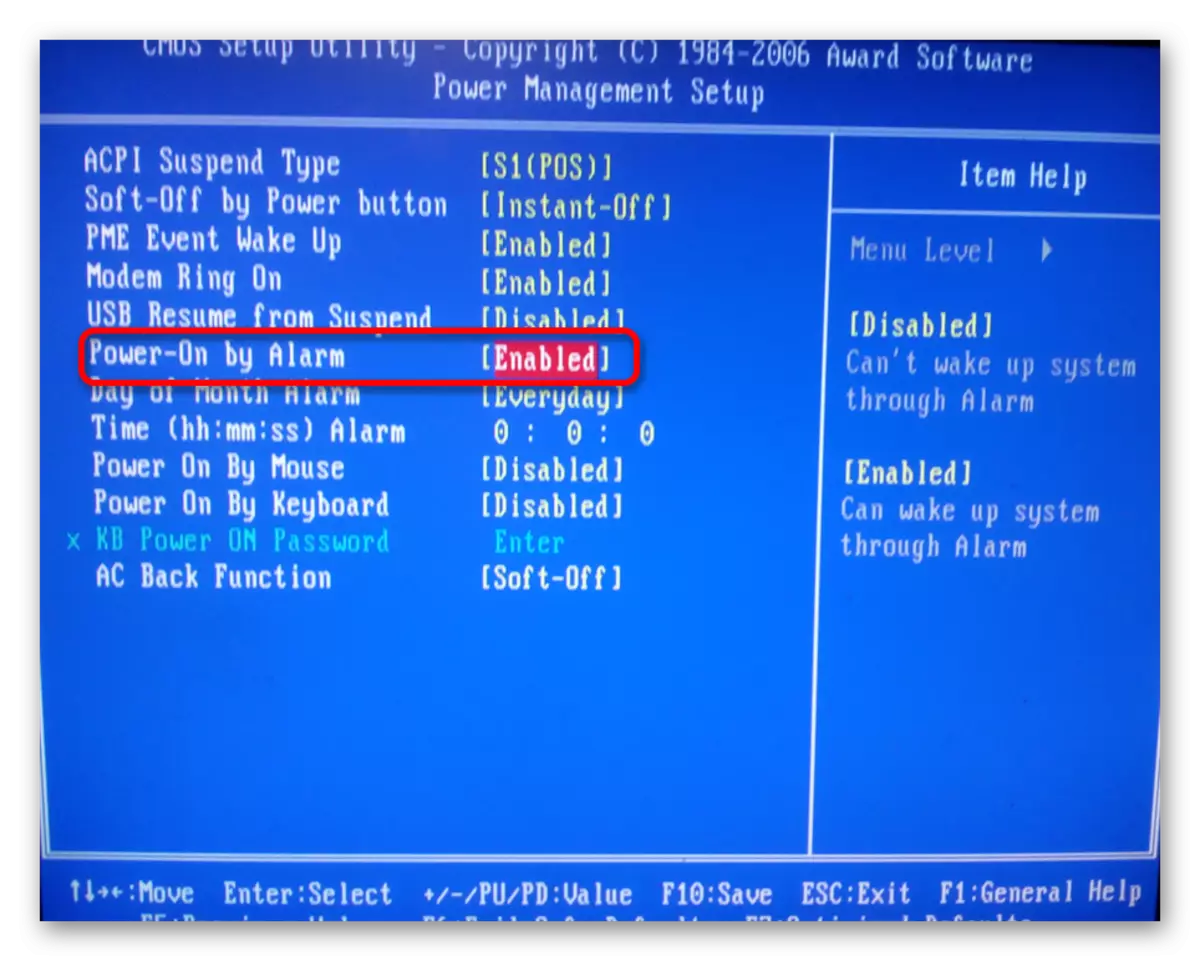
Thus, the automatic power on PC will be allowed.
- Configure computer switches on. Immediately after executing the previous paragraph, the "Day of Month Alarm" and "Time Alarm" settings will be available.
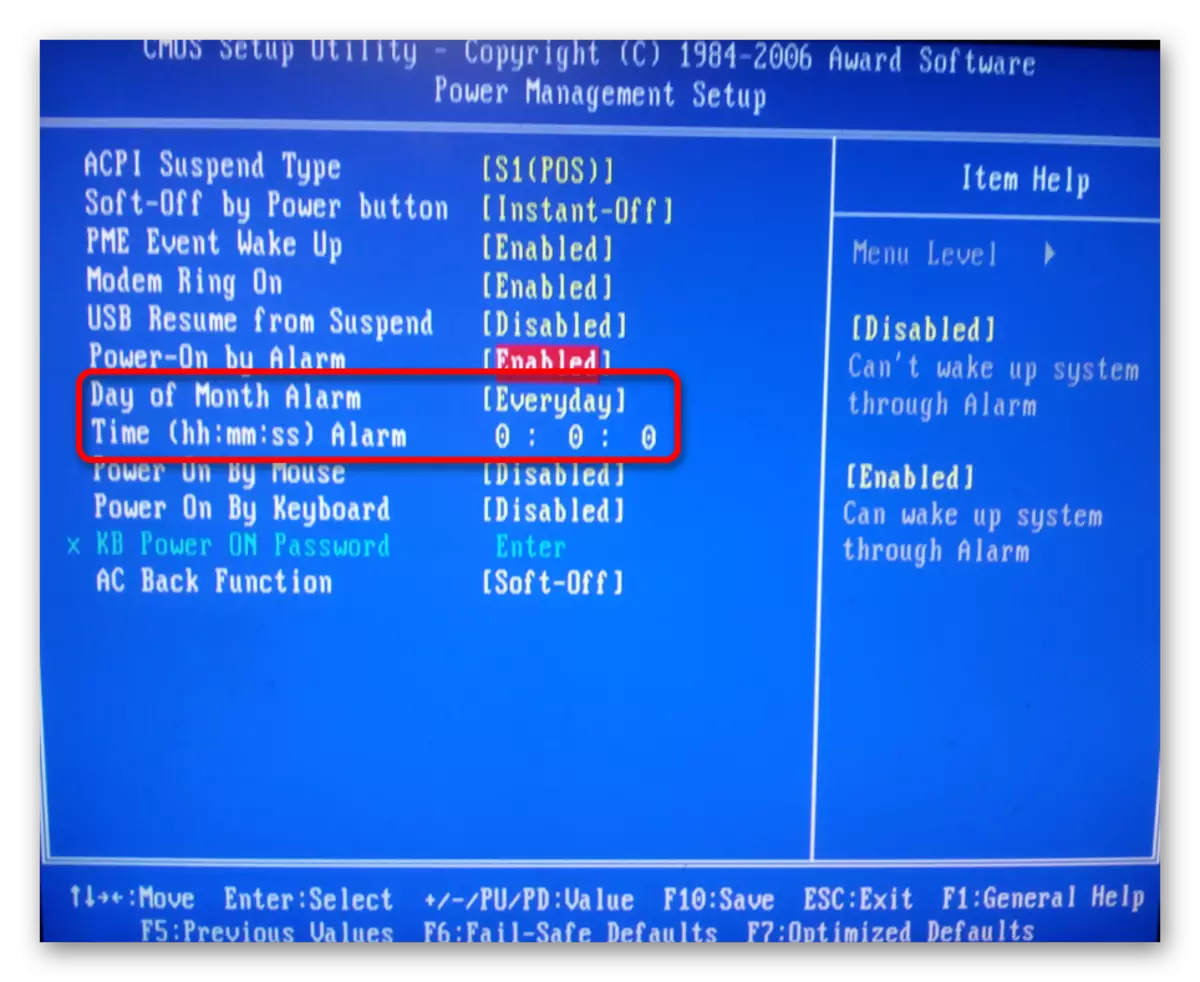
With their help, you can configure the number of the month to which the automatic start of the computer will be scheduled and its time. The "Everyday" parameter in "Day of Month Alarm" means that this procedure will run daily at a specified time. Installation in this field of any number from 1 to 31 means that the computer will be included in a certain number and time. If you do not change these parameters periodically, then this operation will be carried out once a month in the specified number.
Currently, the BIOS interface is considered to be outdated. In modern computers, the UEFI (Unified Extensible Firmware Interface) came to change. Its main purpose is the same as BIOS, but the possibility is much wider. It is much easier for the user with UEFI due to the support of the mouse and Russian language in the interface.
Configuring the automatic power on the computer using UEFI is as follows:
- Log in UEFI. The entrance is made in exactly the same way as in the BIOS.
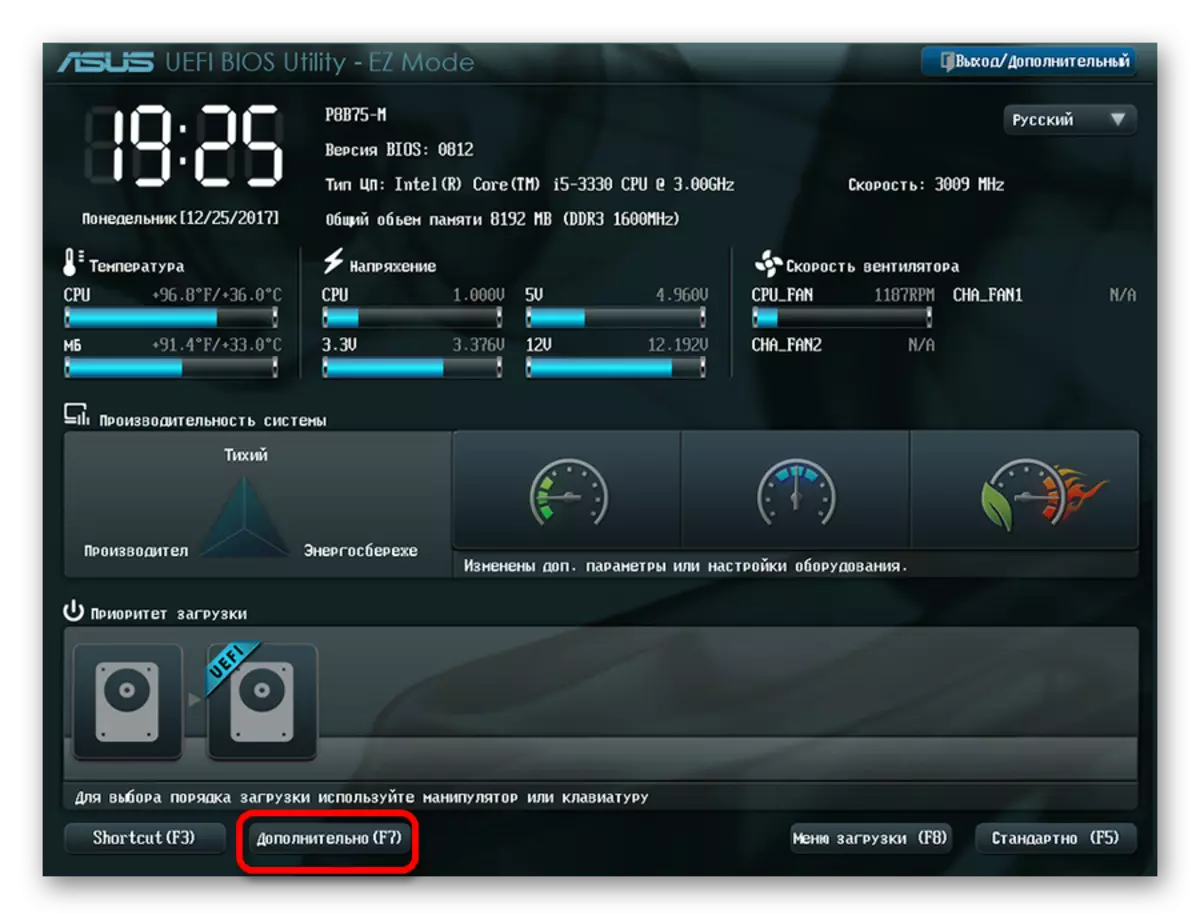
- In the main UEFI window, go to the advanced mode by pressing the F7 key or clicking the "Advanced" button at the bottom of the window.
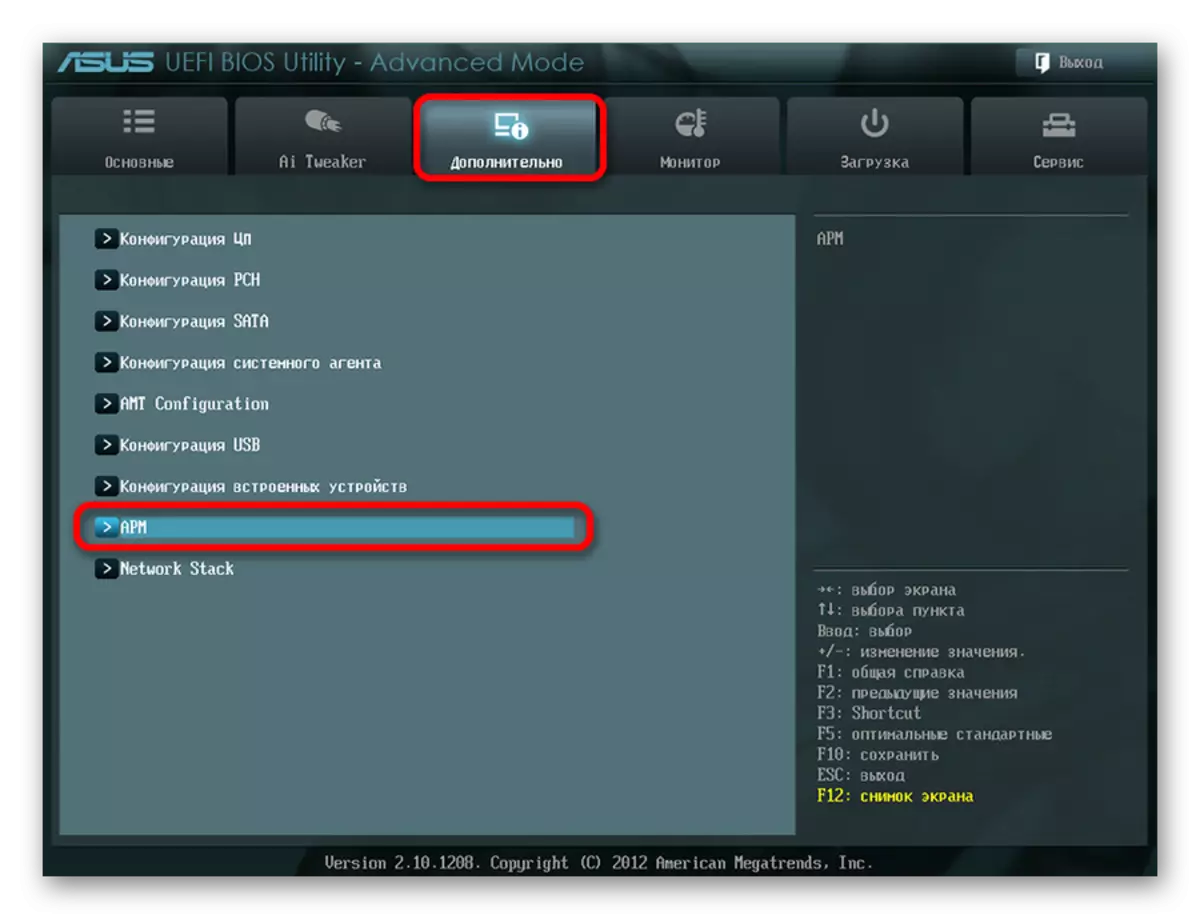
- In the window that opens, on the Advanced tab, go to the "AWP" section.
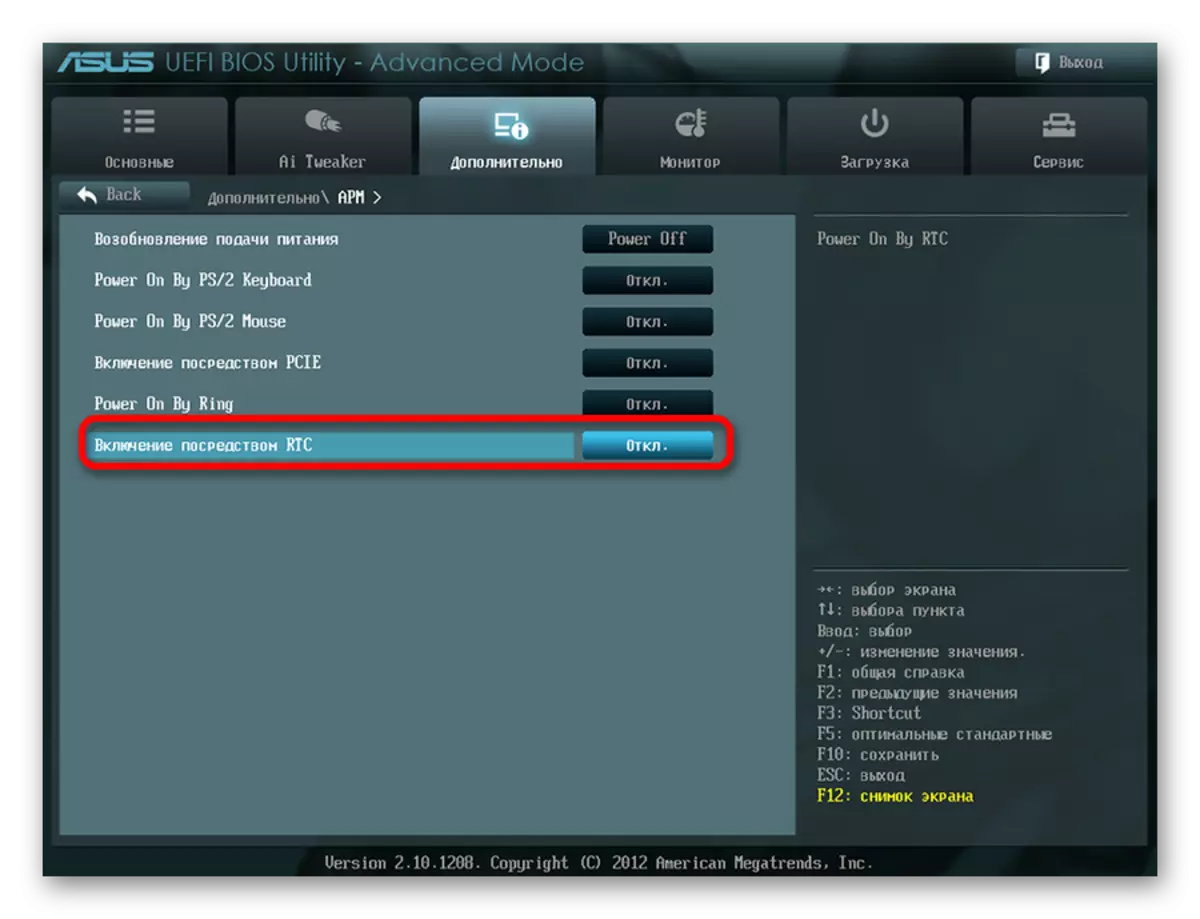
- In a new window, activate "Turning on via RTC" mode.
- In the new rows that appeared, it is set to configure the automatic power on the computer.
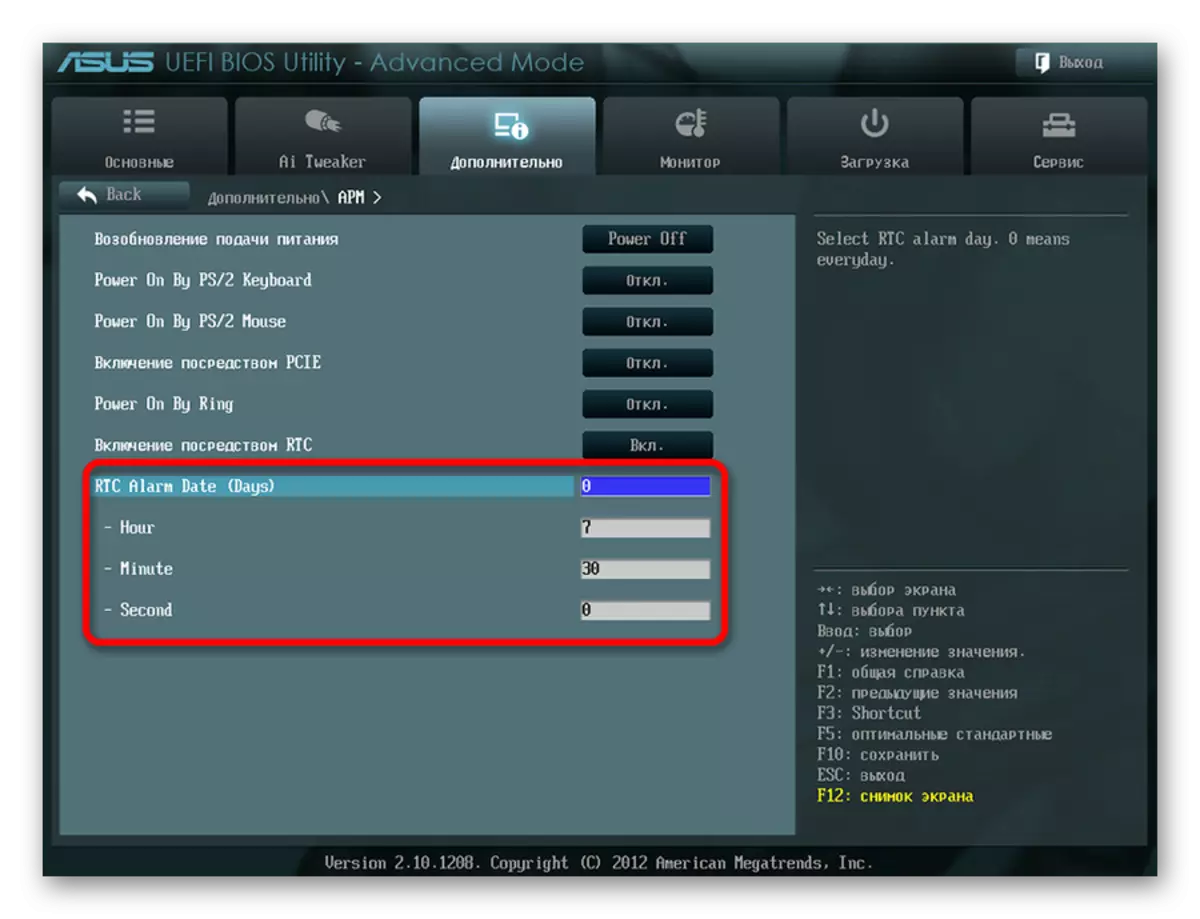
Particular attention should be paid to the "RTC Alarm Date" parameter. Installing it equal to zero will mean the daily inclusion of the computer at a specified time. Installing a different value in the range 1-31 implies inclusion in a specific date, just as it happens in the BIOS. Setting the inclusion time is intuitive and does not require additional explanation.
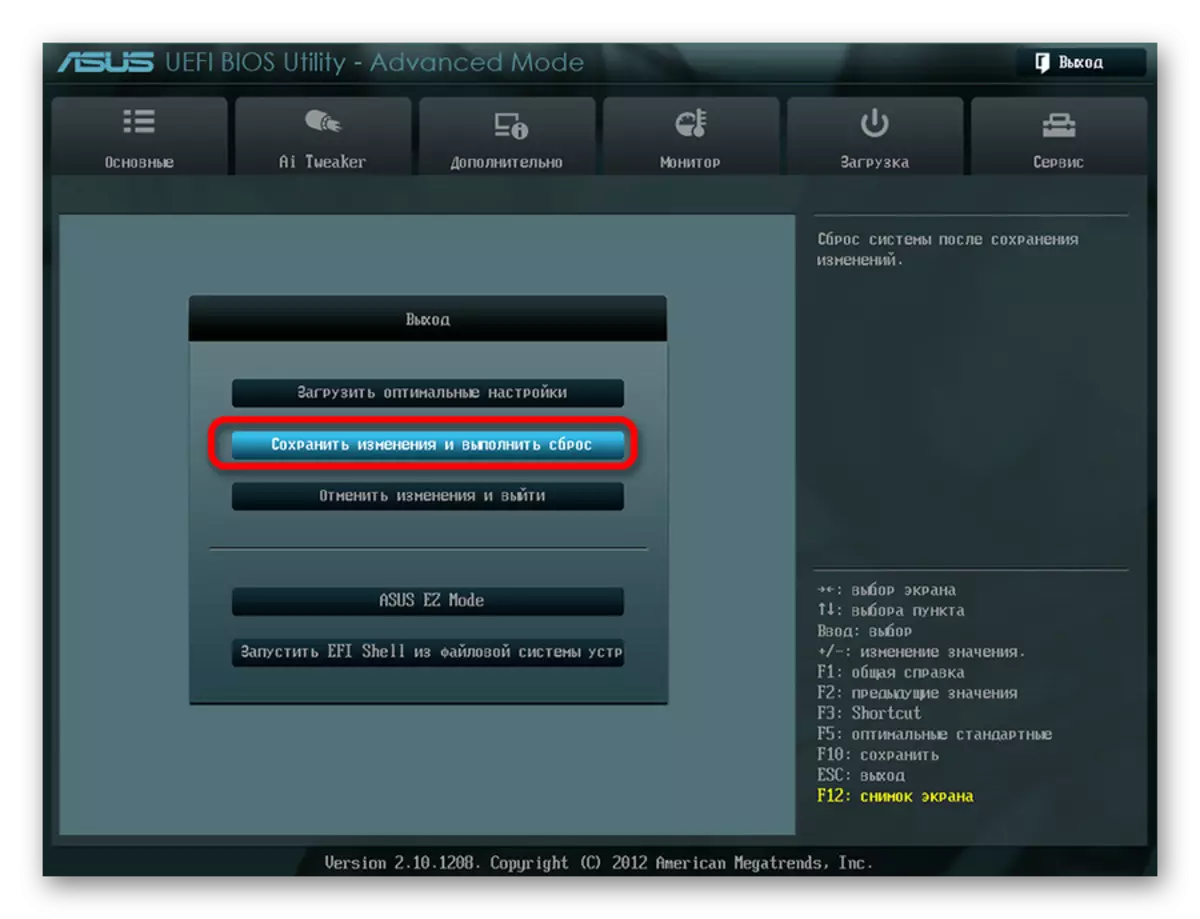
- Save the settings made and exit the UEFI.
Configuring automatic power on using BIOS or UEFI is the only way that allows this operation to fully turned off the computer. In all other cases, this is not about inclusion, but about the pin with a PC from the state of hibernation or sleep mode.
It goes without saying that in order for automatic inclusion to work, the computer power cable must remain included in the outlet or UPS.
Method 2: Task Scheduler
You can configure the automatic switching on the computer and using Windows system tools. This uses the task scheduler. Consider how it is done on the example of Windows 7.
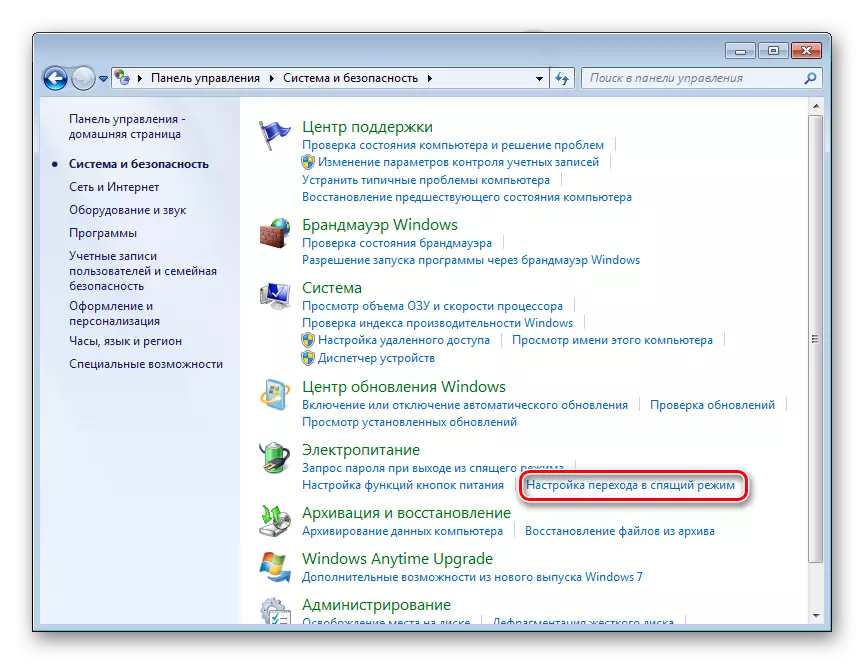
At the beginning you need to resolve the system automatic on / off. To do this, you need to open the "System and Security" section in the Control panel and in the "Power" section, follow the link "Setting the switch to sleep mode".
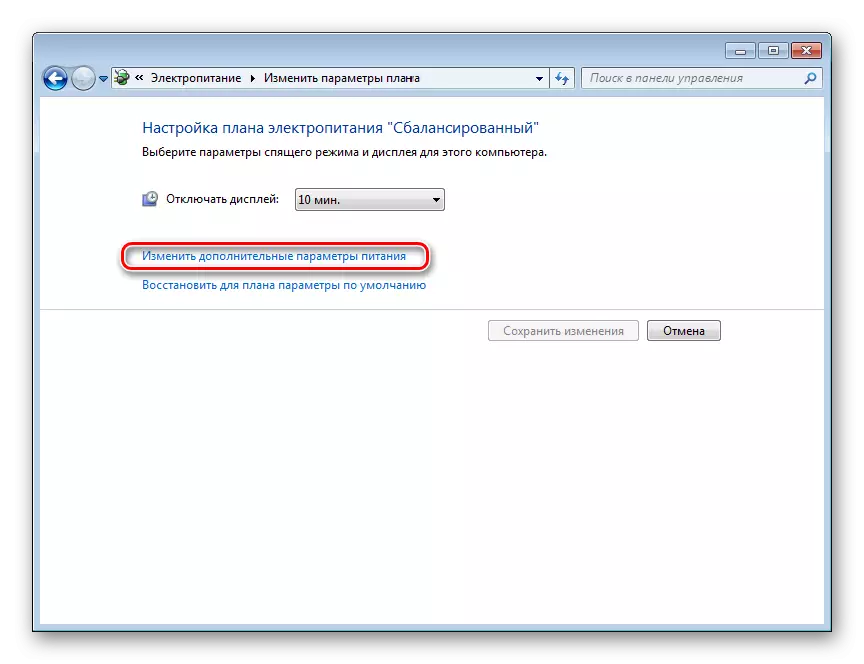
Then in the window that opens, click on the "Change Additional Power Parameters" link.
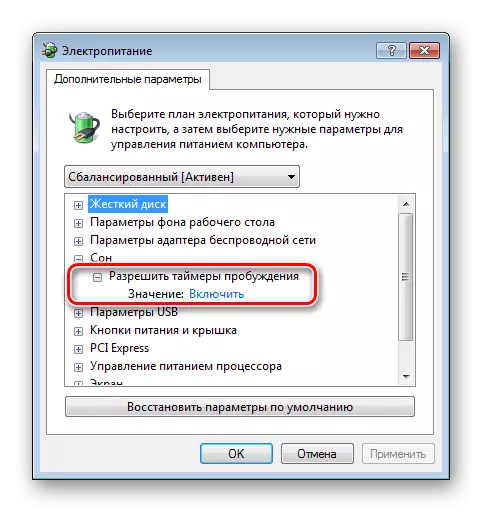
After that, to find in the list of additional parameters "Sleep" and set the resolution for the wake-up timers to the "Enable" state.
Now you can configure the schedule for automatic power on. To do this, do the following:
- Open the scheduler. The easiest way to do it through the "Start" menu, where the special field for searching for programs and files is located.
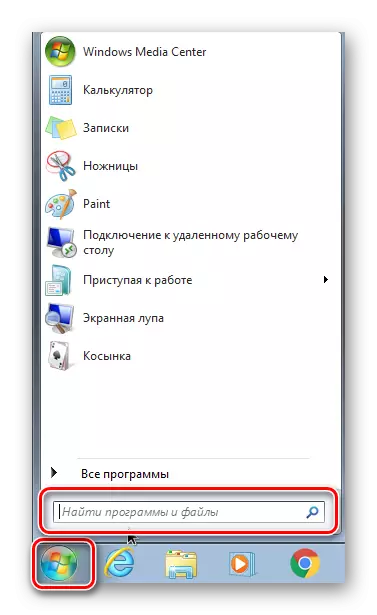
Start entering the word "Planner" in this field so that the top line appears to open the utility.
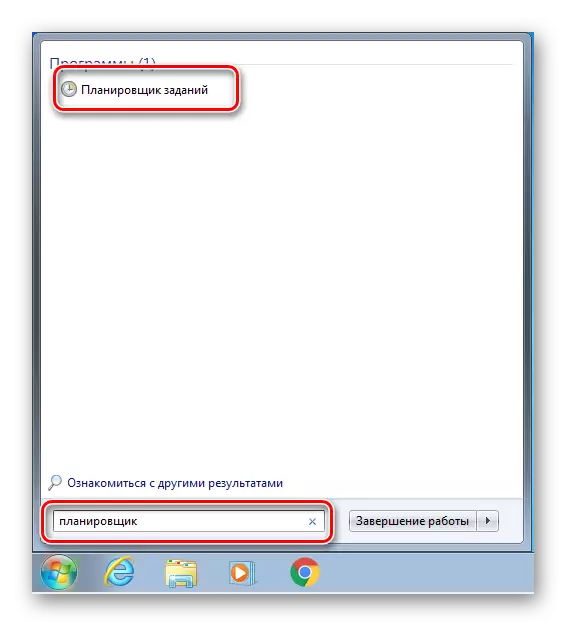
To open the planner, it is enough to click on it with the left mouse button. It can also be launched through the "Start" menu - "standard" - "service", or through the "Run" window (Win + R), entering the Taskschd.msc command there.
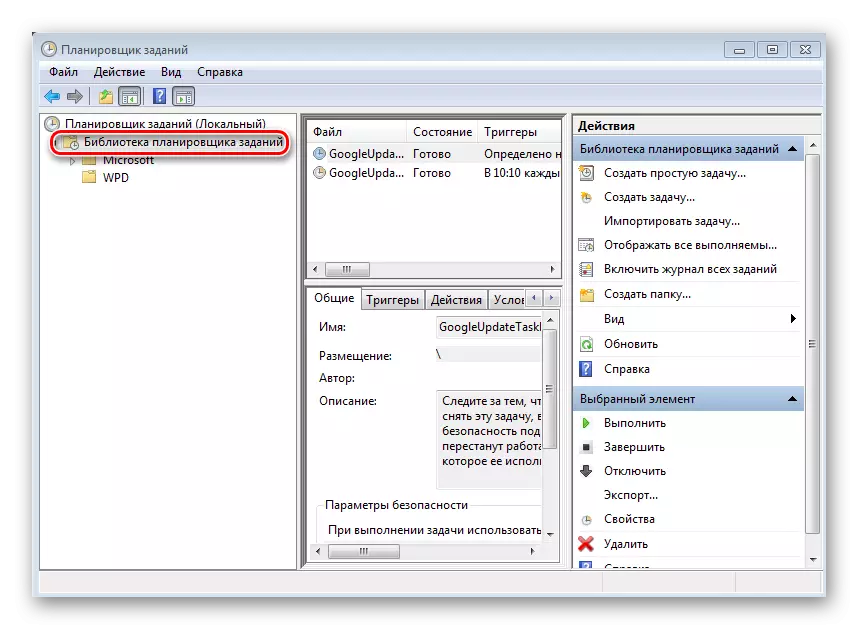
- In the Scheduler window, go to the Job Planner Library section.
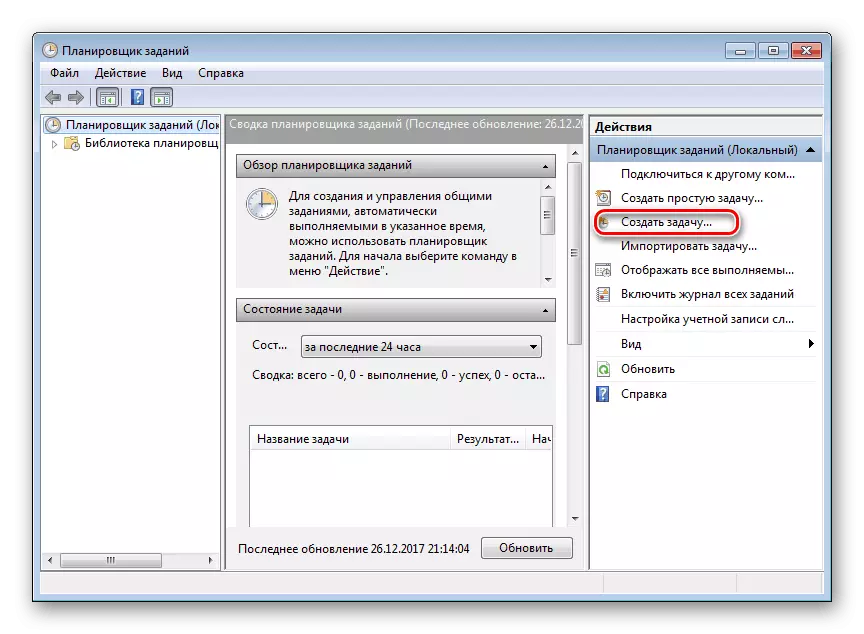
- On the right side of the window, select "Create a task".
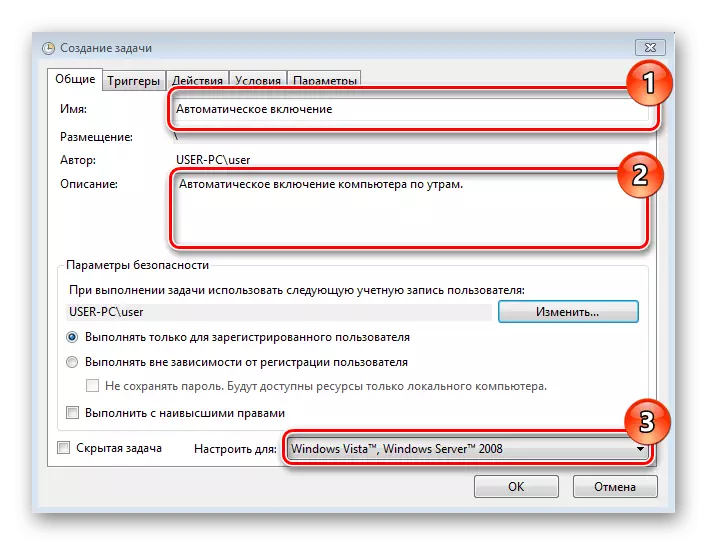
- Come up with the name and description for a new task, for example, "Automatic Enable Computer". In the same window, you can configure the parameters with which the computer awakening will occur: the user under which the login will be implemented and the level of its rights. The third step must be specified by the operating system to which the action of this task will be applied, simply speaking - the version of your Windows.
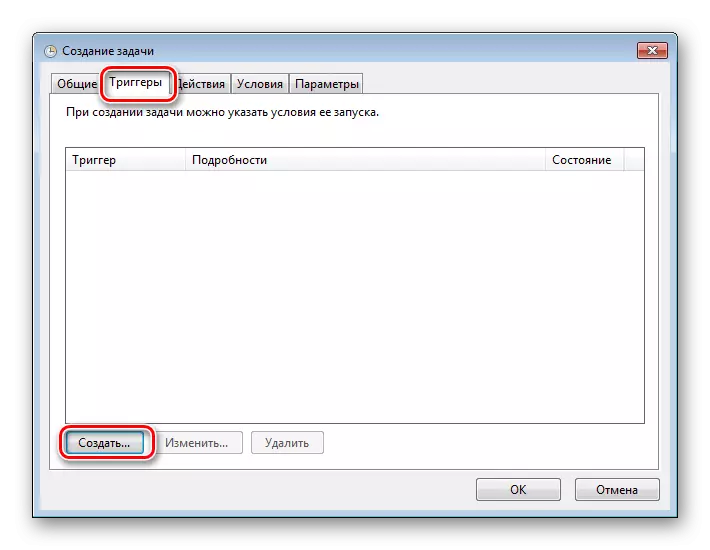
- Go to the Trigger tab and click on the "Create" button.
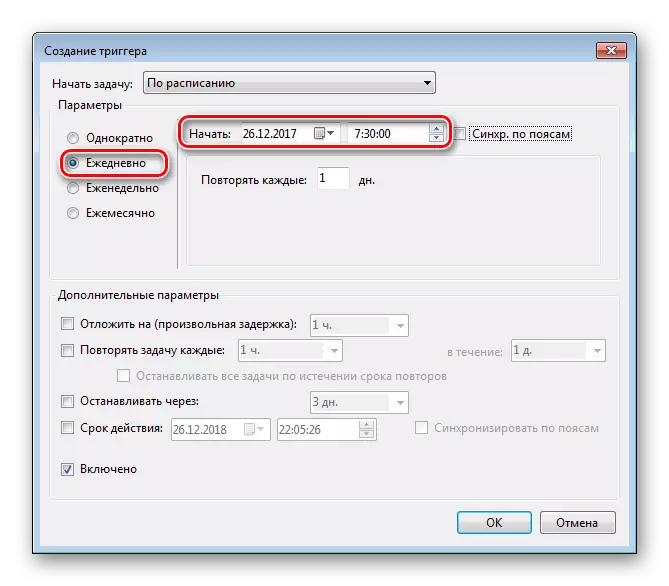
- Configure the frequency and time to automatically turn on the computer, for example, daily at 7.30 in the morning.
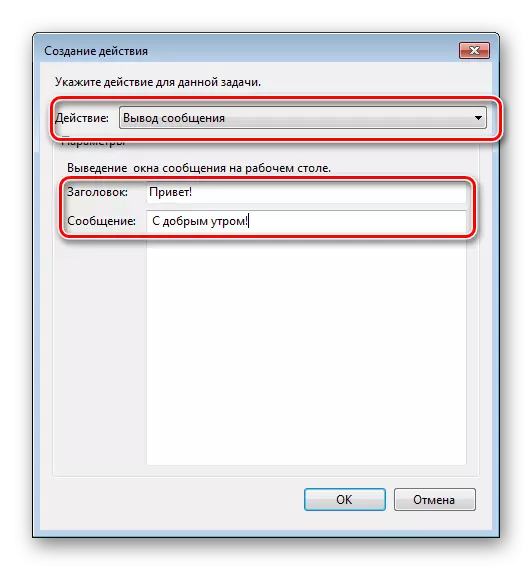
- Go to the Actions tab and create a new action by analogy with the previous paragraph. Here you can configure what should happen when performing the task. We do so that some message is displayed on the screen.
If you wish, you can configure another action, for example, playing an audio file, launch torrent or other program.
- Go to the "Conditions" tab and check the checkbox "Wake up a computer to fulfill the task". If necessary, put the remaining marks.
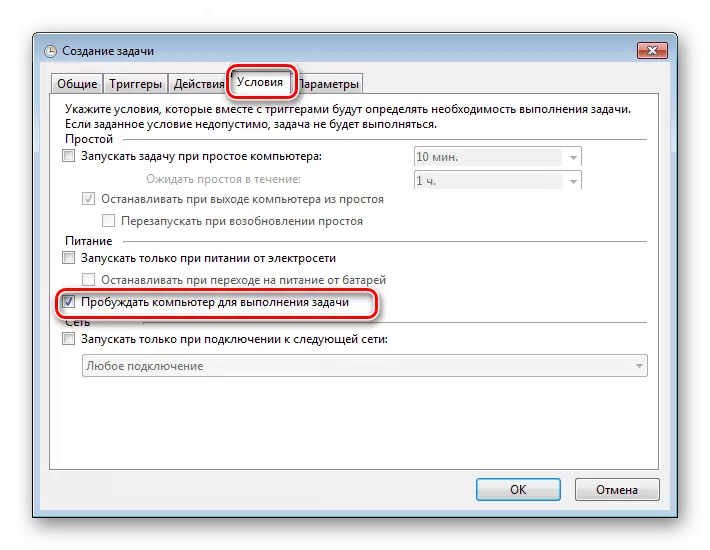
This item is key when creating our task.
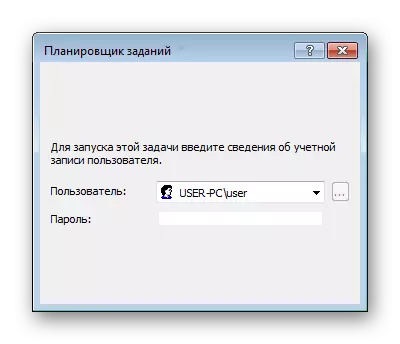
- Complete the process by clicking on the "OK" key. If the general parameter contains login under a specific user, the planner will ask you to specify its name and password.
This is configured to automatically turn on the computer using the scheduler completed. Evidence of the correctness of the accomplished actions will be the emergence of a new task in the list of tasks of the planner.
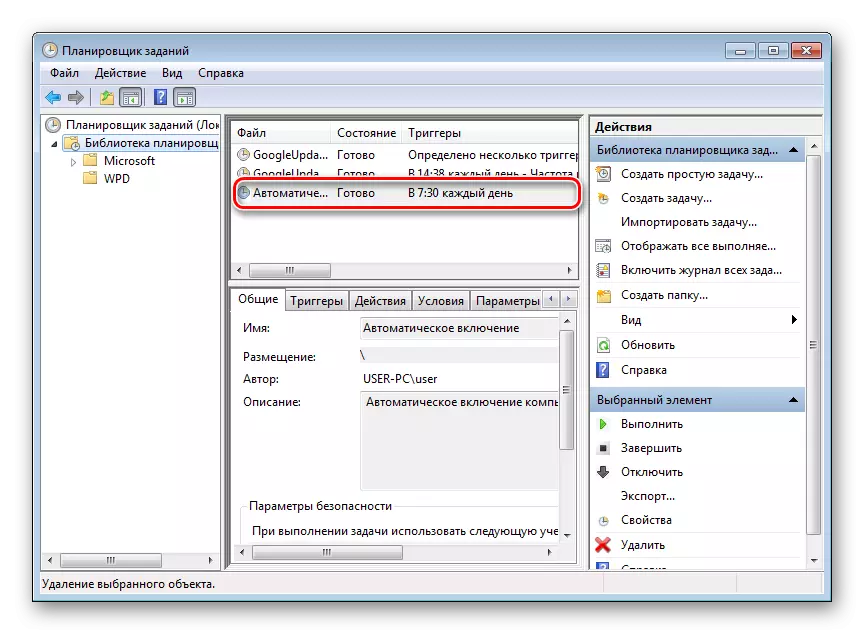
The result of its execution will be the daily wake of the computer at 7.30 am and the display of the message "with a good morning!".
Method 3: third-party programs
Create a computer work schedule can also be using programs created by third-party developers. To some extent, they all duplicate the functions of the system scheduler of tasks. Some have a significantly trimmed functionality compared to it, but compensate for it ease in the setting and more convenient interface. However, software products capable of displaying a computer from sleep mode exists not so much. Consider some of them more.
Timepc.
A small free program in which there is nothing superfluous. After installation, folded in the tray. Calling it from there, you can configure the computer on / off schedule.
Download timepc.
- In the program window, you need to go to the appropriate section and set the required parameters.
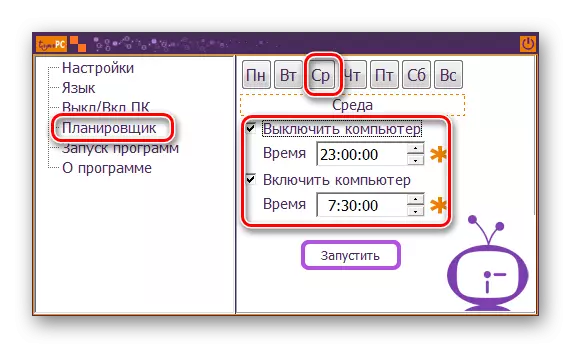
- In the "Planner" section, you can configure the computer on / off schedule for a week.
- The results of the settings will be visible in the scheduler window.
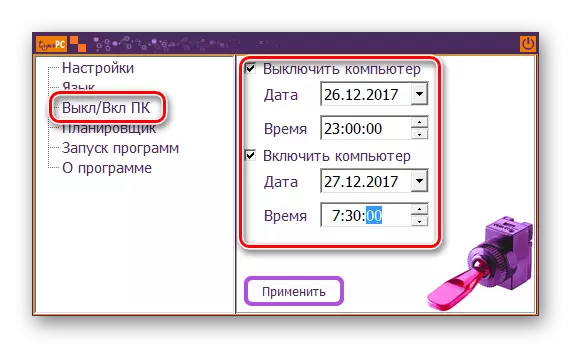
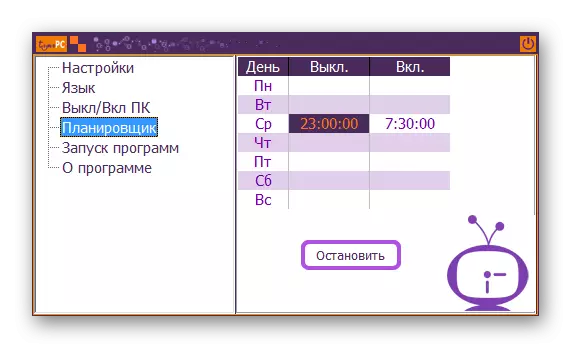
Thus, the enable / off of the computer will be scheduled regardless of the date.
AUTO POWER-ON & SHUT-DOWN
Another program with which you can turn on the computer on the machine. The Russian-speaking interface is missing in the program in the program, but the network can be found for it a crack. The program is paid, a trial 30-day version is proposed.
Download Power-On & Shut-Down
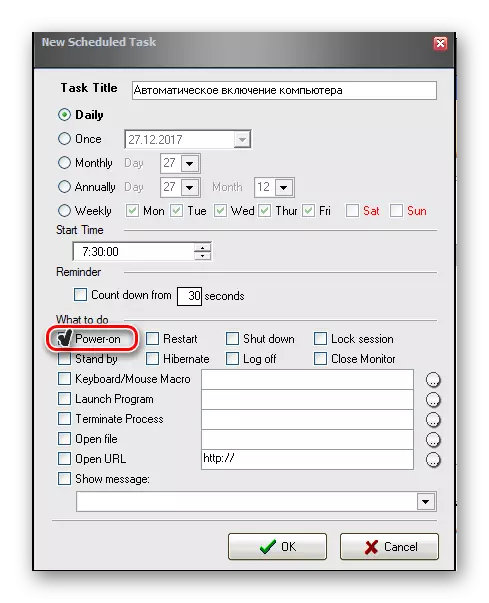
- To work with it in the main window, you need to go to the Scheduled Tasks tab and create a new task.
- All other settings can be made in the window that appears. The key point here is the choice of the action "POWER ON", which will ensure the enable computer with the specified parameters.

WakeMeup!
The interface of this program has a functionality typical of all alarm clocks and reminders. The program is paid, the trial version is available for 15 days. Its shortcomings should include a long lack of updates. In Windows 7, it was managed only in Windows 2000 compatibility mode with administrative rights.
Download WakeMeup!
- To configure the automatic awakening of the computer, in its main window it is necessary to create a new task.
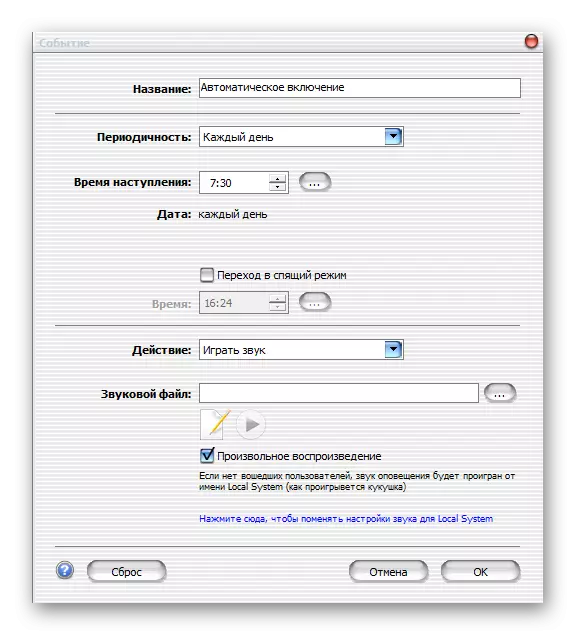
- In the next window, you need to install the necessary wake-up parameters. Thanks to the Russian-speaking interface, which actions need to be produced, intuitive to any user.
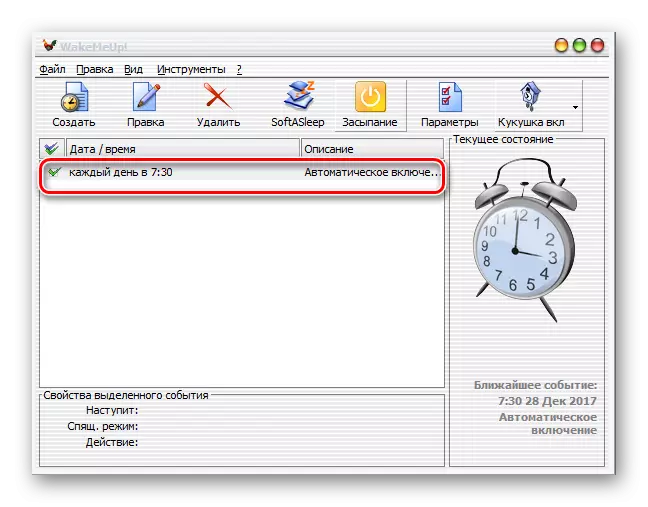
- As a result of manipulations produced, the new task will appear in the schedule of the program.

This can be completed consideration of how to automatically enable a computer on a schedule. The information provided is enough to orient the reader in the possibilities of solving this problem. And which methods to choose - to solve himself.