

The installation of the CENTOS 7 operating system is largely different from that procedure with other distributions based on the Linux kernel, so even an experienced user may encounter a variety of problems when performing this task. In addition, the system is adjusted precisely during installation. At least its setup can be done after the completion of this process, the article will be presented in the article, how to do it in the installation.
After that, the pretty configuration of the future system is considered to be completed. Next you need to place the disk and create users.
Step 5: Disc markup
The disk marking in the installation of the operating system is the most important stage, so it is worth carefully reading the leadership.
Initially, you need to go directly into the markup window. For this:
- In the main installer menu, select "Installation location".
- In the window that appears, select the drive to which CENTOS 7 will be installed, and put the switch in the "Other data storage parameters" area to the "I Set Sections" position. After that, click "Finish".

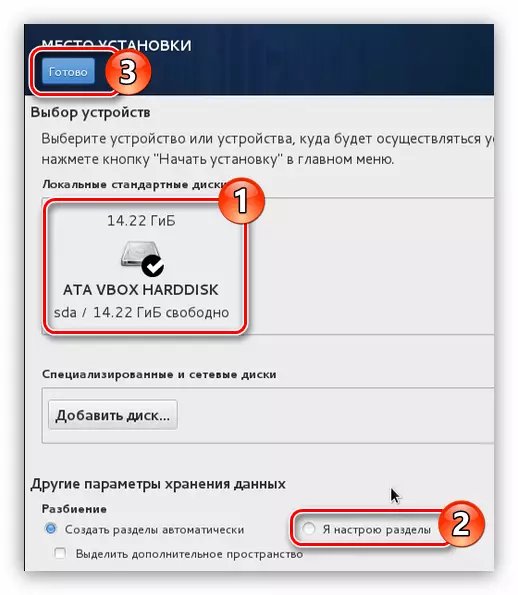
Note: If you install CENTOS 7 on a clean hard drive, select the "Create partitions automatically" item.
Now you are in the markup window. The example uses the disc on which the sections have already been created, in your case they may not be. If there is no free space on the hard disk, then it is necessary to initially allocate it to install the OS, removing unnecessary sections. This is done as follows:
- Choose the partition you are going to delete. In our case, "/ boot".
- Click on the "-" button.
- Confirm the action by clicking on the "Delete" button in the window that appears.


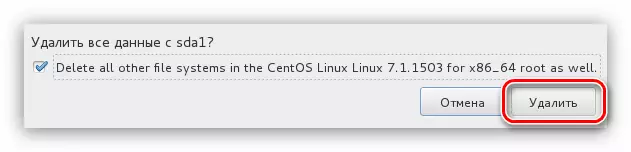
After that, the section will be deleted. If you want to completely clean your disc from the sections, then you run this operation with each separately.
Next, you will need to create partitions to install CentOS 7. Make it in two ways: automatically and manually. The first implies the selection of the item "Click here to automatically create."
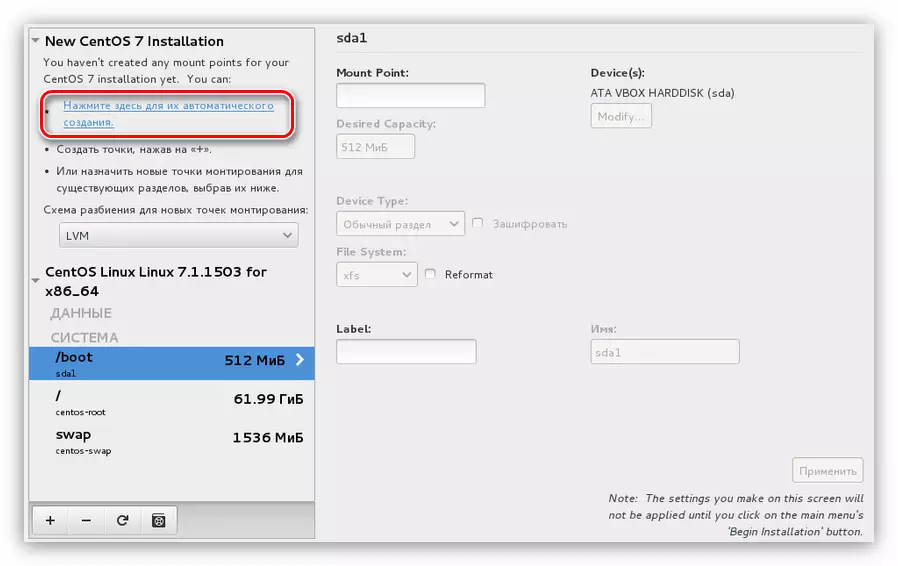
But it is worth noting that the installer proposes to create 4 partitions: home, root, / boot and section paging. In this case, it will automatically allocate a certain amount of memory for each of them.
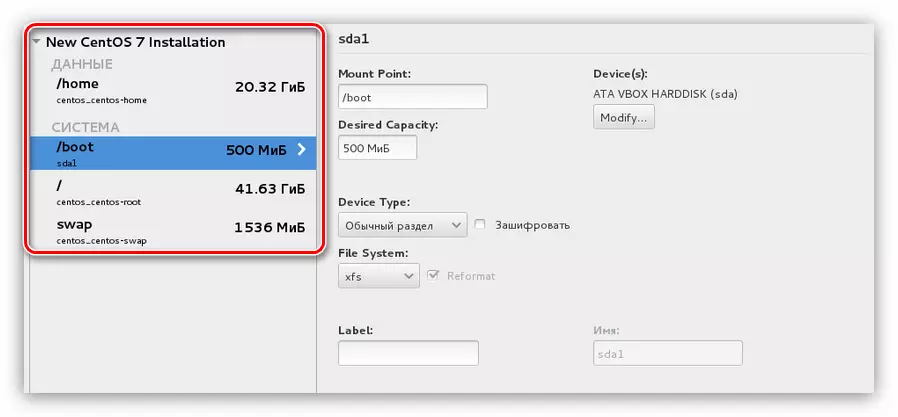
If such a markup suits you, click the "Finish" button, otherwise you can create all the necessary partitions yourself. Now it will be told how to do it:
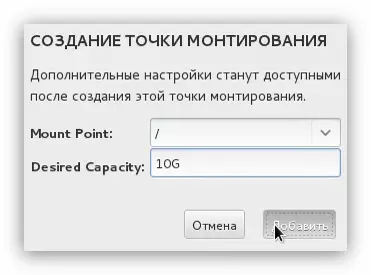
- Click the button with the "+" symbol to create a mount point window.
- In the window that appears, select the mount point and specify the size of the generated partition.
- Click "Next".

After creating the partition, you can change some parameters on the right side of the installer window.
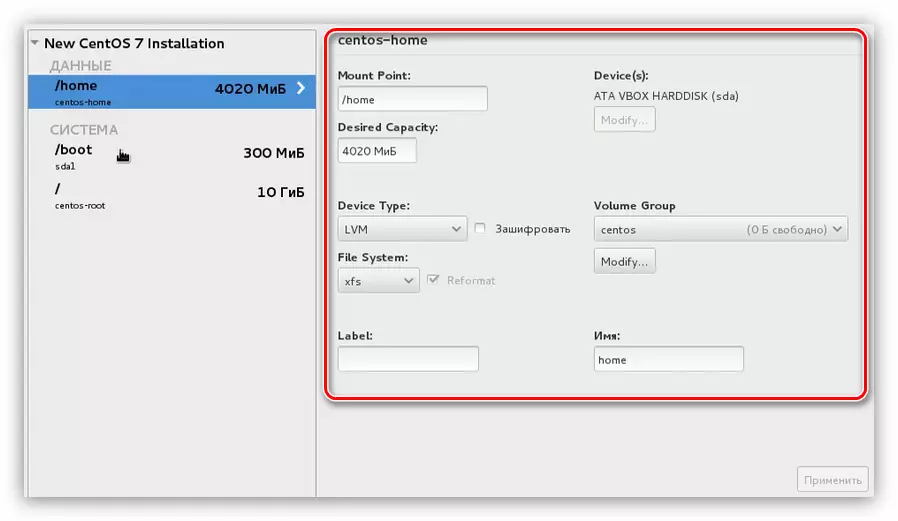
Note: If you do not have sufficient experience in the markup of the disks, then you are not recommended to make edits. By default, the installer sets the optimal settings.
Knowing how to create sections, mark the disk at your own desire. And click the "Finish" button. At a minimum, it is recommended to create a root section designated by the "/" symbol and the swap section - "SWAP".
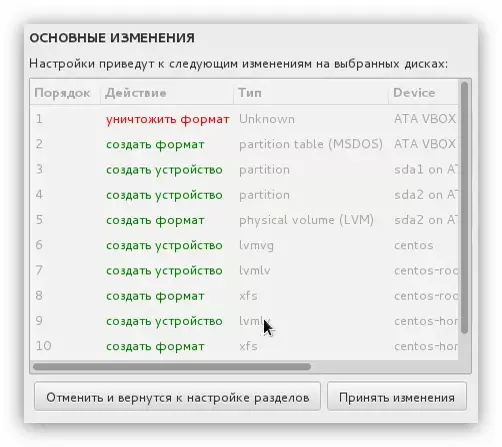
After clicking "Finish", a window will appear where all changes are listed. Carefully read the report and, without noticing anything superfluous, click the "Accept Changes" button. If the list has discrepancies with previously executed actions, click the "Cancel and return to setting up the partitions".
After making the discs, the latter remains the final stage of the installation of the CENTOS 7 operating system.
Step 6: Completing the installation
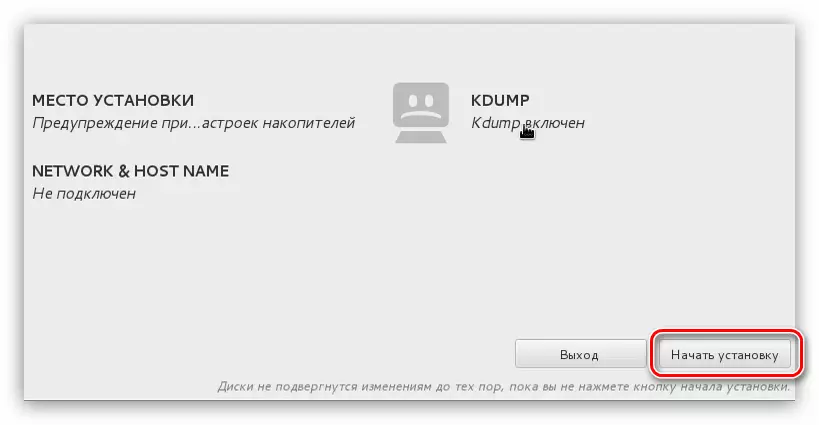
After placing the disk marking, you will be taken to the Main Menu of the Installer, where you want to click the "Start Installation" button.
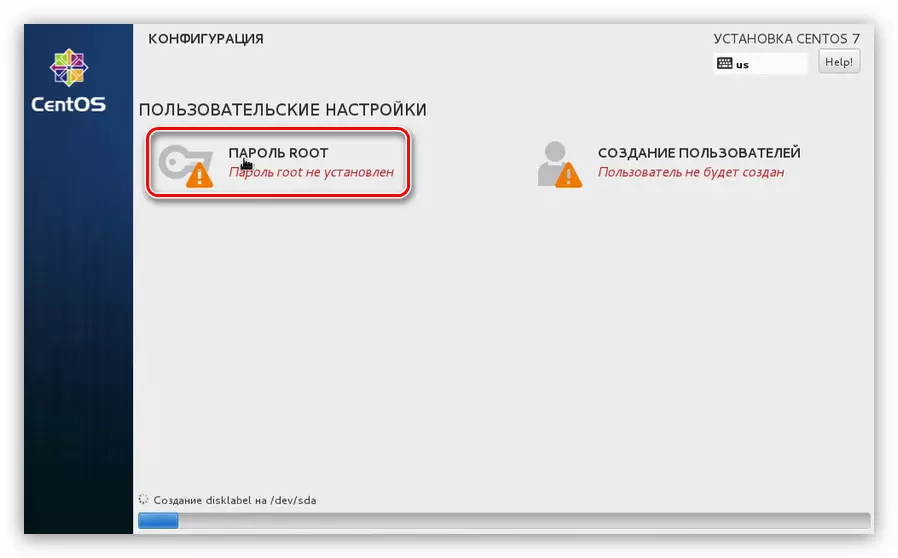
After that, you will enter the "Custom Settings" window, where several simple simple actions should be performed:
- First, set the superuser password. To do this, click on the Root Password item.
- In the first column, enter the password you have invented, and then repeat it input in the second column, then click Finish.

Note: If you enter a short password, then after clicking "Finish" the system will ask you to introduce more complex. This message can be ignored by pressing the "Finish" button for the second time.
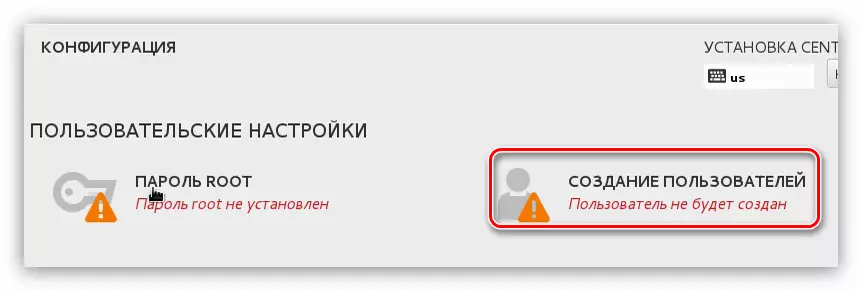
- Now you need to create a new user and assign him administrator rights. This will increase the security level of the system. To get started click on "Creating a User".
- In the new window you need to set the username, login and install the password.

Please note: To enter the name, you can use any language and register of letters, while login needs to enter using the lower register and the English keyboard layout.
- Do not forget to make the user-created by the administrator by installing a tick at the corresponding paragraph.
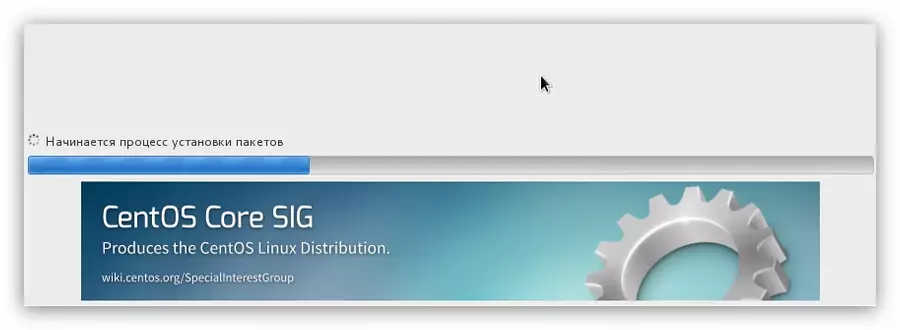
All this time, while you have created the user and installed a password to the superuser account, the system setting in the background. Once all the above actions have been completed, it remains to wait for the end of the process. You can track its progress on the appropriate indicator at the bottom of the installer window.
As soon as the strip comes to the end, you need to restart the computer. To do this, click on the button of the same name, having previously removed the USB flash drive or the CD / DVD disk with the operating system from the computer.

When you start the computer, the GRUB menu will appear in which you want to select the operating system to start. The CentOS 7 article was installed on a clean hard drive, so there are only two records in GRUB:
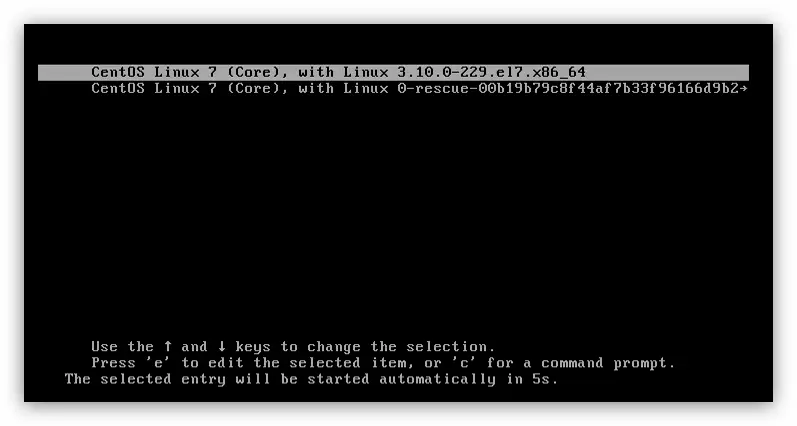
If CENTOS 7 you installed next to another operating system, then the rows in the menu will be greater. To start the installed system, you need to select the "CentOS Linux 7 (Core), WITH Linux 3.10.0-229.e17.x86_64."
Conclusion
After you run CentOS 7 through the GRUB bootloader, you must select the created user and enter it password. According to the result, you will fall on the desktop, if such was selected to install during the system settings of the system. If you performed each action set out in the instructions, the system setting is not required, as it has been completed earlier, otherwise some elements may not work correctly.