
A huge number of documentation is no longer printed in special salons, after all, home printers have received widespread, which are installed in every second person with printed materials. However, one thing to buy a printer and use it, and another to perform the primary connection.
Connect printer to computer
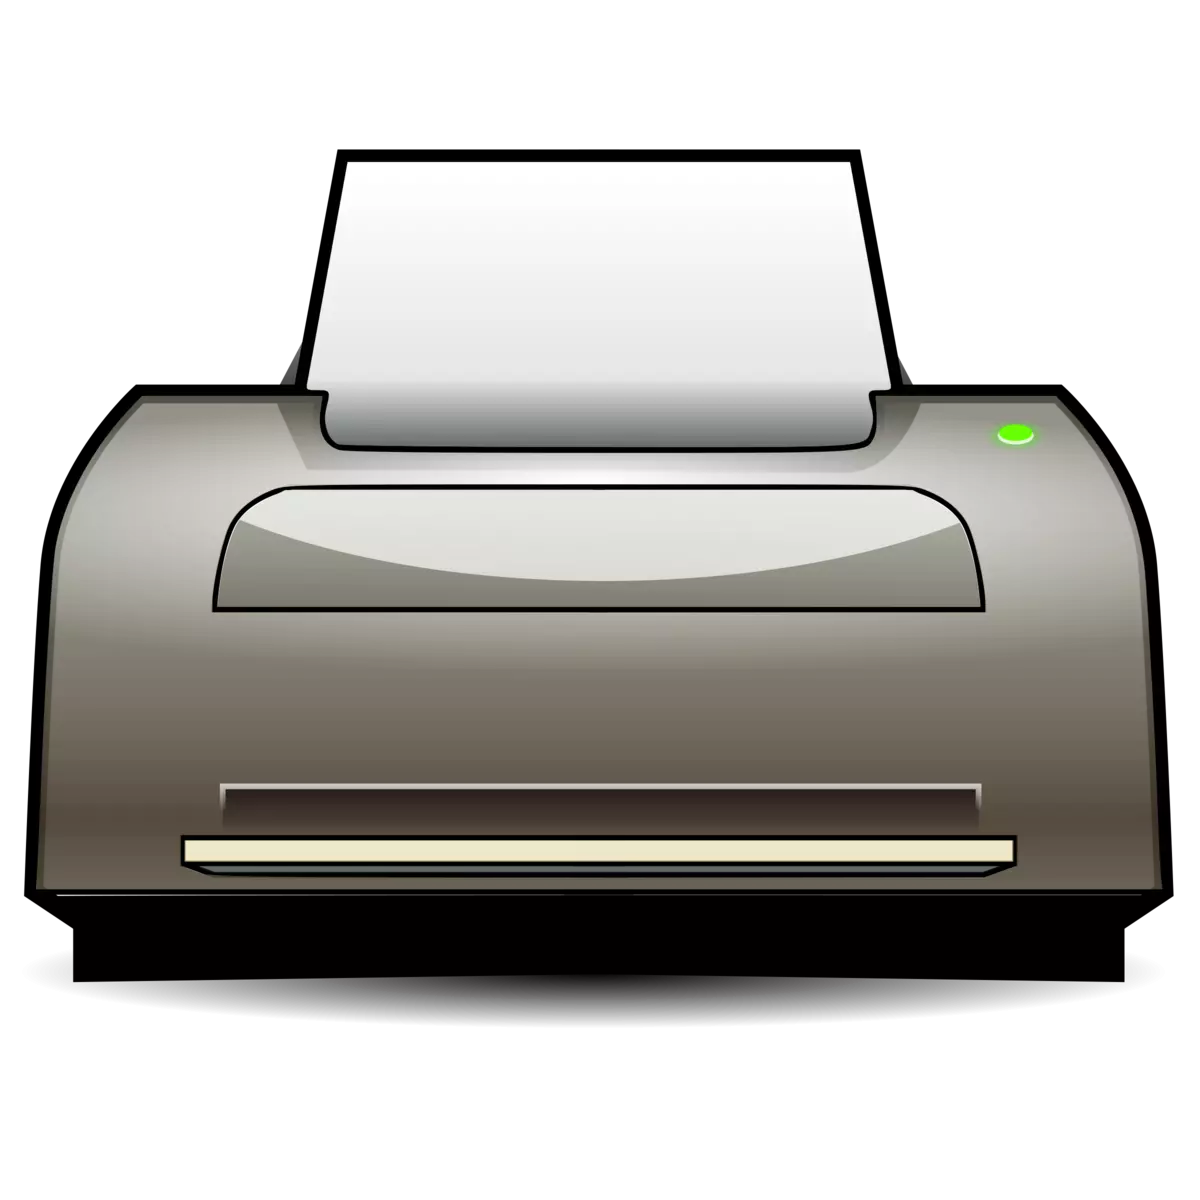
Modern printing devices can be of a variety of species. Some are connected directly through a special USB cable, another requires only a Wi-Fi network connection. It is necessary to disassemble every method separately to get a complete understanding of how to attach the printer to the computer correctly.Method 1: USB cable
This method is most common due to its standardization. Absolutely every printer and computer have special connectors necessary for a connection. Such a connection is the only one when the option is connected. However, this is not all that you need to do for the full operation of the device.
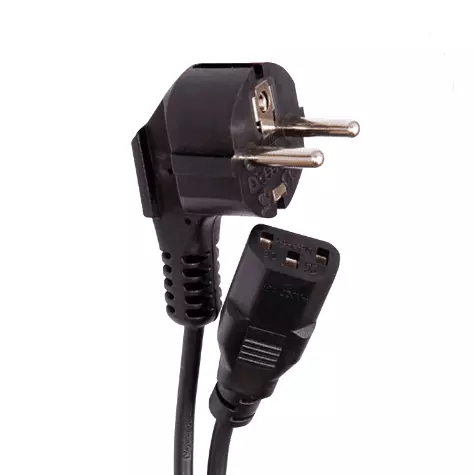
- To begin with, connect the printed device to the electrical network. To do this, a special cord is provided with a standard fork for a socket. One end, respectively, connect it to the printer, to another network.
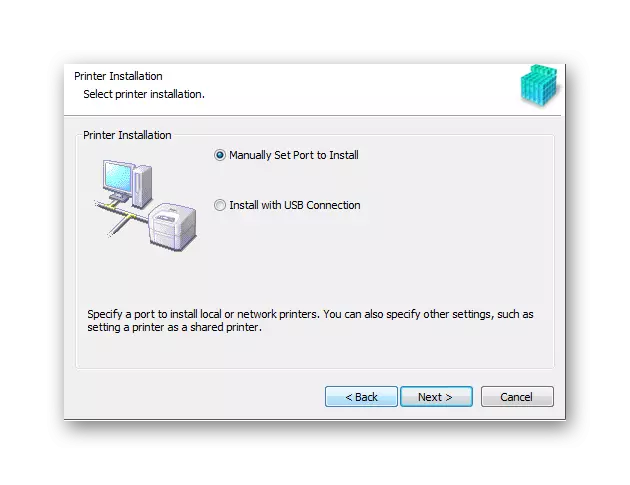
- The printer after that starts to work and, if it were not for the need to determine his computer, it would be possible to finish the work. But still, documents must be printed by this device, which means we take a drive with drivers and install them on the PC. An alternative to optical media are the official sites of manufacturers.
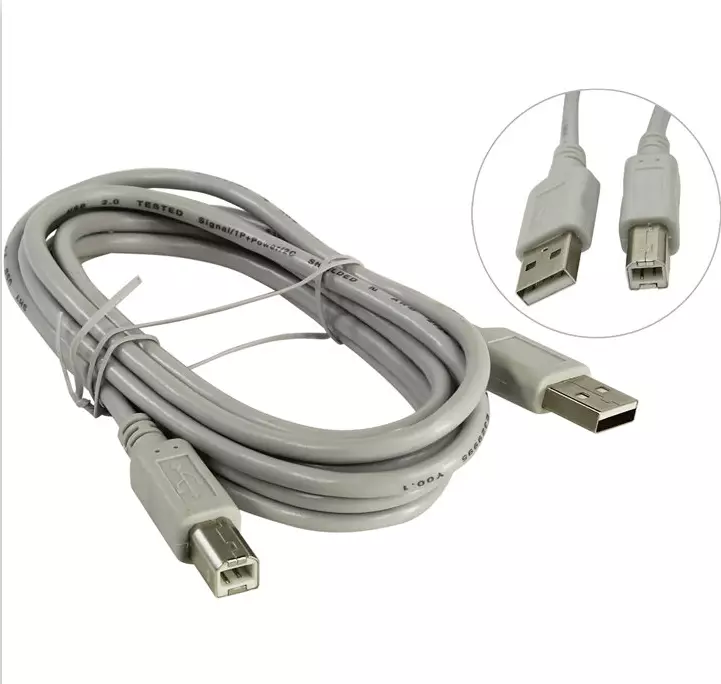
- It remains only to connect the printer itself to a computer using a special USB cable. It is worth noting that such a connection is possible to a PC, and to a laptop. Read more to say about the cord itself. On the one hand, it has a more square shape, on the other is the usual USB connector. The first part must be installed in the printer, and the second to the computer.
- After actions, a computer can be rebooted. We carry out it immediately, since the further operation of the device will not be possible without it.
- However, the kit can be without the installation disk, in which case you can trust the computer and allow it to install standard drivers. It will make it yourself after determining the device. If nothing like this happens, you can seek help for an article on our website, where it is described in detail how to set a special software for the printer.
- Since all the necessary actions are completed, it remains only to start using the printer. As a rule, a modern device of this type will immediately require the installation of cartridges, loading, at least one sheet of paper and a little time to diagnose. Results you can see on the printed sheet.


Read more: Installing a printer driver
On this installation of the printer using a USB cable completed.
Method 2: Connecting the printer via Wi-Fi
This option to attach the printer to the laptop is the easiest and, at the same time, most convenient for the regular user. All you need to be done in order to send printing documents - it is to put the device in the wireless network zone. However, for the initial start, you need to install the driver and some other actions.
- As in the first way, I first connect the printer to the electrical network. For this, the kit has a special cable, which, most often, has a socket on one side, and with another connector.
- Next, after the printer is enabled, set the appropriate drivers from the disk to the computer. For such a connection, they are required, because the PC will never be able to determine the device independently after attachment, since it will not be better.
- It remains only to restart the computer, and after turning on the Wi-Fi module. It is not difficult, sometimes it turns on immediately, sometimes you need to click on certain buttons if it is a laptop.
- Next, go to the "Start", find the section "Devices and Printers". The presented list will be all devices that have ever been connected to the PC. We are interested in the one that was installed just that. I click on it with right-click and select the default device. Now all documents will be searched for printing through Wi-Fi.


This consideration of this method is over.
The output of this article is simple as possible: installing the printer at least through a USB cable, even through Wi-Fi is a 10-15-minute business, which does not require much strength and special knowledge.