

Thanks to the rapid development of technologies, everything has become slightly simpler. For example, computers and smartphones came to replace paper photo albums, which are much more convenient to store large volumes of photos and, if necessary, transfer them from one device to another.
Transfer photos from a computer on the iPhone
Below we will look at various ways that allow you to download photos from a computer to Apple Gadget. Each of them will be convenient in its case.Method 1: Dropbox
In this case, you can use any cloud storage. We will consider the further process on the example of a convenient Dropbox service.
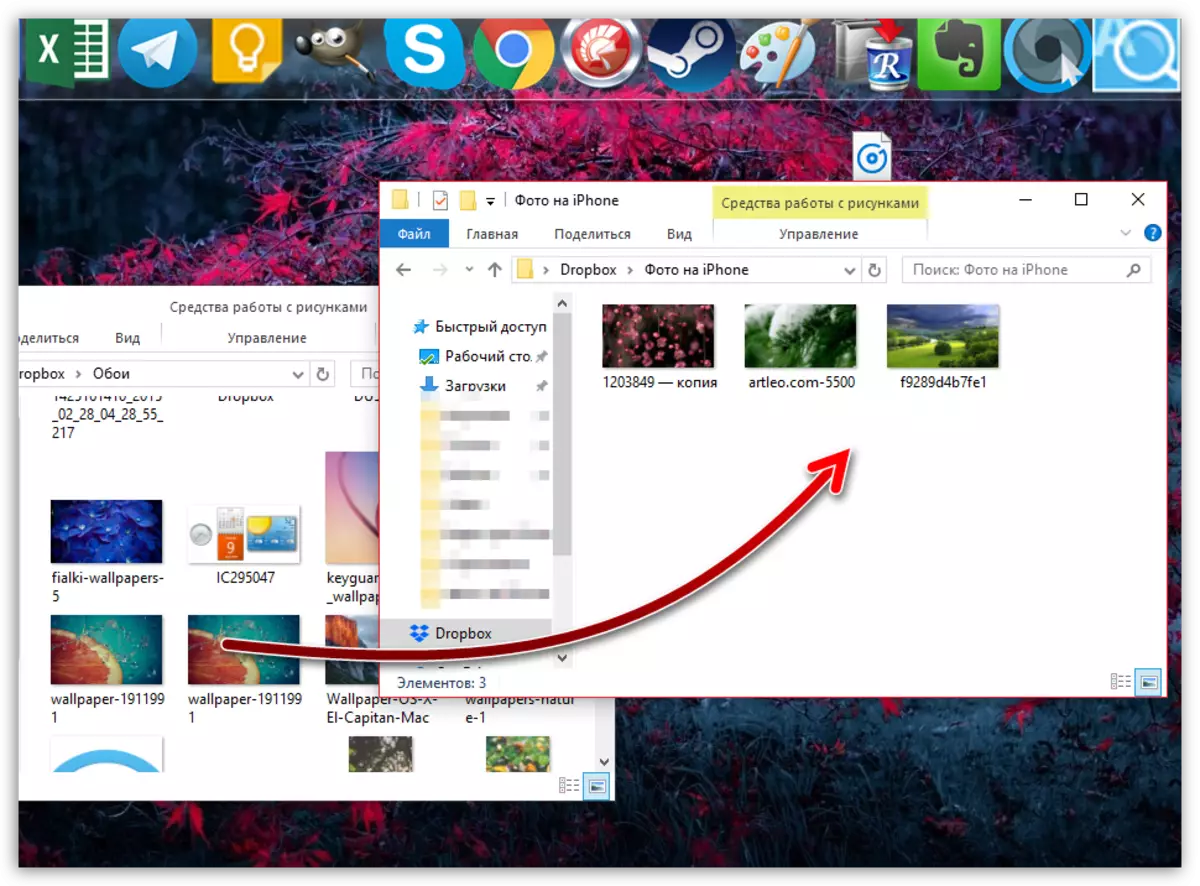
- Open the Dropbox folder on your computer. Move the photographs into it. The synchronization process will begin, the duration of which will depend on the number and size of the discharged photos, as well as the speed of your Internet connection.
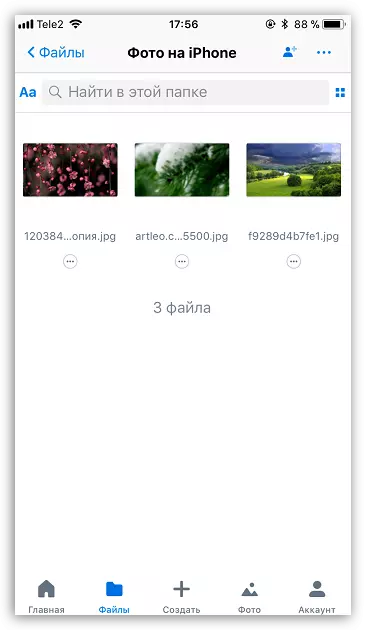
- Once synchronization is completed, you can run Dropbox on the iPhone - all photos will appear on it.
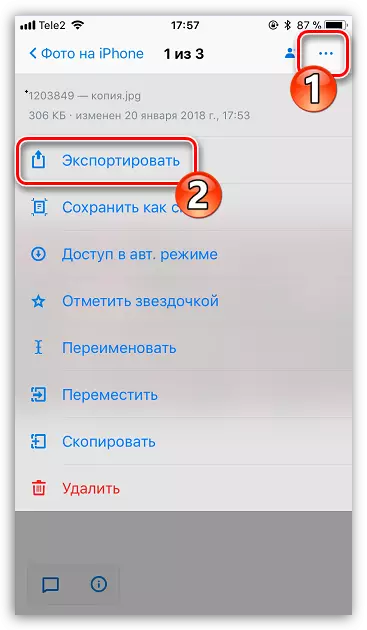
- In the event that you want to unload snapshots in the memory of the smartphone, open the image, tap in the upper right corner through the menu button, and then select the "Export" button.
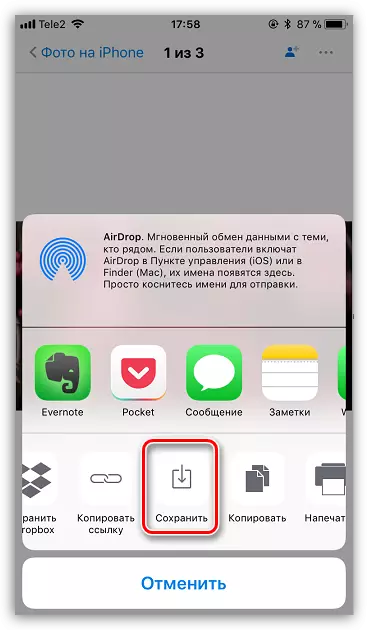
- In a new window, select "Save". Such actions will need to perform with each image.
Method 2: Documents 6
If both the computer and the smartphone are connected to one wireless network, you can send photos from a computer using Wi-Fi-synchronization and Documents 6 applications.
Download Documents from Readdle
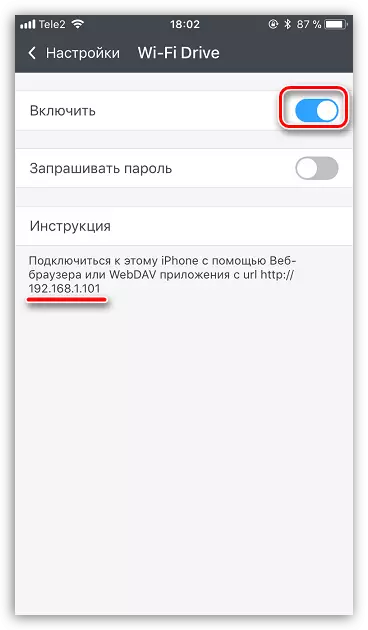
- Launch Documents on iPhone. To begin with, you will need to activate the transfer of files by WiFi. To do this, tap in the upper left corner on the gear icon and select "Wi-Fi Drive".
- Near the "Enable" parameter, translate the toggle switch to the active position. The URL will be displayed slightly below that you need to go through in any browser installed on the computer.
- A window will appear on the phone in which the computer will be available.
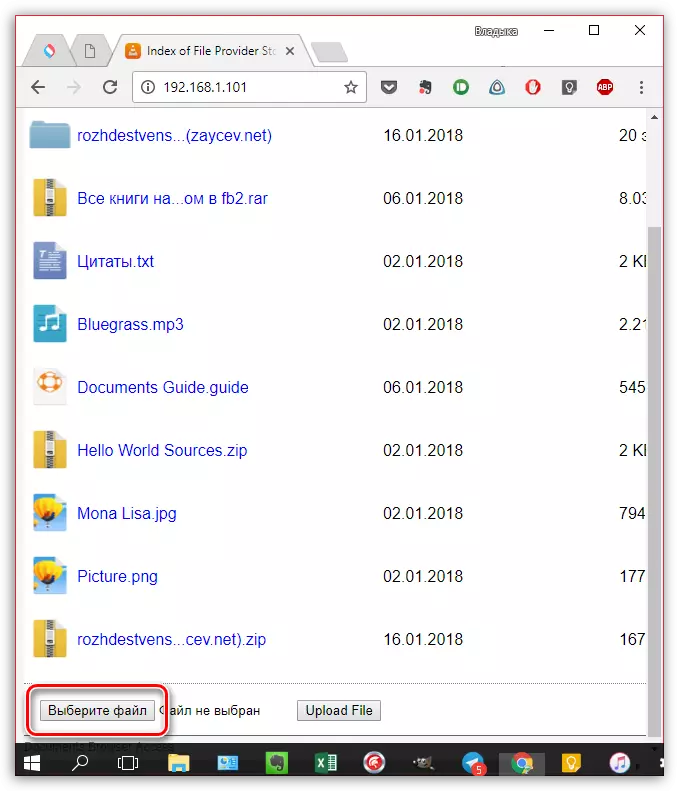
- A window will be displayed on the computer screen with all files available in Documents. To upload photos, at the bottom of the window, click on the "Select File" button.
- When Windows Explorer appears on the screen, select the snapshot that you plan to throw off to the phone.
- To start the image loading, click on the Upload File button.
- After a moment, the image will appear in the Documents on the iPhone.


Method 3: iTunes
Of course, the photo from the computer on the iPhone can be transferred and using the iTunes universal tool. Earlier, on our site, the question of the transfer of photos to a mobile device was already covered with this program, so we will not stop on it.
Read more: How to transfer photos from a computer to iPhone via iTunes

Method 4: ITools
Unfortunately, Aytyuns was never famous for convenience and simplicity, so high-quality analogues appeared. Perhaps one of the best such solutions is itools.
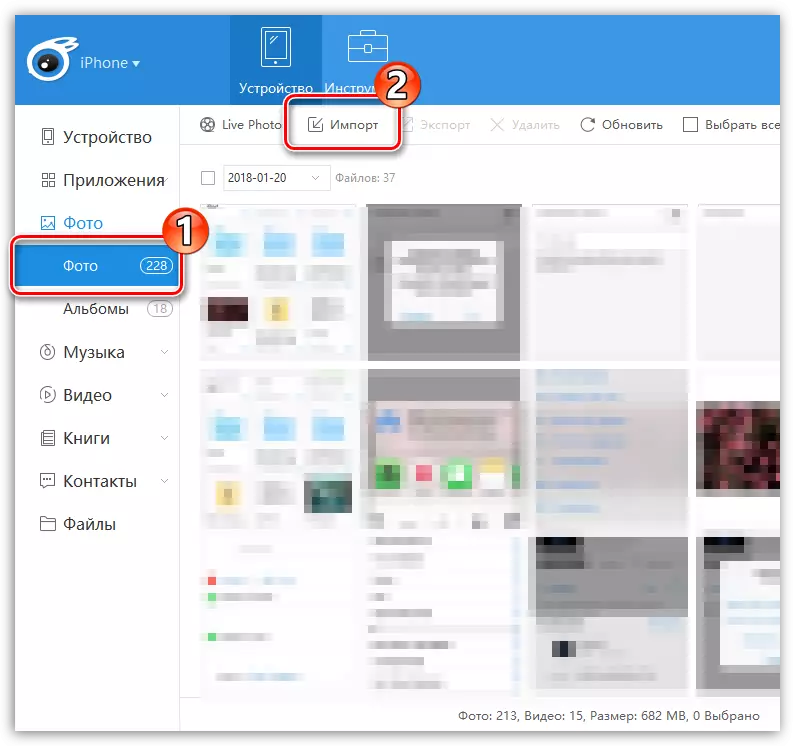
- Connect your smartphone to the computer and start itools. In the left section of the program window, go to the "Photo" tab. At the top of the window, click on the "Import" item.
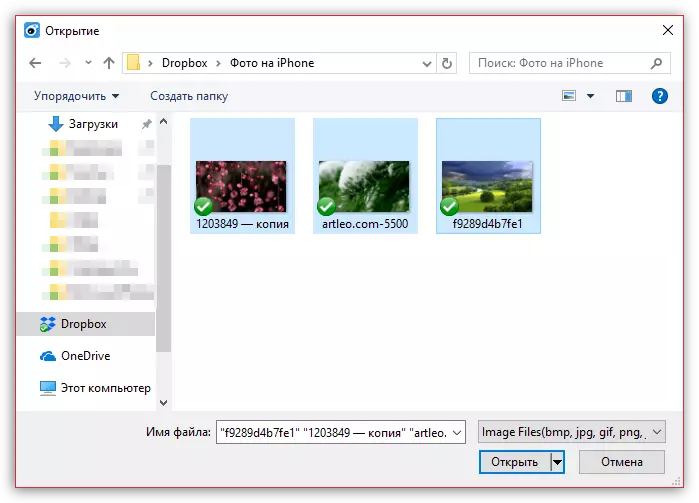
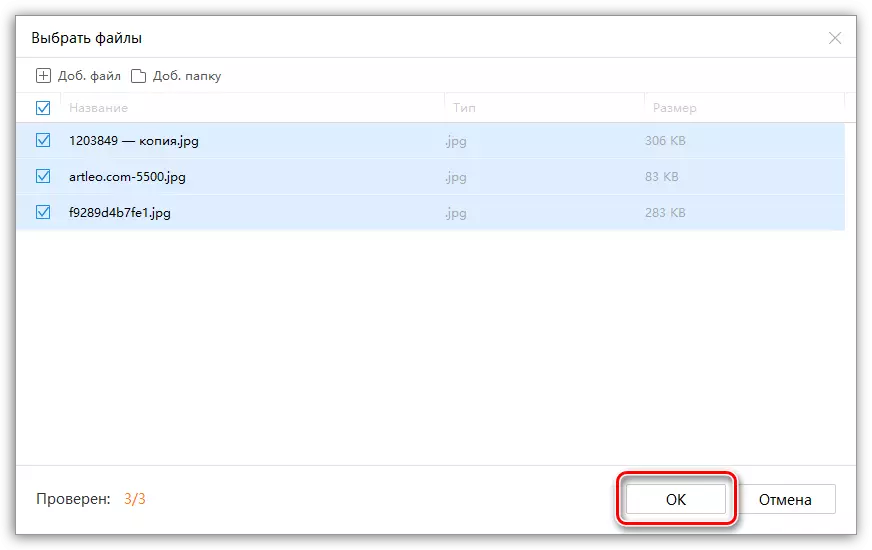
- In the Windows Explorer opened, select one or immediately multiple photos that are planned to be sent to the device.
- Confirm image transfer.
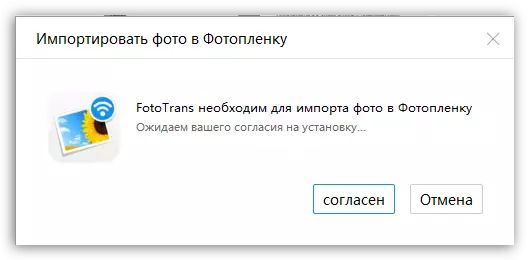
- To make iTools to transfer photos to the iPhone film, the Fototrans component must be installed on the computer. If you are missing, the program will suggest it to install it.
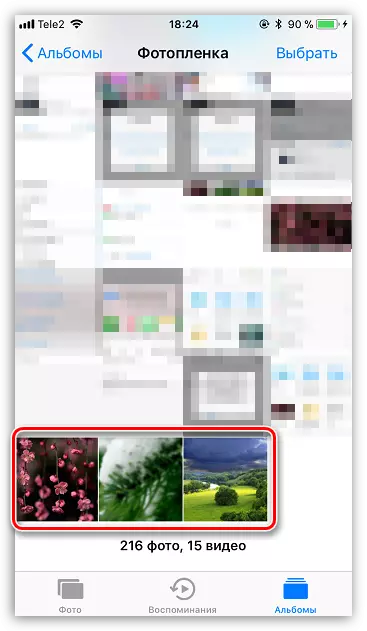
- Following the transfer of images. As soon as it is completed, all files will appear in the standard photo application on the iPhone.
Method 5: Vkontakte
Such a popular social service, like VKontakte, can be used and as a tool for transferring photos from a computer to an IOS device.
Download VKontakte
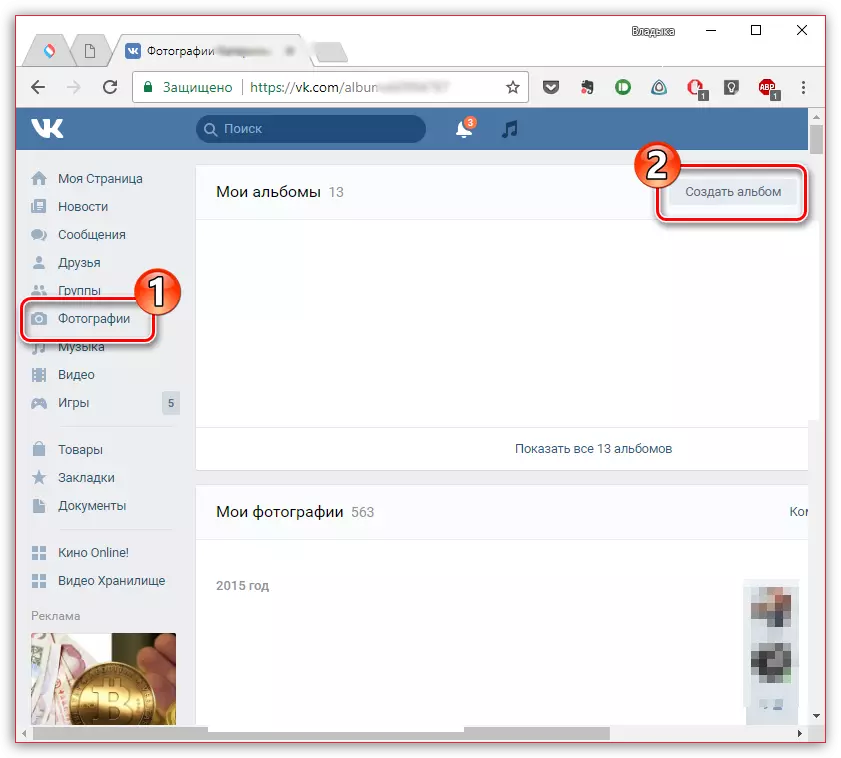
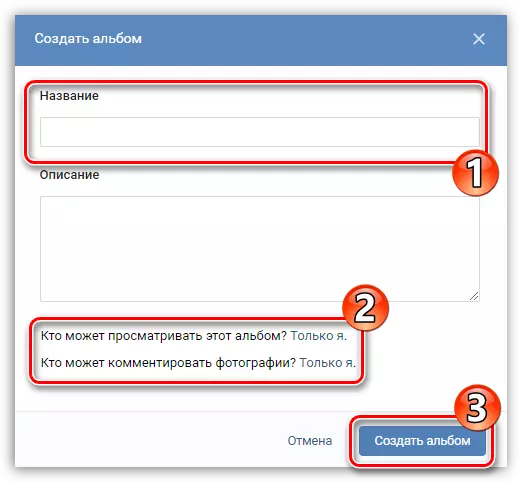
- Go from the computer to the VK service site. Go to the left part of the window to the "Photos" section. In the upper right corner, click on the "Create Album" button.
- Enter the name for the album. Optionally, set privacy settings to, for example, images were available only to you. Click on the "Create Album" button.
- Select "Add Photos" in the upper right corner, and then download the necessary pictures.
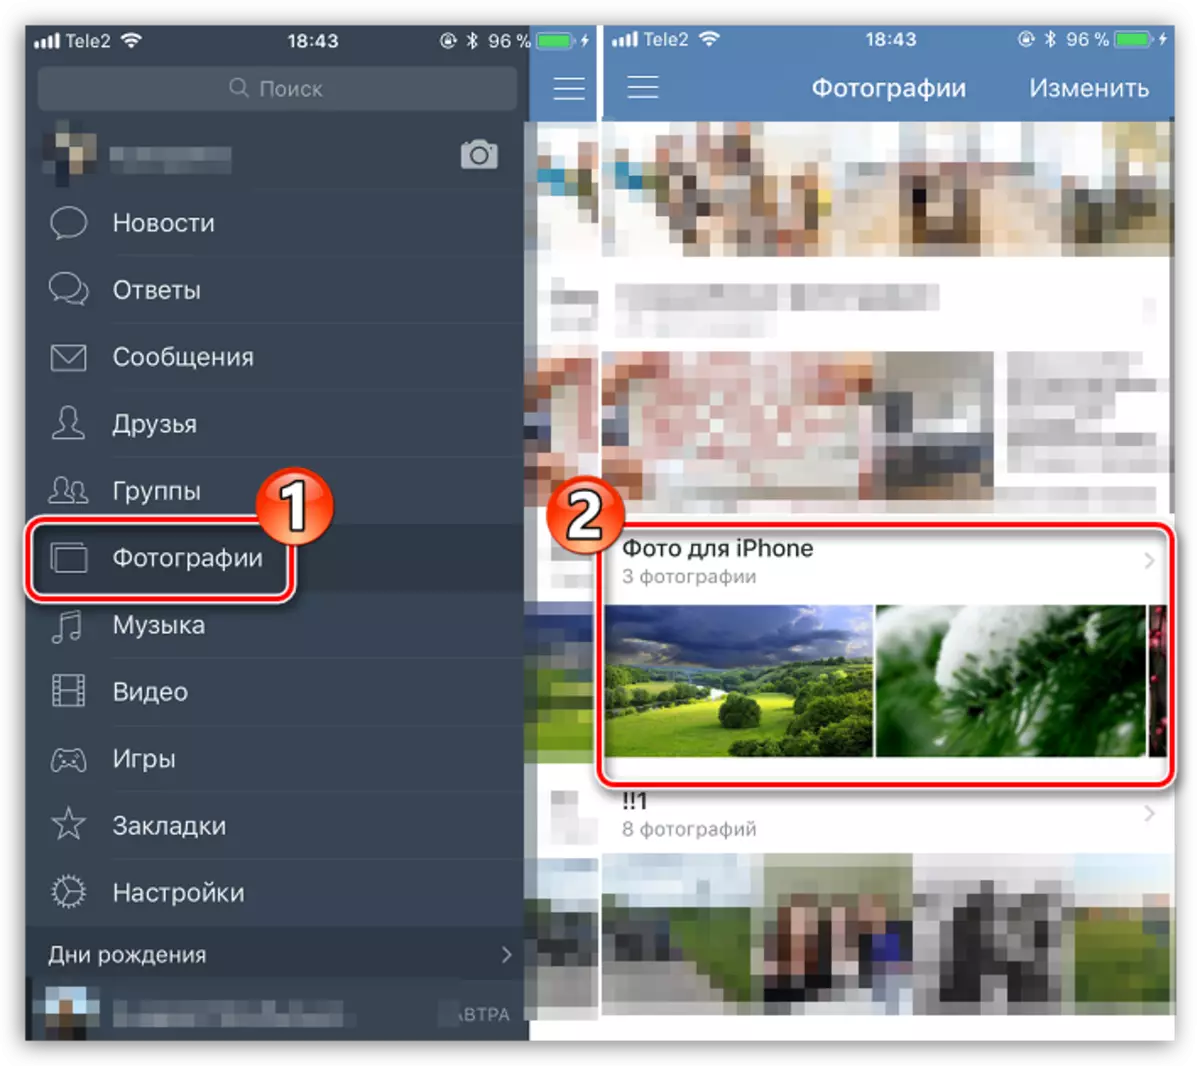
- Once images are unloaded, you can run Vkontakte to the iPhone. Having passed to the "Photos" section, on the screen you will see a previously created private album with snapshots loaded into it.
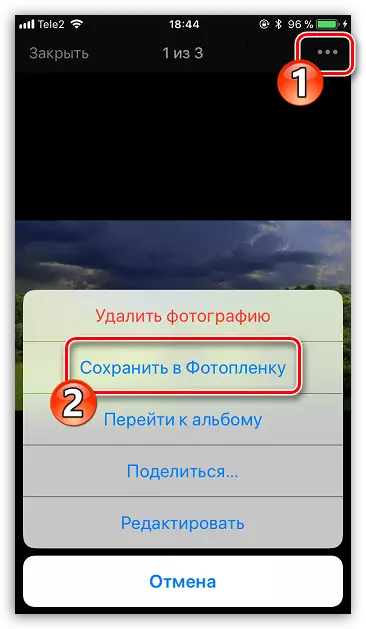
- To save the image to the device, open it in full, select the menu button in the upper right corner, and then the "Save to the film" item.

Thanks to third-party tools, there have been a lot of options for importing images on an iPhone from a computer. If any interesting and convenient way did not enter the article, share it in the comments.