
In this manual, steps will be shown how to change the name of the local account, as well as your name in the Microsoft account in Windows 8.1, and then tell you in detail how to rename the user folder if such a need arose.
Note: The fastest and easiest way to do both actions in one step (because, for example, the manual folder name change may seem challenging for beginner) - create a new user (assign an administrator, and delete the old one if not needed). To do this, in Windows 8.1 in the on the right panel, select "Parameters" - "Changing Computer Settings" - "Accounts" - "Other Accounts" and add a new one with the necessary name (the folder name from the new user will coincide with the specified).
Changing the Local Account name
Change username if you use the local account in Windows 8.1, it is easier to make it in several ways, first the most obvious.
First of all, go to the control panel and open the User Accounts item.
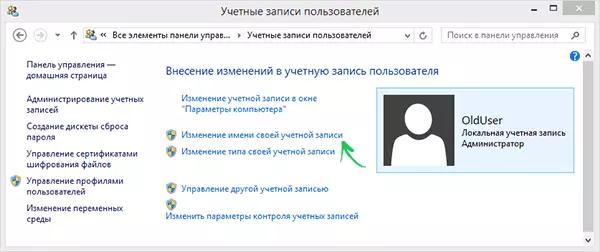
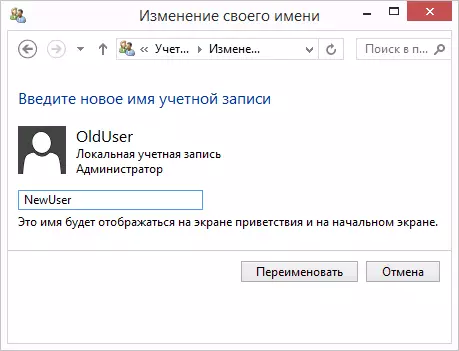
Then simply select "Changing the name of your account", enter a new name and click Rename. Ready. Also, being an administrator of a computer, you can change the names of other accounts (the item "Managing another Account" in "User Accounts").
The location of the local user name is also on the command line:
- Run the command prompt on behalf of the administrator.
- Enter the WMIC UseRacCount WHERE NAME = »Old name» Rename "New Name"
- Press ENTER and look at the result of the command.
If you see something in the screenshot, then the command is successful and the username has changed.

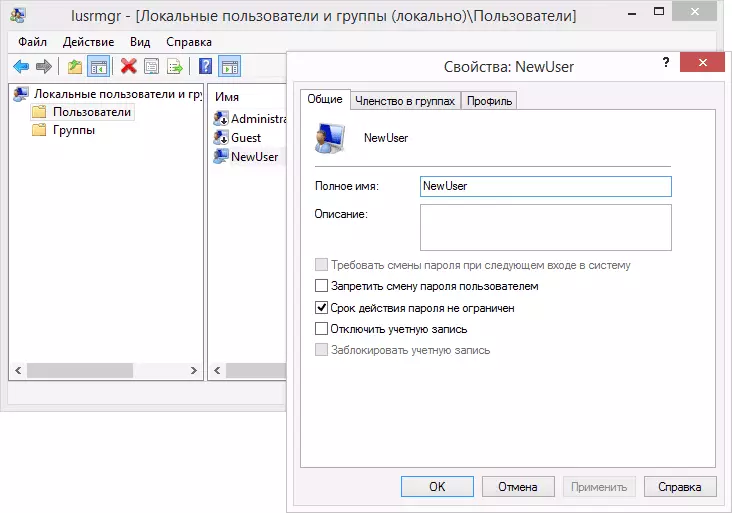
The last way to change the name in Windows 8.1 is suitable for versions professional and corporate: you can open "local users and groups" (Win + R and enter lusrmgr.msc), you can click on the user name twice and in the window that opensed it.
The problem of the described methods for changing the name of the user is that it changes, in fact, only the displayed name you see on the welcome screen when entering Windows, so if you are haunting some other purposes, this method does not fit.
We change the name in Microsoft account
If you needed to change the name in the online Microsoft account in Windows 8.1, then this can be done as follows:
- Open the Charms panel on the right - the parameters - change the parameters of the computer - accounts.
- Under the name of your account, click "Advanced Account Settings on the Internet".

- After that, a browser will be opened with configuring the parameters of your account (if necessary, pass authentication), where, among other things, you can change your display name.
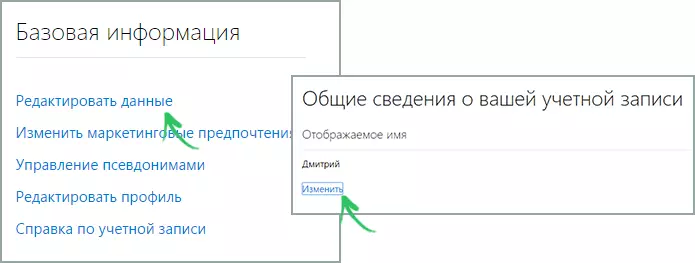
That's ready, now your name is different.
How to change Windows 8.1 Folder Name
As I wrote above, change the username of the user's folder is the easiest way to create a new account with the desired name for which all the necessary folders will automatically be created.
If you still need to rename the folder from the user's available user, here are the steps that will help you do:
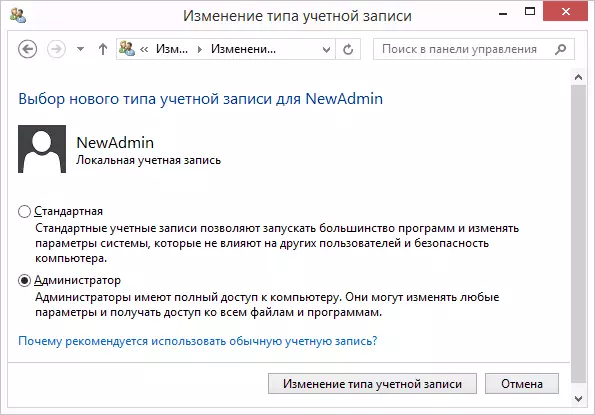
- You will need another local administrator account on your computer. If there is no such, add it via the "Changing Computer Settings" - "Accounts". Select Creating a Local Account. Then, after it is created, go to the Control Panel - User Accounts - Managing Another Account. Select the user-created user, then click "Changing the Account Type" and install the "Administrator".
- Go to an administrator account other than the folder name for which will change (if created as described in claim 1, then under just created).
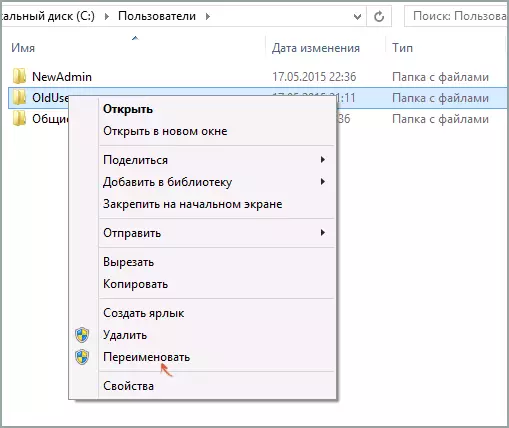
- Open the C: \ Users \ folder and rename the folder whose name you want to change (right click with the mouse - rename. If the renaming does not work out, do the same in safe mode).
- Run the registry editor (press the Win + R keys, enter the REGEDIT, press ENTER).
- In the Registry Editor, open the HKEY_LOCAL_MACHINE \ Software \ Microsoft \ Windows NT \ CurrentVersion \ ProfileList section and find a subsection that matches the user, the folder name for which we change.
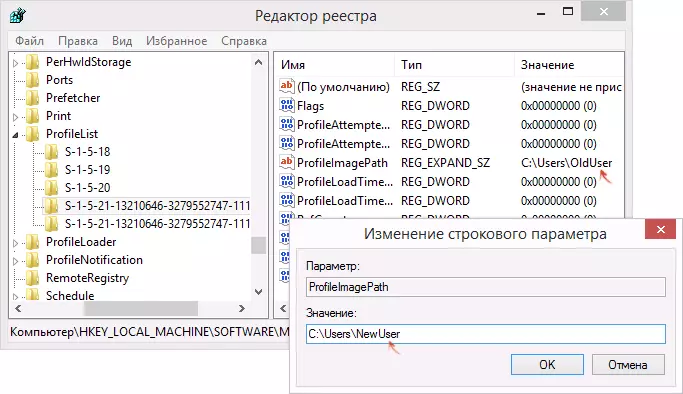
- Right-click on the "ProfileImagePath" parameter, select "Edit" and specify the new folder name, click OK.
- Close the registry editor.
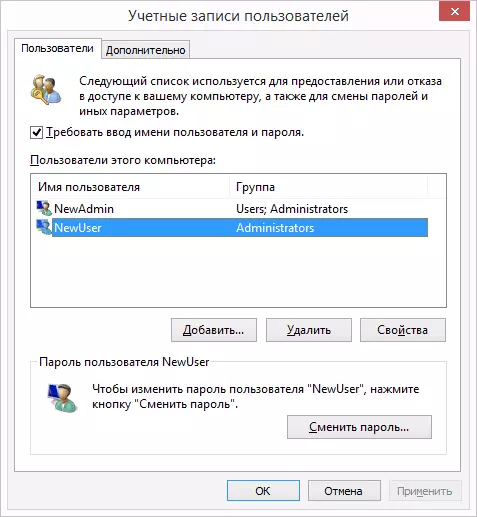
- Press Win + R, enter NETPLWIZ and press ENTER. Select a user (which change), click "Properties" and change its name if necessary and if you have not done this at the beginning of this instruction. It is also desirable that it is noted to "require an input of user name and password."
- Apply the changes, log out of the administrator account, in which this was done and, without going into an account to change, restart your computer.
When, after rebooting, you will enter your "old account" Windows 8.1, a folder with a new name and a new username will already be activated in it, without any side effects (though, the design settings may be reset). If the administrator account is created specifically for these changes, you no longer need you, you can delete it through the control panel - accounts - managing another account - delete an account (or running NetPLWIZ).