

Since Apple iPhone does not allow expanding internal memory, many users have to periodically clean it from unnecessary information. As a rule, the most on the phone takes pictures of photos that can be removed from the device, pre-moved to the computer.
Transfer photos from iPhone to computer
Today it will be about a variety of ways to transfer digital photographs from the phone to a computer. Each of the presented solutions is simple and allows you to quickly cope with the task.Method 1: Windows Explorer
To begin with, let's talk about the standard method of transferring pictures from the phone to the computer. Important condition: The iTunes program must be installed on the computer (although it will not be needed in this case), and the phone is associated with a computer (for this, on the smartphone on the system requirement, you will need to enter a password code).
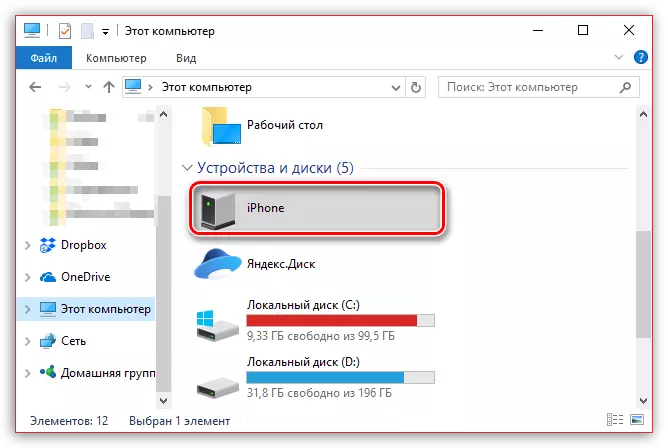
- Connect the iPhone to the computer using a USB cable. Wait until the connection occurs, and then run the Windows Explorer. The list of connected devices will display the phone.
- Go to the internal storage of images of your device. All photos and videos are displayed on the screen, both scored on the smartphone and simply saved in the device's memory. To transfer all images to a computer, press the keyboard shortcut the Ctrl + A keys, and then drag the images to the desired folder on the computer.
- If you need to transfer not all images, but selectable, clamp the Ctrl key on the keyboard, and then simply click on the desired pictures, highlighting them. Then, just the same drag and send them to the folder on the computer.

Method 2: Dropbox
Absolutely any cloud service is very convenient to use to export images both from the iPhone to the computer and the opposite. Consider further actions on the example of the Dropbox service.
Download Dropbox for iPhone
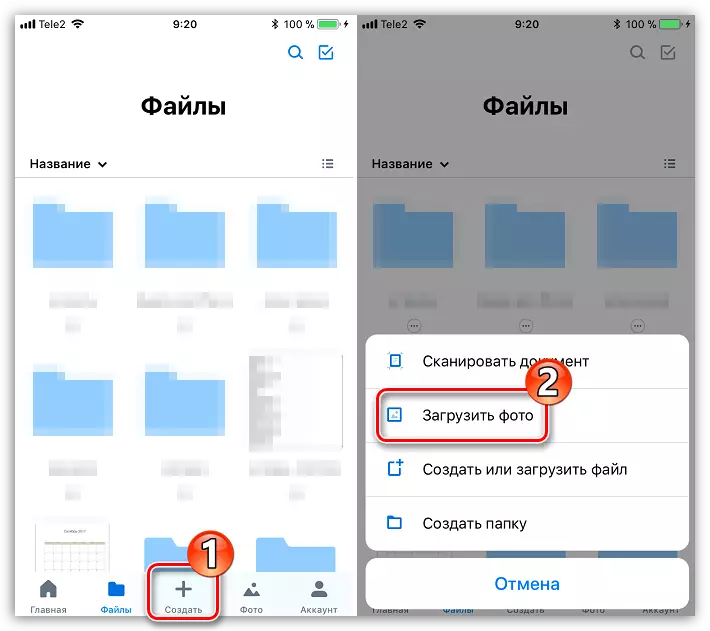
- Run on the Dropbox phone. In the central part of the window, select the "Create" button, and then tap on "Upload a photo" item.
- When the iPhone photobibelek appears on the screen, check the ticks near the desired images, and then select the "Next" button in the upper right corner.
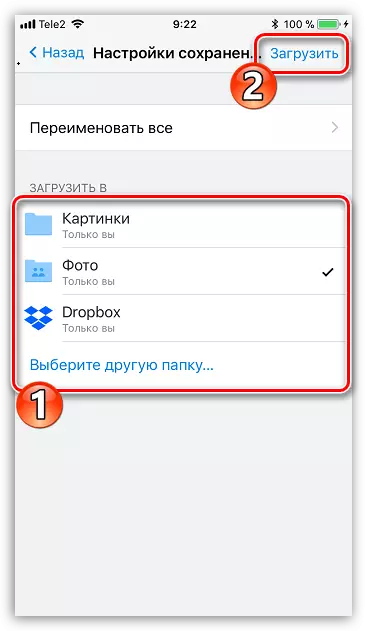
- Specify the final folder where the pictures will be made, and follow the synchronization by pressing the "Download" button.
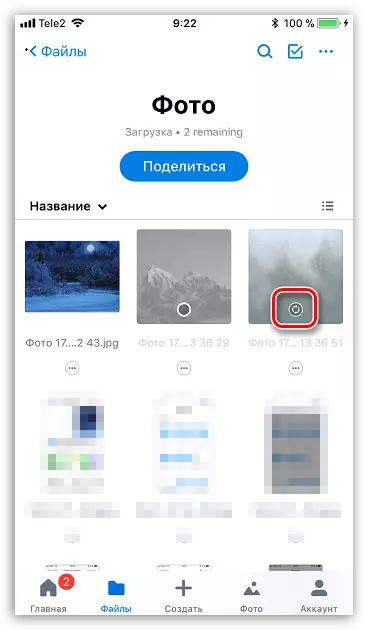
- Wait until the photo sync icon disappears. From this point on, snapshots in Dropbox.
- The next step requires you to open the Dropbox folder on your computer. As soon as data synchronization is performed here, all the images are loaded.


Method 3: Documents 6
This useful type of applications like file manager allows you to not only store and run on the iPhone different types of files, but also to quickly get access to them on the computer. The method is suitable in case the iPhone, and a computer connected to the same Wi-Fi network.
Details: File Manager for iPhone
- If you have not yet installed on the smartphone app Documents 6, follow it to download and install free of charge from the App Store.
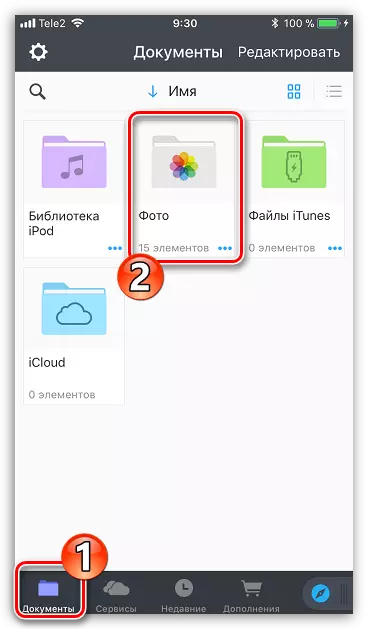
- Run Documents. In the lower left corner of the tab "Documents" folder and then "Photos."
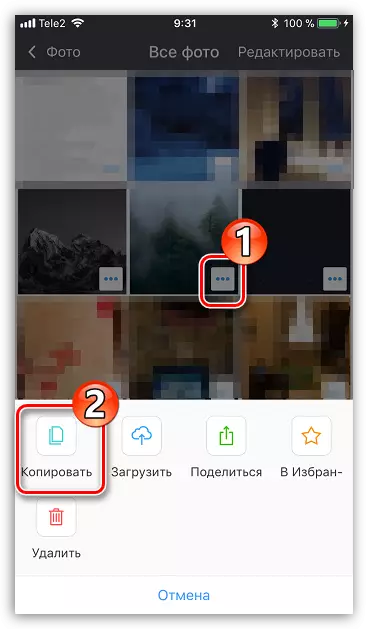
- Click on the icon with three dots around the image, and then select "Copy".
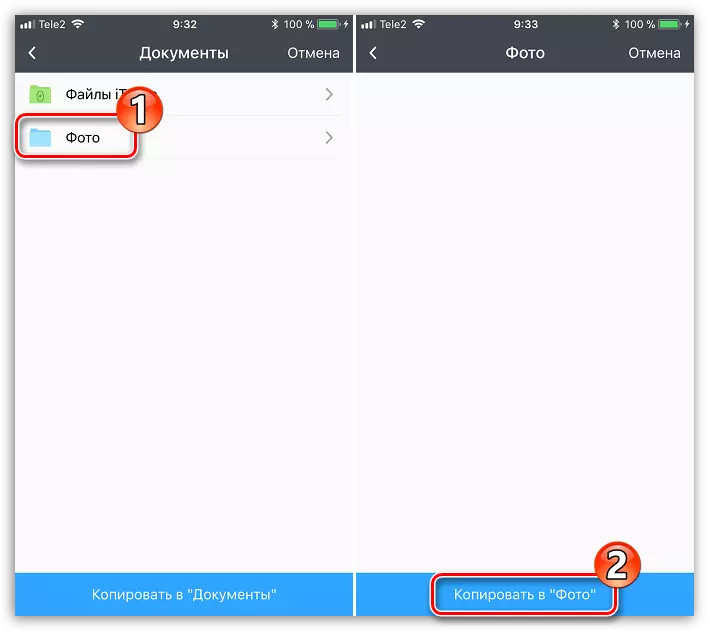
- an additional window will appear in which you will need to choose which Documents folder will be copied image, and then complete the transfer. Thus copy all the images you want to transfer to your computer.
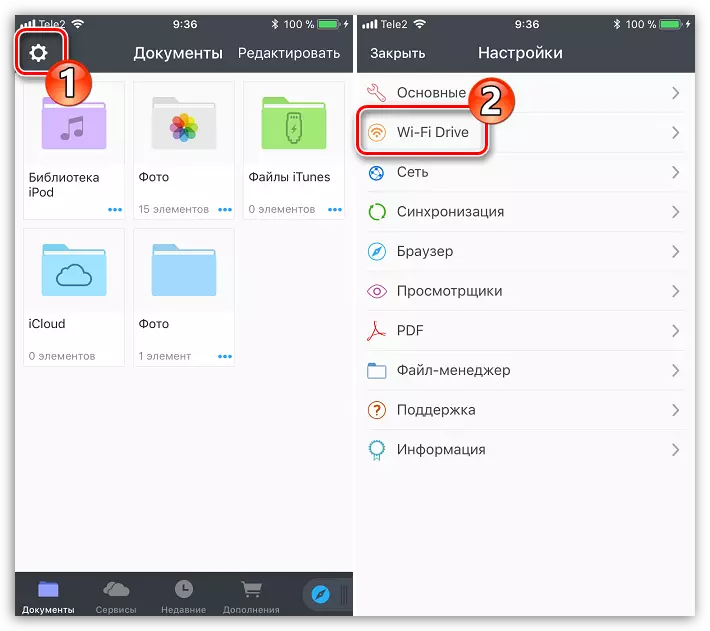
- Now, the phone will need to allow Wi-Fi-synchronization. To do this, click in the upper left corner of the icon with gear wheel, and then open the item «Wi-Fi Drive».
- Adjust the slider about the "Enable" in the active position, and then pay attention to the URL-address appeared - it is for him, and will need to go to any web browser on your computer.
- When the computer will switch the link, your phone will need to give permission to share information.
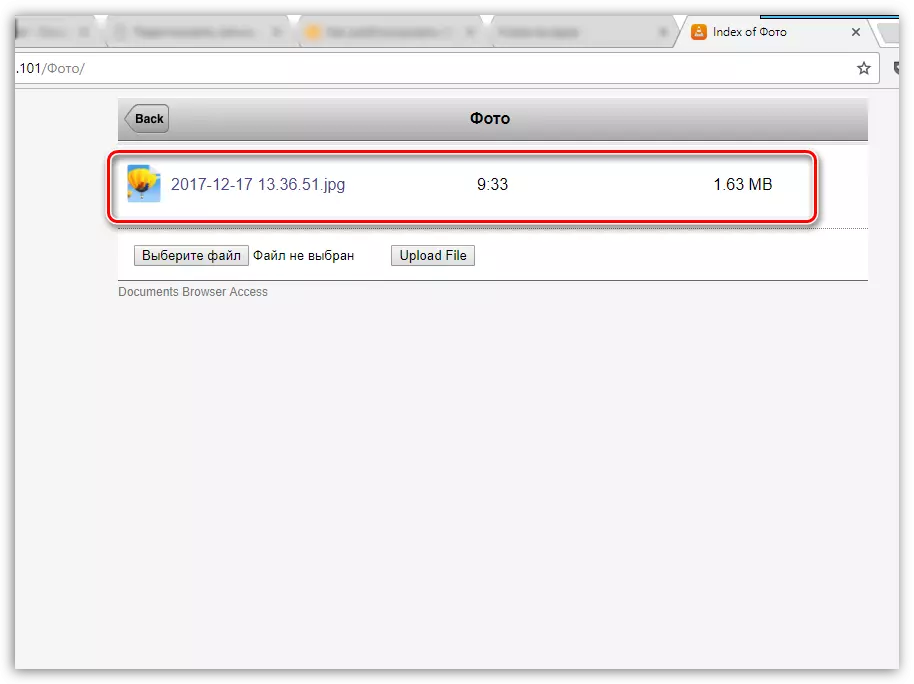
- On the same computer folder will appear, where we transferred our picture, and then by the picture itself.
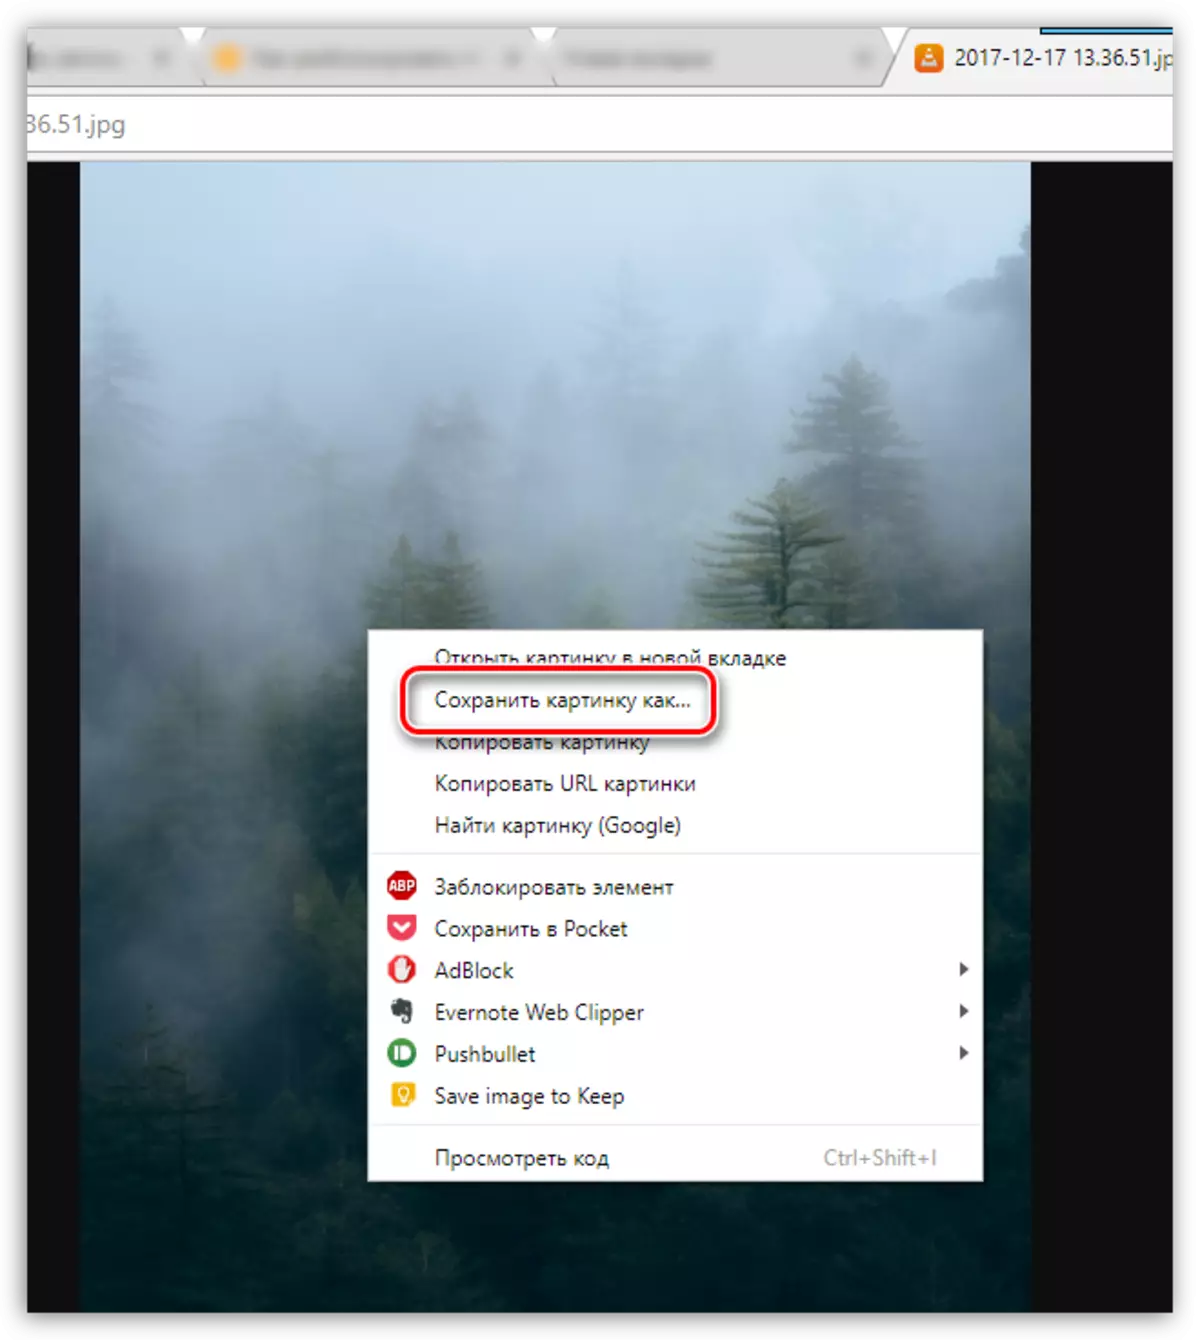
- Clicking on the file, the picture opens in full and will be available to save (click on the right mouse button and select "Save Image As").
Download Documents 6


Method 4: iCloud Drive
Perhaps the most convenient way to transfer images from the iPhone to the computer, since in this case the cloud image export will be completely automatic.
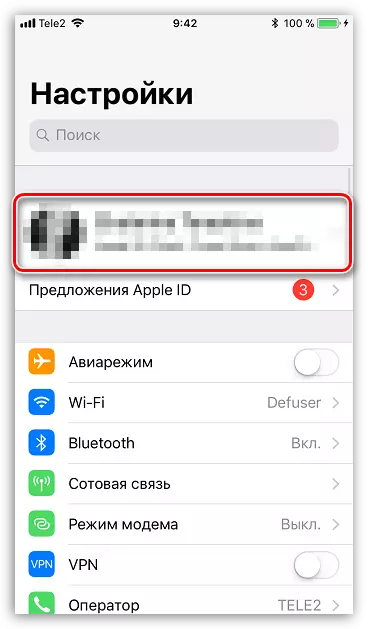
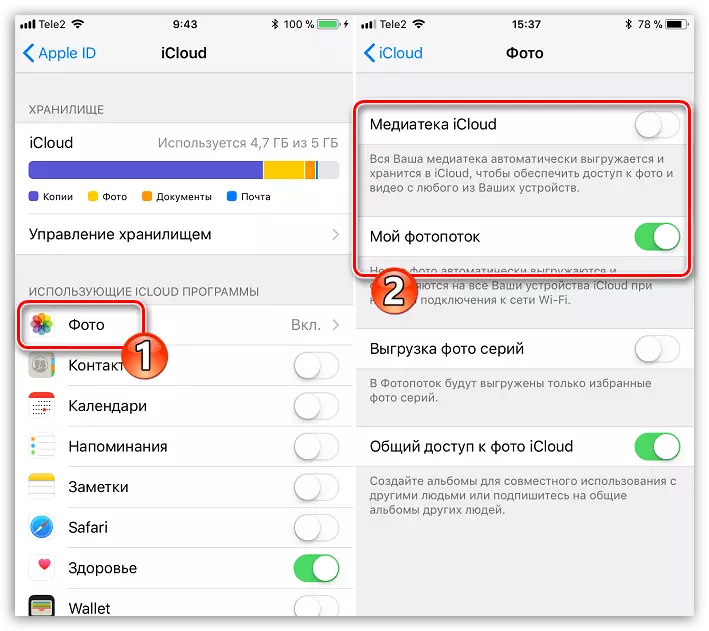
- The first step is to check whether photo upload is active on your phone. To do this, open the Settings app, select at the top of your Apple ID window.
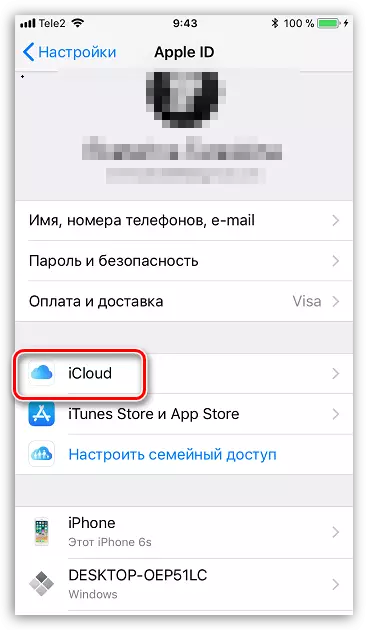
- In the new window, open the section «iCloud».
- Select "Photo". In the new window, make sure that you have activated the items "Mediatheque the iCloud", and "My photostream."
- Download and install the program on your computer iCloud for Windows.
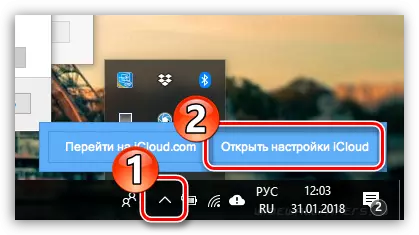
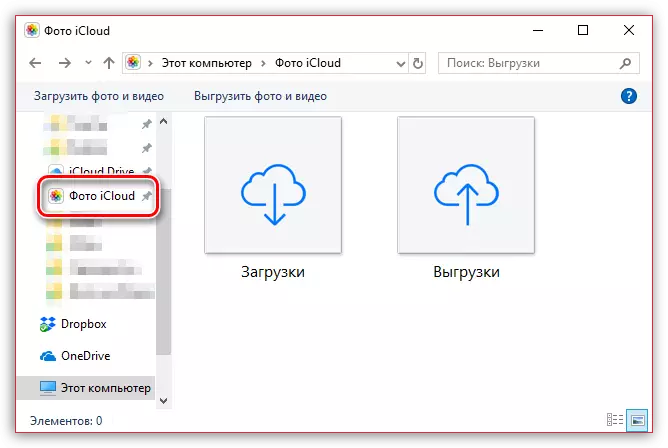
- In Windows Explorer, a folder "Photo icloud" will appear. To the folder replenished with new photos, the program will need to configure. Click on the tray on the arbitrar icon to open the list of running applications, click on the iCloud right-click, and then go to "Open ICloud Settings".
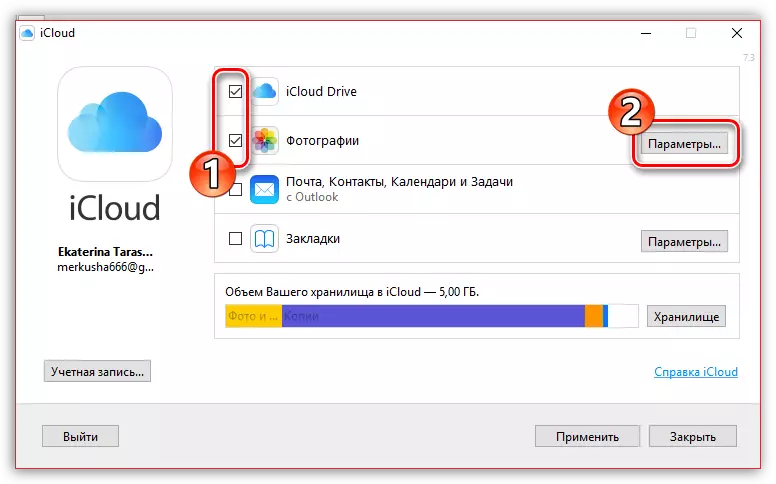
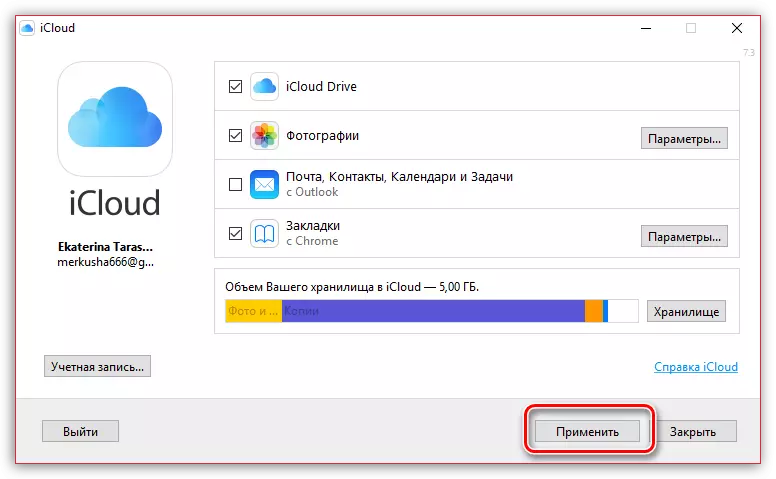
- Put the checkboxes near ICloud Drive and Photographs. To the right of the second item, click on the "Parameters" button.
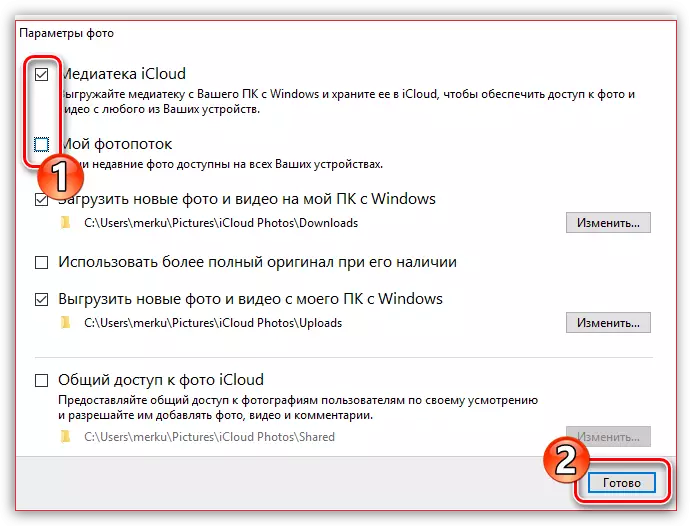
- In a new window, place checkboxes near the ICLOUD Mediamatka and My Photo Points. If necessary, change the standard specified folders on the computer where the pictures will be unloaded, and then click on the "Finish" button.
- Make changes to the operation of the program by clicking the "Apply" button in the lower right corner and close the window.
- After some time, the "icloud photo" folder will begin to be replenished with images. The download speed will depend on your Internet connection and, of course, the size and number of images.
Download iCloud for Windows
Method 5: ITOOLS
If you are not satisfied with the work of iTunes, this program will have wonderful functional analogs, for example, itools. This program, in contrast to software from Apple, is capable of almost two accounts to transfer the photos contained on the device to a computer.
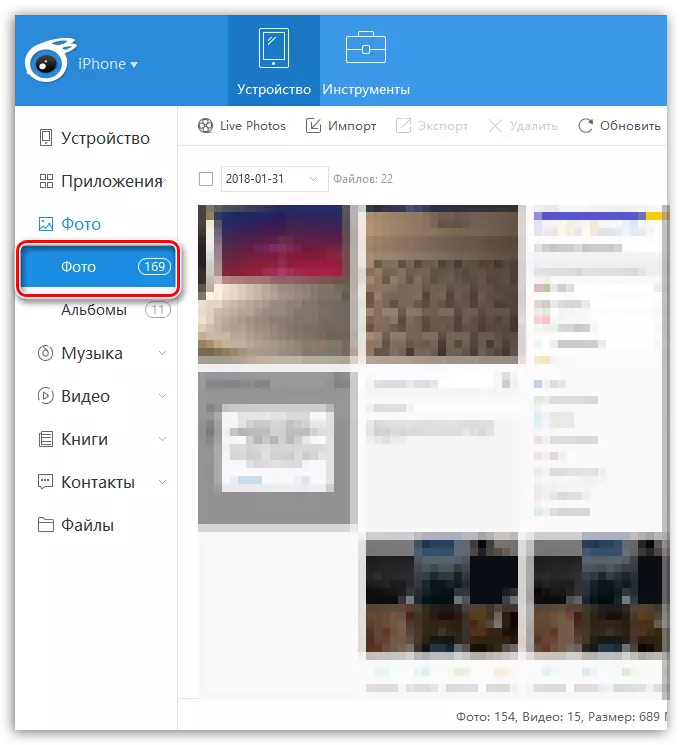
- Connect the iPhone to the computer and start itools. In the left part of the program window, go to the "Photo" tab.
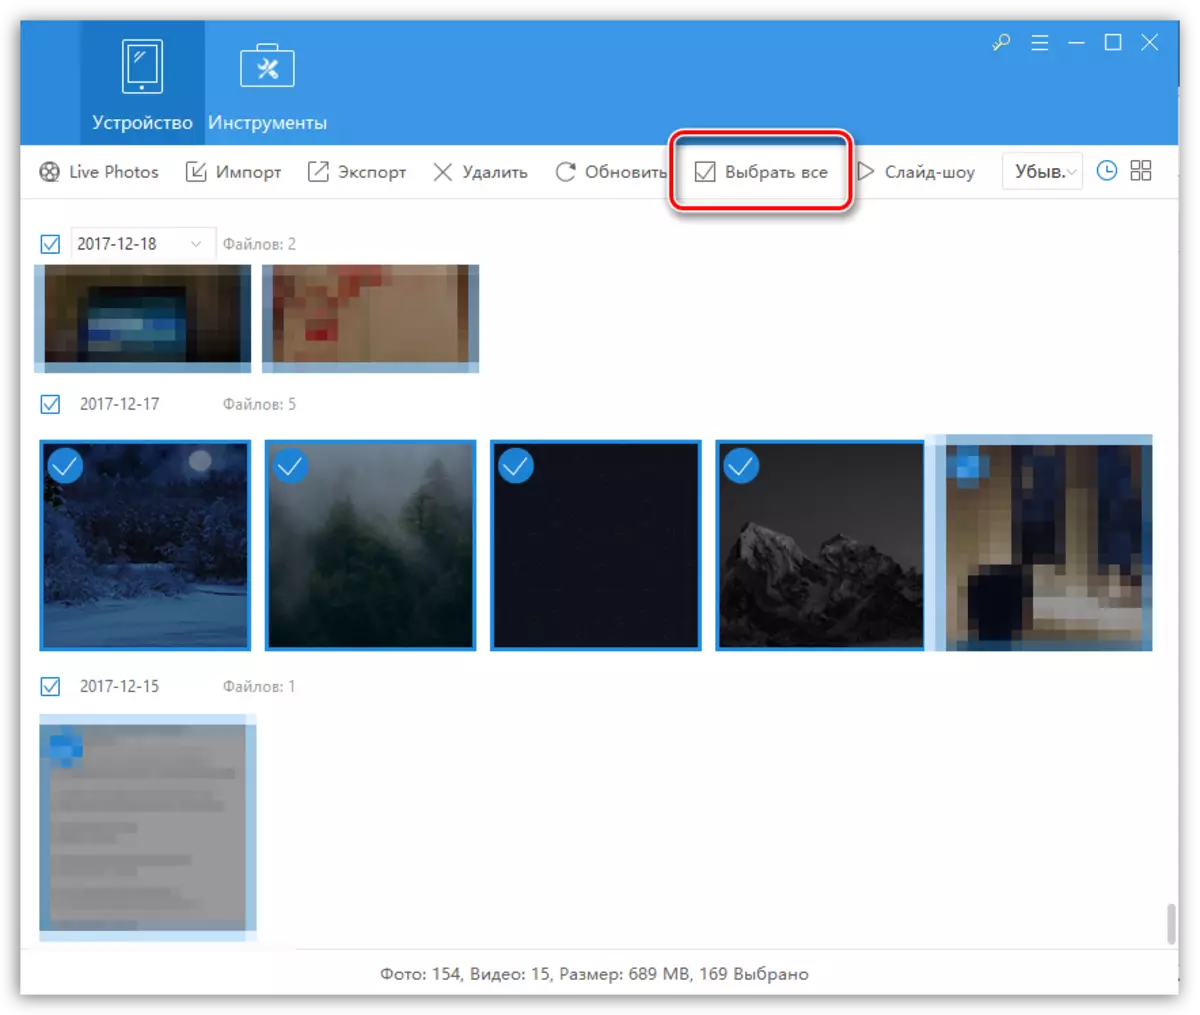
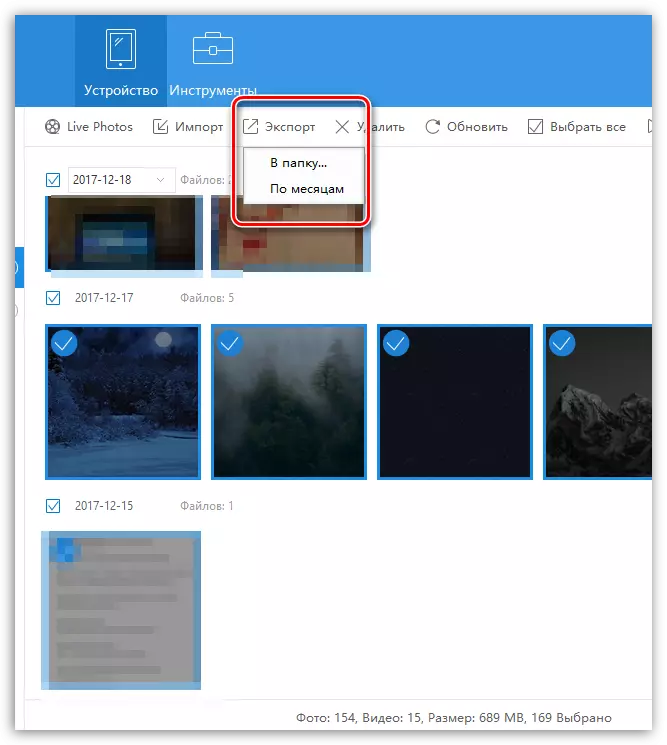
- In the central part of the window, all the pictures contained on the iPhone will be displayed. To move the pictures selectively, start each image to highlight one mouse click. If you need to transfer all images on the computer, click on the top of the window on the "Select All" button.
- Click the Export button, and then select the "folder" item.
- The Windows Explorer will appear on the screen in which you need to specify the final folder where the selected images will be saved.

We hope with our help you could choose the optimal way to transfer images from the Apple iPhone or another iOS device to the computer. If you have any questions, ask them in the comments.