
Iobit products help to improve the operating system. For example, using Advanced Systemcare, the user can increase performance, Driver Booster helps update the driver, Smart Defrag produces a disk defragment, and the IBIT UNINSTALLER removes software from a computer. But as any other software, the above may lose relevance. This article we will talk about how to fully clear the computer from all IOBIT programs.
Remove Iobit from a computer
The process of cleaning the computer from Iobit products can be divided into four stages.Step 1: Remove programs
First of all, it is necessary to delete directly the Software itself. To do this, you can use the system utility "Programs and Components".
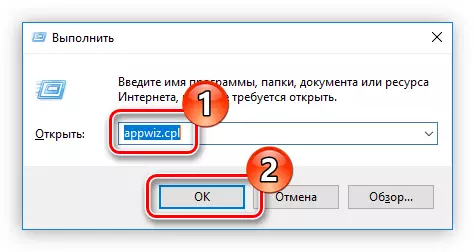
- Open the above-mentioned utility. There is a way that works in all versions of Windows. You need to open the "Run" window by pressing Win + R, and enter the "appwiz.cpl" command, and then press the "OK" button.
Read more: How to delete a program in Windows 10, Windows 8 and Windows 7
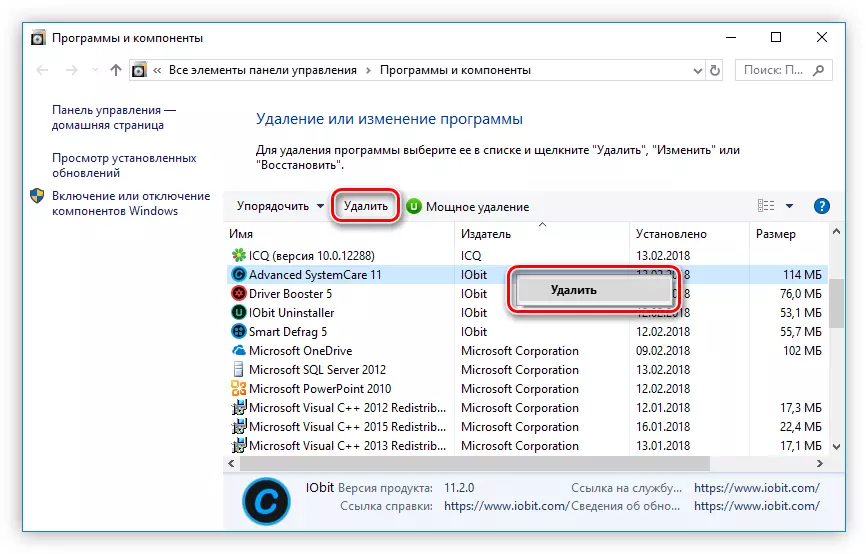
- In the window that opens, find the Iobit product and click on it by PCM, after which in the context menu, select Delete.
Note: The same action you can execute by clicking the "Delete" button on the top panel.
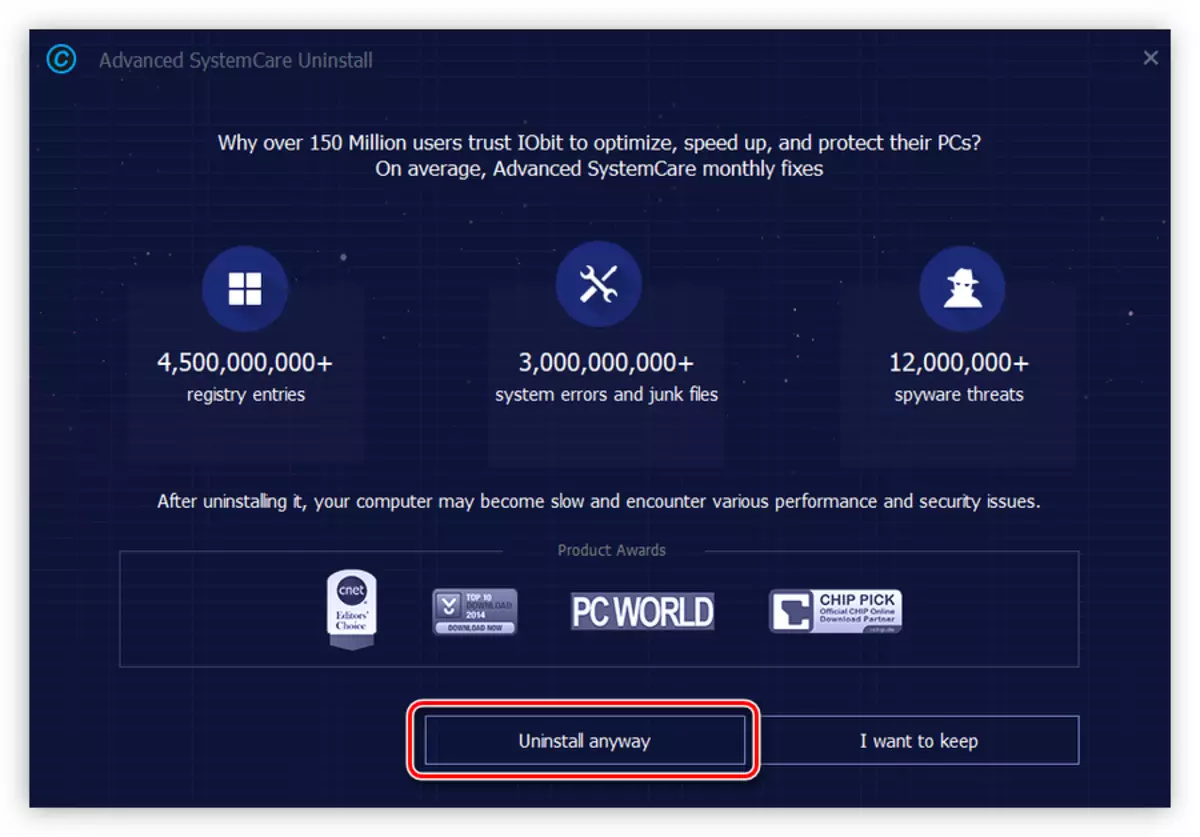
- After that, the uninstallator will start, following the instructions of which, make a removal.
The execution of these actions must be carried out with all applications from Iobit. By the way, in the list of all programs installed on the computer, quickly find the necessary, arrange them by the publisher.
Step 2: Deleting temporary files
Deleting through "Programs and Components" does not erase all the files and data of IOBIT applications, so the second stage will be cleaned by temporary directories, which simply occupy free space. But for a successful execution of all actions that will be described below, you need to turn on the display of hidden folders.
Read more: How to enable display of hidden folders in Windows 10, Windows 8 and Windows 7
So, here's the way to all temporary folders:
C: \ Windows \ Temp
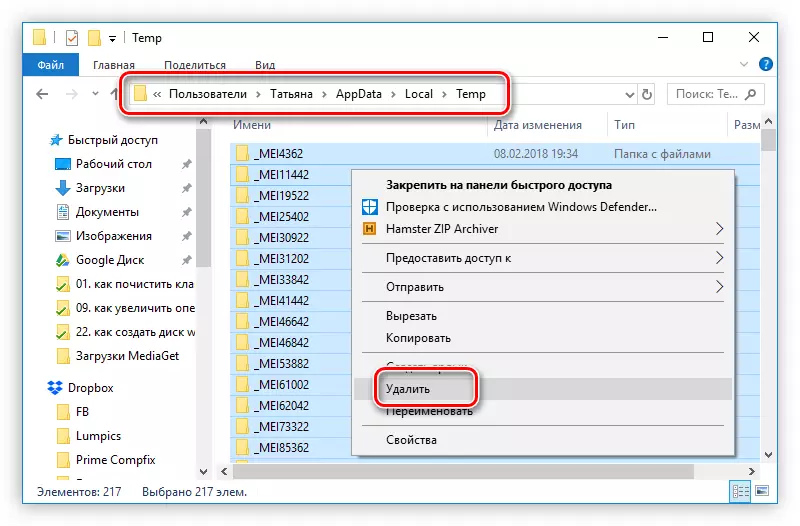
C: \ Users \ Username \ AppData \ Local \ Temp
C: \ Users \ Default \ APPDATA \ LOCAL \ TEMP
C: \ Users \ All Users \ Temp
Note: Instead of "UserName", you must write the username that you specified when installing the operating system.
Just alternately open the specified folders and place all their contents in the "basket". Do not be afraid to delete files that are not related to IOBIT programs, this will not affect the operation of other applications.
Note: If an error appears when deleting a file, simply skip it.
In the last two folders, there are rarely temporary files, but to ensure complete cleaning from "garbage", it is still worth checking them.
Some users trying to proceed in the file manager by one of the above paths may not detect some connecting folders. This happens due to the disabled display of the display of hidden folders. On our site there are articles in which it is described in detail how to enable it.
Step 3: Registry Cleaning
The next step will be cleaning the computer registry. It should be borne in mind that the introduction of edits into the registry can significantly harm the work of the PC, therefore it is recommended to create a recovery point before performing actions.
Read more:
How to create a recovery point in Windows 10, Windows 8 and Windows 7
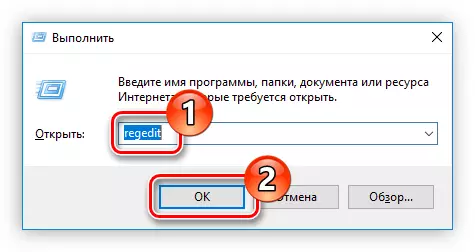
- Open the registry editor. The easiest way to do it through the "Run" window. To do this, press the Win + R keys and in the window that appears, execute the "Regedit" command.
Read more: How to open a registry editor in Windows 7
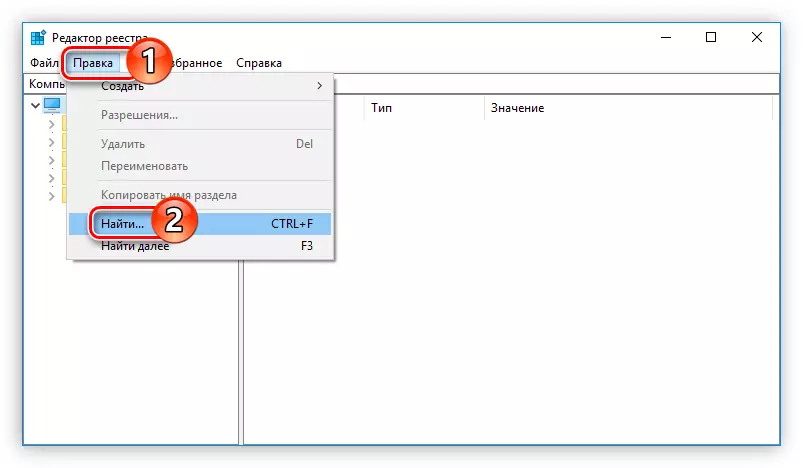
- Open the search window. To do this, you can use the Ctrl + F combination or click on the "Edit" point on the panel and select "Find" in the menu.
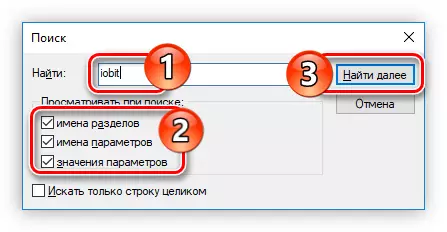
- In the search string, enter the word "Iobit" and click the Find button. Make sure that there are three ticks in the area "view when searching".
- Delete the found file by clicking on it with the right mouse button and selecting "Delete" item.
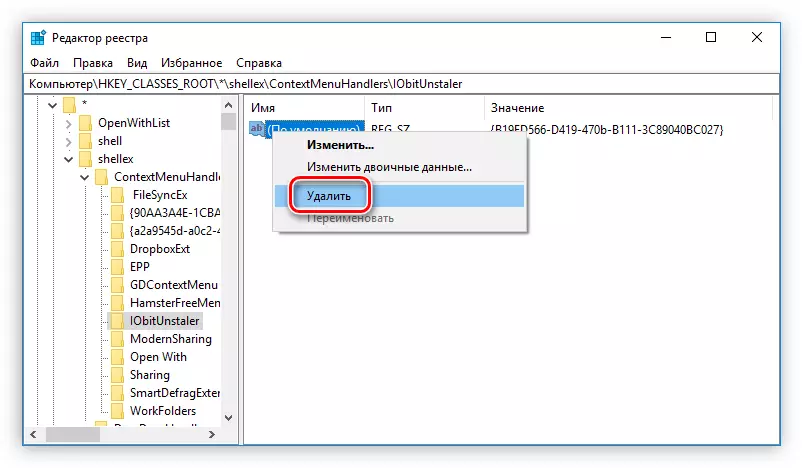
After that, you need to search again on request "Iobit" and delete the next registry file already, and so until the "Object not found" messages appear when executing the search.
Please note that sometimes the Iobit files are not signed in the "job scheduler", so it is recommended to clear the entire library from files whose authorship is assigned to the user name.

Step 5: Cleaning
Even after the execution of all the actions described above, the Iobit software files will remain in the system. Manually, it is almost impossible to find and delete them, so according to the final it is recommended to clean the computer using special programs.Read more: How to clean the computer from "garbage"
Conclusion
The removal of such programs seems simple only at first glance. But as you can see to get rid of all traces, you need to do a lot of action. But in the end, you will definitely believe that the system is not loaded with superfluous files and processes.