
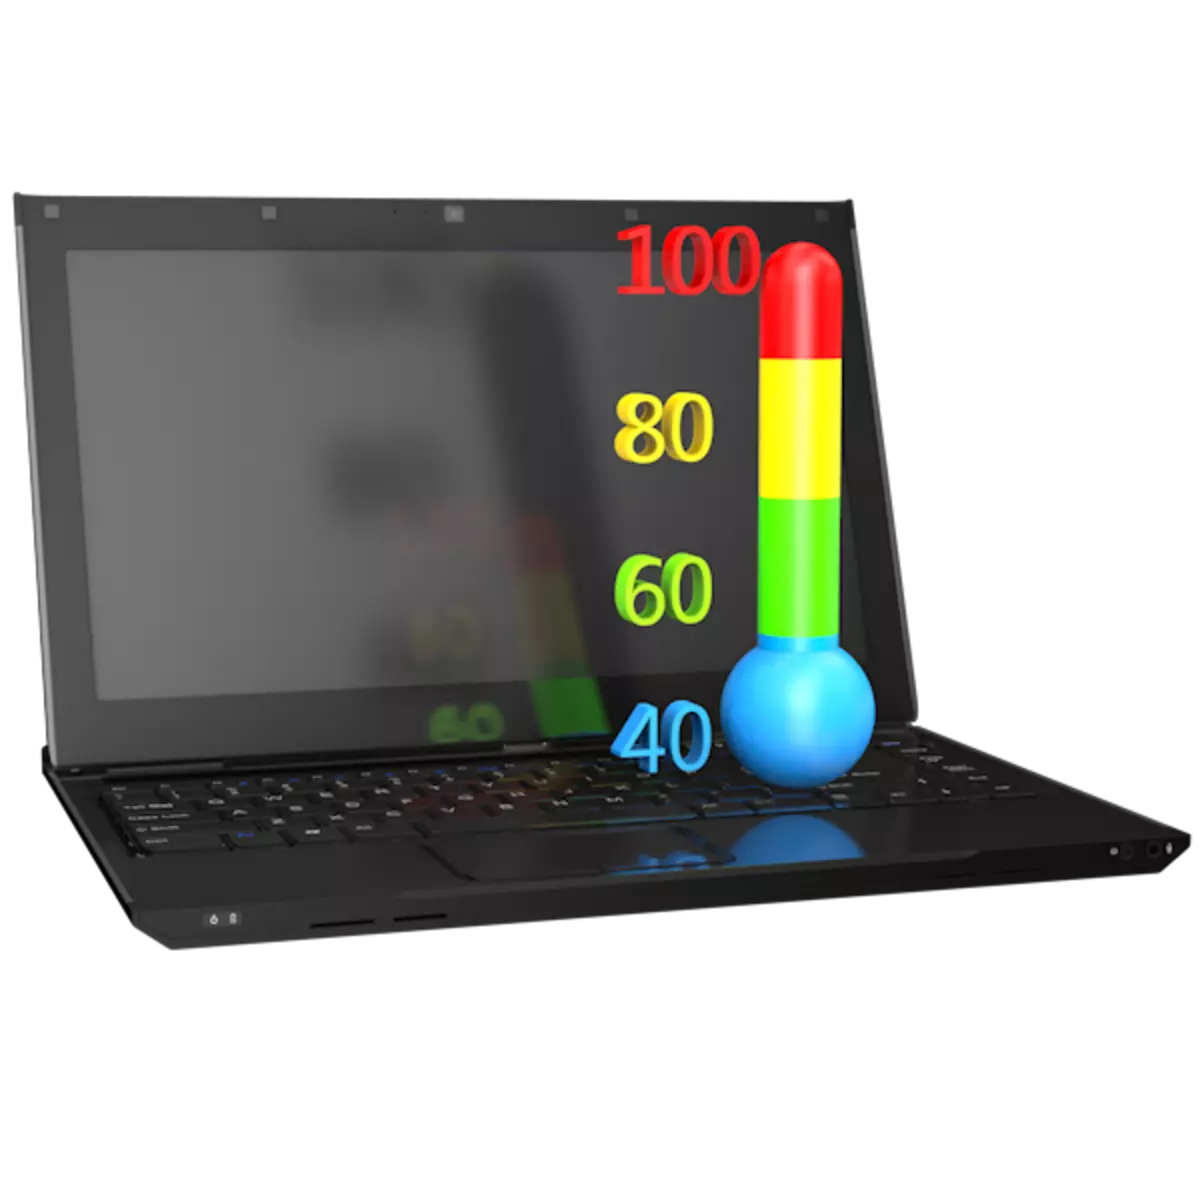
One of the most common problems of modern (and not very) computers - overheating and all associated troubles. All components of the PC processor, RAM, hard drives and other elements on the motherboard suffer from elevated temperatures. In this article, let's talk about how to solve the problem with overheating and the disconnection of the laptop.
Overheated laptop
The reasons for increasing temperatures inside the laptop housing are reduced mainly to a decrease in the efficiency of the cooling system due to various factors. This can be both a banal clogging of the ventilation holes dust and the drying of the thermal panel or gasket between the tubes of the cooler and the cooled components.There is another reason - temporary cessation of cold air access inside the case. This often happens from those users who love to take a laptop to bed. If you are of these, then make sure that the ventilation grilles are not closed.
The information presented below is designed for experienced users. If you are unsure of your actions and have no sufficient skills, it is better to seek help in a service center. And yes, do not forget about the warranty - independent disassembly of the device automatically deprives warranty service.
Disassembly
In order to eliminate overheating, wing to a bad work of the cooler, you need to disassemble the laptop. You will need to remove the hard disk and the drive (if any), turn off the keyboard, unscrew the fasteners connecting the two parts of the case, get the motherboard, and then disassemble the cooling system.
Read more: How to disassemble a laptop
Please note that in your case you do not have to fully disassemble the laptop. The fact is that in some models to access the cooling system, it is enough to remove only the top cover or a special service plate from the bottom.

Next you need to dismantle the cooling system, unscrewing several screws. If they are numbered, then it is necessary to do it in the reverse order (7-6-5 ... 1), but to collect in the straight (1-2-3 ... 7).
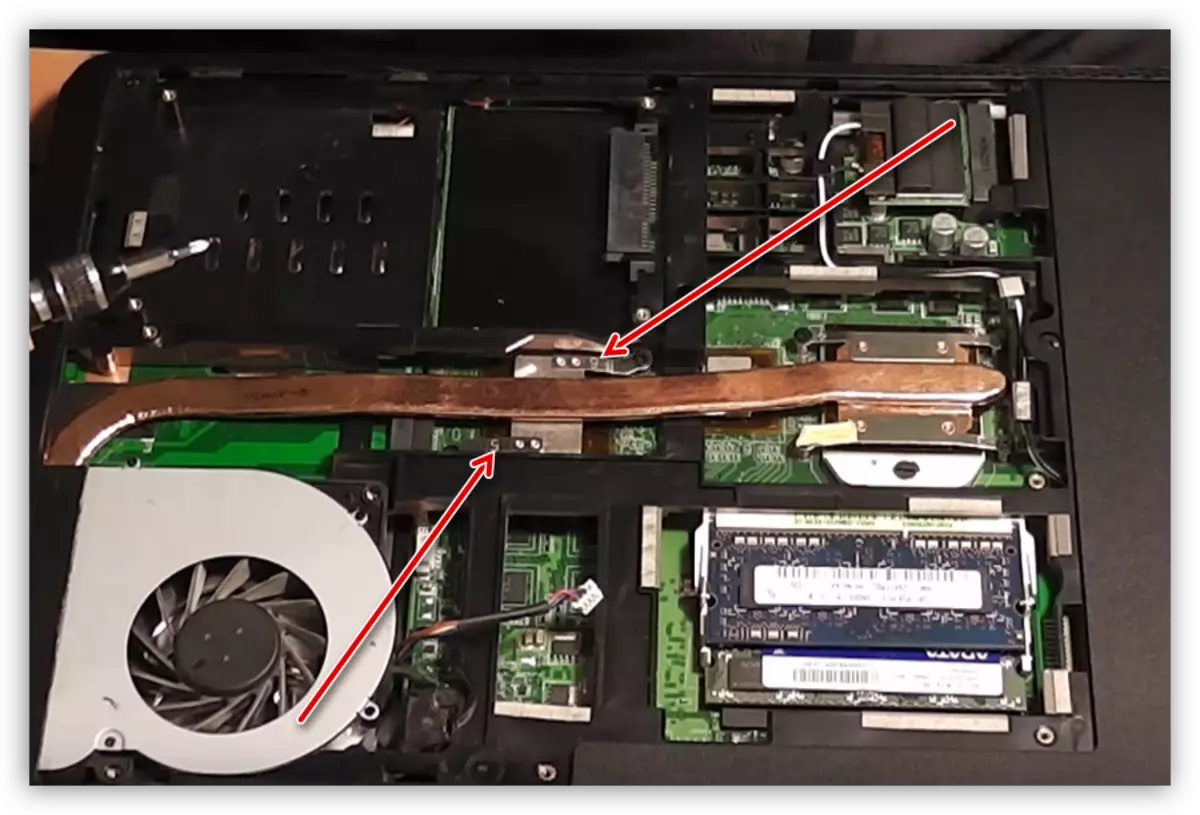
After the screws are unscrewed, you can remove the cooler and turbine tube from the housing. It is necessary to do it very carefully, since the thermal paste can dry and make a very strongly gluing the metal to the crystal. Inactive appeal can damage the processor, bringing it into disrepair.

Cleaning
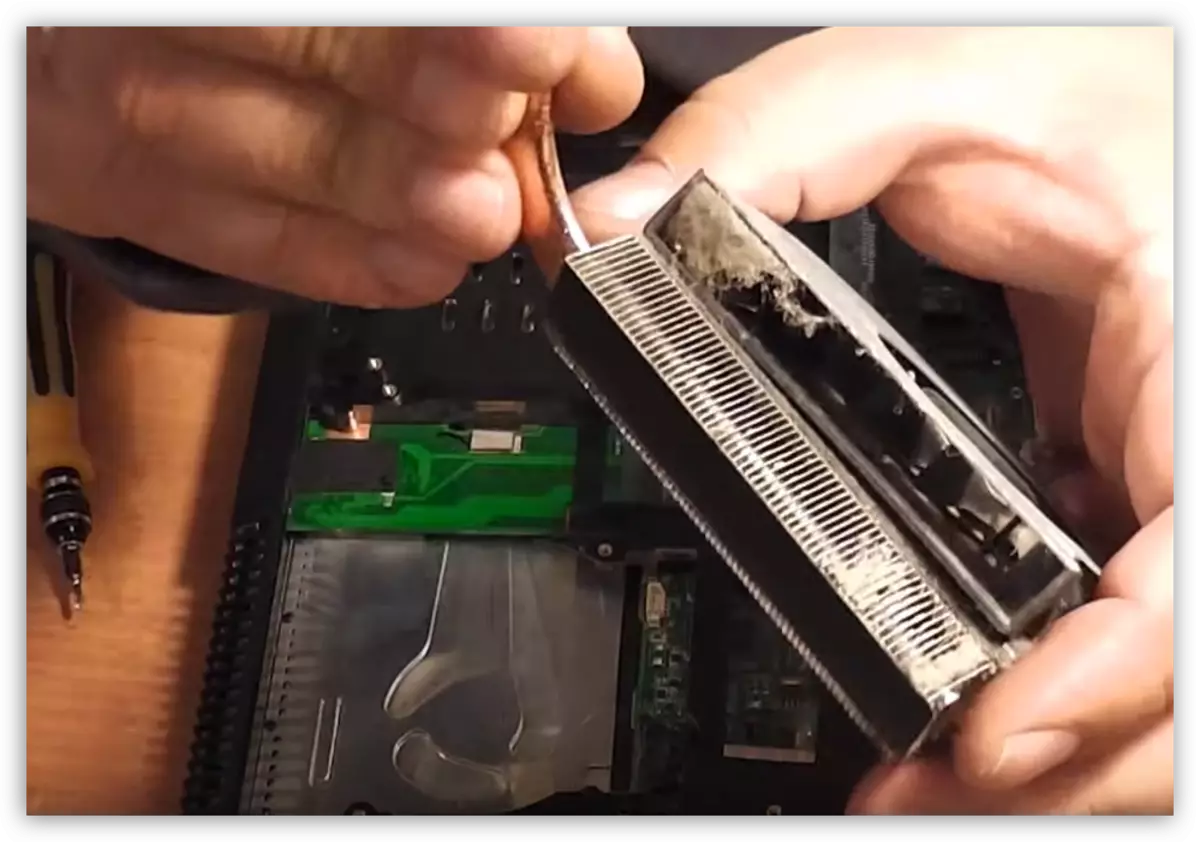
First you need to clean the turbine of the cooling system, the radiator and all other parts of the case and the motherboard from dust. It is better to do with a brush, but you can use the vacuum cleaner.
Read more: How to clean the laptop from dust
Replacing the thermal staste
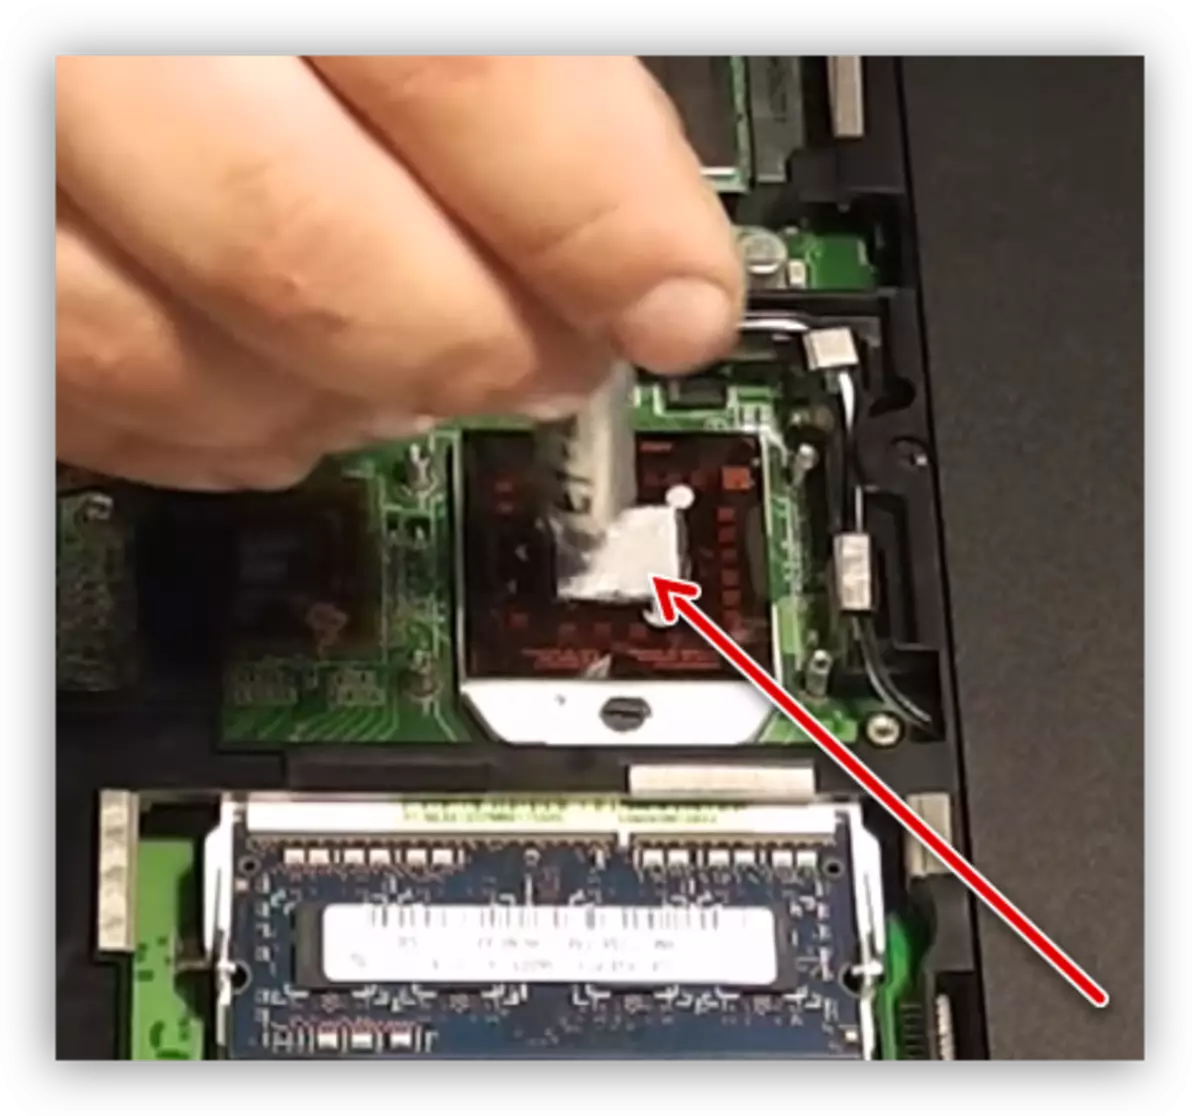
Before replacing thermal paste, it is necessary to get rid of the old substance. This is done with a tissue or brush dipped in alcohol. Keep in mind that the cloth is better to take a lounge. It is more convenient to use the brush, as it helps to remove the paste from hard-to-reach places, but after that it will still have to wipe the components with a cloth.
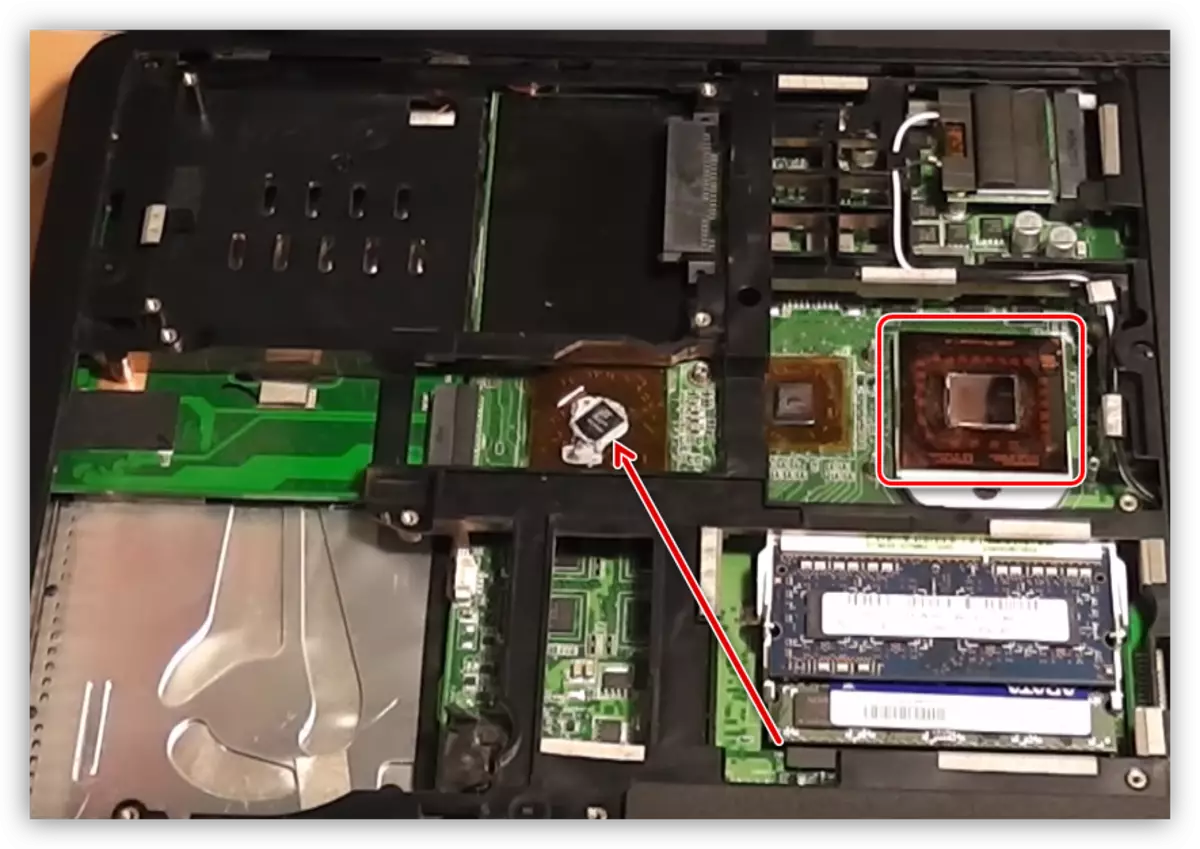
With the sole of the cooling system adjacent to the elements, the paste also need to be removed.
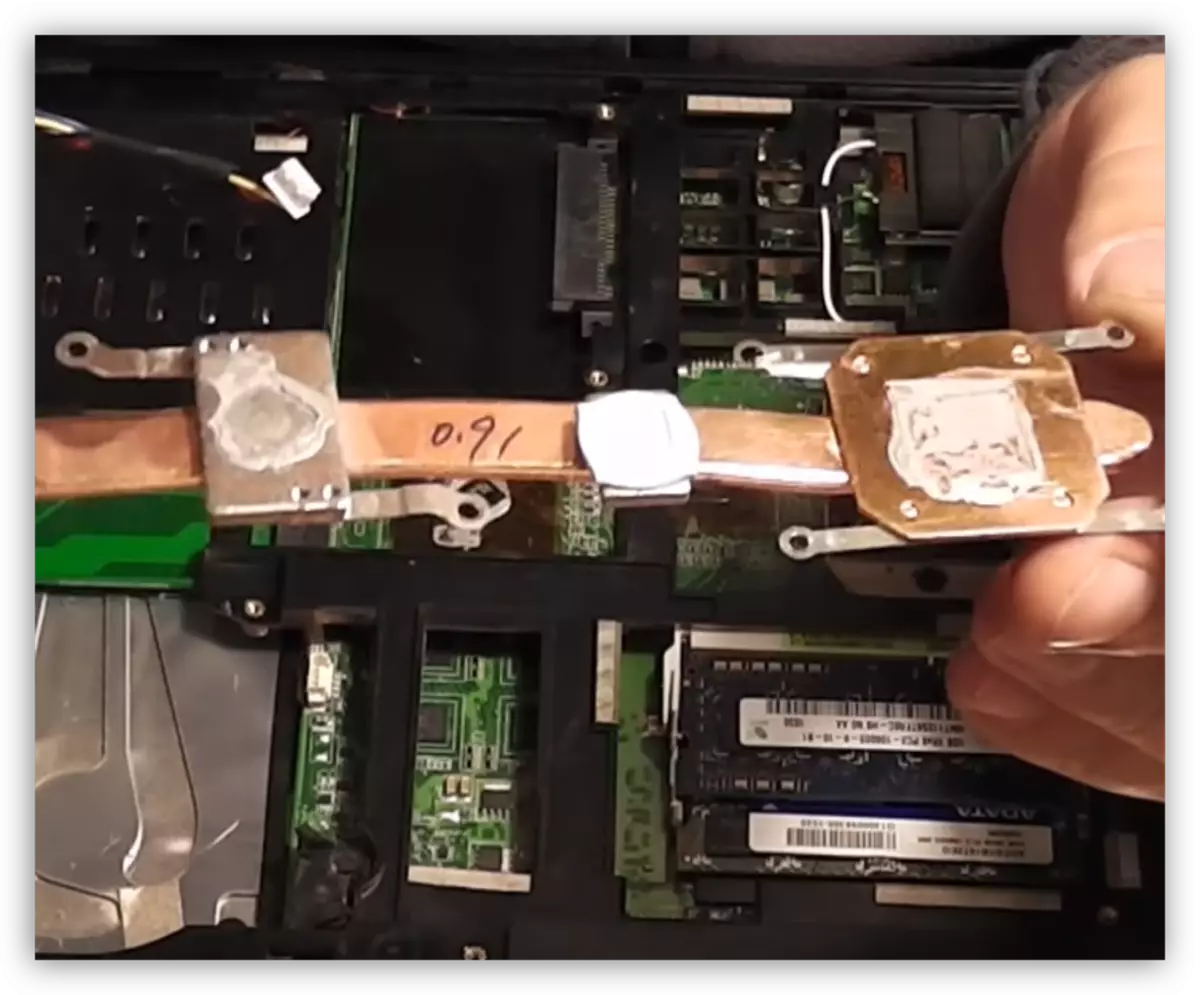
After preparation, you must apply a new thermal chaser on the processor crystals, chipset and, if there is, video cards. Do it need a thin layer.
The choice of thermal paste depends on your budget and the desired results. Because there is a fairly large load on the laptop cooler, and it is serviced not as often as I would like, it would be better to look in the direction of more expensive and high-quality products.
Read more: How to choose a thermal
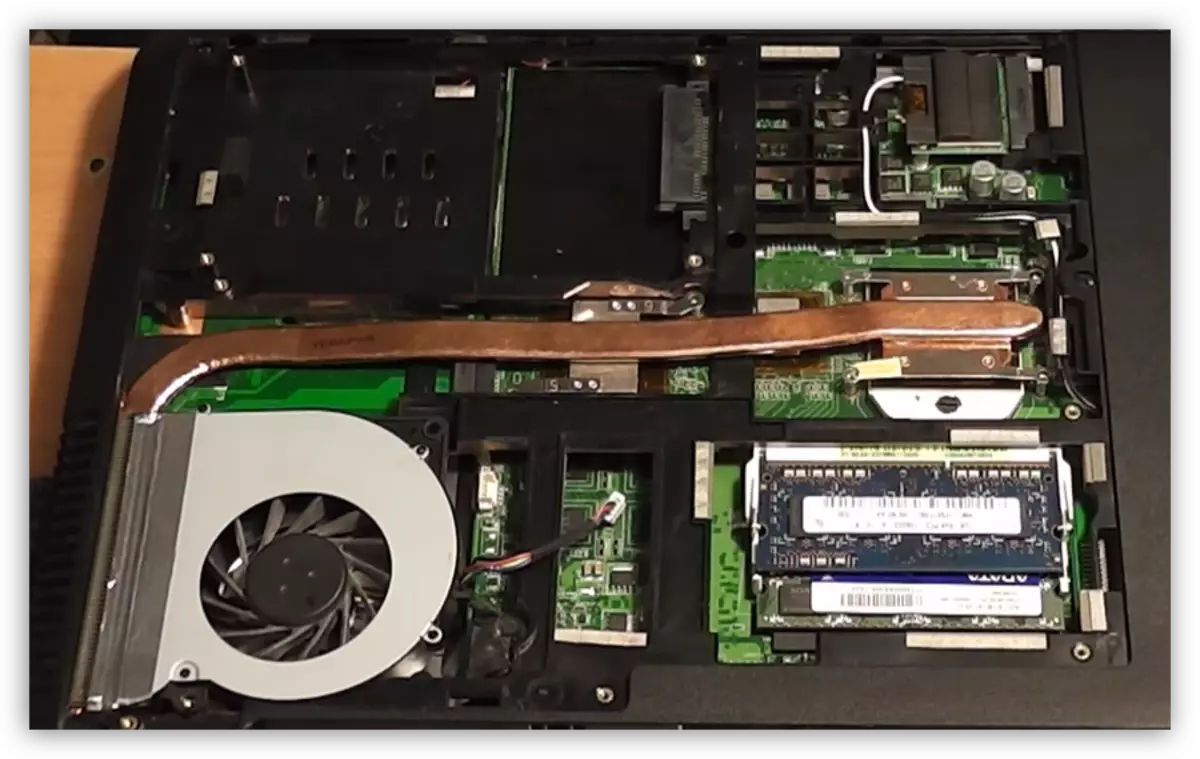
Final step - installation of the cooler and the assembly of the laptop in the reverse order.
Cooling Stand
If you have cleaned the laptop from dust, replaced the thermal chaser on the cooling system, but it still overheats, it is necessary to think about additional cooling. Help how to cope with this task are designed special supports equipped with a cooler. They forcibly injected cold air, taking it to the ventilation holes on the housing.
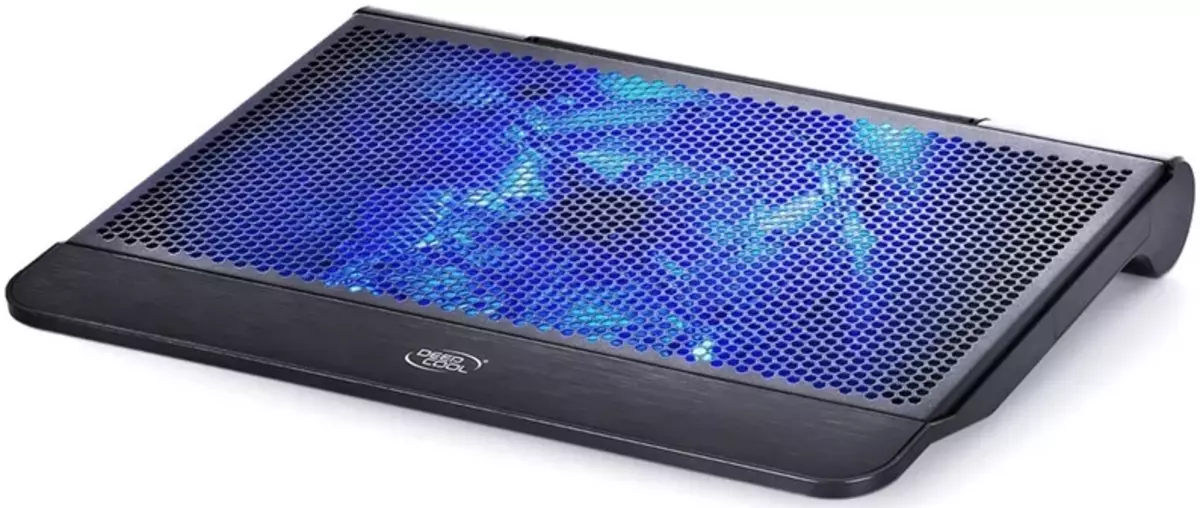
Do not neglect to treat such solutions. Some models are able to reduce the indicators by 5-8 degrees, which is quite enough to ensure that the processor, the video card and chipset does not reach the critical temperature.
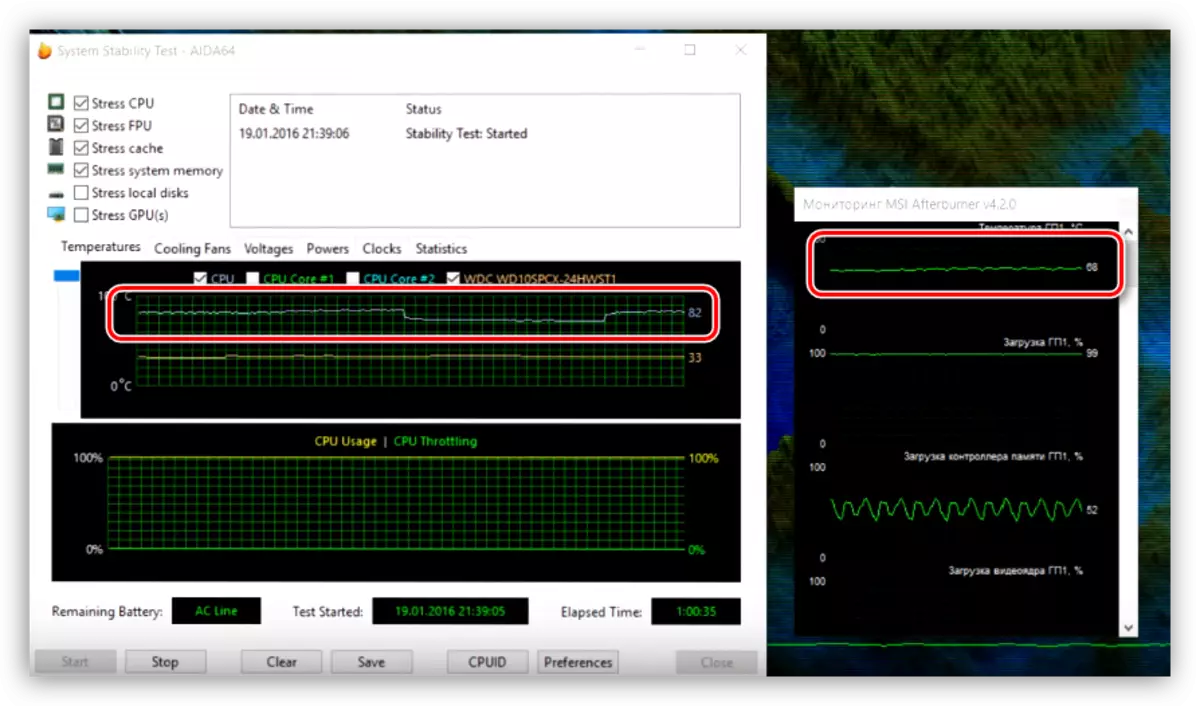
Before using the stand:
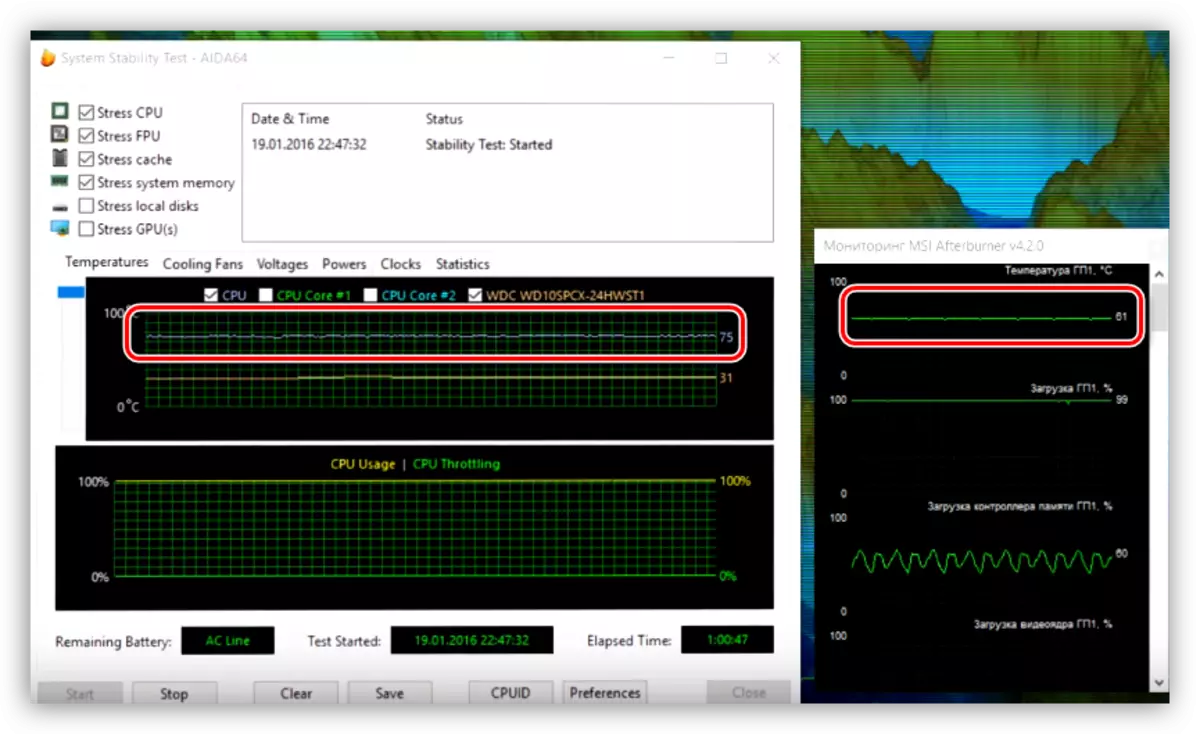
After:
Conclusion
Relief of the laptop from overheating is not easy and fascinating. Remember that the components do not have metal covers and may be damaged, so act as much as possible. With accuracy, it is also worth handling with plastic elements, as they are not subject to repair. Chief Tip: Try to more often carry out the maintenance of the cooling system, and your laptop will serve you for a very long time.