
The desktop is the main space of the operating system, which produces various actions, open windows and programs. The desktop also contain shortcuts that run soft or leading to folders on the hard disk. Such files can be created by the user manually or installer in automatic mode and their amount can be huge over time. In this article, let's talk about how to remove shortcuts from the Windows desktop.
We remove shortcuts
Remove the label icons with a desktop in several ways, it all depends on the desired result.- Simple deletion.
- Grouping using software from third-party developers.
- Creating a toolbar with system tools.
Method 1: Removal
This method implies the usual removal of labels from the desktop.
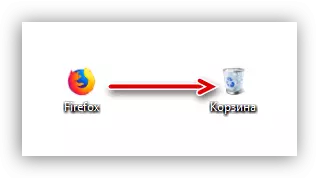
- Files can be dragged into the "basket".
- Click PCM and select the appropriate item in the menu.
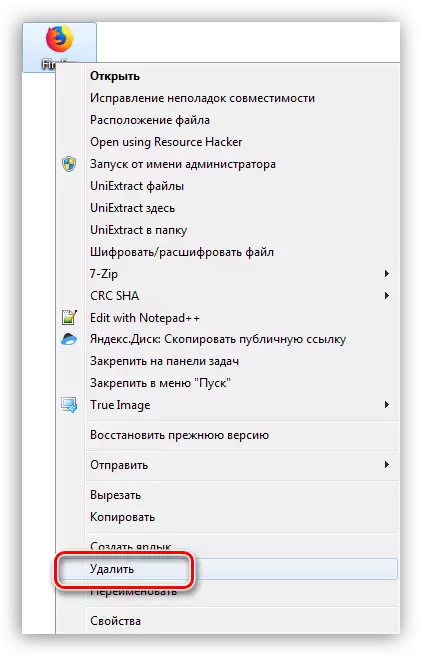
- Completely erased with a switch with a combination of Shift + Delete keys, after highlighting.
Method 2: Programs
There is a category of programs that allow you to group elements, including shortcuts, thanks to which you can have quick access to applications, files and system settings. Such a functionality has, for example, True Launch Bar.
Download True Launch Bar
- After downloading and installing the program, you must click the PCM on the taskbar, open the "Panel" menu and select the desired item.
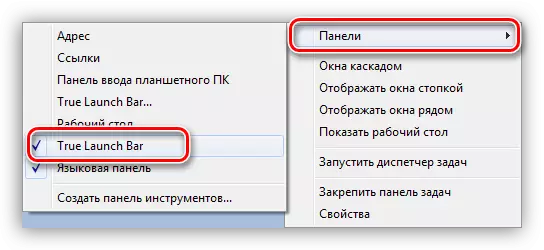
After that, the TLB tool appears near the Start button.
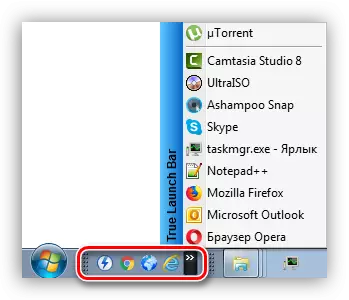
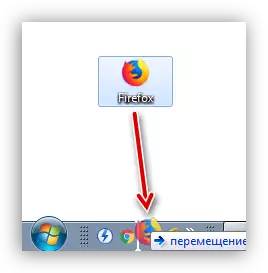
- For the label room in this area, you just need to drag it there.
- Now you can run programs and open folders directly from the taskbar.
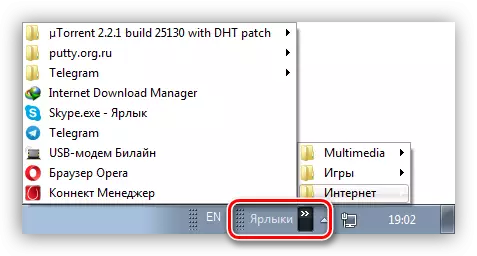
Method 3: System Tools
The operating system has a similar TLB function. It also allows you to create a custom panel with labels.
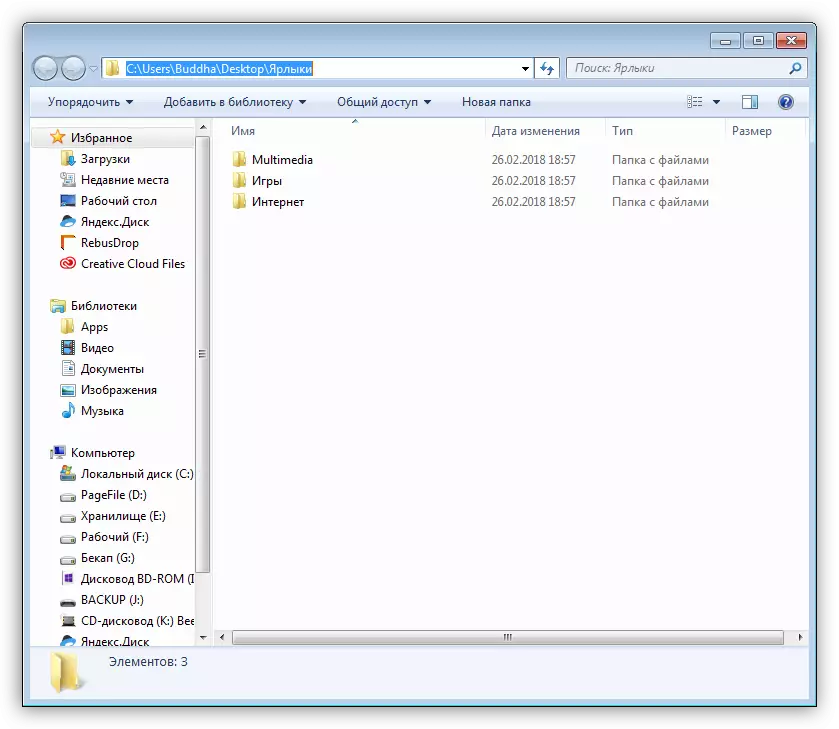
- First of all, we put shortcuts into a separate directory anywhere in the disk. They can be sorted by category or other in a convenient way and arrange in different subfolders.
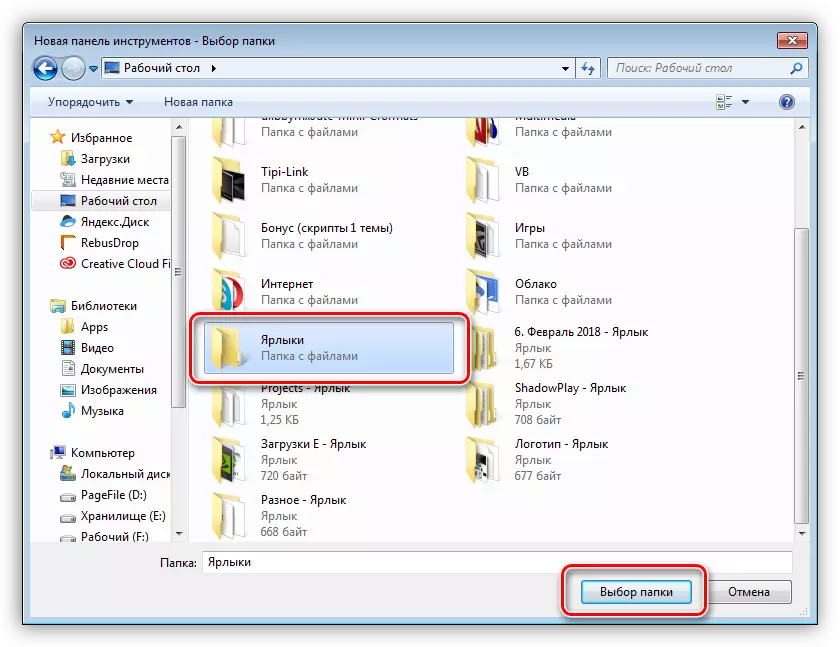
- Press the right mouse button on the taskbar, and find the item that allows you to create a new panel.

- Choose our folder and click on the corresponding button.
- Ready, shortcuts are grouped, now there is no need to store them on the desktop. As you already probably guessed, in this way you can access any data on the disk.
Conclusion
Now you know how to remove label icons from Windows desktop. The last two ways are very similar to each other, but TLB gives more options for setting up the menu and allows you to create custom panels. At the same time, system tools help solve the task without unnecessary manipulations for downloading, installing and studying the functions of a third-party program.