
Format the entire hard disk (HDD) is not as easy as it may seem at first glance. All problems are reduced to the fact that this procedure cannot be made due to the installed operating system. Accordingly, it will not be possible to use its tools for these purposes, so you need to use other ways. It is about them that will be told in this article.
Fully format the hard disk of the computer
You can select three fundamentally different methods: using a special application running directly from the flash drive, using Windows Installer tools, as well as formatting through another computer. All this will be told on on the text.Method 1: Aomei Partition Assistant
Aomei Partition Assistant is a program to work with a hard disk. In principle, to format it, and any other, but with the support of the recording function on the drive. By clicking on the link below, you will be able to familiarize yourself with the list of such software.
Read more: Applications for working with HDD
As it has already been said earlier, to format the Winchester completely using Aomei Partition assistant, this program must first be written to the disk or the USB drive.
- Install the application on the PC, then open it.
- Insert the Flash drive into the USB port.
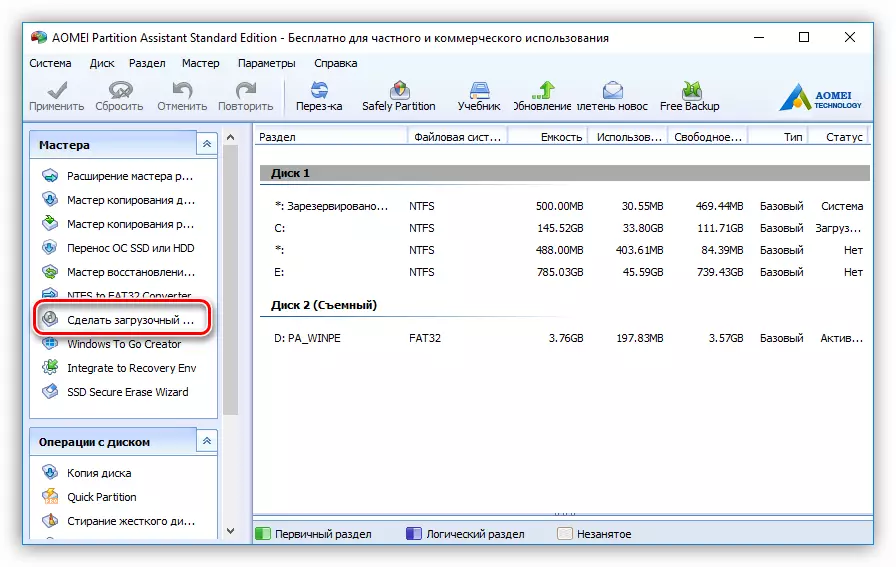
- Click the Make CD Wizard button, located on the left pane.
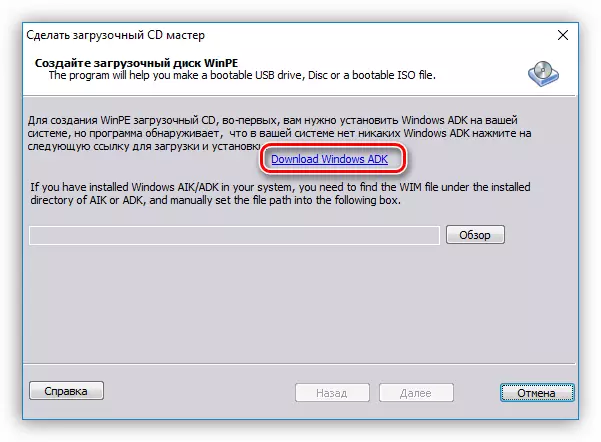
- If you do not have an Assessment and Deployment Kit software package (ADK), the Aomei Partition Assistant software image entry will be impossible for a flash drive, respectively, you need to install it. First open the Adk download page. You can do this as the link below and click on the link specified in the program window itself.
ASSESSMENT AND DEPLOYMENT KIT boot site
- Start loading the package by clicking on the "Download" button.
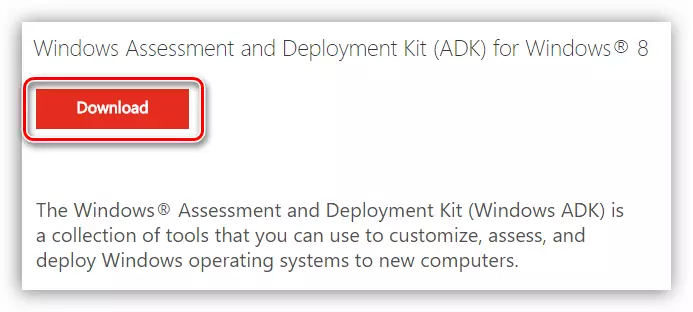
Note: Do not pay attention to the fact that on the download page is written "... for Windows 8", you can install both on Windows 7 and on Windows 10.
- Open the folder in which the downloaded installer is located, and start it on the administrator.
- In the Installer window, place the switch to the "Install the Evaluation and Deployment kit on this computer", specify the path to the directory to which the program package will be installed and click "Next".
- Agree or refuse to participate in improving the quality of software by putting the switch to the position you selected and pressing "Next".
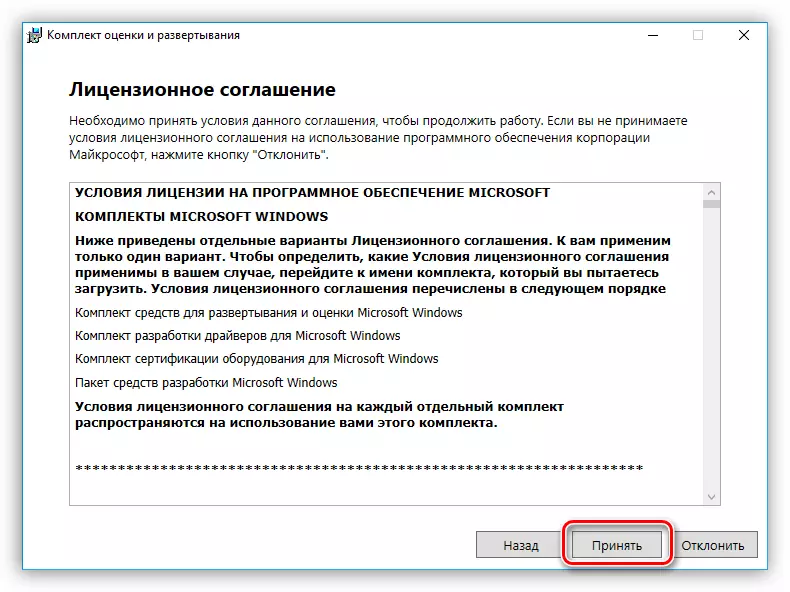
- Click the "Accept" button to confirm that you have familiarized yourself with the terms of the license agreement and accept it.
- Set the marks next to those items that are listed on the image below and click the Installation button.
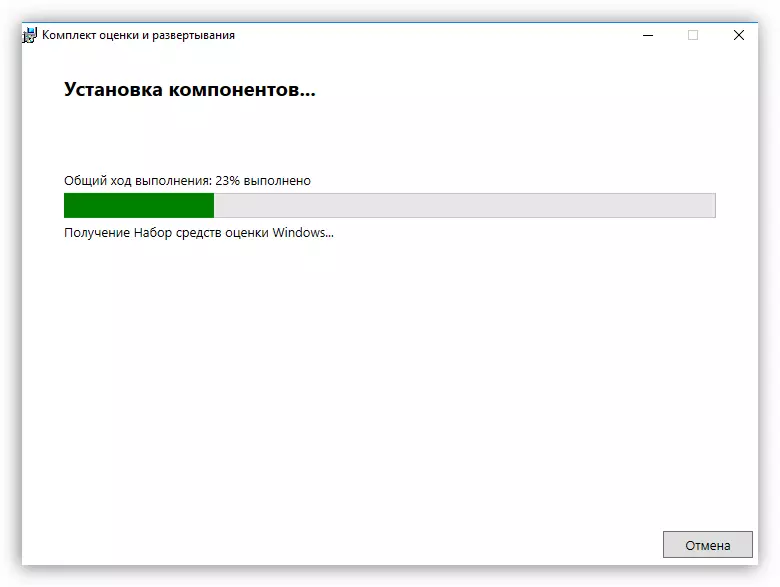
- Wait for the process of installing the selected components of the ADK package.
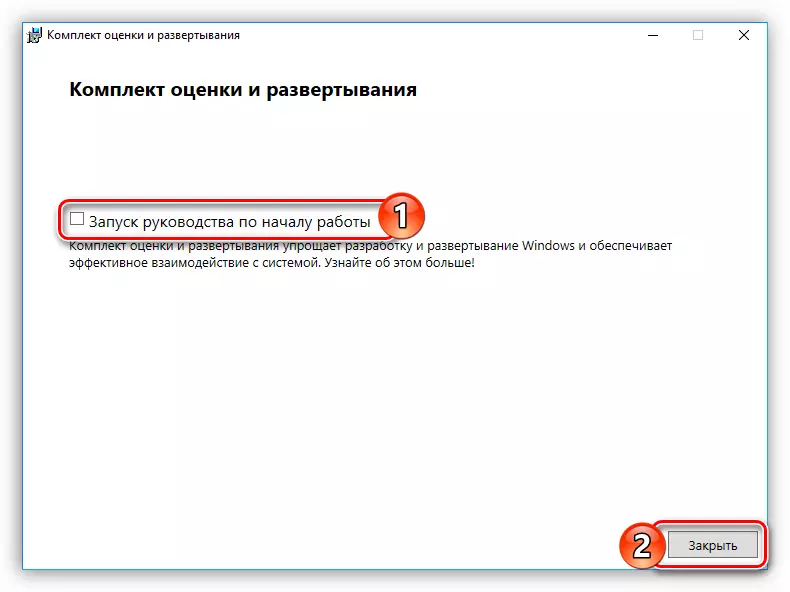
- Upon completion, remove the checkbox from the start of the start-up manual and click the Close button.
- Switch to the Aomei window and open the bootable CD width.
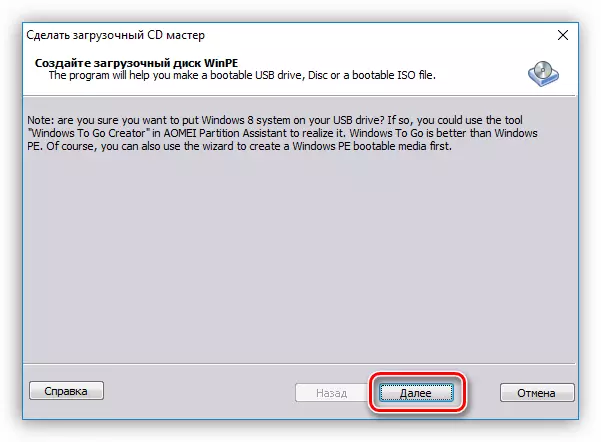
- Click "Next".
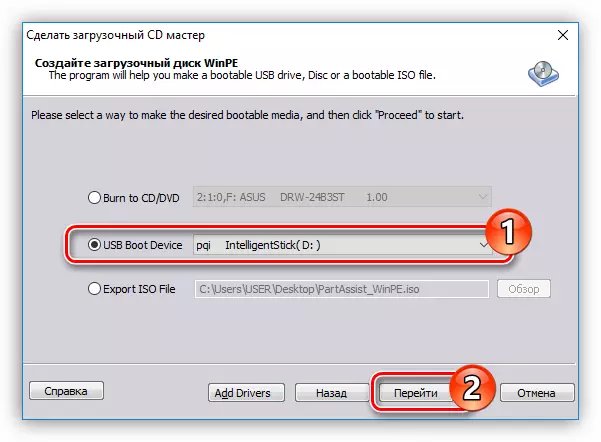
- Select "Burn to CD / DVD" if you want to make a boot disk, or "USB Boot Device" if the loading USB flash drive. From the list, select the appropriate device and click "Go".
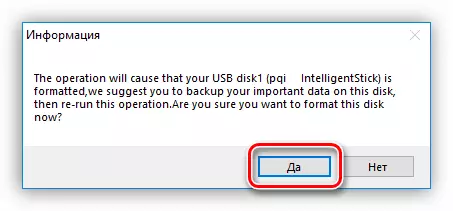
- In the next window, click Yes. After that, the bootable drive will begin.
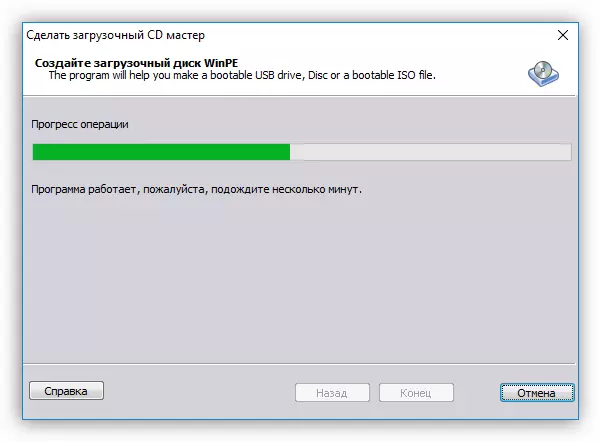
- Wait for the creation process.
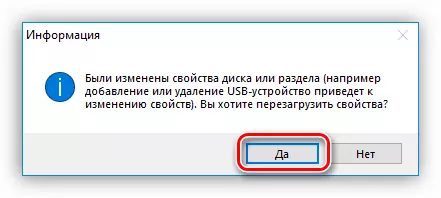
- During the installation process, a message appears asking to restart the properties of the drive. To write files successfully, answer it affirmatively.
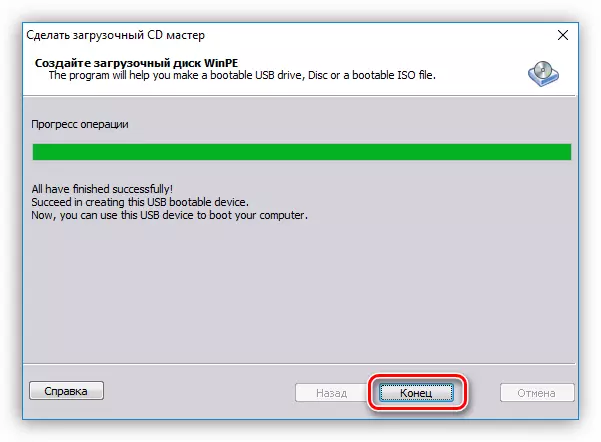
- Click the "End" button and close the program window.


Now the drive is ready, and you can launch a PC from it. To do this, you need to press the F9 or F8 key during the boot (depending on the BIOS version) and select the one to which the program was recorded in the list of detected disks.
Read more: How to run a PC from the boot drive
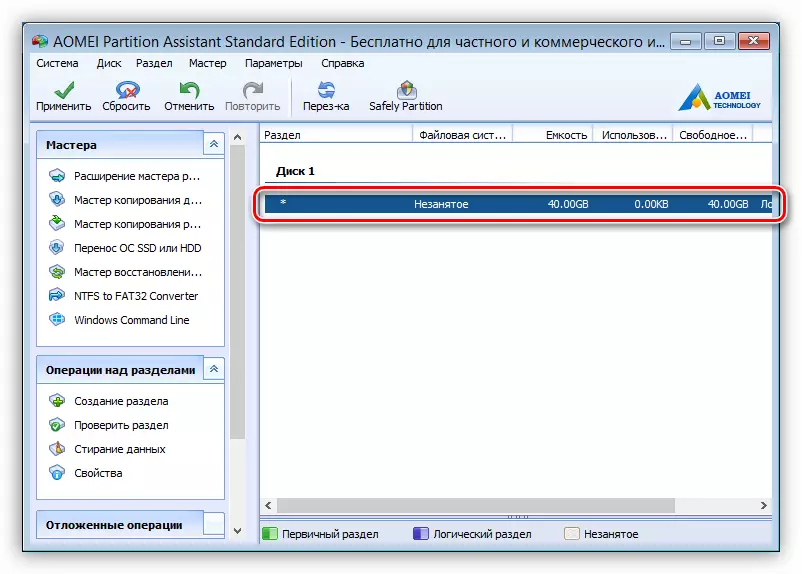
After that, the computer will start the application for formatting. If you want to bring it to a primordial view, you first need to delete all sections. For this:
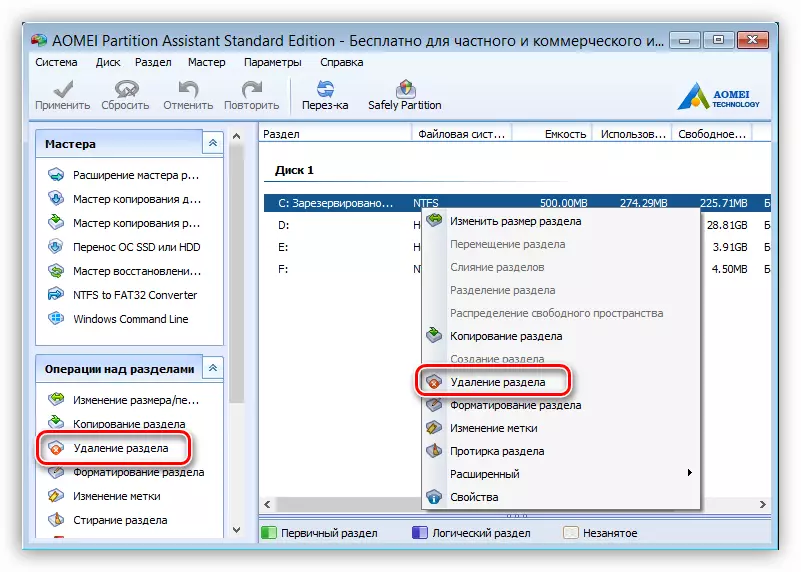
- Click on the Right-click (PCM) section and in the context menu, select "Delete a section", by the way, the same action you can perform by clicking on the same button on the "Operations Operations" panel.
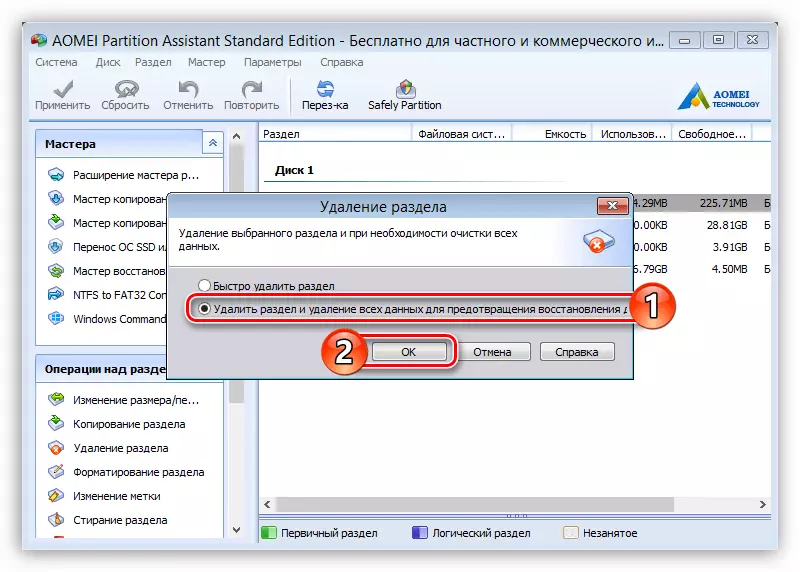
- In the window that appears, select "Delete a section and delete all data to prevent data recovery" and click OK.
- Do these same actions with all other partitions so that in the result you have only one item is "unoccupied."
- Create a new section by clicking on the unintended space of the PCM and selecting the "Creating section" option, or by performing the same action through the left panel.
- In a new window, specify the size of the generated partition, its letter, as well as the file system. It is recommended to choose NTFS, since it is it used to Windows. After all actions, click OK.
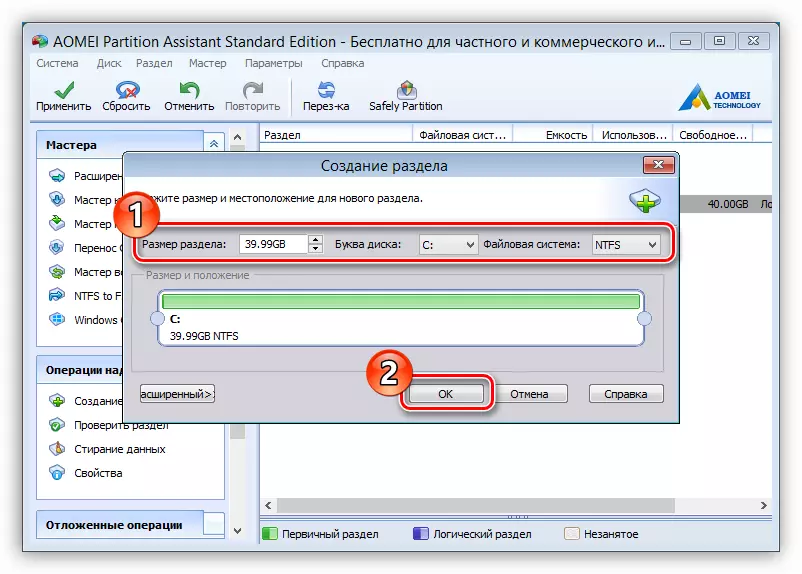
Note: If you specify not the entire amount of hard disk memory when creating a partition, then do the same manipulations with the remaining unintended area.
- Click "Apply".

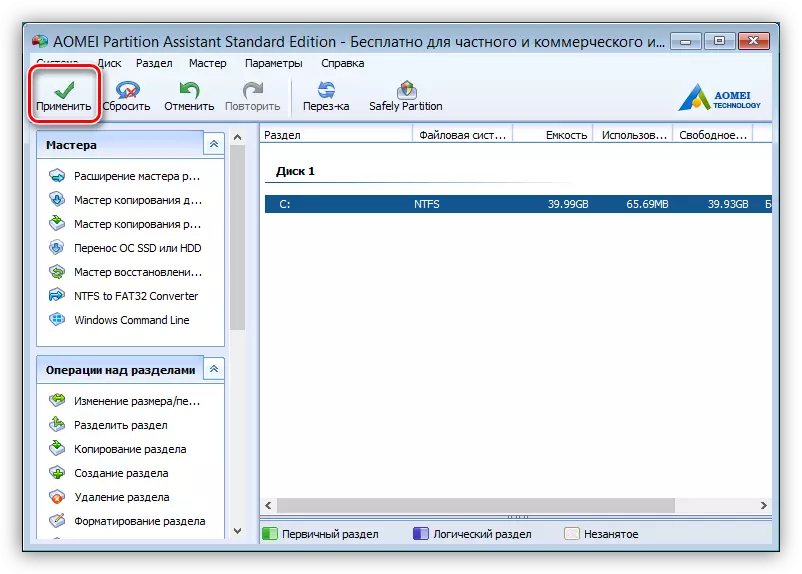
After the process is over, all changes will take effect, therefore, the computer will be fully formatted.
Method 2: Windows loading flash drive
If the previous way seemed difficult to you or you encountered difficulties in doing it, you may be suitable for the second method that implies the use of a flash drive with the Windows image recorded on it.
Read more: Instructions for creating a bootable flash drive on Windows
Immediately it is worth saying that an absolutely any version of the operating system will fit. So, that's what you need to do:
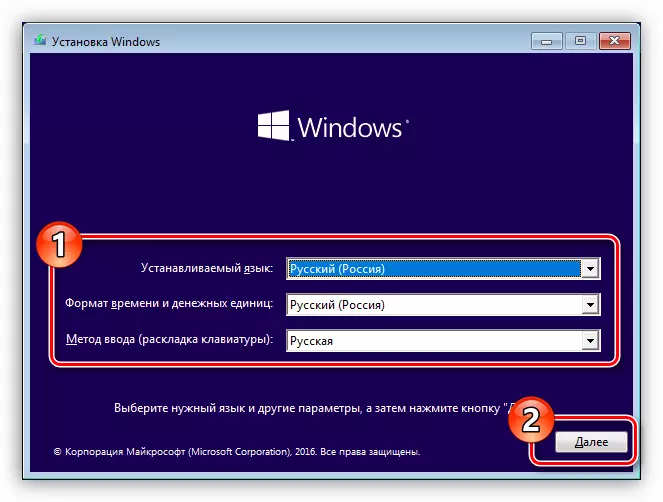
- After starting the PC from the flash drive, select the Russian language at the localization definition stage and click Next.
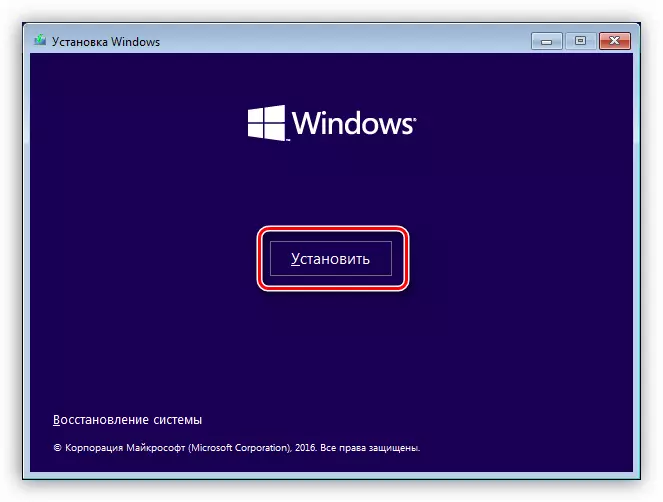
- Click "Set".
- Take the license conditions by putting a mark opposite the corresponding line, and click Next.
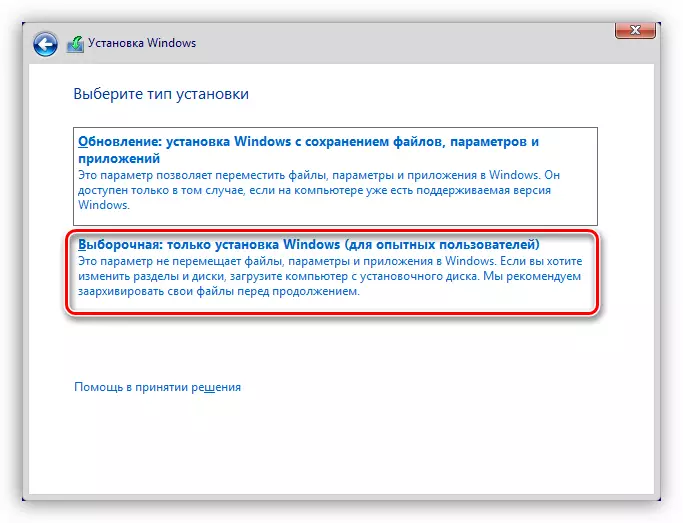
- At the installation type selection stage, press the left mouse button (LCM) on the "Selective: only installation of Windows".
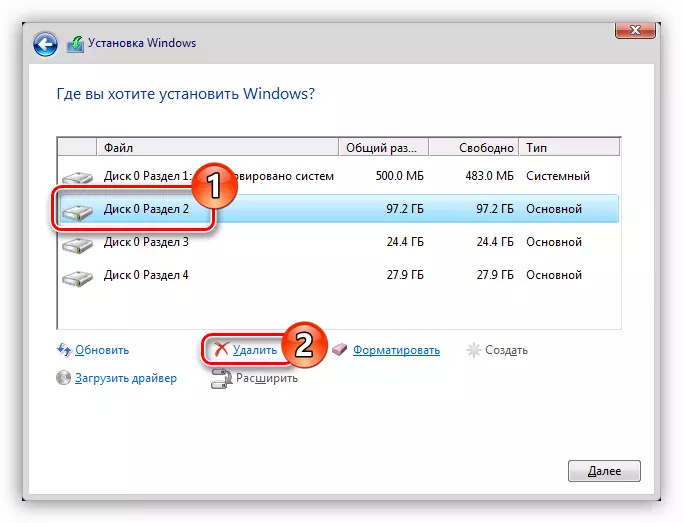
- A list of sections that were created before will appear. You can format them each separately by selecting the desired and pressing the same button.

But to bring the hard drive to the primordial view, you must first remove each partition. This is done by pressing the Delete item.
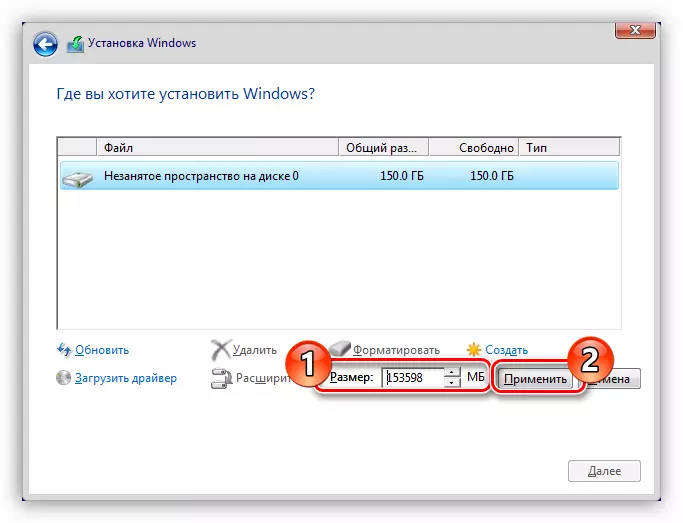
- Once all sections are deleted, create a new one by selecting the "Unmounted Disk space" item and clicking "Create".
- In the "Size" field that appears, specify the amount of memory that will occupy the created section, and then click the Apply button.
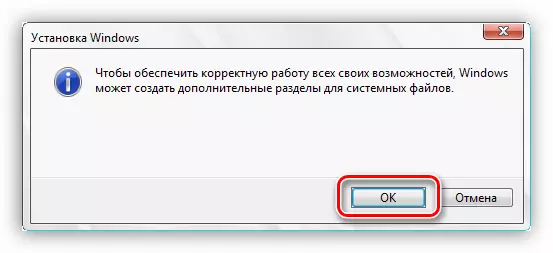
- In the window that appears, click OK so that Windows has created additional partitions for system files required for the operating system correct operation.
- After that, new sections will be created. If you specified not the entire amount of memory, then you should do the same action with an unblocked space that are shown in paragraphs 6 and 7.


After that, the entire hard disk will be completely formatted. Optionally, you can continue the installation of the operating system by clicking "Next". If formatting you need for other purposes, pull the USB port from the USB port and close the installer.
Method 3: Formatting through another computer
If the previous ways to fully format the HDD are not suitable, you can make this operation through another computer. To do this, you first need to get the hard drive from your device. It is worth saying that this will fully work out only with a personal computer. If you have a laptop, it is better to take advantage of the above methods, since the drives have a different form factor.
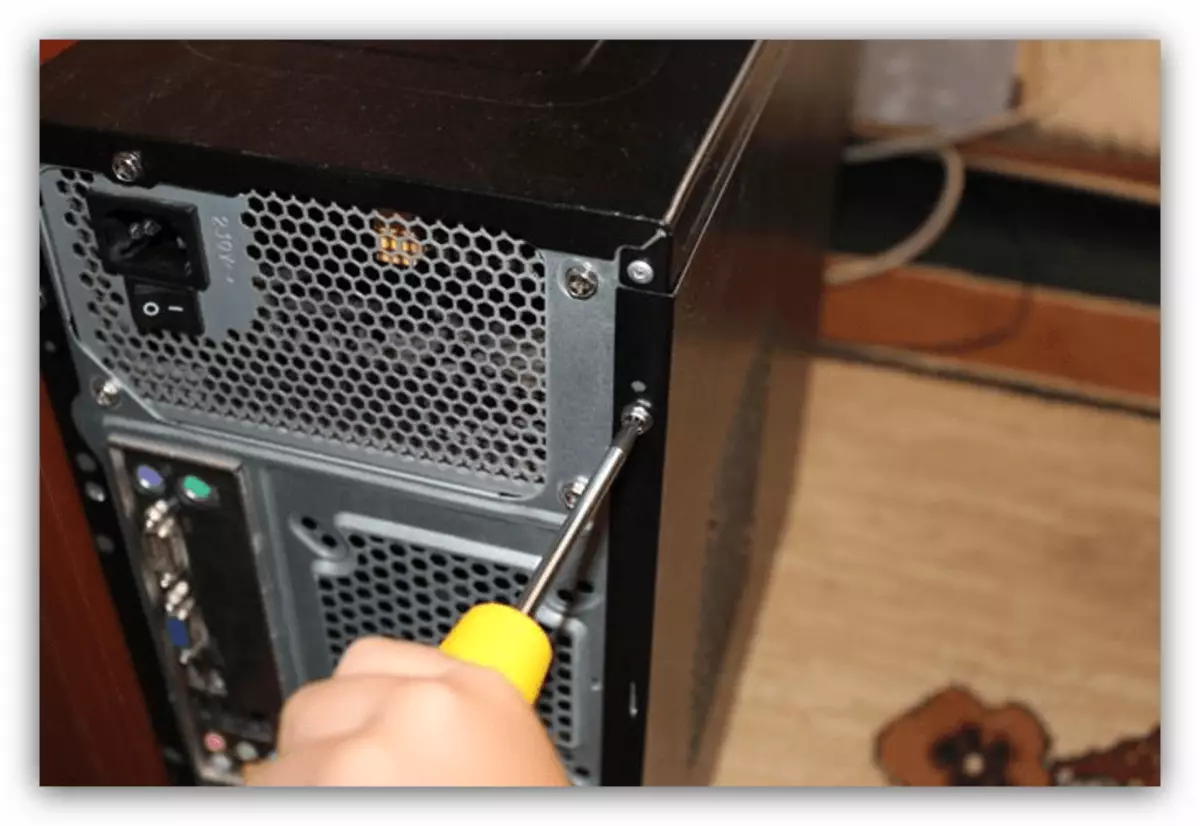
- Remove the power supply plug from the outlet to de-energize it.
- Remove both side caps from the system unit, which are attached to the bolts in the back of the case.
- Lay special boxes where hard drives are installed.
- Disconnect the wires from the drive, which lead to the motherboard and power supply.
- Unscrew the screws that fasten the HDD to the boxing walls, and carefully remove it from the system unit.


Now you need to insert it into another system unit, connecting it to the motherboard and power supply. According to the final, the sections of your hard drive should appear on the second computer, you can check this by opening the "Explorer" and selecting the "This computer" section in it.

If additional partitions appear in the "Devices and Disks" area, you can go to the full formatting of your HDD.
- Open the Disk Management window. To do this, press Win + R to start the "Run" window, and enter the diskmgmt.msc and click "OK".
- Next you will need to determine the inserted disk and its sections. The easiest way to do is, pushing out from the file system and the amount of memory. In the image below, a flash drive with three sections created on it is used as an example of a connected hard drive.
- You can alternately format each partition by opening its context menu and choosing "format".
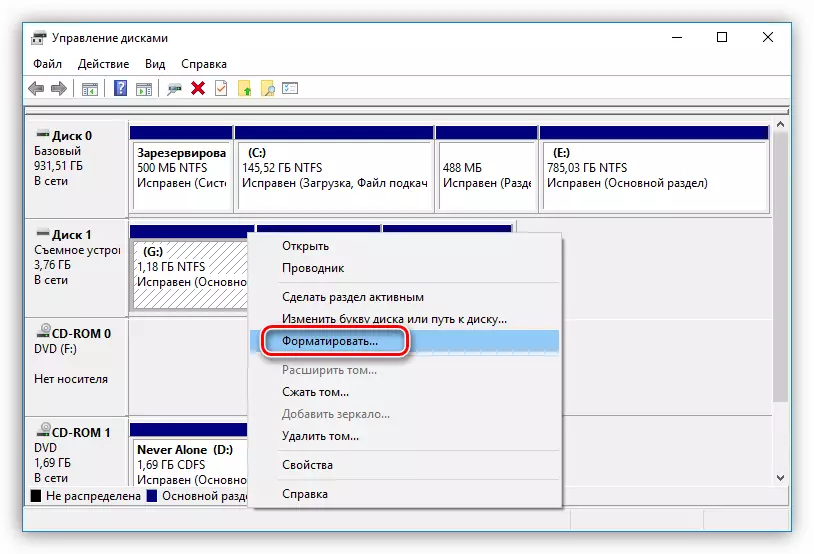
After that, in the window that opens, you need to select the name of the new volume, the file system and the cluster size. According to the final, click "OK".
- If you want to bring a hard drive to the original form, then all sections need to be deleted. You can do this from the context menu by selecting "Delete TOM" item.
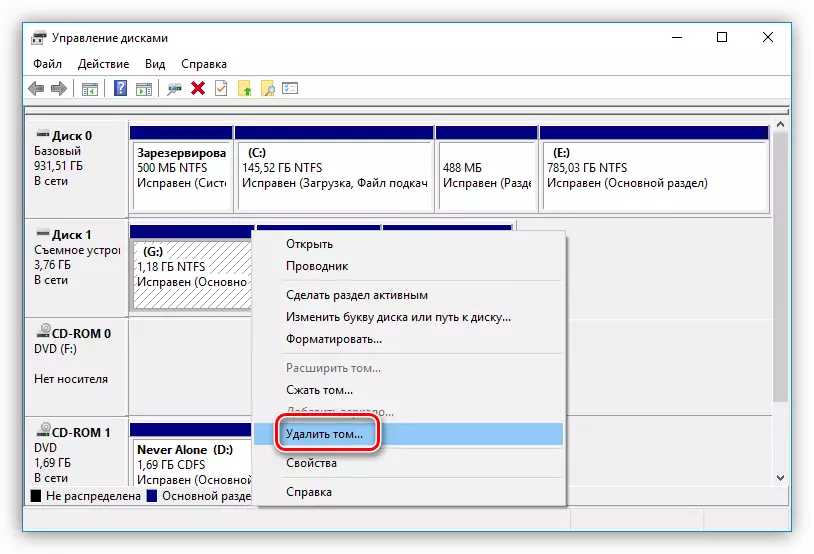
After clicking, you need to confirm your actions by clicking the "Yes" button.
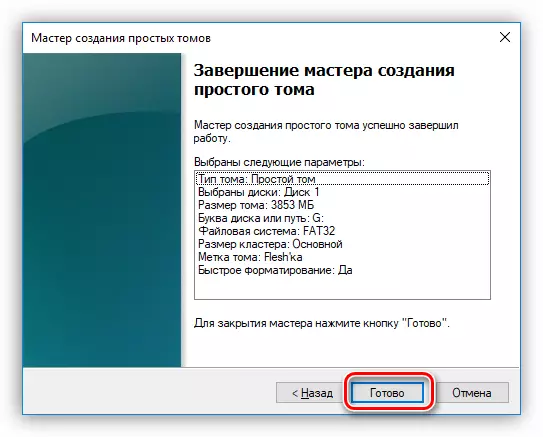
- After all sections were deleted, you need to create one new one. To do this, select "Create a Simple Tom" menu.
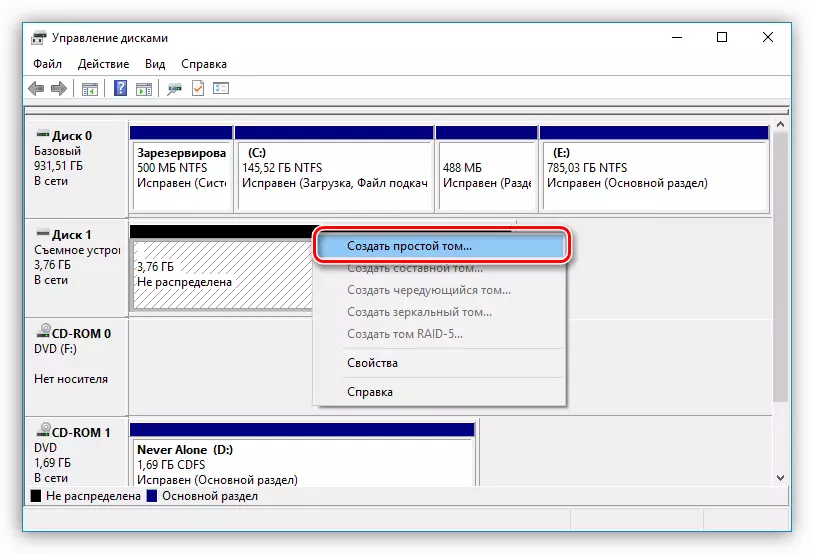
In the creation wizard that opens, you need to click "Next", specify the volume of the partition, determine its letter and directly the file system. After all this click "Finish".


After performing all these actions, you fully format your hard disk, returning it a prime appearance.
Conclusion
According to the result, we have three ways to fully format a computer drive. It is worth noting that the first two are universal for a personal computer and a laptop that imply the use of loading flash drives. The third method is more suitable for PC owners, since the hard disk dismantling will not cause big problems. But unambiguously, you can only say one thing - they all allow you to cope with the task, and how to use - to solve only you.