

Flatbeds have proven themselves as a reliable information carrier suitable for storing and moving files of species. Especially good flash drives are suitable for transferring photos from a computer to other devices. Let's look at the options for such actions.
Methods of moving photos on flash drives
The first thing to be noted is to throw images to memorizing USB devices, it does not differ in principle from moving other types of files. Consequently, there are two options to make this procedure: with system tools (using the "Explorer") and using a third-party file manager. With the last and start.Method 1: Total Commander
Total Commander was and remains one of the most popular and convenient third-party file managers for Windows. Built-in tools for moving or copying files make this process convenient and rapid.
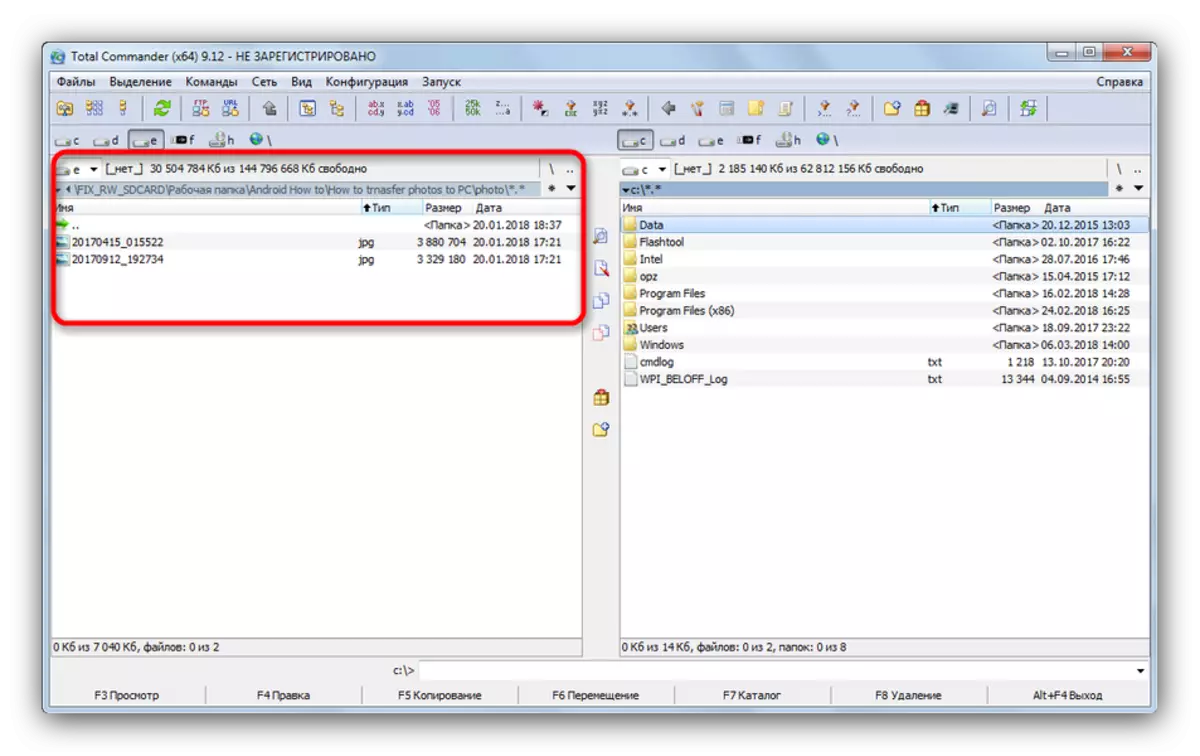
- Make sure your flash drive is correctly connected to the PC and run the program. In the left window, select the location of the photos you want to transfer to the USB flash drive.
- In the right window, select your USB flash drive.
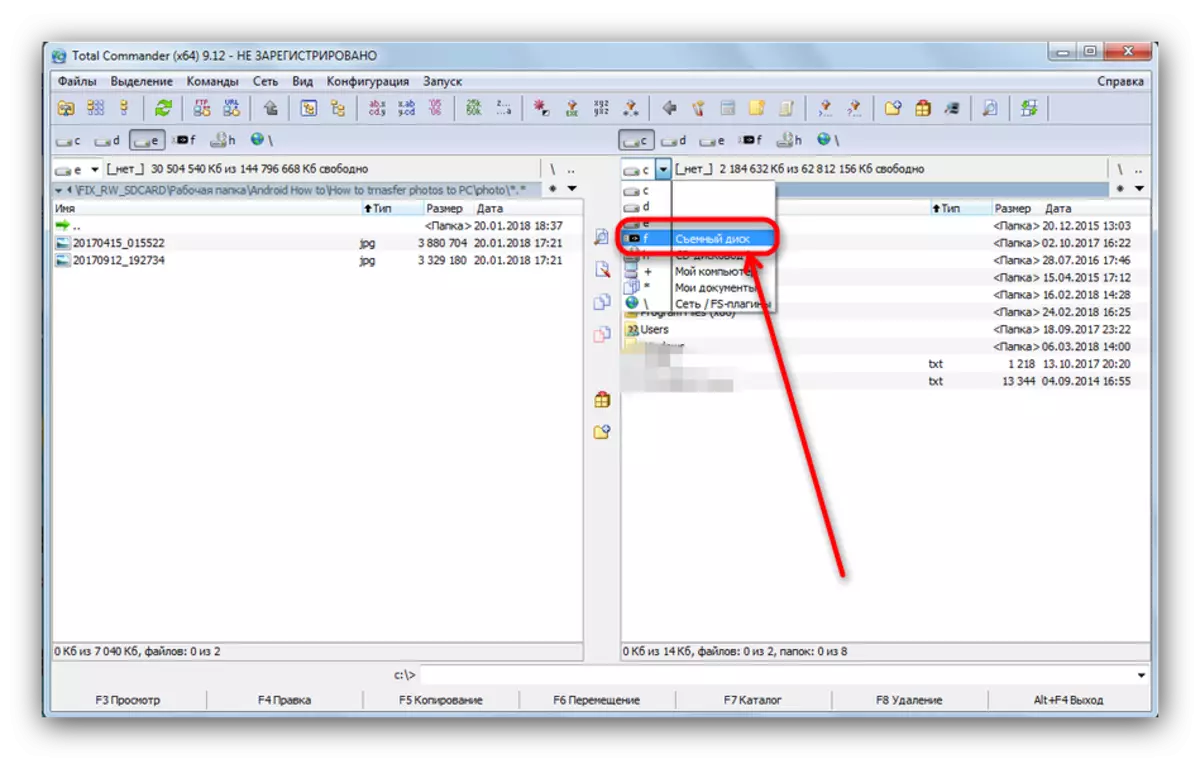
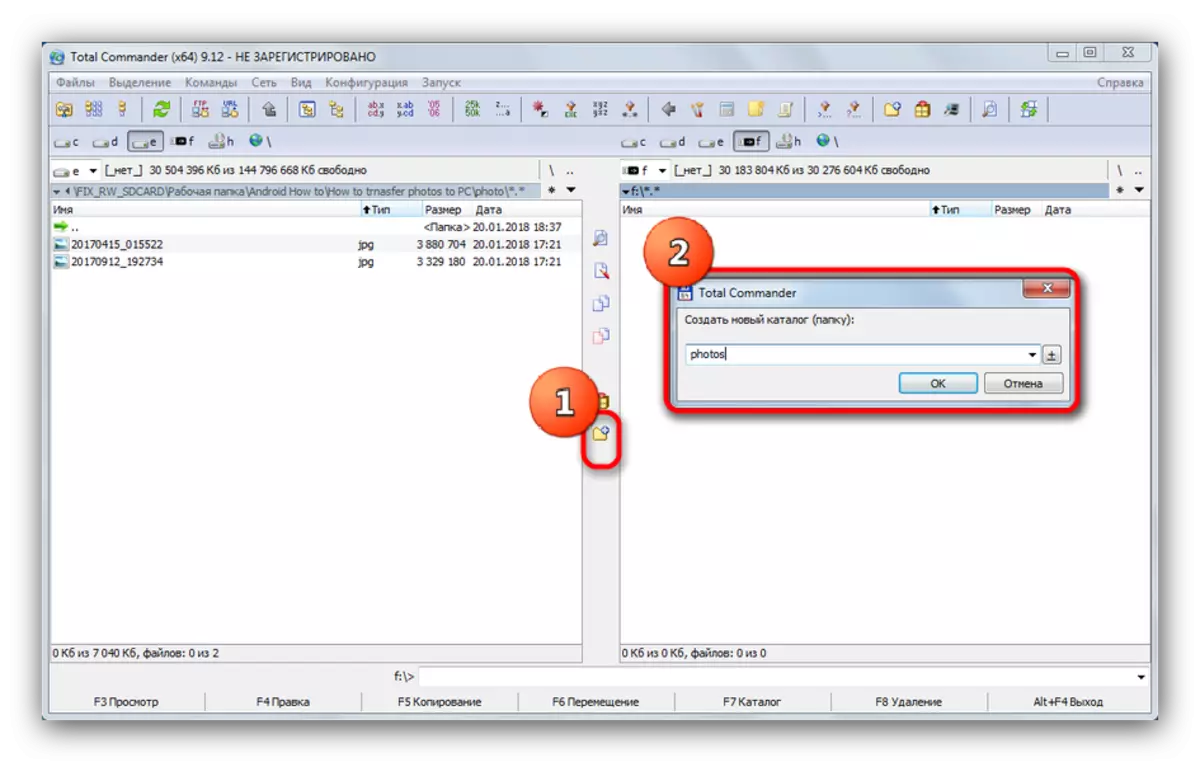
At the request, you can also create a folder in which you can throw photos to convenience.
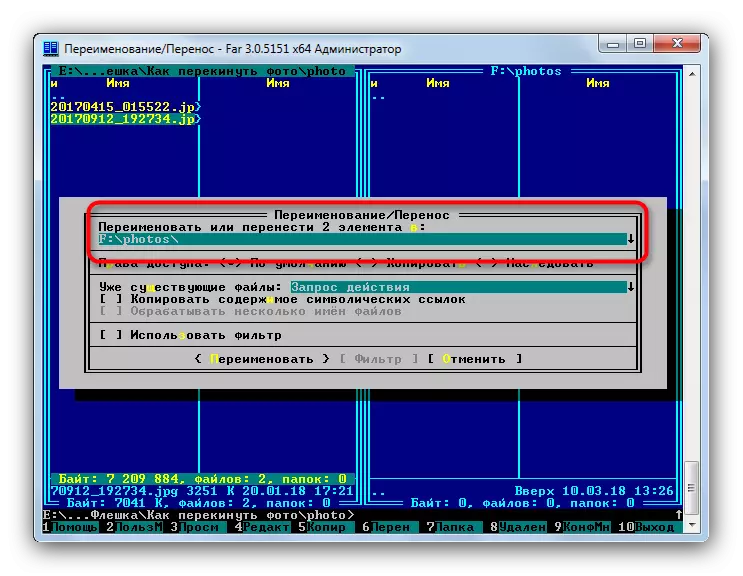
- Return to the left window. Select the menu item "Select", and in it - "Allocate everything".

Then press the "F6 Move" button or the F6 key on the computer keyboard or laptop.
- A dialog box opens. The first line will be registered the end address of the files of files. Check whether it matches the desired.
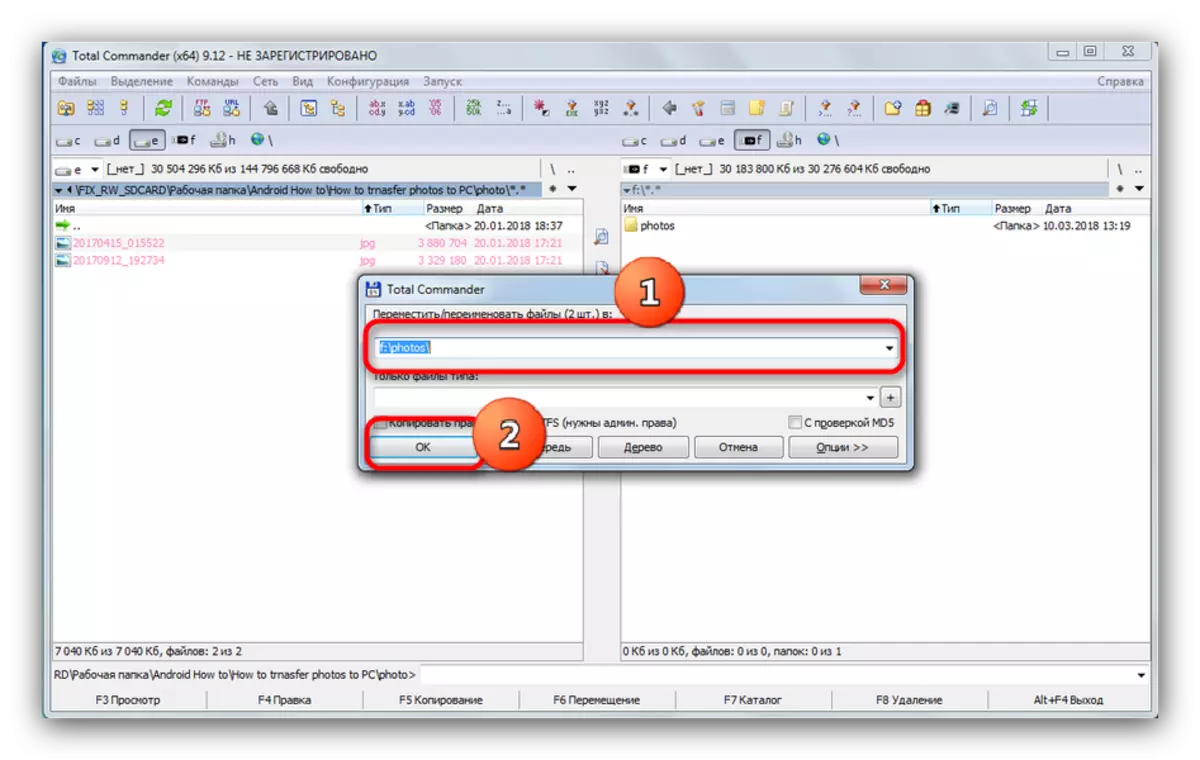
Press "OK".
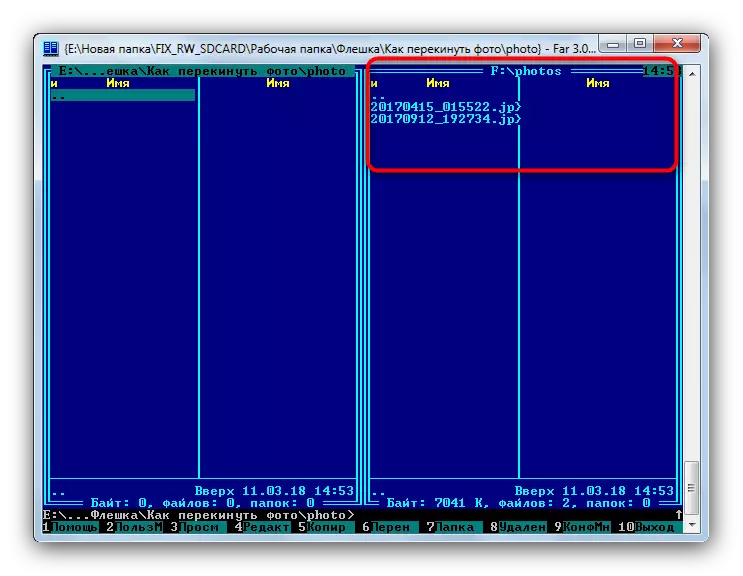
- After some time (depending on the volumes of files that you move) photos will appear on the flash drive.
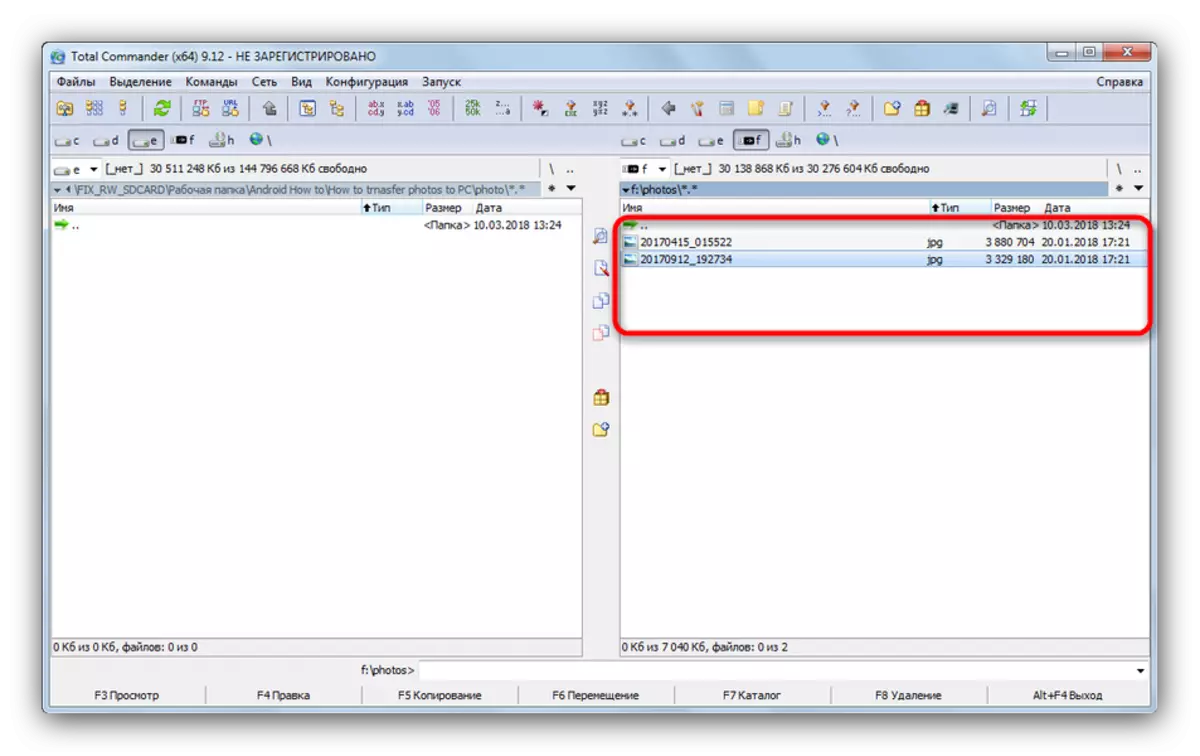
You can immediately try to open them to check.
- Running the program, go to the right folder by pressing the Tab key. Press Alt + F2 to go to the disk selection. Choose your USB flash drive (it is indicated by the letter and word "replaceable").
- Return back to the left tab, which go to the folder where your photos are stored.
To select another disk for the left tab, press Alt + F1, then use the mouse.
- To select the desired files, click on the Insert or * keyboard on the digital block on the right, if any.
- To transfer photos to the USB flash drive, press the F6 button.
Check that the assigned path is correct, then press ENTER to confirm.
- Ready - the desired images will be moved to the storage device.
You can turn off the USB flash drive.
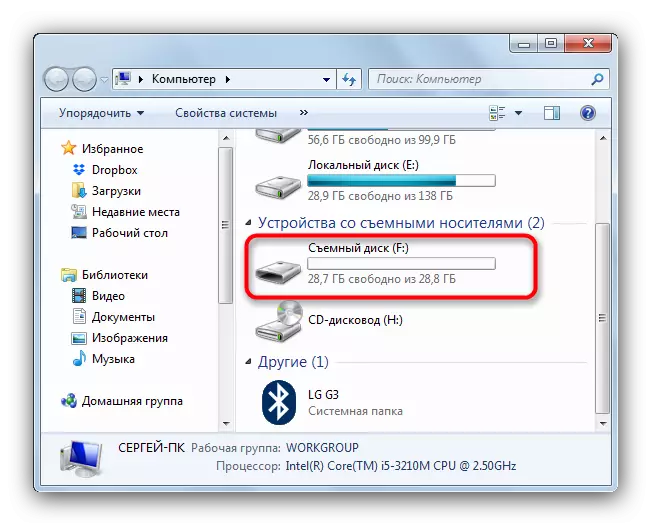
- Connect the USB flash drive to the PC. Most likely, the autorun window will appear in which to select "Open folder to view files".

If the autorun option is disabled, simply open the "My Computer", select Your Drive in the list and open it.
- Without closing the folder with the lockers, proceed to the directory where the photos you want to move.
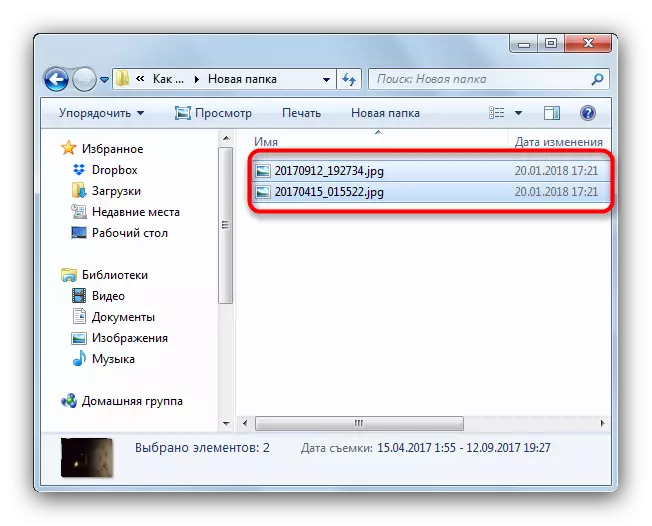
Select the desired files by pressing the Ctrl key and pressing the left mouse button, or select all by pressing the Ctrl + A keys.
- In the toolbar, locate the "Sort" menu, select "Cut".
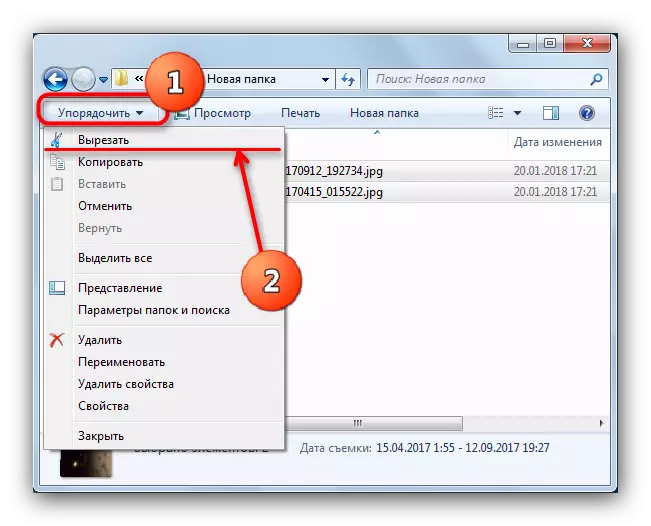
Pressing this button will cut files from the current directory and places them in the clipboard. On Windows 8 and above, the button is directly on the toolbar and is called "Move to ...".
- Go to the root directory of the flash drive. Select the "Sort" menu again, but this time click on "insert".
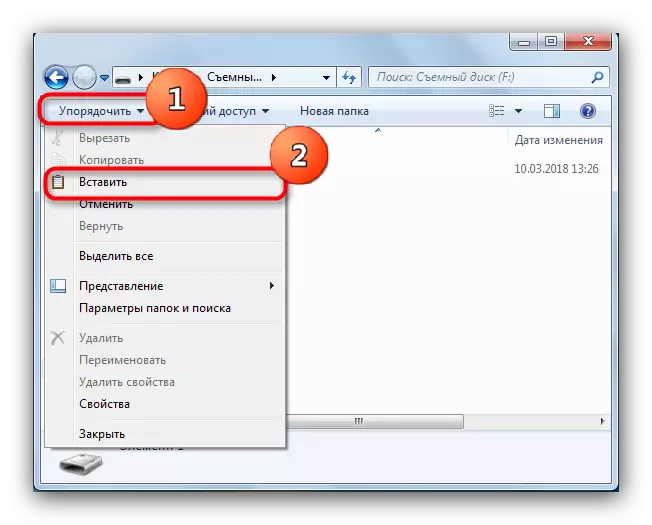
On Windows 8 and the newer you need to click the "Insert" button on the toolbar or use the CTRL + V key combination (this combination works independently of the OS version). Also right from here you can create a new folder if you do not want to litter the root directory.
- Ready - photos are already on the flash drive. Check if everything was copied, then disconnect the drive from the computer.
As you can see, nothing complicated. The same algorithm is suitable for copying or moving any other files.
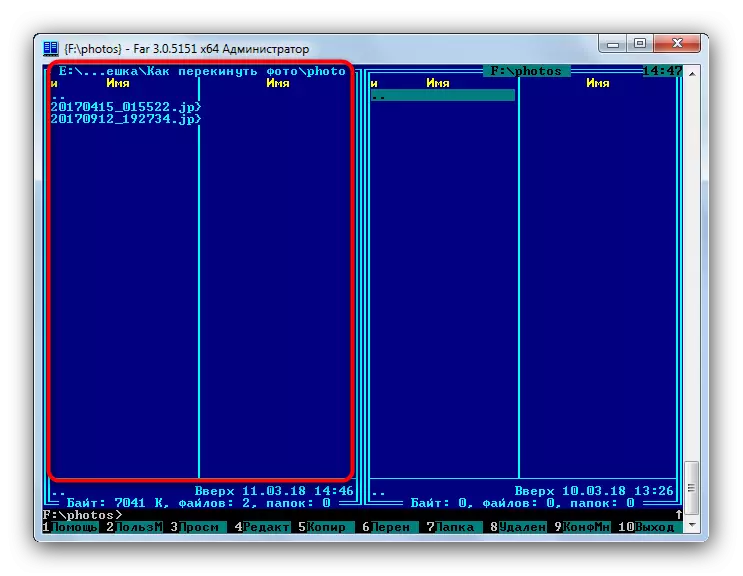
Method 2: Far Manager
Another method of transferring photos to flash drives is the use of headlights, which, despite a solid age, is still popular and developing.


Perhaps Far Manager will seem archaic to someone, but low system requirements and ease of use (after some addiction) definitely worth attention.
Method 3: Windows system tools
If you for some reason you do not have the ability to use third-party programs, then do not despair - there are all tools in Windows to move files to flash drives.

This method also fits all categories of users regardless of the skill level.
As a summing up, we want to remind - very big photos before moving, you can try to reduce in the amount without loss of quality using special programs.