

One of the data transfer protocols on the network is Telnet. By default, in Windows 7, it is turned off to ensure greater safety. Let's figure out how to activate if necessary, the client of this protocol in the specified operating system.
Enabling Telnet client
Telnet transmits data through the text interface. This protocol is symmetrical, that is, the terminals are located at both ends. The features of the client's activation are connected with this, about the various embodiments of which we will talk below.Method 1: Enable Telnet component
The standard method of launching the Telnet client is the activation of the corresponding Windows component.
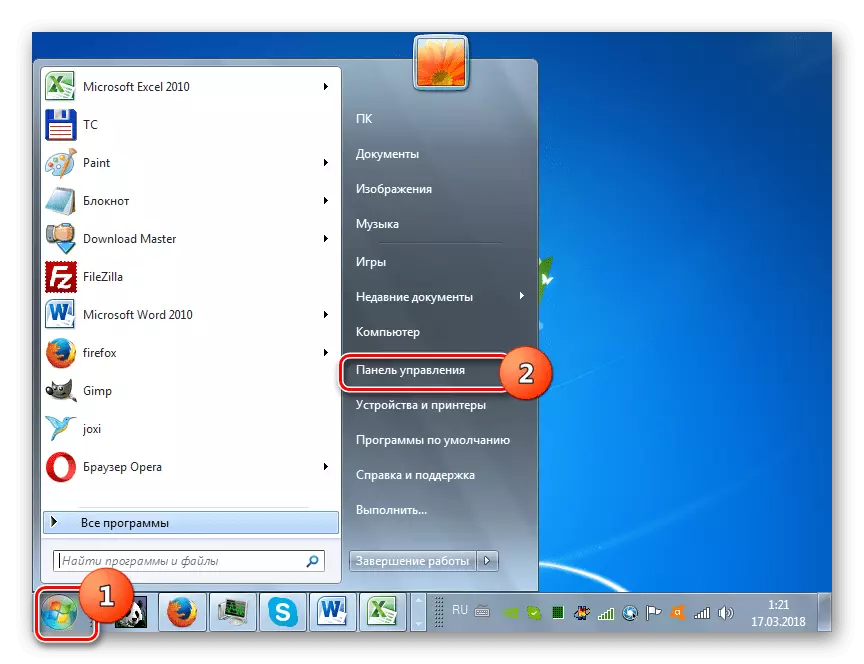
- Click "Start" and go to the "Control Panel".
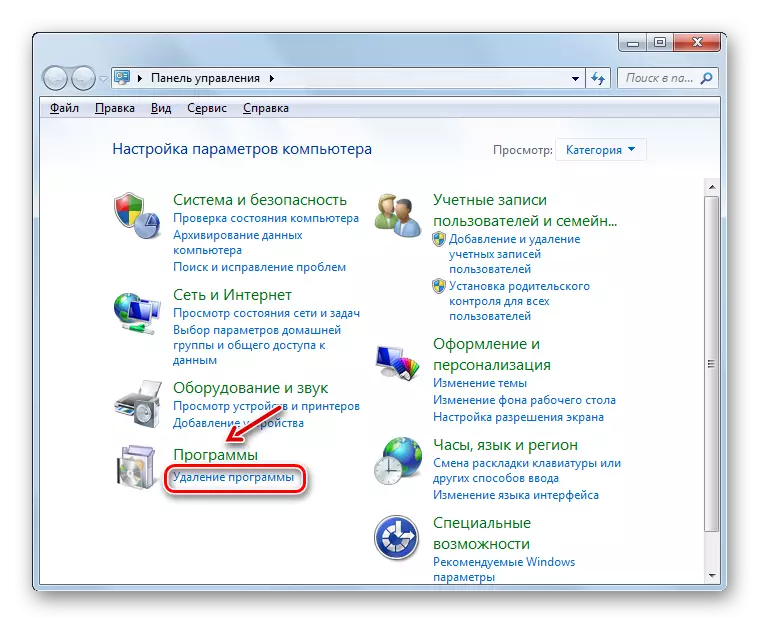
- Next, go to the "Delete Program" section in the program "Program".
- In the left area of the displayed window, press "Enable or disable components ...".
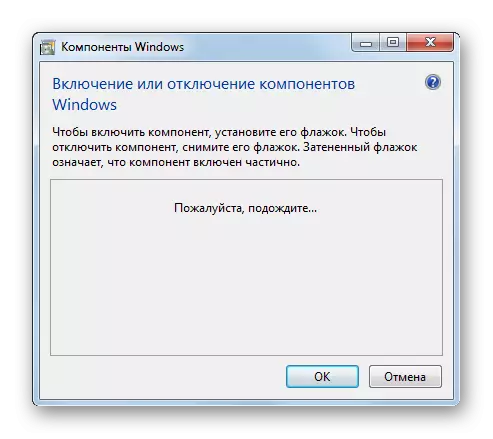
- The corresponding window opens. It will be necessary to wait a bit while the list of components is loaded into it.
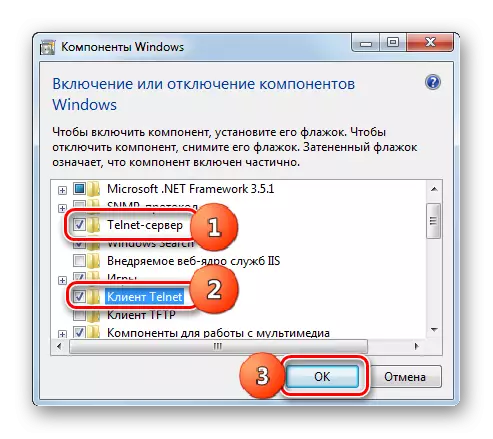
- After the components are loaded, find the elements "Telnet server" and "Telnet client" among them. As we have already spoken, the studied protocol is symmetrical, and therefore it is necessary to activate not only the client itself, but also the server. Therefore, install the checkboxes near both the above items. Next click "OK".
- A procedure for changing the corresponding functions will be performed.
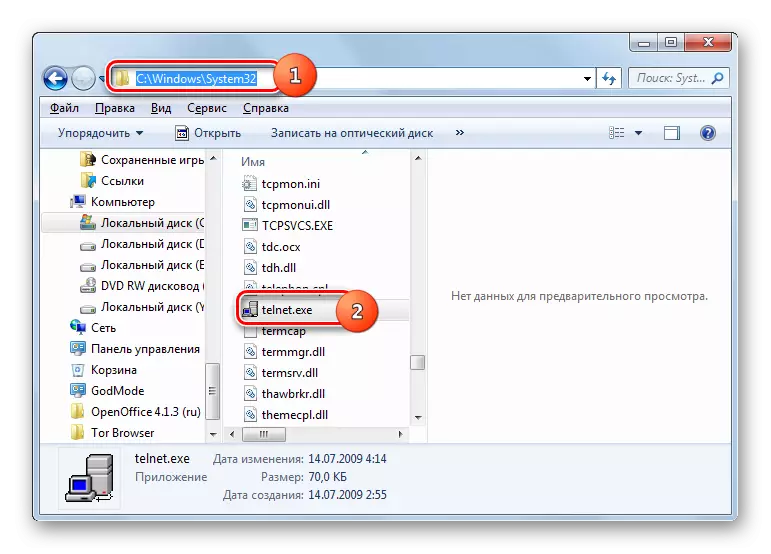
- After these actions, the Telnet service will be installed, and the Telnet.exe file will appear at the following address:
C: \ Windows \ System32
You can run it, as usual, clicking twice on it with the left mouse button.
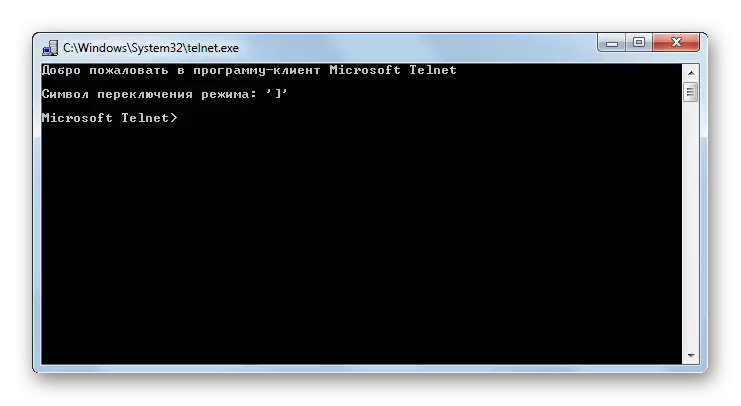
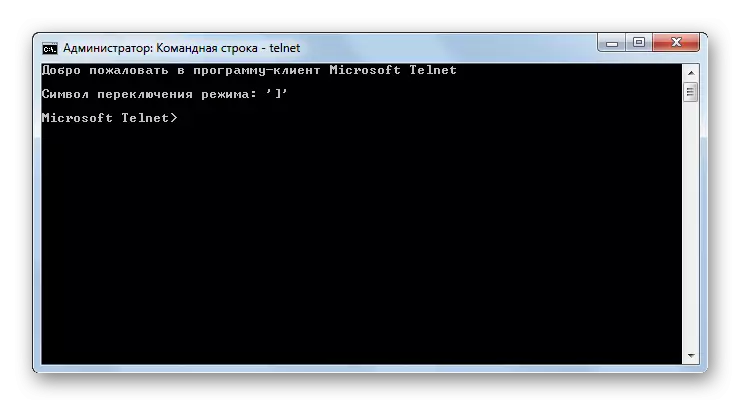
- After these actions, the Telnet Customer Console will open.

Method 2: "Command Line"
You can also start the Telnet client using the "Command Line" features.
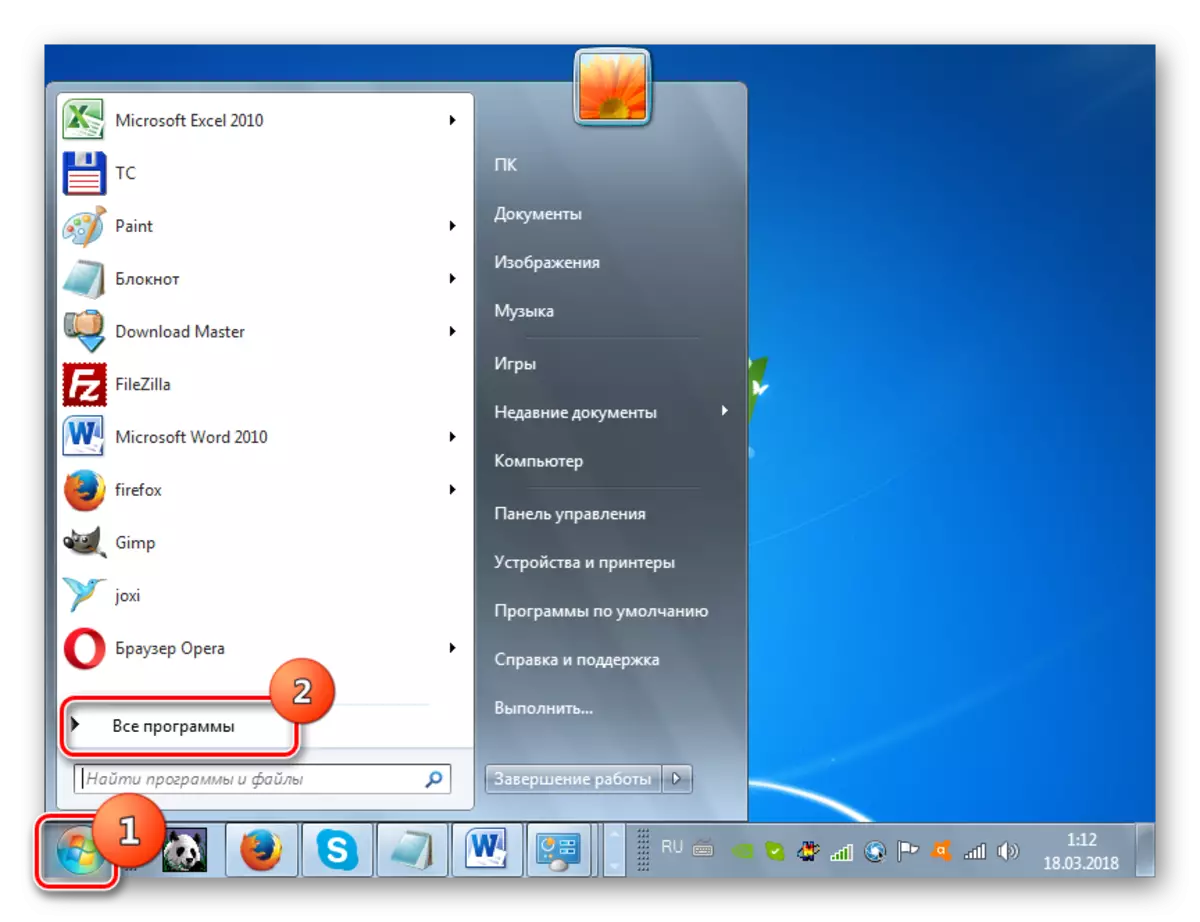
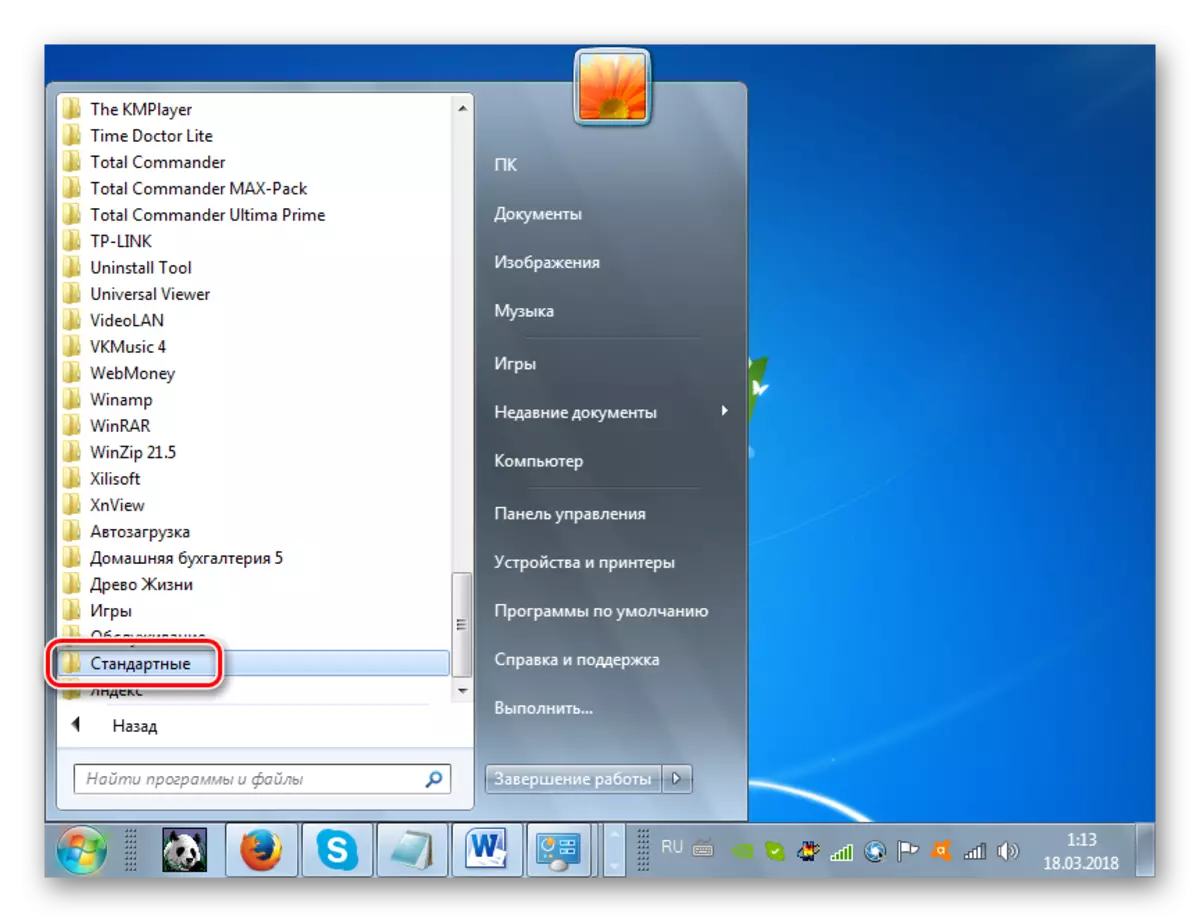
- Click "Start". Click on the "All Programs" object.
- Log in to the "Standard" directory.
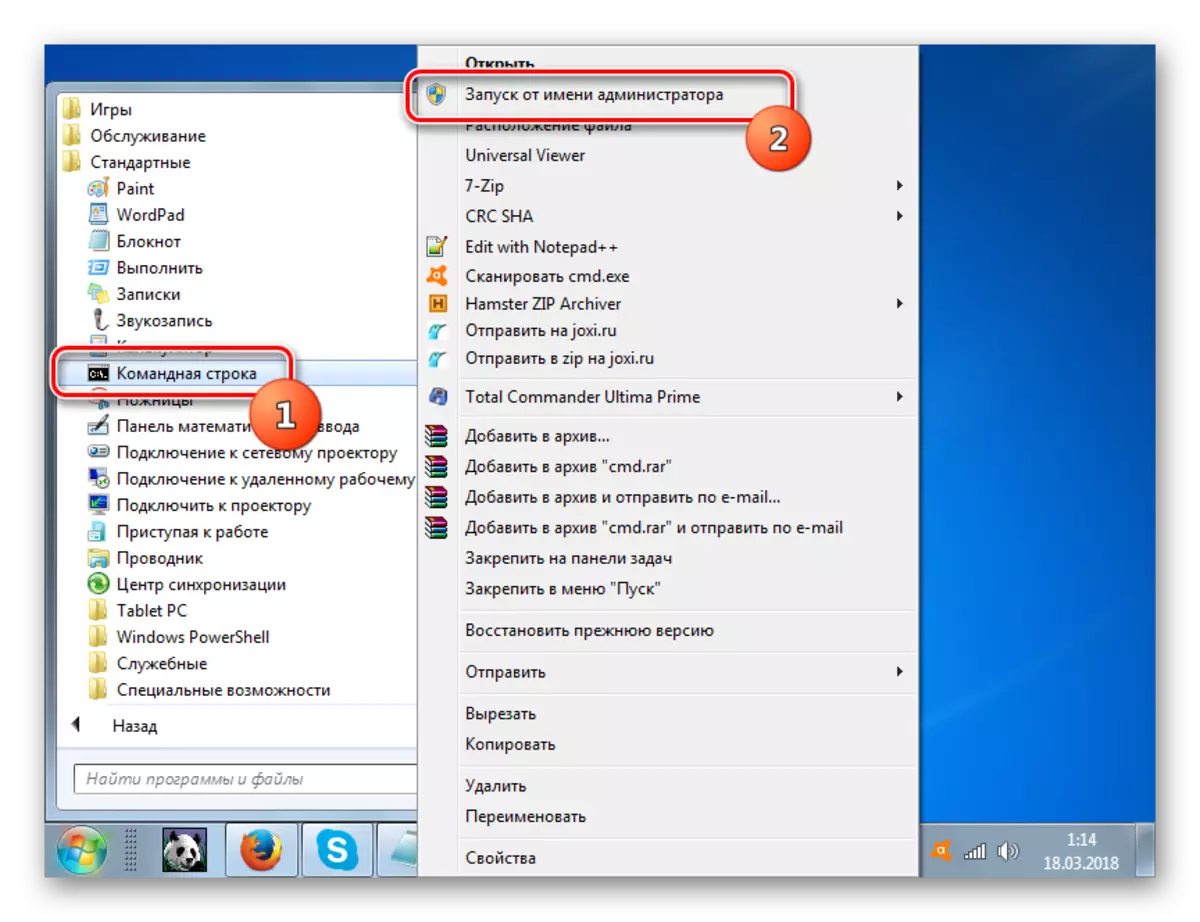
- Find the "Command Line" in the specified directory. Click on it right mouse. In the displayed menu, select the launch option on behalf of the administrator.
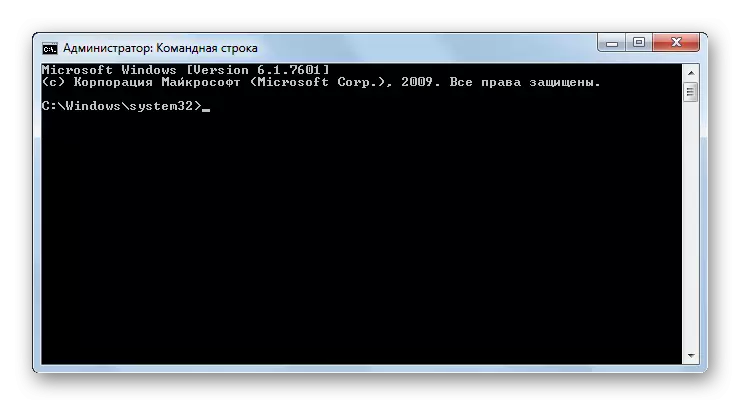
- The shell "command line" will become active.
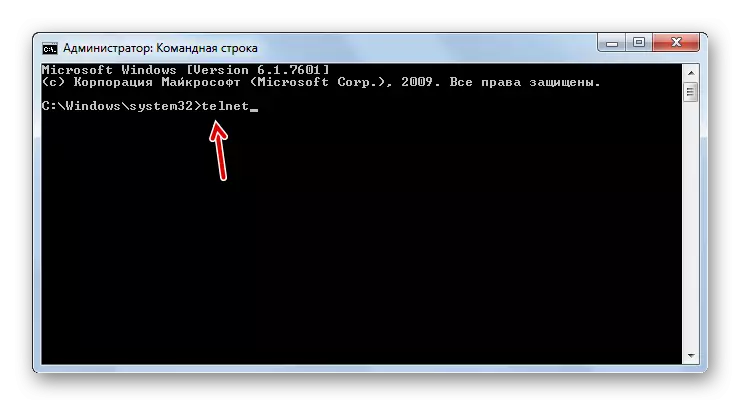
- If you have already activated the Telnet client using the component on or otherwise, it is enough to enter the command to start it:
Telnet
Press ENTER.
- Telnet console will be launched.
But if the component itself is not activated, the specified procedure can be done without opening the component on, and directly from the "command line".
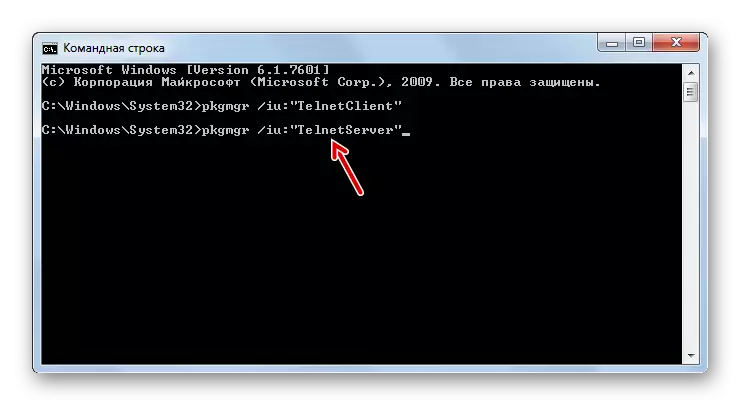
- Enter the expression in the "Command Line":
PKGMGR / IU: "TelnetClient"
Press ENTER.
- The client will be activated. To activate the server, enter:
PKGMGR / IU: "TelnetServer"
Click "OK".
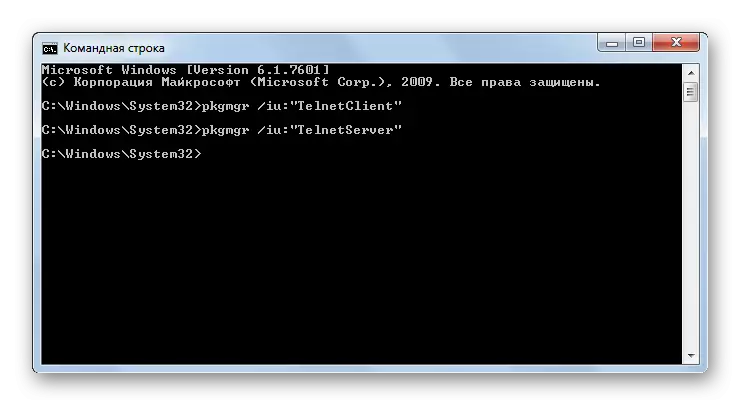
- Now all Telnet components are activated. You can enable the protocol or immediately through the "command line", or using the direct file launch through the "Explorer" using those algorithms of actions that have been described earlier.

Unfortunately, this method can not work in all editions. Therefore, if you did not manage to activate the component through the "command line", then use the standard method described in the method 1.
Lesson: Opening of the "Command line" in Windows 7
Method 3: "Service Manager"
If you have already activated both TELNET components, then the service you can run via the "Service Manager".
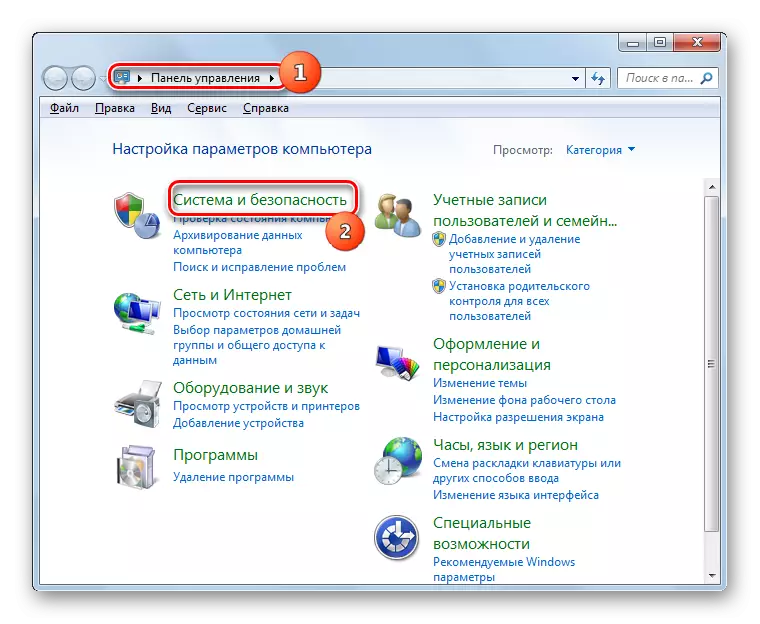
- Go to the "Control Panel". The execution algorithm for this task was described in the method 1. Click "System and Security".
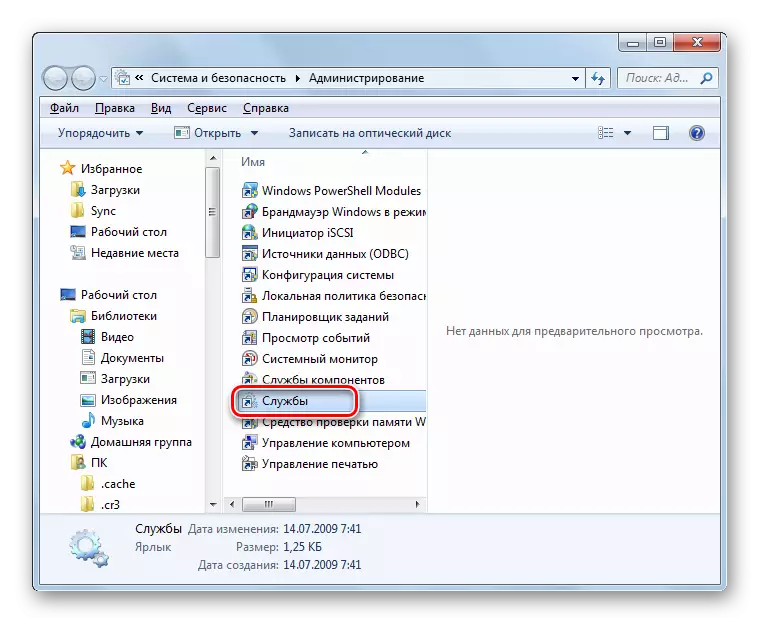
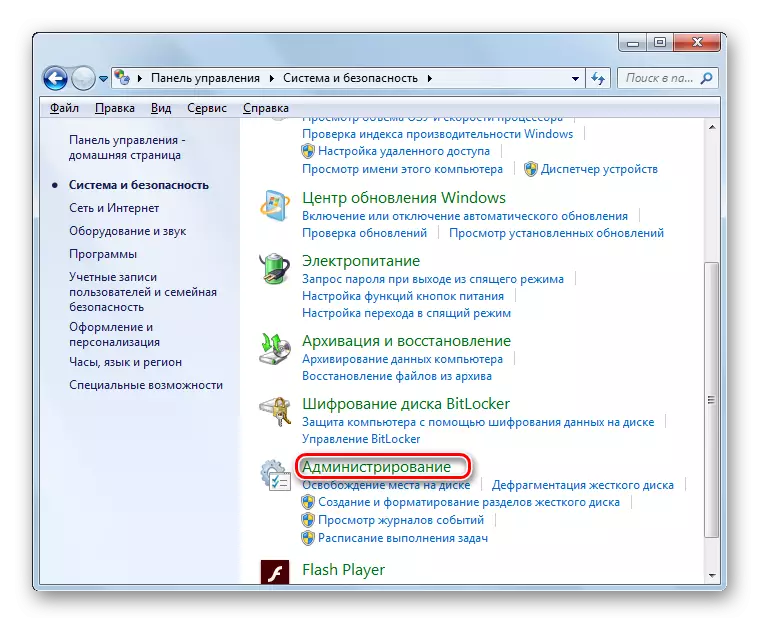
- Open the Administration section.
- Among the displayed items are looking for "services" and click on the specified element.
There is a faster option of the "Service Manager" launch. Type Win + R and in the open field.
Services.msc.
Click "OK".
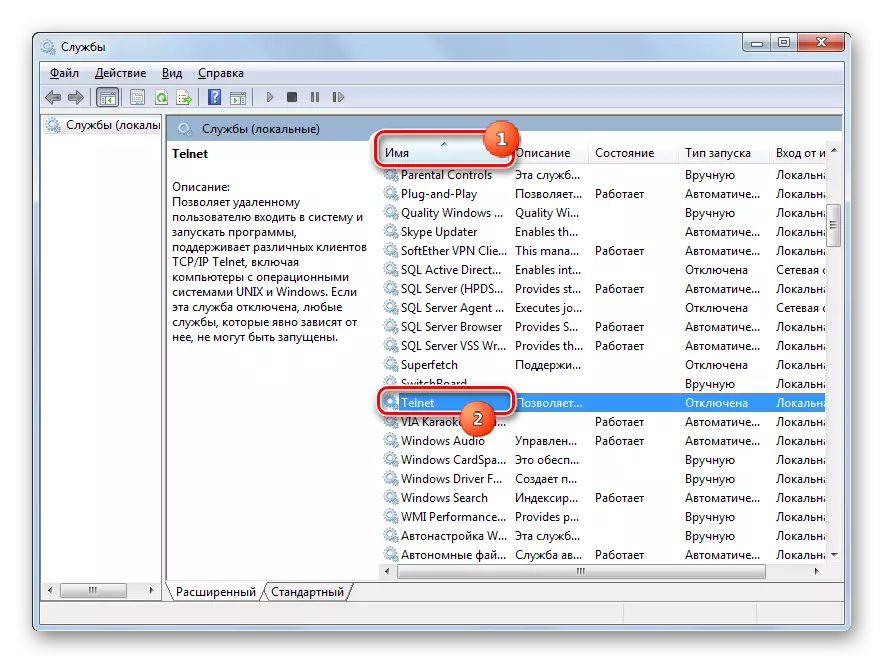
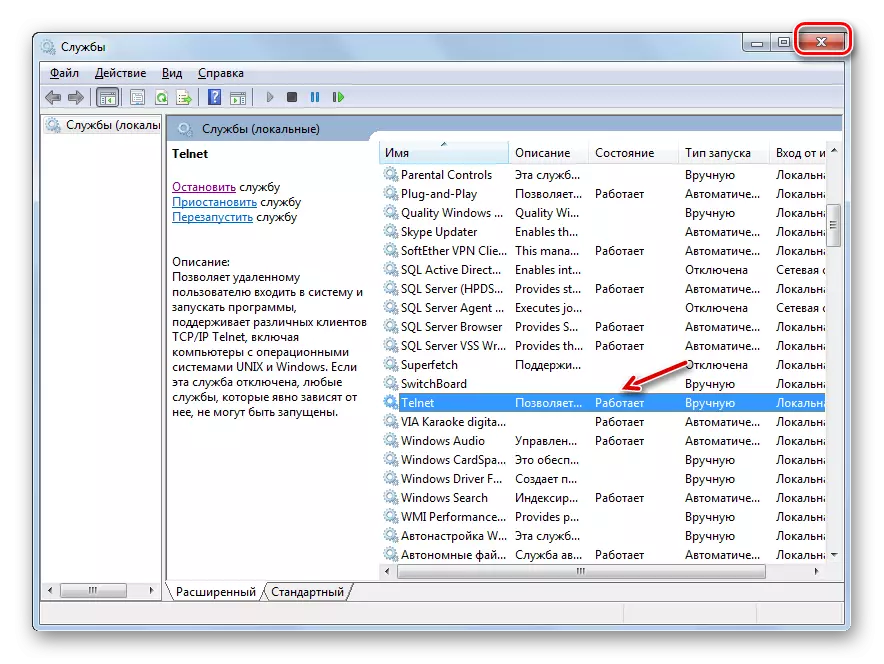
- "Services Manager" is launched. We need to find an element called "Telnet". To make it easier to do, we construct the contents of the list in the alphabetical sequence. For this, click on the name "Name" column. Having found the desired object, click on it.
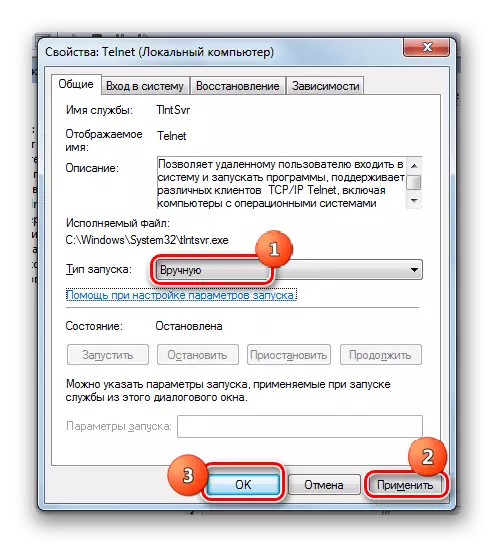
- In an active window in the drop-down list, instead of the option "disabled", select any other item. You can choose the position "automatically", but for security purposes, we advise you to stay on the "manually" option. Next click "Apply" and "OK".
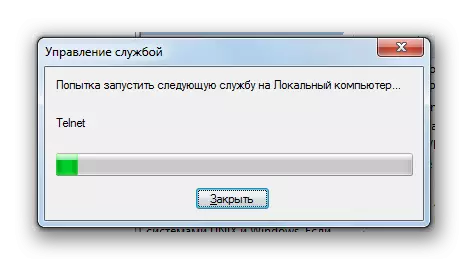
- After that, returning to the main window of the Service Manager, select the name "Telnet" and on the left part of the interface, click "Run".
- The procedure for starting the selected service will be performed.
- Now in the "Status" column opposite the name "Telnet" will be set by the status "Works". After that, you can close the "Service Manager" window.


Method 4: Registry Editor
In some cases, when opening the Enable component window, you can not detect it elements in it. Then, to obtain a Telnet client launch, you need to make certain changes in the system registry. It should be remembered that any actions in the area of the OS area are potentially dangerous, and therefore, before conducting them, we convinced you to create a backup copy of the system or a recovery point.
- Type Win + R, in the open area.
Regedit.
Click OK.
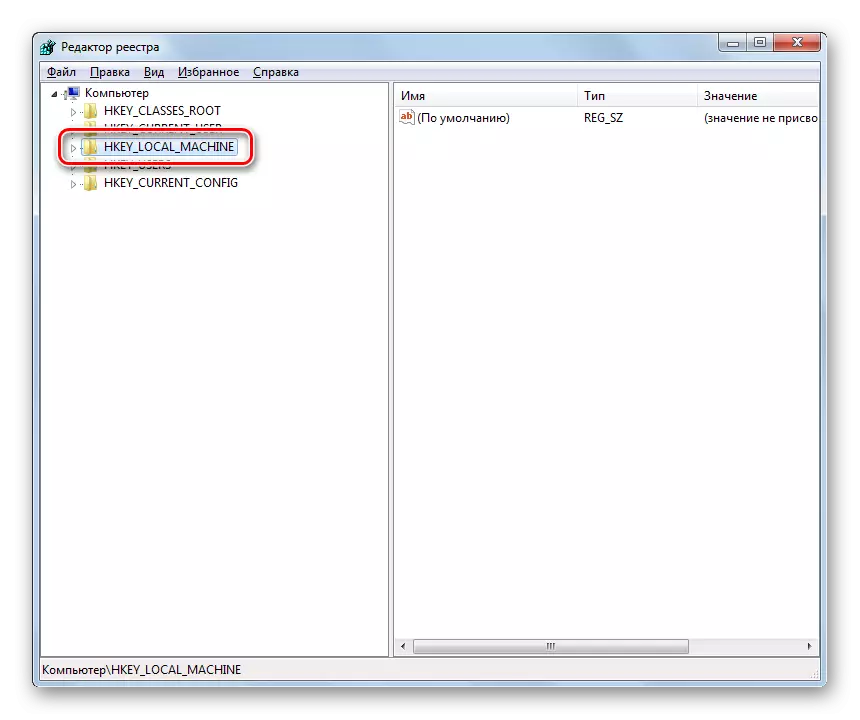
- The registry editor opens. In the left area, click on the name "HKEY_LOCAL_MACHINE" section.
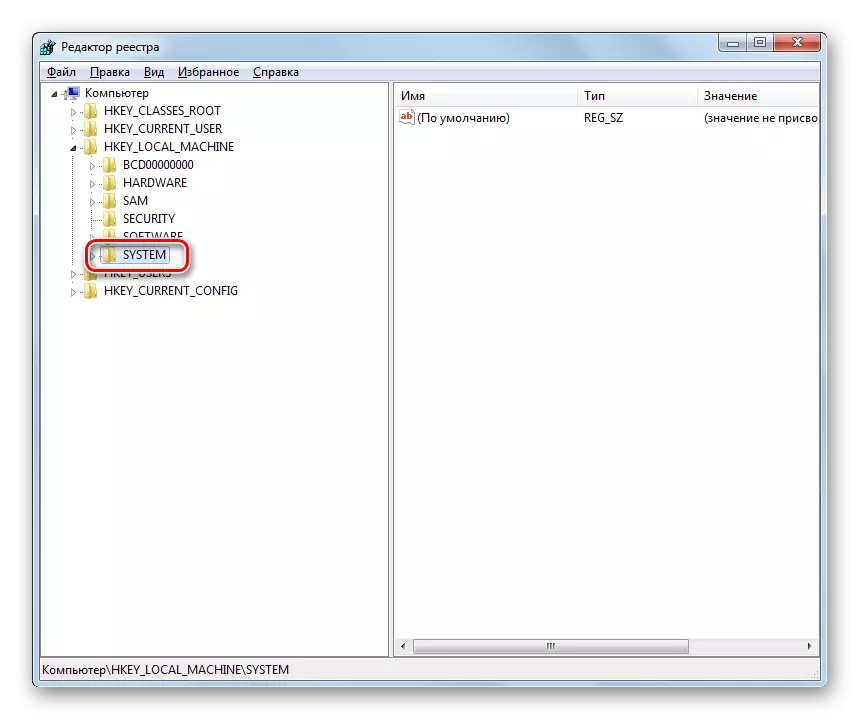
- Now go to the "System" folder.
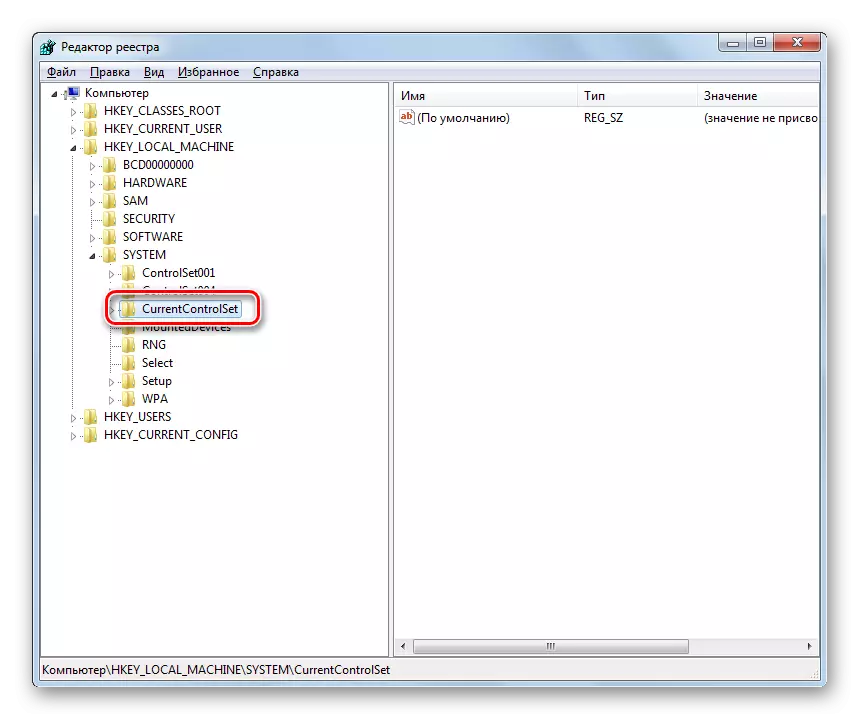
- Next, go to the CurrentControlSet directory.
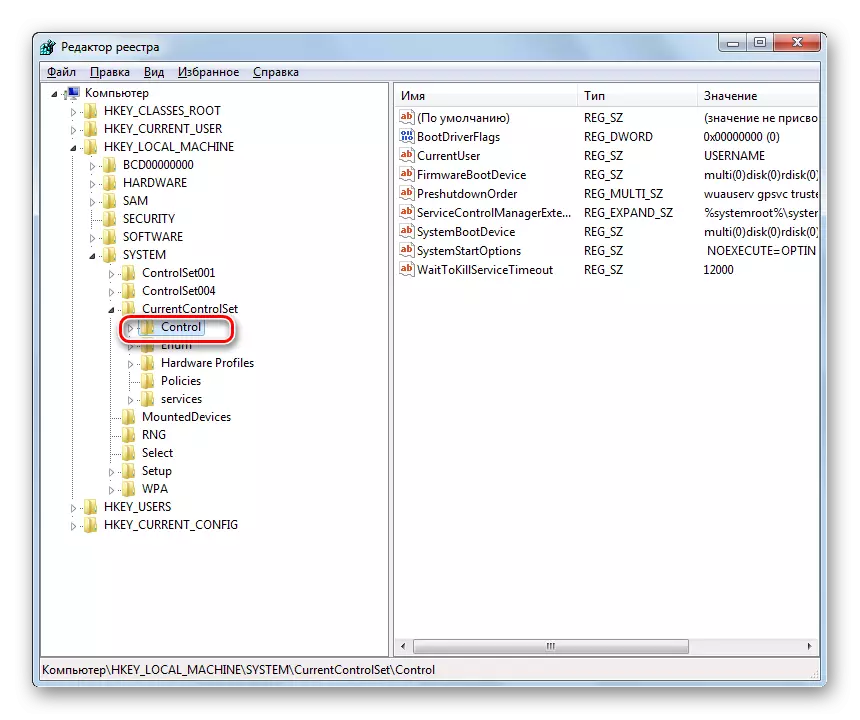
- Then you should open the "Control" directory.
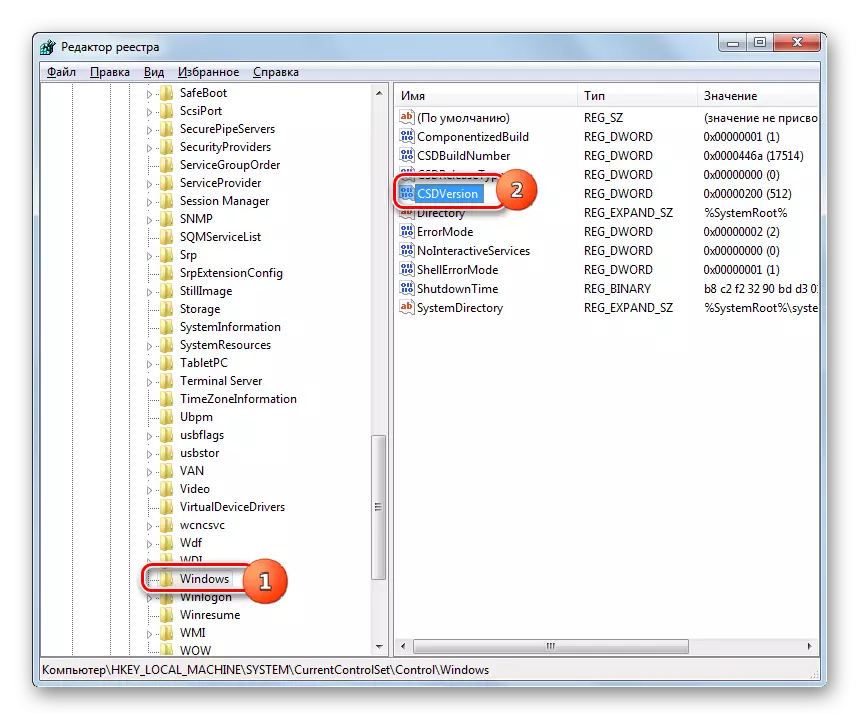
- Finally, highlight the name of the "Windows" directory. At the same time, various parameters contained in the specified directory will appear on the right side of the window. Find the DWORD parameter called "CSDVersion". Click on its name.
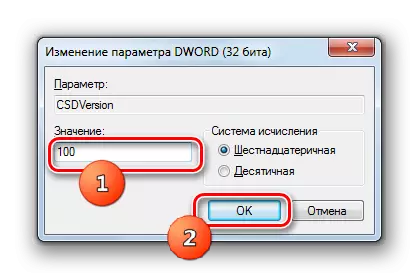
- The edit window opens. In it, instead of the "200" value, you need to install "100" or "0". After you do this, press OK.
- As you can see, the value of the parameter in the main window has changed. Close the registry editor with a standard way by clicking the window closing button.
- Now you need to restart the PC for changes in force. Close all windows and running programs, pre-maintaining active documents.
- After the computer is rebooted, all changes made to the registry editor will take effect. And this means that now you can run the Telnet client with the standard way by activating the corresponding component.


As you can see, the Telnet client launch in Windows 7 does not constitute anything particularly difficult. You can activate it both through the inclusion of the appropriate component and via the command line interface. True, the last way does not always work. It rarely happens that it is impossible to perform the task through the activation of the components, due to the absence of the necessary elements. But this problem can also be corrected by editing the registry.