

Optical disks (CD and DVD) are now used extremely rare, since their niche portable information media occupied flash drives. In the article below, we want to introduce you to copy information from disks on flash drives.
How to transfer information from disks on flash drives
The procedure is not much different from the banal copy operation or moving any other files between different media. This task can be performed by both third-party tools and using the Windows toolkit.Method 1: Total Commander
Total Commander was and remains number 1 in popularity among third-party file managers. Of course, this program is capable and transferring information from a CD or DVD to the Flash drive.
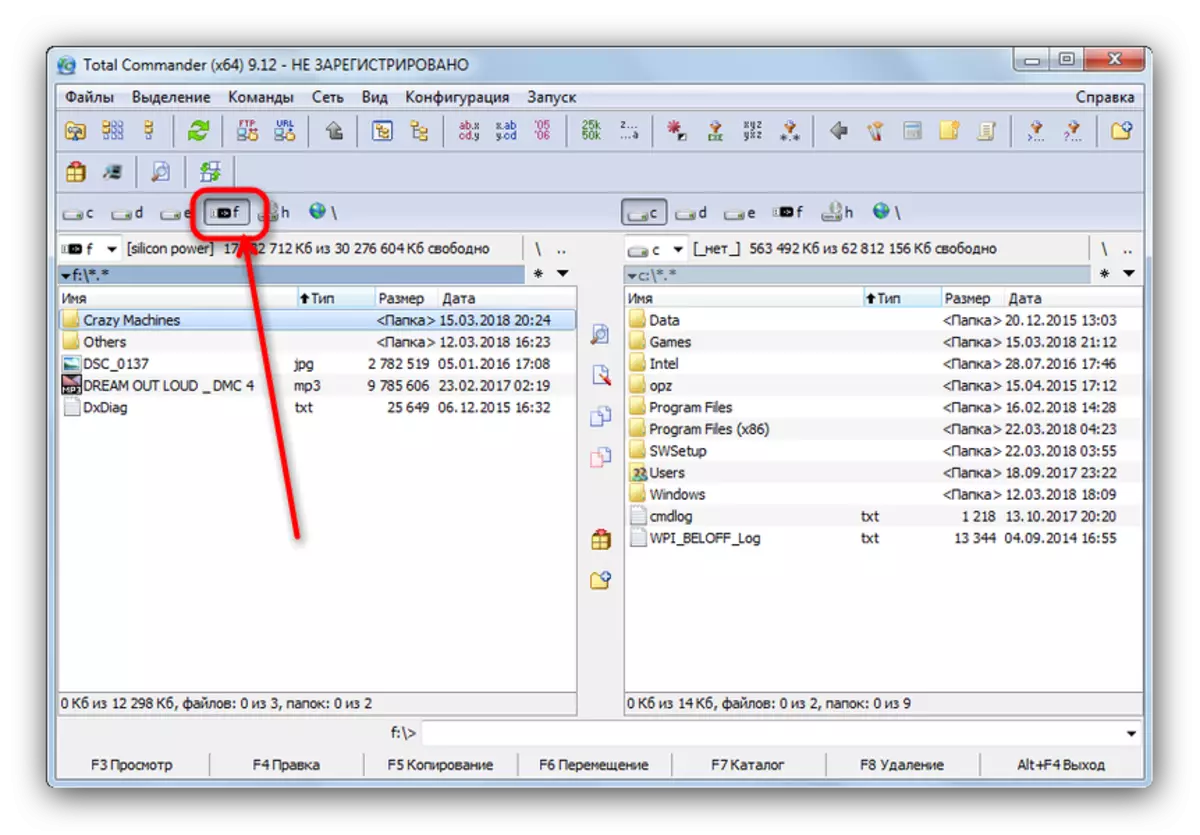
- Open the program. In the left working panel in any available way, go to the flash drive in which you want to place files from an optical disk.
- Go to the right panel and go there for your MID or DVD. The easiest way to do this in the drop-down list of disks, the drive is highlighted there with the name and icon.
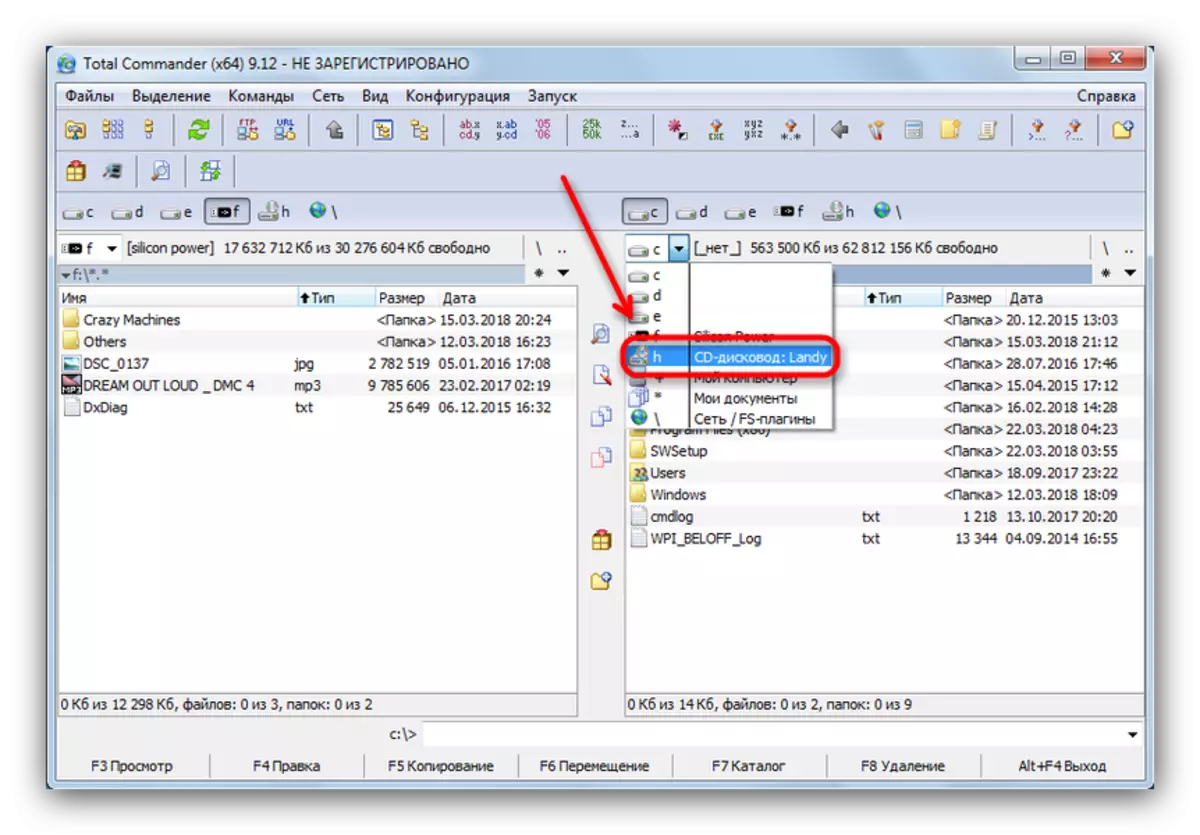
Click on the name or icon to open the disc for viewing.
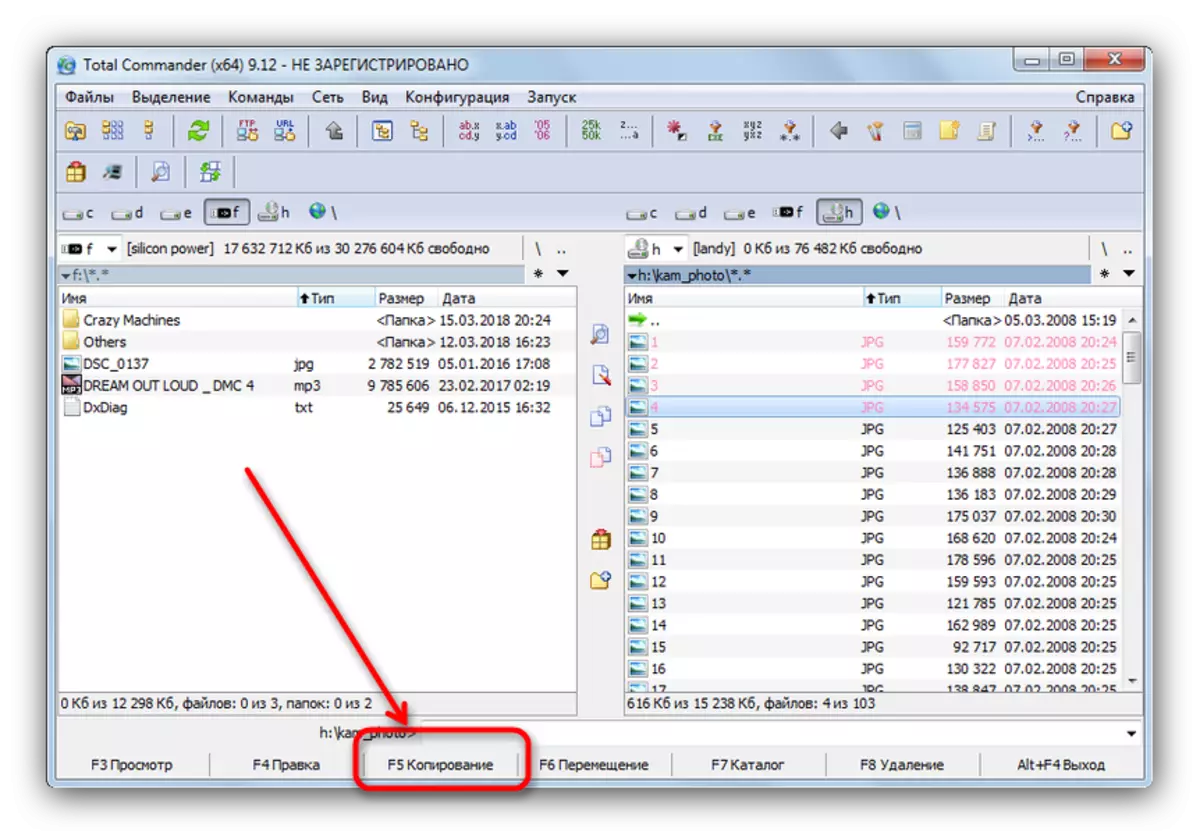
- Once in the folder with the disk files, select the desired by pressing the left mouse button with the ctrl clamped. Selected files are marked with light pink color name.
- With optical disks, information is better not to cut, in order to avoid failures, and copy. Therefore, either click on the button with the "F5 Copy" inscription, or press the F5 key.
- In the Copy dialog box, check the correctness of the destination and click "OK" to start the procedure.

It can take a certain time, which depends on a variety of factors (disk status, disc condition, type and speed of reading, similar flash drive parameters), so be patient.
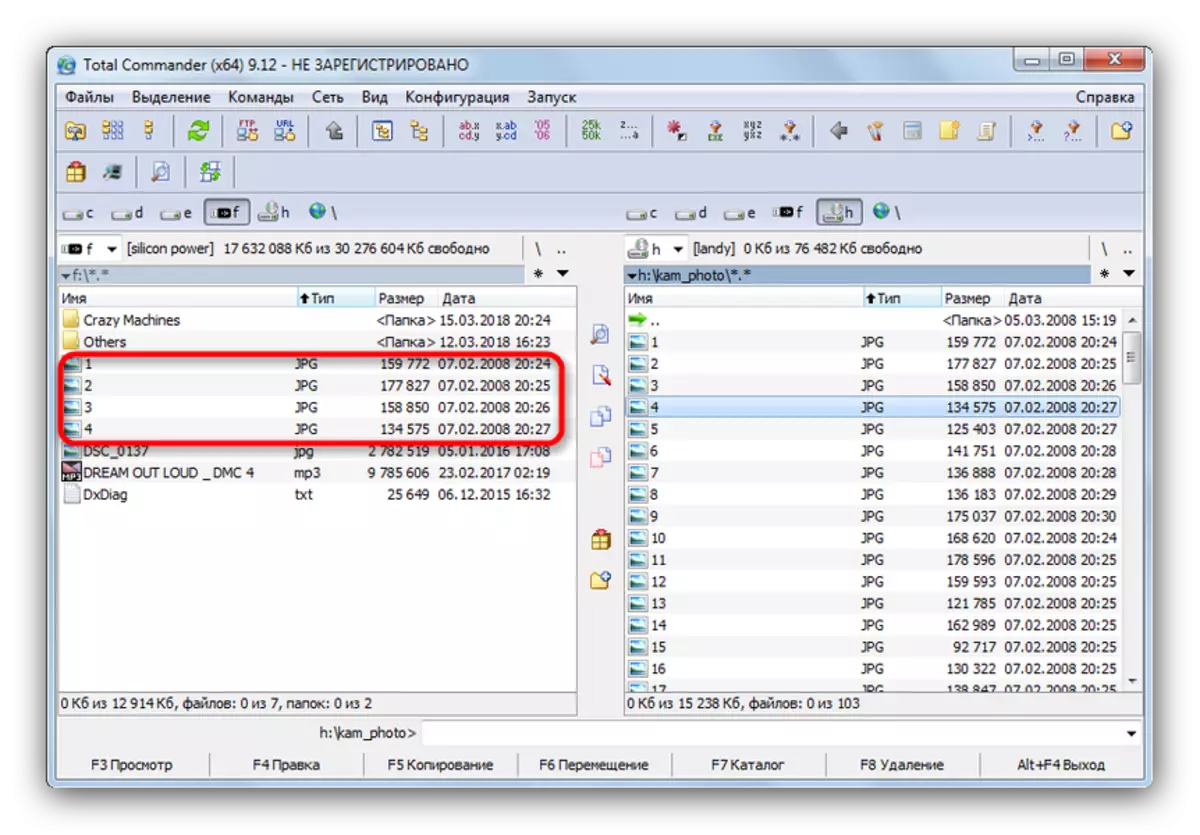
- With successful completion of the process, the copied files will be placed on your USB flash drive.

The procedure is quite simple, but optical discs are known for their capriciousness - facing problems, visit the last section of this article dedicated to possible problems.
Method 2: Far Manager
Another alternative file manager, this time with the console interface. Due to high compatibility and speed, it is almost perfect for copying information from CD or DVD.
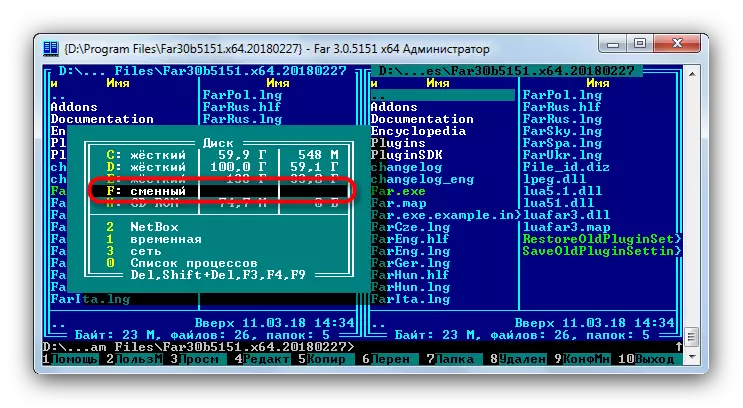
- Run the program. Like Total Commander, headlamp manager works in a bipoon mode, so first should be opened in the appropriate panels the necessary locations. Press the Alt + F1 key combination to call the disk selection window. Choose your USB flash drive - it is indicated by the word "replaceable:".
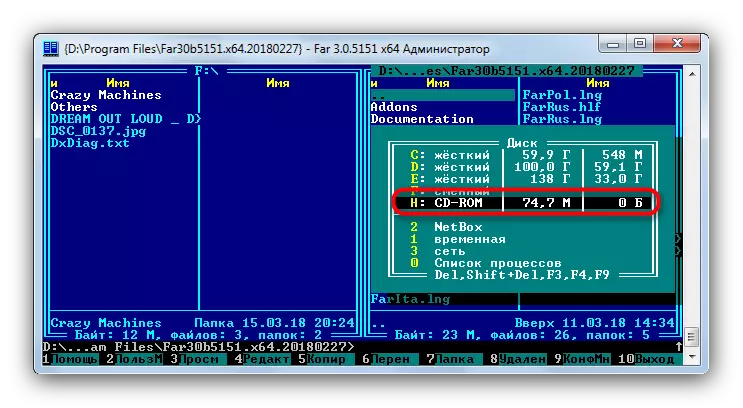
- Press Alt + F2 - it will call the disk selection window for the right panel. This time you need to select a drive with an inserted optical disk. In the headlight manager they are marked as "CD-ROM".
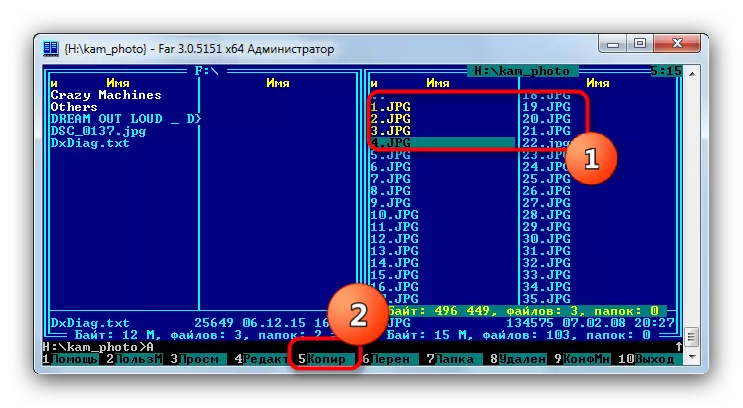
- Going to the contents of a CD or DVD, select the files (for example, by climbing SHIFT and using the Up Arrow and the Down Arrow) that you want to transfer, and press the F5 key or click on the "5 copier" button.
- The copy tool dialog box opens. Check the destination directory address, use additional options, if required, and click "Copy".
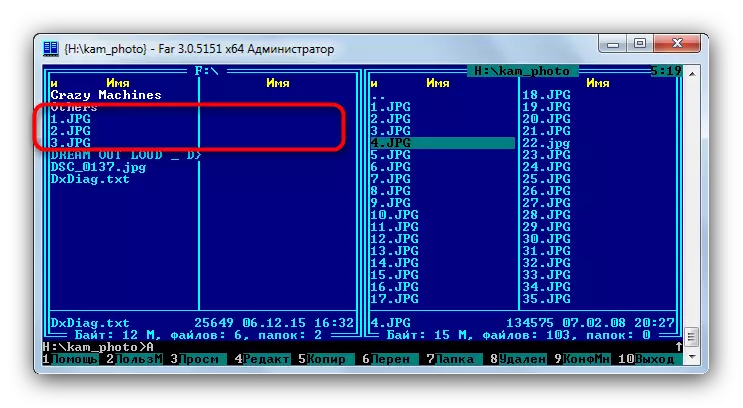
- The copy process will go. In case of successful completion, the files will be placed in the desired folder without any failures.

Far Manager is known in lightweight and almost lightning speed, so we can recommend this method for users of low-power computers or laptops.
Method 3: Windows system tools
Most users will have enough and fairly convenient management of files and directories implemented in Windows by default. In all certain versions of this OS, starting with Windows 95, a toolkit has always been present to work with optical disks.
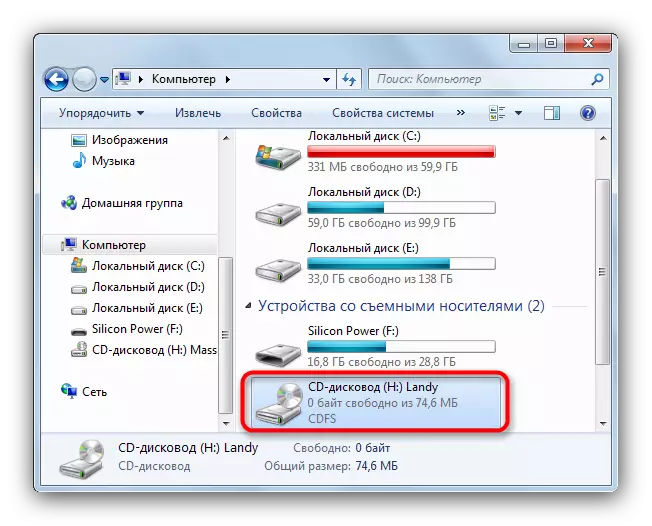
- Insert the drive into the drive. Open the "Start" - "My Computer" and in the "Device Code Device" block, right-click on the disk drive and select Open.
In the same way, open the USB flash drive.
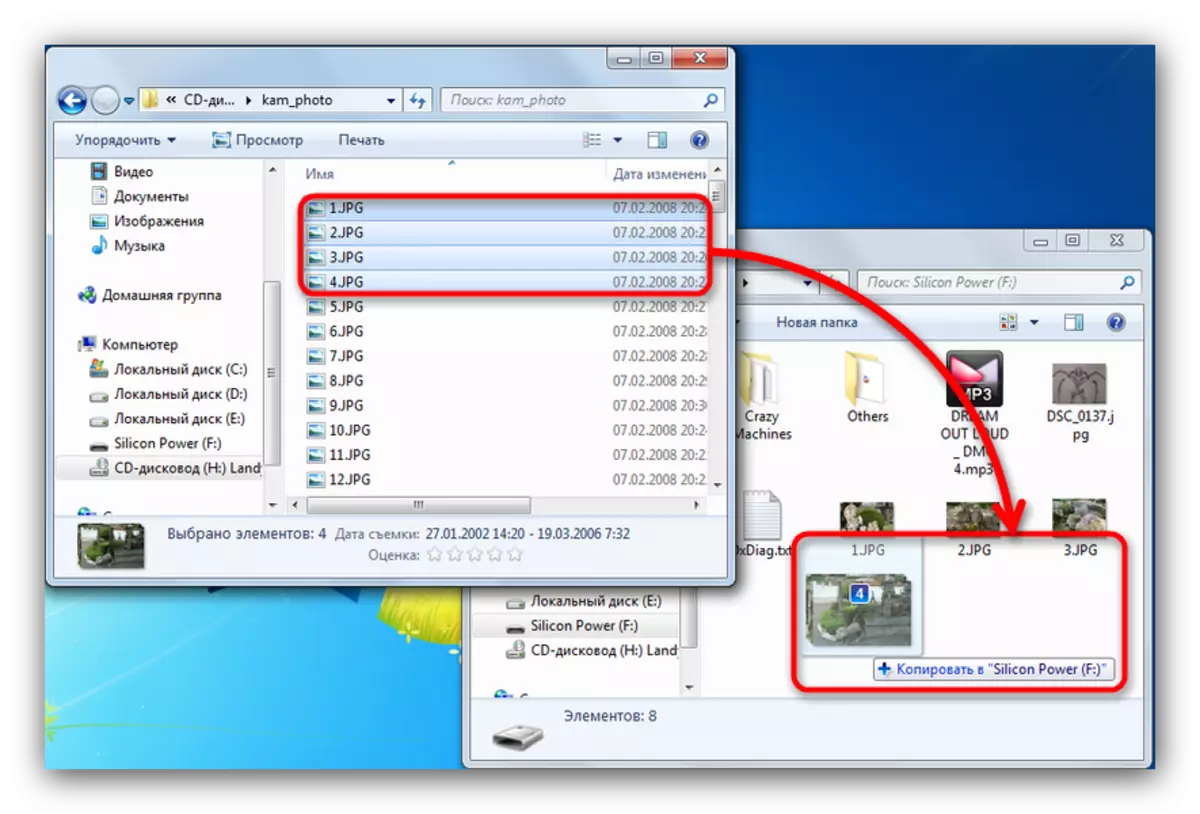
- Highlight in the optical disk directory you need to transfer files and copy them to a flash drive. It is most convenient to simply drag them from one directory to another.
Once again we remind you that copying is likely to take some time.
As practice shows, faults and problems are most often occurring when using a standard "conductor".
Method 4: Copying data from protected disks
If the disc, the data from which you are going to transfer to the USB flash drive, is protected from copying, the ways with third-party file managers and the "conductor" will not help you. However, for music discs there is a pretty cunning way to copy using Windows Media Player.
- Insert the disk with music into the drive, and run it.
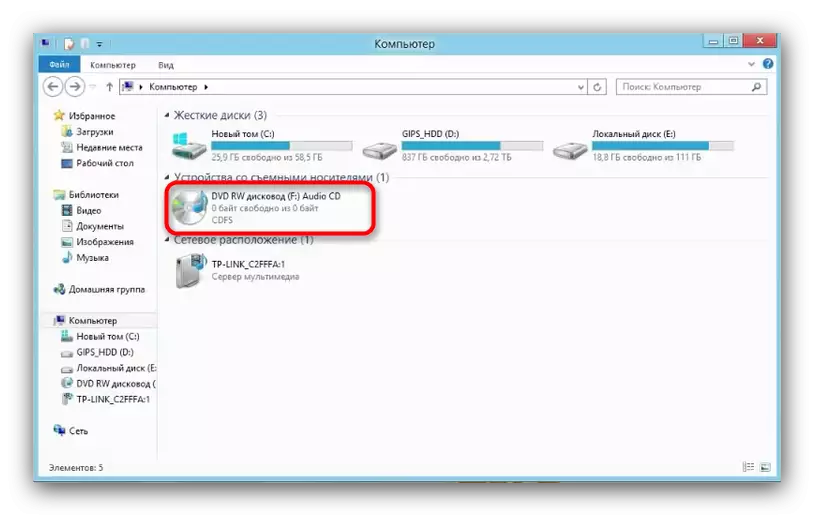
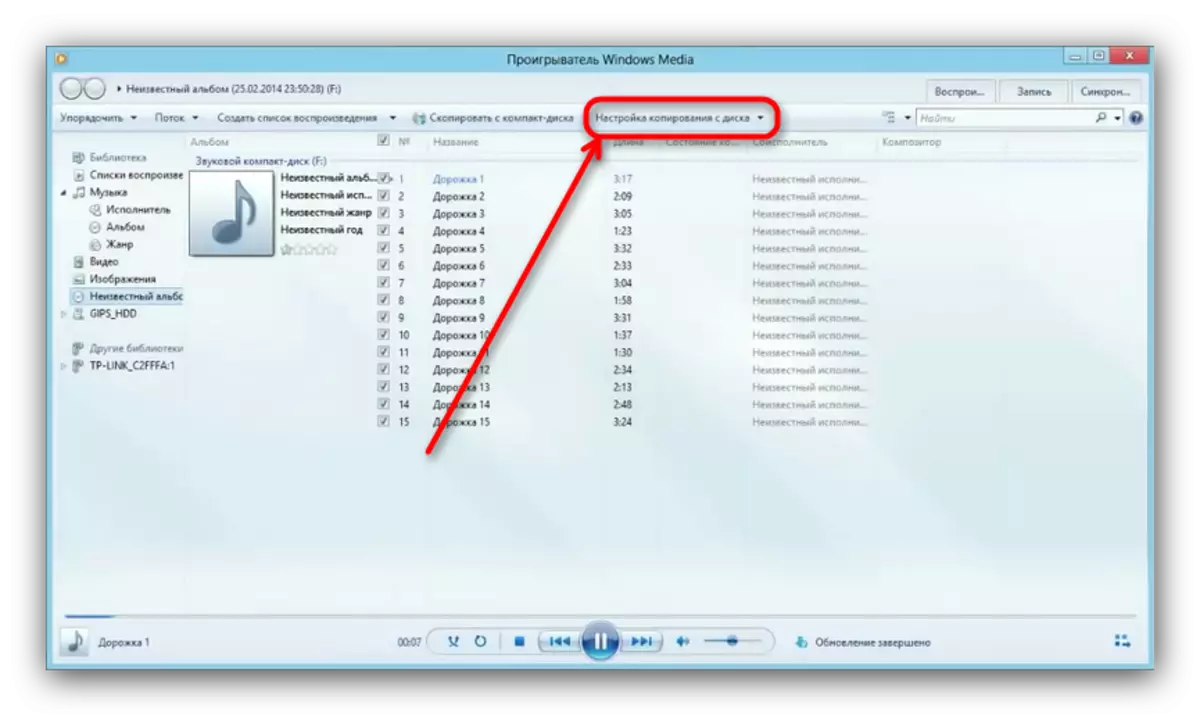
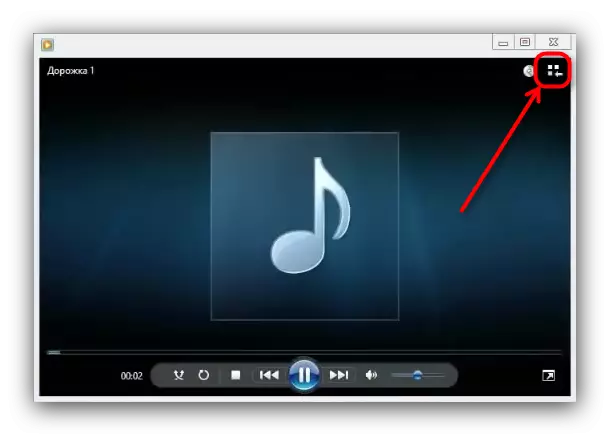
By default, the Audio CD playback starts in Windows Media Player. Put the playback by pause, and go to the library - a small button in the upper right corner.
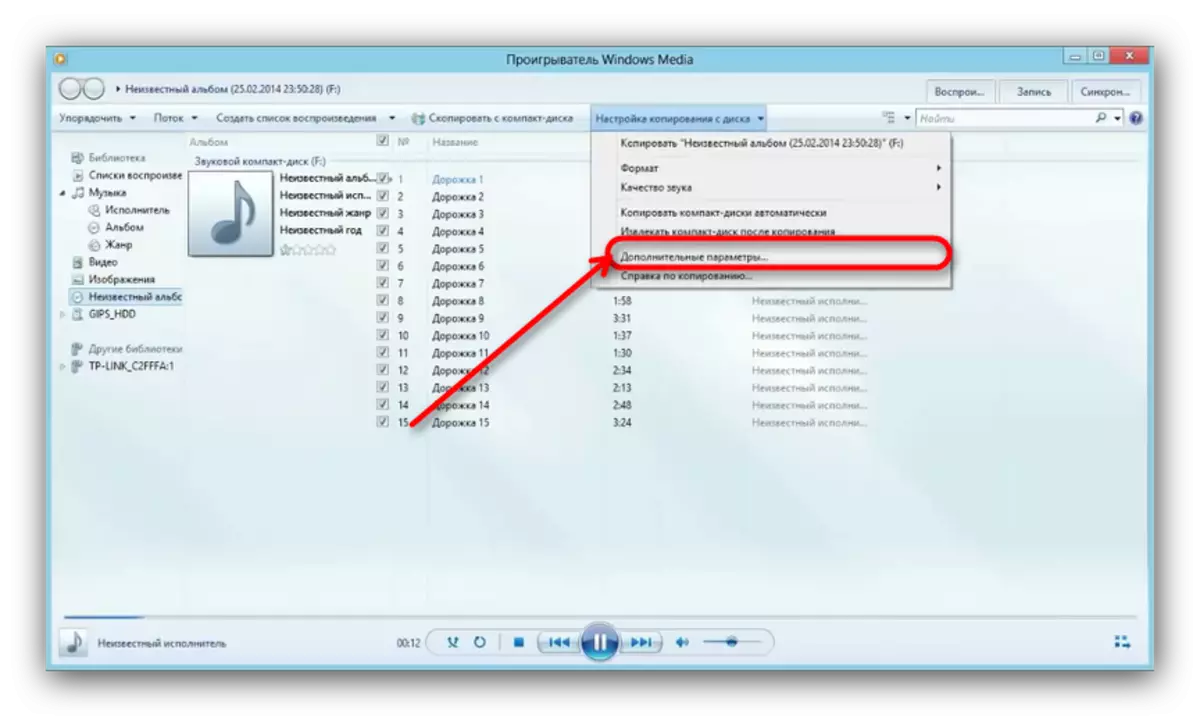
- Once in the library, take a look at the toolbar and find the option "Setting Copy from Disk" on it.
Click this option and select "Advanced Options ..." in the drop-down list.
- The setup window opens. By default, the "Copying Music from CD" tab is open, it is necessary for us. Pay attention to the "Folder to copy music from a CD".
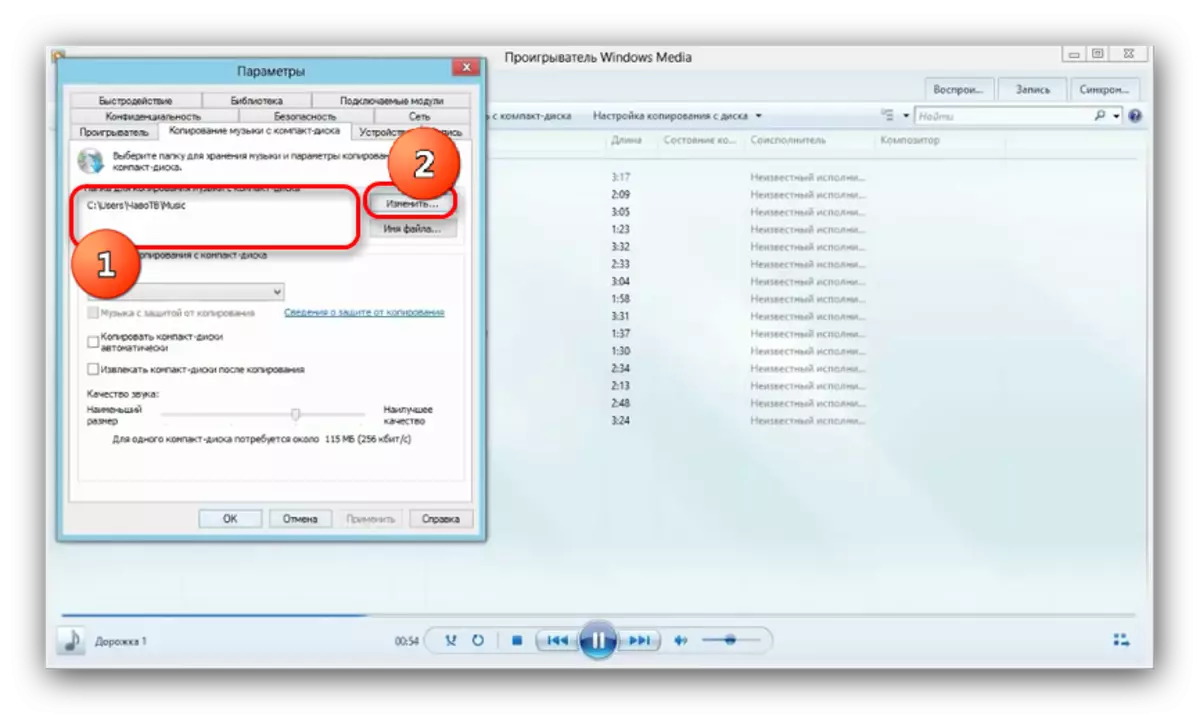
To change the default path, click on the appropriate button.
- The directory selection dialog box opens. Go to it on your USB flash drive and select it as the end address of the copy.
- Set the copy format as "MP3", "Quality ..." - 256 or 320 kbps, or the maximum allowable.
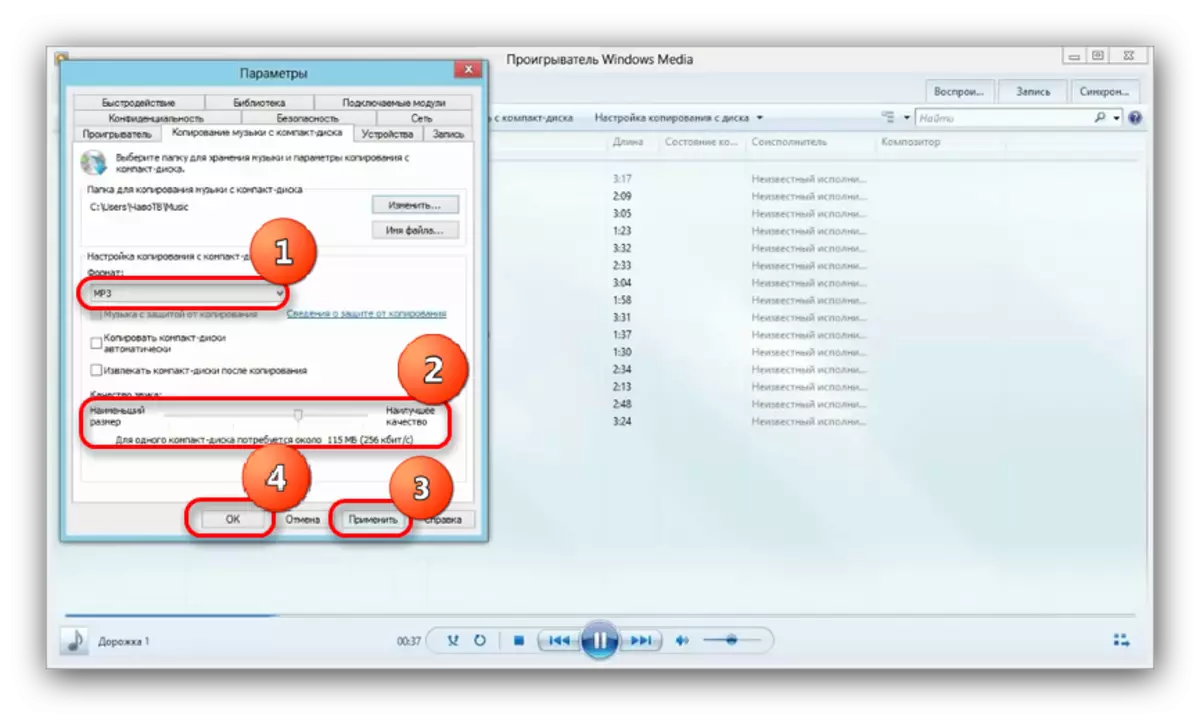
To save the settings, click "Apply" and "OK".
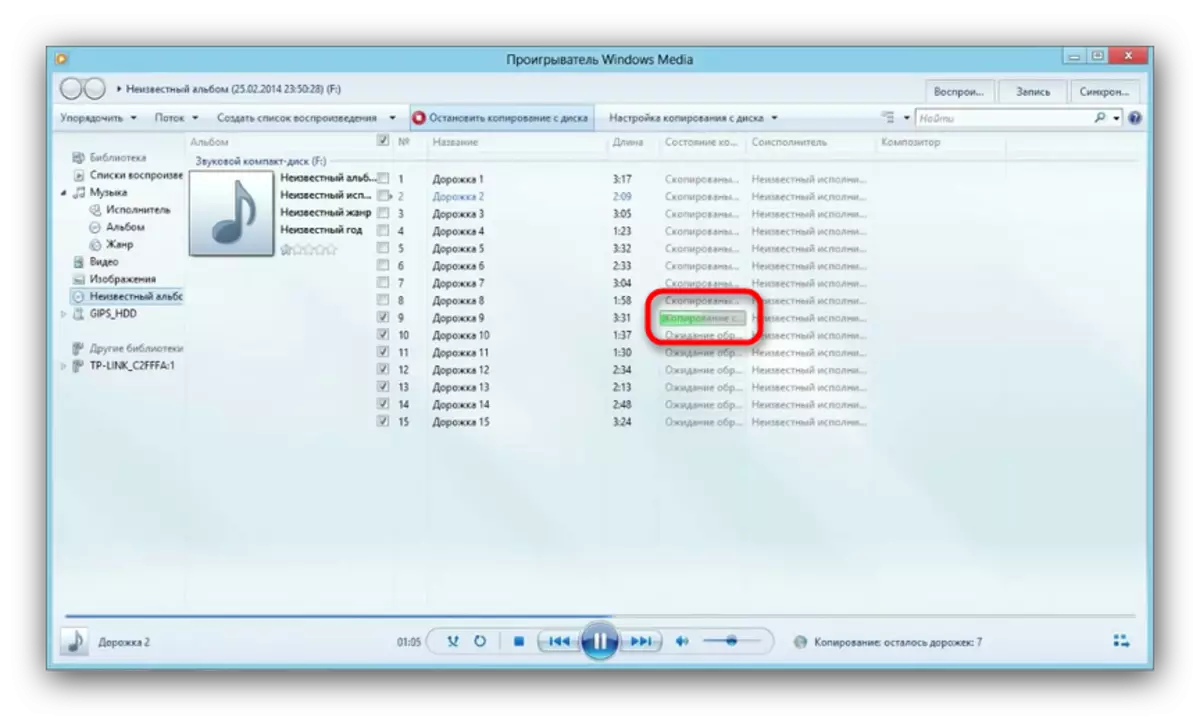
- When the options window closes, take a look at the toolbar again and click on the "Copy Music from CD".
- The process of copying songs in the selected location will begin - progress is displayed as green stripes opposite each track.
The procedure will take some time (from 5 to 15 minutes), so wait.
- Upon completion of the process, you can go to the USB flash drive, and check whether everything was copied. There should be a new folder, inside which will be music files.


Copying video with DVD protected by system tools do not do, so we resort to a third-party program called Freestar Free DVD Ripper.
- Insert the videoisk to the drive and run the program. In the main window, select "Open DVD".
- A dialog box will start, in which you need to select a physical drive.

Attention! Do not confuse a real device with a virtual drive, if any!
- Available on disk Files are marked in the window on the left. The preview window is on the right.

Mark the rollers you need, putting the tick on the right opposite the names of the files.
- The rollers cannot copy "as is", they will have to convert them anyway. Therefore, look at the "Profile" section and select a suitable container.
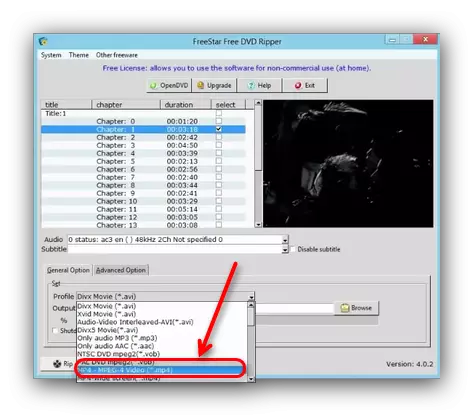
As practice shows, the best "Size / Quality / Lack of Problems" ratio will be MPEG4, and choose it.
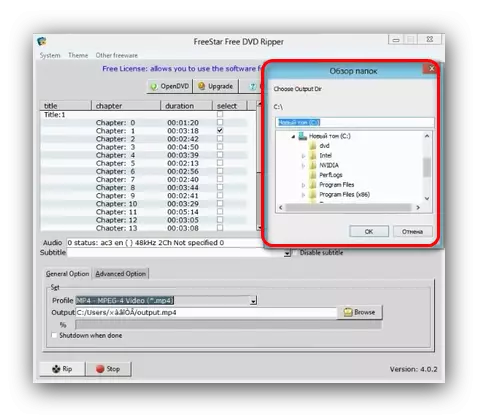
- Next, you should select the location of the converted video. Click the "Browse" button to call the "Explorer" dialog box. Choose our USB flash drive in it.
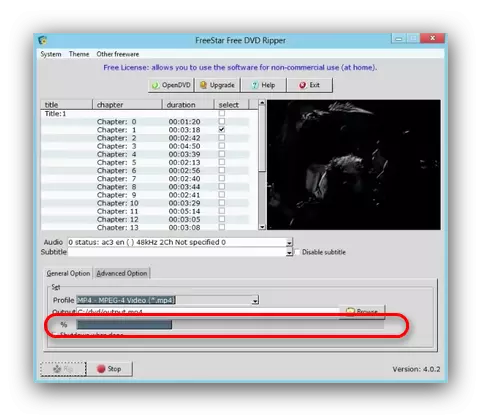
- Check the settings, and then click on the "RIP" button.

The process of converting clips and their copying to a flash drive will begin.

Note: In some cases, multimedia files are better copying not directly from the disk to the USB flash drive, and first save them to the computer, then move to the flash drive.
For disks on which there is no protection, it is better to use the methods described above 1-3.
Possible problems and malfunctions
As already mentioned, optical discs are more whimsical and demanding on storage conditions and use than flash drives, therefore, there are problems with them. Let's consider them in order.
- Too slow copy speed
The reason for this problem can be both in the flash drive and in the disk. In this case, the intermediate copy: files from the disk first copy to the hard disk, and already from there on the USB flash drive.
- Copying files reaches a certain percentage and freezes
In most cases, this problem means problems in the CD: one of the coporied files is incorrect or on the disk there is a damaged area from which it is impossible to read the data. The best solution in such a situation will be copying files one by one, and not all at once - this action will help detect the source of the problem.
It is not necessary to exclude the likelihood of malnutrition, so it is also worth checking the performance of your drive.
- Disc is not recognized
Frequent and quite serious problem. There are several reasons for it, the main one is the scratched surface of the CD. The best way to remove the image from such a disk, and work with a virtual copy, not a real carrier.
Read more:
How to create a disk image using Daemon Tools
Ultraiso: creating an image
A high probability of disk drive problems, so we recommend checking it and insert another CD or DVD in it. We also recommend reading the article below.
Read more: Drive does not read discs
As a summary of the results, we want to note: every year more and more PCs and laptops are released without hardware to work with diabetes or DVD. Therefore, finally, we want to recommend you to make copies of important data from CDs in advance and transfer them to more reliable and popular drives.