
Currently, when almost any information is available on the network, each user is able to install the operating system on its own computer. At the same time, even such a simple, at first glance, the procedure may cause difficulties expressed in the form of various installation program errors. Today we will talk about how to solve the problem with the inability to install Windows to the GPT format.
We solve the GPT disk problem
To date, there are two types of disk formats - MBR and GPT. The first BIOS uses to determine and run an active partition. The second is used with more modern versions of firmware - UEFIs that have a graphical interface for managing parameters.
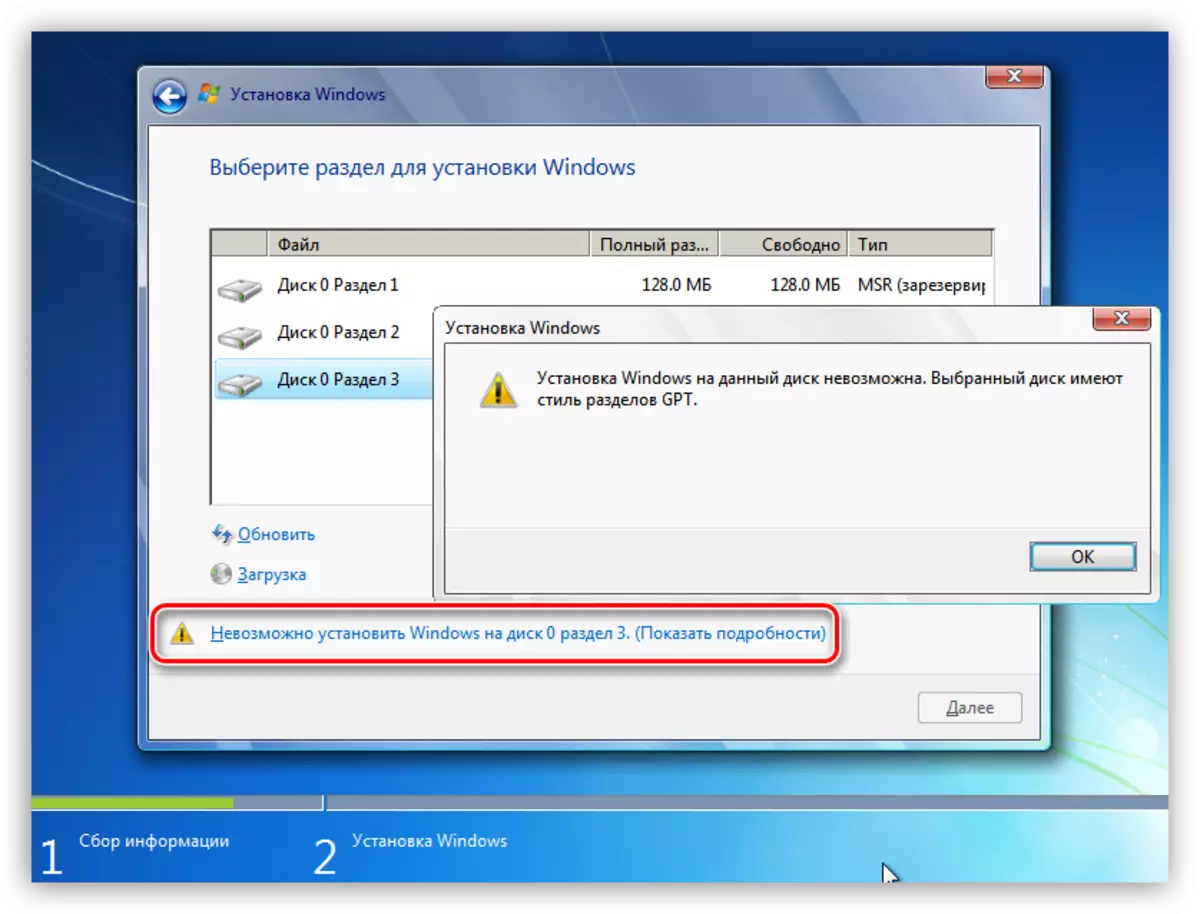
An error about which we are talking today arise due to the incompatibility of the BIOS and GPT. Most often, this is due to incorrect settings. It can also be obtained when you try to install Windows X86 or the inconsistency of the bootable media (flash drive) of the system requirements.
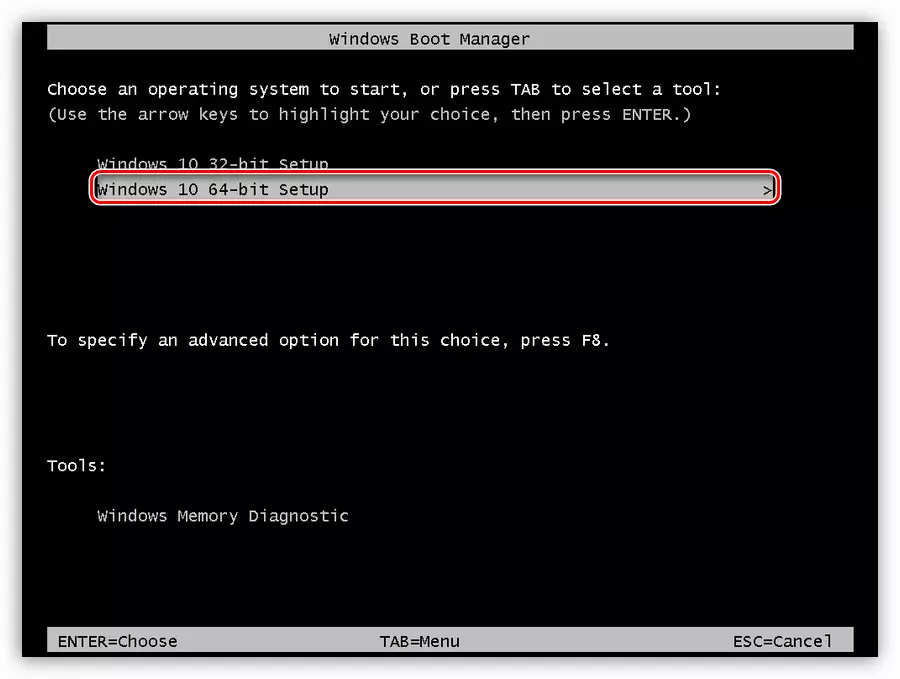
The problem with the discharge is quite simple to solve: Before starting the installation, make sure that the image of the X64 operating system is recorded on the media. If the image is universal, then at the first stage you need to select the appropriate option.
Next, we will analyze the ways to solve other problems.
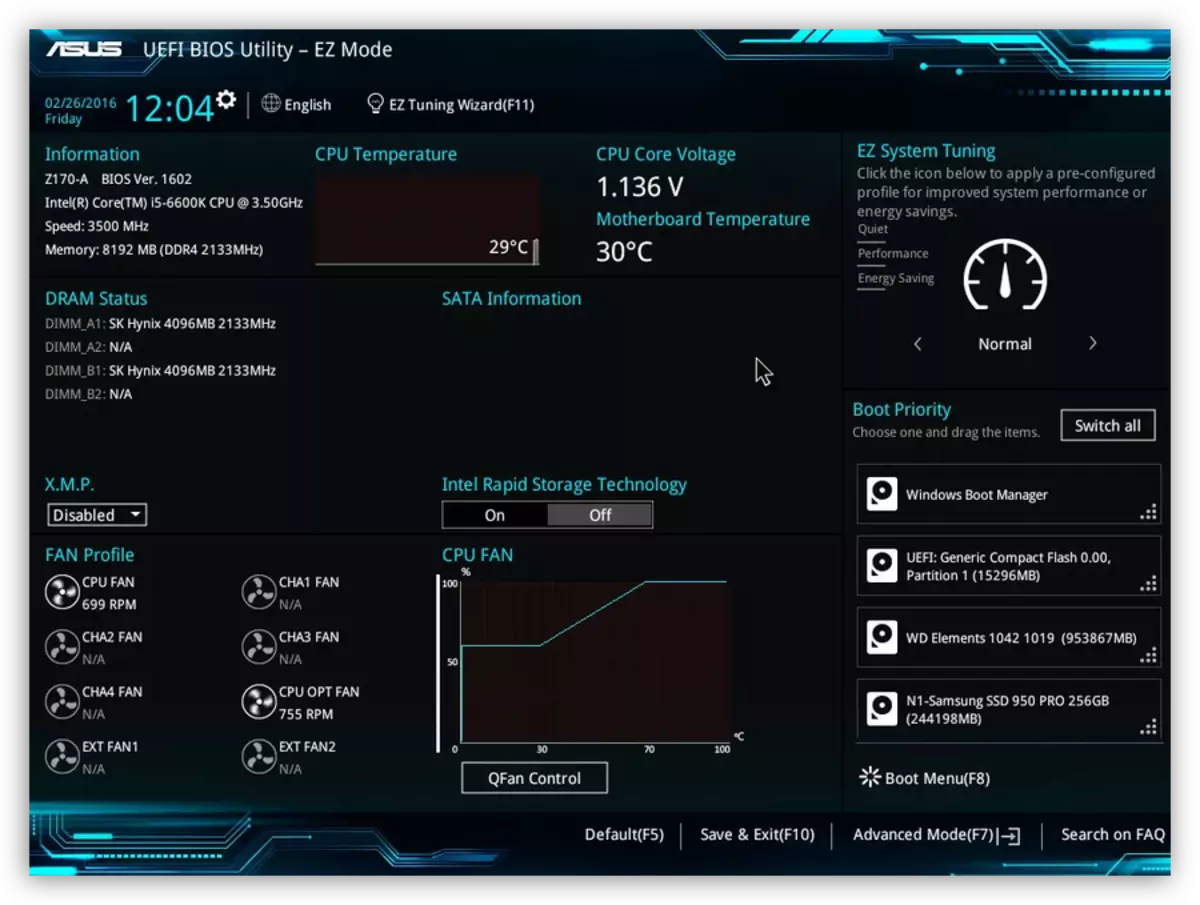
Method 1: Setting the BIOS parameters
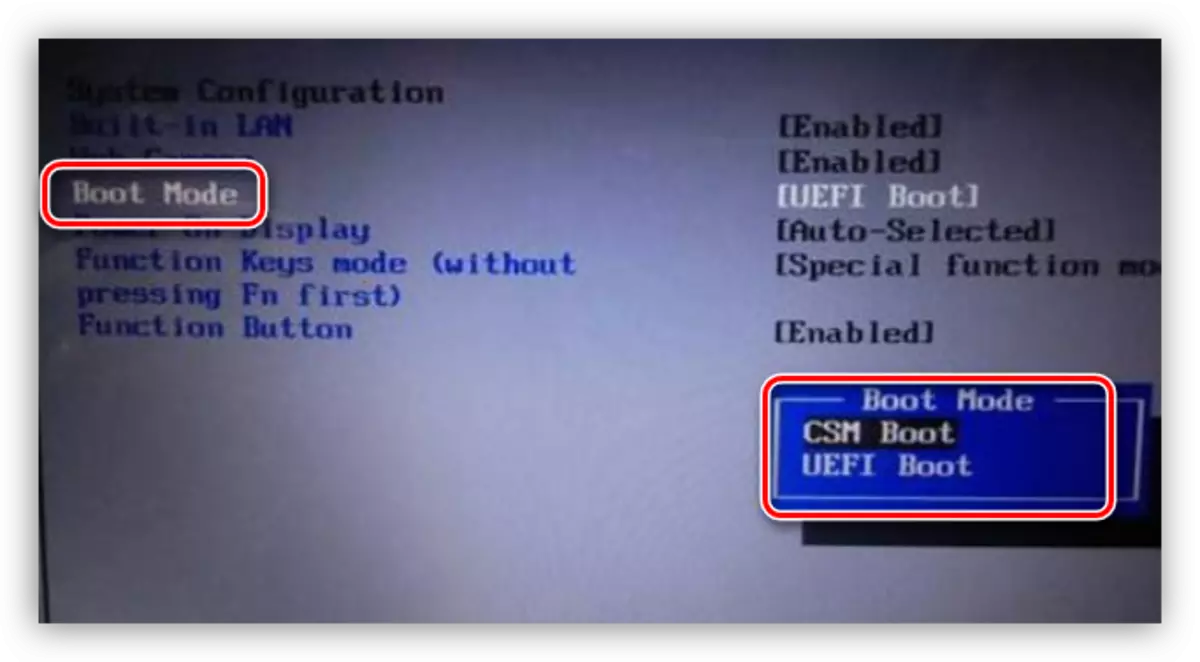
To the occurrence of this error, the modified BIOS settings can be given, in which the UEFI download function is disabled, and the Secure Boot mode is enabled. The latter prevents the normal definition of loading media. It is also worth paying attention to the SATA mode - it must be switched to AHCI mode.
- UEFI is included in the "Features" section or "Setup". Usually, the default parameter is "CSM", it must be switched to the desired value.
- The secure download mode can be turned off by performing the action in the reverse order described in the article below.
Read more: Turn off UEFI in BIOS
- AHCI mode can be enabled in the "Main", "Advanced" or "Peripherals" sections.
Read more: turn on AHCI mode in BIOS

If all or some parameters are missing in your BIOS, you will have to work directly with the disk. Talk about it below.
Method 2: UEFI flash drive
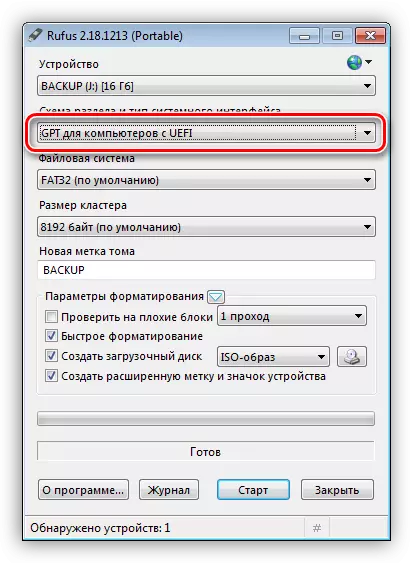
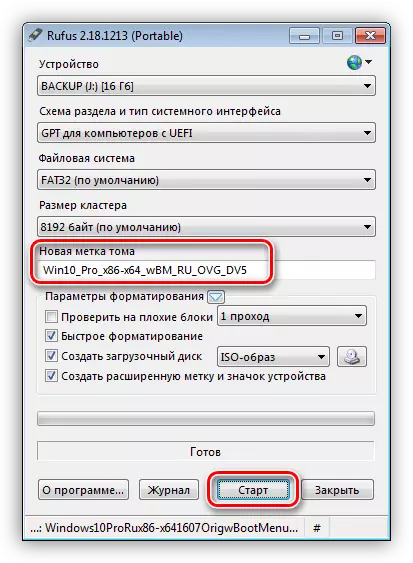
This flash drive is a carrier with an OS that supports the load in UEFI. If you plan to install Windows on the GPT disk, it is desirable to take care of its creation in advance. This is done using the RUFUS program.
- In the software window, select the carrier to which you want to write the image. Then in the section selection selection list, set the value "GPT for computers with UEFI".
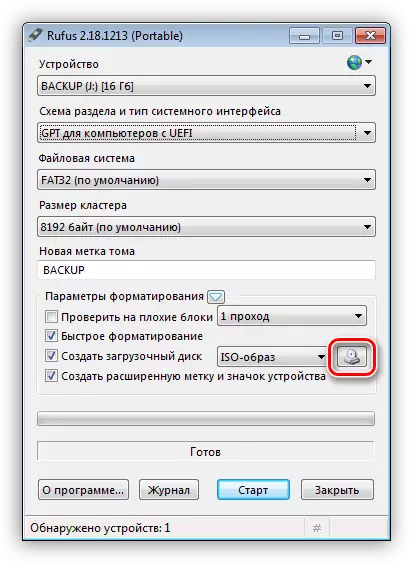
- Press the image search button.
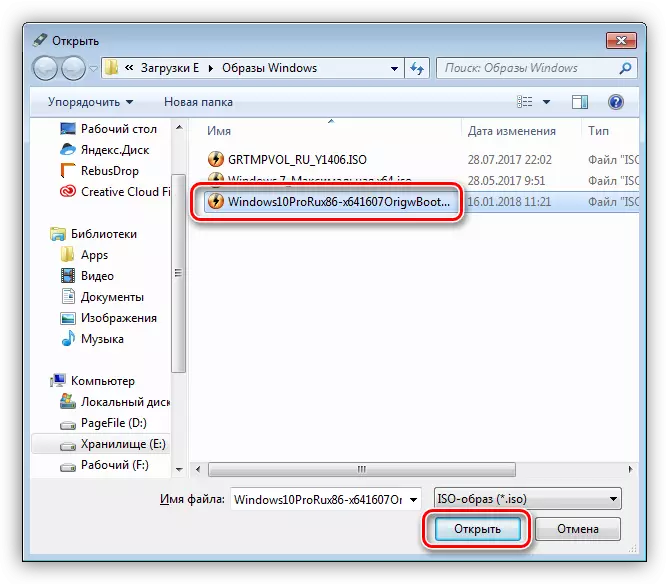
- We find the appropriate file on the disk and click "Open".
- Tom label should be swapped on the name of the image, after which we click "Start" and wait for the end of the recording process.
If there is no possibility to create a UEFI flash drive, go to the following solutions.
Method 3: Convert GPT in MBR
This option implies the conversion of one format to another. You can do this from both the downloaded operating system and directly when installing Windows. Please note that all data on the disk will be irrevocably lost.
Option 1: Systems and Programs
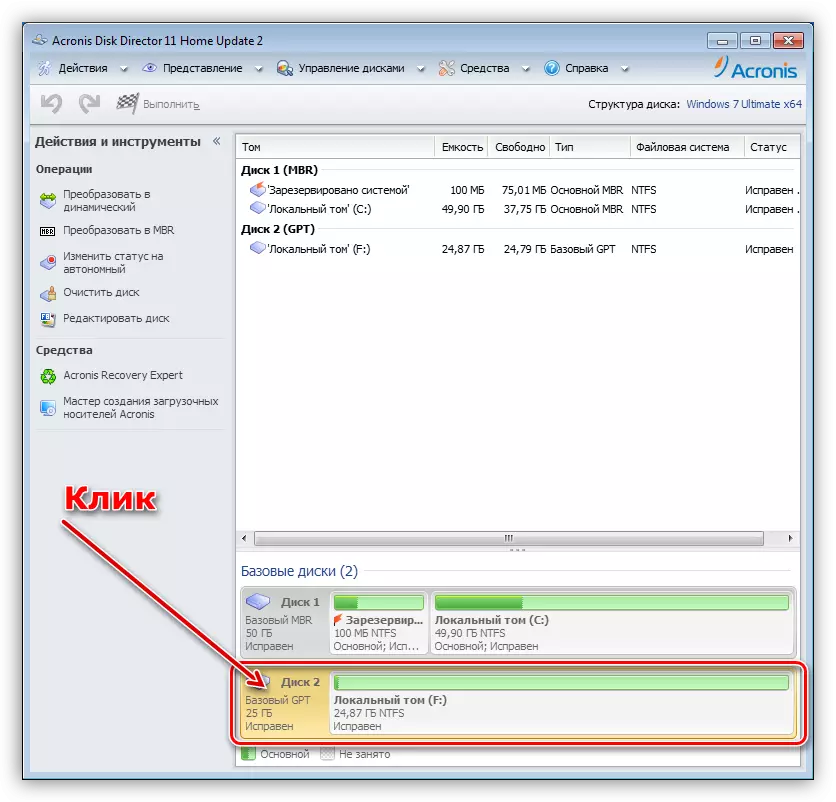
To convert formats, you can use such programs to maintain disks as Acronis Disk Director or Minitool Partition Wizard. Consider the method using acronis.
- Run the program and choose our GPT disk. Attention: not a partition on it, namely the entire disk (see Screenshot).
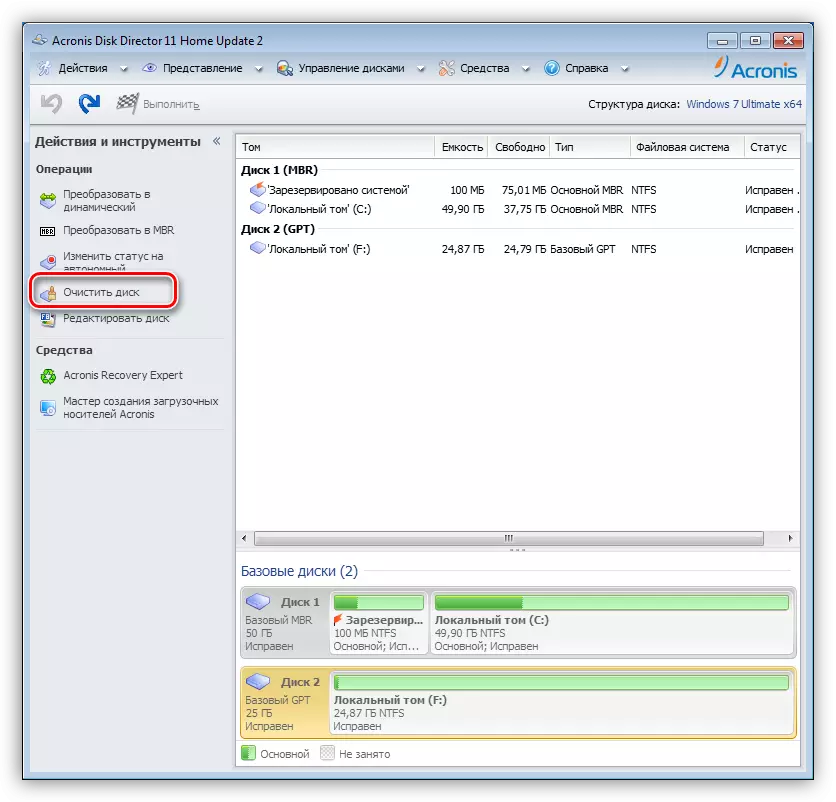
- Next, we find in the list of settings on the left "Clear Disk".
- Click on the PCM disk and choose the item "Initialize".
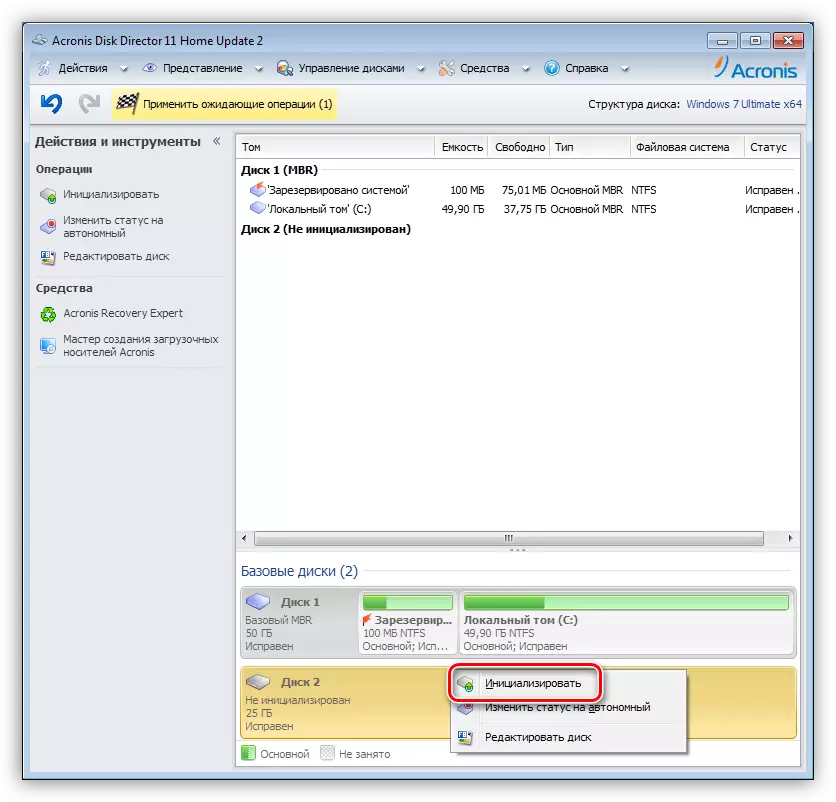
- In the settings window that opens, select the scheme of the MBR sections and click OK.
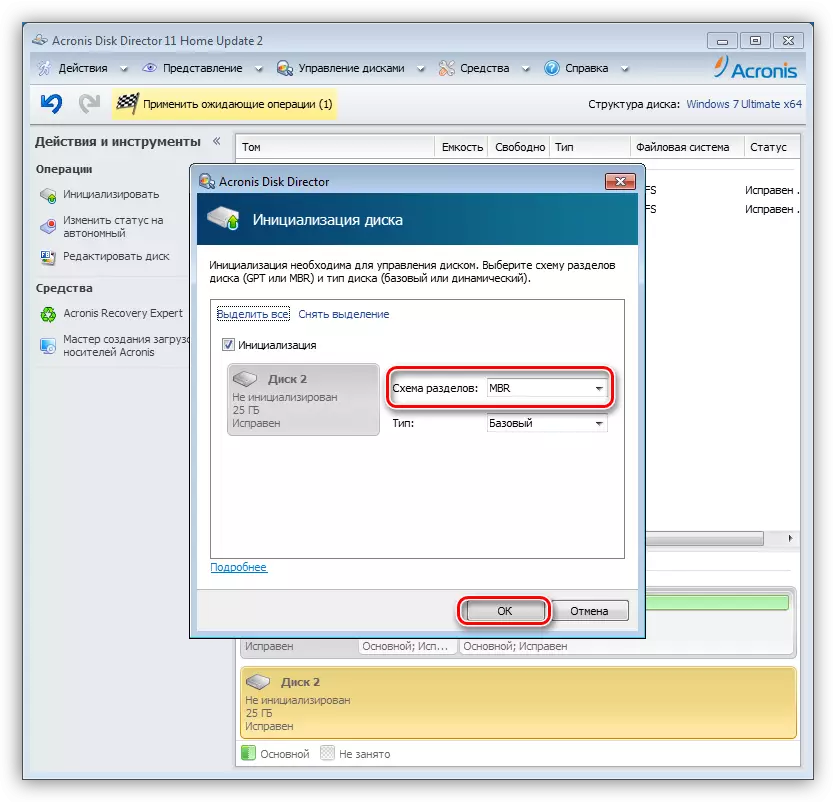
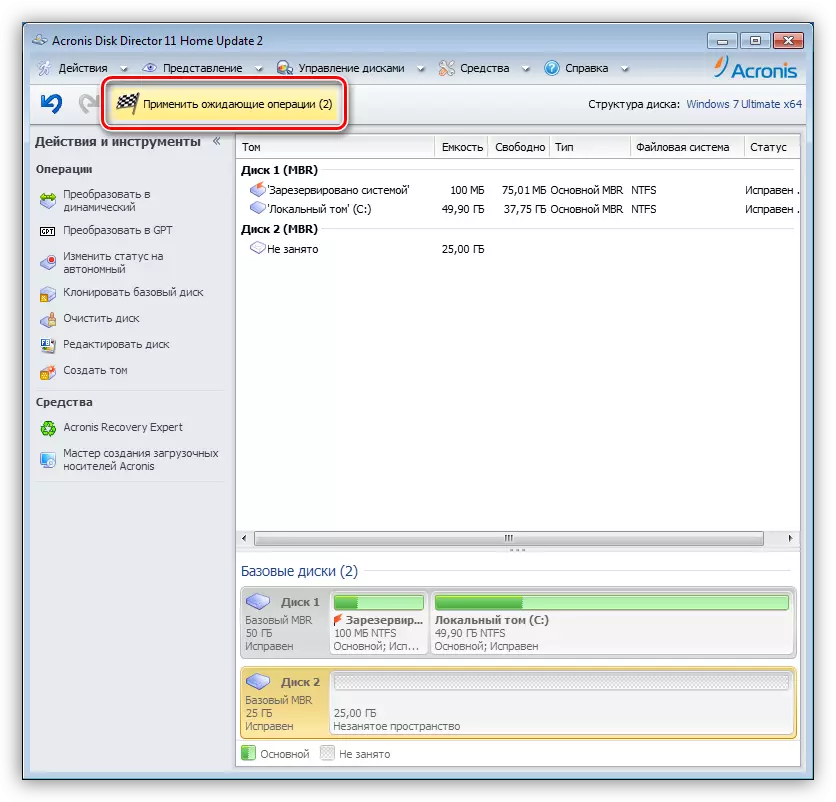
- We use waiting operations.
Windows is done like this:
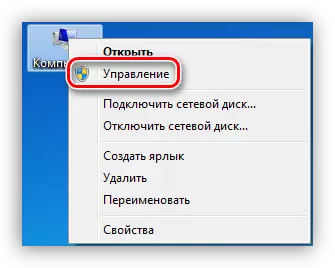
- Press the PCM on the computer icon on the desktop and go to the "Management".
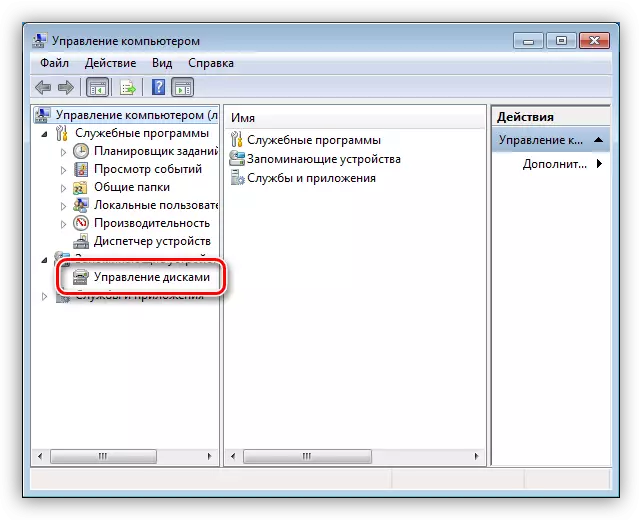
- Then go to the "Disk Management" section.
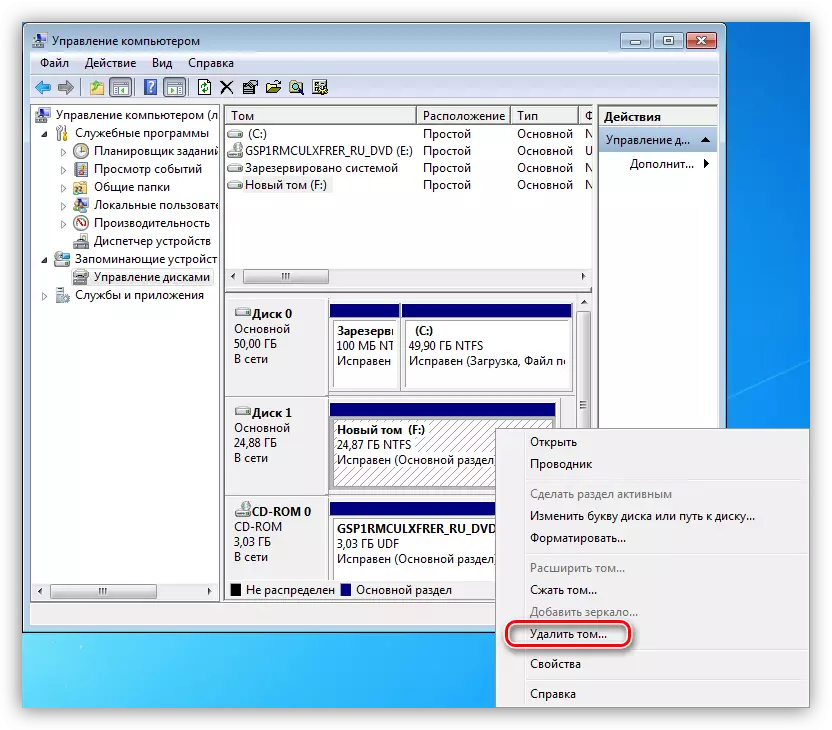
- Choose our disk in the list, press the PCM this time on the section and select the "Delete Tom" item.
- Further by clicking the right button on the base of the disk (square on the left) and find the function "Convert to MBR disk".
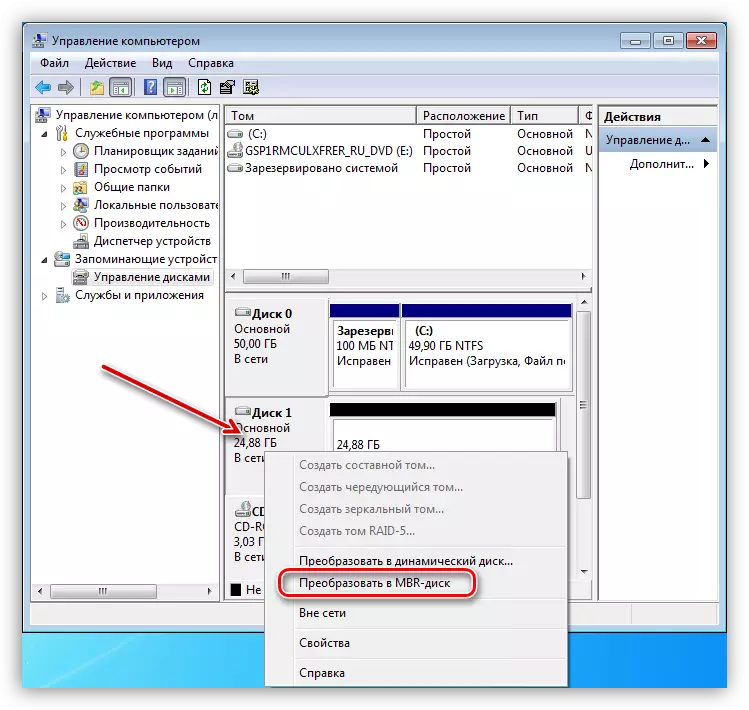
In this mode, you can only work with those discs that are not systemic (bootable). If you want to prepare a working medium to install, then this can be done in the following way.
Option 2: Convert when loading
This option is good in that it works regardless of whether the system tools and software are currently available or not.
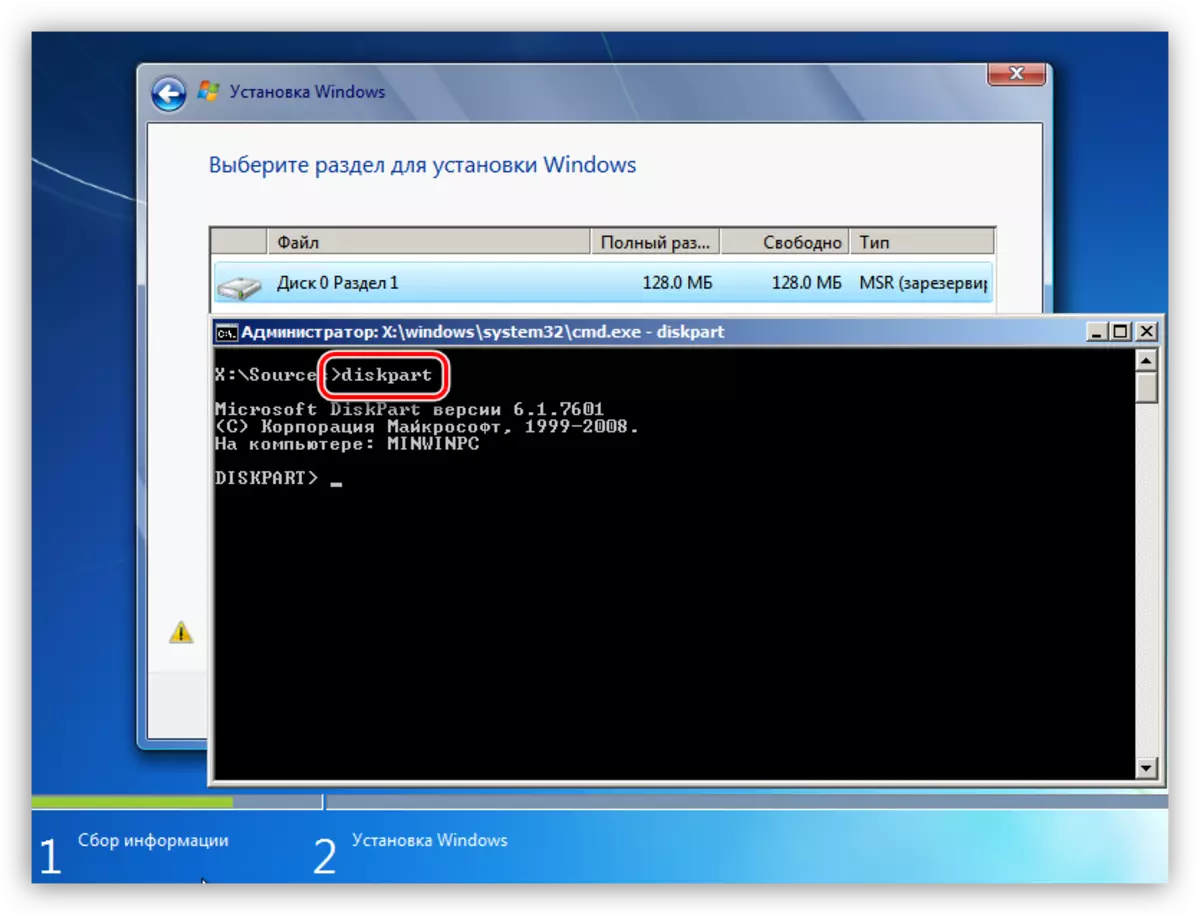
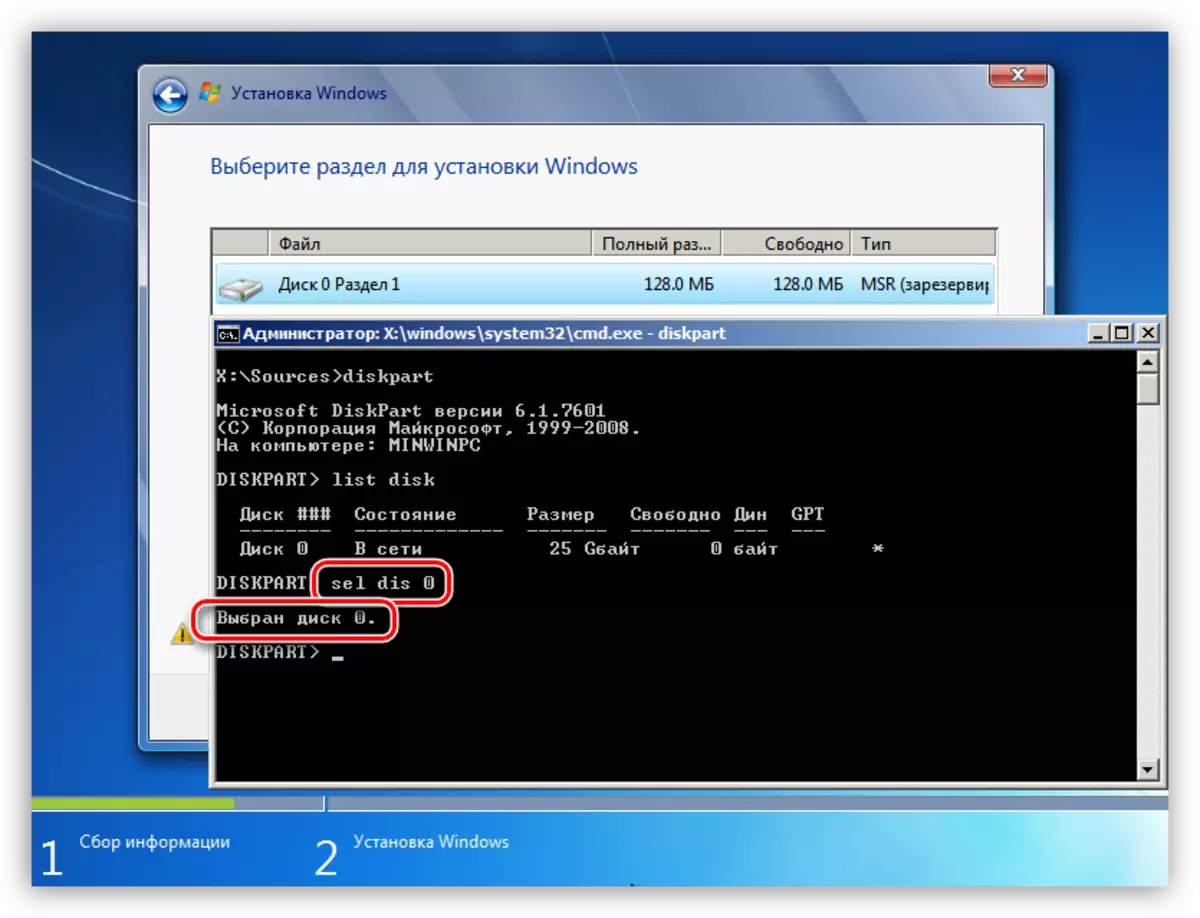
- At the disc select station, we run the "command line" using the SHIFT + F10 key combination. Next, activate the disk management utility by the command
diskpart.
- Display a list of all hard drives installed in the system. This is done by entering the following command:
LIST DISK.
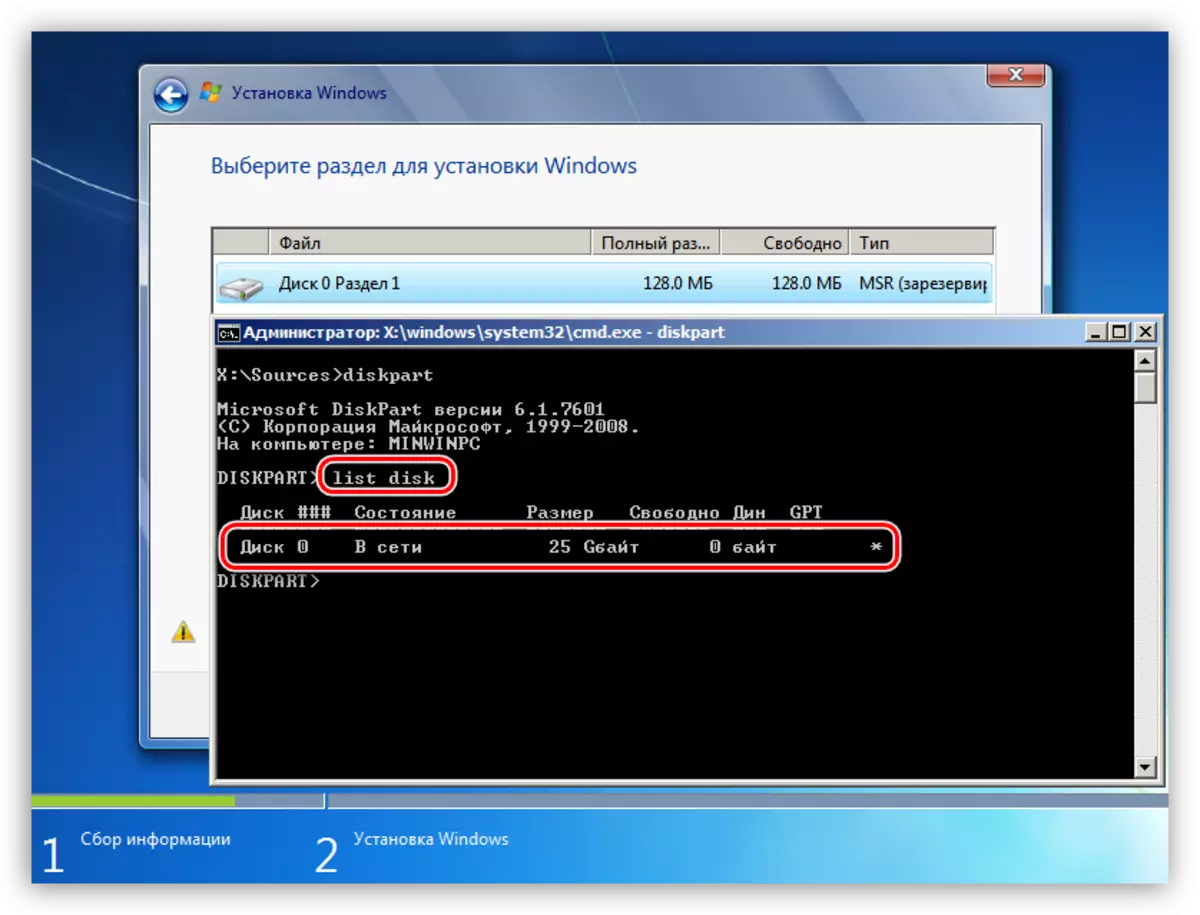
- If the disks are somewhat, then you need to choose the one to which we are going to install the system. It is possible to distinguish it in size and GPT structure. We write a team
SEL DIS 0
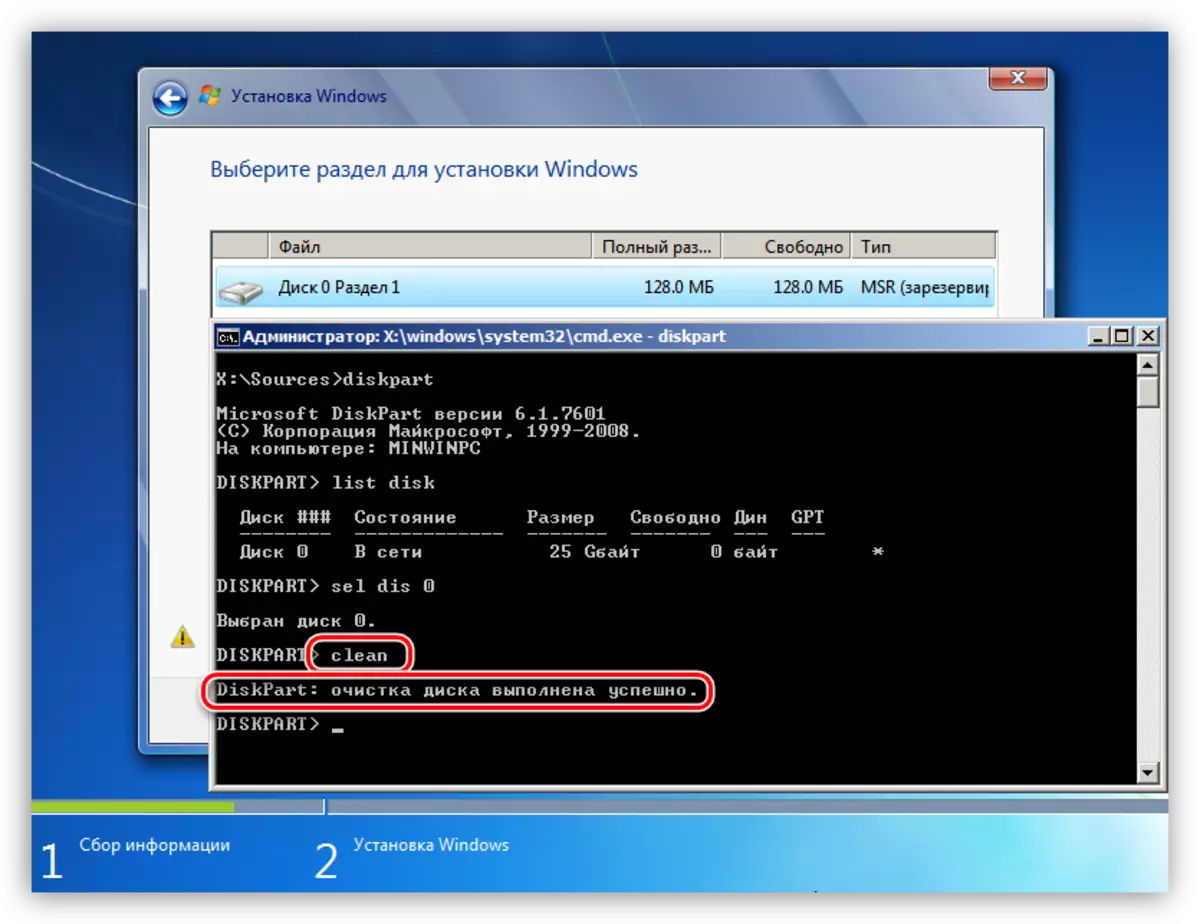
- The next step is to clean the media from sections.
Clean.
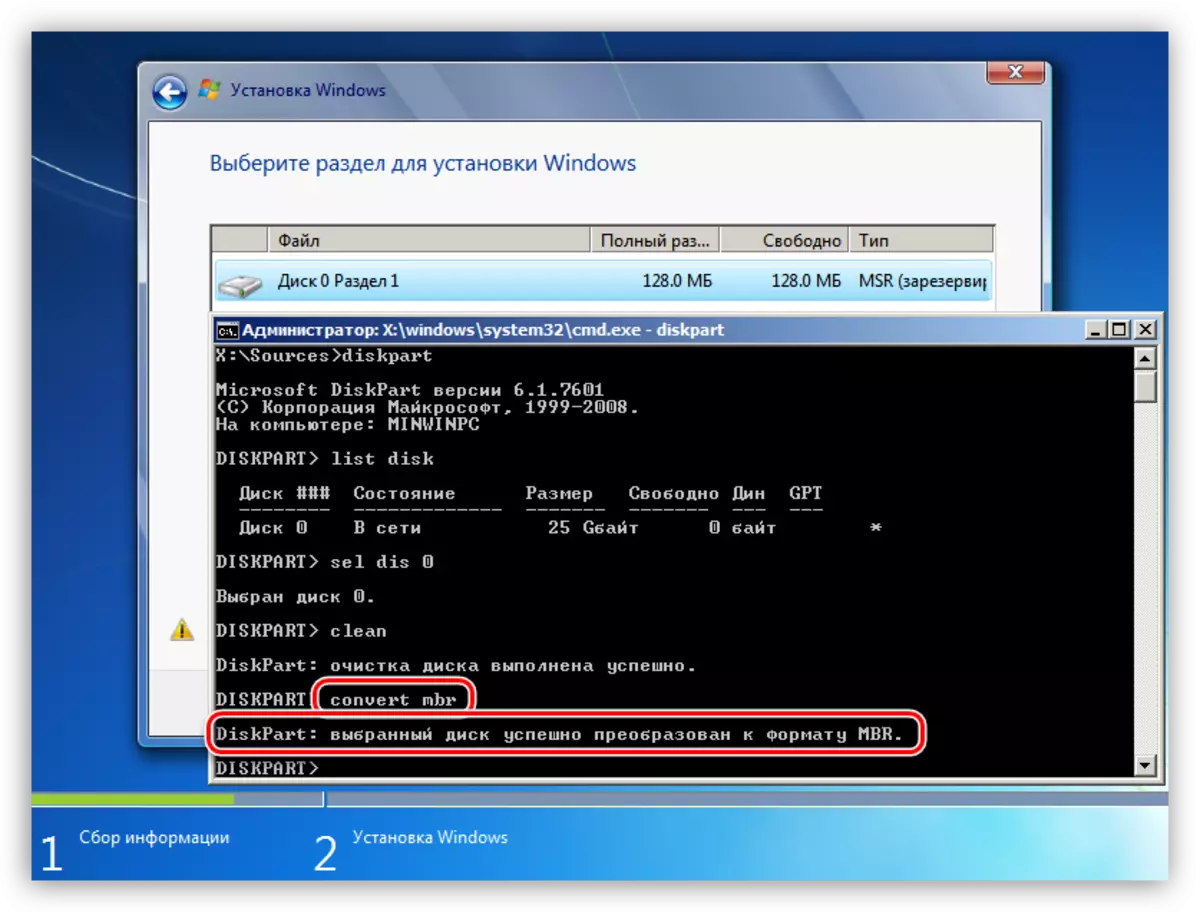
- Final stage - converting. Team will help us in this
Convert MBR
- It remains only to complete the operation of the utility and close the "Command Line". For this we enter twice
EXIT
followed by pressing ENTER.
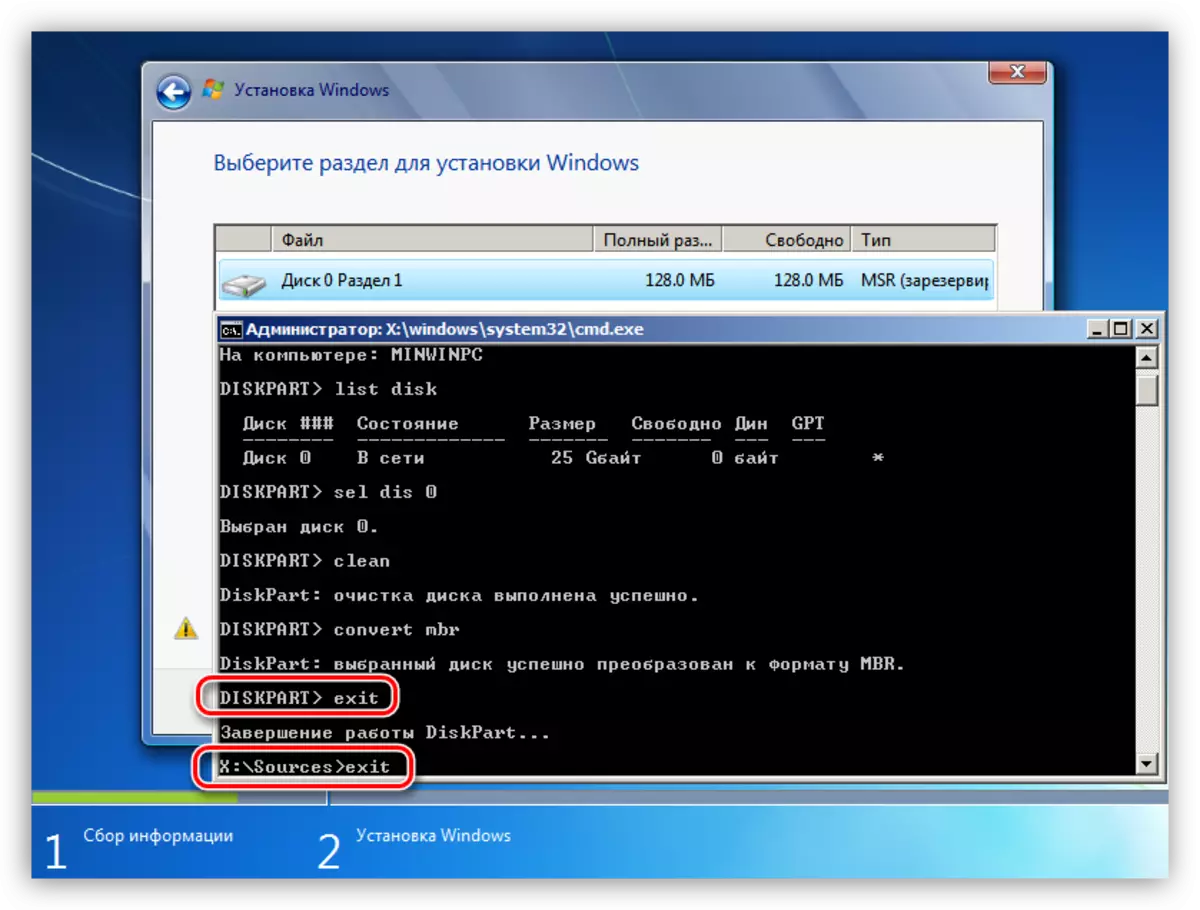
- After closing the console, we click "update".
- Ready, you can continue to install.
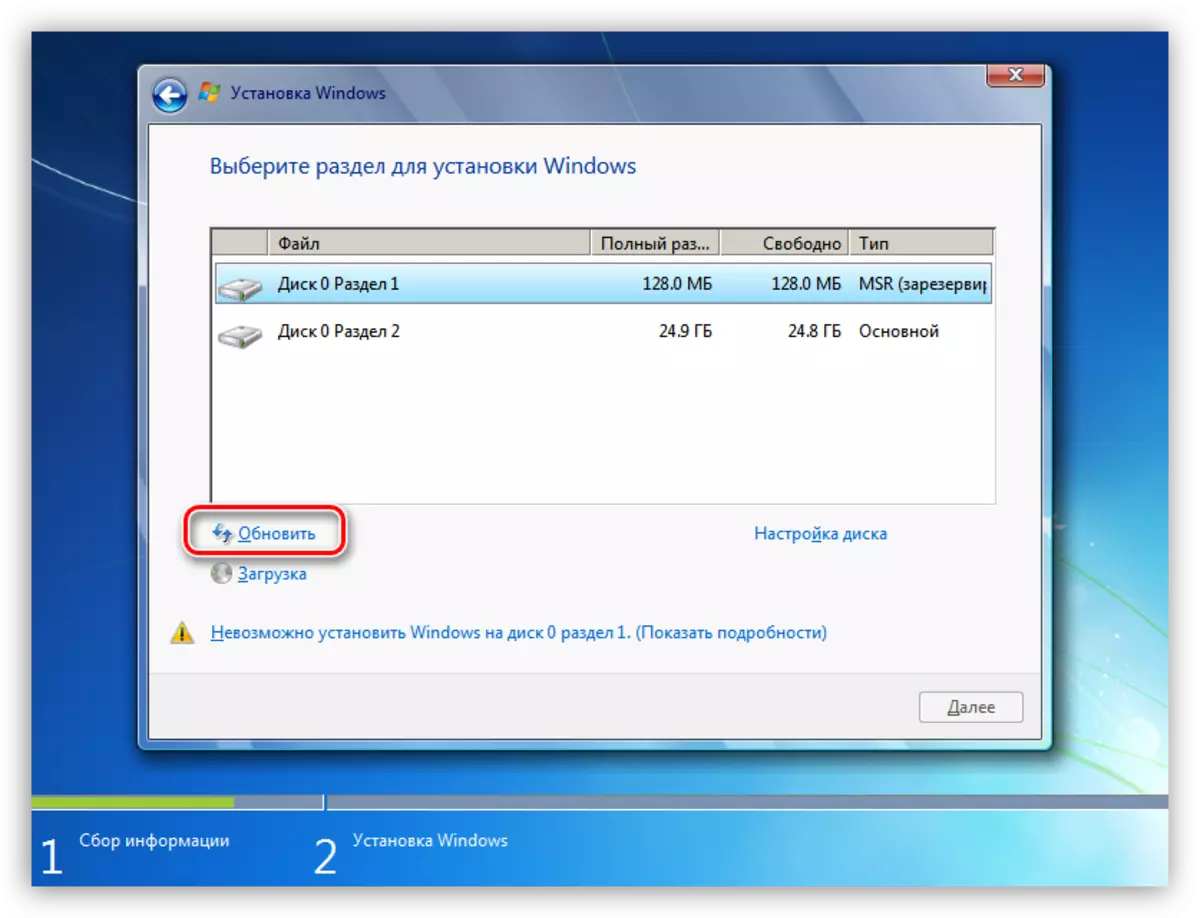
Method 4: Deleting partitions
This method will help in cases where for some reason it is impossible to use other tools. We simply manually delete all sections on the target hard drive.
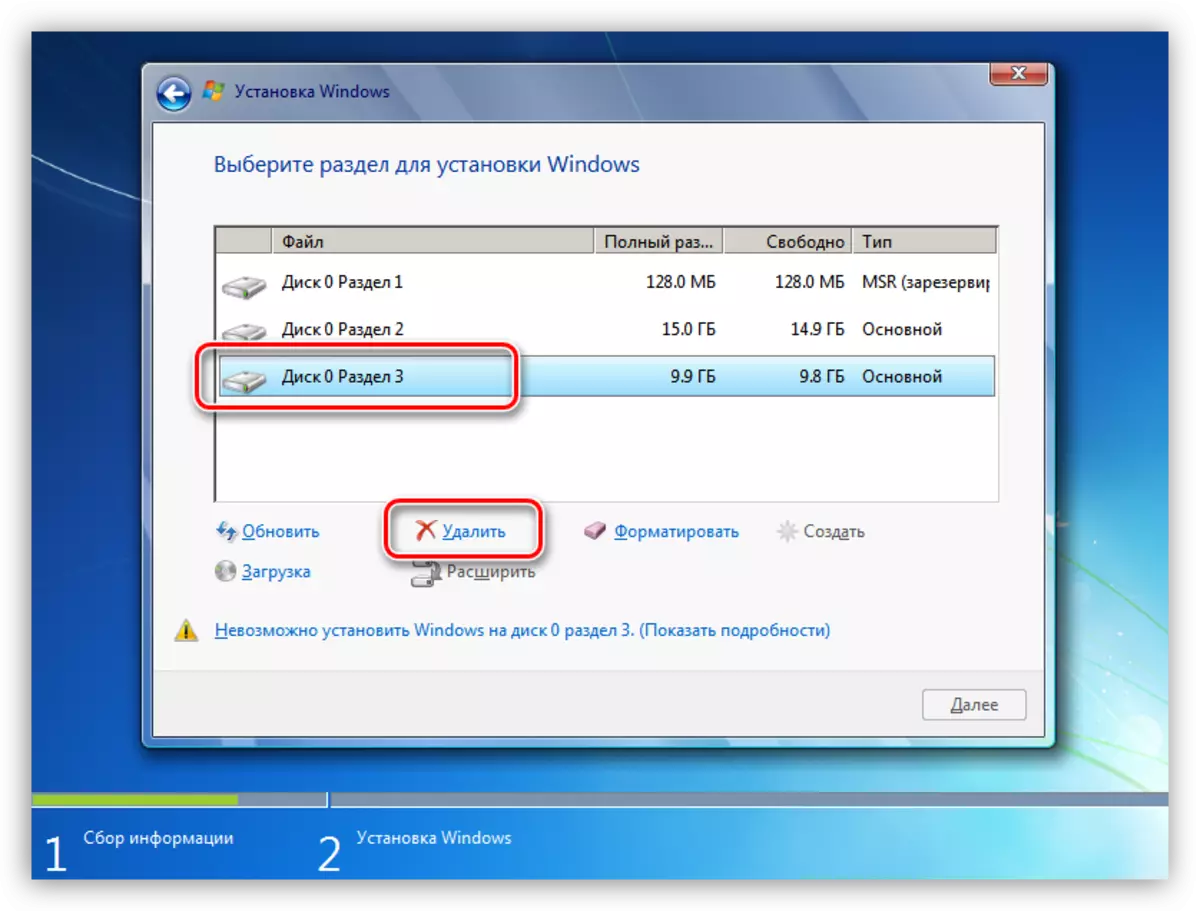
- Click "Customize the disk".
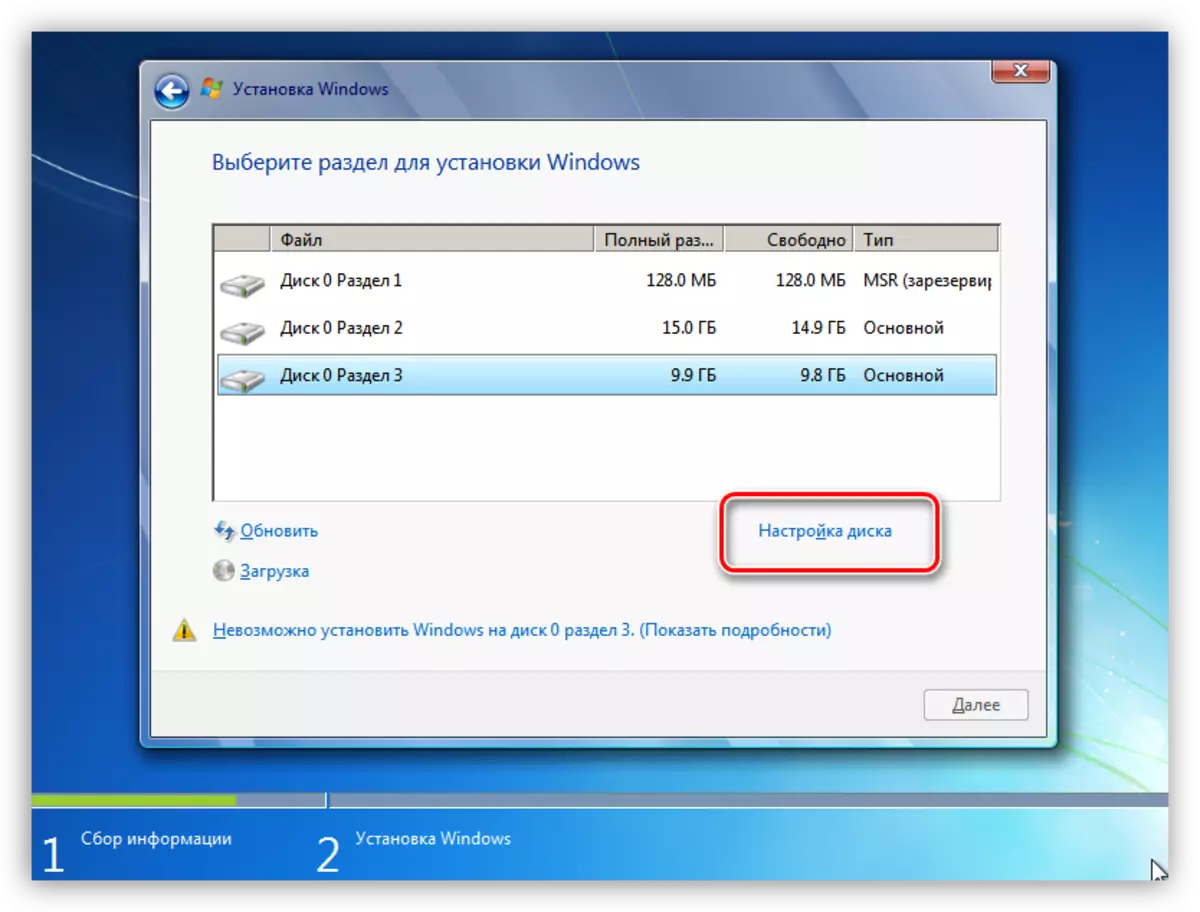
- Select each partition in turn, if there are several of them, and click "Delete".
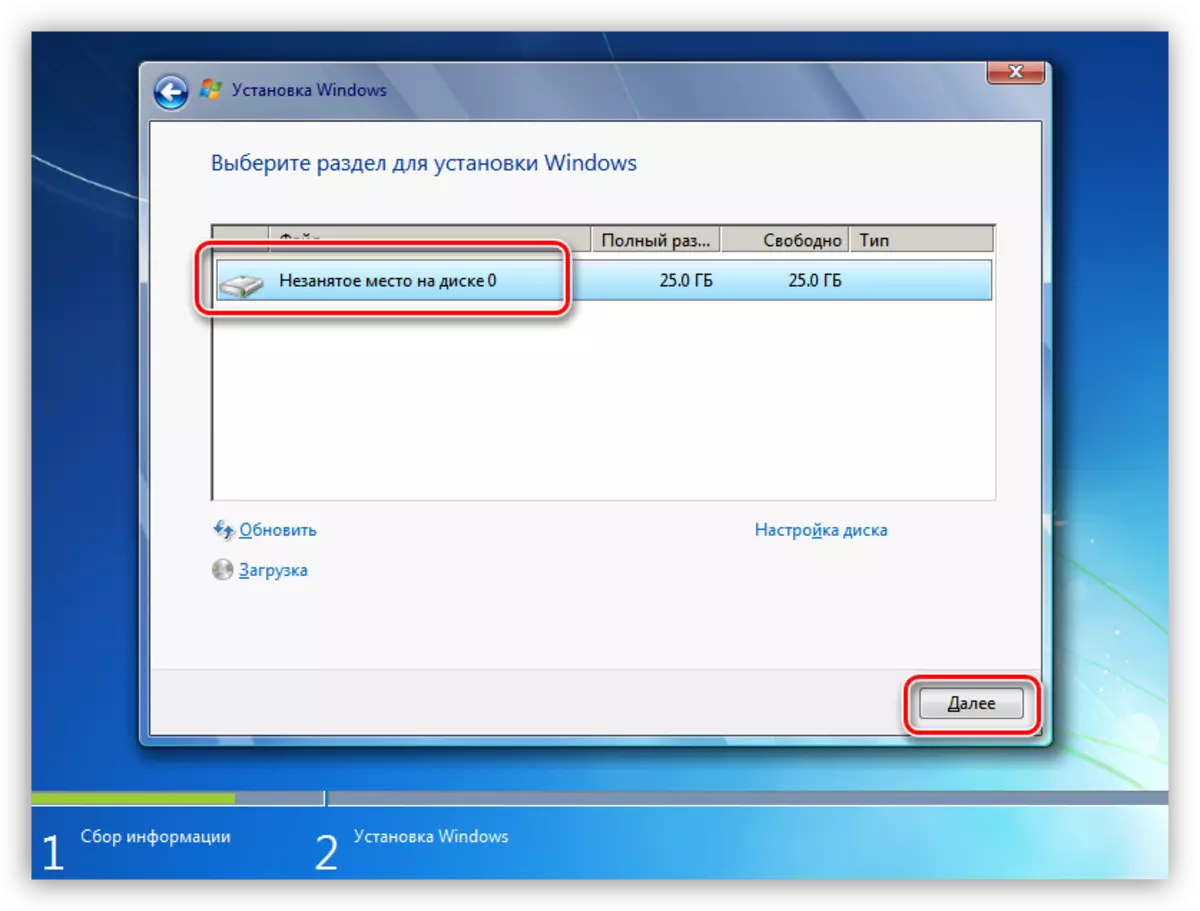
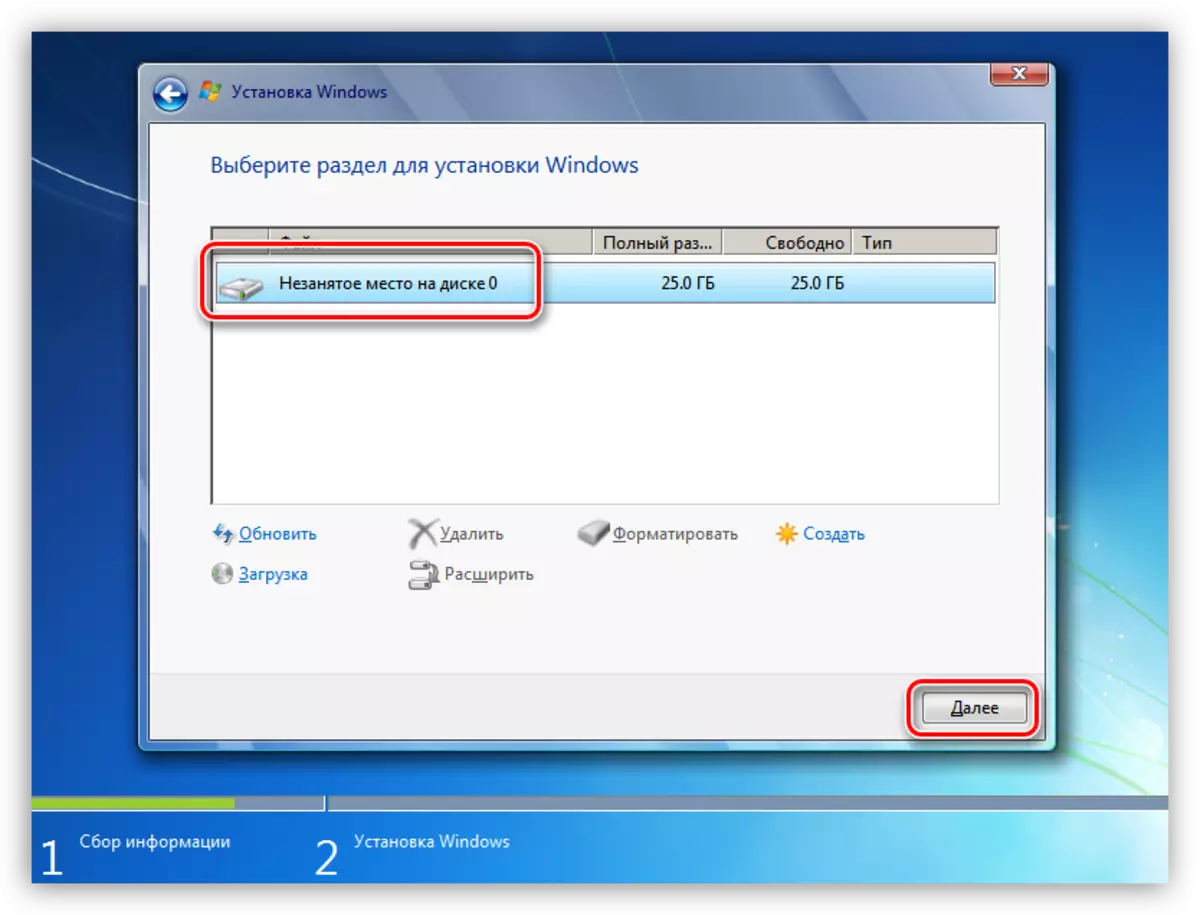
- Now only a clear space remains on the carrier, which can be installed without any problems.
Conclusion
As it becomes clear from all written above, the problem with the inability to install Windows on the disks with the GPT structure is solved quite simply. All the above methods can help you out in different situations - from outdated BIOS to the absence of the necessary programs for creating bootable flash drives or hard disks.