

The speed of the Internet connection is a rather important indicator for any computer or laptop, or rather, for the user itself. In generalized form, these characteristics provides a service provider (provider), they are also contained in the contract with it. Unfortunately, in this way, you can only find out the maximum, peak value, and not "everyday". To obtain real numbers, you must independently measure this indicator, and today we will tell about how it is done in Windows 10.
Measure the speed of the Internet in Windows 10
There are quite a few options for checking the Internet connection speed on a computer or laptop running under the tenth version of Windows. We will consider only the most accurate of them and those that have positively proven themselves for a long time of use. So, proceed.Note: To obtain the most accurate results before performing any of the methods below, close all programs that require a network connection. Only the browser should remain running, and it is extremely desirable that the minimum tabs are open in it.
See also: How to increase the speed of the Internet in Windows 10
Method 1: Speed test on Lumpics.ru
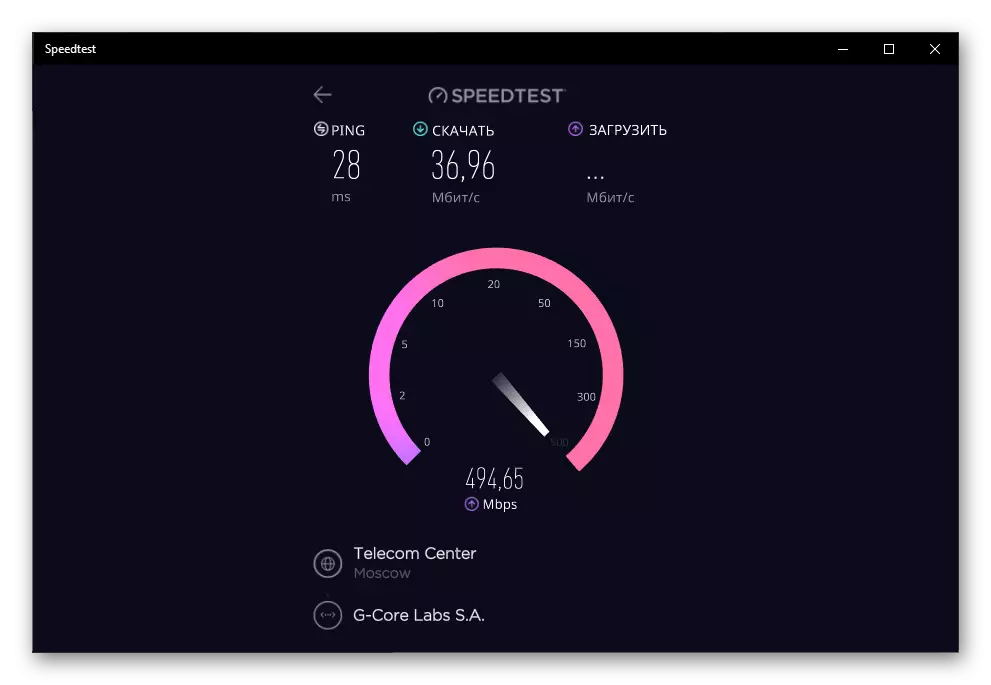
Since you read this article, the easiest way to check the Internet connection speed will be the use of the service integrated into our site. It is based on the well-known Speedtest from Ookla, which in this area is a reference solution.
Internet speed test on Lumpics.ru
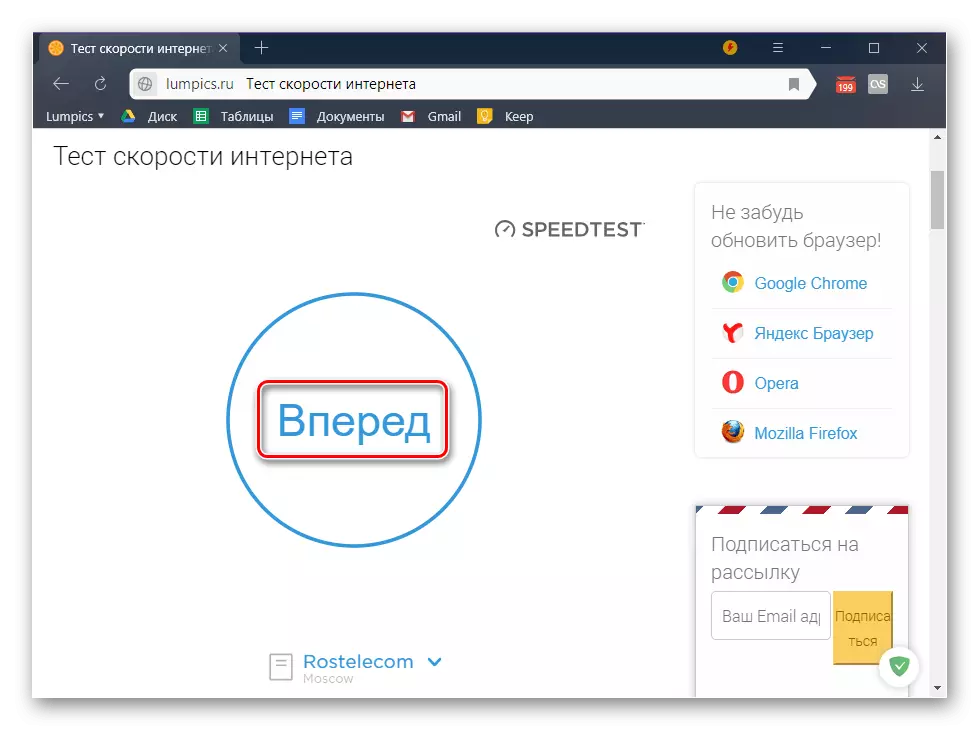
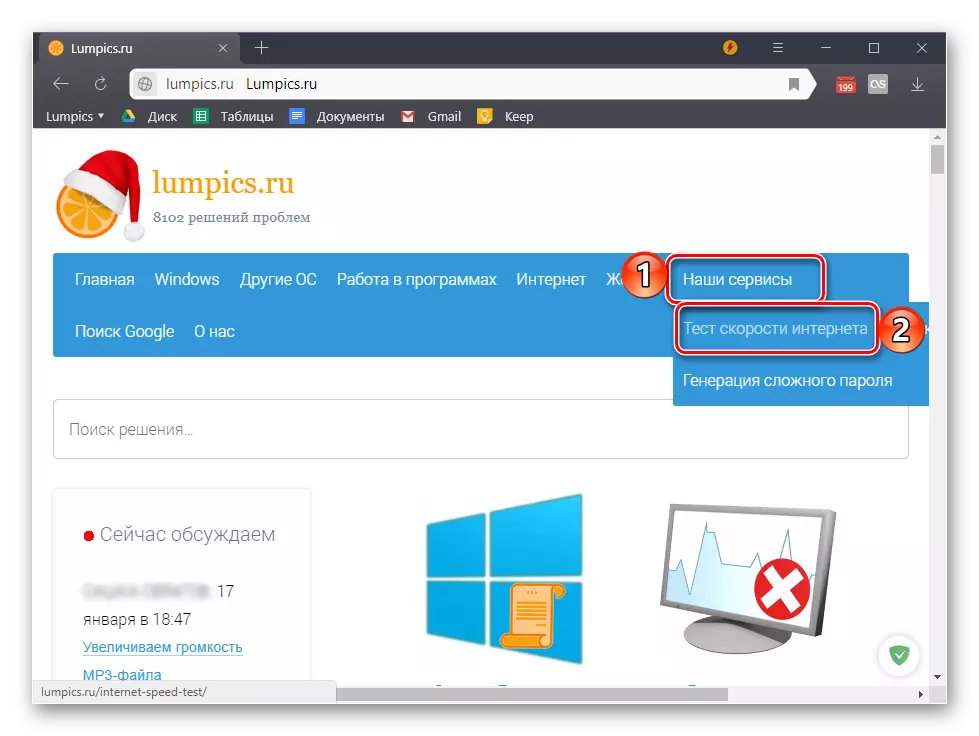
- To go to test, use the links below or the "Our Services" tab, located in the site cap, in which you want to select the Internet Speed Test.
- Click on the Start button and wait for the check.
Try at this time not to disturb your browser or computer.
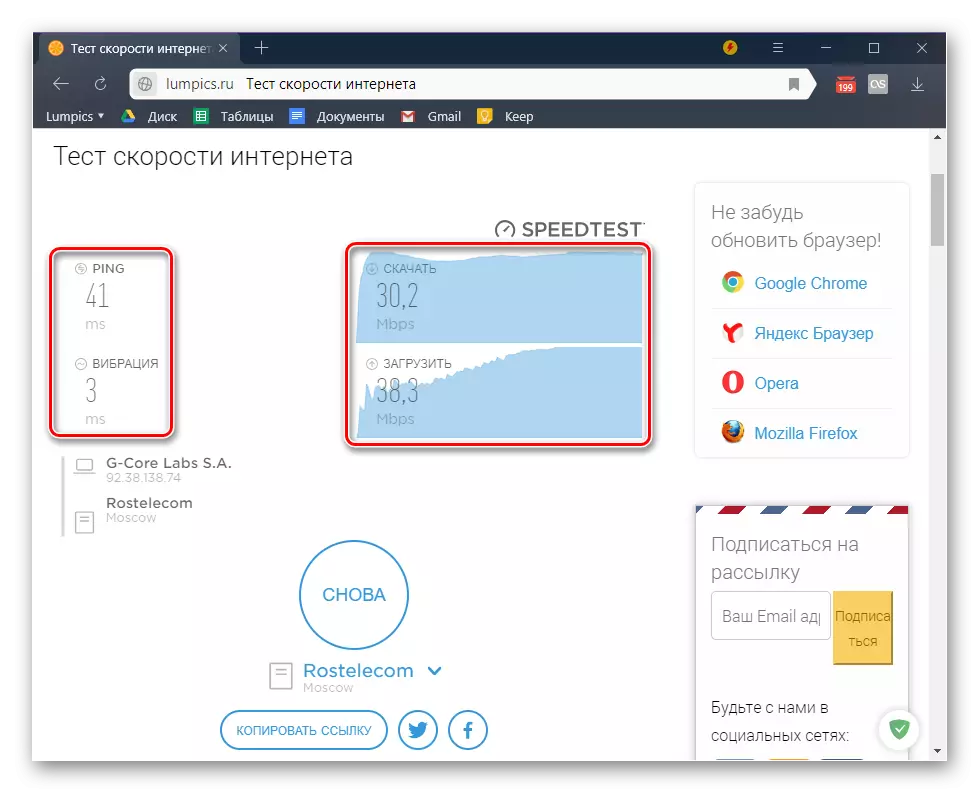
- Familiarize yourself with the results in which the actual speed of your Internet connection when downloading and downloading data, as well as ping with vibration. Additionally, the service provides information about your IP, region and network service provider.

Method 2: Yandex Internet meter
Since there are small differences in the work algorithm of different services for measuring the Internet speed, to obtain the result as close as possible, the result should be used by several of them, and then determine the average number. Therefore, we offer you additionally refer to one of the numerous yandex products.
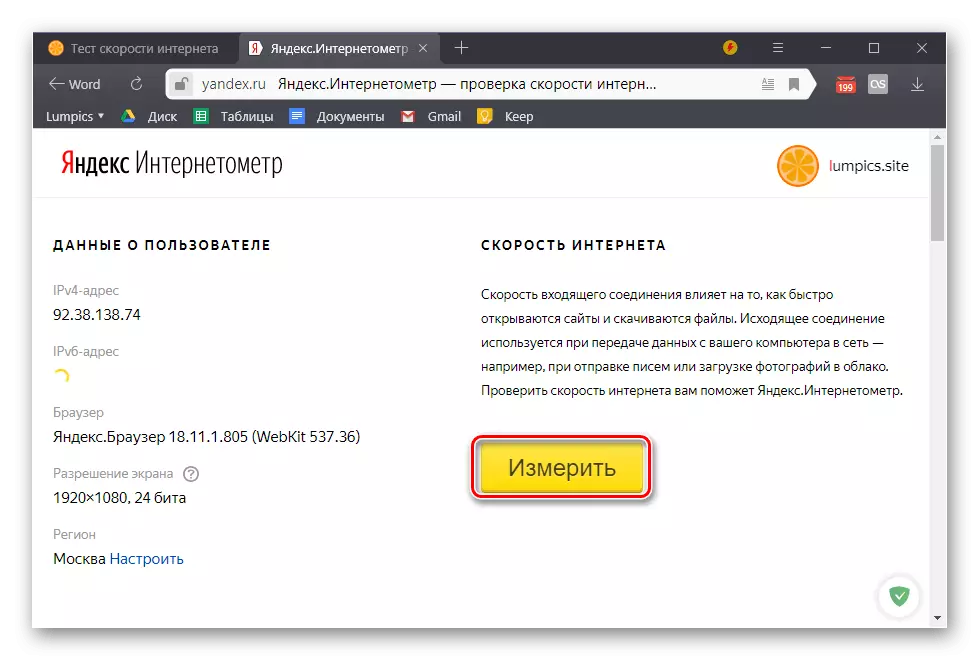
Go to Yandex Internet Meter
- Immediately after the transition to the link presented above, click on the "Measure" button.
- Wait for checking.
- Check out the results obtained.

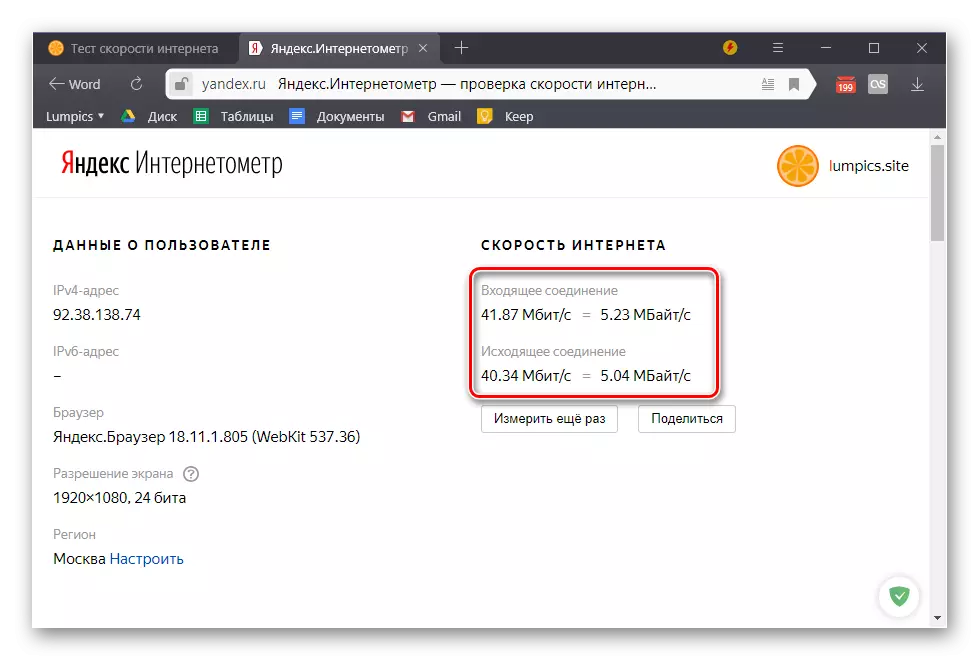
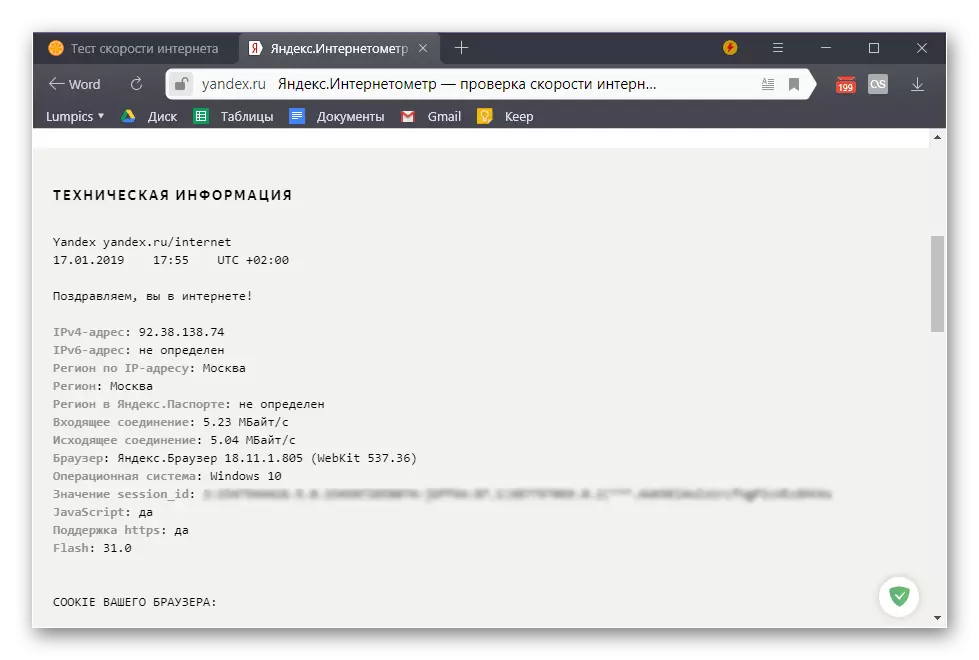
An Internet meter from Yandex is somewhat inferior to our test test, at least, if we talk about its direct functions. After checking, you can find out only the speed of the incoming and outgoing compound, but in addition to generally accepted Mbps it will also be indicated in more understandable megabytes per second. Additional information, which is presented quite a lot on this page, has nothing to do with the Internet and speaks only about how many Yandex knows about you.
Method 3: SpeedTest app
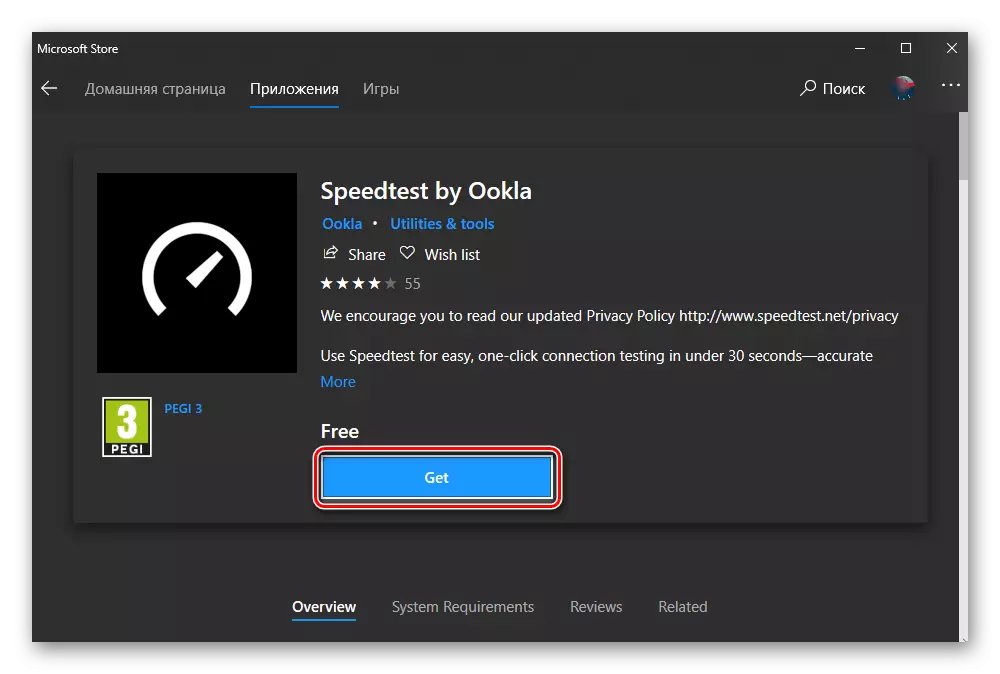
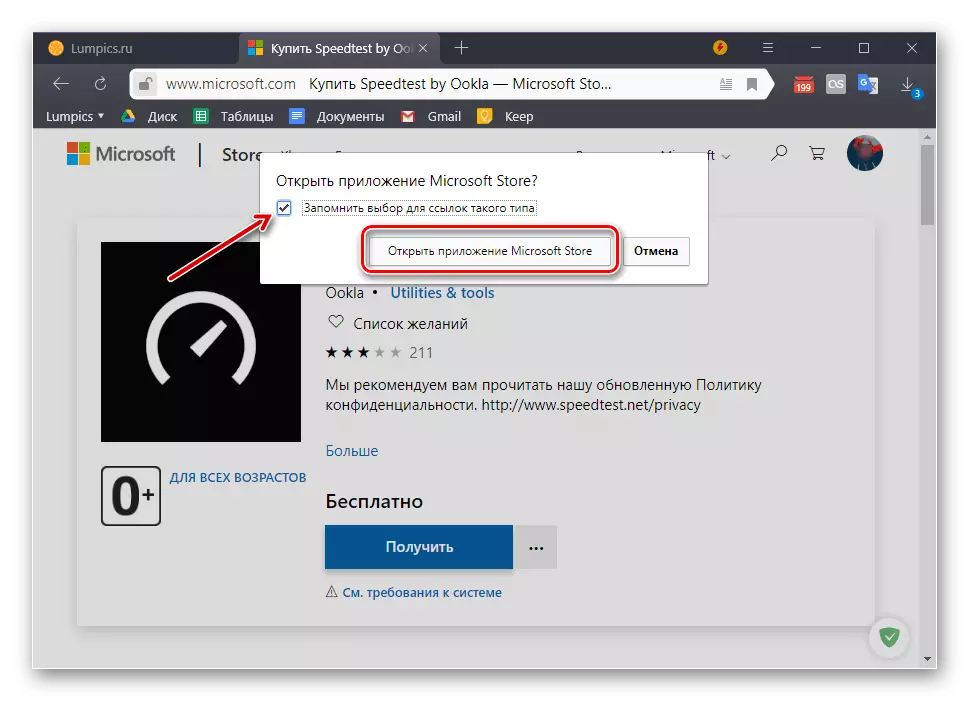
The web services discussed above can be used to check the velocity of the Internet connection in any version of Windows. If we talk specifically about the "dozen", for her, the developers of the Ookla service mentioned above have also created a special application. You can install it from the Microsoft brand store.
Download the Speedtest app in Microsoft Store
- If, after switching to the above link, the Windows Application Store will not be launched automatically, click on its page in the browser by the "Get" button.

In a small pop-up window, which will be running, click on the "Open Microsoft Store" button. If you want, in the future, its opening happens automatically, check the box in the checkbox marked in the screenshot.
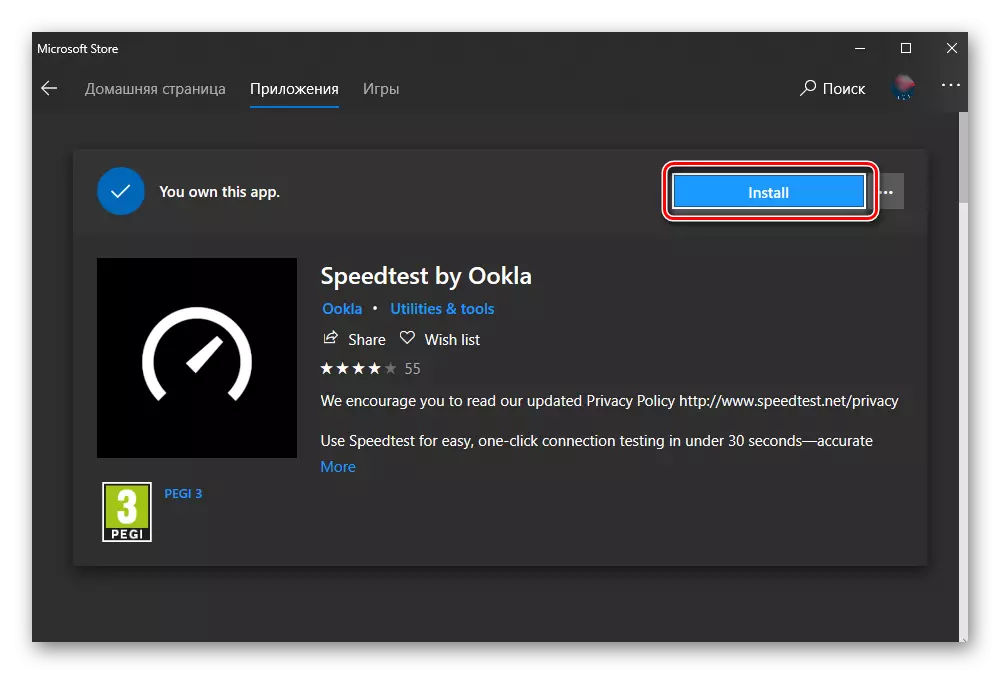
- In the store app, use the "Get" button,
And then "Install."
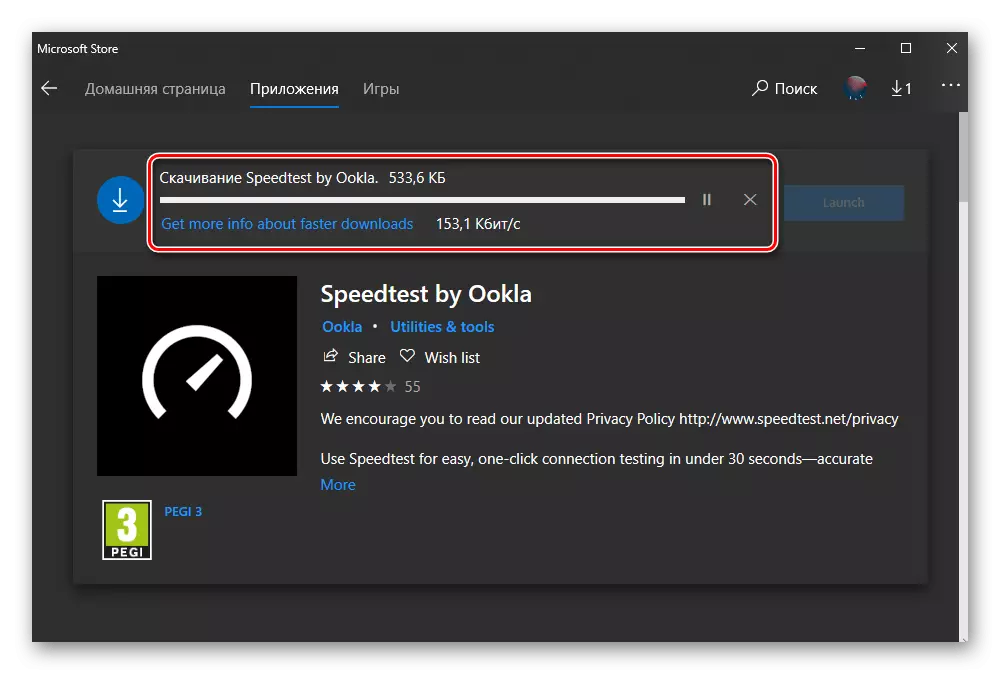
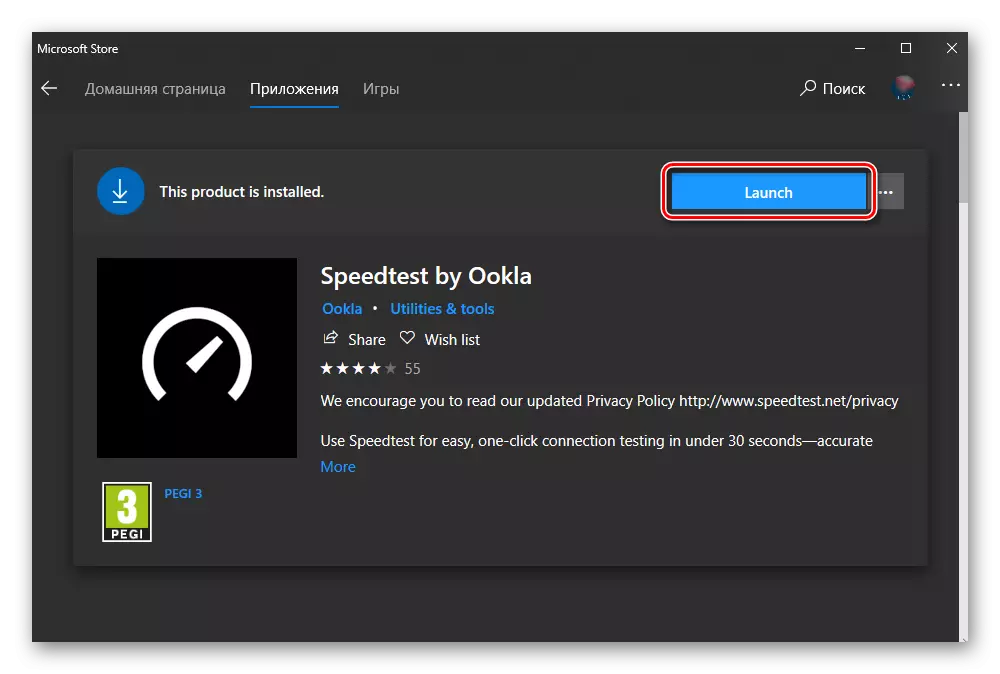
- Wait for the download to download Speedtest, after which you can run it.
To do this, click on the "Launch" button, which will appear immediately after the installation is completed.
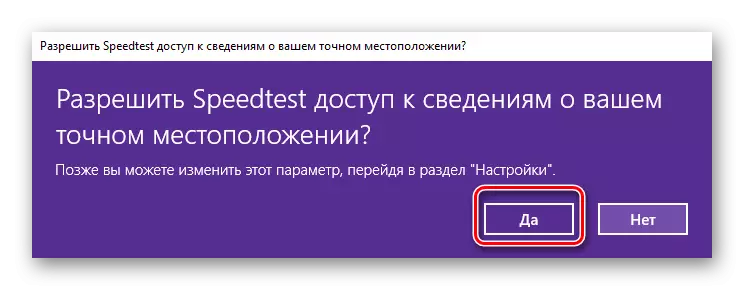
- Provide the application access to your exact location, clicking "Yes" in the window with the appropriate request.
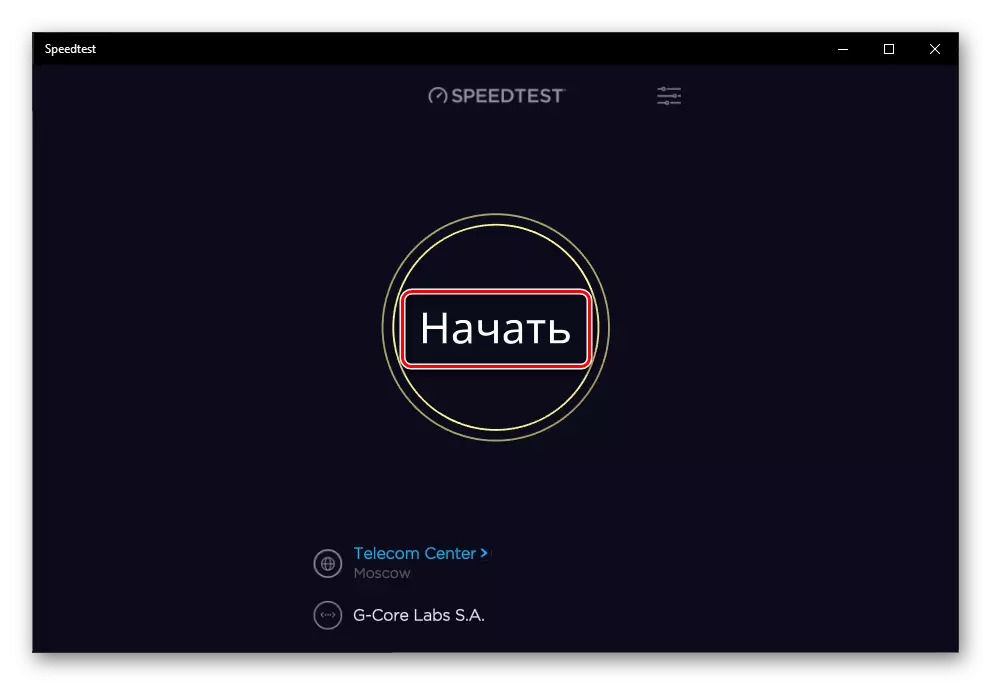
- As soon as Speedtest by Ookla is running, you can check the speed of your online connection. To do this, click on the inscription "Start".
- Wait until the program completes the test,
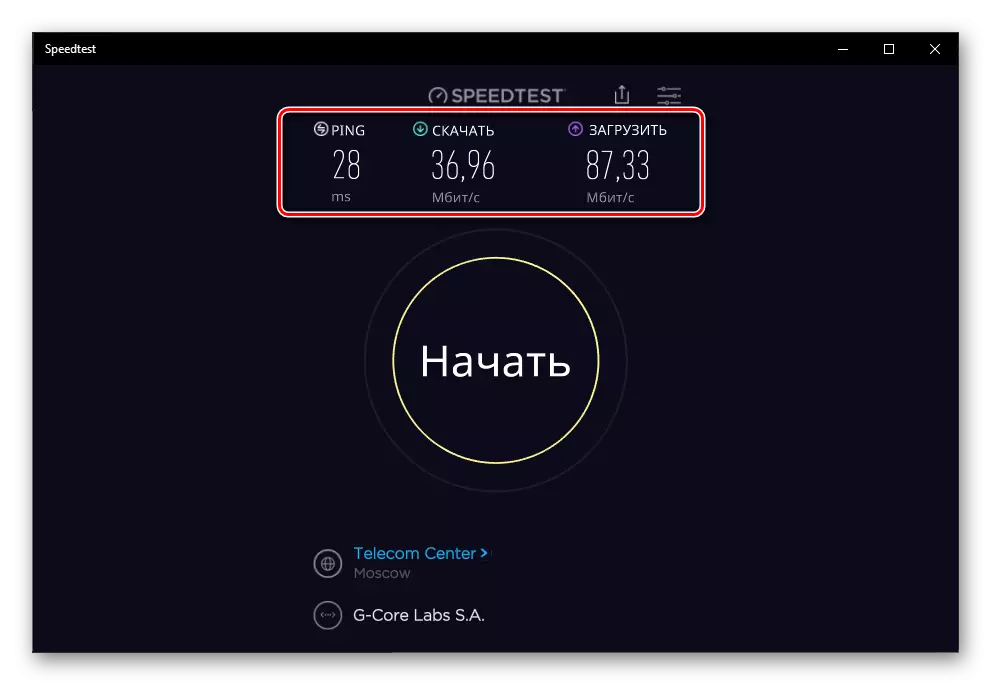
And familiarize yourself with its results that will feature ping, download speed and download, as well as information about the provider and the region, which is still determined at the initial stage of testing.
View current speed
If you want to see, at what speed by your system, the Internet is consumed during its usual use or during idle period, it will be necessary to contact one of the standard Windows components.
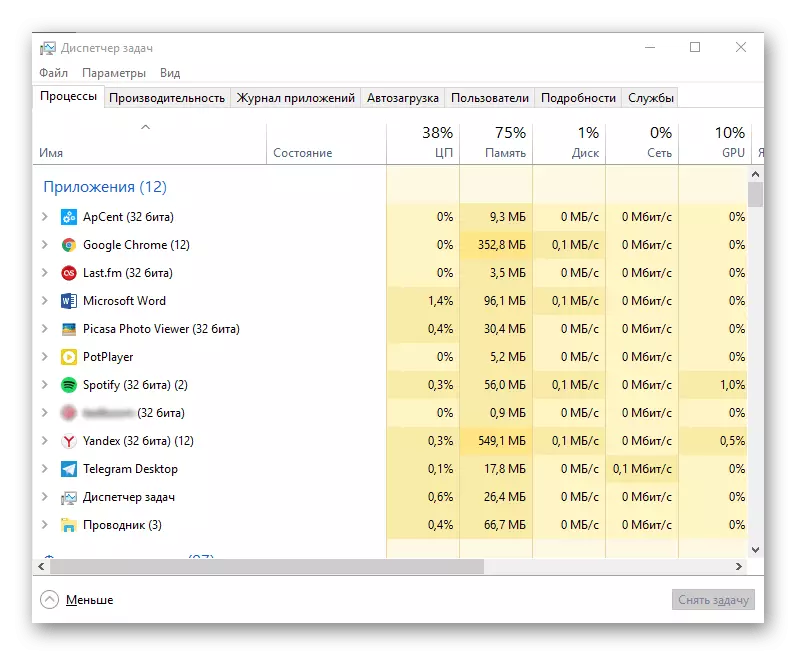
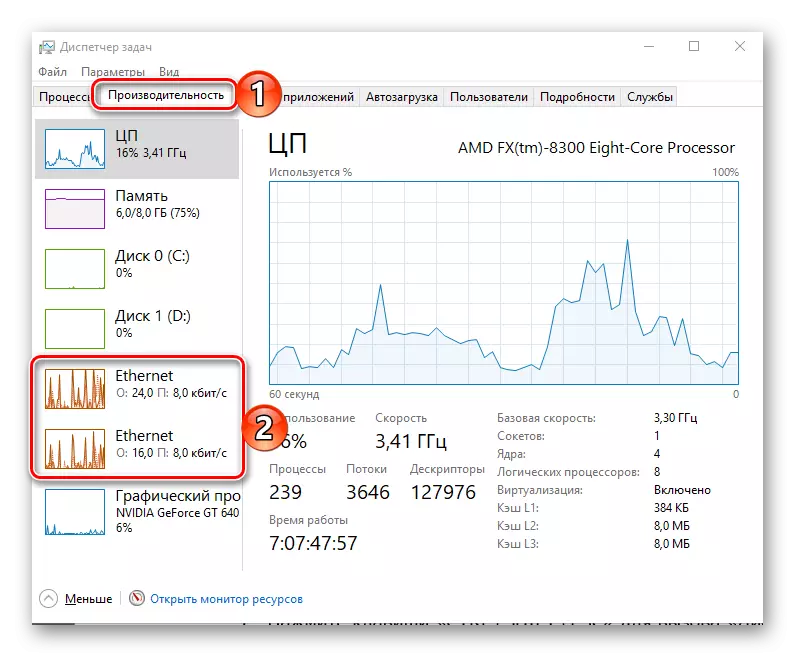
- Press the "CTRL + SHIFT + ESC" keys to call the task manager.
- Go to the "Performance" tab and click in it by section with the name "Ethernet".
- If you do not use a VPN client for a PC, you will have only one item called "Ethernet". It can also be found at what speed is downloaded and downloading data through the installed network adapter with the usual use of the system and / or during idle time.

The second point of the same name, which is in our example, is the work of a virtual private network.

Conclusion
Now you know about several ways to check the velocity of the Internet connection in Windows 10. Two of them involve access to web services, one - use the application. Decide what of them to use, but to get really accurate results, it is worth trying each, and then calculate the average speed of downloading and loading data, summing the values obtained and sharing them on the number of tests conducted.