

In the social network VKontakte, as you may be aware, in addition to the main avatars community, users are given the opportunity to cover the installation. The process of creating and placing this kind of cap is able to cause a lot of questions from novice users new to the basic elements of the VC, but already has his team.
Make a cover for the group
Immediately it should be noted that in general the process we have already seen in one of the earlier articles. However, some of the features, which we describe below, have not been sufficiently detailed disclosure.
Read more: How to create the avatar for the group VK
To successfully create a cap for public servers, you will need basic knowledge in the possession of any photo editor, which allows to establish a clear final image size. Most ideally suited for this purpose Adobe Photoshop.
Social network requirements oblige to use the files to choose from one of three formats:
- PNG;
- Jpg;
- GIF.
Please note that the technical features of the data files to date not available on a site considered the social network. Delving into the essence of what has been said, VKontakte not able to work with the effect of a transparent background or animation.
Animations can be stably loaded on the site and played only in those cases when a file is added to a document.
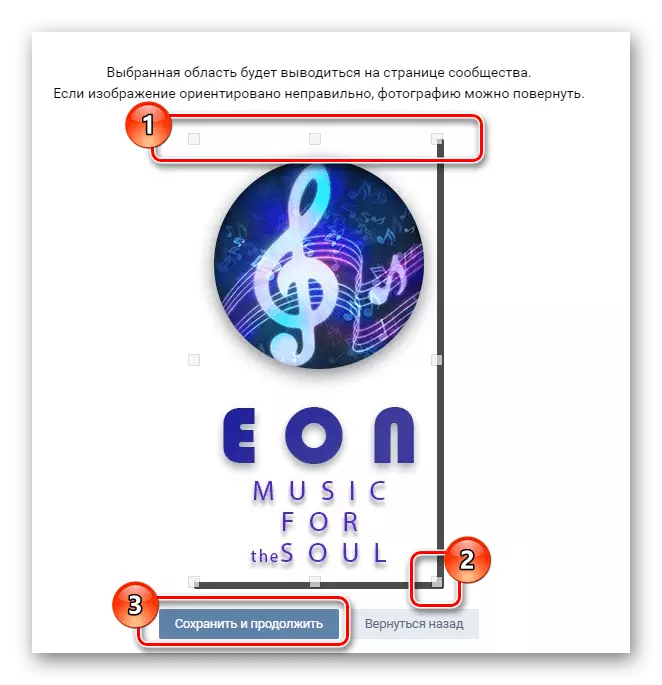
Having dealt with the intricacies of the creation and adaptation of the cover, it is important to note that in the case of a full version of the site VK if you had downloaded a picture found on the Internet and do not cut off at the typed pattern, while its load proportion will still be met. Moreover, you can manually select any part of the image, not forgetting the definition.
For example, we show how to modify the principle seems simple, but fully adaptive caps in Photoshop program.
- Create a file, go to the program settings and see "Units and rulers" in the block "Units" put both items to "pixels".
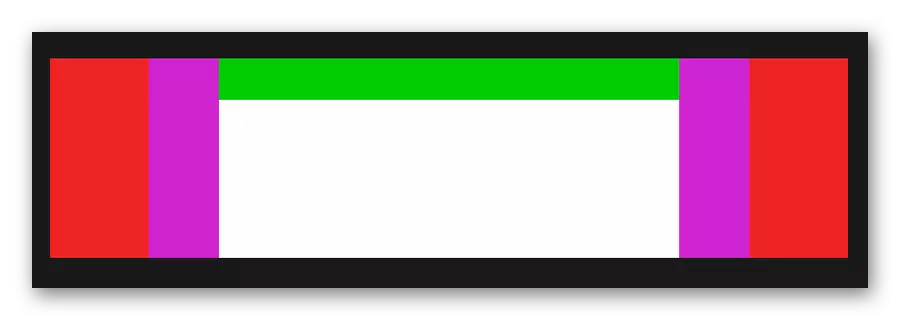
- Select tool "Rectangle Selection" and follow the breakdown of the blocks with the dimensions mentioned above.
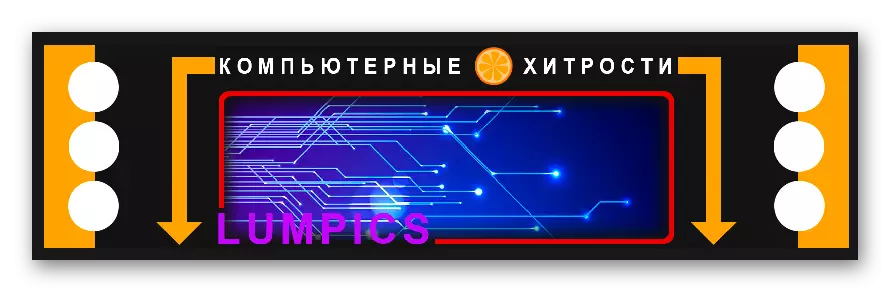
- In the open area, create the cover itself, using the basis of community topics and their own ideas.
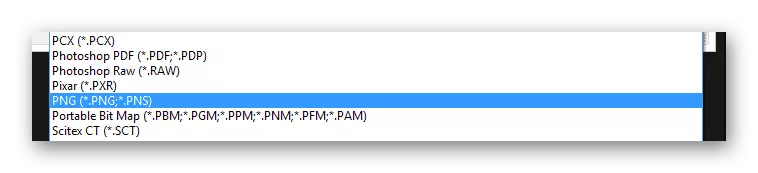
- Save the image in PNG format, or any other supported sites VC.

After completing the execution of the steps above, you can immediately proceed to the analysis of features of the pictures in VKontakte.
Loading plain caps
As in the case of editing a new image, we have already discussed earlier the process of adding the final file to the site. Because of this you will only have to read the article shown on the previous name of the link.
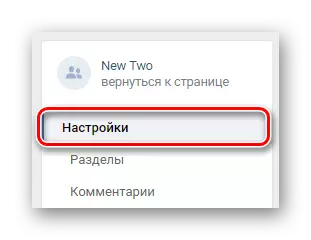
- In the "community management", click the "Settings" tab.
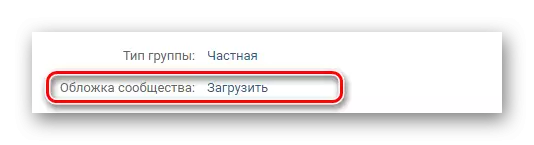
- Click on the link "Download" next to the item "Cover the community."
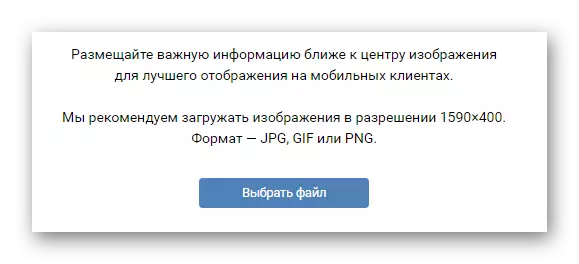
- Add a file from the system via the download area.
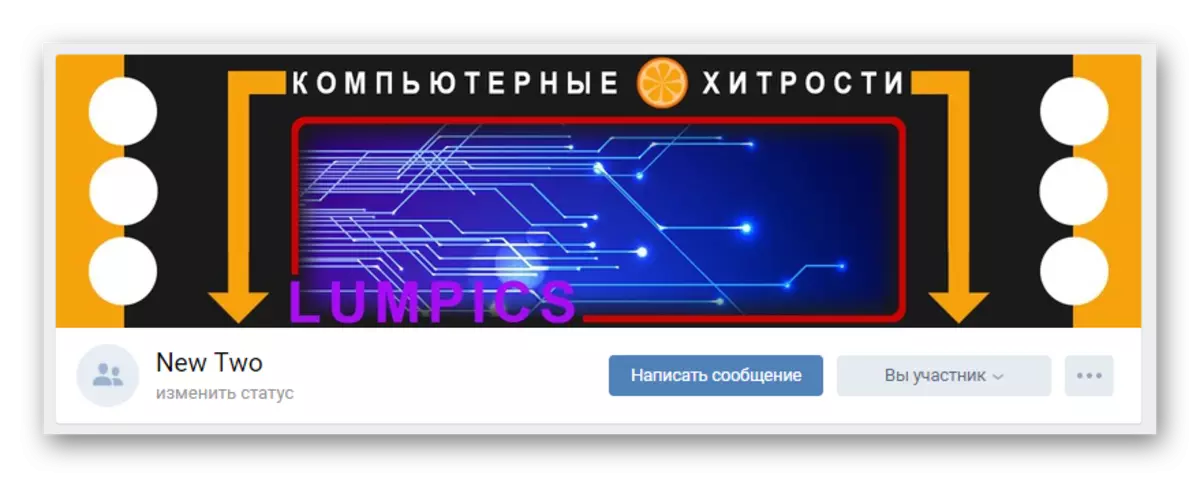
- Thereafter, in the group will be set to the image.
In this standard cover for Public VC we finish.
Creating a dynamic caps
In addition to the standard community covers a relatively newly opened VC users the ability to edit a dynamic universal caps that can change content automatically. Moreover, all actions associated with the addition of such pictures for the Public, require special services.
Most often, these services are paid services, but there are also part of the free resources.
We will look at the process of creating and adding a dynamic envelope through the online service DyCover tools.
Go to the official website of DyCover
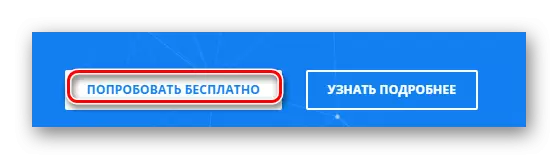
- In Internet Explorer, open the specified site and at the top of the page click on "Try it for free."
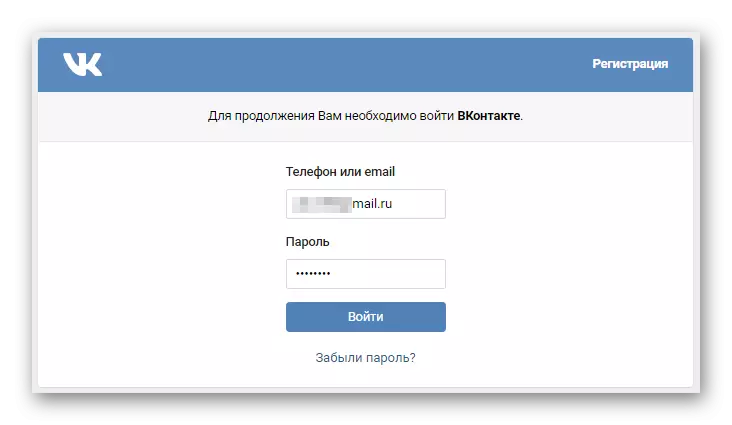
- Through the security zone VKontakte fill out the form to login data from your account and press "Enter".
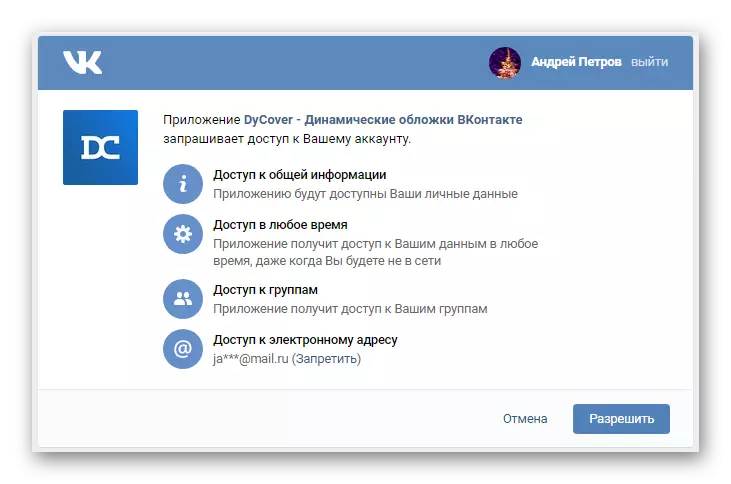
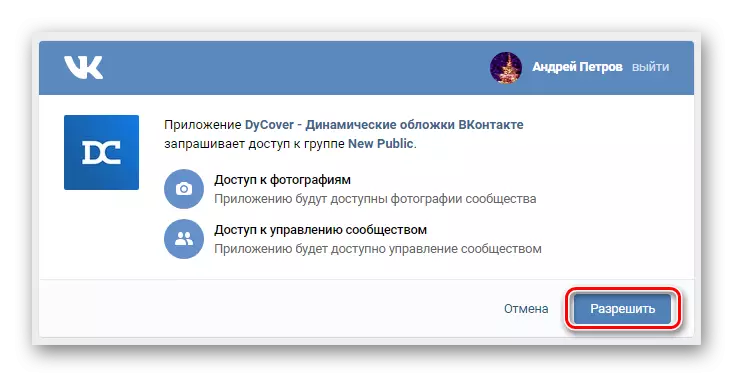
- Confirm provide application access to certain information from your account.
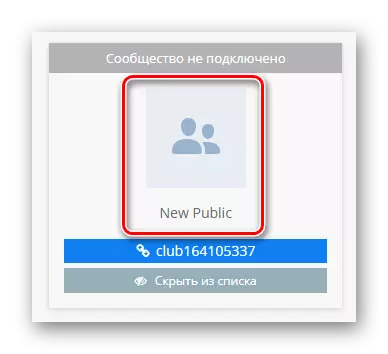
- Next on the tab located below the "Managed" and locate the group or public pages.
- Once the plug-Public will be found in the card group, click on the field with the avatar.
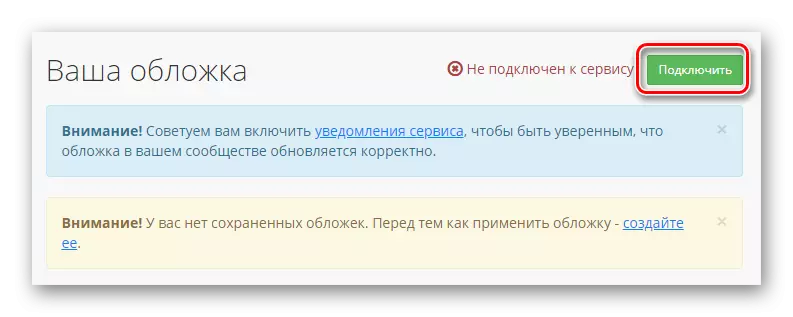
- In the "Your Cover" get the status of service work string and click "Connect".
- You will be redirected to the application page to connect to the selected group, where you need to use the button "Enable".
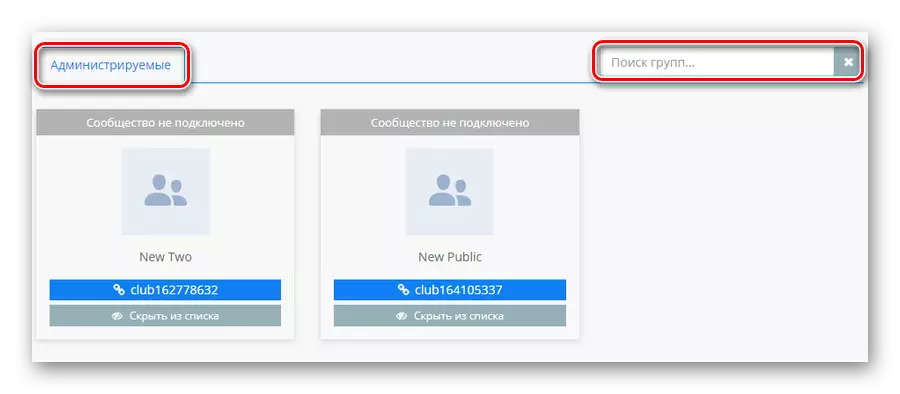
If you are the owner of a sufficiently large range of public-controlled, use the search form.
You can connect a maximum of one community on the conditions of the test period.
When finished with the main working fluid preparations for a new dynamic hats for the group must perform to add a new template.
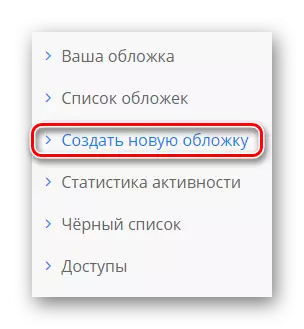
- Switch to the "Create a new skin" from the main menu resource.
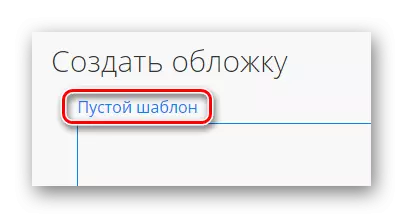
- At the top of the page, click on the link "Blank Template".
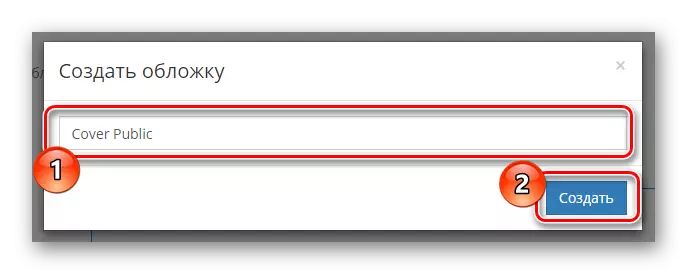
- Using the text box in the dialog box, enter a name for the new cap and click "Create."
All further actions will be devoted exclusively to the creation and analysis of basic editing tools.
Block "Control"
If you are good enough own skills development editors and can read embedded service tips, you can simply ignore the subsequent recommendations.
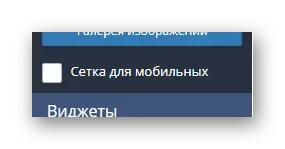
The first thing to draw your attention to the queue, it is the presence of built-in functions "Grid for mobile."
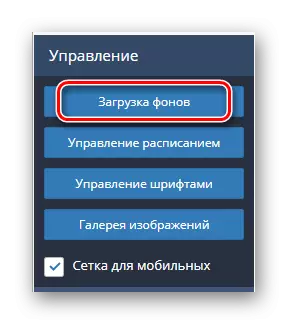
The most important from a visual point of view, is a block from the "Manage".
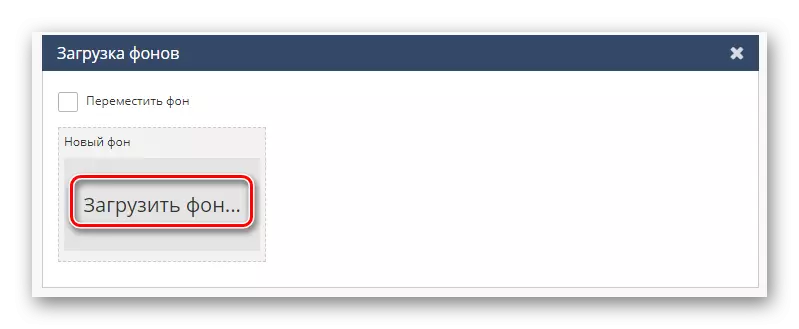
- Click on "Download backgrounds" to reveal the menu, add pictures for the cover.
- In the result pane, click on the label "Load background" and through the menu of the open image for the background.
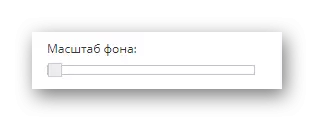
- If necessary, perform scaling using the slider "Scale background."
- You can add a number of different layers, which can then be set to automatically change.
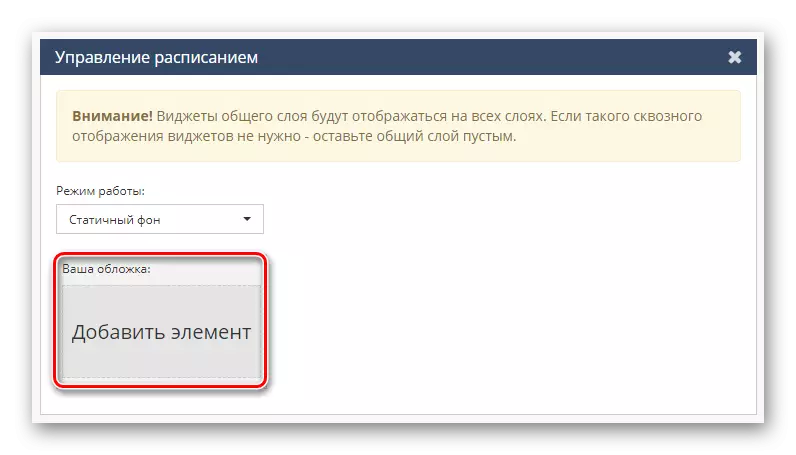
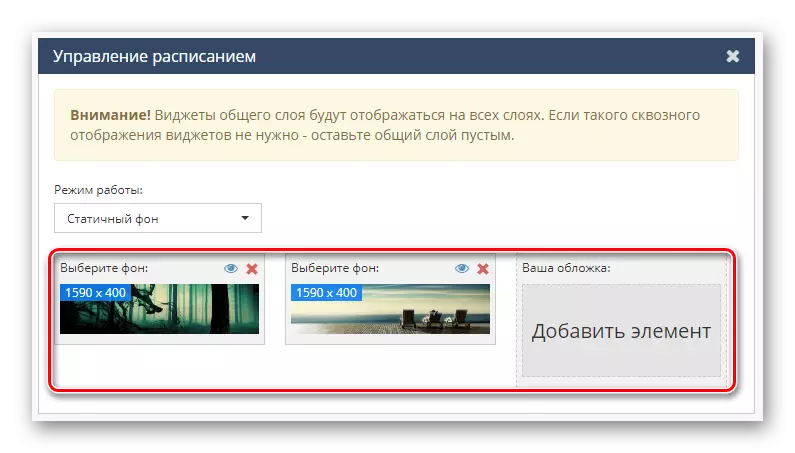
- To organize the dynamic change of set of pictures you click on the tab "Schedule Management" and block "Your Cover" click on the button "Add Item."
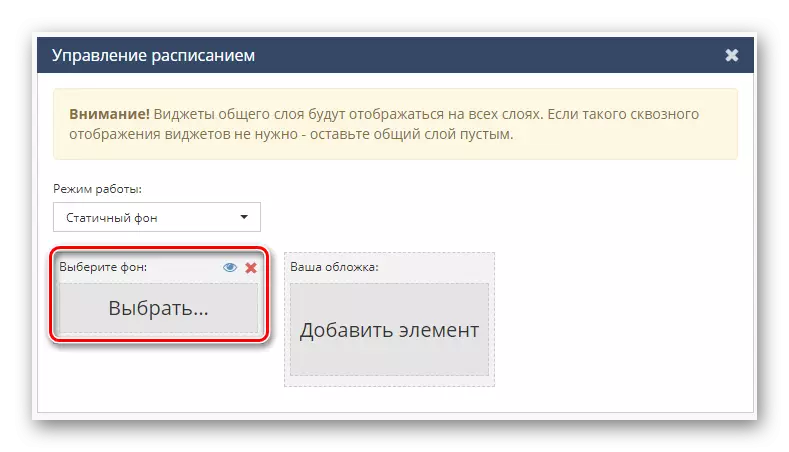
- Click "Select" in the window "Select background".
- After a pop-up window, scroll to the desired picture and press "Select".
- Through the drop-down menu "Mode" set the most appropriate value for you.
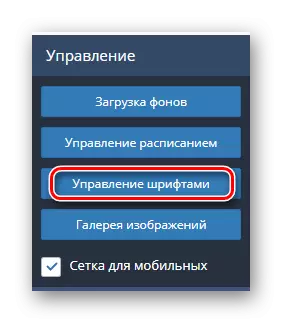
- The following ability to directly affect the general design of the cover of the cover is "font management".
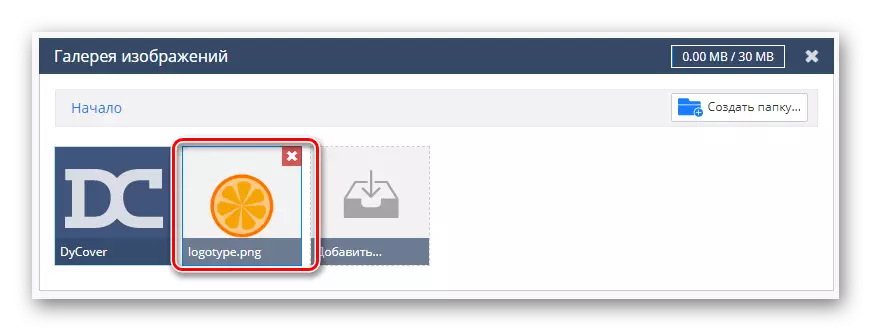
- Using the "Gallery of Image" tab, you can use both basic pictures and download your own directories in manually.


In addition to standard sections, there is also a block "Layers" allowing you to operate with the priority of certain design elements.
Painted controls are the basis of the future cap.
Block "Widgets"
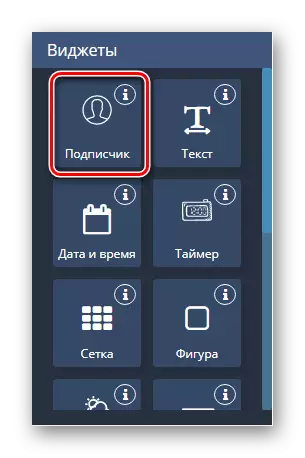
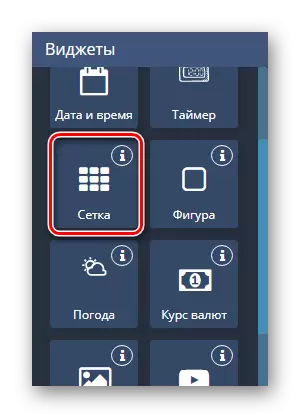
The last and most interesting service menu item allows you to add widgets. For example, thanks to the use of the presented functions, the time or weather is organized without problems.
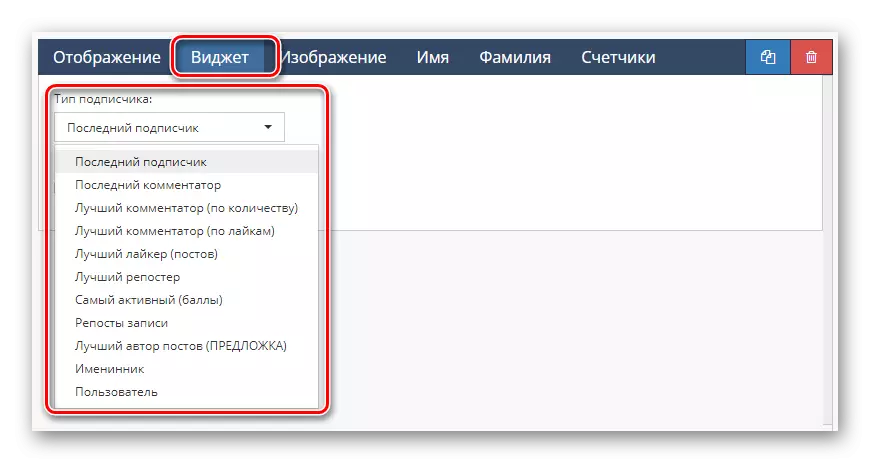
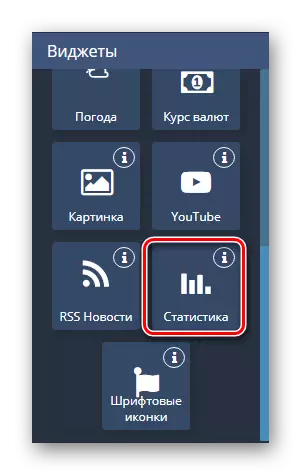
- On the Widgets panel, click on the subscriber signature.
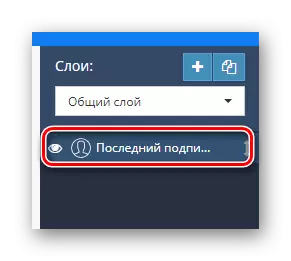
- To open the parameter menu of this component, click on its name on the right side of the working window under the layer panel.
- Being in the "Widget" menu, you can set the main conditions for displaying subscribers.
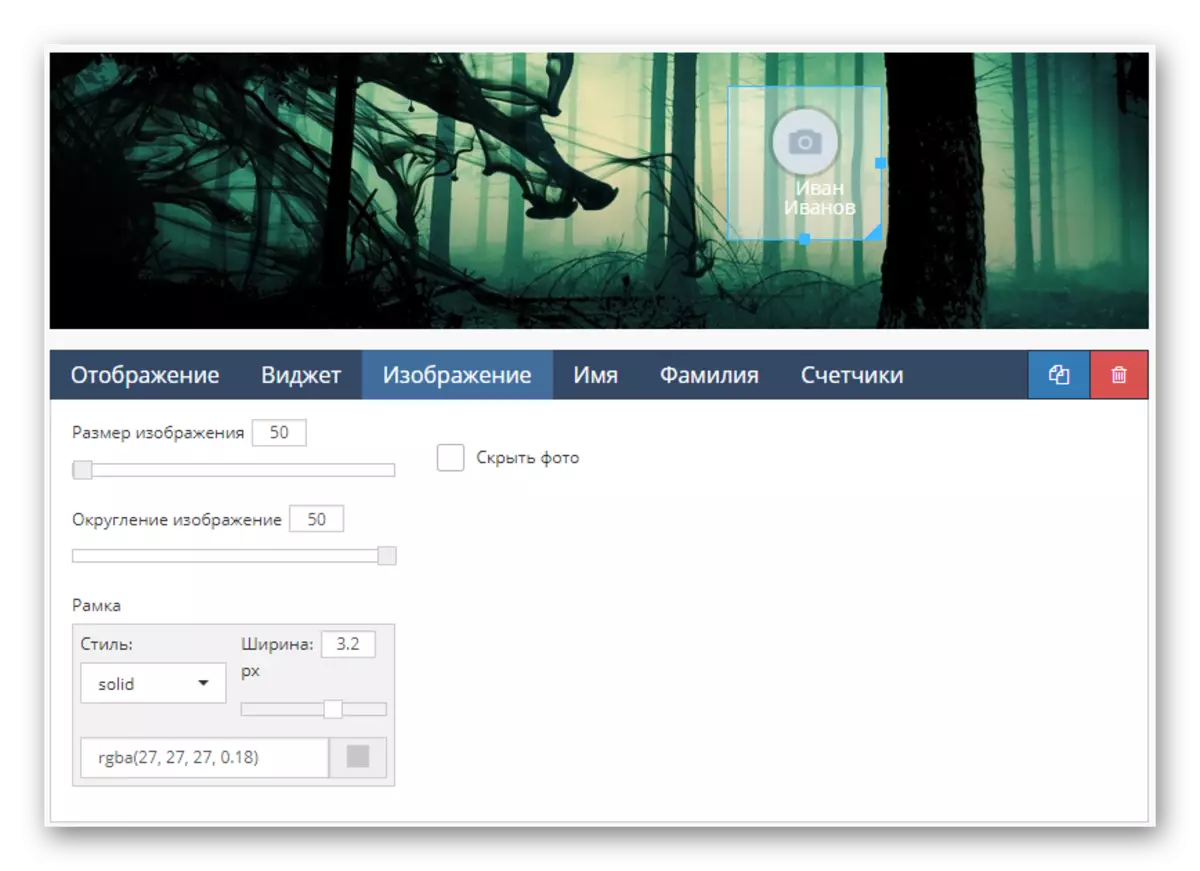
- In the "Image" window, debugging a user avatar display is executed or simply delete it.
- Sections "Name" and "Surname" are designed to debug the display name of the user.
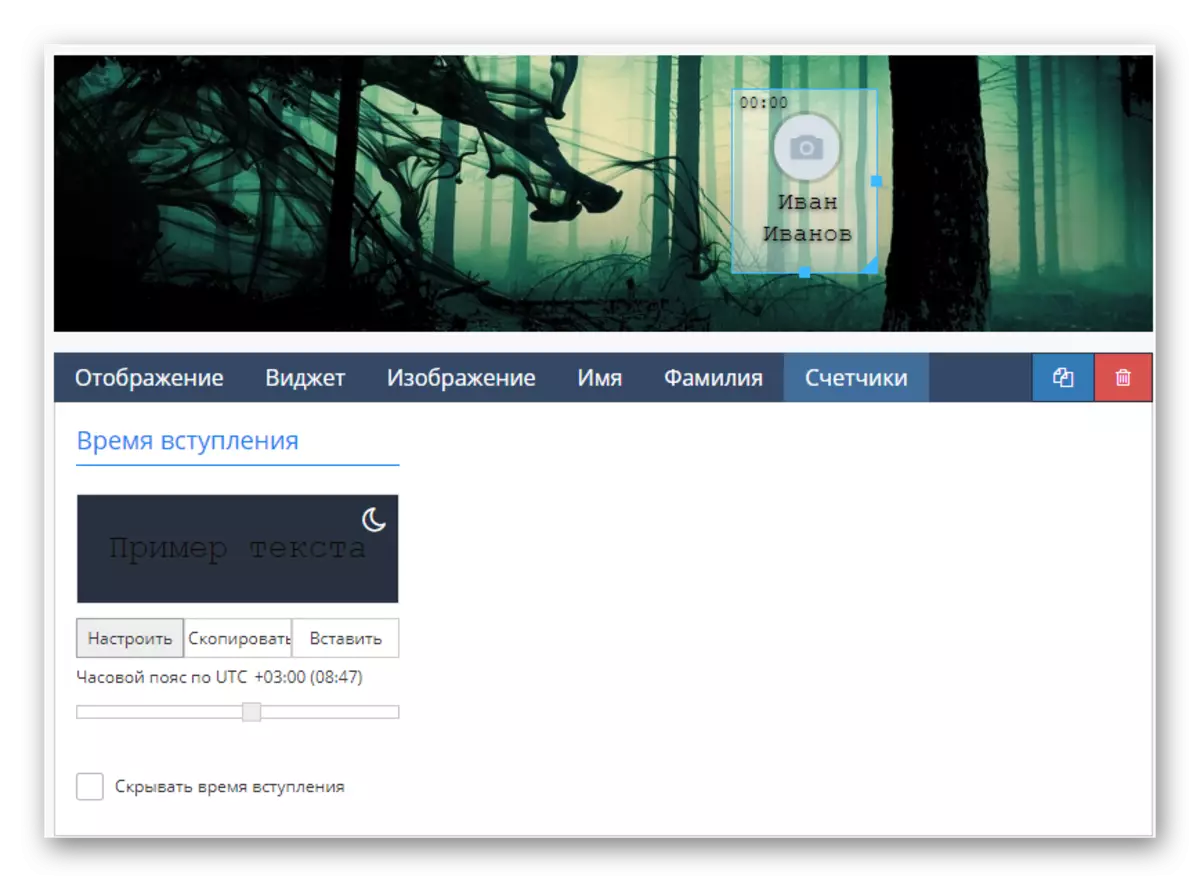
- The "Counters" page configures the display of certain user actions to a public address.
For moving corresponds to the cover of the cover representation.

This editing of the "subscriber" area ends.
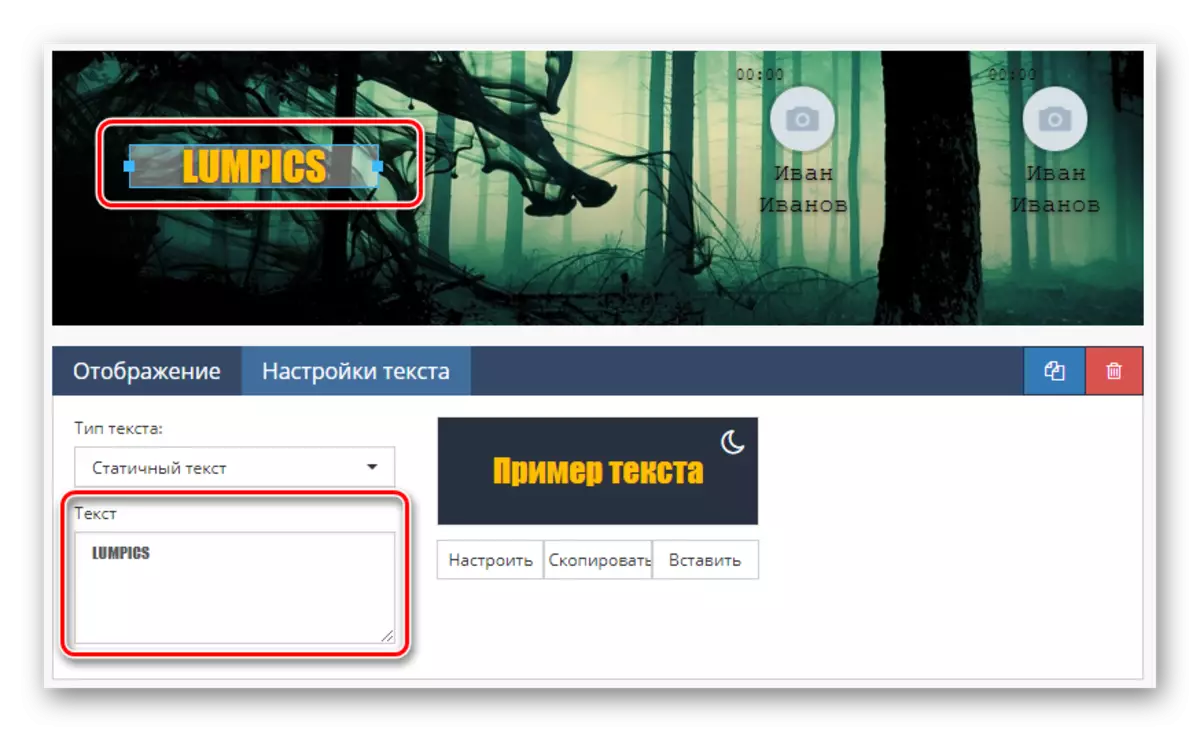
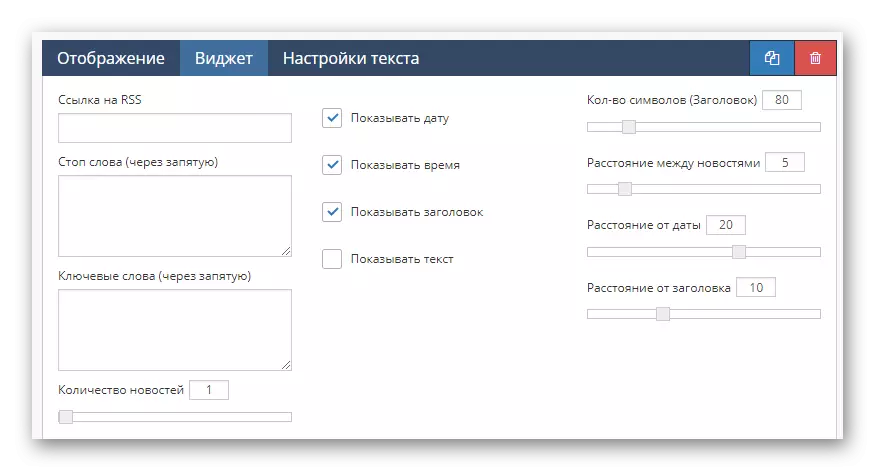
- The next, but rather the visual detail of the group's headers is "text".
- In the "Text Settings" section you can assign a special appearance to it.
- Using the Text Work area, you are provided to change the contents of this widget.
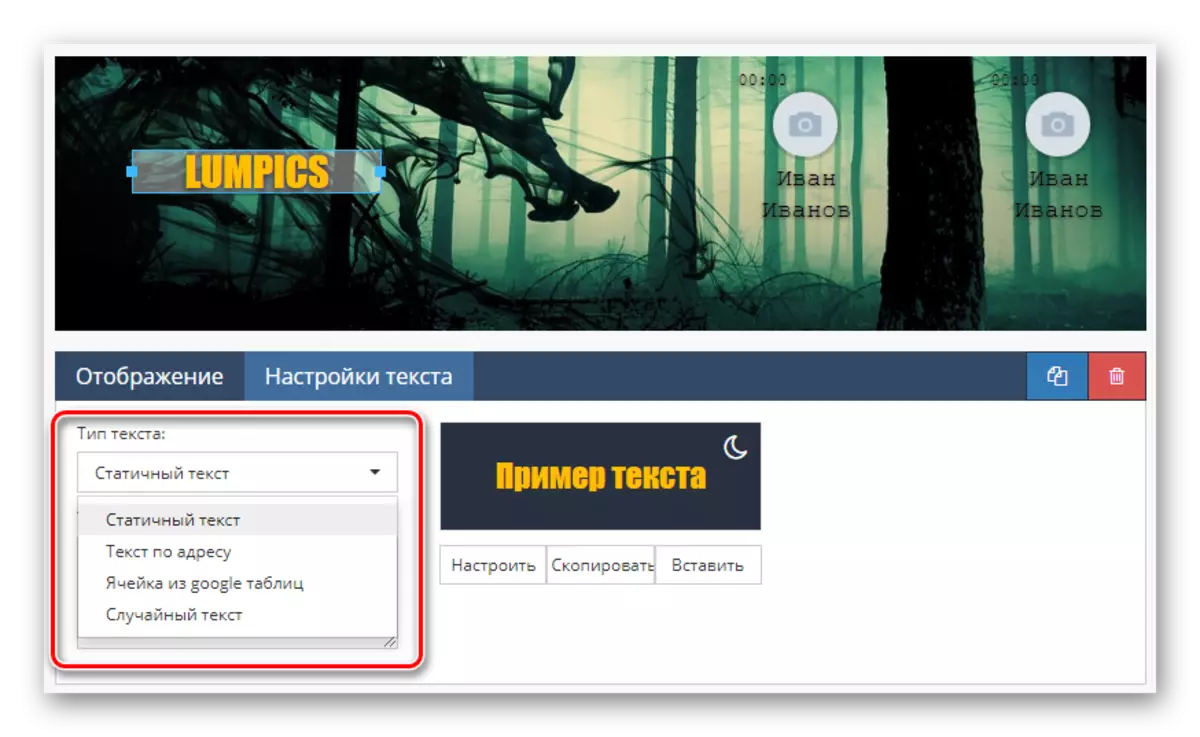
- Through the "Text Type" menu, global debugging content is performed, for example, you can easily organize the loading of the text from any source or make it random.
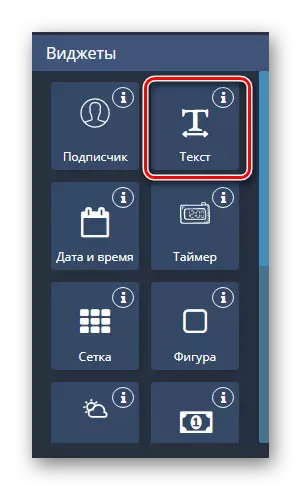

Do not forget that such details of the design can and need to dilute with dubs.
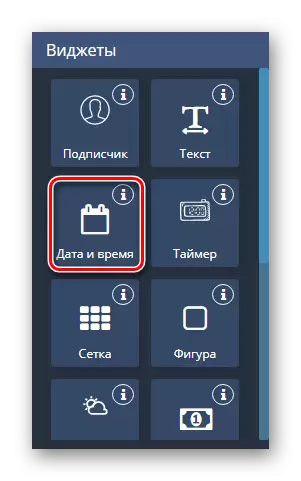
- Click the "Date and Time" icon to post another corresponding component on the cover.
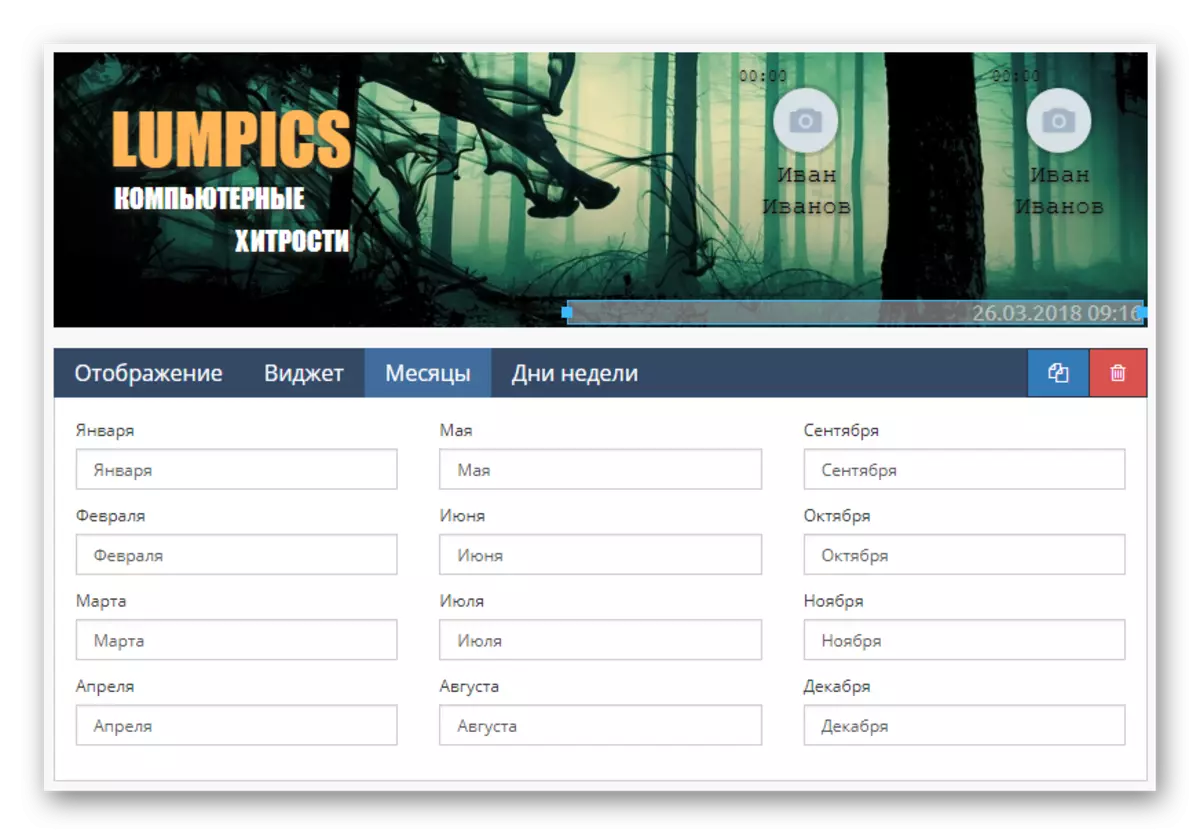
- Switch to the "Widget" page to configure the standard for the clock indicators, like a time zone, type of display and simply a color scheme.
- In the section "Months" and "Days of the Week" you can change the text associated with certain values, for example, by reducing it.

Numeric Widget "Timer" It is almost no different from the previously considered.
Remember that in one way or another, the design and placement of the element depends on your idea.
- Mesh in most cases is not used as decoration.
- Its main task, which is clearly seen from the available parameters, is to simplify the creation of markup.
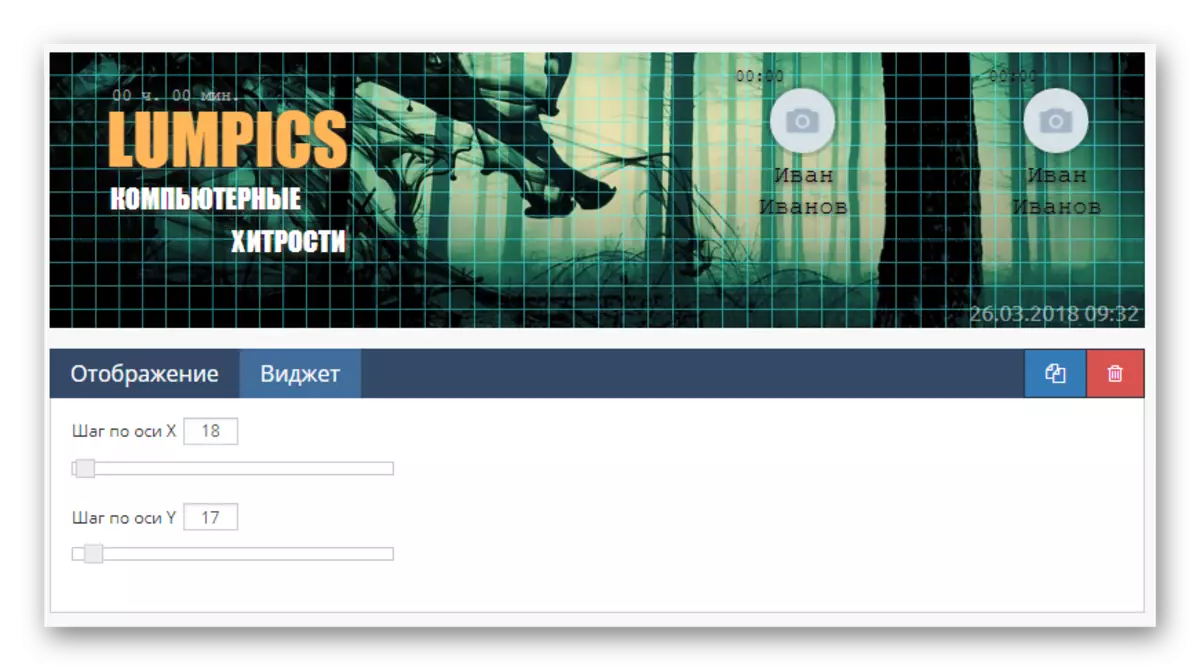
Use this supplement for the header only if necessary and delete before completing the cover editing.
- Widget "Figure" in appearance fully corresponds to the name.
- Thanks to it, it is possible to implement different strokes for other elements.


Such details can be combined with each other, for example, to create drawings.
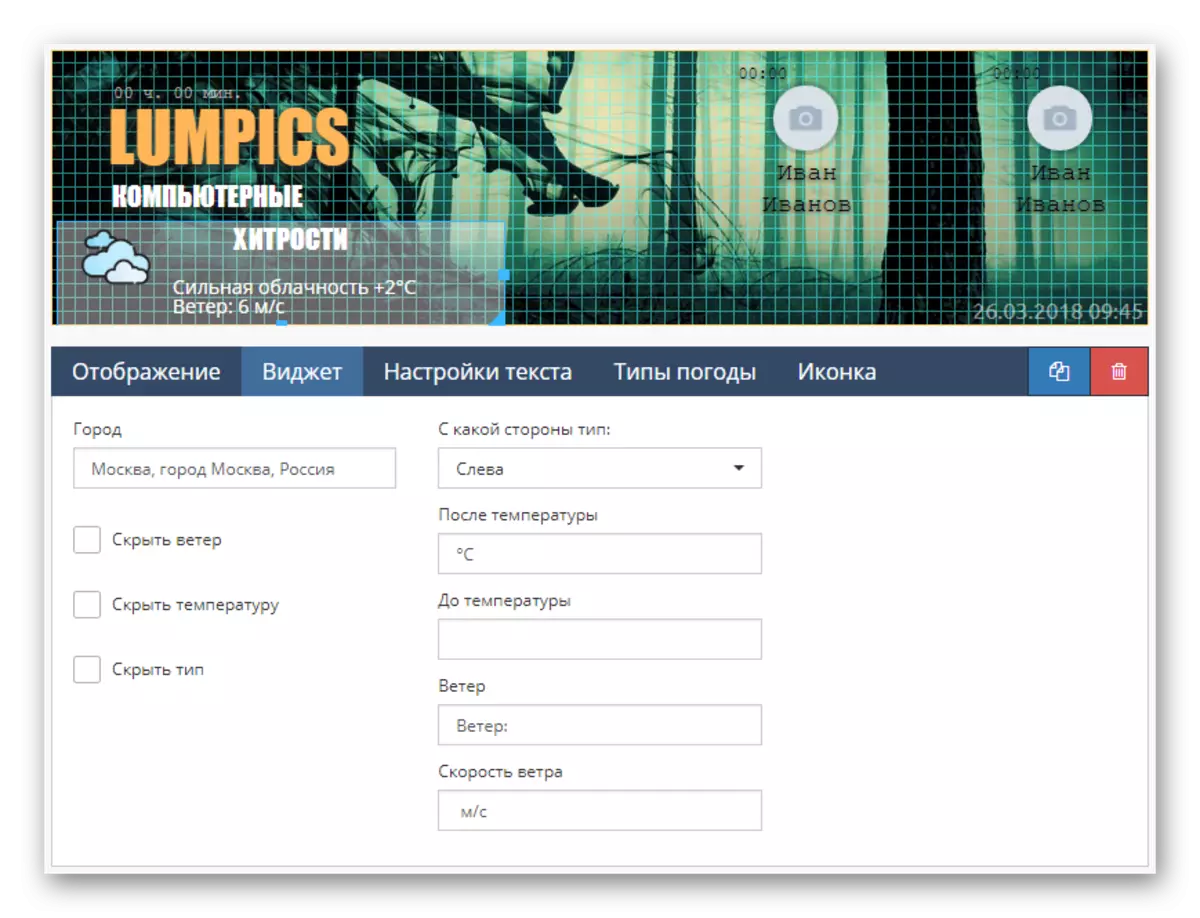
- Widget Widget "Weather", the service will automatically download the icon and data on climatic conditions according to the template you specified.
- The final page is designed to change the style of display of the weather icon on the cover.
Replacing standard icons is also made here.
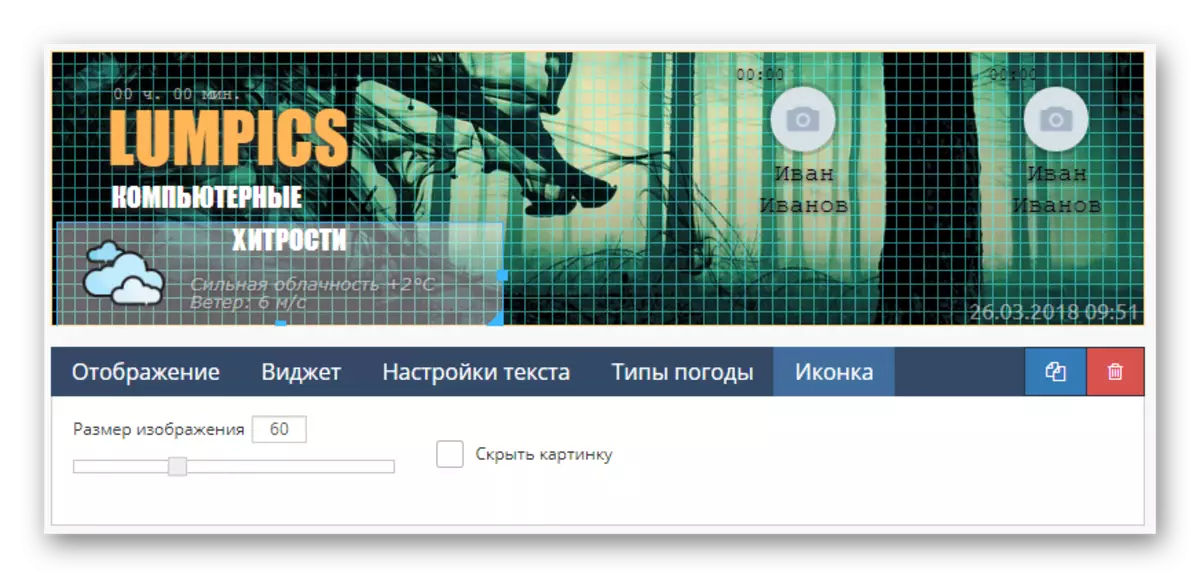
Without clear necessity, such widgets can become a problem.
Block "Exchange Rates" It is a specific element that allows adding information about courses.
This element is able to perfectly add any thematic public regarding, for example, the field of finance.
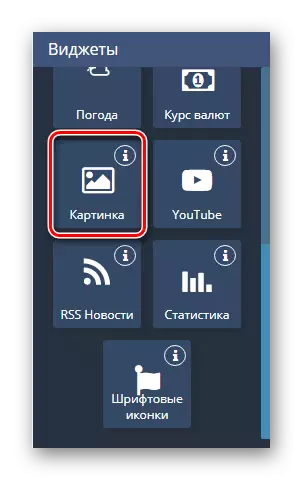
- If you have the need to add an image that is not attached to any event, you can use the "Picture" widget.
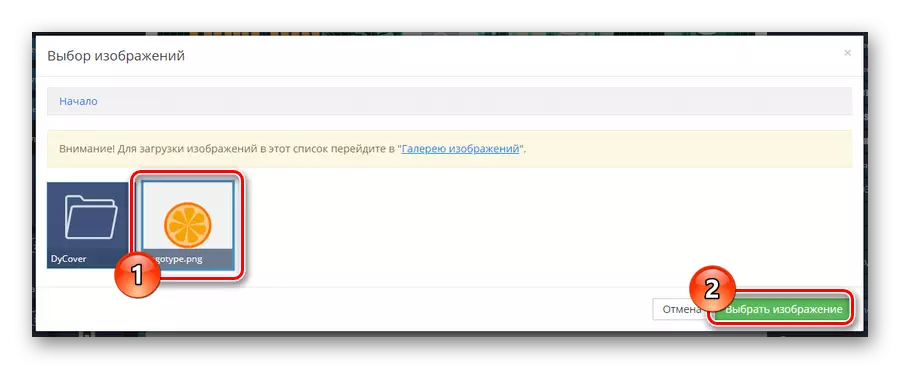
- You can add a picture for this component only if it was loaded in advance to the "Gallery of Image" section.
- Through the context window, select the desired file and click the "Select Image" button.
Since the schedule is the basis of any cap group, these parts should be used as a more active as possible.
use the «YouTube» and the setting of this unit if the group is dedicated to the channel at a specified site.
All signatures and manually move the picture itself in the work area.
- The active element «RSS News" should be used without other widgets.
- However, almost all the difficulties with the display can be solved by issuing preference settings.
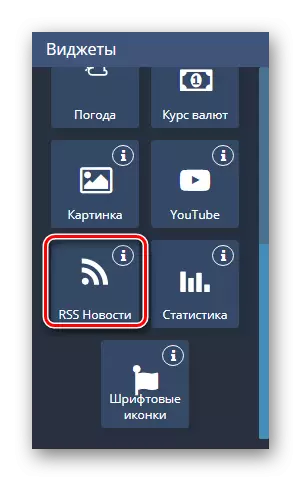
It is desirable to establish this kind of data is only suitable for the subject communities, since, for example, in the entertainment pablike subscribers can not enjoy such content.
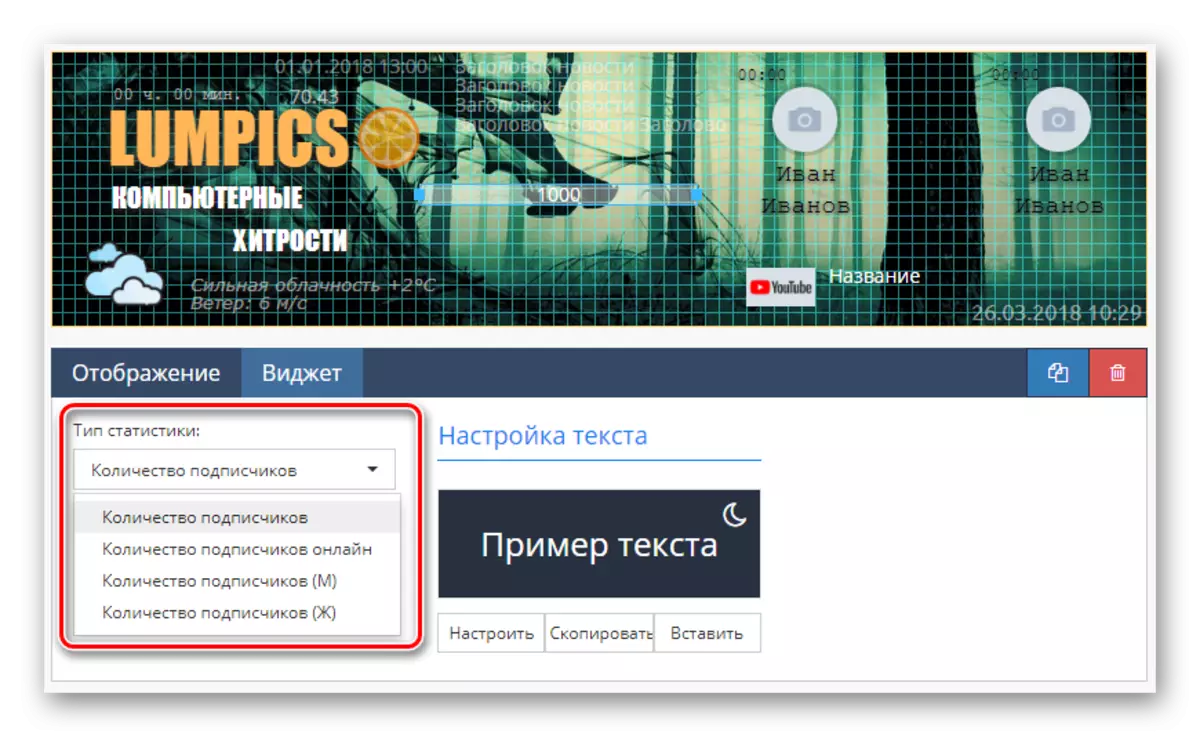
- One of the most commonly used components is the "Statistics".
- Realized through its use of such information as the number of subscribers on the network, or the total number of members of the group.
After completing the registration of the details, you can proceed to the last possible element.
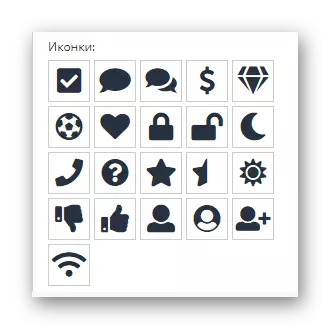
- After placing the widget "Font icon" it is possible to integrate in the cover image, which was originally non-text.
- To change the icons of style, use the drop-down list "icon type".
- The service allows the preform pick up any of the standard character set or change the icon through the code.


Each element one way or another will be used.
Connecting template
The last step on the way to adding a stylish cover is the preservation and publication of data generated by the internal settings of the service.
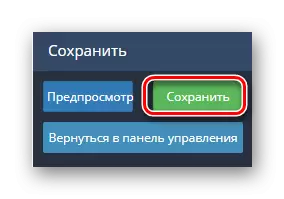
- Scroll down to the block "Save" and press the corresponding button.
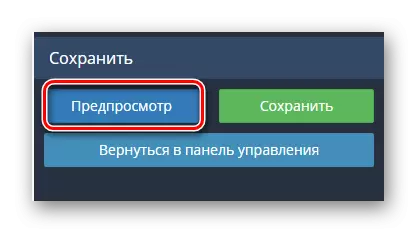
- If necessary, the service provides the mode "Preview", which allows to study the results without the integration of the VC.
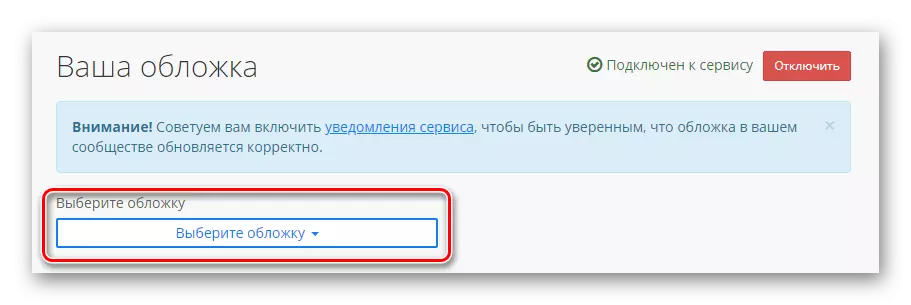
- Using the button "Go to the Control Panel," click the drop-down list "Select a skin" and make a selection.
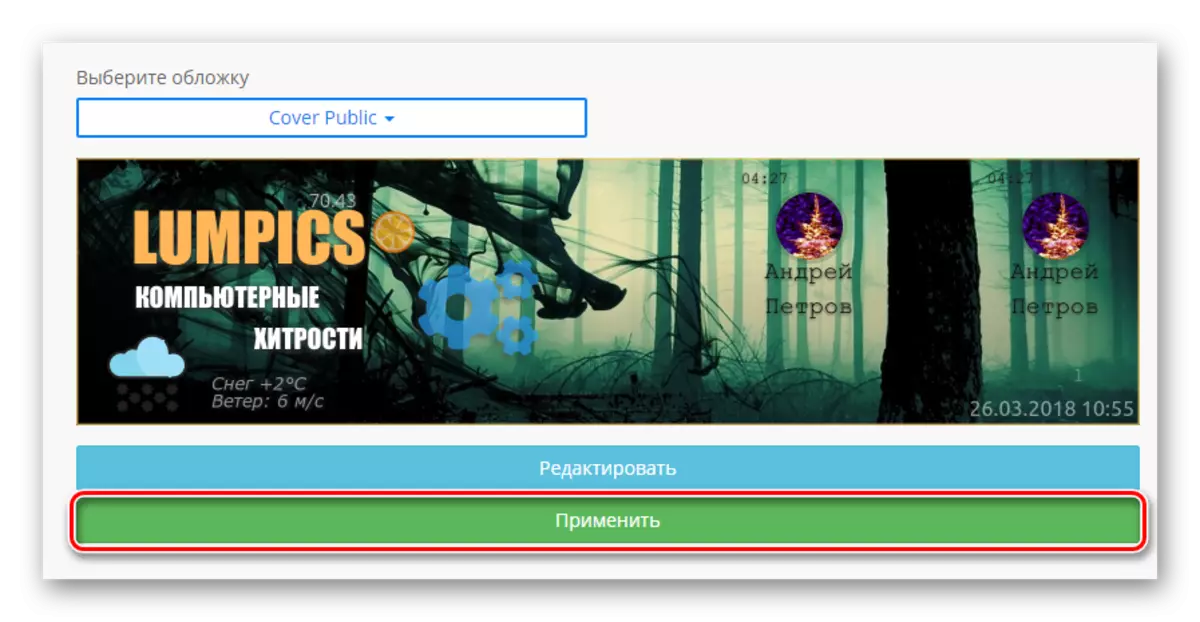
- After downloading the preview image, use the button "Apply".
- Now you can go to the community and ensure efficiency of service considered.
If for some reason we have missed information, be sure to inform us about it. In addition, we are always happy to assist you in resolving any difficulties.