
Each processor, especially modern, requires active cooling. Now the most popular and reliable solution is to install a processor cooler on the motherboard. They are of different sizes and, accordingly, different capacities consuming a certain amount of energy. In this article, we will not deepen into details, and consider the mounting and removal of the processor cooler with the motherboard.
How to install a cooler on the processor
During the assembly of its system, the need arises to install a processor cooler, and if you need to replace the CPU, the cooling must be dismantled. In these tasks, there is nothing difficult, you just need to follow the instructions and do everything carefully so as not to damage the components. Let's consider the installation and removal of coolers.
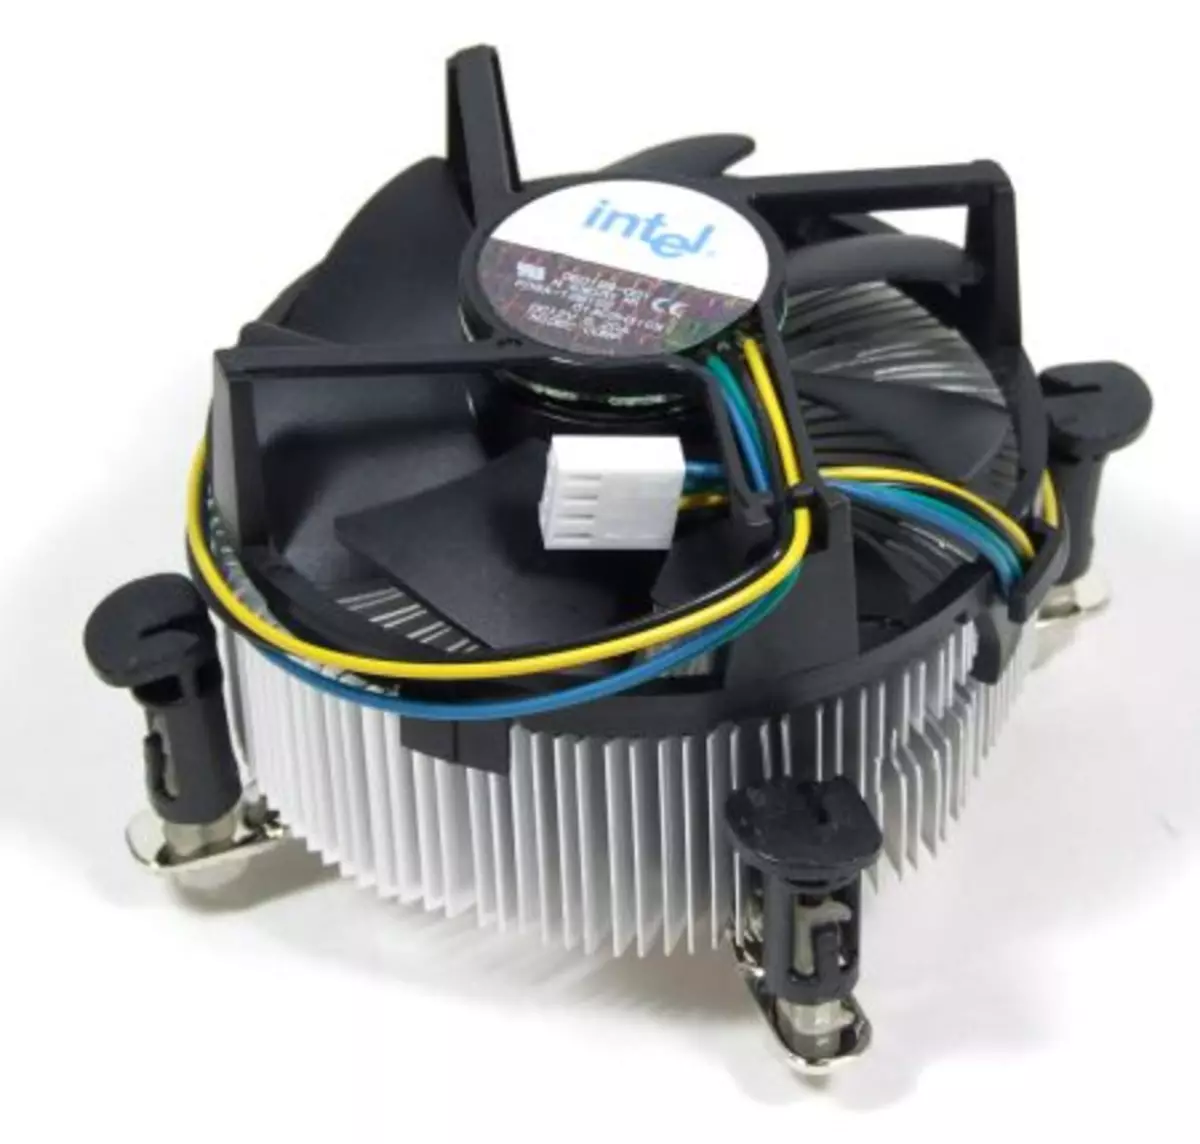
Installing Intel Cooler
The Intel's Boxing version includes branded cooling. The method of attachment is slightly different from the above, but there is no cardinal difference. These coolers are attached to the clamps in special grooves on the motherboard. Simply select the appropriate location and alternately insert the pins into the connectors before the characteristic click.
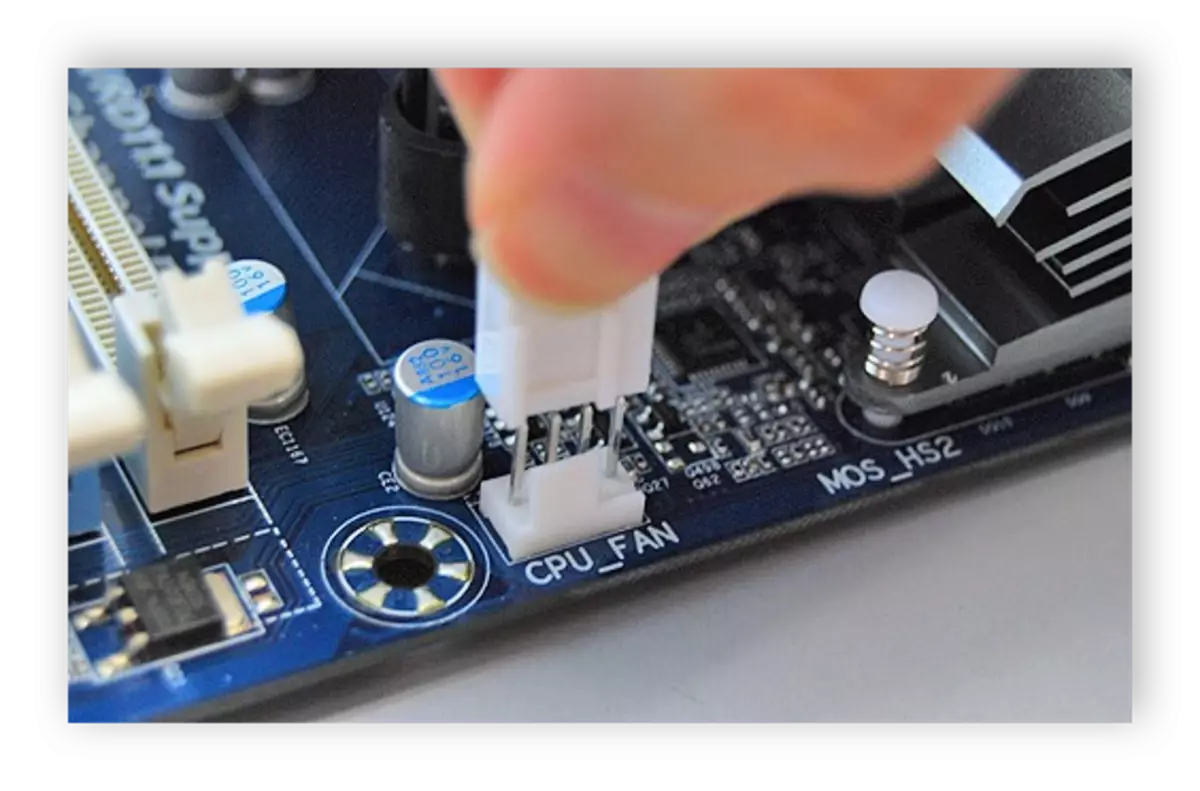
It remains to connect the power as described above. Please note that the coolers from Intel also applies to the thermalcase, so carry out the unpacking.
Installation of the tower cooler
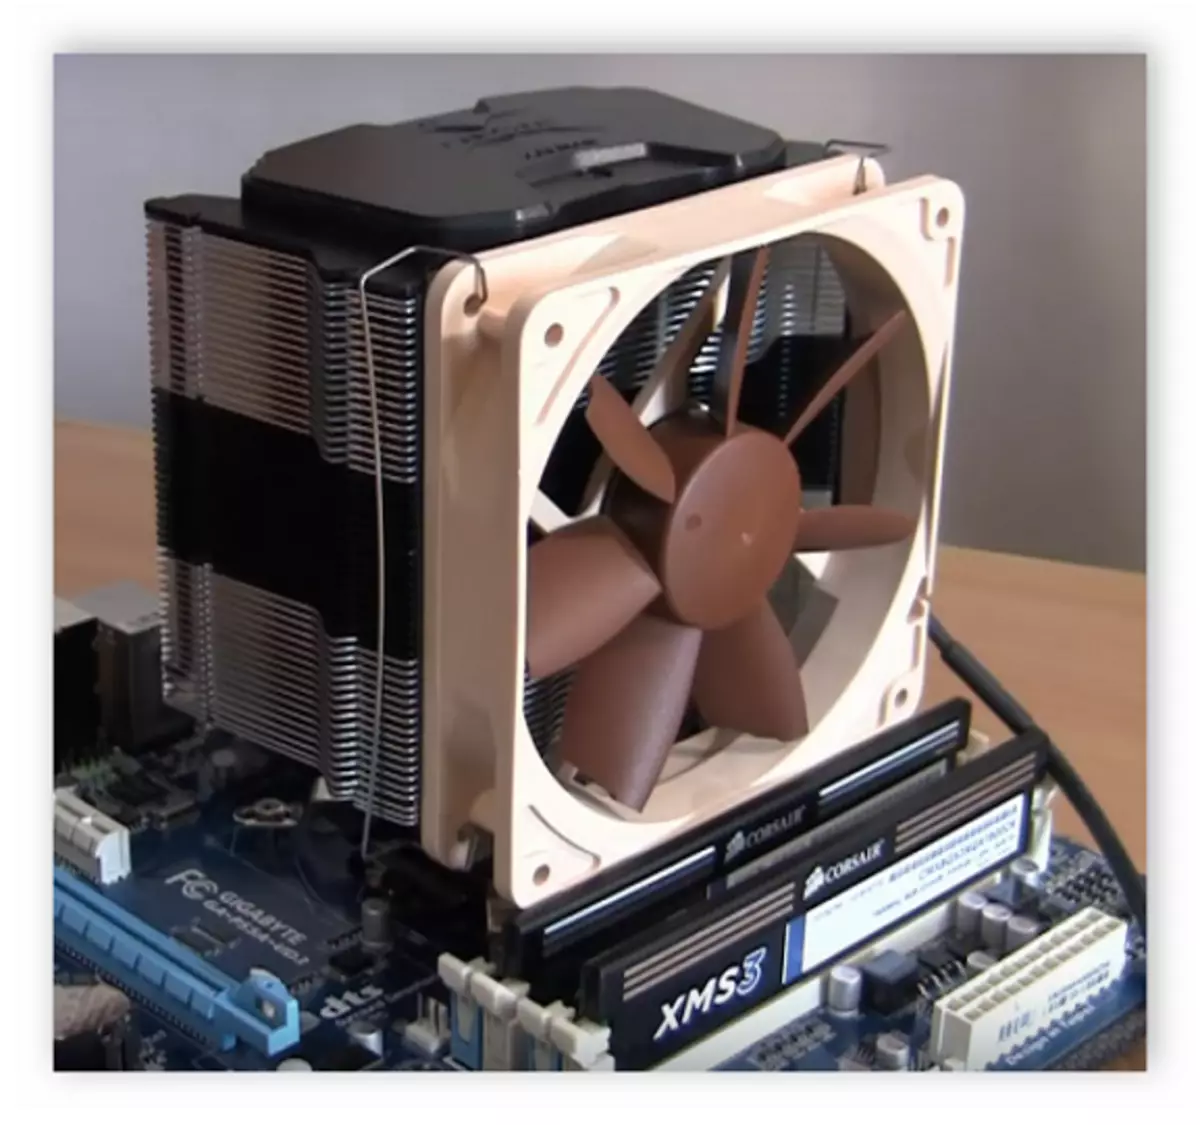
If the power cooling power is not enough to ensure normal operation of the CPU, the installation of the tower cooler will be required. They are usually more powerful due to large fans and the presence of several heating tubes. Installation of such a detail is required only for the sake of a powerful and expensive processor. Let's describe in detail the stages of mounting the tower processor cooler:
- Unpack the box with cooling, and following the nested instructions, collect the base, if necessary. Carefully read the characteristics and dimensions of the details before buying it so that it will not only get on the motherboard, but also fit into the body.
- Fasten the rear wall on the lower side of the motherboard, setting it into the appropriate mounting holes.
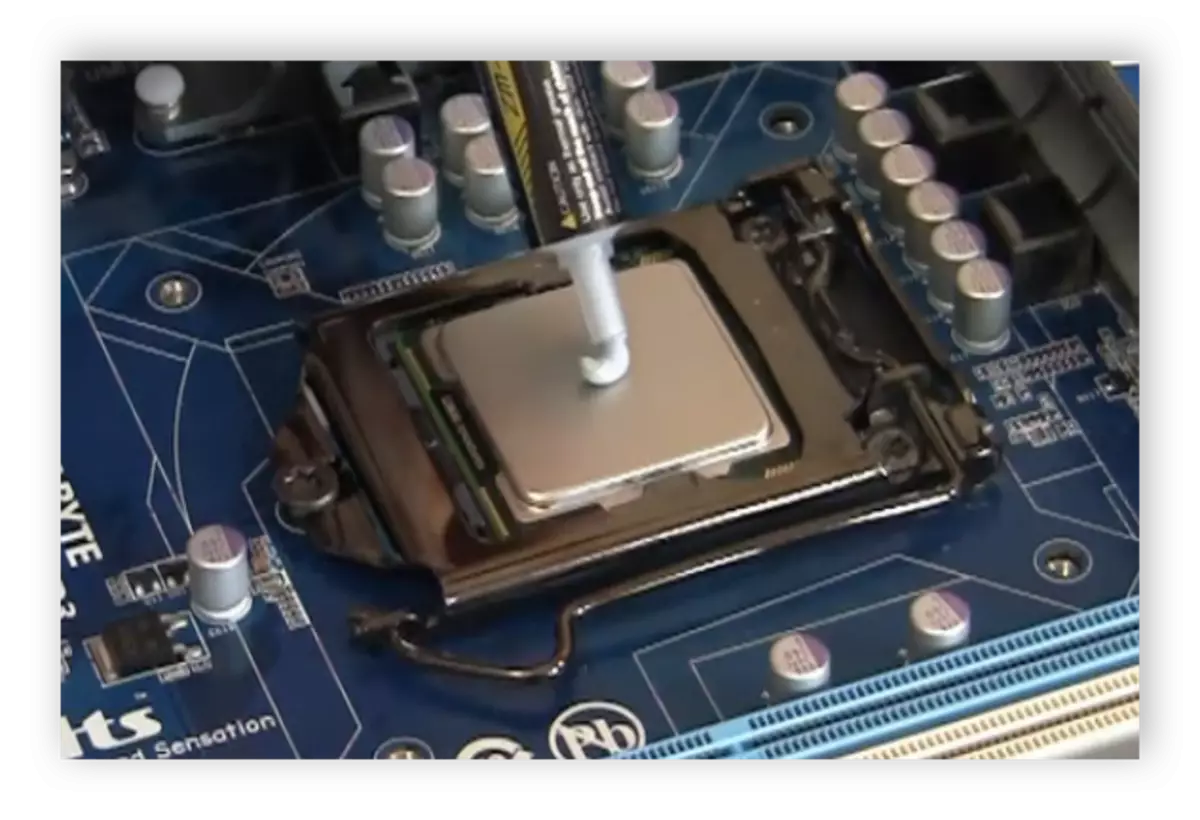
- Install the processor and drop on it a bit of the thermal paste. It is not necessary to smear it, as it will evenly distribute under the weight of the cooler.

On this process of mounting the tower cooler is over. We once again recommend learning the design of the motherboard and set all the details in such a manner so that they do not interfere with when trying to mount other components.
How to remove the processor cooler
If you need to repair, replace the processor or apply a new terboard, then you always need to remove the installed cooling. This task is very simple - the user must unscrew the screws or open the pins. Before that, you need to turn off the system unit from the power supply and pull the CPU_FAN cord. Read more about dismantling processor cooler, read in our article.
Read more: Remove the cooler from the processor
Today we examined in detail the topic of mounting and removing the processor cooler on latches or screws from the motherboard. Following the above instructions, you will easily be able to fulfill all actions yourself, it is only important to do everything carefully and carefully.