
Synchronizing data with Google Account is a useful function that has almost every smartphone on Android OS (not counting the Chinese market oriented devices). Thanks to this feature, you can not worry about the safety of the contents of the address book, email, notes, records in the calendar and other branded applications. Moreover, if the data is synchronized, then access to them can be obtained from any device, you just need to enter your google account on it.
Turn on data synchronization on android smartphone
On most mobile devices running android, data synchronization is enabled by default. However, various failures and / or errors in the system work may well lead to the fact that this function will be deactivated. About how to enable it, we will also tell me further.
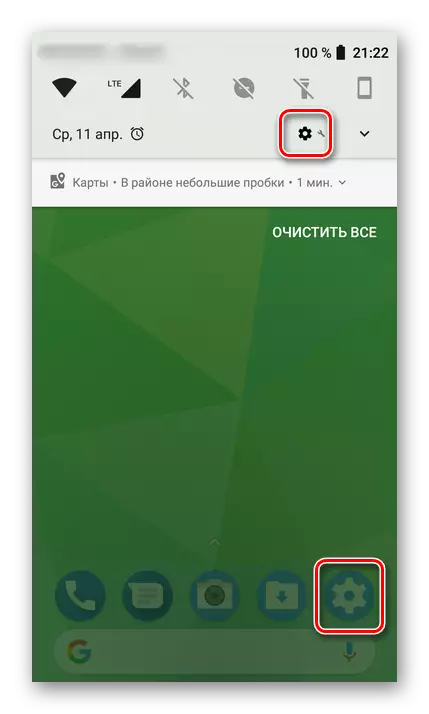
- Open the "Settings" of your smartphone by using one of the available ways. To do this, you can tap on the icon on the main screen, click on it, but in the application menu or select the corresponding icon (gear) in the curtain.
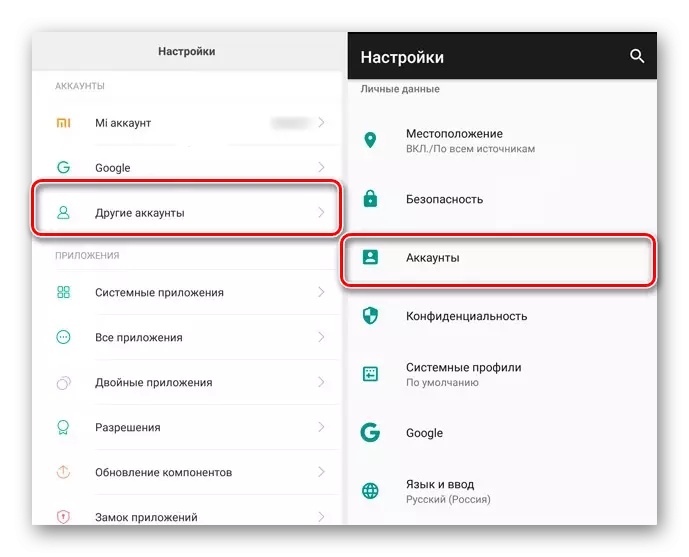
- In the list of settings, find the "Users and Accounts" item (may also be called "Accounts" or "Other Accounts") and open it.
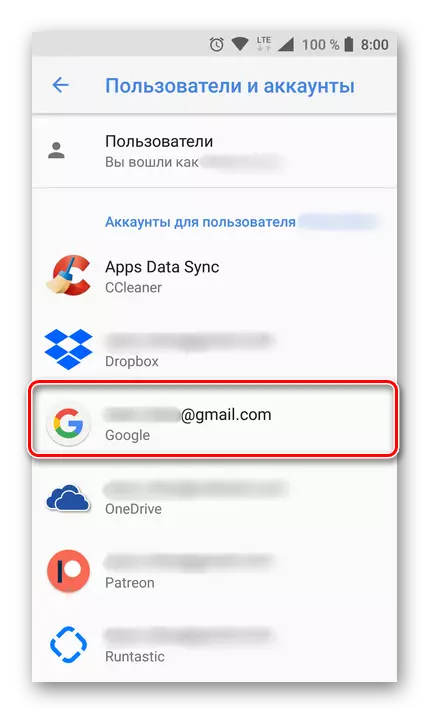
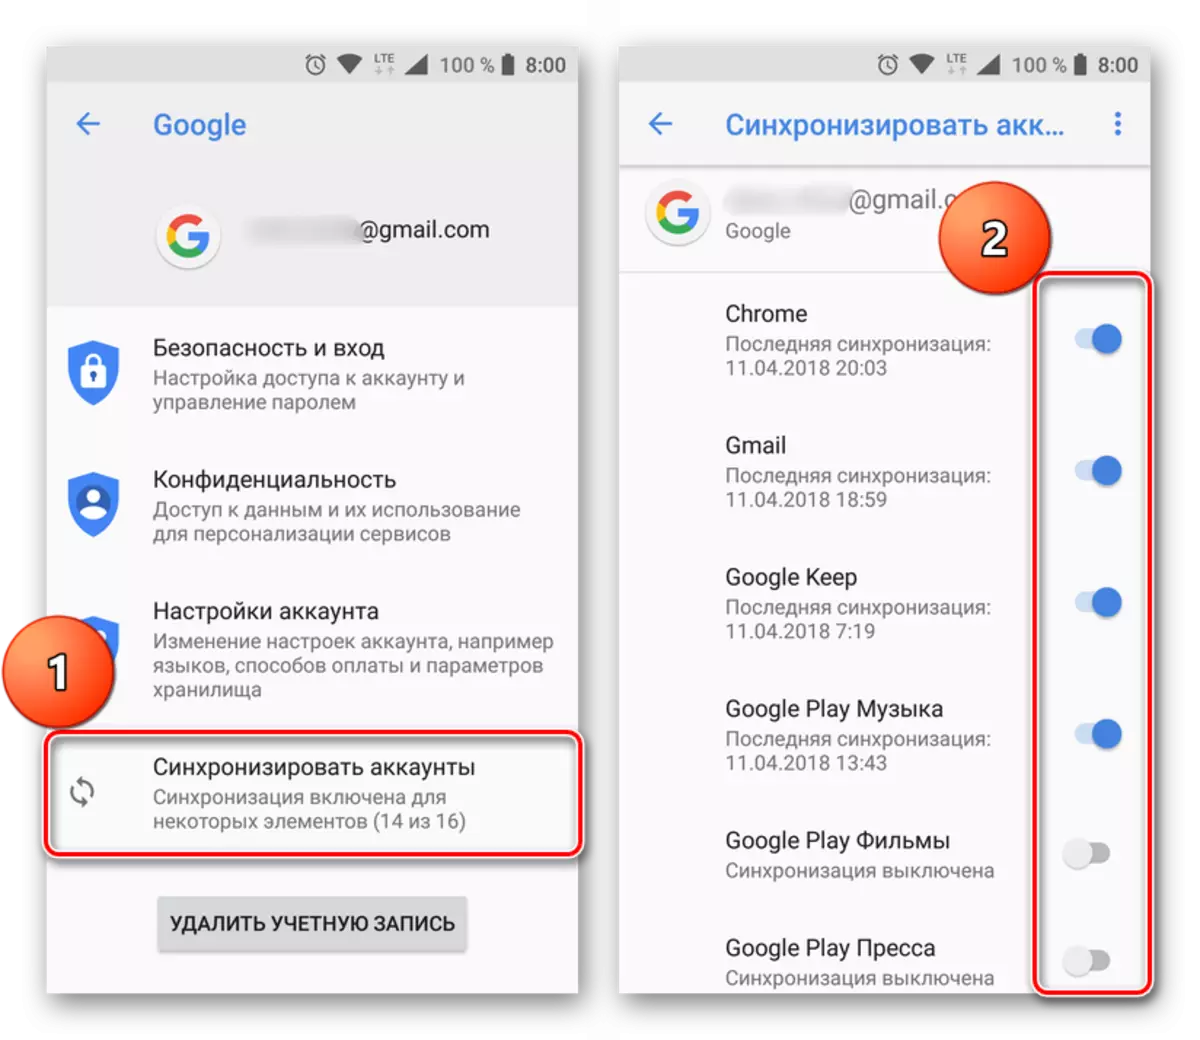
- In the list of connected accounts, find Google and select it.
- Now tap on "Synchronize accounts". This action will open a list of all branded applications. Depending on the version of the OS, check the box or activate the toggle switch in front of those services for which synchronization is required.
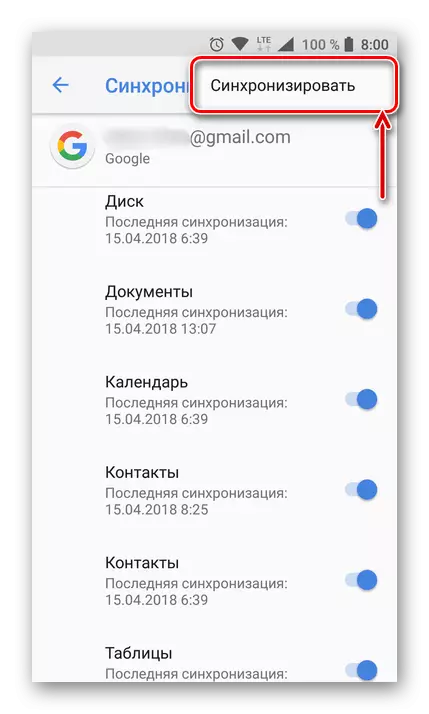
- You can go a little different and synchronize all the data forcibly. To do this, click on three vertical points located in the upper right corner, or the "still" button (on Xiaomi production devices and some other Chinese brands). A small menu opens in which to select "Synchronize".
- Now data from all applications connected to Google account will be synchronized.
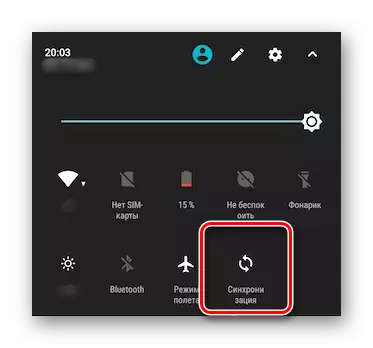
Note: On some smartphones, it is forcibly synchronizing the data in a simpler way - using a special icon in the curtain. To do this, it is necessary to omit it and find the "Synchronization" button, made in the form of two circular arrows, and set it into an active position.
As you can see, there is nothing difficult to enable data synchronization with google account on the android smartphone.
Turn on the backup function
Some users under synchronization imply data redundancy, that is, copying information from Google's branded applications to the cloud storage. If your task is to create a backup application of applications, address books, messages, photos, videos and settings, then follow these steps:
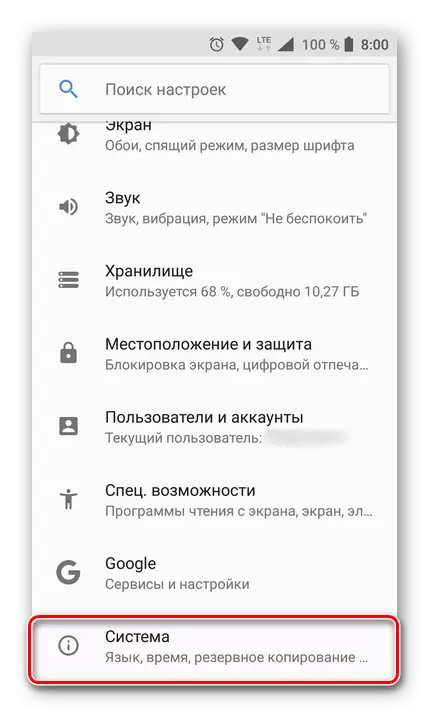
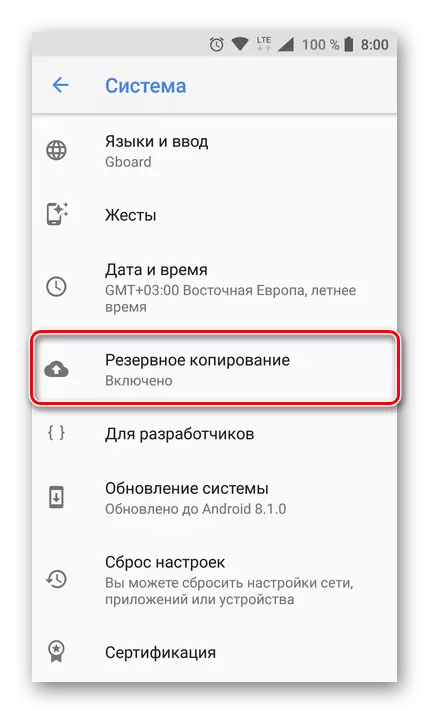
- Open the "Settings" of your gadget and go to the "System" section. On mobile devices with the version of Android 7 and below, you will need to select the item "about the phone" or "about the tablet", depending on what you use.
- Find the "Backup" item (may also be called "Restore and Reset") and go to it.
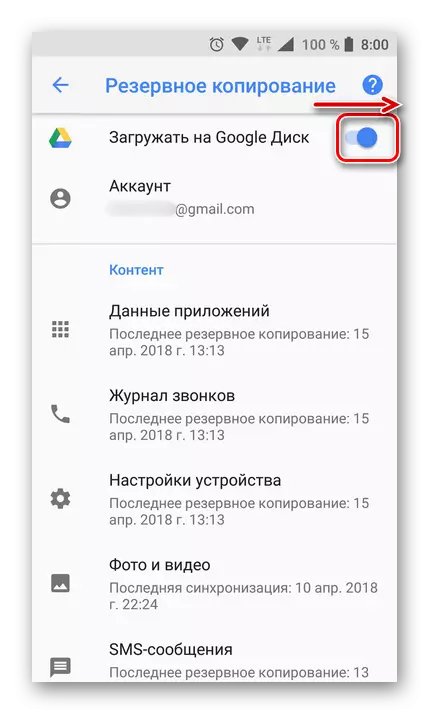
- Set the "Load to Google Disk" switch to the active position or set the ticks opposite the data reservation and auto-installation items. The first is typical for smartphones and tablets on the latest version of the OS, the second is for earlier.
Note: On mobile devices with older versions android items "Backup" and / or "Restoration and Reset" Can be directly in the General section of the settings.
After performing these simple actions, your data will not only be synchronized with Google account, but also to be stored in the cloudy repository, from where they can always be restored.
Common problems and elimination options
In some cases, data synchronization with Google Account stops working. The reasons for this problem are somewhat, good, to determine them and eliminate quite easily.
Network Connection Problems
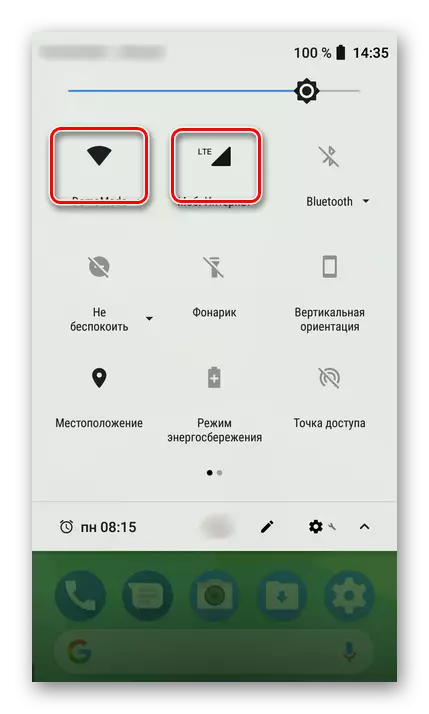
Check the quality and stability of the Internet connection. Obviously, in the absence of access to the network on a mobile device, the function in question will not work. Check the connection and, if necessary, connect to stable Wi-Fi or find the zone with a better coating of the cellular communication.
READ ALSO: How to turn on 3G on your phone with Android
Auto shockronization is turned off
Make sure that the automatic synchronization feature is enabled on the smartphone (5th item from the part "Turn on data synchronization ...").
No entrance to Google Account
Make sure you are logged in in Google Account. Perhaps after some kind of failure or error, it was disabled. In this case, you just need to re-enter the account.
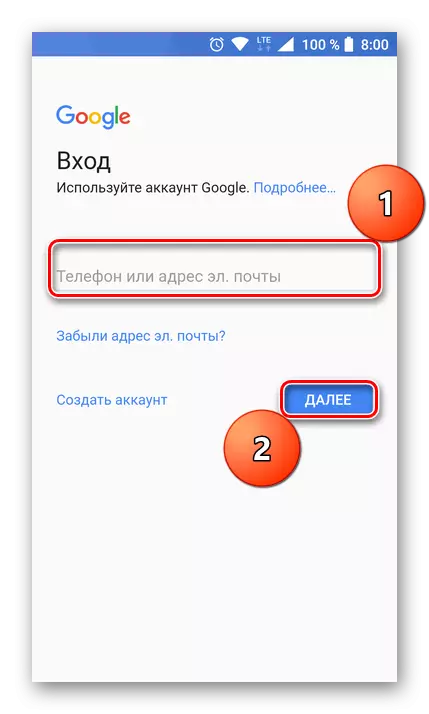
Read more: How to enter the Google account on the smartphone
Actual OS updates are not established.
Perhaps your mobile device needs to be updated. If you have a new version of the operating system, it must be downloaded and installed.
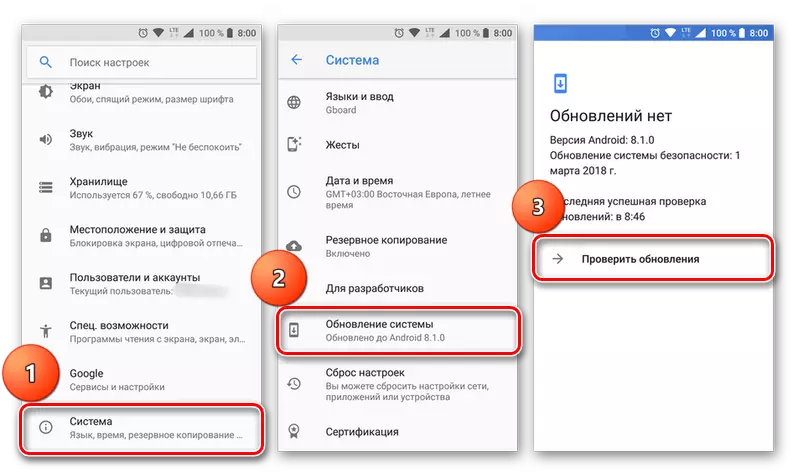
To check the availability of updates, open the "Settings" and alternately follow the System Points - "System Update". If you have installed Android version below 8, you will first need to open the section "On the phone".
See also: How to disable synchronization on android
Conclusion
In most cases, synchronization of application data and services with Google Account is enabled by default. If it for some reason is disabled or does not work, the problem is eliminated in just a few simple steps performed in the smartphone settings.