

One of the most important criteria that characterizes the computer system is its performance. Let's figure out how to increase this basic desktop reference rate or laptop with Windows 7.
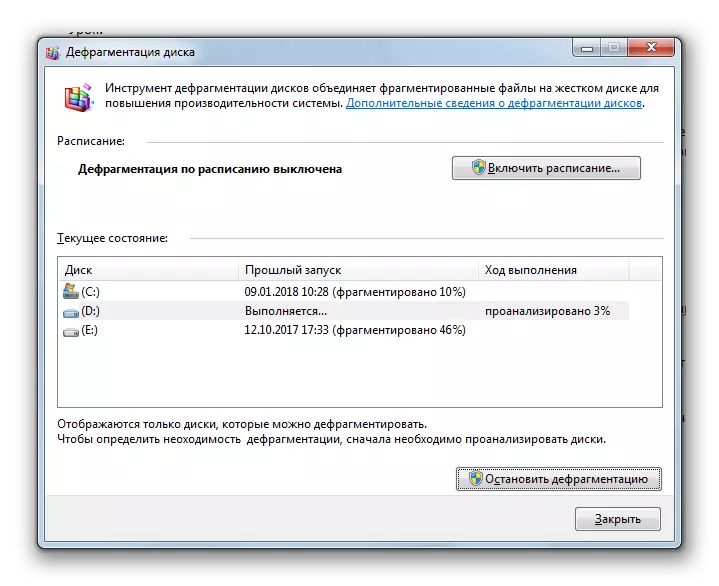
Lesson: Performing a hard disk defragmentation in Windows 7
In addition, it is possible to increase the speed of HDD by making it properly configured in the Device Manager.
- Click "Start" and go to the "Control Panel".
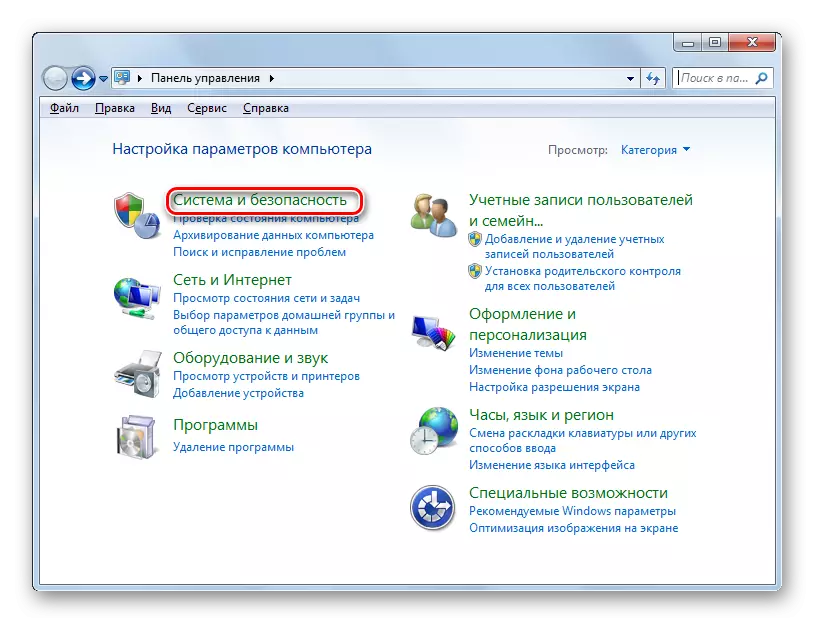
- Go to the System and Security section.
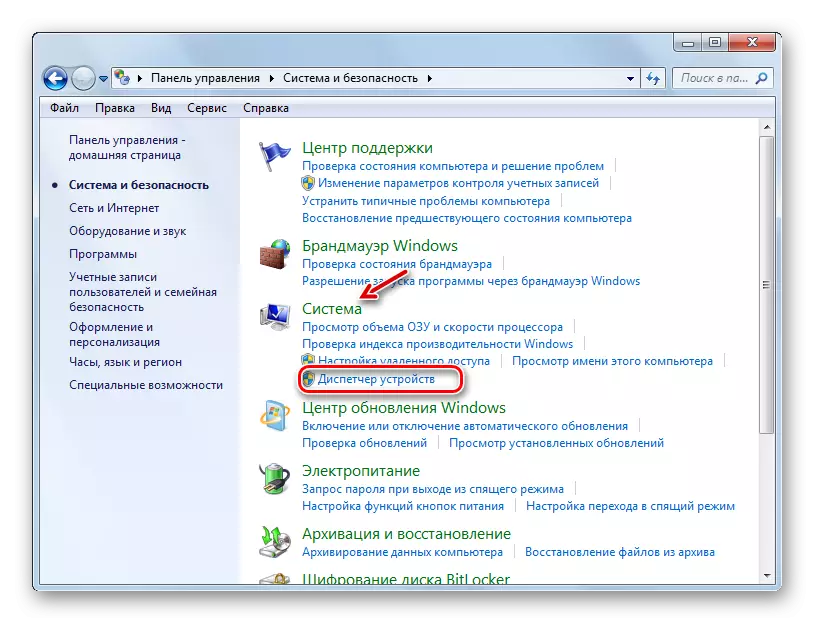
- In the "System" block, click on the inscription "Device Manager".
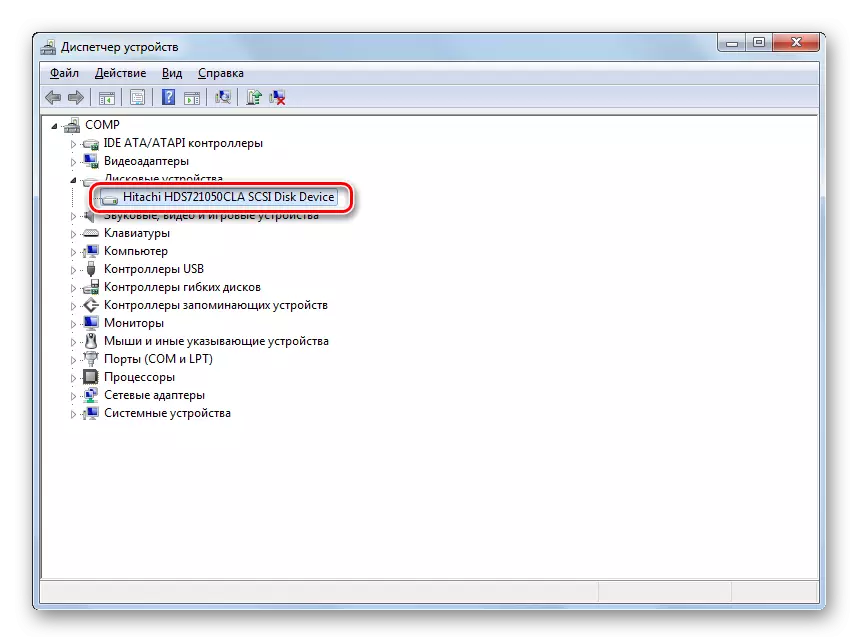
- In the device manager's interface that opens, click on the "Disk Devices" item.
- A list of physical hard drives connected to the PC will appear. This can be both one device and several. Double-click the left mouse button (LKM) by name of one of them.
- The window properties window opens. Move to the "Politics" section.
- This indicates productivity policy. Hard disks from different manufacturers, items in this section may differ. But, based on the general logic, look for the position that should contribute to an increase in speed. For example, "Allow caching" or "optimal performance." Noting this item, press "OK" in the current window.


Lesson: Acceleration of the hard disk
Method 2: Increase the amount of RAM
Increase system performance can also be by increasing the size of RAM. The most elementary and at the same time the effective method to achieve such a result is to purchase an additional or more volumetric RAM bar. But unfortunately, it is not always possible both on financial and technical considerations, because 32-bit windows 7 support the size of RAM not more than 4 GB. But it is possible to bypass this restriction.
In order to increase the scope of RAM without changing the hardware configuration, the paging file on the hard disk that generates, the so-called virtual memory is created. When the RAM resource lack, the system appeals to this selected area on the hard drive. Therefore, to increase the PC performance, you must enable the specified file if it is disabled.
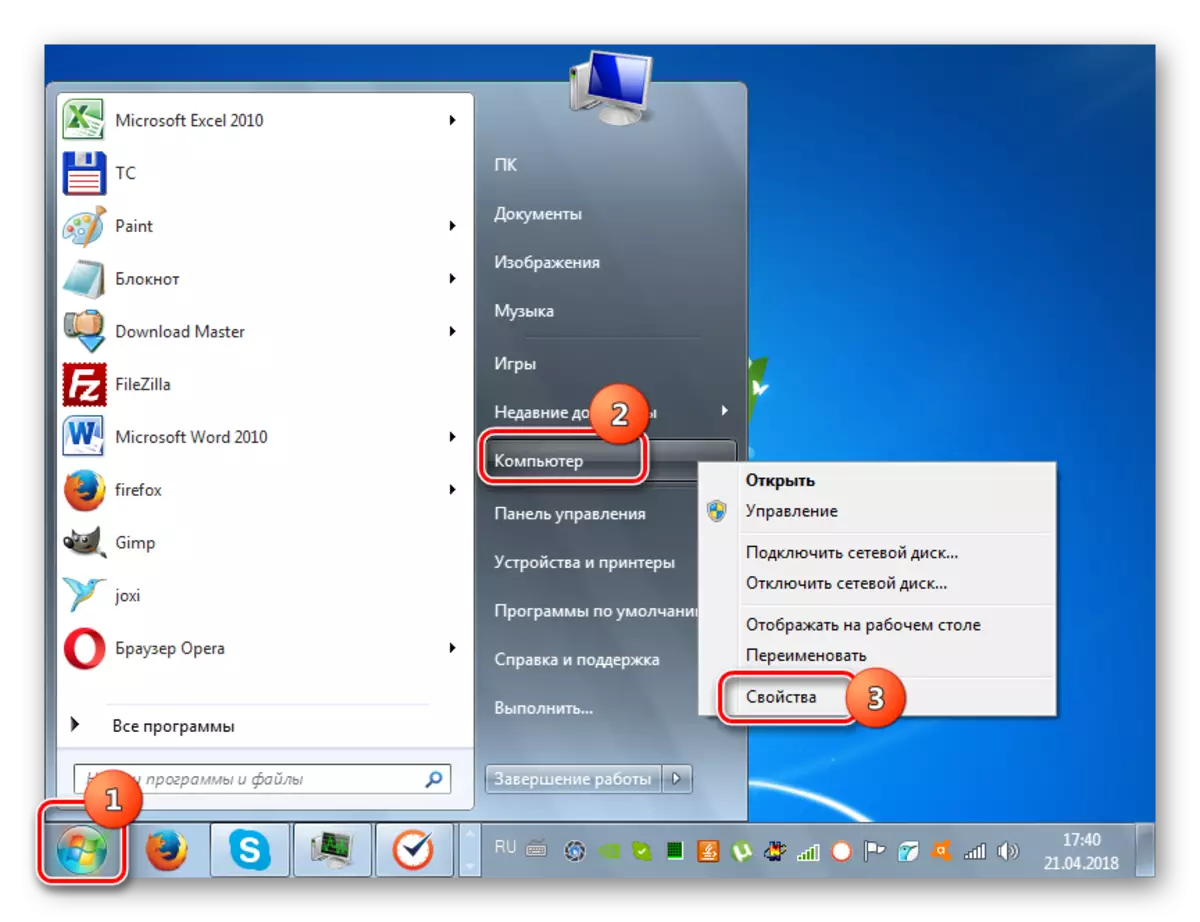
- Click "Start", and then click right-click on the "Computer" item. In the menu that opens, select "Properties".
- The OS properties window will start. In the left part, click "Advanced Parameters ...".
- In the shell that opened, click the "Parameters ..." button in the "Speed" block.
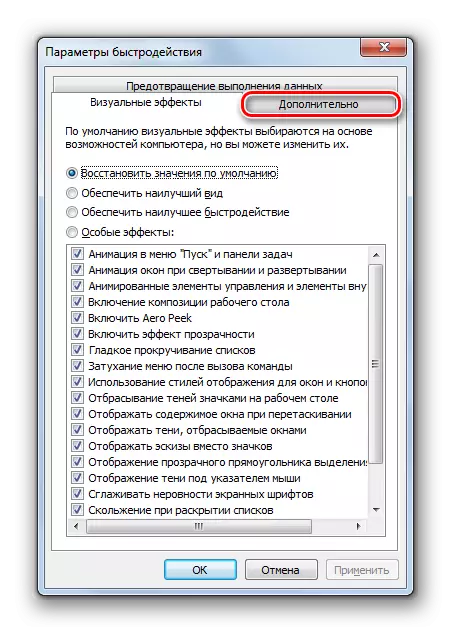
- The speed parameter window opens. Turn to the "Advanced" section.
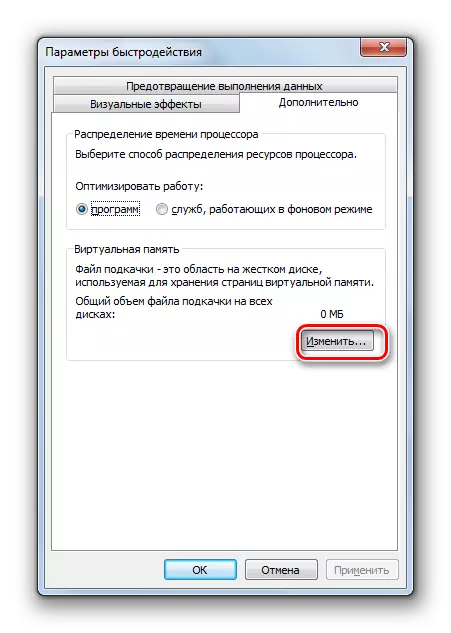
- In the "Virtual Memory" block, click the "Edit ..." button.
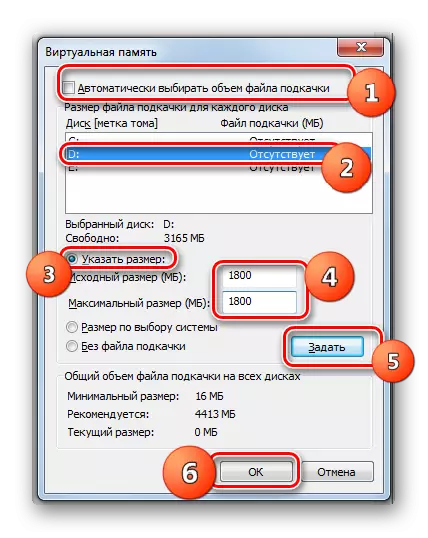
- Virtual memory control window opens. At the top of it, you can install a tick near the "Automatically choose ..." parameter and the system itself will select the settings for the paging file.

But we advise you to set the parameters manually. For this, first of all, remove the checkbox from the checkbox "Automatically choose ...", if it is installed there. Then select the logical disk in the selection window where you wish to locate the paging file. Below, rearrange the switch to the "Specify" position. After this field, the "Source Size" and "Maximum Size" will be active. Put the same value of the desired virtual memory value in megabytes. Then click on the "Set" and "OK" button.
- In order for the entered settings to take effect, it is required to restart the computer.


It must be remembered that the swap file is too large should not be created. First, you, therefore, lose the workspace that could be used to store files. Secondly, the speed of contacting the hard disk is much slower than to the hardware RAM. Therefore, with an increase in virtual memory, it is possible to handle a larger amount of processes at the same time, but the speed is reduced, which negatively affects the performance of the system as a whole. It is believed that the optimal size is one and a half times higher than the volume of hardware RAM PC. We recommend setting the volume of the paging file based on this calculation. If you are already installed, we advise you to change its size on the optimal one.
Lesson: Changing the volume of the paging file in Windows 7
Method 3: Disable graphic effects
It is no secret that graphic effects consume a significant part of the power of the video card, the processor and use a considerable amount of RAM. To free up the resources of these objects to perform other tasks and thereby increase the speed of the system as a whole, you can turn off some visual effects.
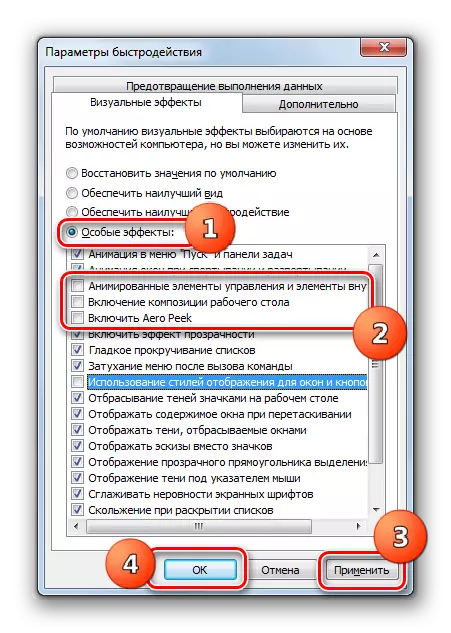
- To perform the specified task, again open the additional parameters of the system and go to the speed parameters window in the same way as described in the previous method. In the section "Visual Effects", set the switch to the "Provide Best Speed" position. After that, press "Apply" and "OK".

But if you do not want to disable all the effects, but only some of them, then stop the switch to the "Special Effects" position and remove the marks from those items that you want to deactivate. Then, just press "Apply" and "OK".
- After that, all visual effects or some of them in accordance with the selected option will be disabled, and the resources of various elements of the system, primarily the video card, will be released for other tasks.
In addition, optimize resource consumption on the chart can also be using the video adapter control panel. The installation algorithm for the necessary parameters differs depending on the manufacturer and model of the video card, but the essence comes down to choose a performance between performance and quality or at least install the best balance for you between these two criteria.

Enhance the performance of the video adapter will also help the timely update of its drivers and the installation of special software designed to optimize the video card.
Lesson: Acceleration of the video card
Method 4: Disable applications in autorun
Quite often, when installing the program, the programs are prescribed into autorun, thereby not only slowing the loading of the system, but also by consuming resources throughout the working session. But at the same time, the user does not always need these applications, that is, they often consume the resources of the OS. In this case, you need to remove such elements from the startup.
- Type Win + R combination. In the window that opened:
msconfig
Apply pressing the "OK" button.
- The system configuration editing window opens. Move in the "Auto-loading" section.
- The startup section opens. Further actions depend on whether you want to disable the automatic start of all elements or only some of them. The first action of actions will bring a greater effect, but it must be borne in mind that there are such programs that are preferable to leave in autoruns specifically to solve your tasks. So there is a solution for you.
- In the first case, just click the "Disable All" button. After that, the marks opposite all the list items will be removed, then press "Apply" and "OK".
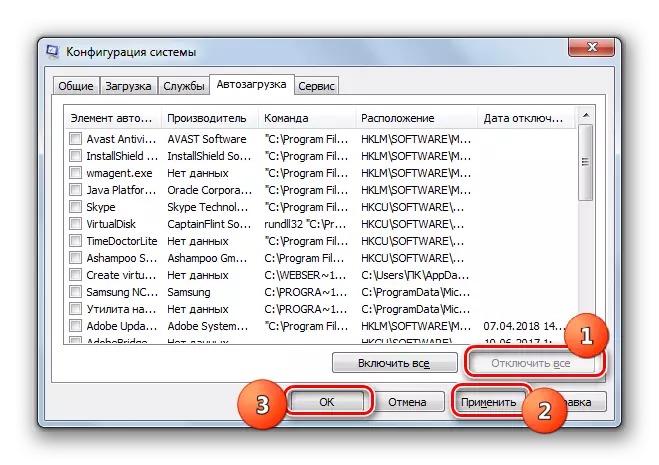
In the second case, remove the ticks near those elements that are going to remove from the startup, but do not touch the marks opposite the names of the programs left in the autorun. Further, as in the previous time, press "Apply" and "OK".
- After that, the dialog box opens where the PC restarts will be prompted. Close all active programs and click "Reboot".
- After restarting, the selected applications will be removed from the startup, which releases the resources of the system and will increase its speed.


Lesson: Disconnecting the autorun applications in Windows 7
Method 5: Disable Services
Various started services are also carried out on the system. At the same time, not all of them are needed to the user, but from the actions of some of these objects of negative consequences even more than positive. Such elements are desirable to disable for increasing PC performance. The principle of deactivation is about the same as the principle of removal of programs from autoload. But there is one important reservation: it is necessary to treat the services more carefully, since deactivation of an important element may lead to incorrect operation of the system.
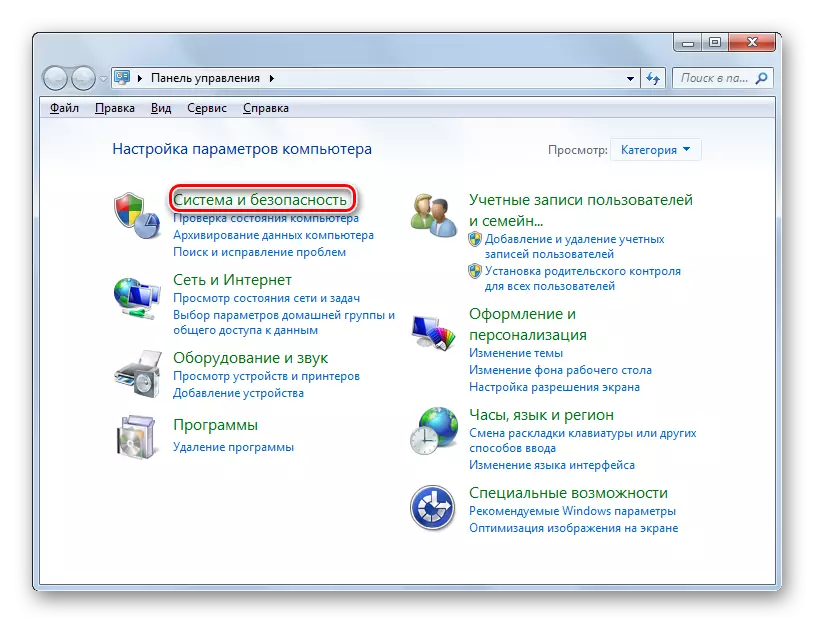
- Click "Start" go to "Control Panel".
- Next, go to "System and Security".
- Click "Administration".
- In the list that opens, choose "Services".
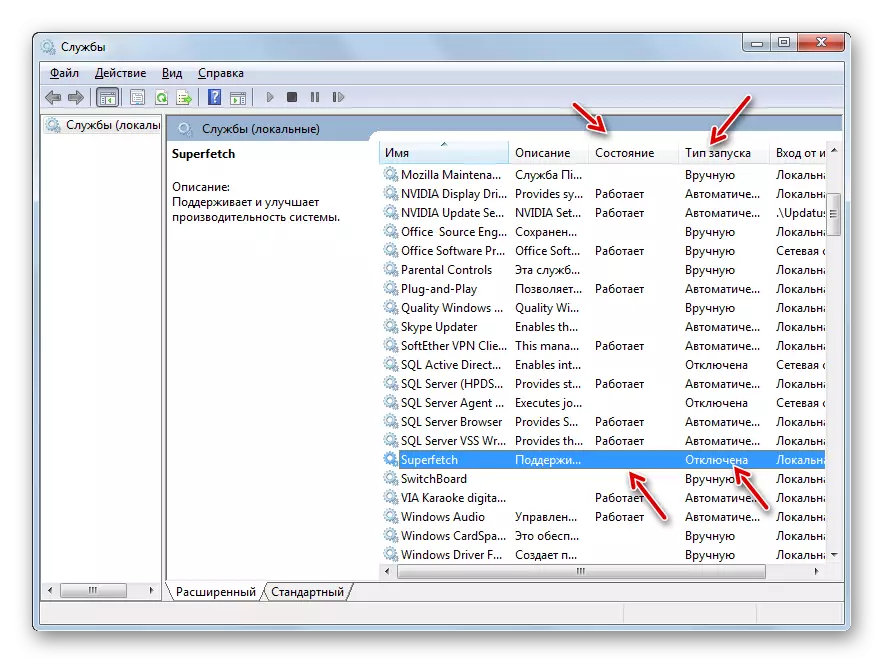
- Opened "Service Manager". Highlight the service you want to deactivate, and then on the left side of the window, click "Stop".
- Deactivation procedure will be performed.
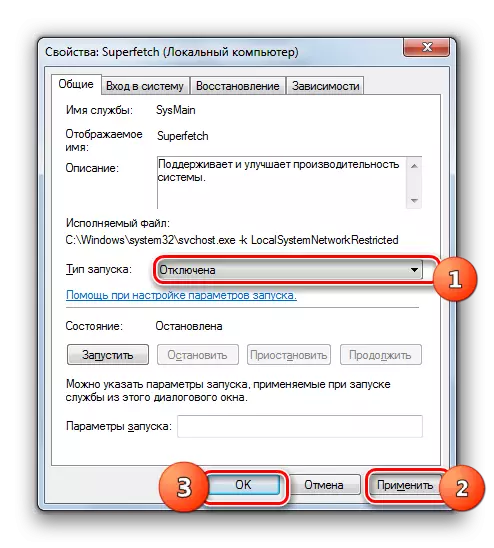
- After that, double-click LKM by the name of the same service.
- The window of the service properties opens. In the Startup Type drop-down list, select the "disabled" position. Then press the "Apply" and "OK" buttons.
- There will be a refund to the main window of the "dispatcher", and the service itself will be completely deactivated. This will indicate the lack of status "Works" in the "Status" column opposite the element turned off, as well as the status "disabled" in the "Startup Type" column.


After performing the indicated manipulations to disable all unnecessary services, the speed of the system should increase due to the release of resources. But, we repeat, feel carefully at what service is disconnected. Before performing the procedure, see our separate material in which it is described which services can be turned off without significant negative consequences for the OS.
Lesson: Deactivation of unnecessary services in Windows 7
Method 6: Cleaning the Registry
Another way to speed up the PC is cleaning the system registry from outdated and erroneous entries. Thus, the system will not refer to the specified elements, which will increase not only the speed of its operation, but also the correctness of operation. For these purposes, special-cleaner programs are applied. One of the most popular applications to perform the specified task is already familiar to us in the 1 CCleaner method.

Lesson:
Quality Cleaning Registry from Errors
Cleaning the registry with CCleaner
Method 7: Power Setup
The following option for increasing the speed of the OS is the correct setting of the power supply.
- Go to the section "Control Panels" called "System and Security". The algorithm of this transition was described in the method 5. Next click "Power".
- In the opening plan selection window that opens, you can only rearrange the radio button to the "High Performance" position, after which you can close the window.


For desktop PCs, this method is particularly suitable, as it does not have almost no negative consequences. But if you use a laptop, you need to think if it is worth applying it, as it can significantly increase the battery discharge rate.
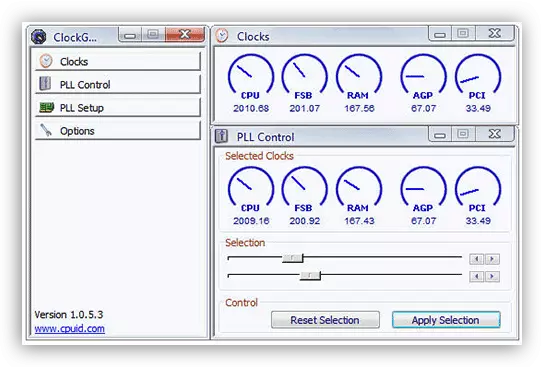
Method 8: processor acceleration
By default, the processor is not configured to use its maximum features. It always has a power supply, and therefore there are methods of this power to free up to increase the performance of the OS. As a rule, they are carried out using special software. But it is worth remembering that the processor's acceleration is a rather dangerous procedure that, with incorrect exercise, can lead to a PC output. In any case, the processor dispersal leads to an increase in its wear, and with incorrect actions even to failure in the shortest possible time.
Lesson:
Acceleration of the processor on a laptop
Increase processor speed
As we see, increasing the performance of the system in Windows 7 is carried out mainly by reducing the load on individual components. At the same time, it is often necessary to choose that the speed of work or visual appearance is more important. Although there are such methods where such a dilemma is not worth it, for example, cleaning a PC from garbage. In this case, optimization has only a positive character with the condition that you do everything right.