

Instagram is a popular social network for publishing video and photographs aimed at using smartphones running IOS and Android operating systems. Unfortunately, the developers did not provide for a separate computer version that would allow full use of all opportunities to instagram. However, with a proper desire, you can run a social network on a computer and even place a photo in it.
We publish a photo in Instagram from a computer
There are two pretty simple ways to publish photos from a computer. The first is to use a special program that emulates on Android OS computer, thanks to which you will have the ability to install any mobile applications, and the second is to work with Instagram web version. But first things first.Method 1: Android emulator
Today there are large selection-programs that can emulate Android OS on the computer. Below we will consider the installation process and work with instagram on the example of the Andy program.
- Download the Andy Virtual Machine, and then install on the computer. Please note that during the installation process, if you do not remove the ticks on time, additional software will be installed on your computer, as a rule, from Yandex or Mail.ru, so be attentive at this stage.
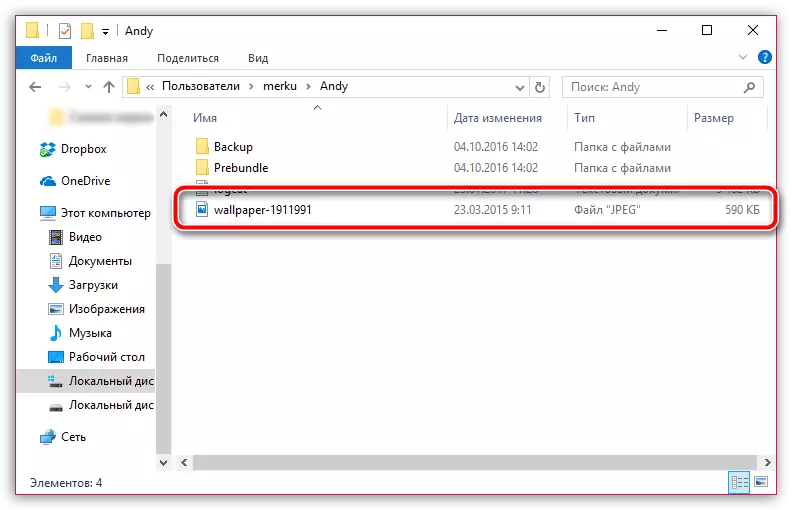
- Once the emulator is set to your computer, open the Windows Explorer and go to the following link:
- The folder will appear on the screen to which you want to add a snapshot for instagram.
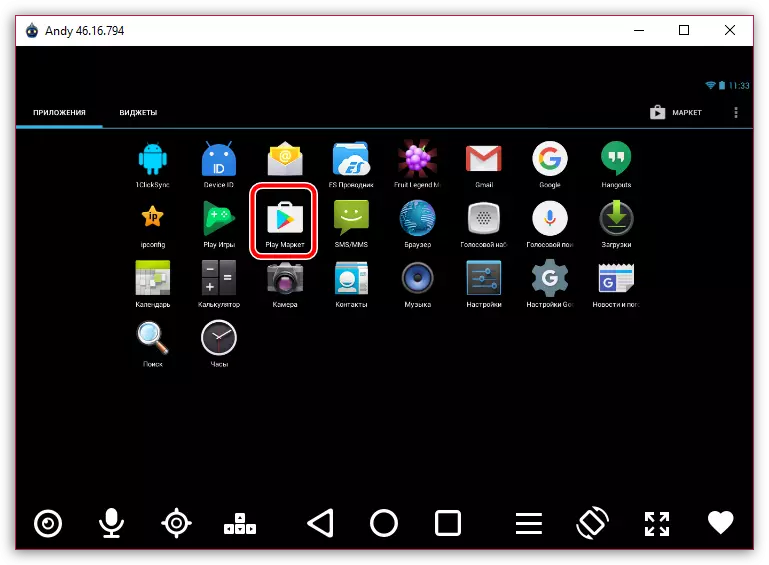
- Now you can go to the use of Andy. To do this, run the emulator, and then click on the central menu button and open the "Play Market" application.
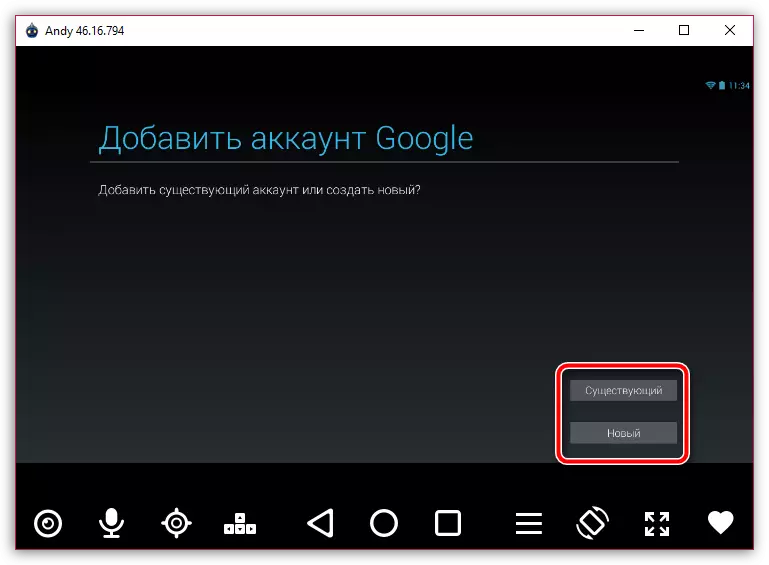
- The system will offer login or register in the Google system. If you still do not have an account, it will be necessary to do it. If you already exist Gmail mail, immediately click on the "Existing" button.
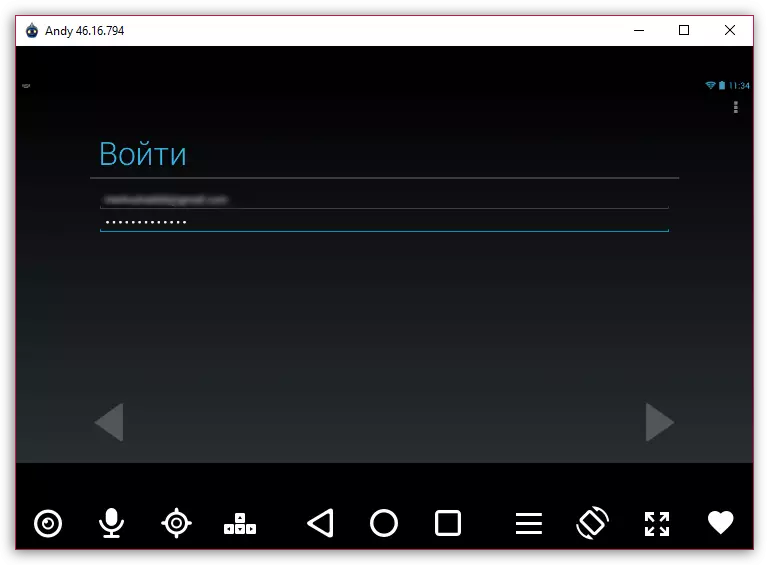
- Enter the data from the Google account and complete the authorization.
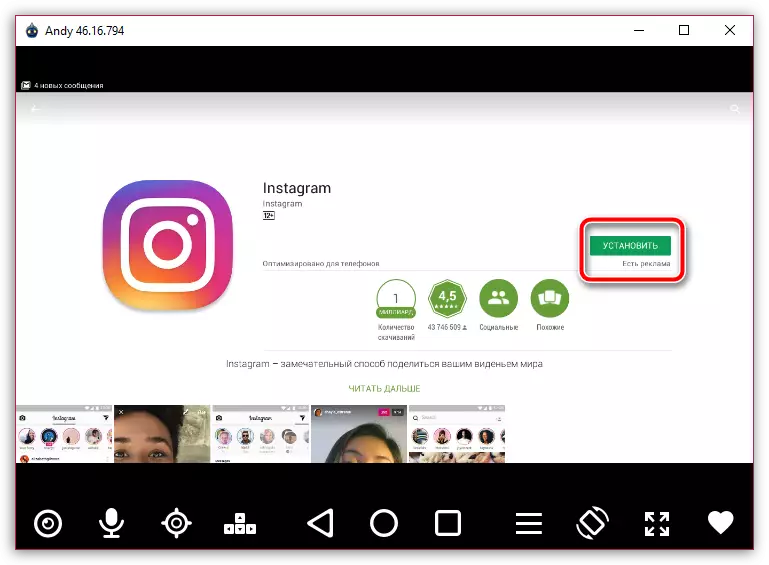
- Using the search string, find and open the Instagram application.
- Install the application.
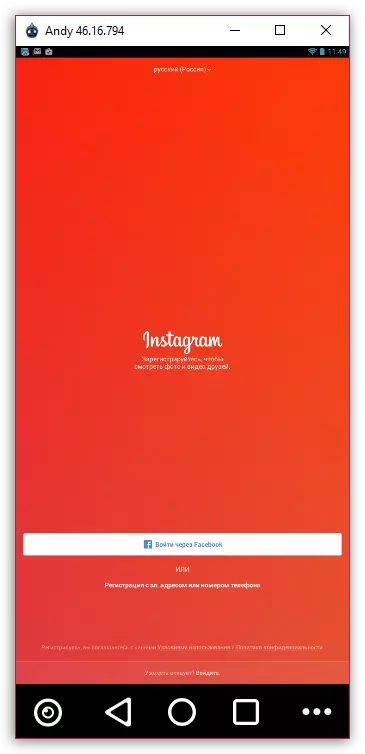
- As soon as the application is installed in the emulator, run it. First of all, you will need to log in to your Instagram account.
- To start publishing, click on the central button with the image of the camera.
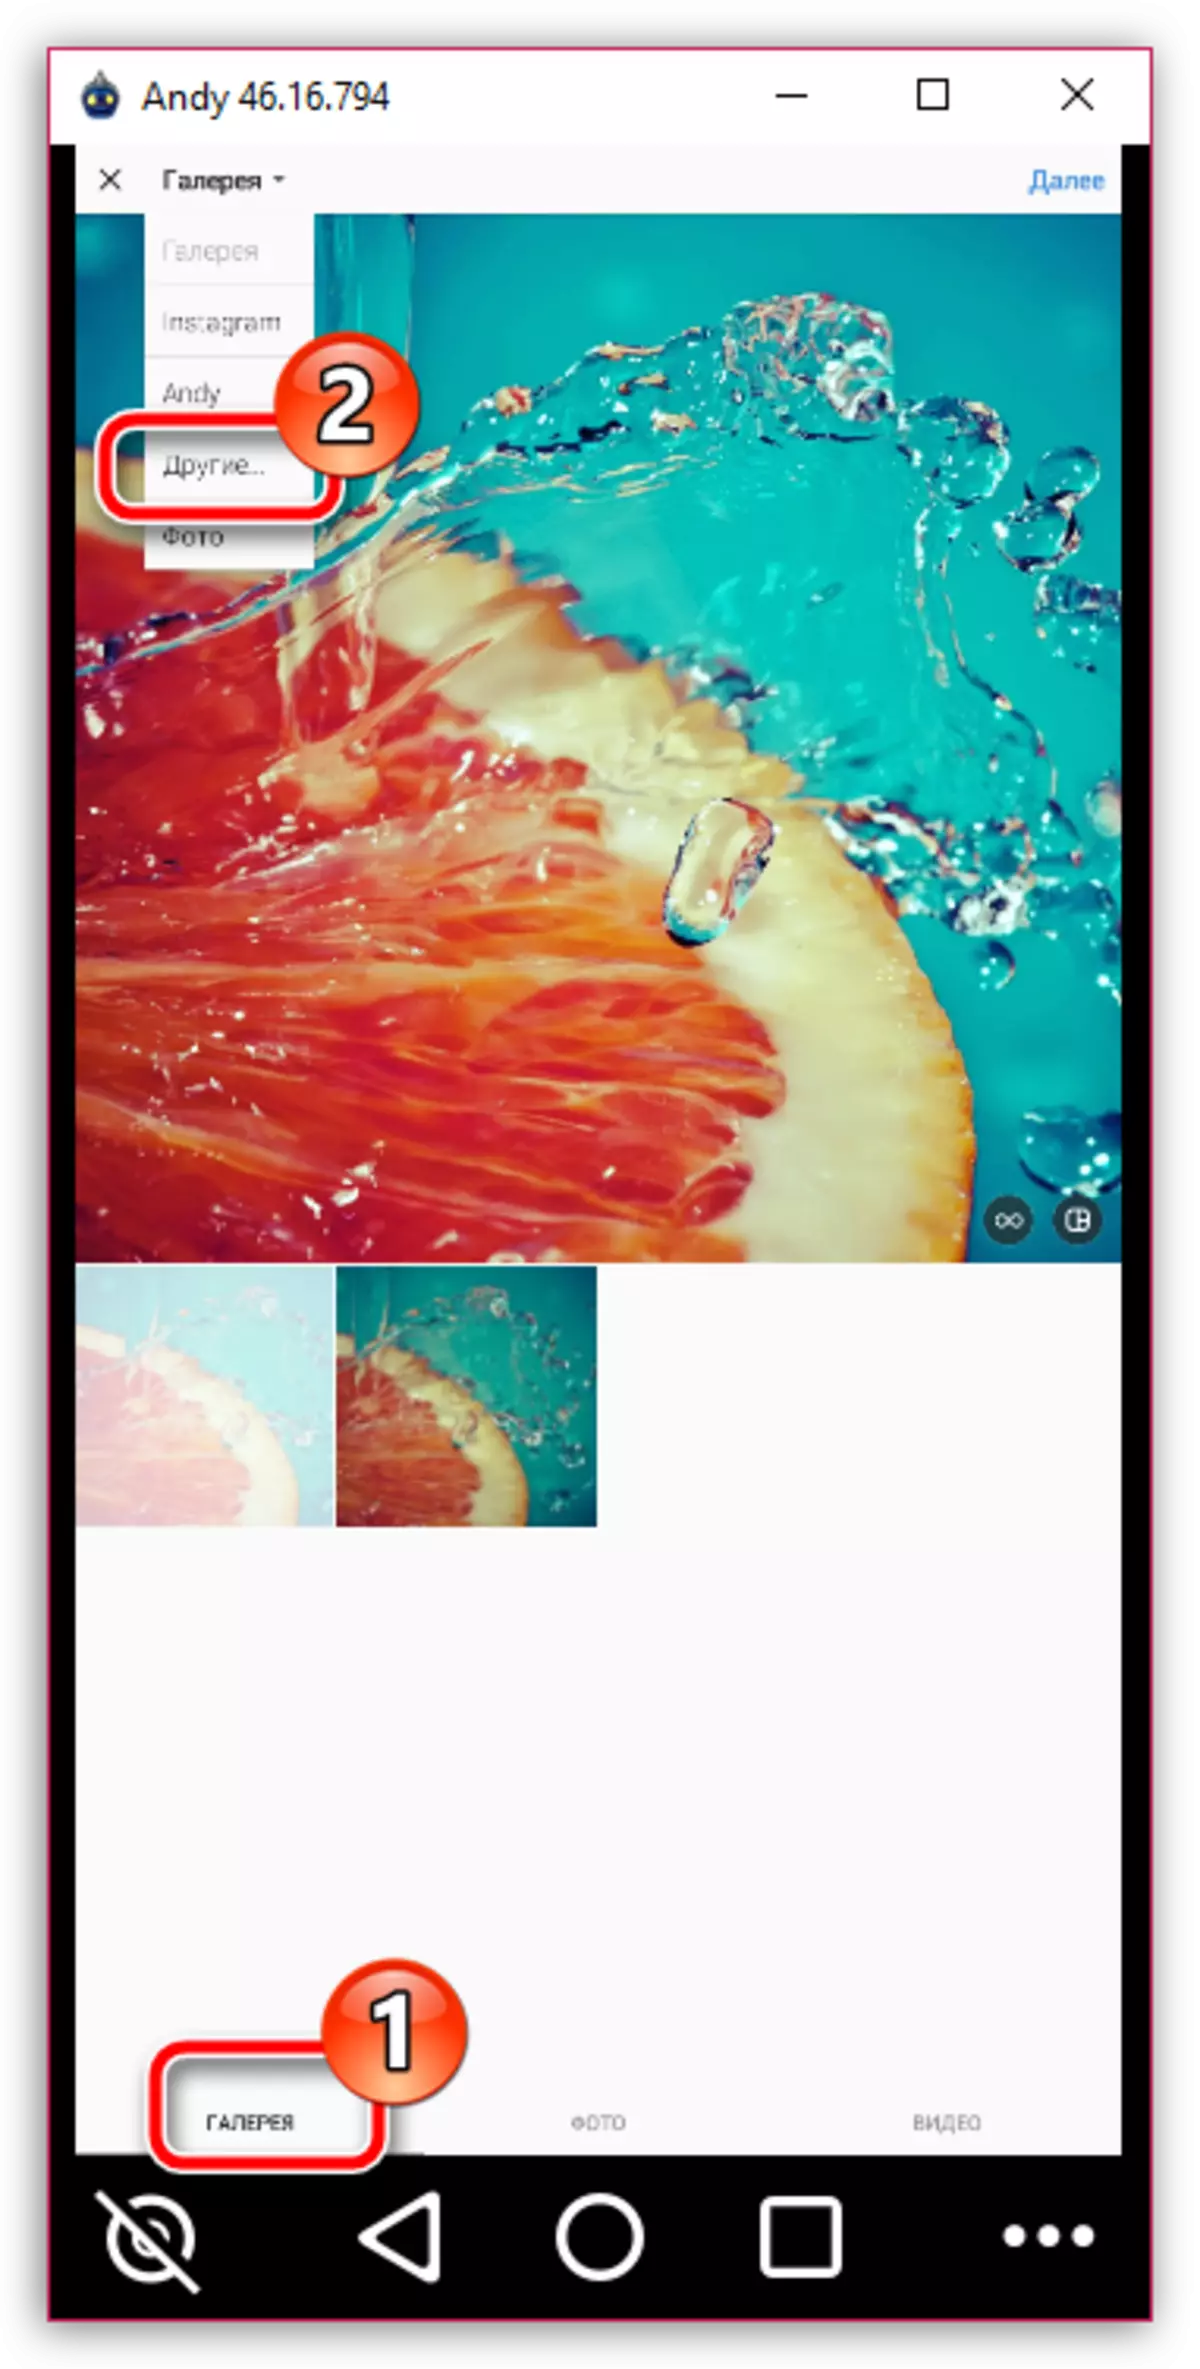
- In the bottom area of the window, select "Gallery", and at the top, click on another button "Gallery" and select "Other" in the displayed menu.
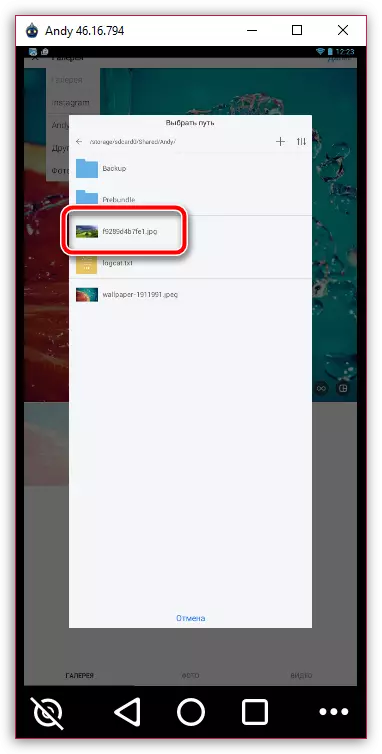
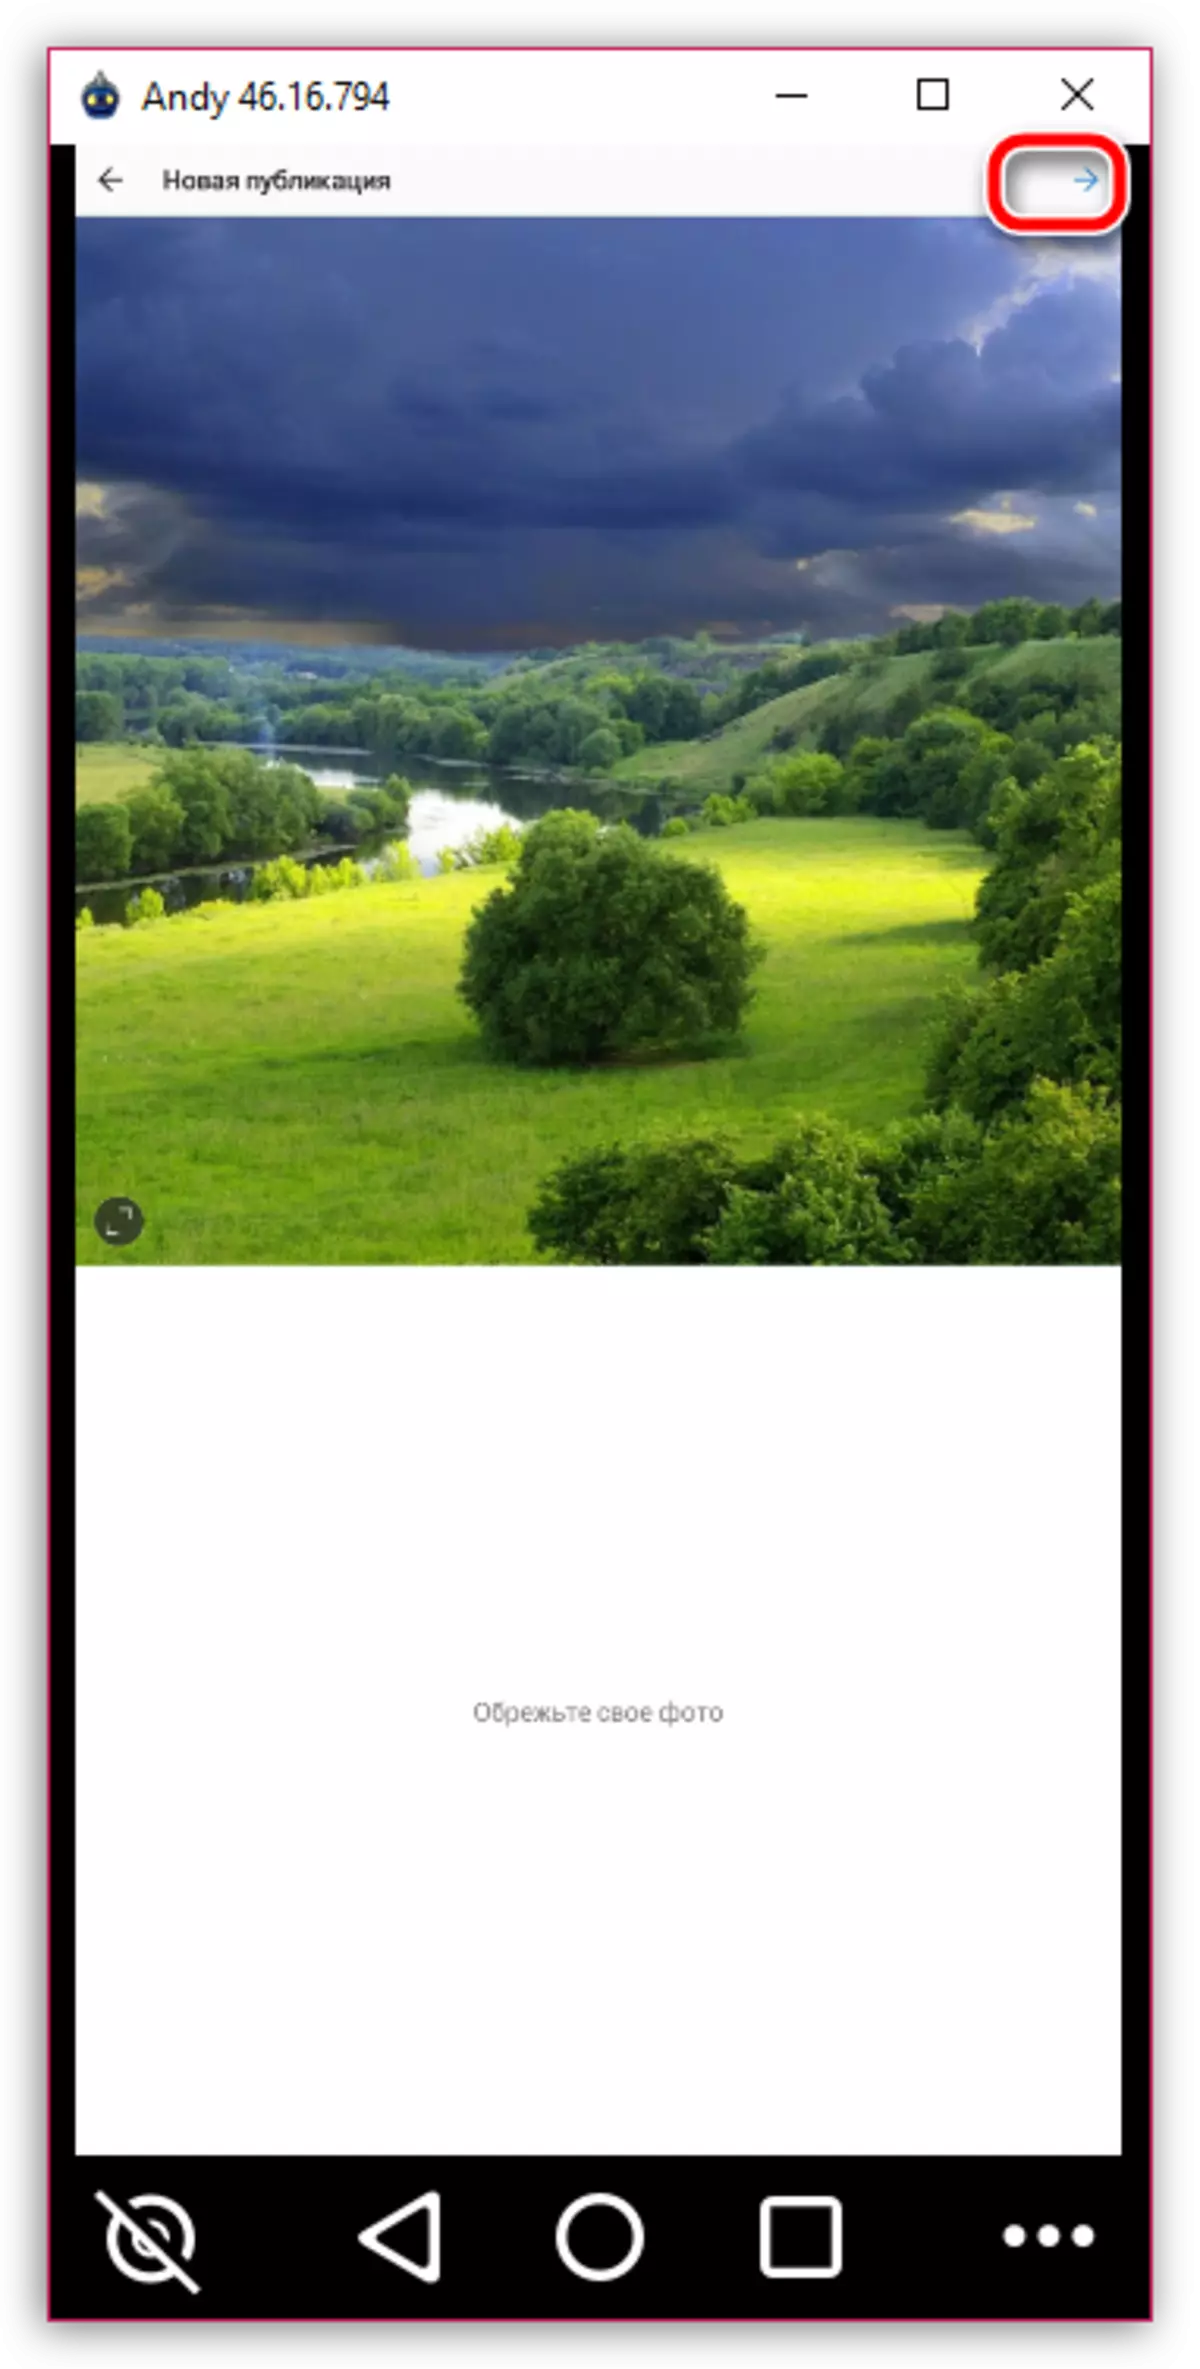
- The Andy emulator file system appears on the screen, in which you will need to go along the path below, and then simply select the photo card previously added to the folder on the computer.
- Set the image the required location and, if necessary, change the scale. Click on the upper right area on the arbitrar icon to continue.
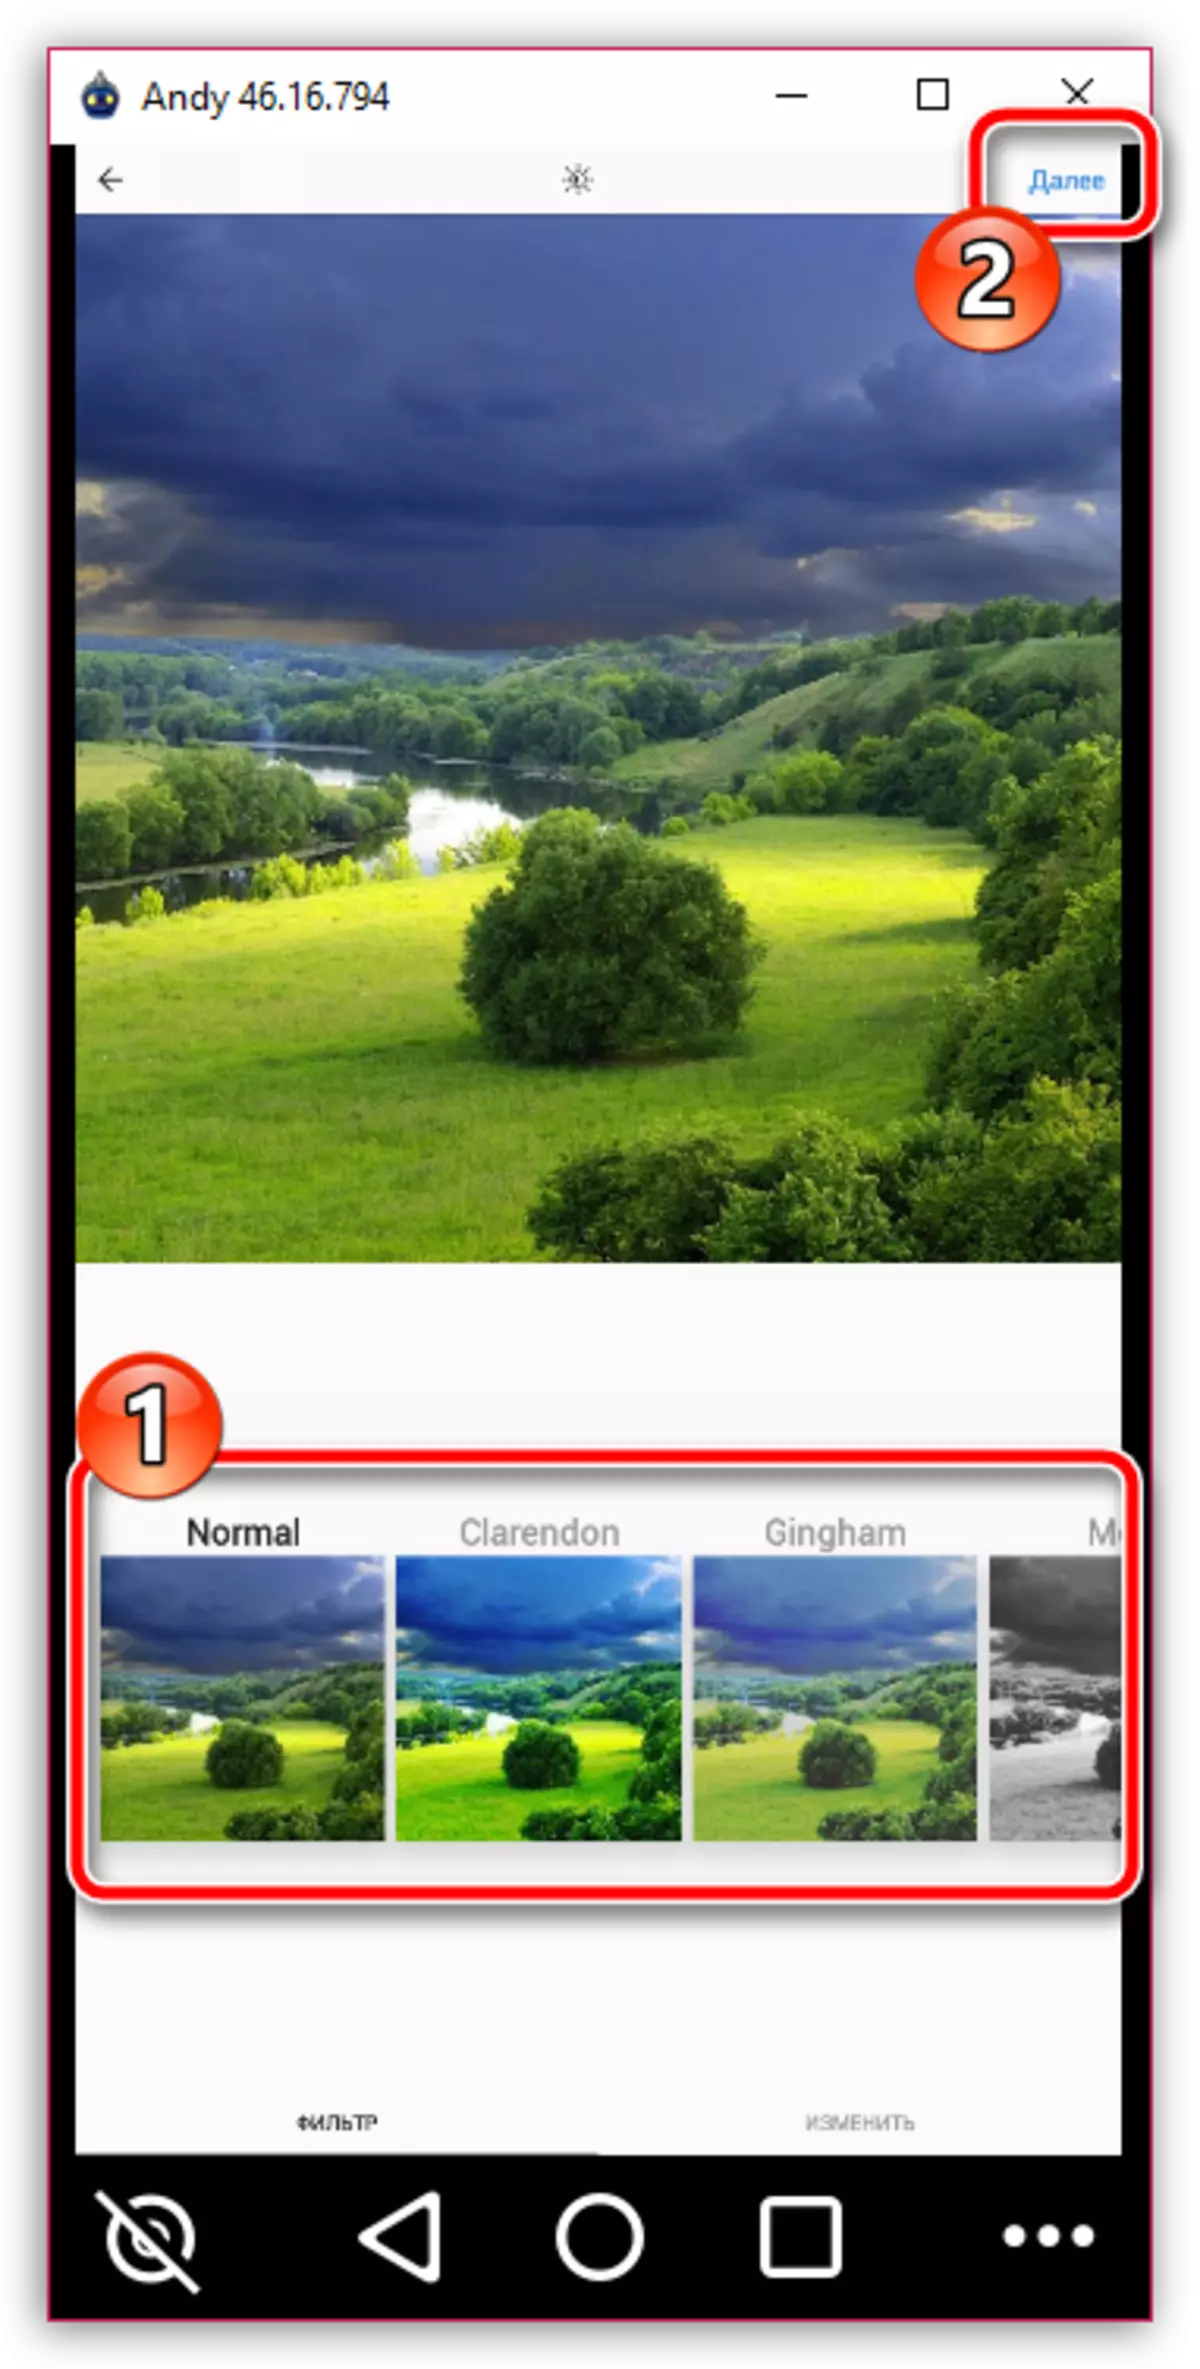
- Optionally, apply one of the farewell filters, and then click on the "Next" button.
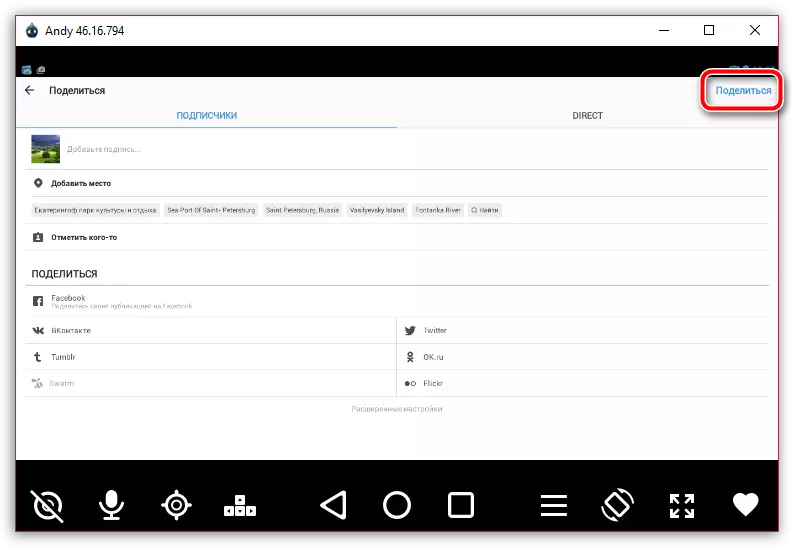
- If necessary, add a picture description, geoteg, mark the users and complete the publication by clicking on the Share button.
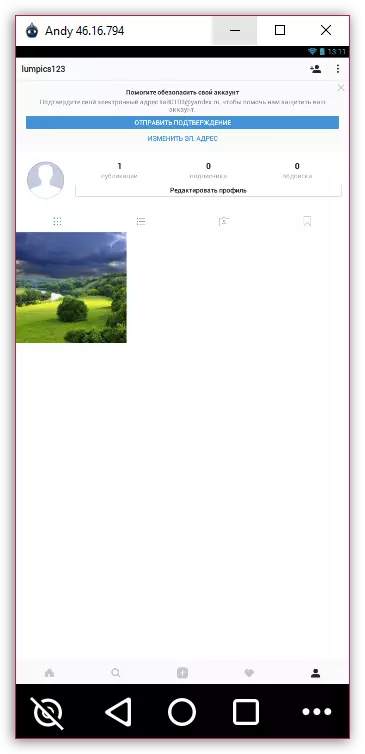
- After a few moments, the image will appear in your profile.
% UserProfile% \ Andy \

See also: How to enter Instagram

"INTERNAL STORAGE" - "Shared" - "Andy"
In such a simple way, we not only published an image from a computer, but also were able to install a full-fledged Instagram application. If necessary, any other Android applications can be installed in the emulator.
Method 2: Instagram Web Version
If you open the site Instagram and on the phone, and on a computer, you can immediately notice the main difference: you can create publications through the mobile version of the web resource, while there is no this function on the computer. Actually, if you want to publish photos from a computer, instagram is enough to convince the site is open from the smartphone.
And the easiest way to do is to use the USER-Agent Switcher browser extension, which will make the site instagram (and other web services) that you visit the resource, for example, with the iPhone. Thanks to this, on the computer screen and the mobile version of the site with the long-awaited possibility of publishing a photo will appear.
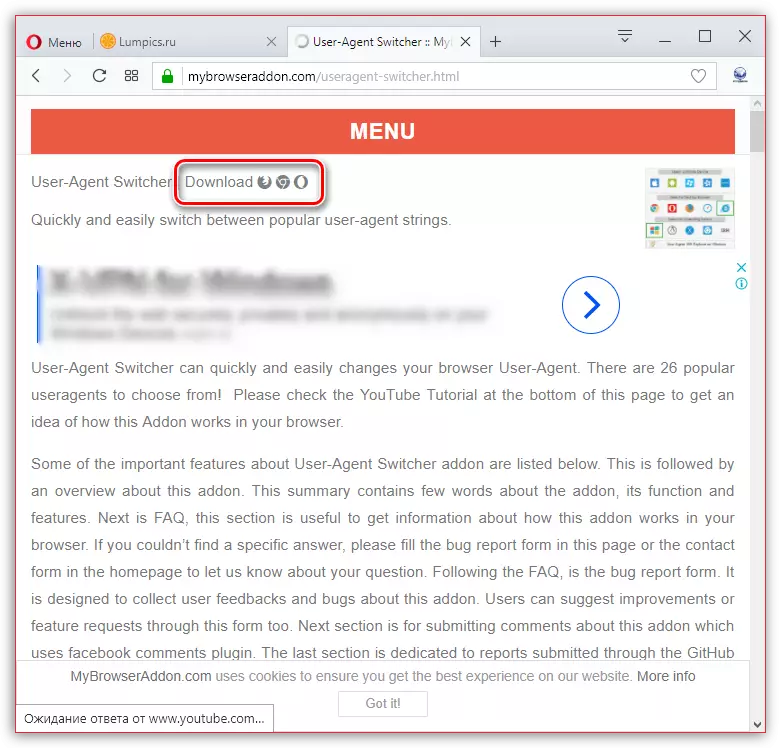
Download User-Agent Switcher for Mozilla Firefox
- Go to the User-Agent Switcher download page. Next to the "Download" item, select the icon of your browser. Please note that if you use a different web browser based on the Chromium engine, which is not listed, for example, Yandex.Browser, choose the Opera icon.
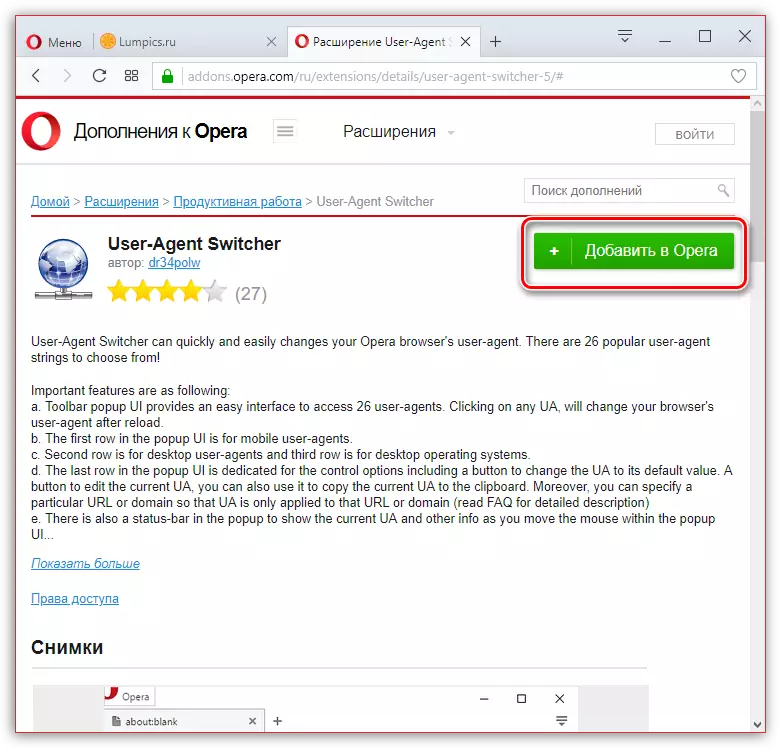
- You will redirect to the extension store. Click on the Add button.
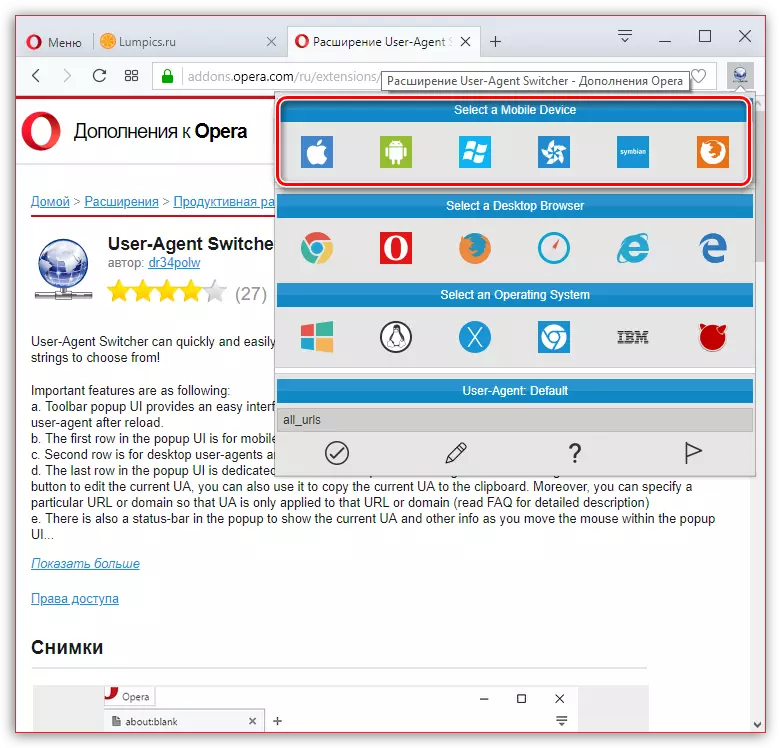
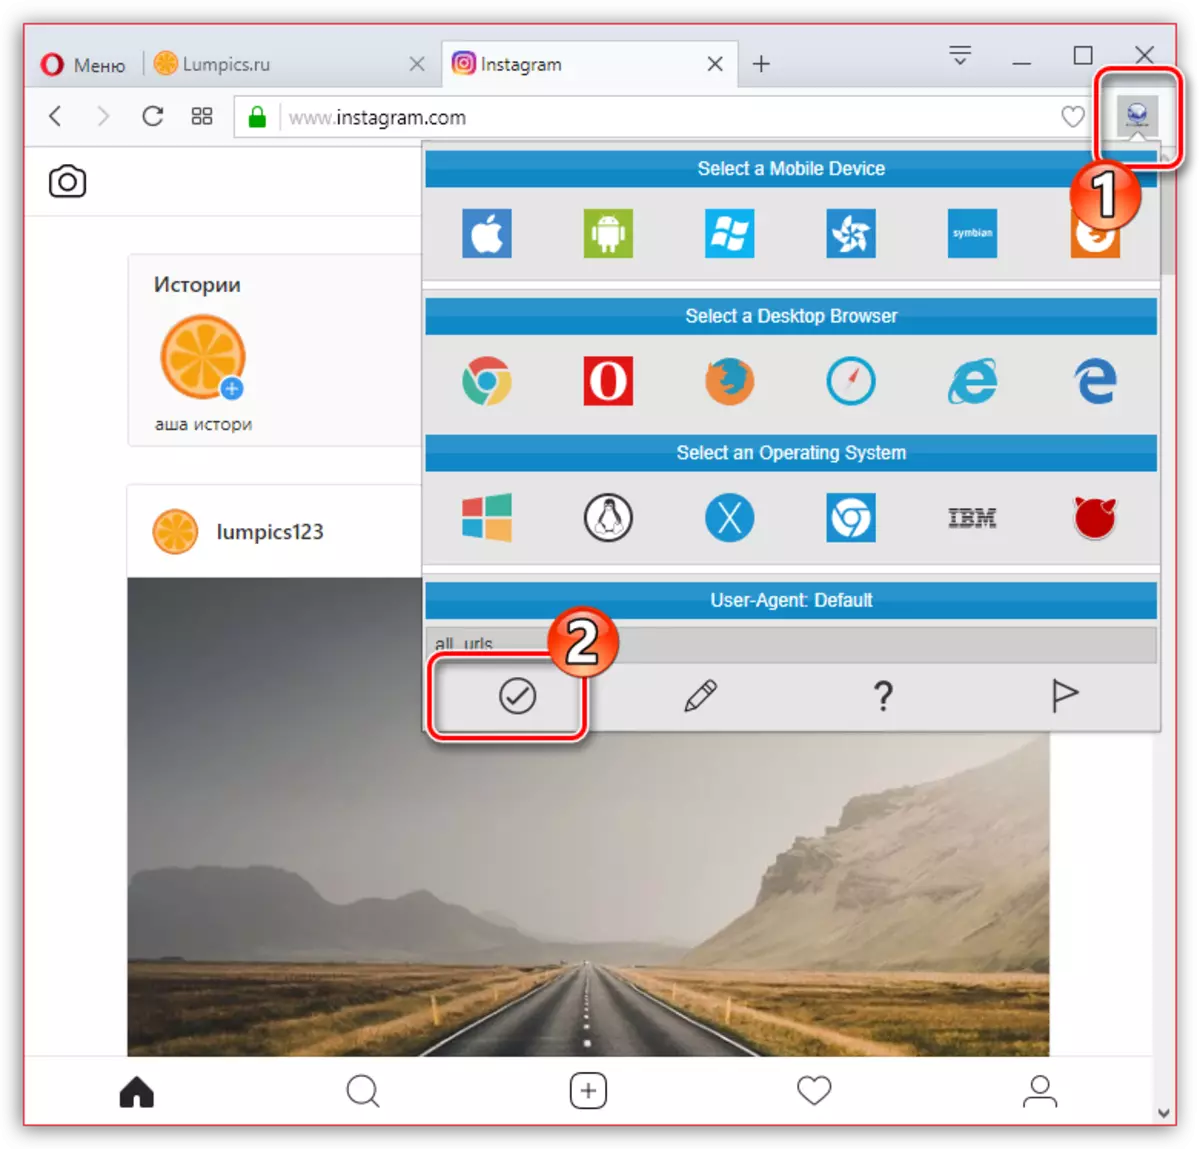
- When the installation is completed, an extension icon appears in the upper right corner of the browser. Click on it to open the menu.
- In the window that appears, it remains to decide on the mobile device - all available options are located in the "Select a Mobile Device" block. We recommend to stay on an apple icon, thereby symotizing the Apple iPhone.
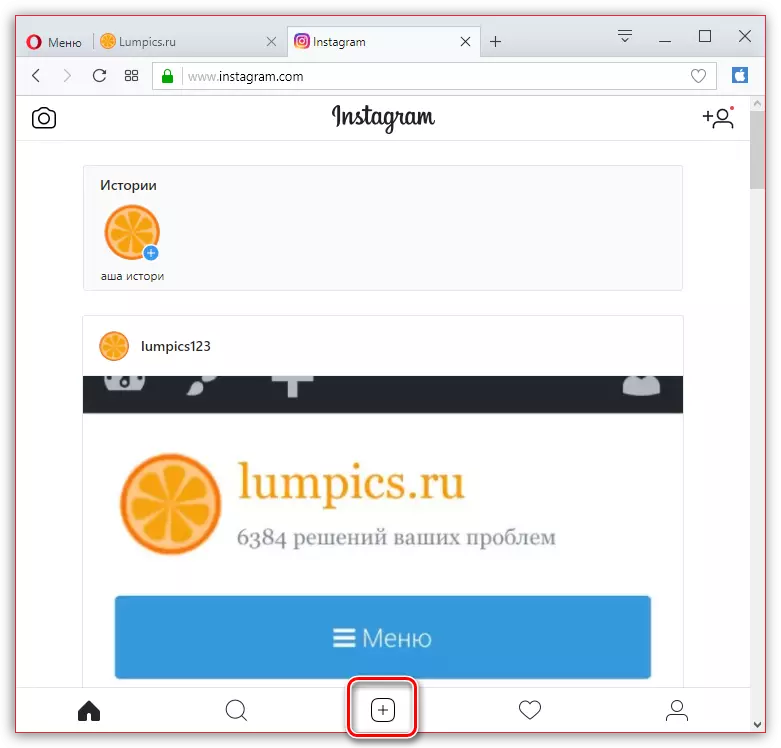
- We check the work of the addition - for this we turn to the site Instagram and see that the mobile version of the service opened on the screen. The point is left for small - publish photos from the computer. To do this, at the bottom central part of the window, click on the plus card icon.
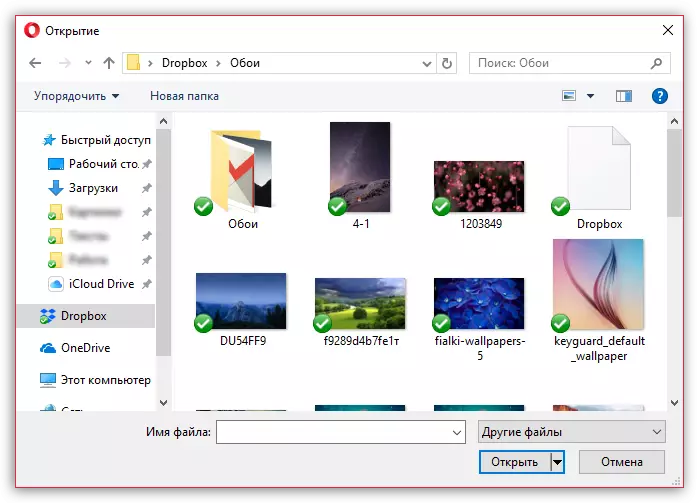
- The Windows Explorer will appear on the screen in which you will need to select a snapshot to create a publication.
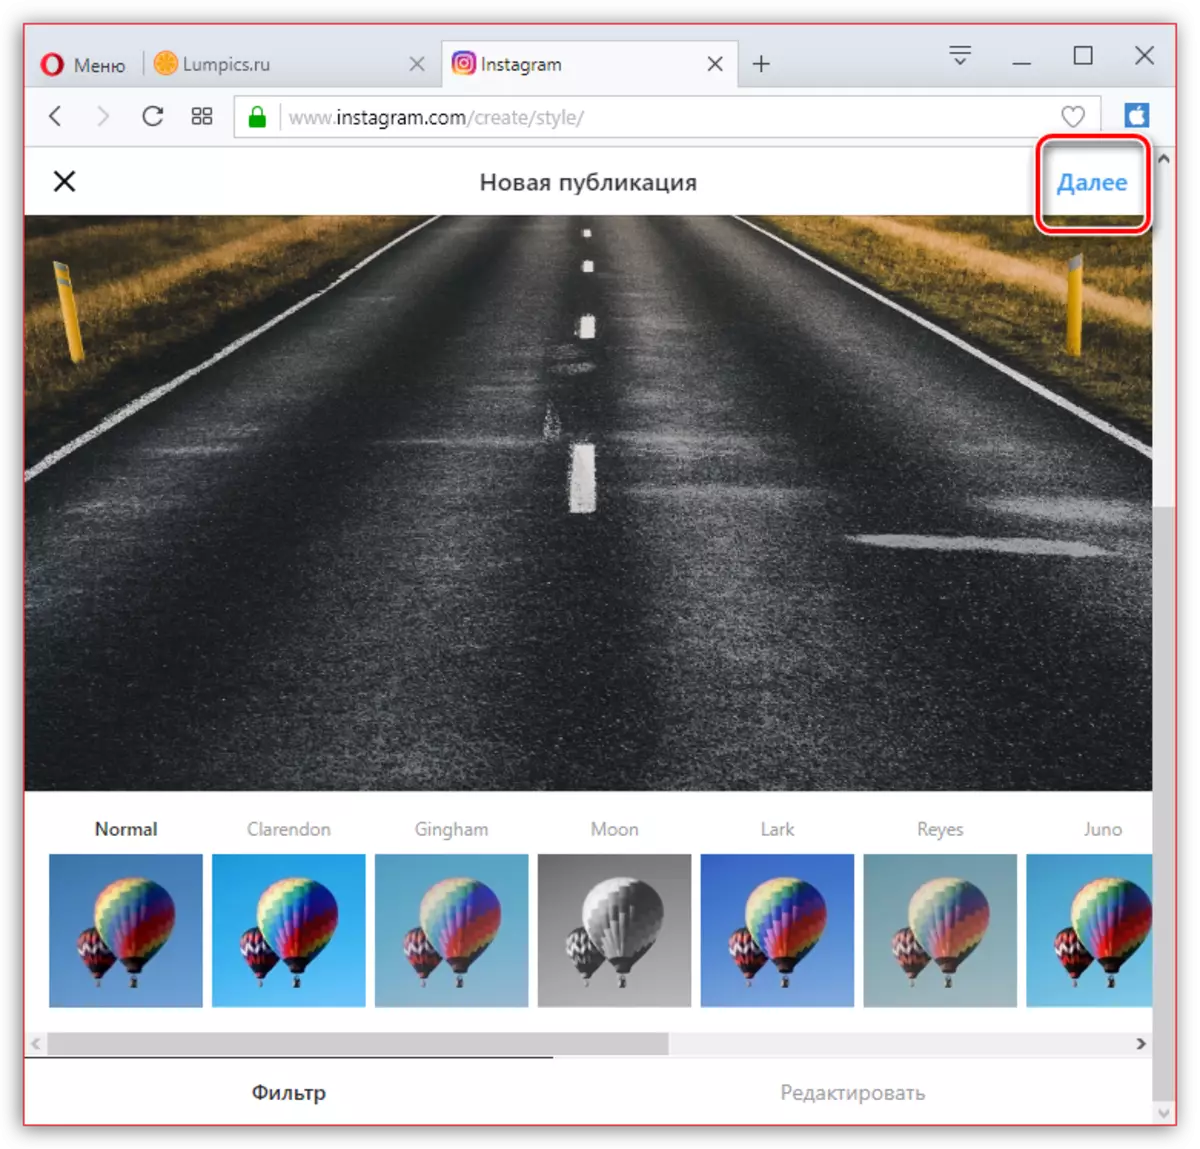
- In the following, you will see a simple editor window, in which you can apply the like filter, decide on the image format (original or square), and also rotate 90 degrees in the desired side. Having finished with editing, click in the upper right corner on the "Next" button.
- If necessary, add a description and geoposition. To complete the image publishing, select the "Share" button.

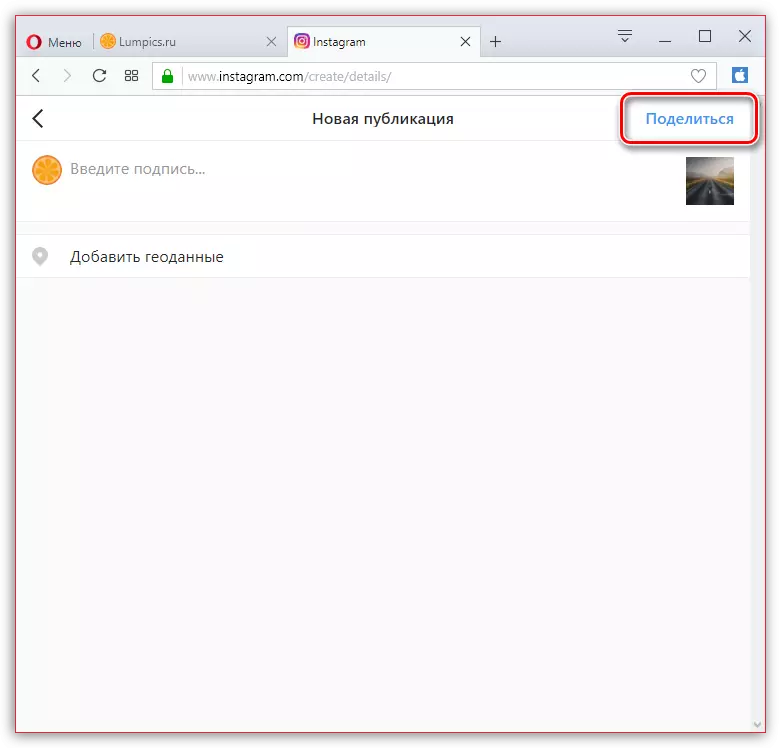
After a couple of moments, the photo will be published in your profile. Now, to return to a computer web version Instagram, click on the User-Agent Switcher icon, and then select a pictogram with a check mark. Settings will be reset.
Instagram developers actively undertake introducing new features in Instagram. Most likely, you can soon wait for a full version for a computer that allows you to publish photos.