

There are situations where you need to activate the "remote desktop" on your computer to provide access to it to a user who cannot directly be near your PC, or be able to manage the system from another device. There are special third-party programs that perform this task, but in addition, in Windows 7, it is possible to solve it using the built-in RDP protocol 7. So let's figure out which methods of its activation exist.
Lesson: Customize remote access to Windows 7
Activation of RDP 7 in Windows 7
Actually, the activation method of the built-in RDP 7 protocol on computers with Windows OS 7 is only one. We will look at it in detail.Step 1: Go to the Remote Access Parameters window
First of all, you need to go to the Remote Access Settings window.
- Click "Start" and go to the control panel.
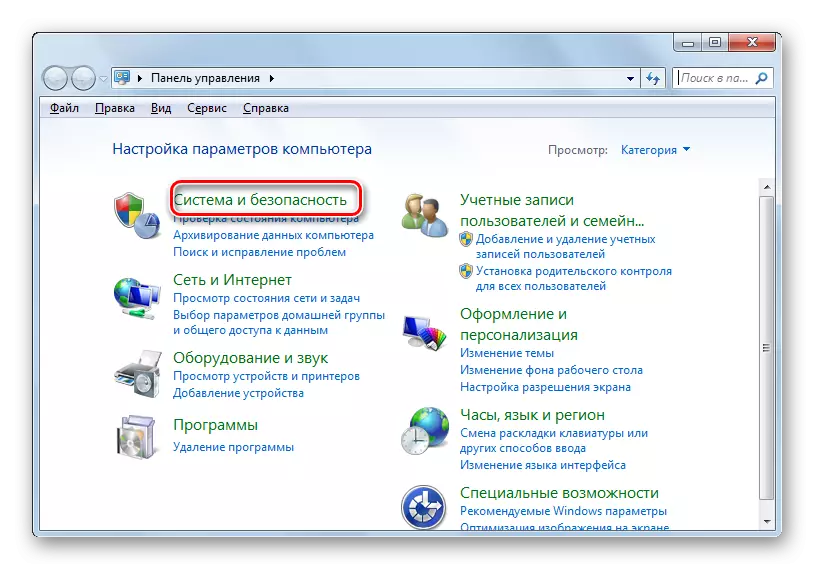
- Next, go to the "System and Security" position.
- In the window that opens in the "System" block, click "Setting Remote Access".
- The window you need will be open for further operations.


The setup window can be started using another option.
- Click "Start" and in the right mouse menu that opens, click on the name "Computer", and then press "Properties".
- The computer properties window opens. In his left part, click on the inscription "Advanced Parameters ...".
- In the opened system parameters window, you will only need to click on the name "Remote Access" tab and the desired partition will be opened.


Step 2: Activation of Remote Access
We approached directly to the RDP 7 activation procedure.
- Set the mark opposite the "Allow connection ..." value, if it is removed, and then below, put the radio button to the "Allow connection only from computers only ..." or "Allow connection from computers ...". Make a choice depending on your needs. The second option will allow you to connect to the system with more devices, but it represents a greater danger to your computer. Next click the "Select Users ..." button.
- Opened user selection window. You need to specify accounts for those who can connect to a computer at a distance. Naturally, if there are no necessary accounts, they should be pre-created. These accounts must be saved. To go to the selection of accounts, click "Add ...".

Lesson: Creating a new account in Windows 7
- In the shell that opened in the field of entering the name simply, enter the name of the early created user accounts, for which you want to activate remote access. After that click "OK".
- Then there will be a refund to the previous window. It will explain the names of those users you chose. Now just click OK.
- After returning to the remote access parameters, click "Apply" and "OK".
- Thus, the RDP 7 protocol on the computer will be activated.


As you can see, enable the RDP 7 protocol to create a "remote desktop" on Windows 7 is not as difficult as it may seem at first glance. Therefore, it is not always necessary to set third-party software for this purpose.