Windows 10.
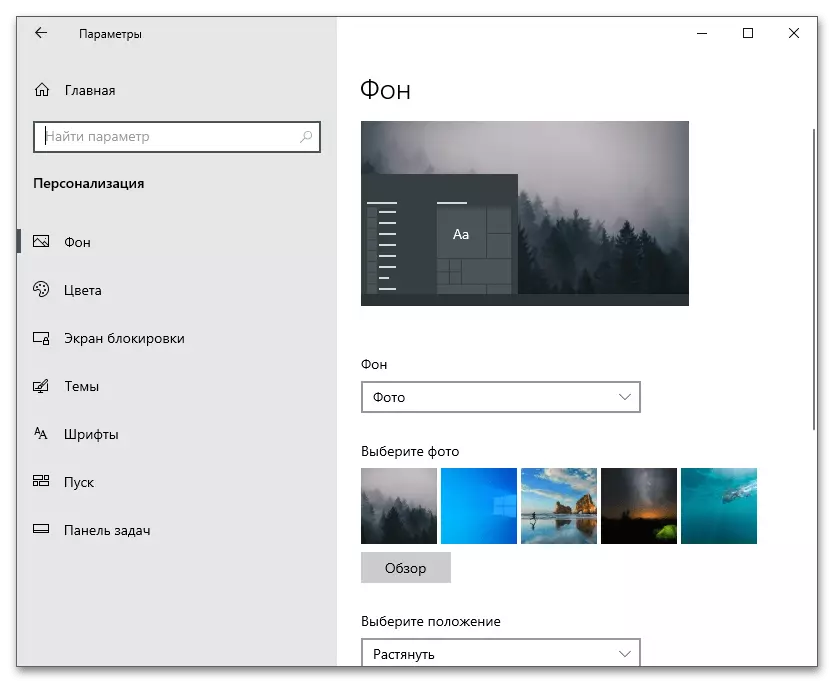
In Windows operating systems, a sufficient number of built-in functions aimed at setting the appearance of the desktop and optimize it under the user. It appears not only to make any image background, but also change the color of windows, taskbar, customize personalized shortcuts and other visual elements that are constantly appearing before your eyes. In addition, special programs from third-party developers are also available, designed to perform various tasks in terms of customization. If we talk about the latest version of Windows, then there is much more personalization capabilities and use them easier, since you only need to go to the appropriate menu and configure fonts, background, taskbar, or the "Start" menu or download the software that will expand the standard parameters. All this in the detailed form is written in another article on our website by reference below.
Read more: How to make a beautiful desktop in Windows 10
Windows 7.
Although Windows 7 is considered outdated, it still uses millions of users. If you are the owner of this version of the OS and wish to personalize the appearance of the desktop, you can also use the built-in functions, however, it should be borne in mind that most of them are not supported in the minimum assembly. The owners of the assembly mentioned are third-party programs that allow you to hardly customize the OS. Only our author tells about this and other features.
Read more: We change the appearance and functionality of the desktop in Windows 7
Other customization programs
We bring to your attention additional solutions for customization, not mentioned in the articles we gave references above. Independent developers are trying to implement a variety of functions on their own, providing users with advanced personalization capabilities. Each next program is responsible for making different changes, so you can use them both separately and all together.WindyNamicDesktop.
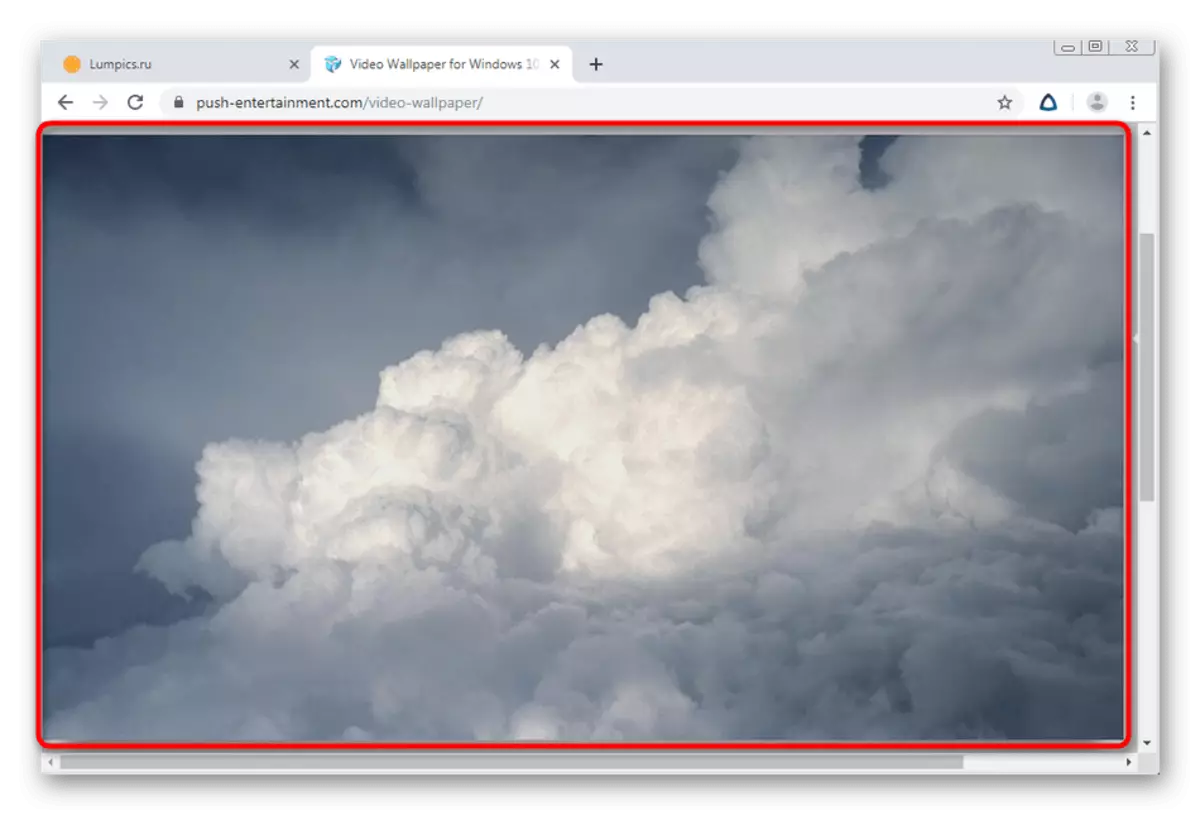
Let's start with the application called WindynamicDesktop, which provides the user with only one function - dynamically changing wallpaper with binding to the time of day. Soft determines the current hour and changes the design on the screensaver on the evening, night or morning. It will be possible to implement such a concept with the help of conventional living wallpapers, so windynamicdesktop is the perfect option for those who are interested in such customization. This solution is supported only in Windows 10, since it applies through the official application store.
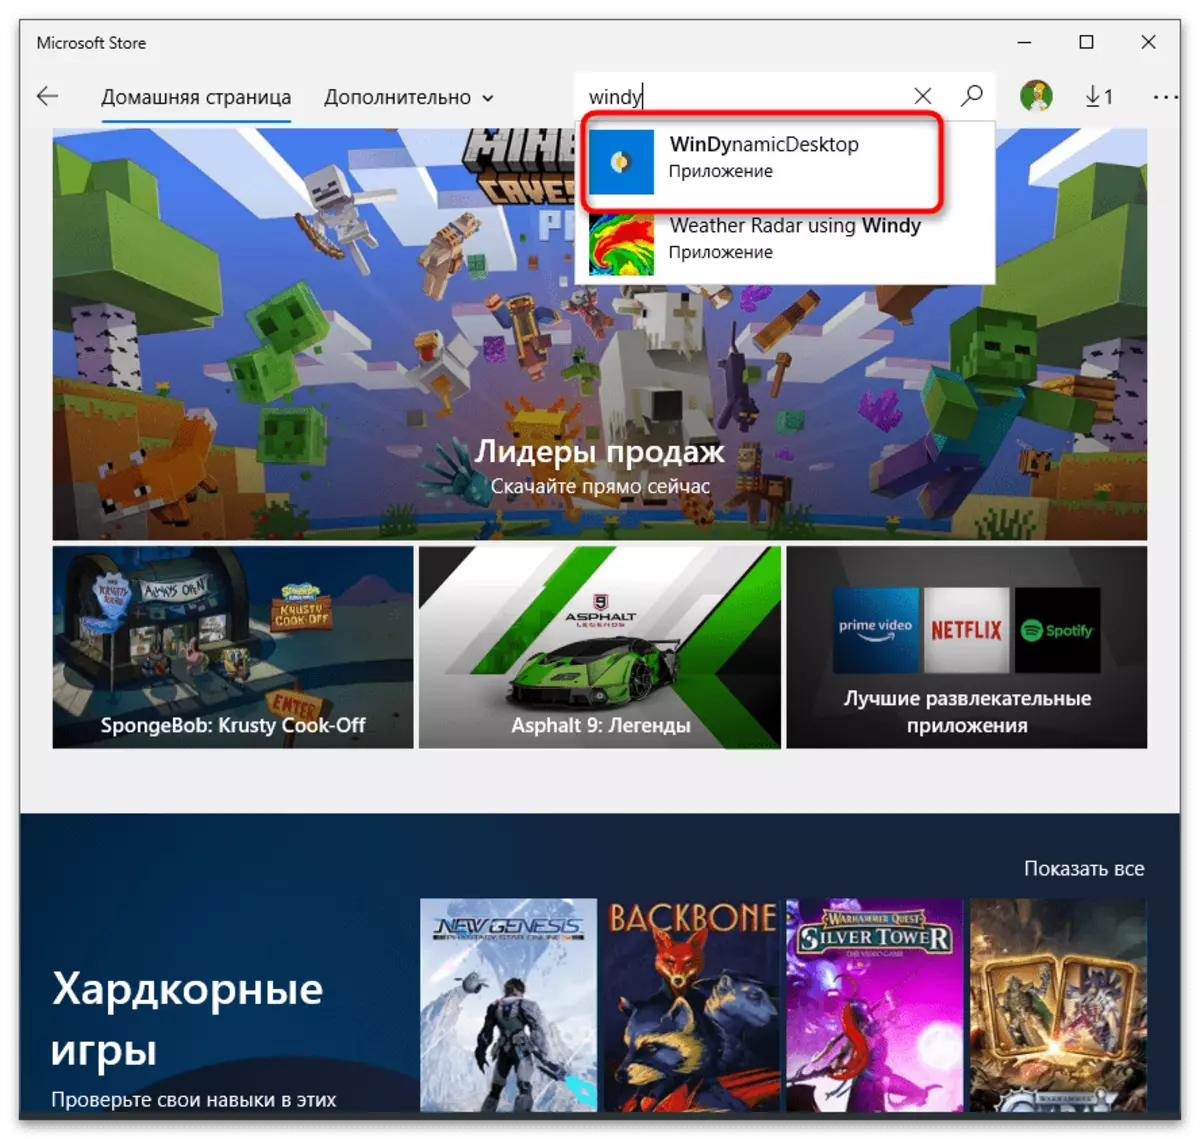
- To start the installation, open the "Start" and find "Microsoft Store" through the search.
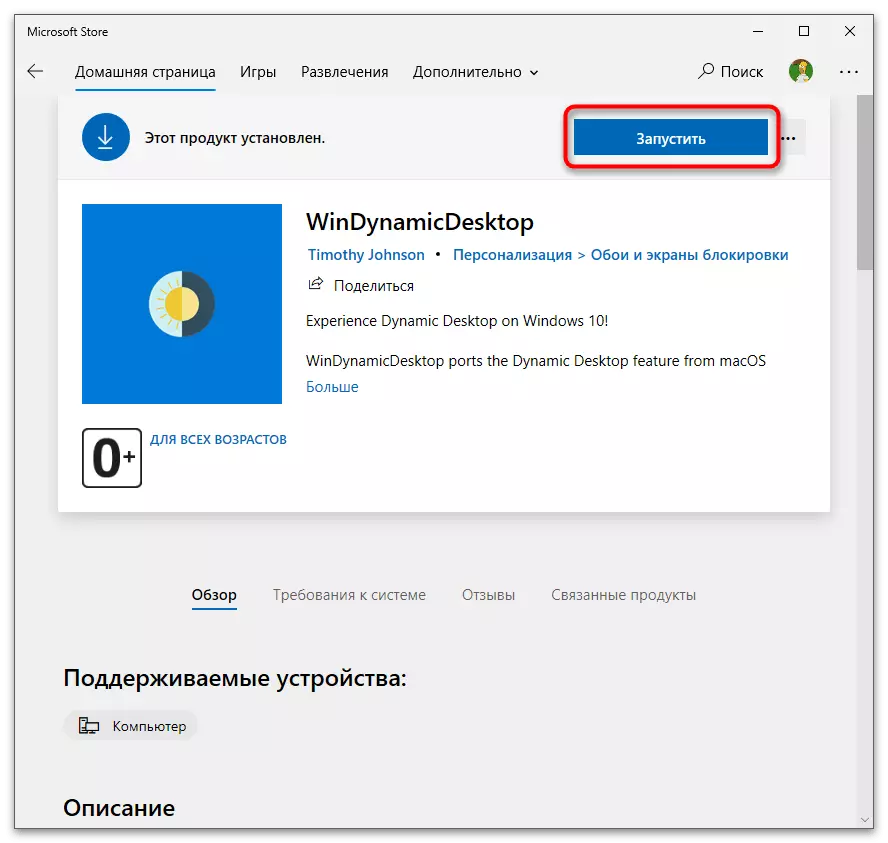
- In the store, use the search bar to find WindyNamicDesktop and go to the application page.
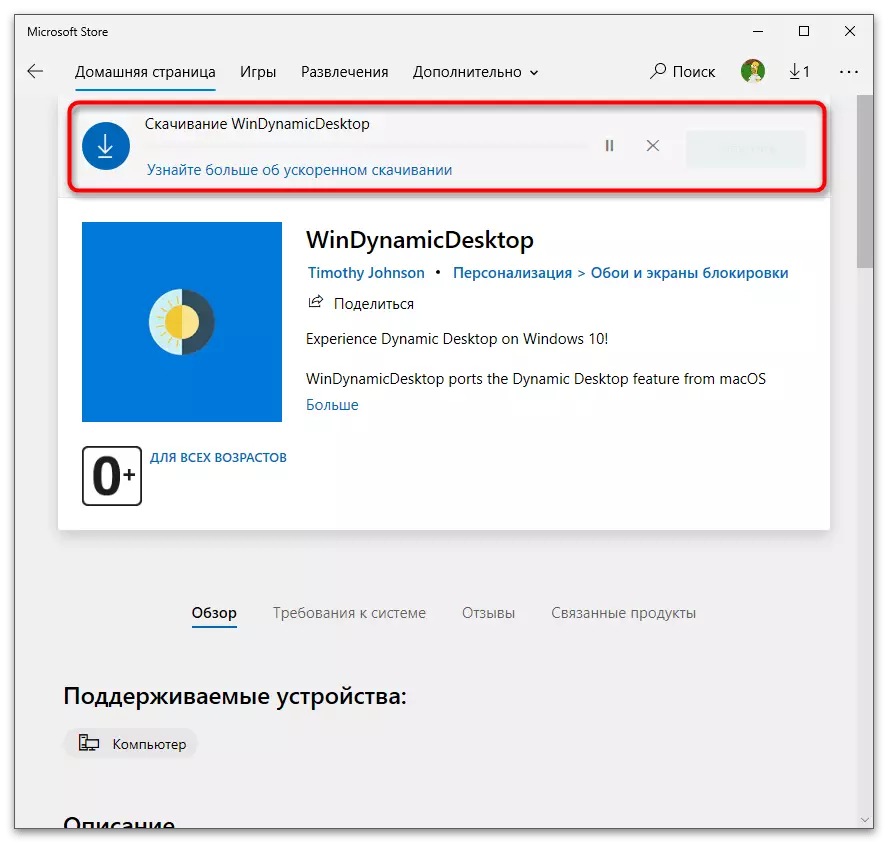
- As you can see, the program is distributed free of charge, so it will only be necessary to click "Get".
- Expect the download to complete the progress right in this window. It can be collected for a while, and the installation notification is displayed in the tray.
- Click "Run" in the Application Store or use "Start" to find WINDYNAMICDESKTOP through the search.
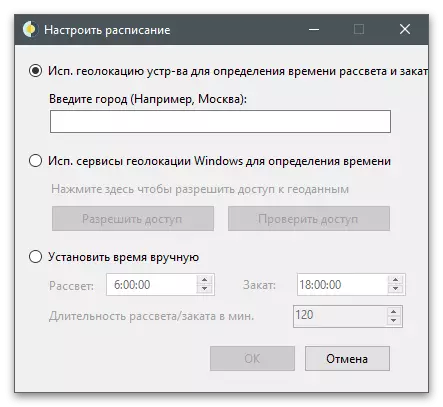
- The main task is to configure the schedule. You need to set the current geolocation or independently set the dawn time and sunset. There is a third option - the use of Windows geolocation services, but then you will need to provide the permission application on behalf of the administrator.
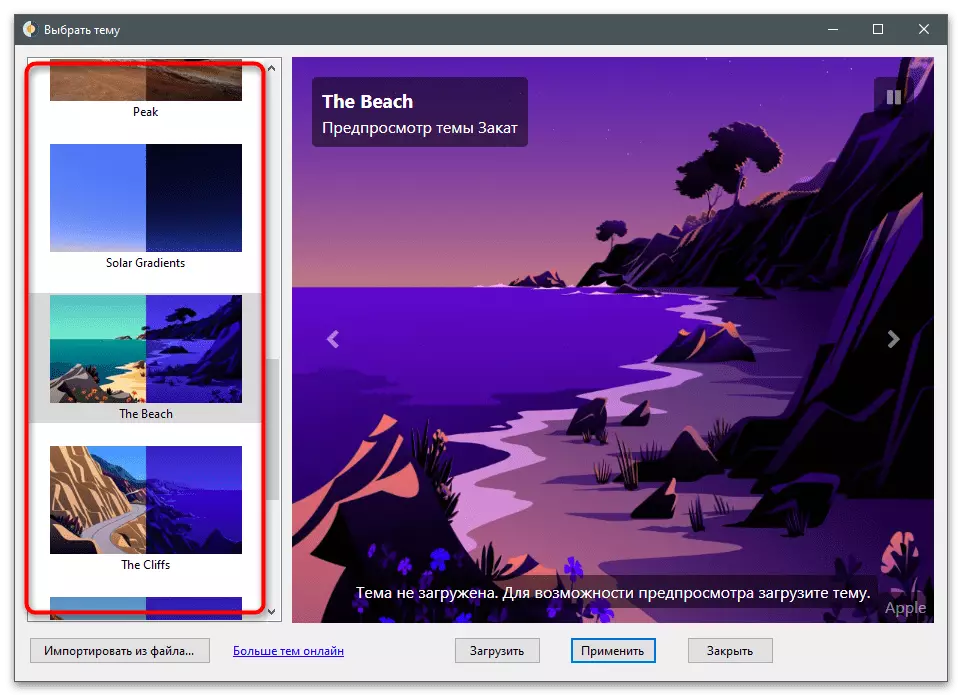
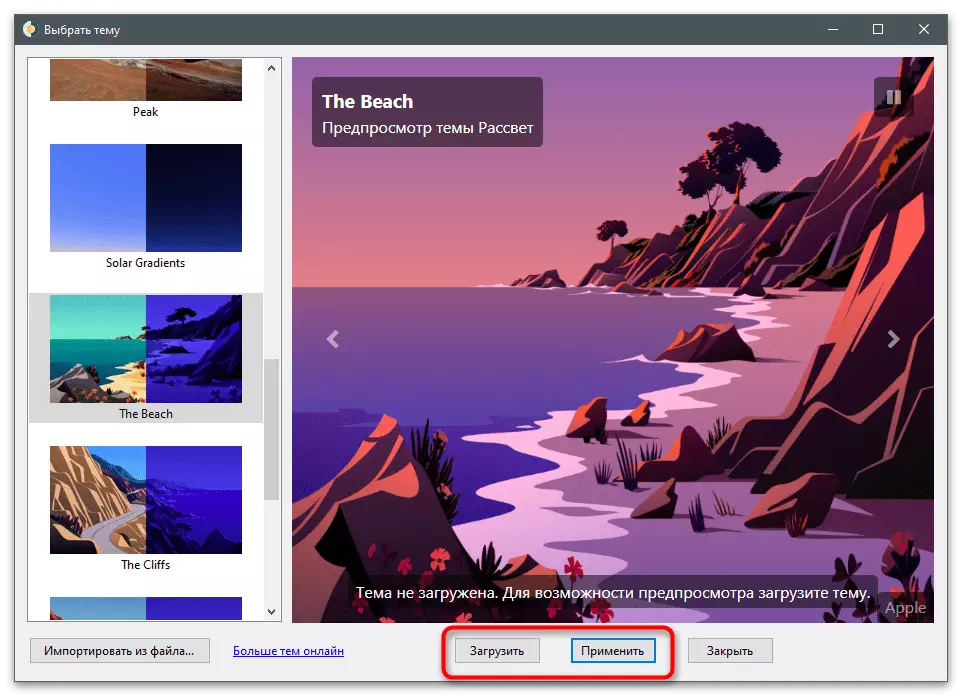
- After starting, pay attention to the available wallpaper on the left. The standard set is enough to check the performance of the program.
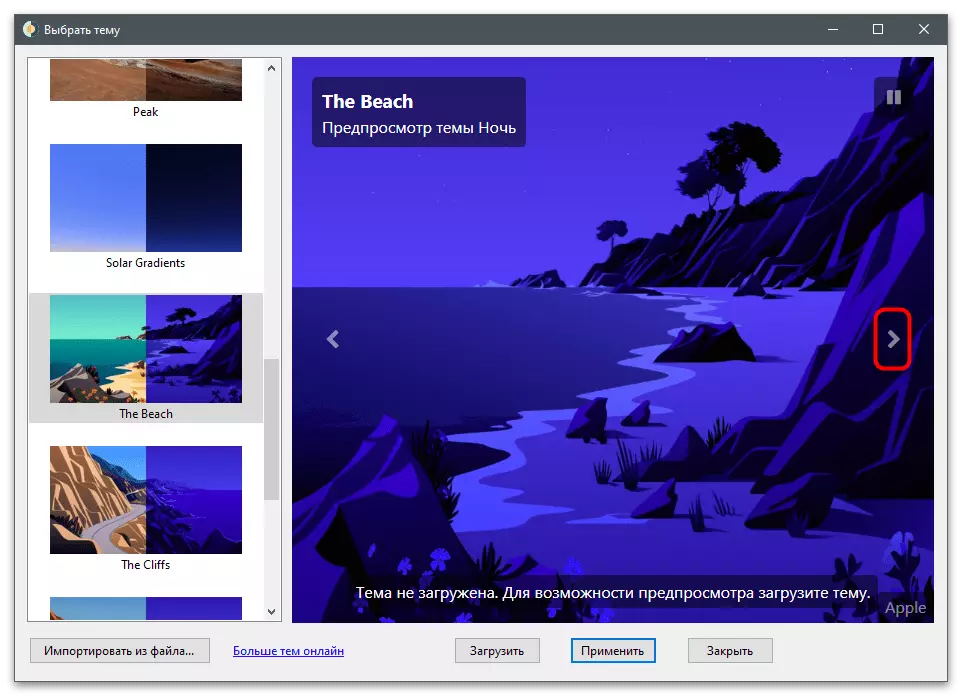
- Select one of the options and switch its modes to understand how the dynamic time change will function.
- Click "Download" for a complete preview or "Apply" to install Wallpaper on your desktop.
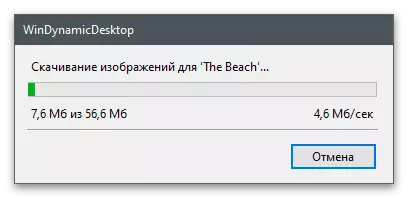
- Downloading will take less minute, after which you can check the result.
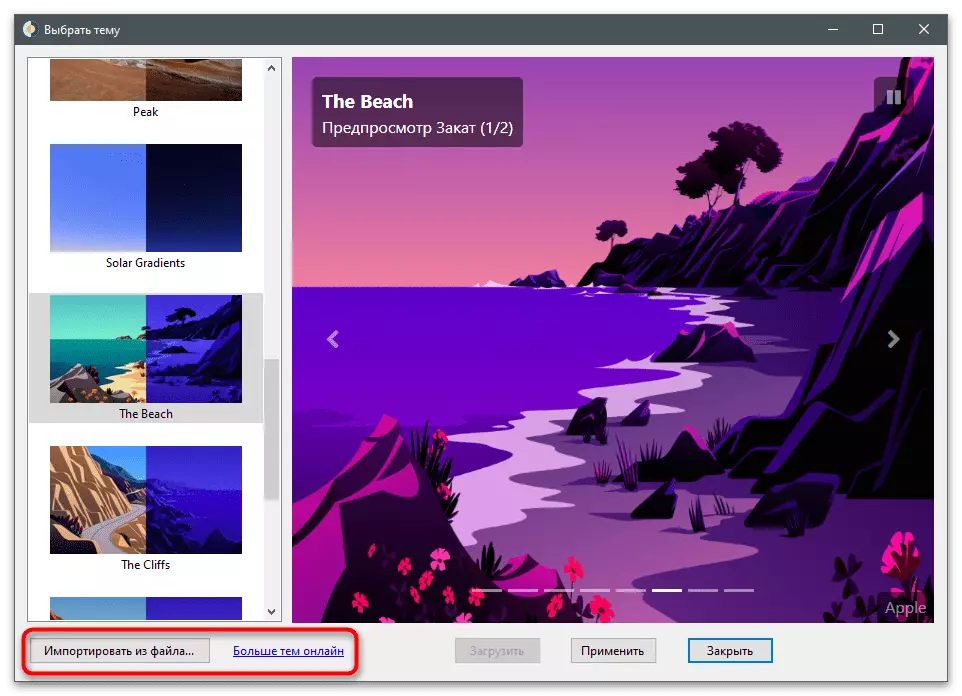
- Use the link "MORE TOT ONLY" to download other wallpapers from the official website, and then import them.


Taskbar Groups.
TaskBar Groups does not affect the appearance of the desktop, as it optimizes its use and allows you to get rid of extra badges without deleting them, and grouping with a special function. Just we will look at it in the next instruction, and you decide whether you want to group icons on the taskbar in this way.
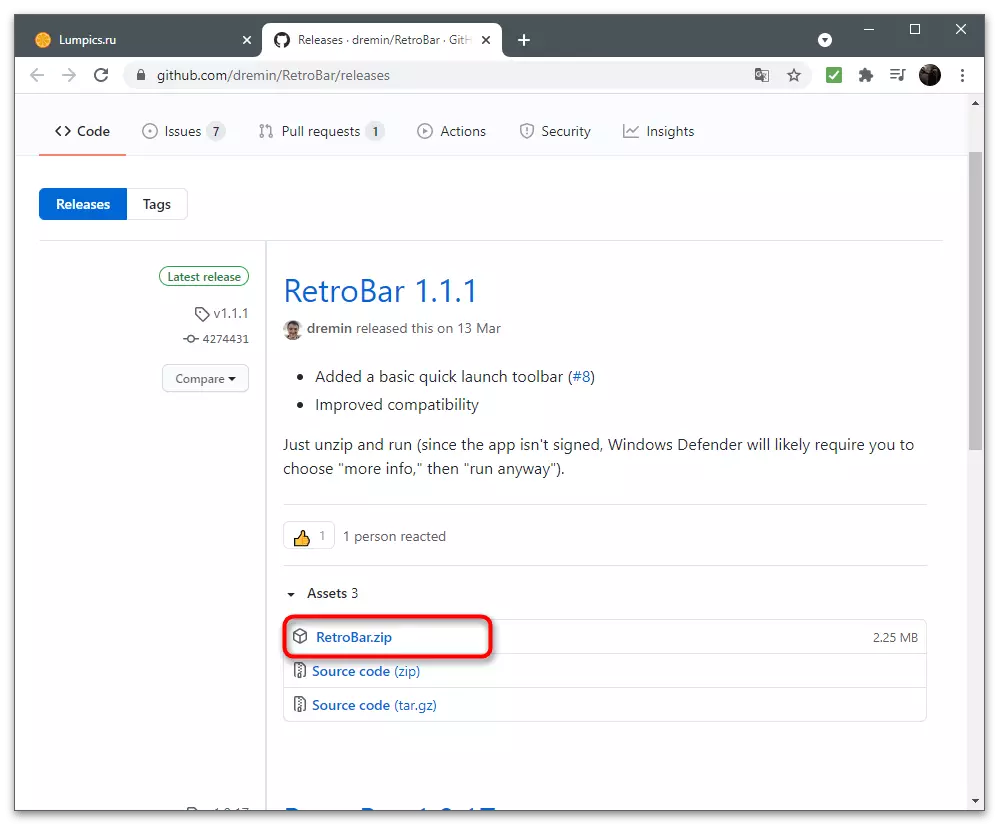
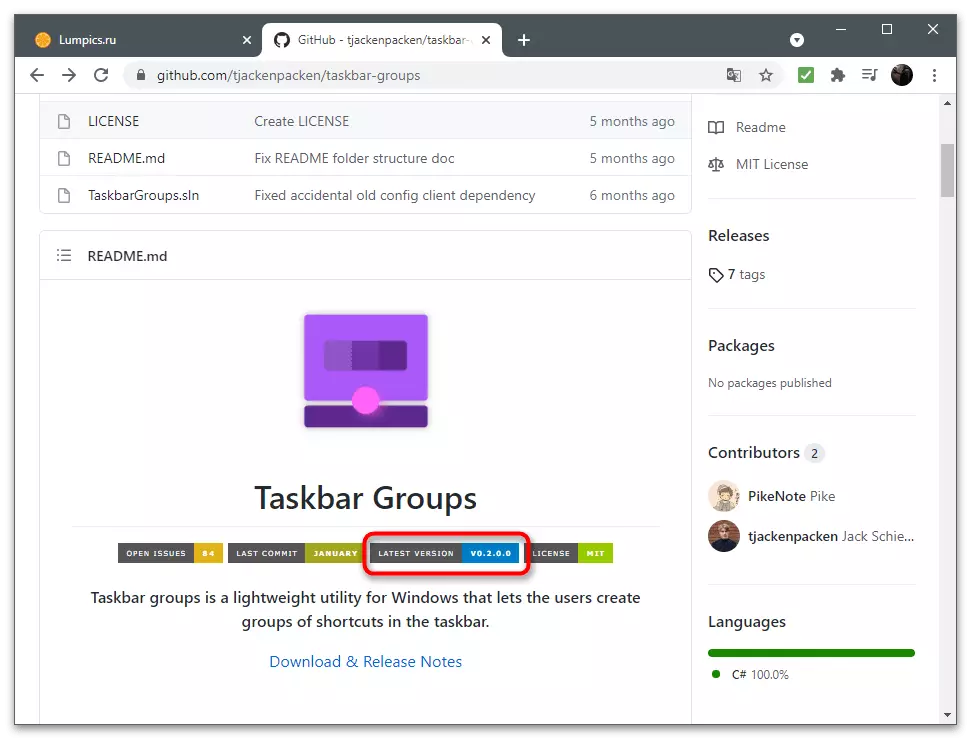
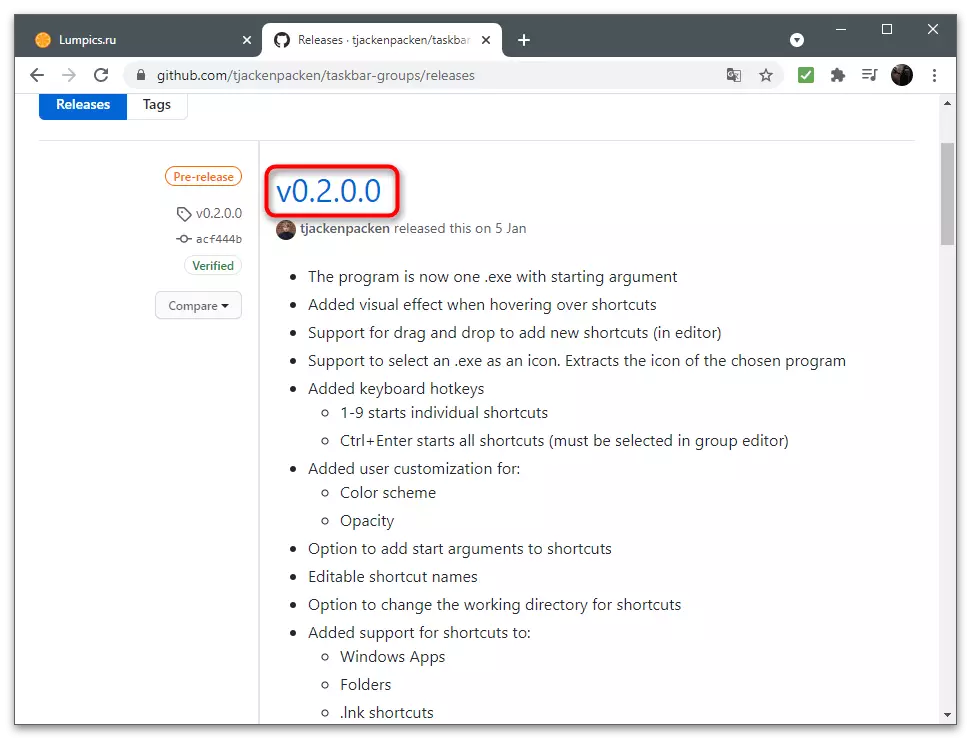
- Taskbar Groups extends through the open GitHub platform and download each version is different, as the arrangement of the archive is changing to download. You will need to go through the link above and click the "Latest Version" button.
- On the new page, click on the name of the latest version to go to the download.
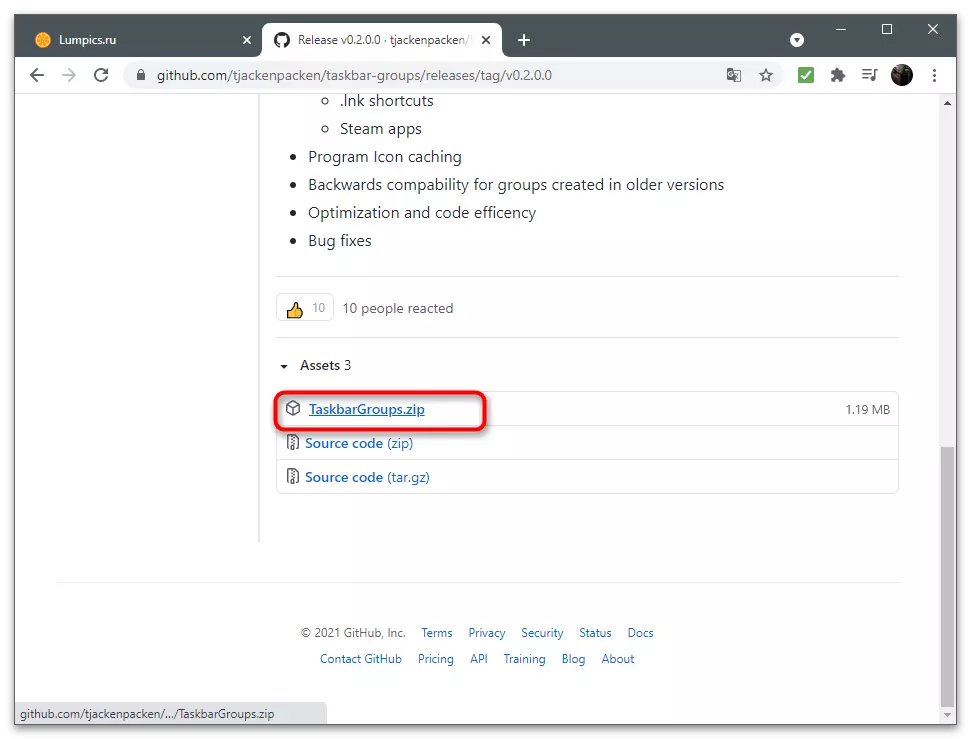
- From the proposed options, select the program zip archive.
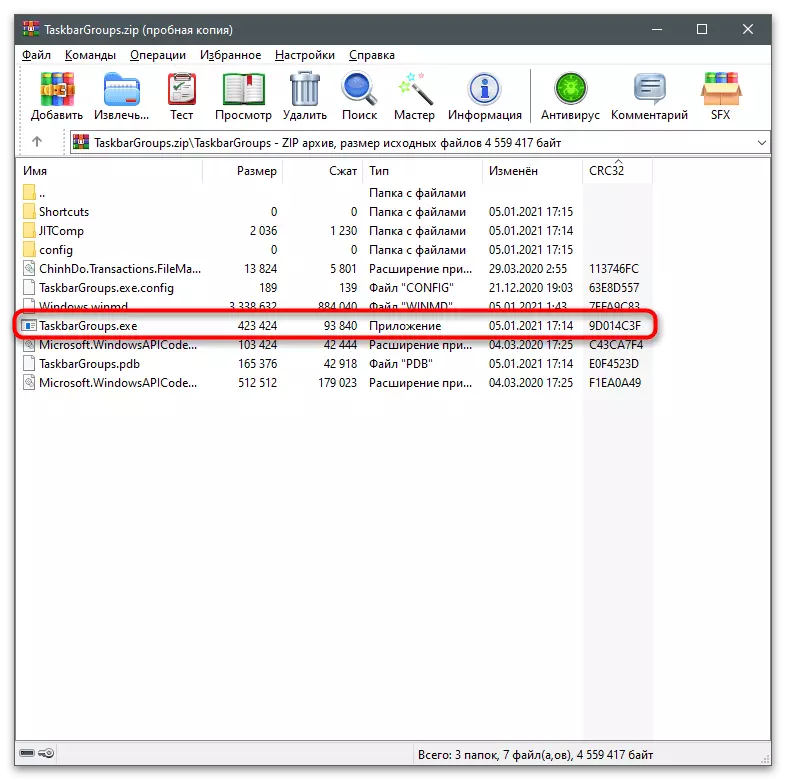
- After downloading, open the archive and unpack it at any convenient location on the computer. Run Taskbar Groups using the executable file in the root of the archive.
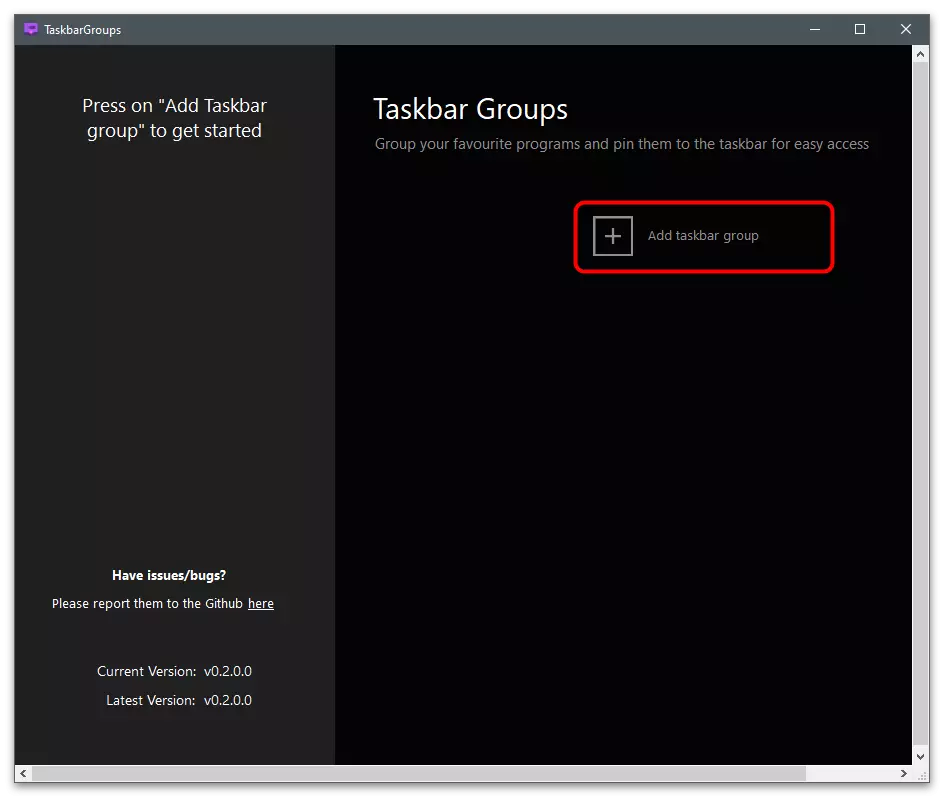
- In the main program window, click "Add Taskbar Group" to create a new profile.
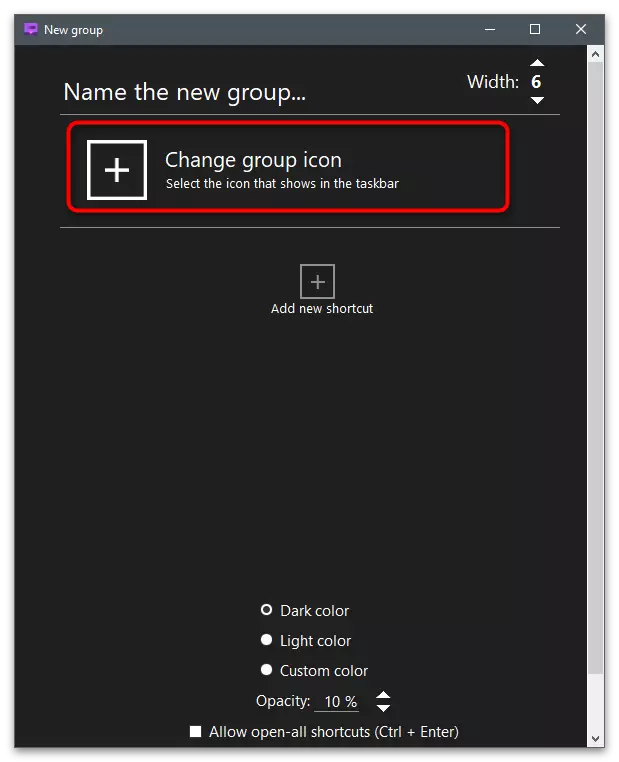
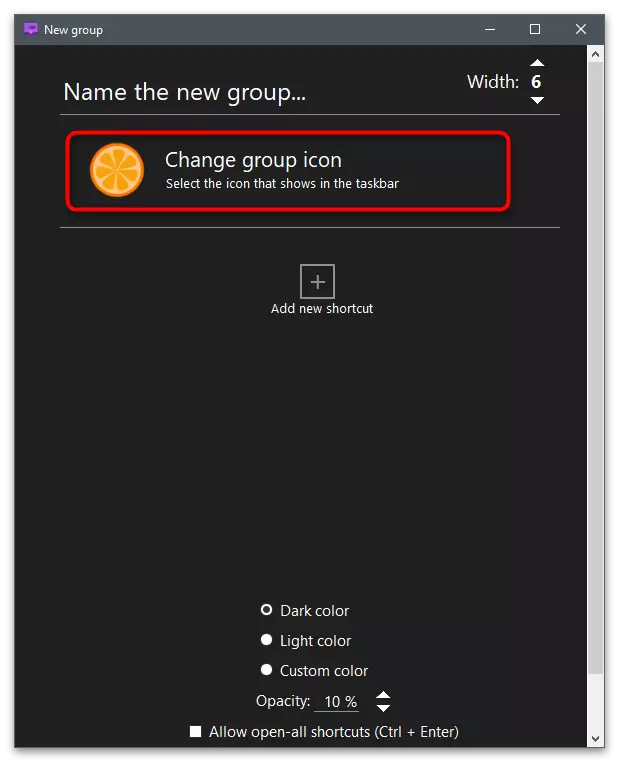
- Click "Change Group icon" to set the icon icons.
- You can choose any icon stored on your computer or a PNG file or download the icon on your own by using the search engine in the browser.
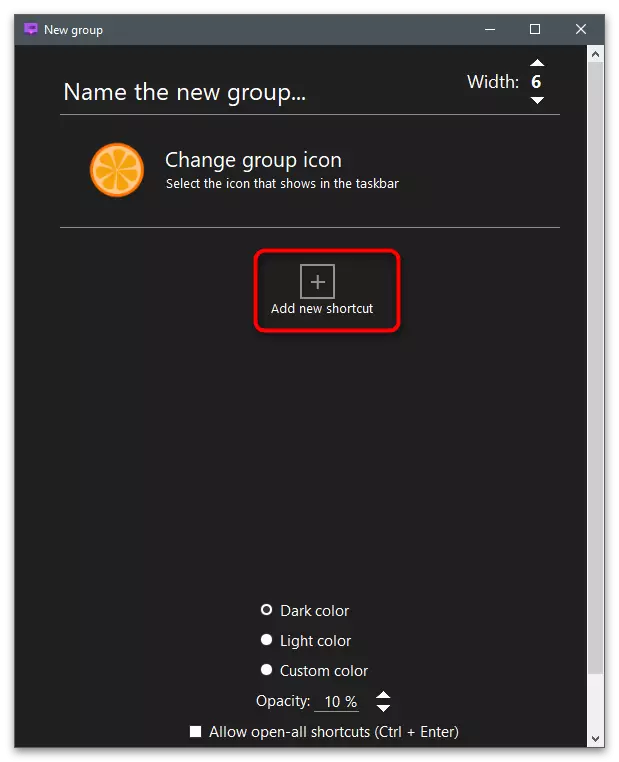
- Start adding shortcuts for a group by clicking on "Add New Shortcut".
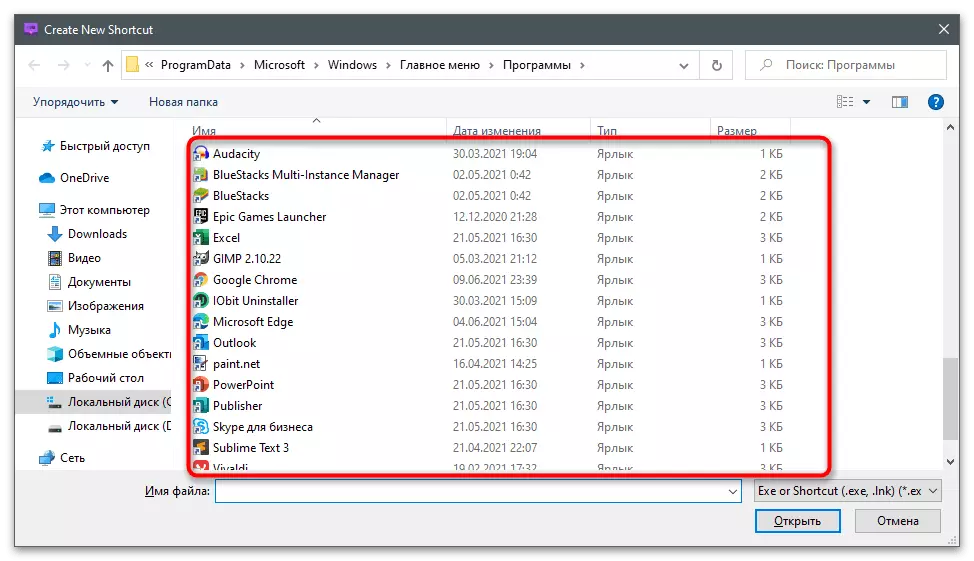
- Lay existing shortcuts or executable program files and alternately make up a group of them.
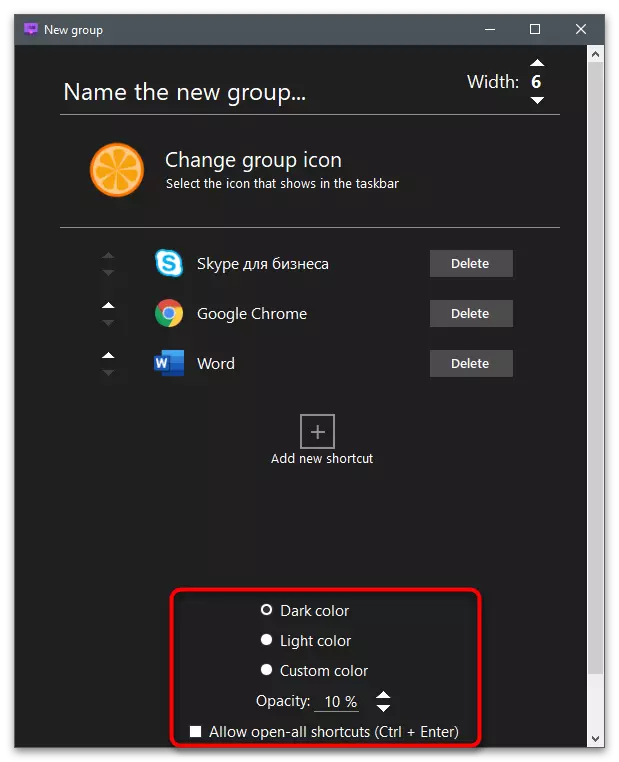
- Pay attention to the group panel settings: color, transparency and size. They vary infrequently, but sometimes they can be useful.
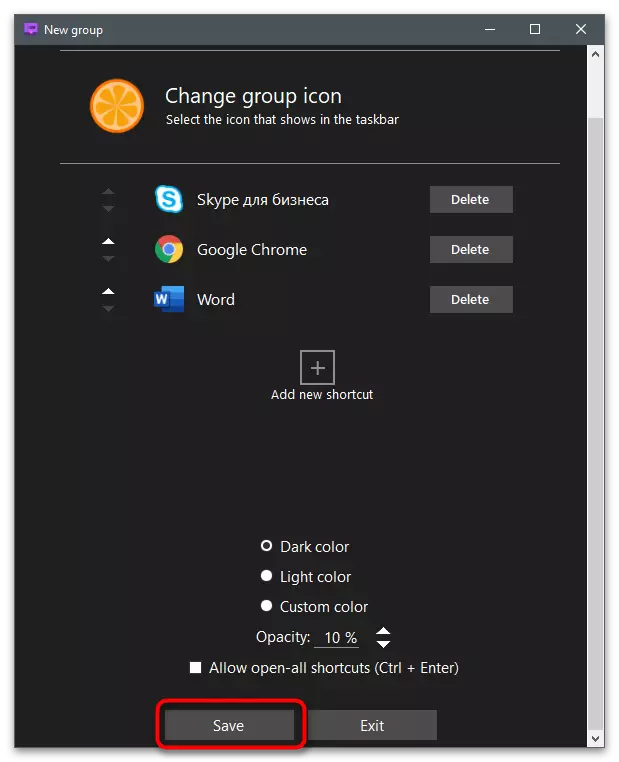
- Upon completion of the group of icons, press "SAVE".
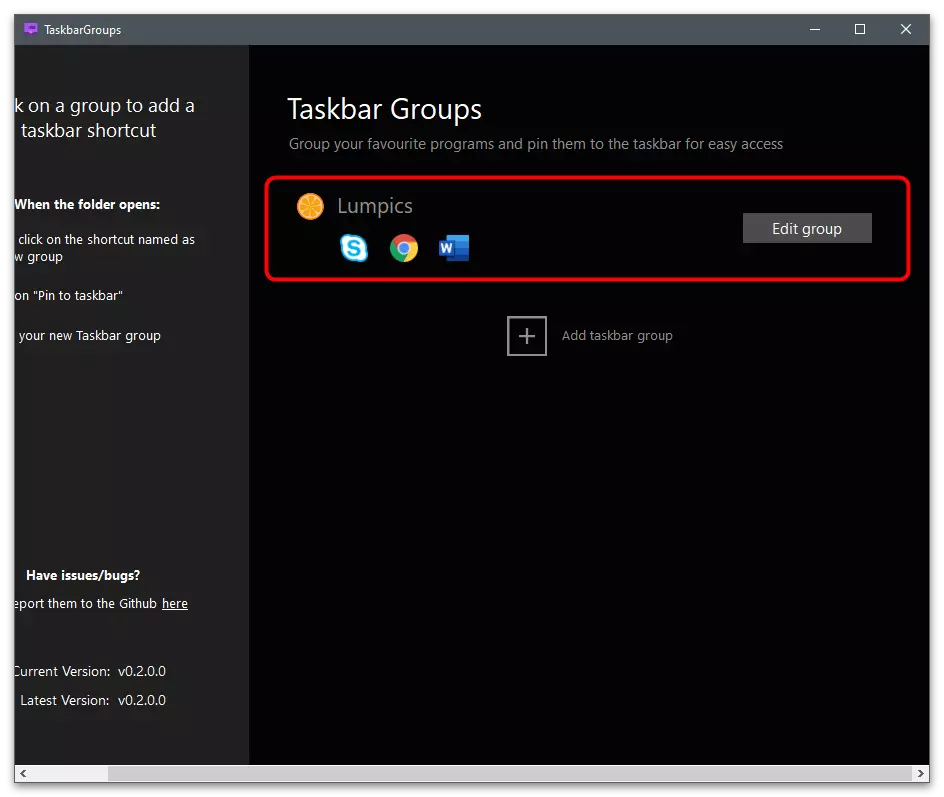
- Return to the main menu and double-click the name of the group to go to the label location.
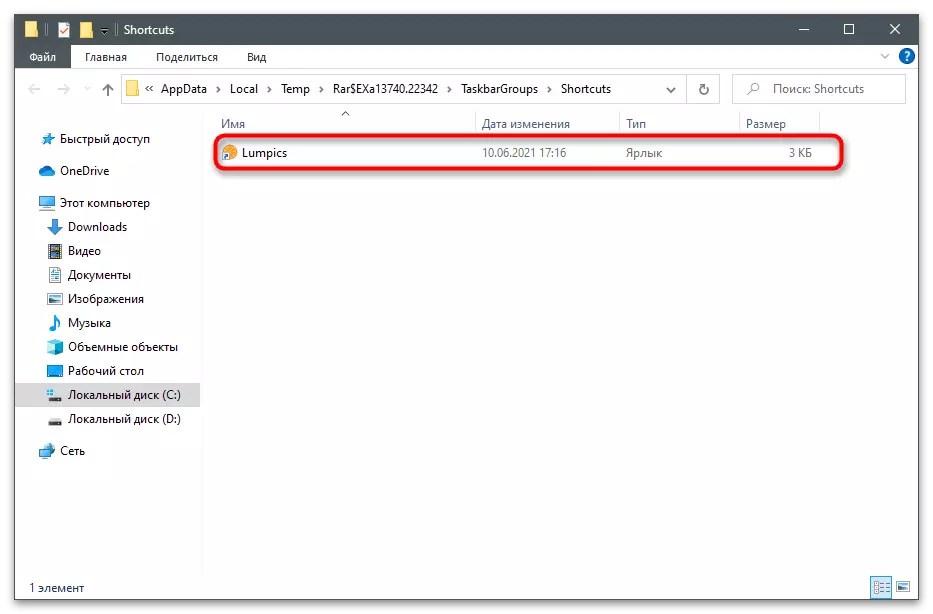
- The "Explorer" window opens, in which right-click on the group's shortcut.
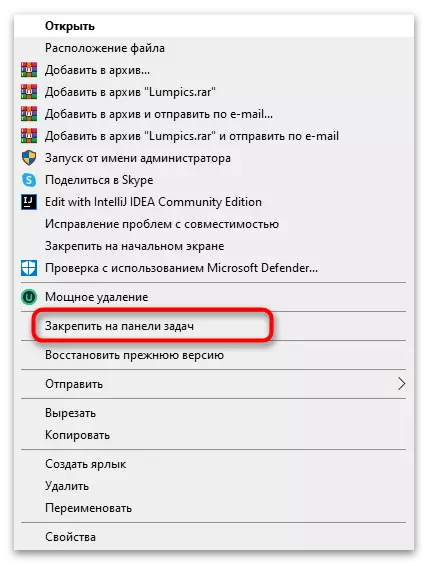
- From the context menu that appears, select the "Stop Taskbar" option.
- The icon appeared on the bottom panel, after which you can click on it.
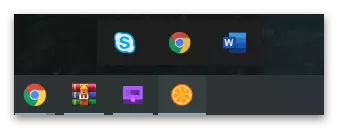
- In the next screenshot, you see that instead of launching any program, another panel appeared with the group icons. In this way, you can create other lists by optimizing the place in the taskbar and making the desktop beautiful.

RetroBar
In completion, consider the unusual program - RetroBar, which allows you to install in Windows 10 or 7 the appearance of the Windows 98 or XP taskbar. It no longer have any functions or settings, so it is advisable to use it only if the concept of the appearance of the taskbar on the retro version is subject to the concept of a beautiful desktop for you.
- Follow the link above and download the archive with RetroBar to the computer.
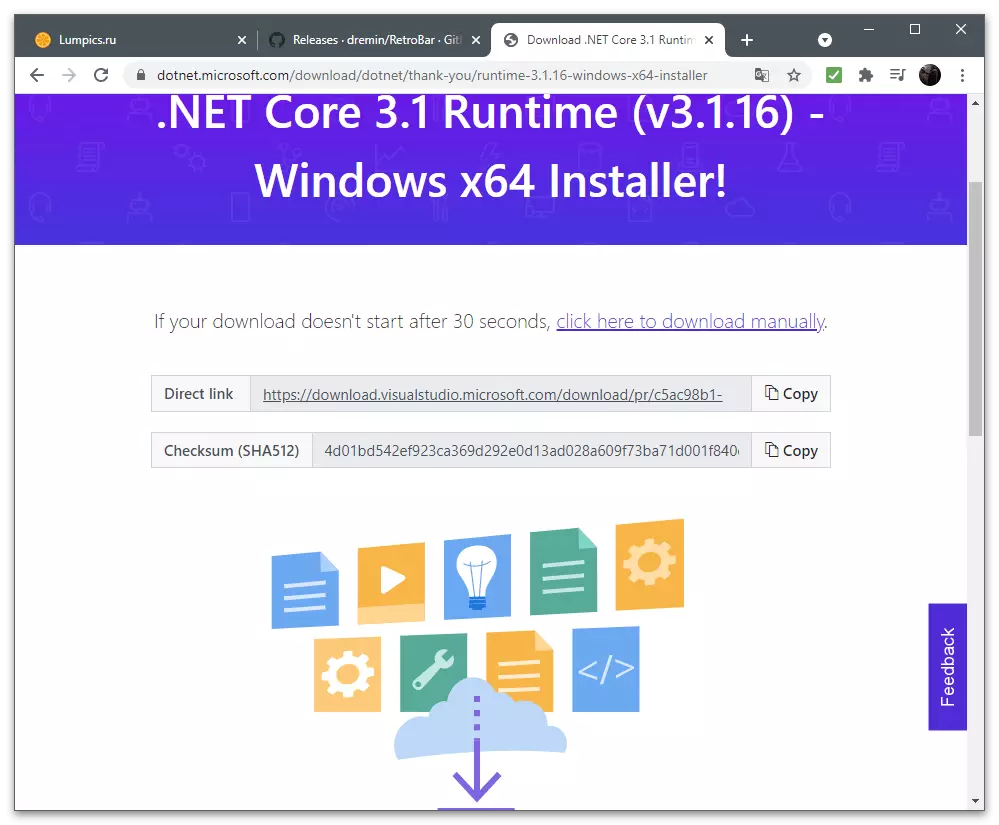
- When you start the executable file, a notification will be notified of the need to download .NET CORE 3.1. You will be redirected to the official site of Microsoft, where the component load will start. After installing it, go back to the main program window.
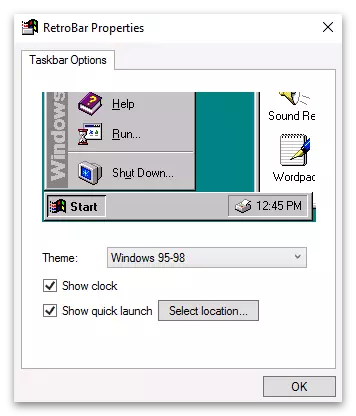
- In it, select one of the available topics and configure additional parameters as needed.
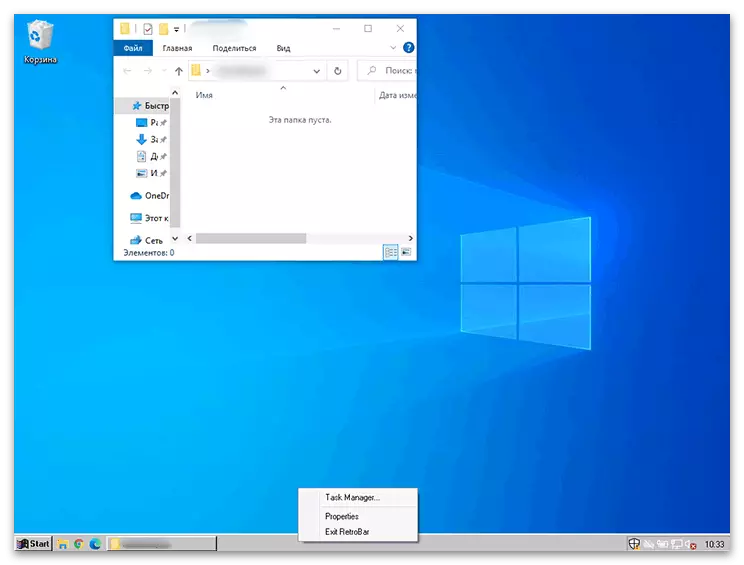
- In the following image, you see an example of how the appearance of the desktop is changed during the program.