
Sometimes the user needs to format the disk section on which the system is installed. In the overwhelming majority of cases, it carries the letter C. This need may be associated with both the desire to install a new OS and the need to correct the errors that have arisen in this volume. Let's figure out how to format the C disk on a computer running Windows 7.
Formatting methods
Immediately need to say that format the system partition by running a PC from the operating system located, actually, on the formatted volume will not work. In order to perform the specified procedure, you need to boot one of the following methods:- Through a different operating system (if there are several OS on the PC);
- Using LiveCD or LiveUSB;
- Using the installation media (flash drive or disk);
- By connecting the formatted disc to another computer.
It should be remembered that after executing the formatting procedure, all information in the section will be erased, including the elements of the operating system and user files. Therefore, just in case, pre-create a backup of the section so that if necessary, you can restore the data.
Next, we will look at various ways of action depending on the circumstances.
Method 1: "Explorer"
The formatting version of the C partition using the "conductor" is suitable in all cases described above, except for downloading through the installation disk or flash drive. Also, of course, it will not be possible to perform the specified procedure if you currently work from under the system, which is physically on the formatted section.
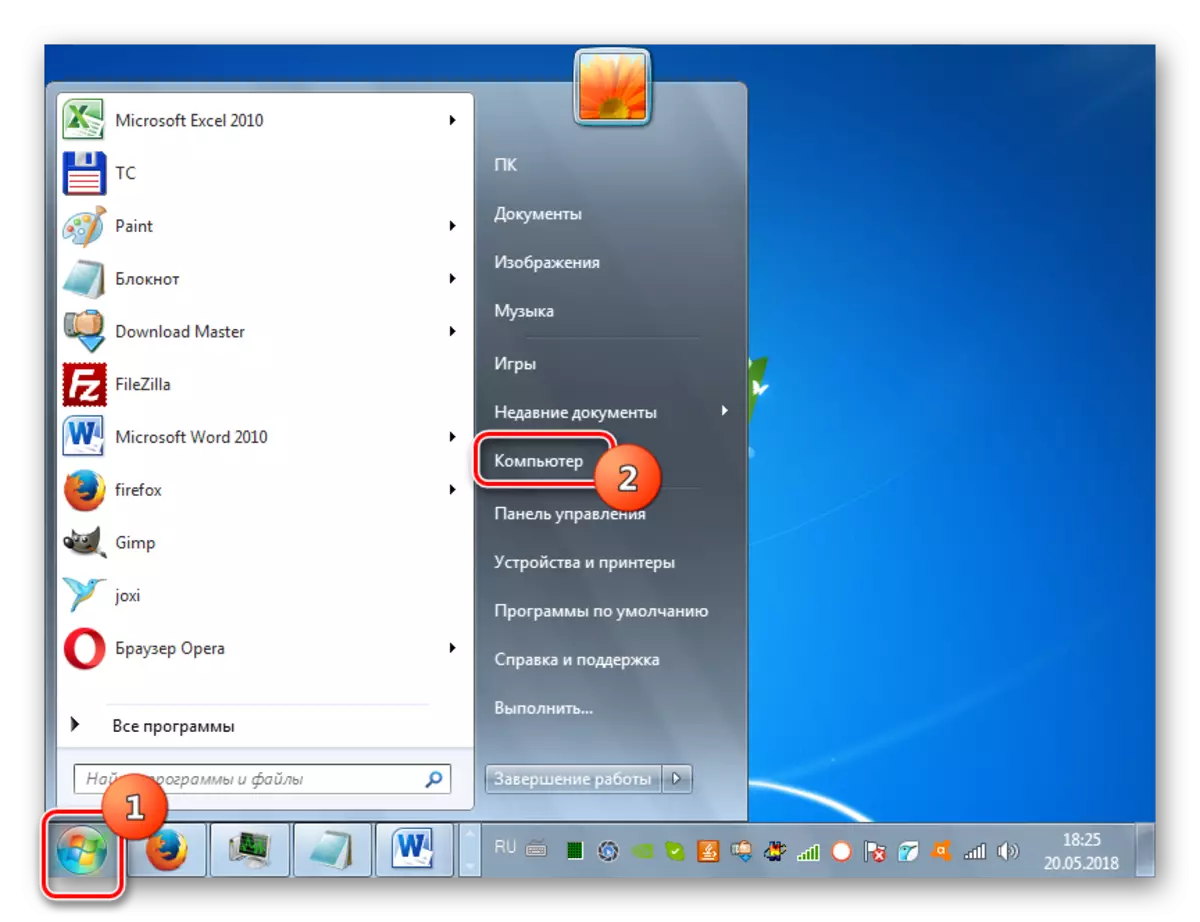
- Click "Start" and go to the "Computer" section.
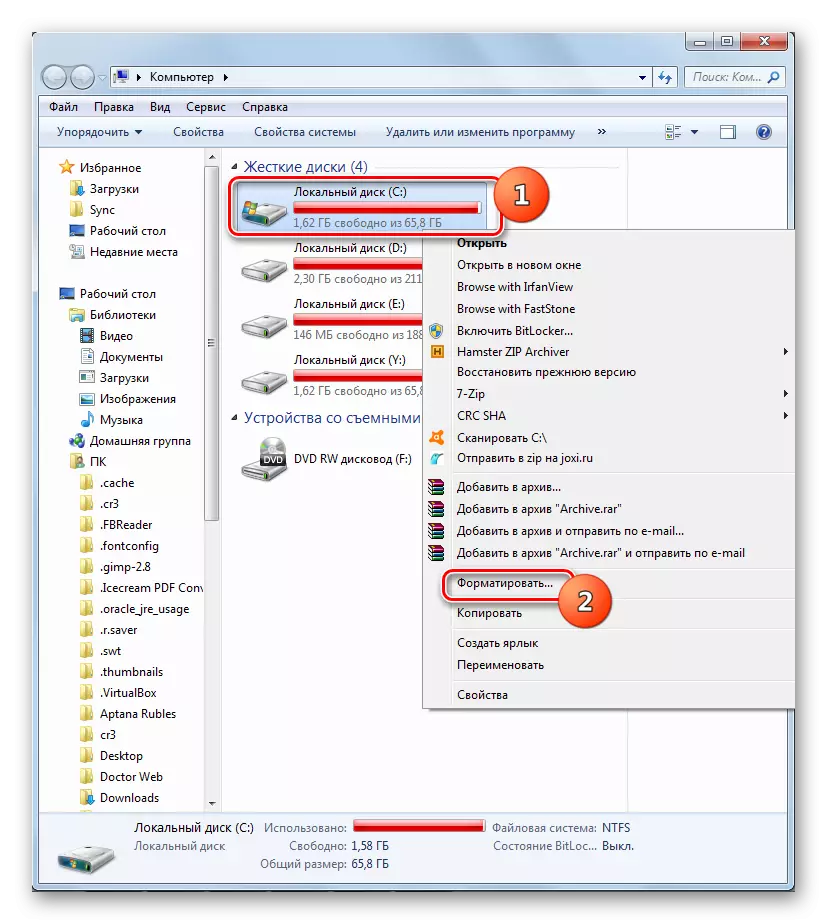
- The "Explorer" opens in the disk selection directory. Click the PCM on the name of the C disc. From the drop-down menu, select the "Format ..." option.
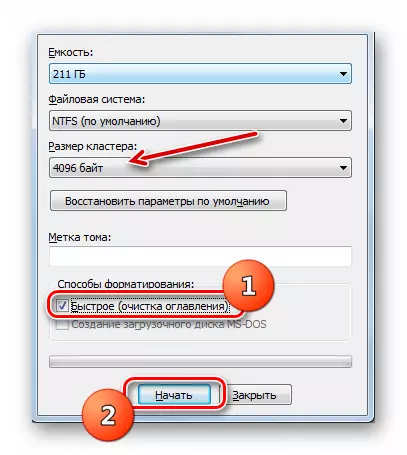
- The standard formatting window opens. Here you can change the cluster size by clicking on the corresponding drop-down list and selecting the desired option, but, as a rule, in most cases it is not required. You can also choose the formatting method, removing or checking the check box near the "Fast" item (the default checkbox is installed). The quick option increases the formatting speed to the detriment of its depth. After specifying all settings, click the "Start" button.
- The formatting procedure will be performed.
Method 2: "Command Line"
There is also a method for formatting a disk C using the command to enter the command line. This option is suitable for all four situations that have been described above. Only the procedure for starting the "command line" will differ depending on the option that was selected to log in.
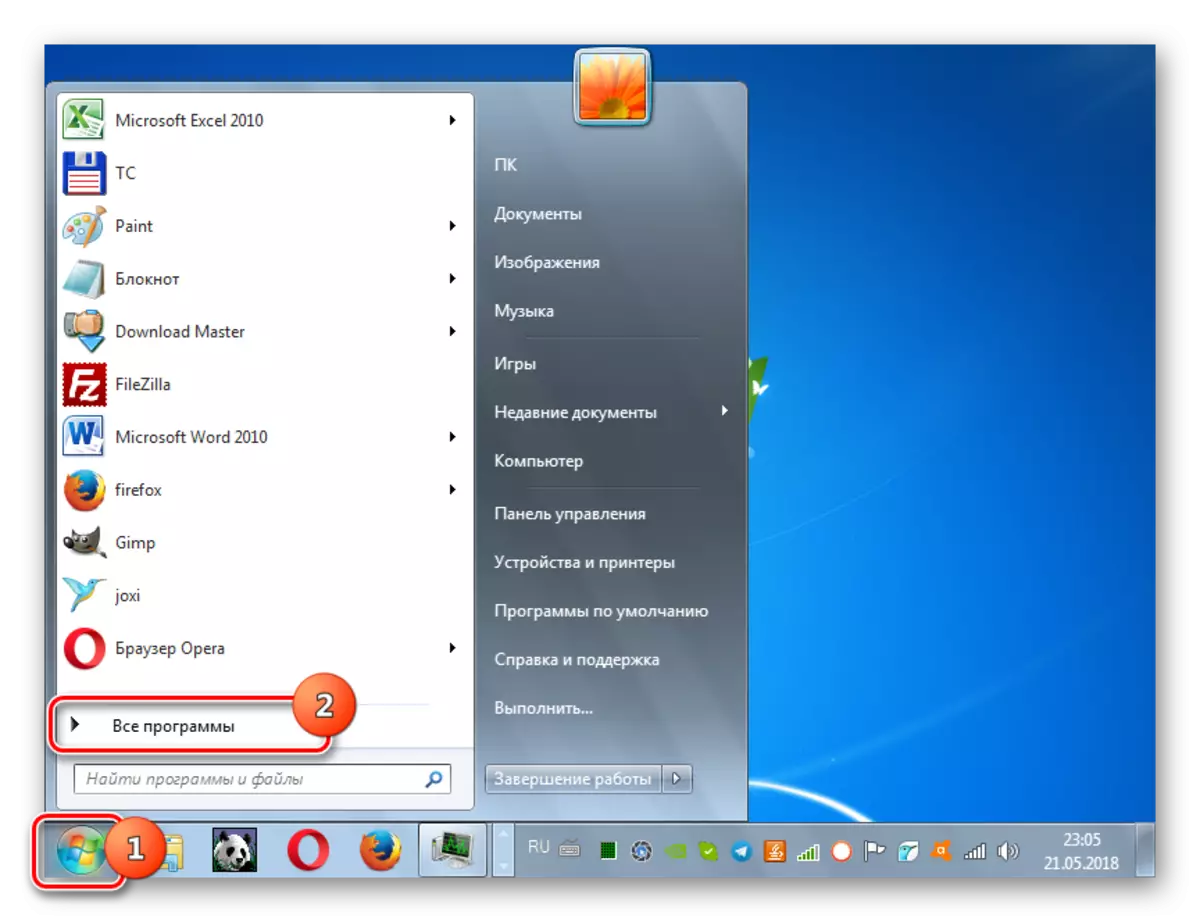
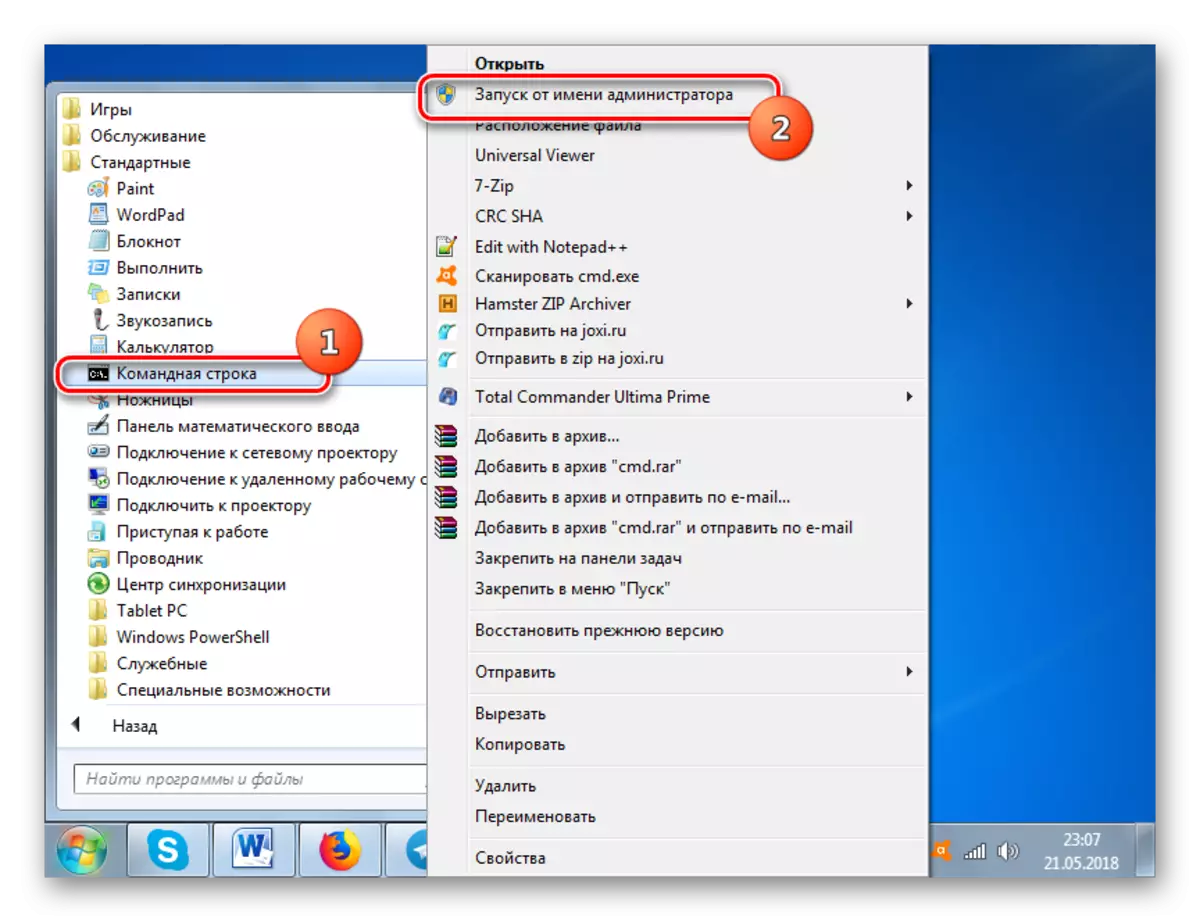
- If you downloaded a computer from under OS, connected the HDD formatable to another PC or use LiveCD / USB, then you need to run the "command line" with a standard method from the administrator's face. To do this, click "Start" and go to the "All Programs" section.
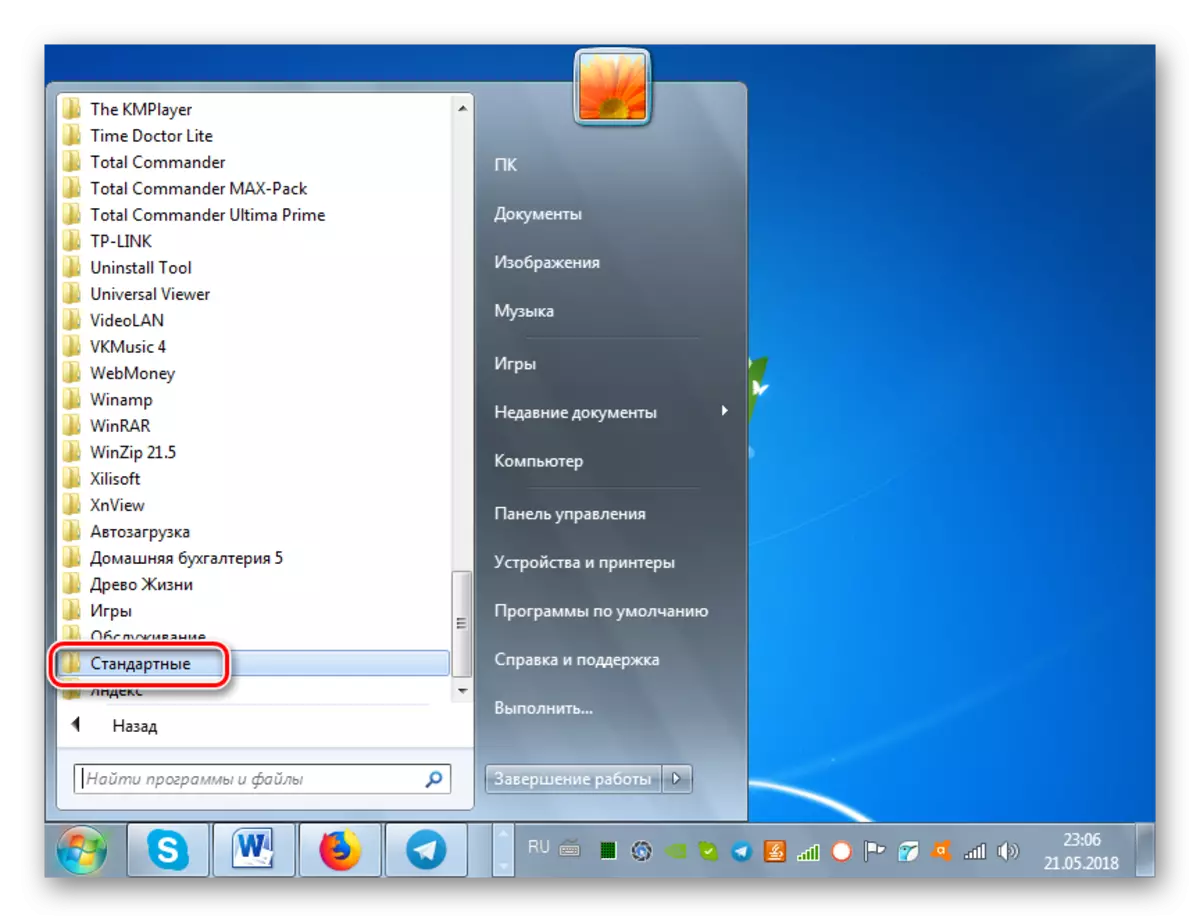
- Next, open the "Standard" folder.
- Find the "Command Line" element and right-click on it (PCM). From the opened action options, select an activation option with administrative powers.
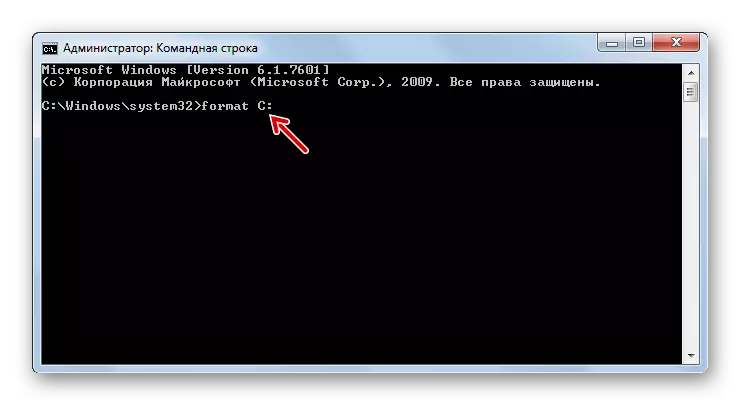
- In the "Command Line" window, write the command:
Format C:
To this command, you can also add the following attributes:
- / q - activates quick formatting;
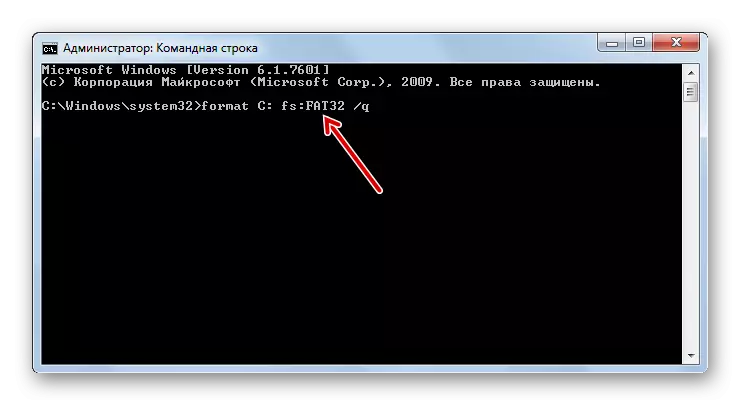
- FS: [file_ysystem] - makes formatting for the specified file system (FAT32, NTFS, FAT).
For example:
Format C: FS: FAT32 / Q
After entering the command, press ENTER.
Attention! If you have connected the hard disk to another computer, then it is likely that the names of the sections will change in it. Therefore, before entering the command, go to the "Explorer" and look at the current name of that volume you want to format. When you enter the command instead of the character "C", use exactly the letter that relates to the desired object.
- After that, the formatting procedure will be performed.
Lesson: how to open a "command line" in Windows 7
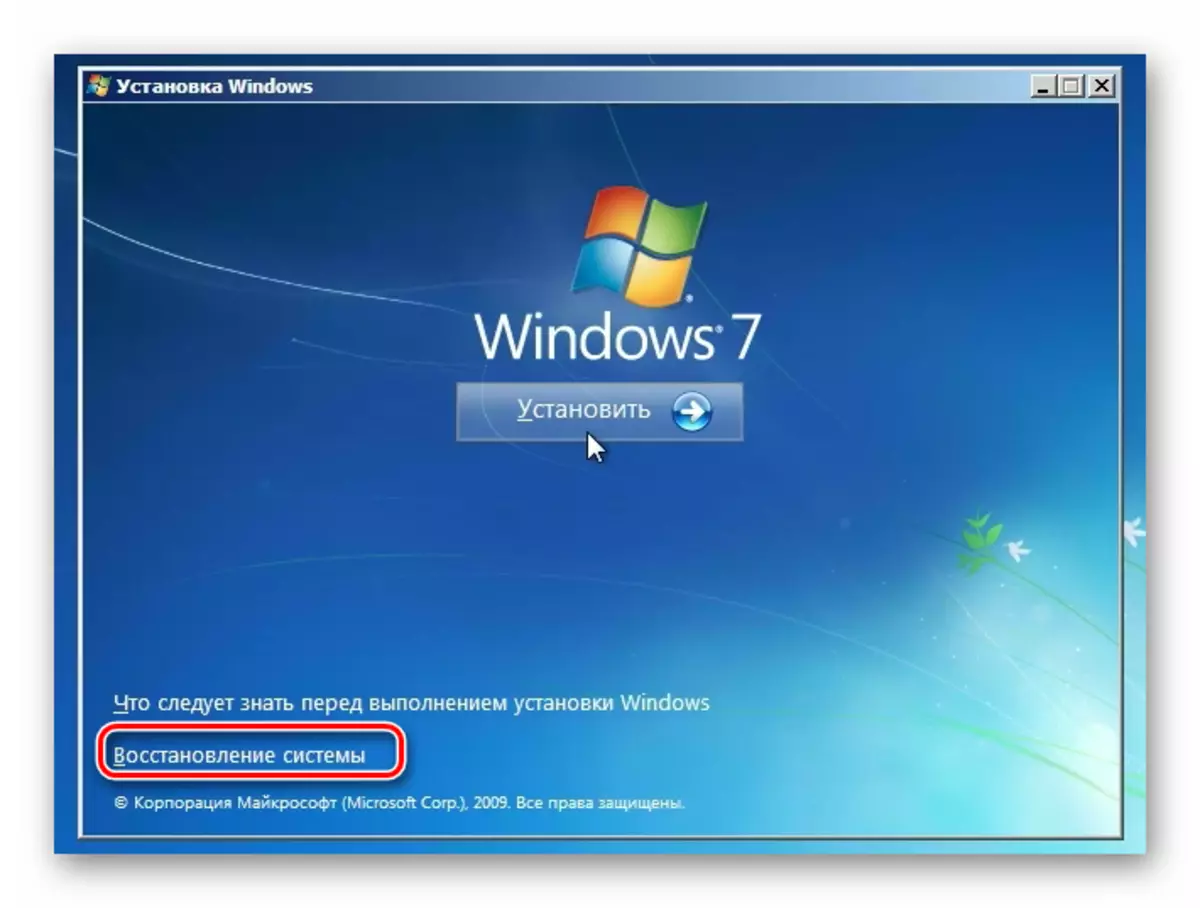
If you use the installation disk or USB flash drive 7, then the procedure will be somewhat different.
- After downloading the OS, click in the window that opens the "Restore System" window.
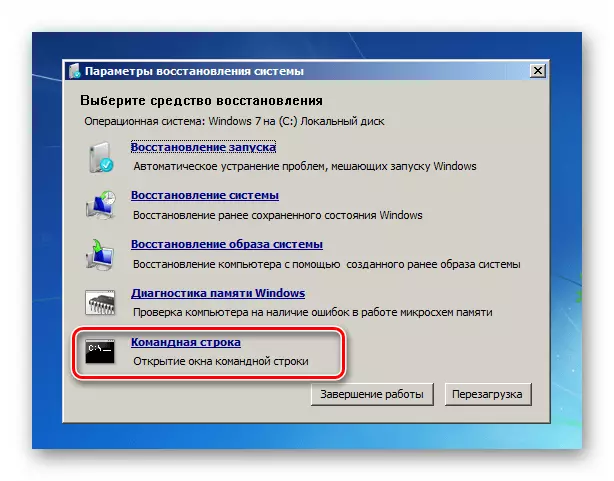
- Recovery environment opens. Click on the "Command Line".
- The "command line" will be launched, it needs to be driven out exactly the same commands that have already been described above, depending on formatting purposes. All further action are completely similar. Here, too, you need to pre-figure out the system name formatted section.
Method 3: "Disk Management"
You can format the C section using the standard Windows Tool Tools. Just need to consider that this option is not available if you use a boot disk or flash drive to perform the procedure.
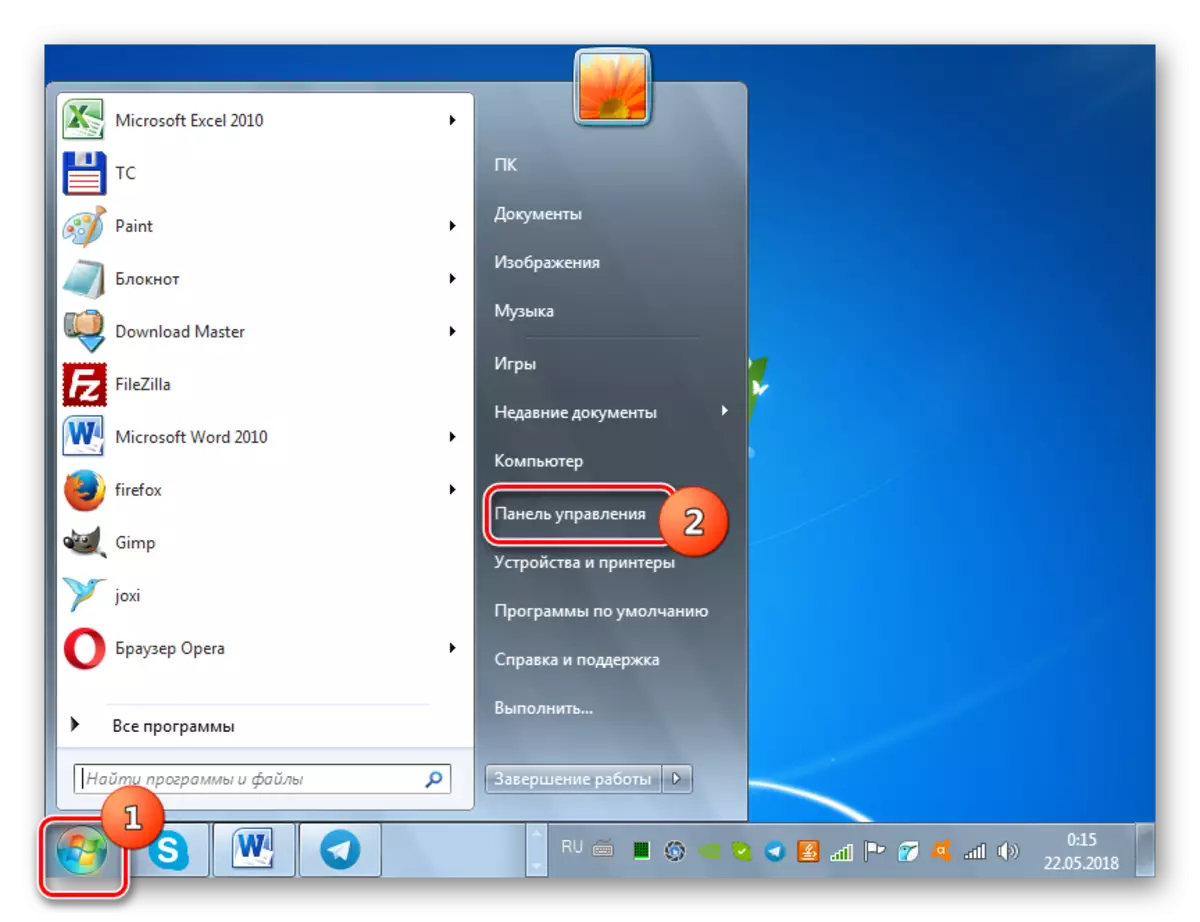
- Click "Start" and go to the "Control Panel".
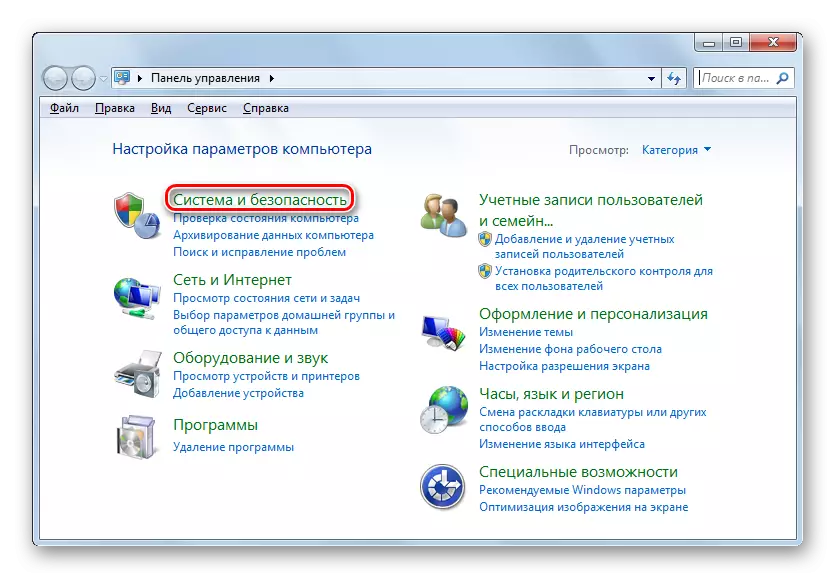
- Move on the inscription "System and Security".
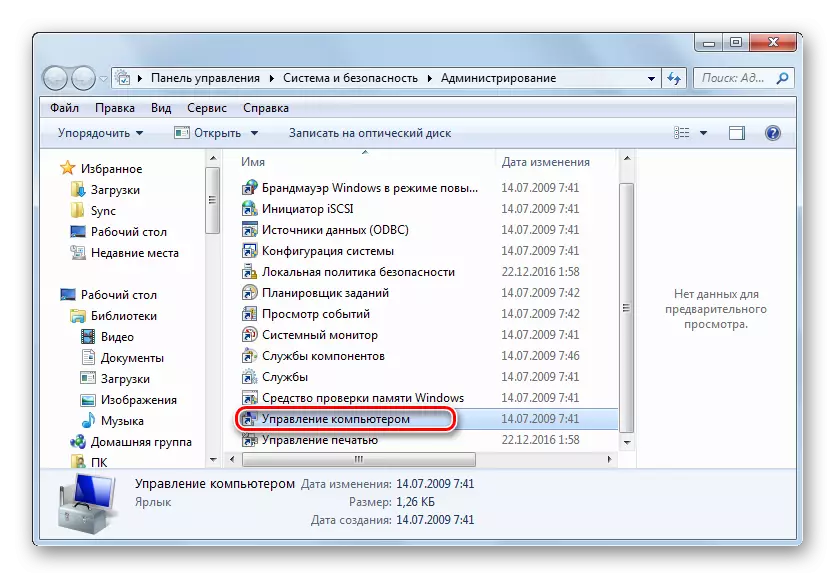
- Click on the "Administration" item.
- From the opened list, select "Computer Management".
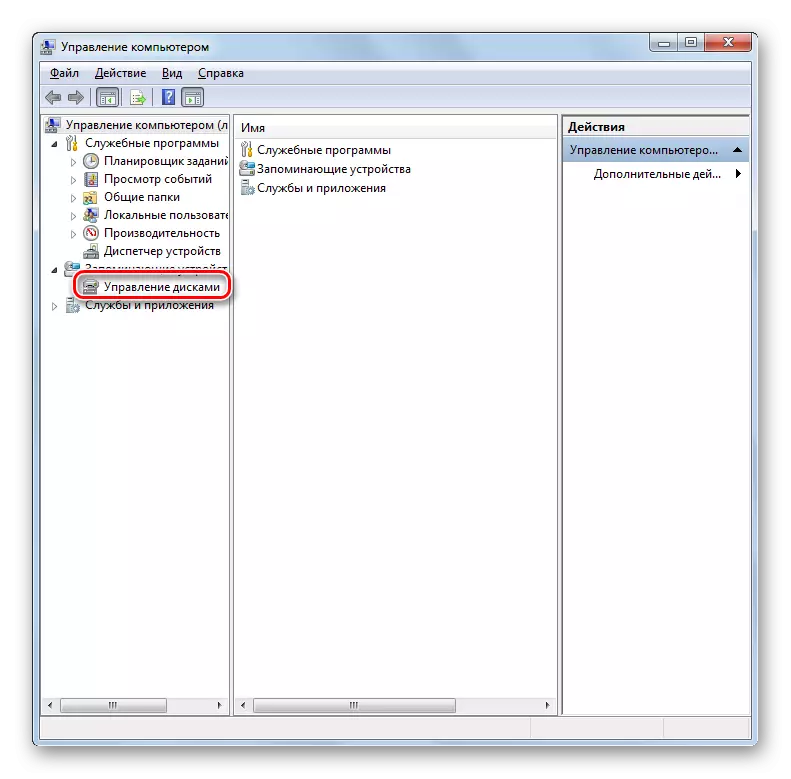
- On the left side of the shell opened, click on the "Disk Management" item.
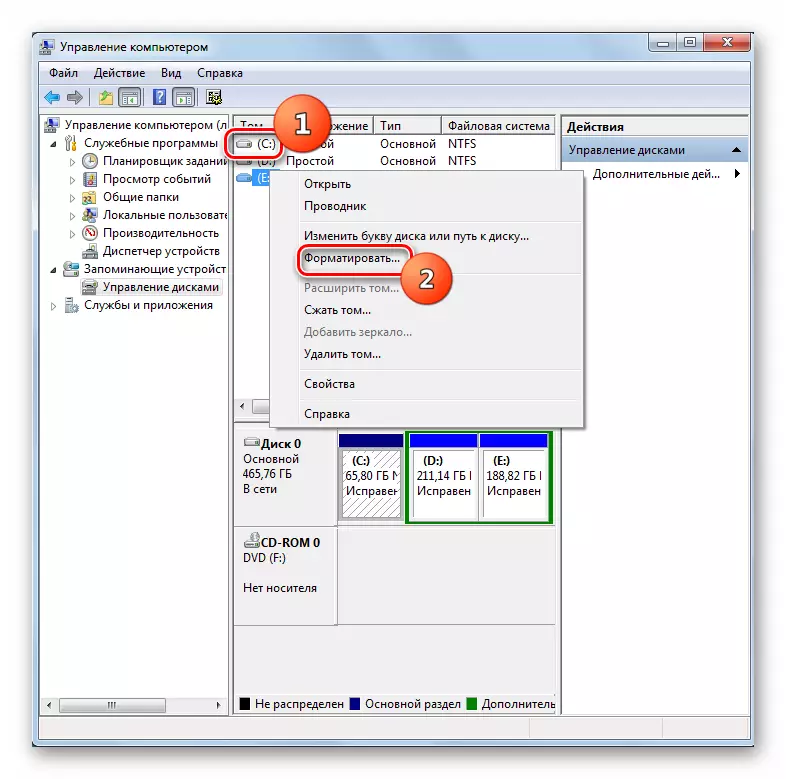
- The interface of the disk management tool. Laying the desired section and click on it by PKM. From the opened options, select "Format ...".
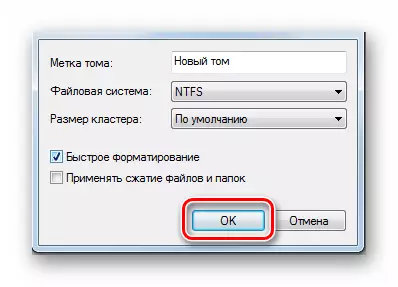
- The exact same window will open, which was described in the method 1. It is necessary to produce similar actions and click "OK".
- After that, the selected partition will be formatted according to the previously entered parameters.

Lesson: Disk Management tool in Windows 7
Method 4: Formatting when installing
Above, we talked about ways that work in almost any situation, but not always applicable when running the system from the installation media (disk or flash drive). Now we will talk about the method that, on the contrary, you can only apply the PC from the specified media. In particular, this option is suitable when installing a new operating system.
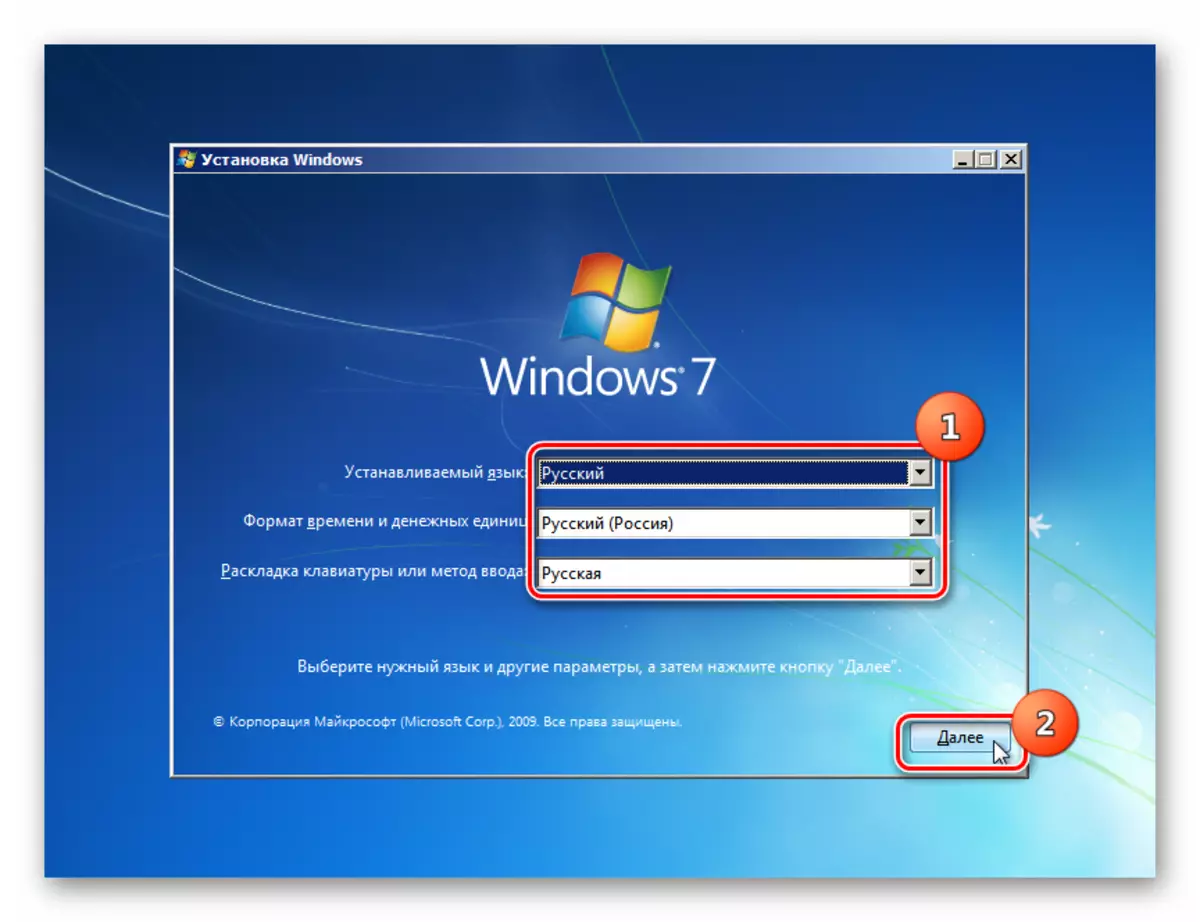
- Run the computer from the installation media. In the window that opens, select Language, time format and keyboard layout, and then click "Next".
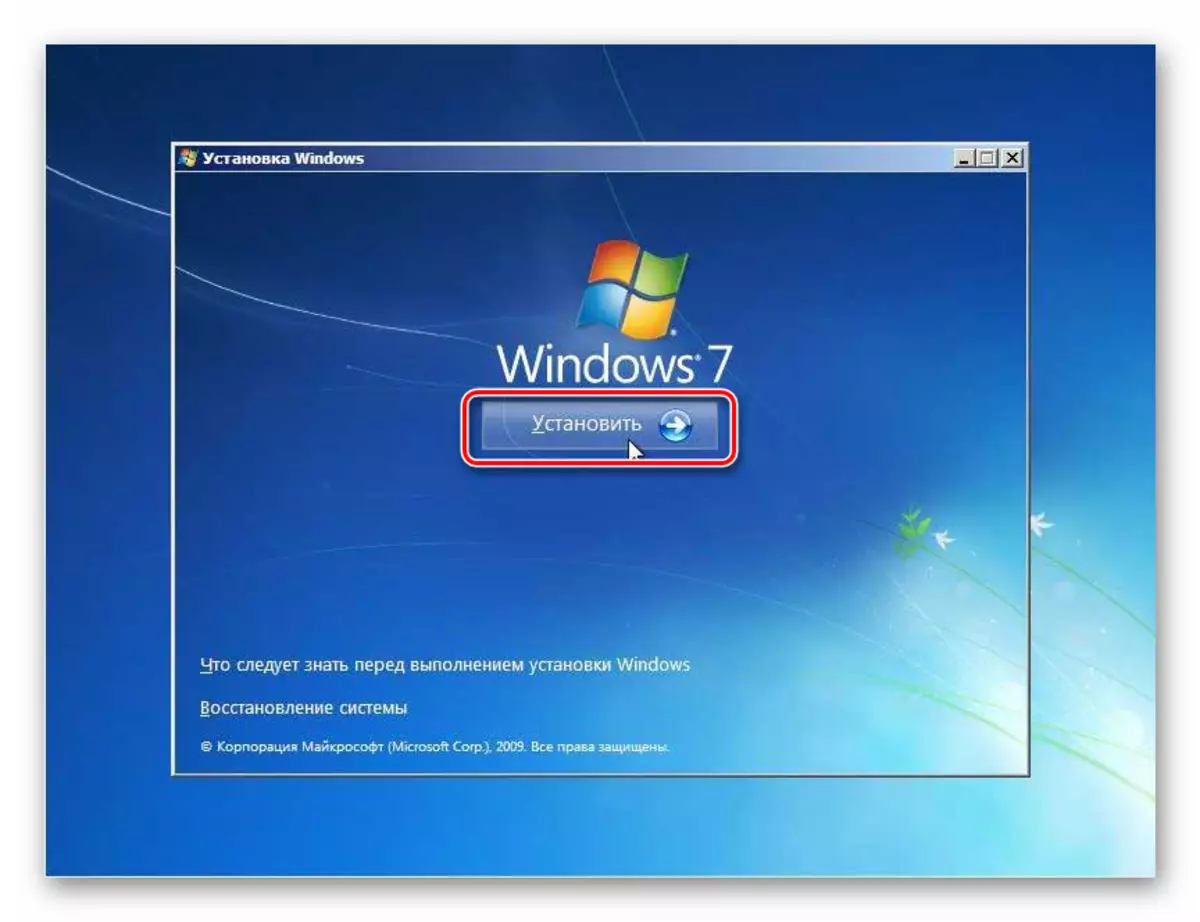
- The installation window will open, where you need to click on the large button "Set".
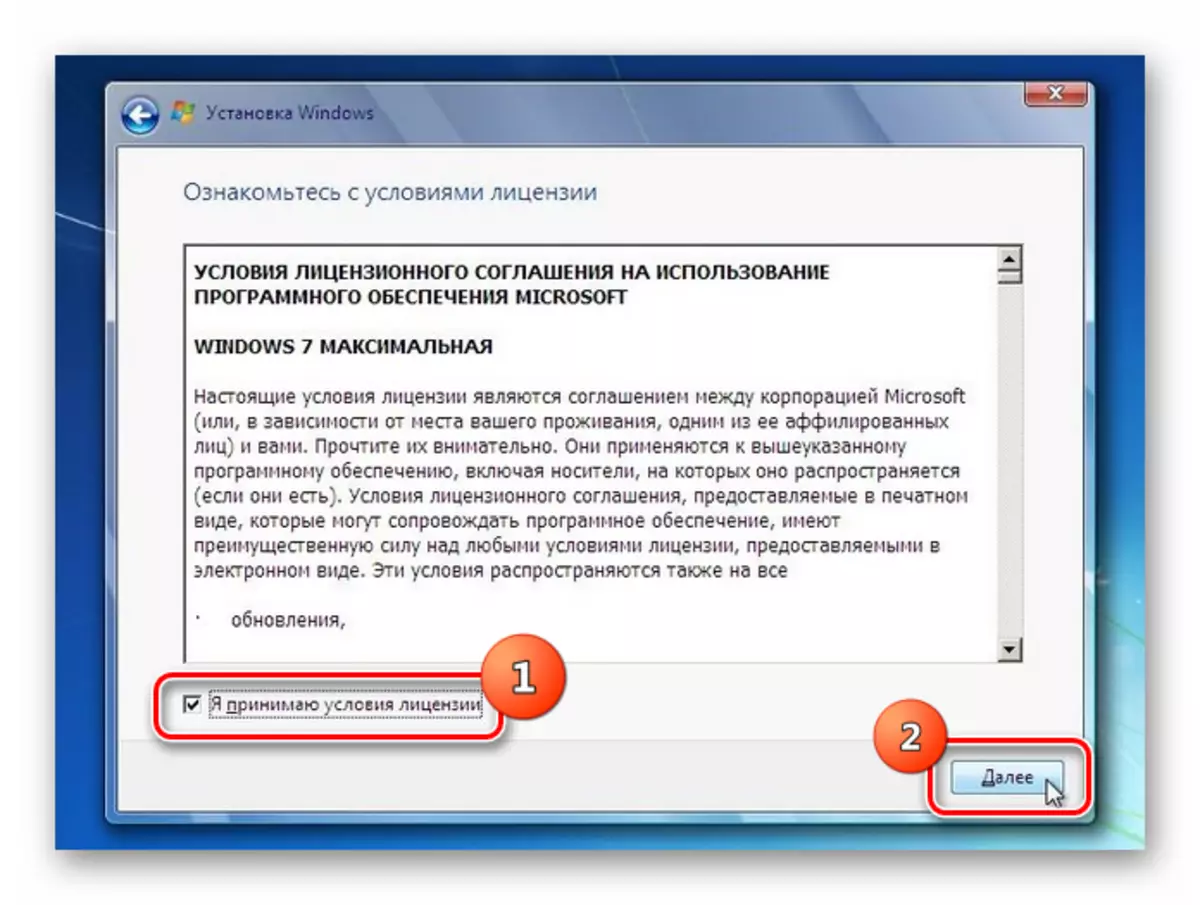
- The section will appear with the license agreement. Here you should install a check mark opposite the item "I accept the conditions ..." and click "Next."
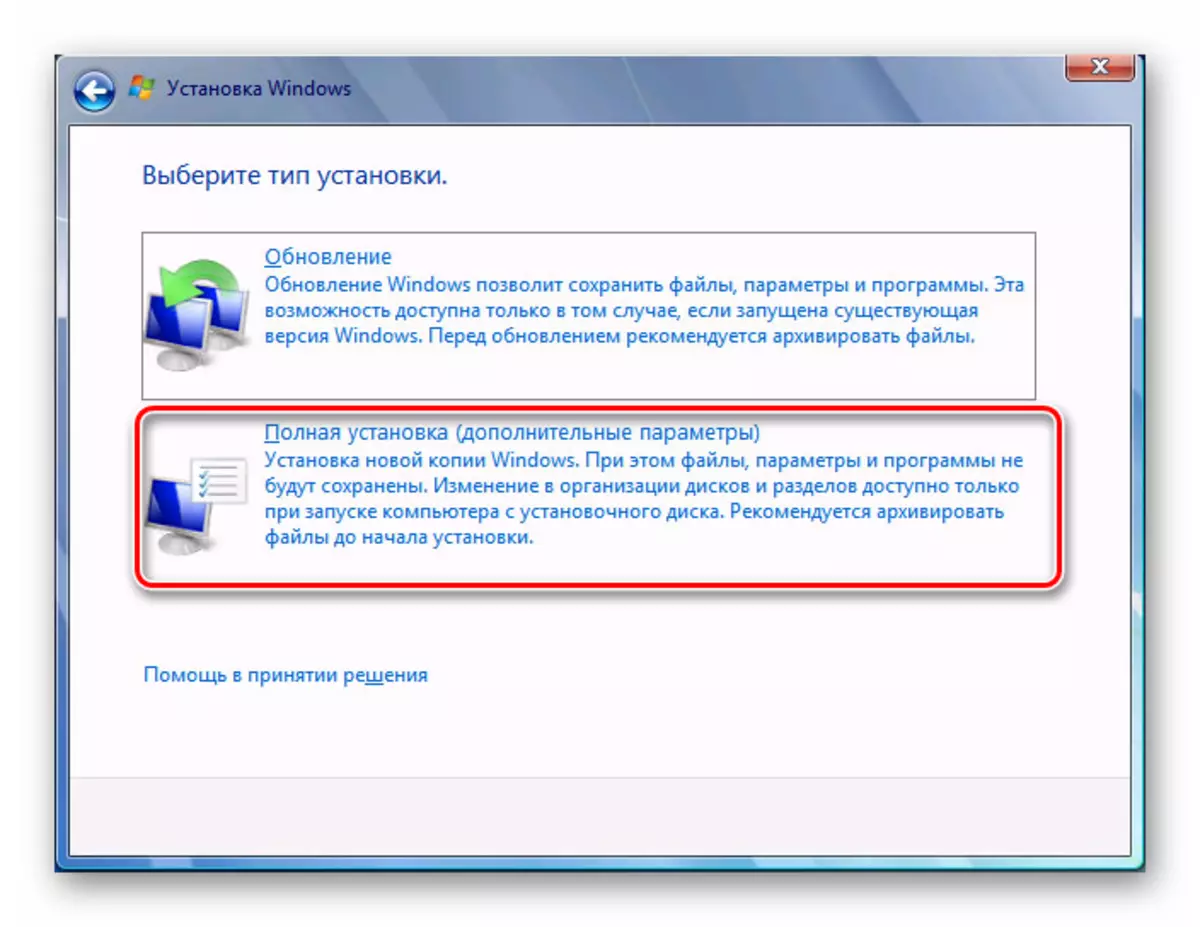
- The installation type selection window opens. Click using the "Full Installation ..." option.
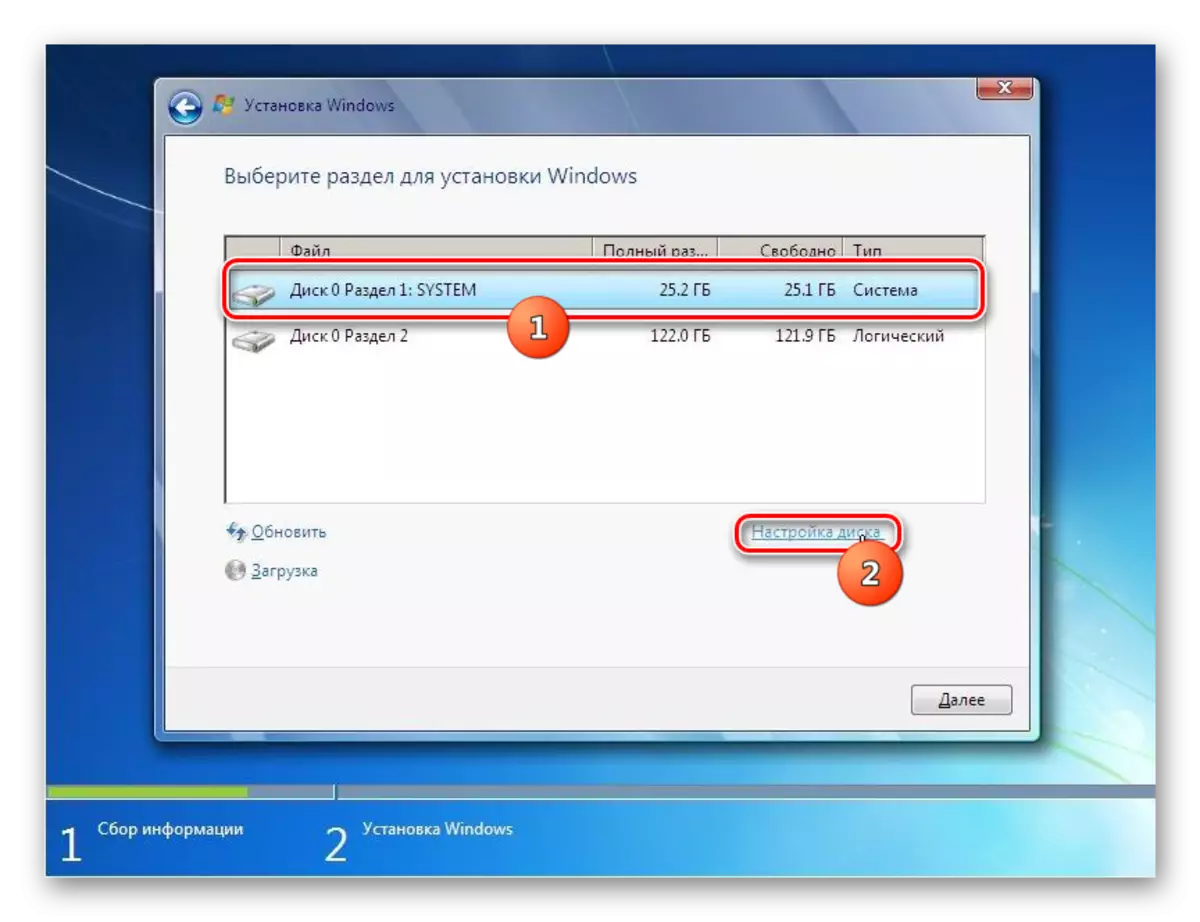
- The disk selection window will then appear. Select the system partition to format, and click on the inscription "Disc Setup".
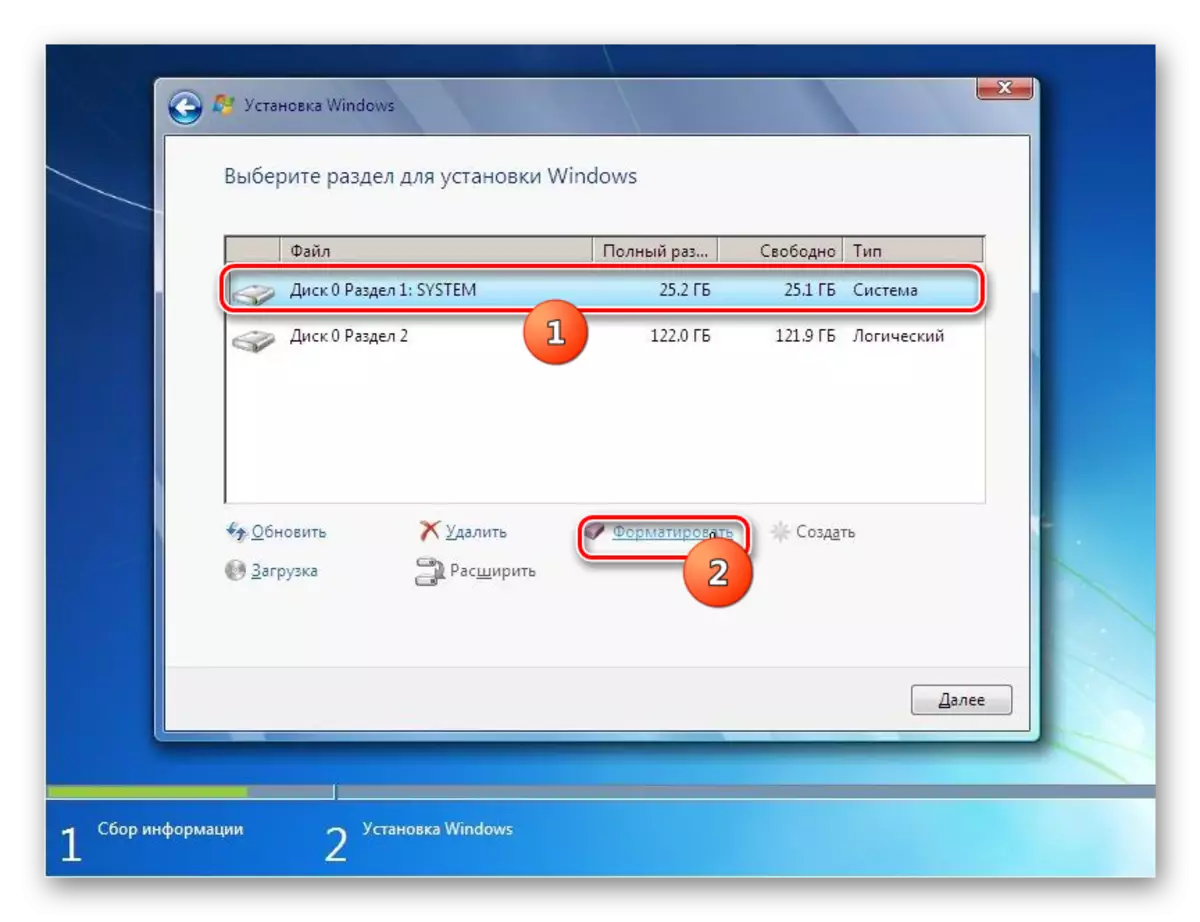
- A shell opens, where among the list of various options for manipulations, you need to select "format".
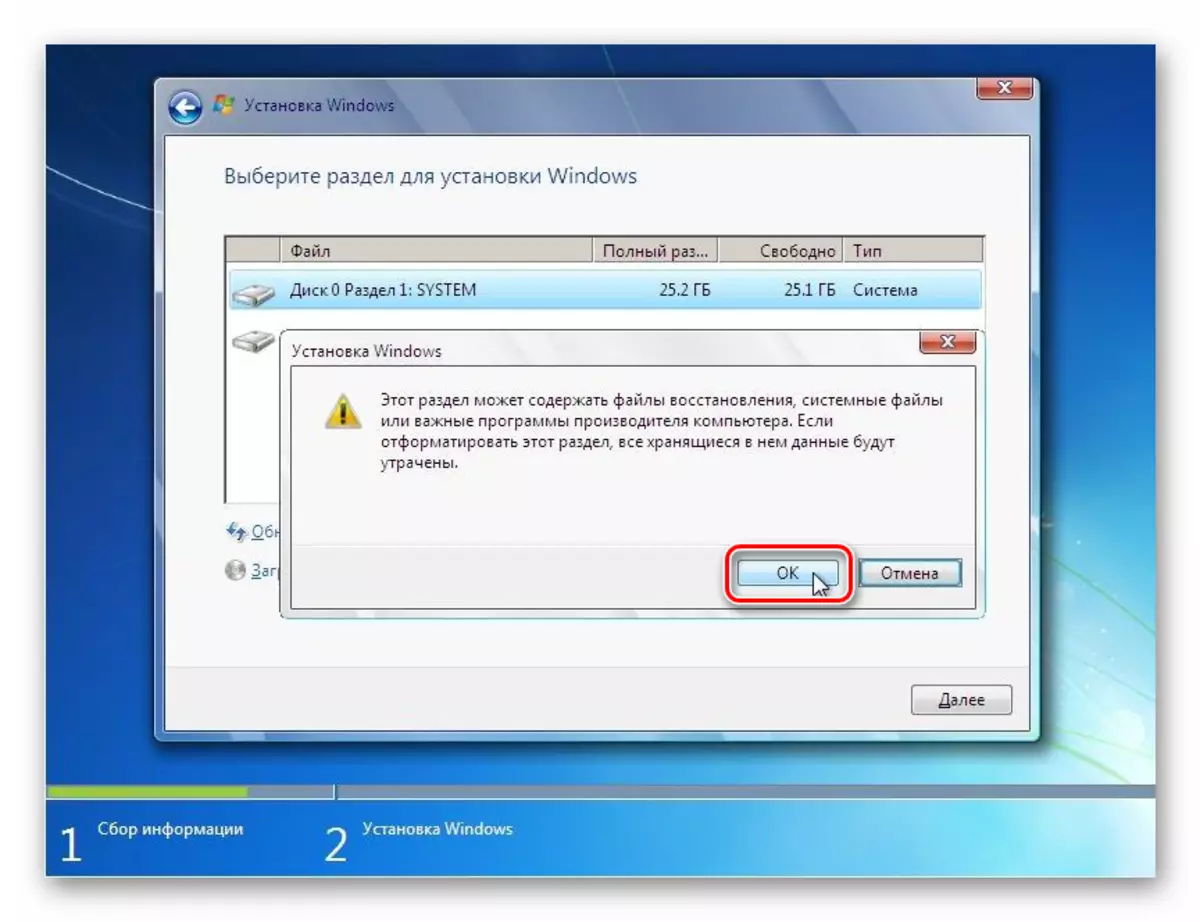
- In the dialog box that opens, a warning will be displayed that when the operation continues, all data that is located in the section will be erased. Confirm your actions by clicking OK.
- Formatting procedure will start. After its end, you can continue the installation of the OS or cancel it depending on your needs. But the goal will be achieved - the disk is formatted.
There are several options for formatting a system partition C depending on which tools to start the computer you have at hand. But to format the volume on which the active system is from under the same OS will not work, whatever methods you use.