

Cisco VPN is a very popular software that is intended for remote access to the private network elements, so it is used mainly in corporate purposes. This program works on the client-server principle. In today's article, we consider in detail the process of installing and configuring the Cisco VPN client on devices running Windows 10.
Installing and configuring Cisco VPN Client
In order to install the Cisco VPN client on Windows 10, you will need to perform additional steps. This is due to the fact that the program has ceased to be officially supported from July 30, 2016. Despite this fact, third-party developers solved the launching problem on Windows 10, so the Cisco VPN software is relevant to this day.Installation process
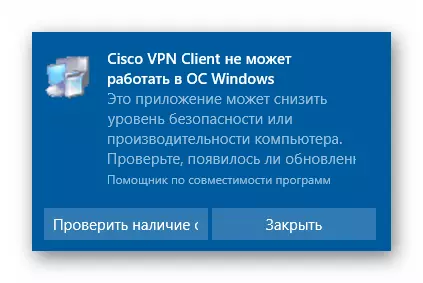
If you try to run the program with a standard way without additional actions, this is notified here:
For the correct installation of the application, you need to do the following:
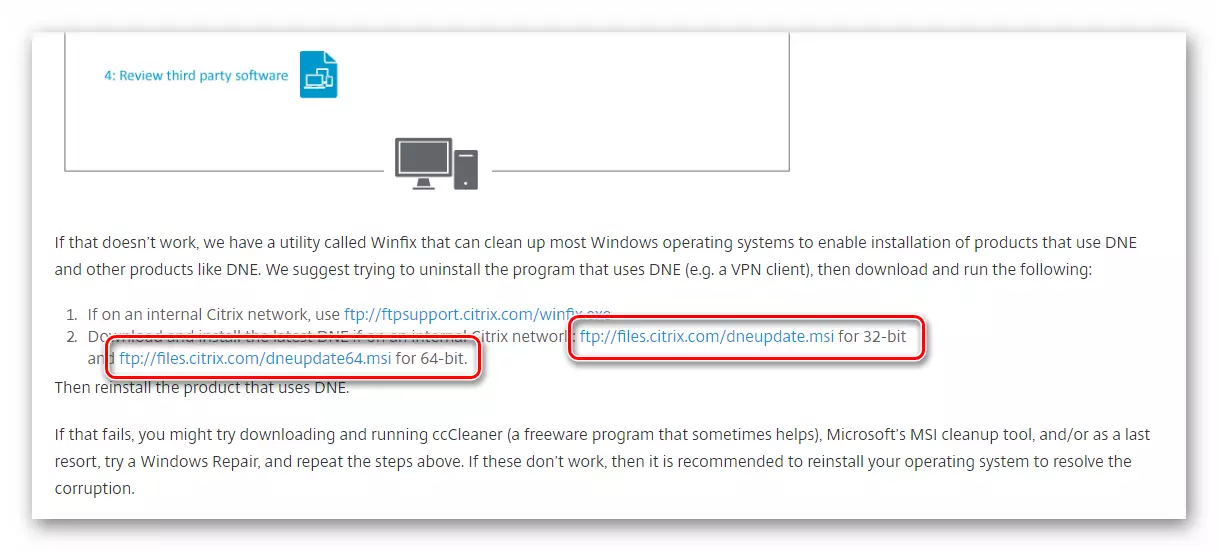
- Go to the official page of Citrix, which has developed a special "Deterministic Network Enhancer" (DNE).
- Next, you need to find lines with links to download. To do this, drop almost at the bottom of the page. Click on the site of the sentence that corresponds to the discharge of your operating system (x32-86 or x64).
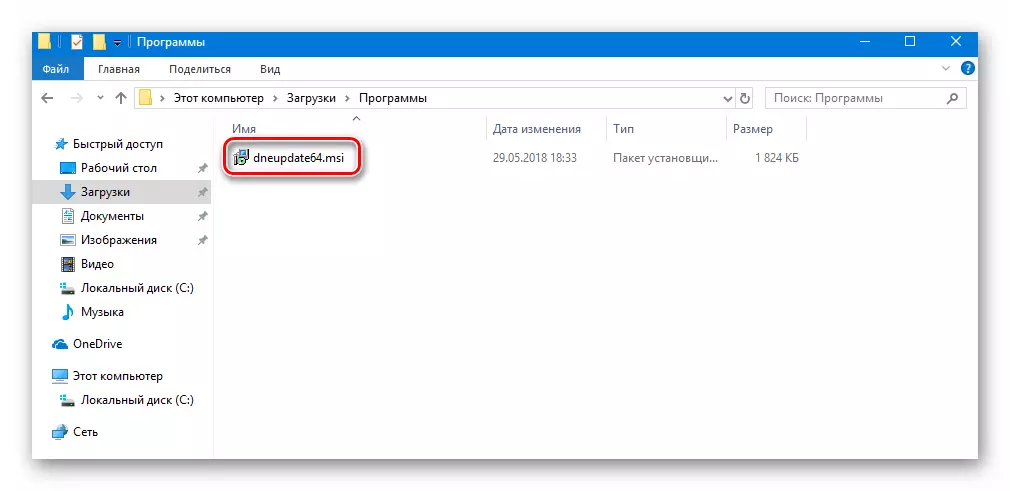
- Installation will instantly start loading the executable file. At the end of the process, it should be launched by a double press of the LKM.
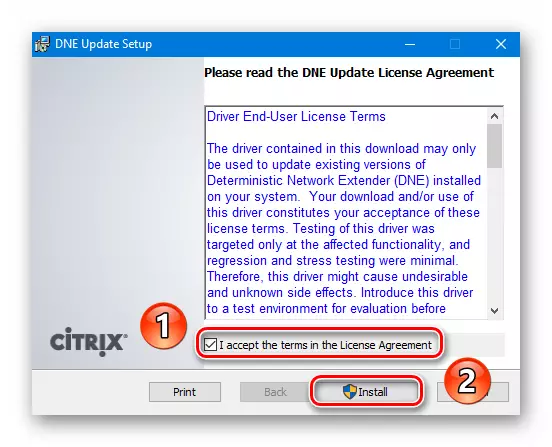
- In the main window of the "Wizard Installation", you need to familiarize yourself with the license agreement. To do this, check the box in front of the string, which is noted on the screenshot below, and then click the "Install" button.
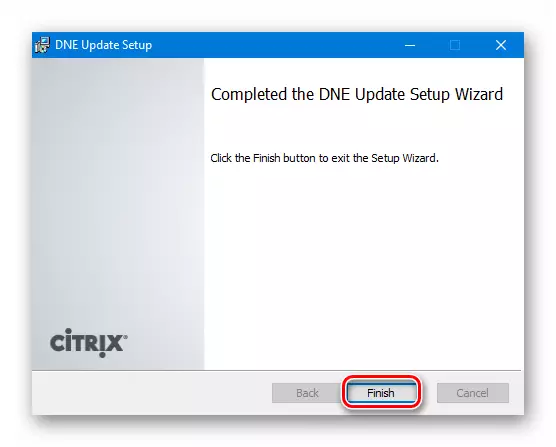
- After that, the installation of network components will begin. The whole process will be performed automatically. You will need only wait a bit. Some time later you will see a window with a successful installation notification. To complete, click the Finish button in this window.
- As a result, you should have one of the following archives on your computer.
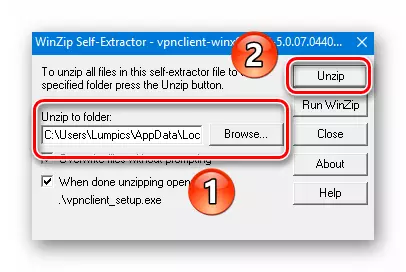
- Now click on the downloaded archive twice the LKM. As a result, you will see a small window. It can select the folder where the installation files will be retrieved. Click on the "Browse" button and select the desired category from the root directory. Then press the "Unzip" button.
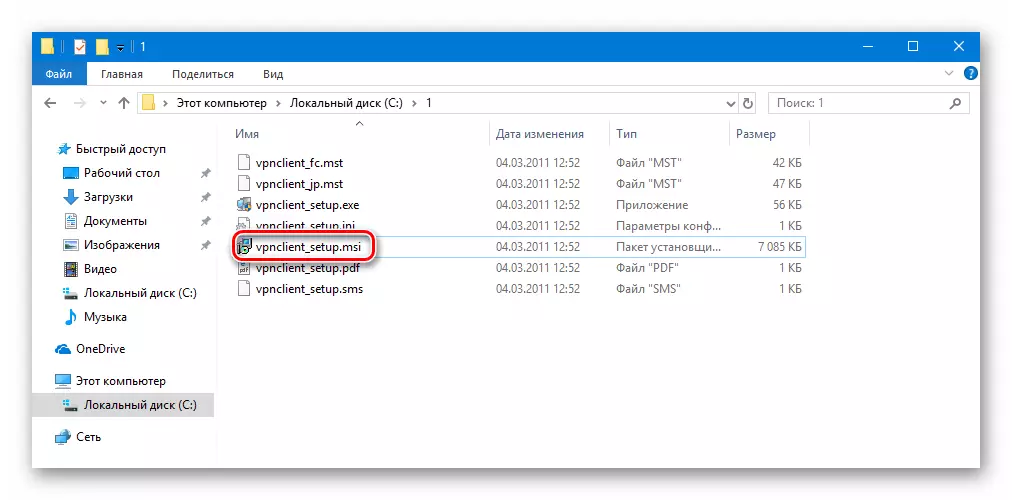
- Please note that after unpacking the system will try to automatically start the installation, but a message appears on the screen that we have published at the beginning of the article. In order to fix it, you need to go to the folder where the files were previously retrieved, and start the file "VPNClient_setup.msi" from there. Do not confuse, as in the case of the "VPNClient_setup.exe" launch, you will again see the error.
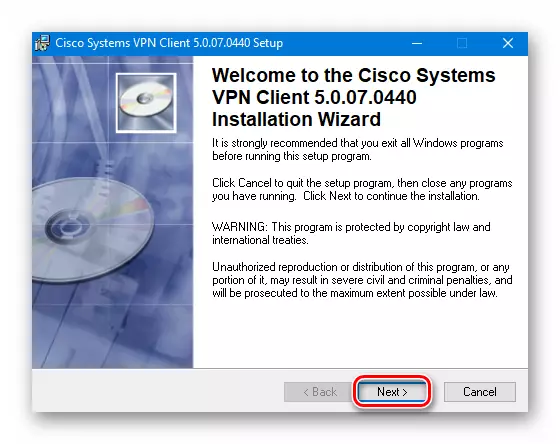
- After starting, the main window "Installation Wizard" will appear. It should press the "Next" button to continue.
- Next, it is necessary to adopt a license agreement. Just put a mark near the row with the corresponding name and click the "Next" button.
- Finally, it remains only to specify the folder where the program will be installed. We recommend leaving the path unchanged, but if necessary, you can click the "Browse" button and select another directory. Then click "Next".
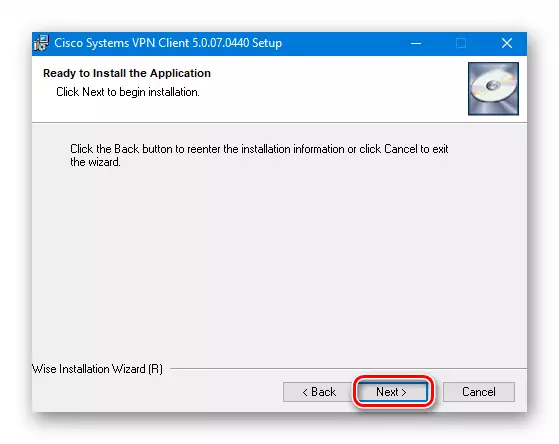
- The next window will appear a message that everything is ready to install. To start the process, click the "Next" button.
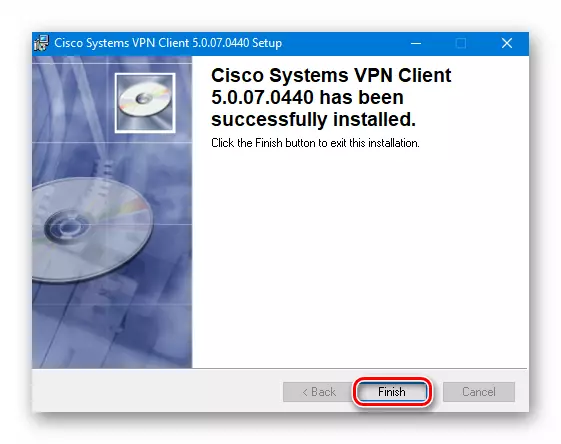
- After that, the Cisco VPN installation will start directly. At the end of the operation, a successful completion will appear on the screen. It remains only to press the "FINISH" button.
The next step will be downloading Cisco VPN installation files. You can do this on the official website or by going on mirror links below.
Download Cisco VPN Client:
For Windows 10 x32
For Windows 10 x64


On this process of installing Cisco VPN Client approached the end. Now you can start configuring the connection.
Configuration connection
Configure Cisco VPN Client is easier than it may seem at first glance. You will need only certain information.
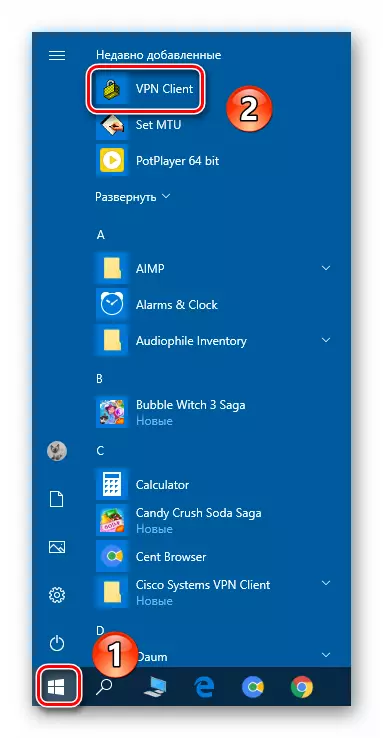
- Click on the Start button and select the Cisco application from the list.
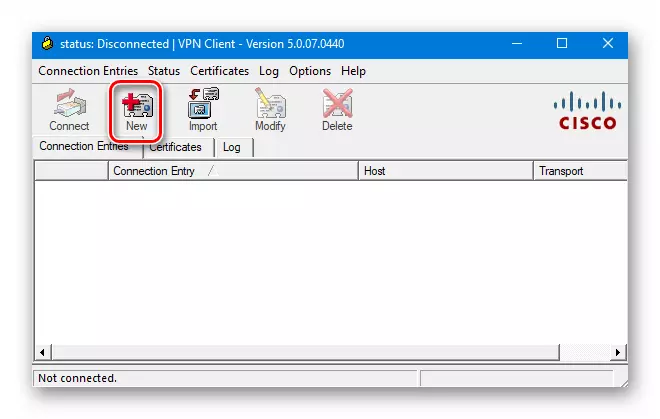
- Now you need to create a new connection. To do this, in the window that opens, click on the "New" button.
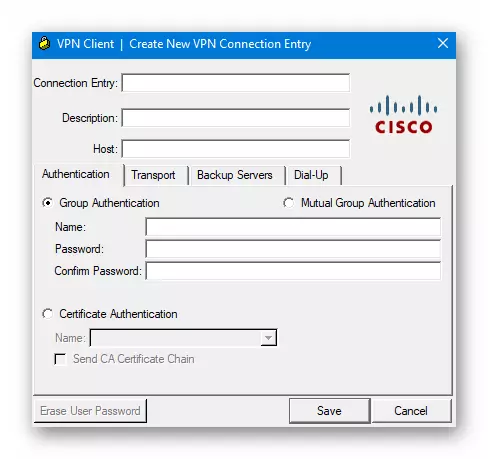
- As a result, another window will appear in which all the necessary settings should be prescribed. It looks like this:
- You need to fill the following fields:
- "Connection ENTRY" - connection name;
- "HOST" - this field indicates the IP address of the remote server;
- "Name" in the "Authentication" section - here you should register the name of the group, from the person to be connected;
- "Password" in the Authentication section - the password from the group is specified here;
- "CONFIRM PASSWORD" in the Authentication section - Re-writing a password here;
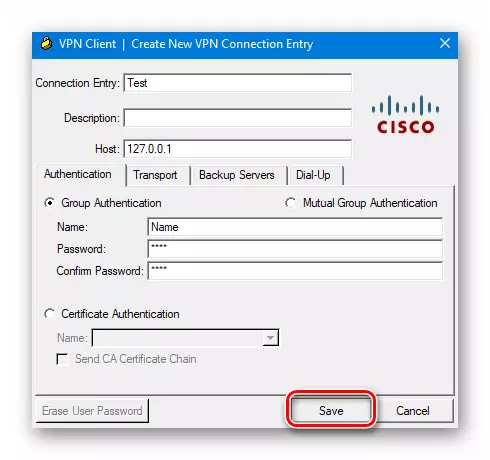
- After filling the specified fields, you need to save the changes by pressing the "Save" button in the same window.
- In order to connect to VPN, you should select the desired item from the list (if multiple connections) and click the "Connect" button in the window.
Please note that all the necessary information usually provides a provider or a system administrator.

If the connection process is successful, you will see the appropriate notification and the tray icon. After that, VPN will be ready to use.
Troubleshooting connection errors
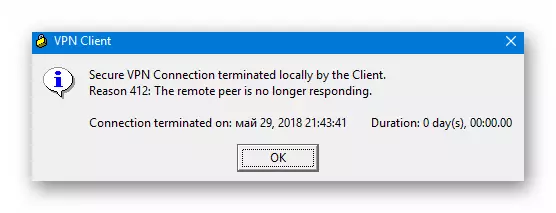
Unfortunately, on Windows 10 attempt to connect to Cisco VPN very often ends with the following post:
To correct the situation, follow the following:
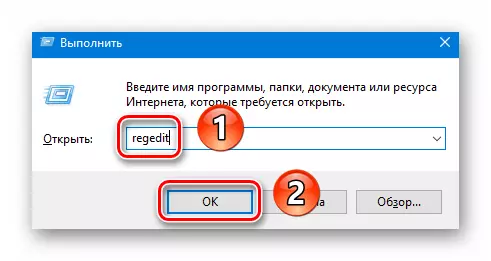
- Use the "Win" and R "key combination. In the window that appears, enter the REGEDIT command and click the OK button slightly below.
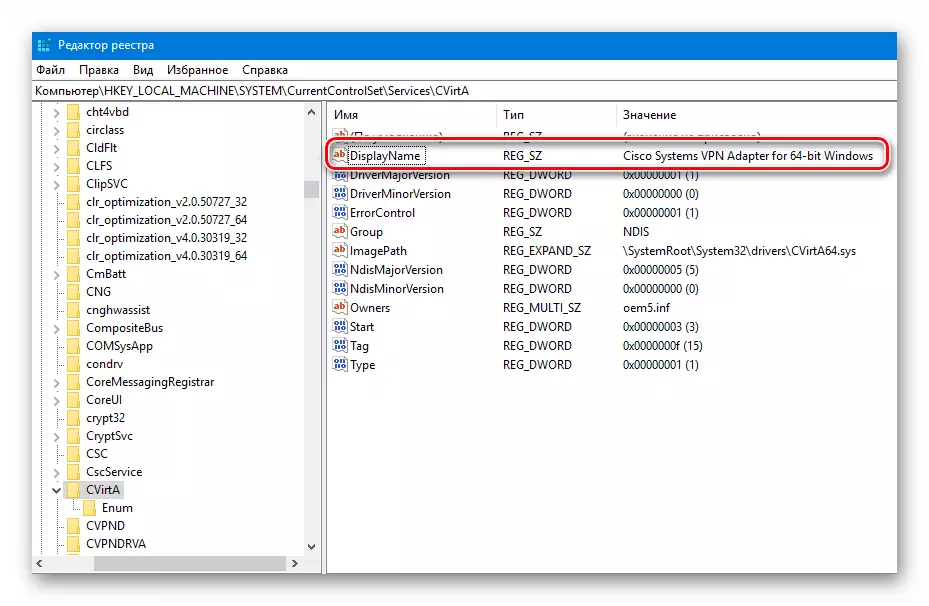
- As a result, you will see the Registry Editor. In the left part there is a directory tree. It needs to go on this path:
HKEY_LOCAL_MACHINE \ SYSTEM \ CURRENTCONTROLSET \ SERVICES \ CVIRTA
- Inside the "CVIRTA" folder, you should find the file "DisplayName" and click on it twice LKM.
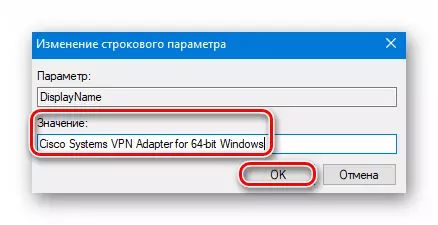
- A small window with two rows opens. In the Count "Meaning" you need to enter the following:
Cisco Systems VPN Adapter - If you have Windows 10 x86 (32 Bit)
Cisco Systems VPN Adapter for 64-Bit Windows - if you have Windows 10 x64 (64 Bit)
After that, click "OK".
- Make sure that the value opposite the "DisplayName" file has changed. You can then close the registry editor.

Having done the actions described, you get rid of an error when connected to a VPN.
On this, our article approached its completion. We hope you will manage to install Cisco client and connect to the desired VPN. Note that this program is not suitable to bypass various locks. For these purposes it is better to use special browser extensions. You can get acquainted with the list of those for the popular browser Google Chrome and you can be like this in a separate article.
Read more: Top VPN extensions for browser Google Chrome