
Standard photoshop fonts look monotonously and unattractive, so many photoshop are so squeezed to improve them and decorate.
And seriously, the need to stylize fonts arises constantly due to various reasons.
Today we will learn how to create fiery letters in our beloved Photoshop.
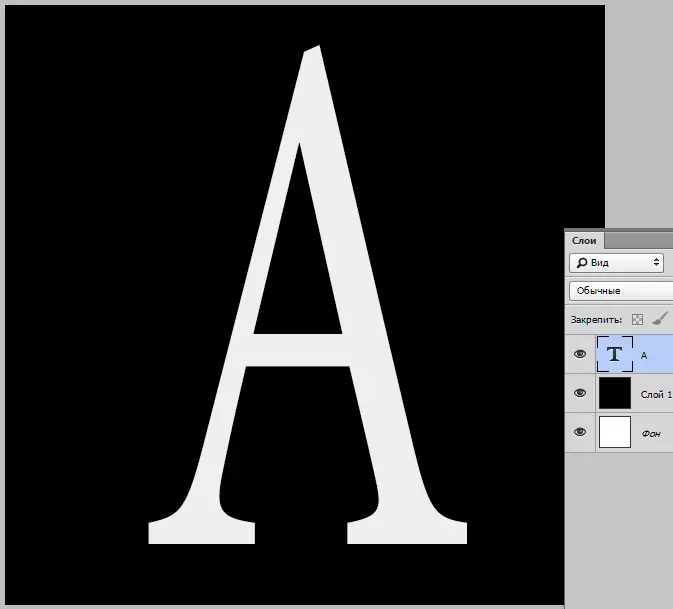
So, create a new document and write what is needed. In the lesson, we will stylize the letter "A".
Please note that for the manifestation of the effect, we need white text on a black background.
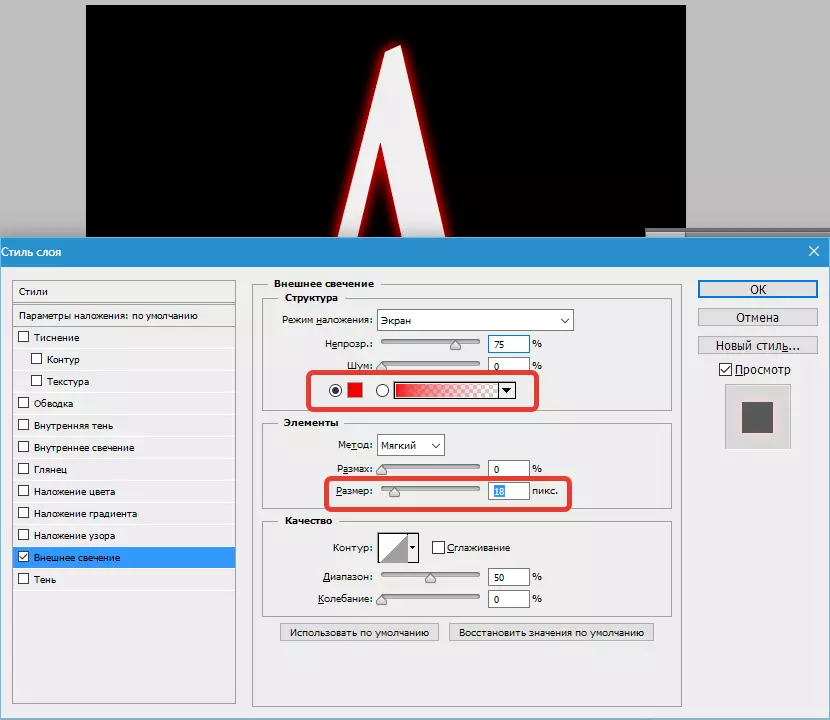
Twice clicking on a layer with text, causing styles.
To begin with choose "External glow" And change the color to red or dark red. We select the size on the basis of the result in the screenshot.
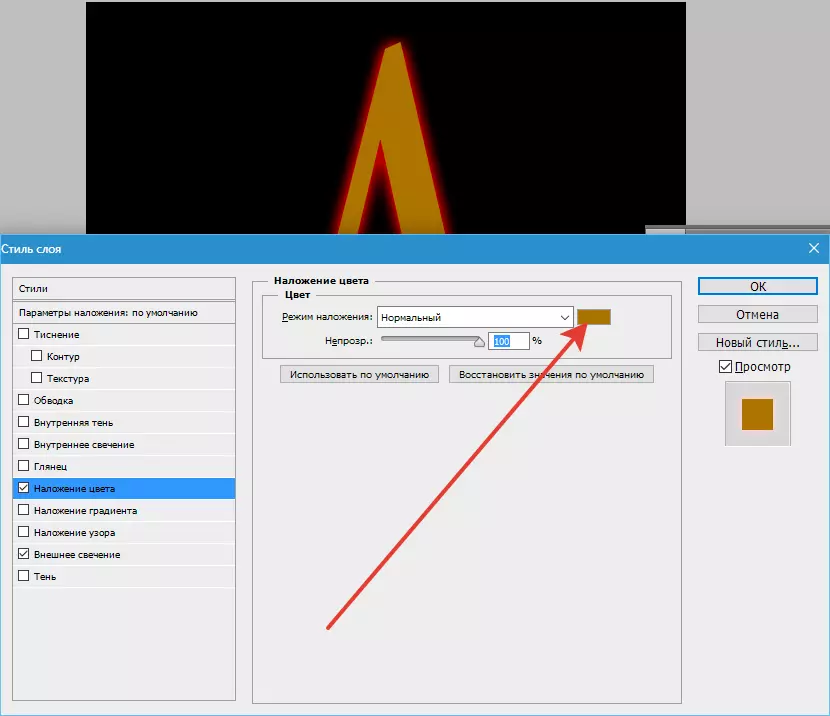
Then go to B. "Overlay color" And change the color to dark orange, almost brown.
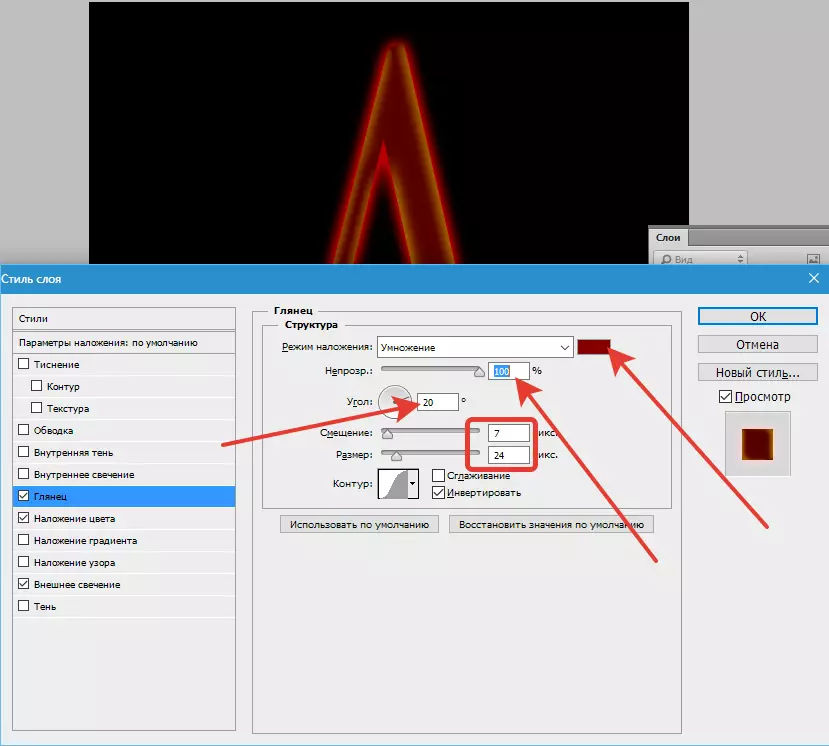
Next we will need "Gloss" . The opacity is 100%, the color is dark red or burgundy, angle of 20 degrees., Dimensions - we look at the screenshot.
And finally, go to "Inner glow" , Change the color on dark yellow, overlay "Linear Dodge" , opacity 100%.
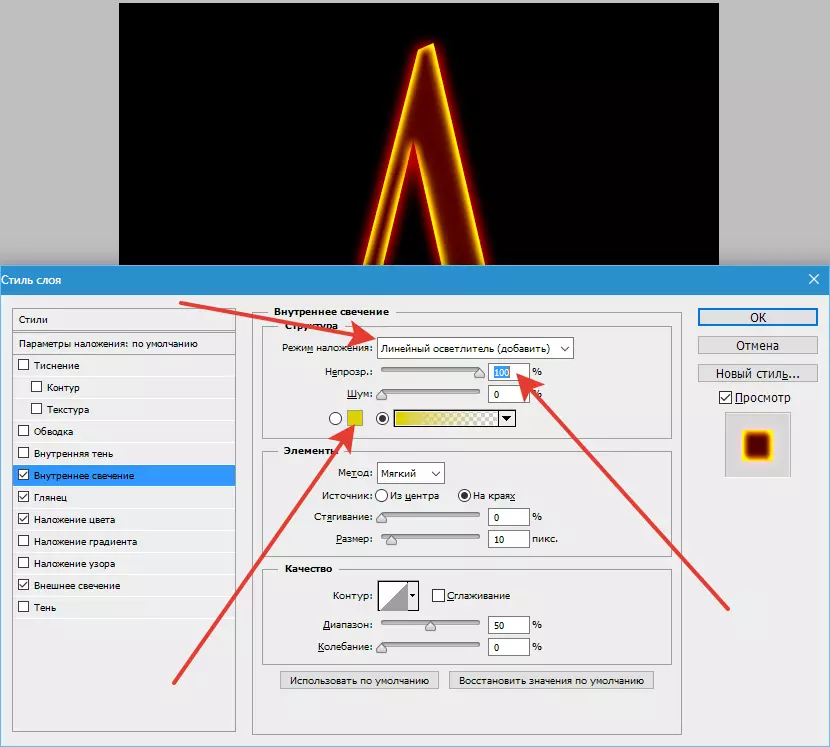
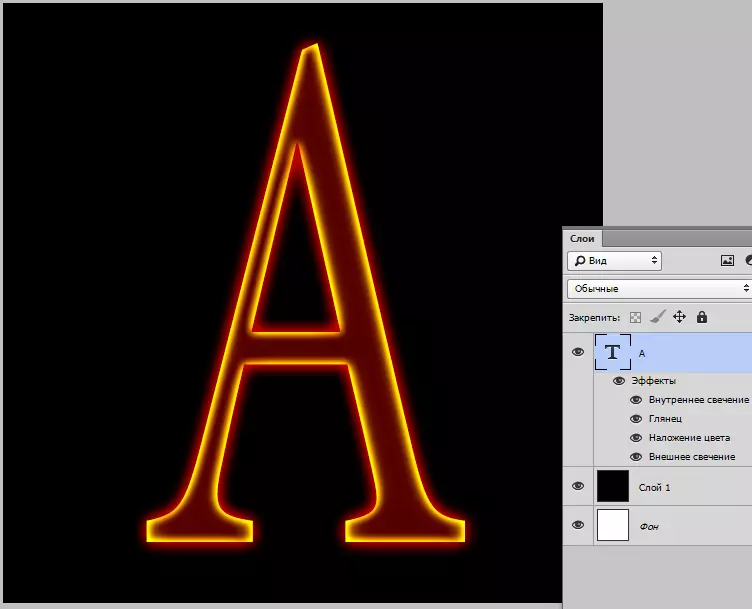
Press OK And we look at the result:
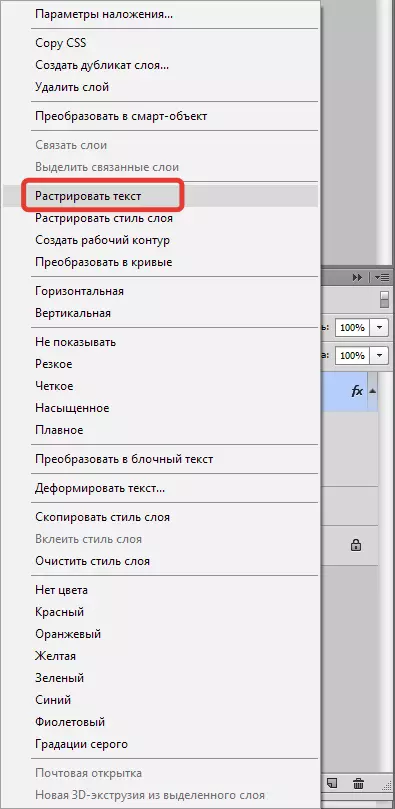
For a comfortable further editing, it is necessary to rip the style layer with the text. To do this, click on the PCM layer and select in the appropriate item in the context menu.
Next, go to the menu "Filter - distortion - ripples".

Filter customizable, guided by the screenshot.

It remains only to impose an image of the fire. Such pictures are a great set on the network, choose to your taste. It is desirable that the flame is on a black background.
After the fire is placed on canvas, you need to change the overlay mode for this layer (with fire) on "Screen" . The layer must be at the very top of the palette.

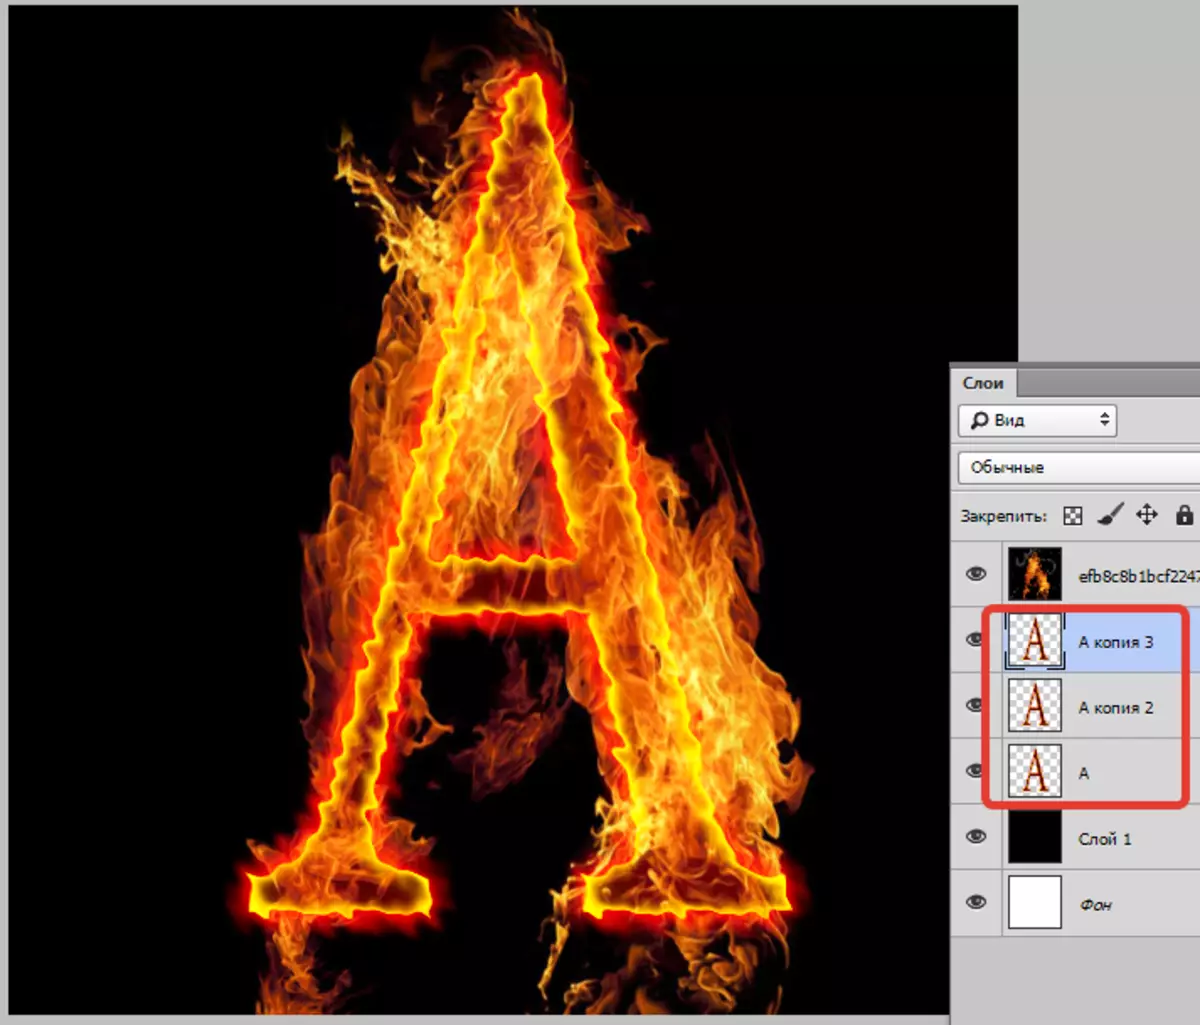
If the letter is not clear enough, you can duplicate the layer with the text combination of keys Ctrl + J. . To enhance the effect, you can create multiple copies.
On this, the creation of fiery text is completed.
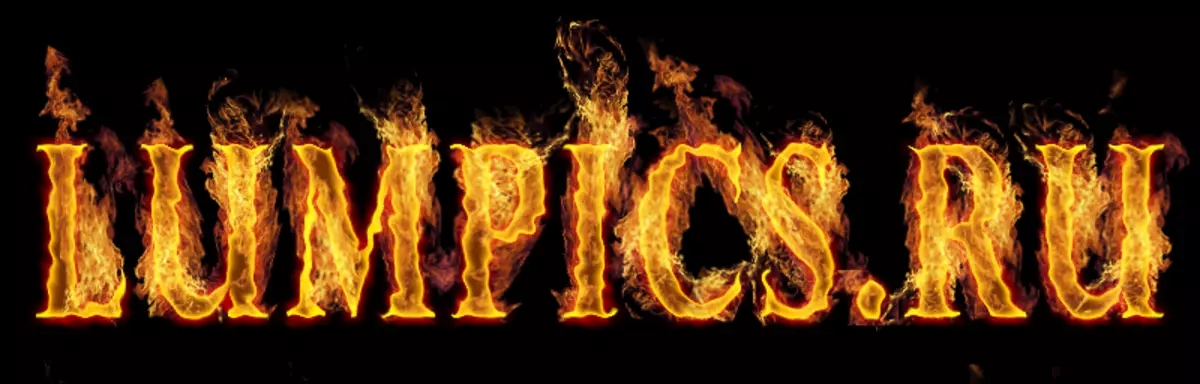
Learn, create, good luck to new meetings!