

In case of problems with the keys on the keyboard of the laptop or during its cleaning, it may be necessary to extract them with the subsequent return of them in place. In the course of the article, we will tell about the mounts on the keyboard and properly extract the keys.
Changing keys on keyboard
The keyboard on the laptop can be very different depending on the model and manufacturer of the device. We will consider the replacement process on the example of one laptop, focusing on the main nuances.
Wide
This section includes SHIFT and all keys having a larger size. Exception is only a "space". The main difference of wide keys is the presence of a single fastening, but at once two, the location of which can vary depending on the form.
Note: Sometimes one large retainer can be used.
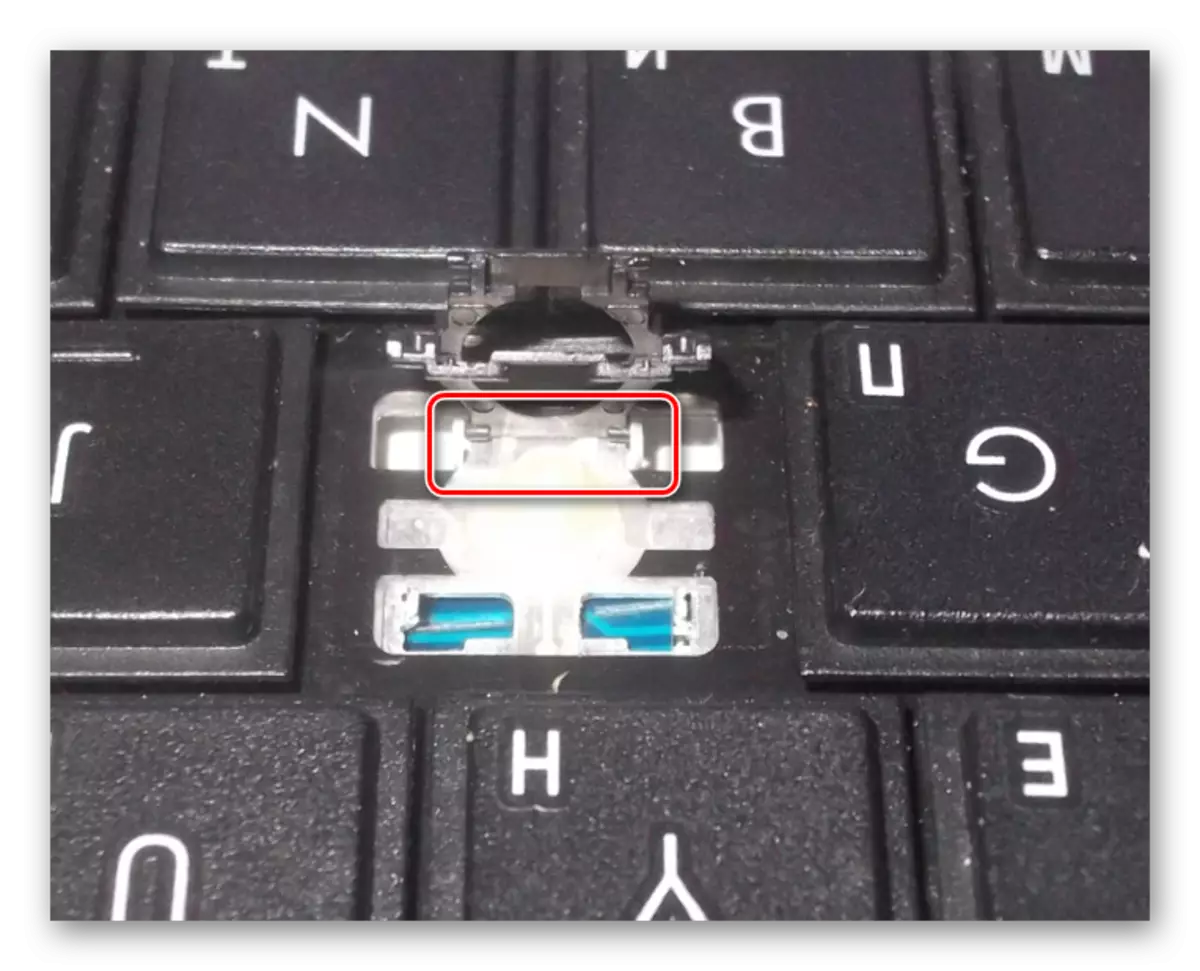
- As in the case of the usual keys, the bottom touch of the key with a screwdriver and disconnect the first mount gently.
- Do the same actions with the second retainer.
- Now release the key from the remaining mounts and pulling up, pull it out. Be careful with a metal stabilizer.
- The process of extraction of plastic locks We described earlier.
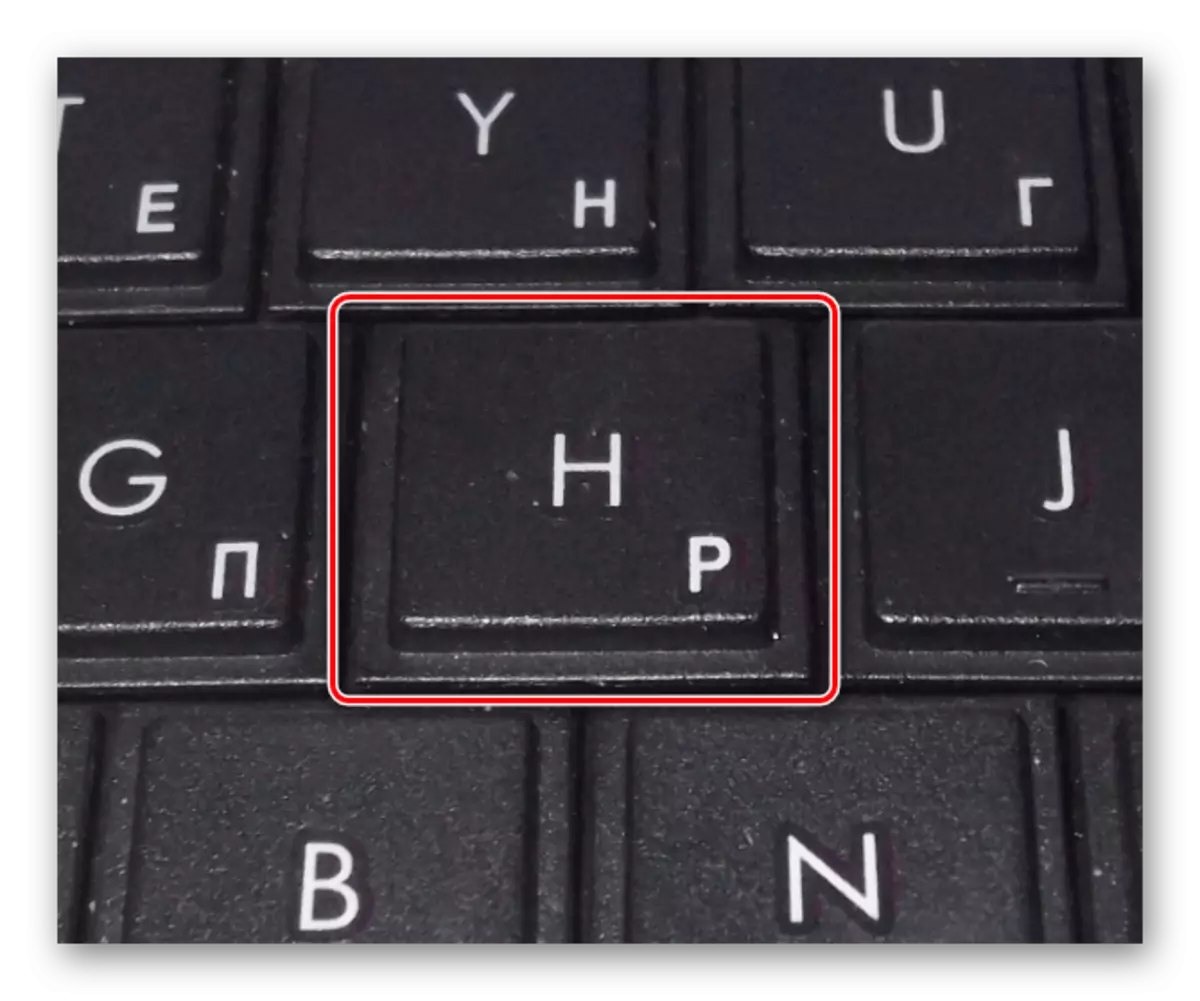
- On the keyboard "ENTER" is notable for what can be very different in shape. However, in most cases, this does not affect its attachments, which completely repeat the design of the "shift" with one stabilizer.


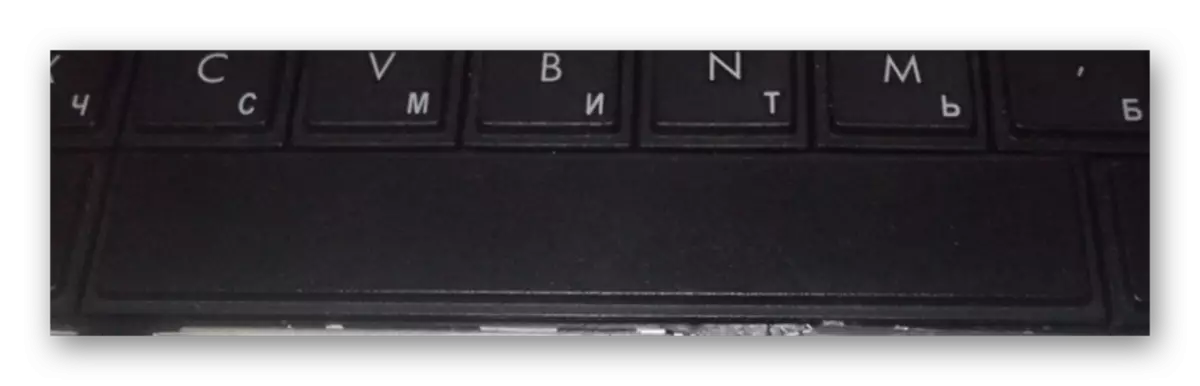
Space
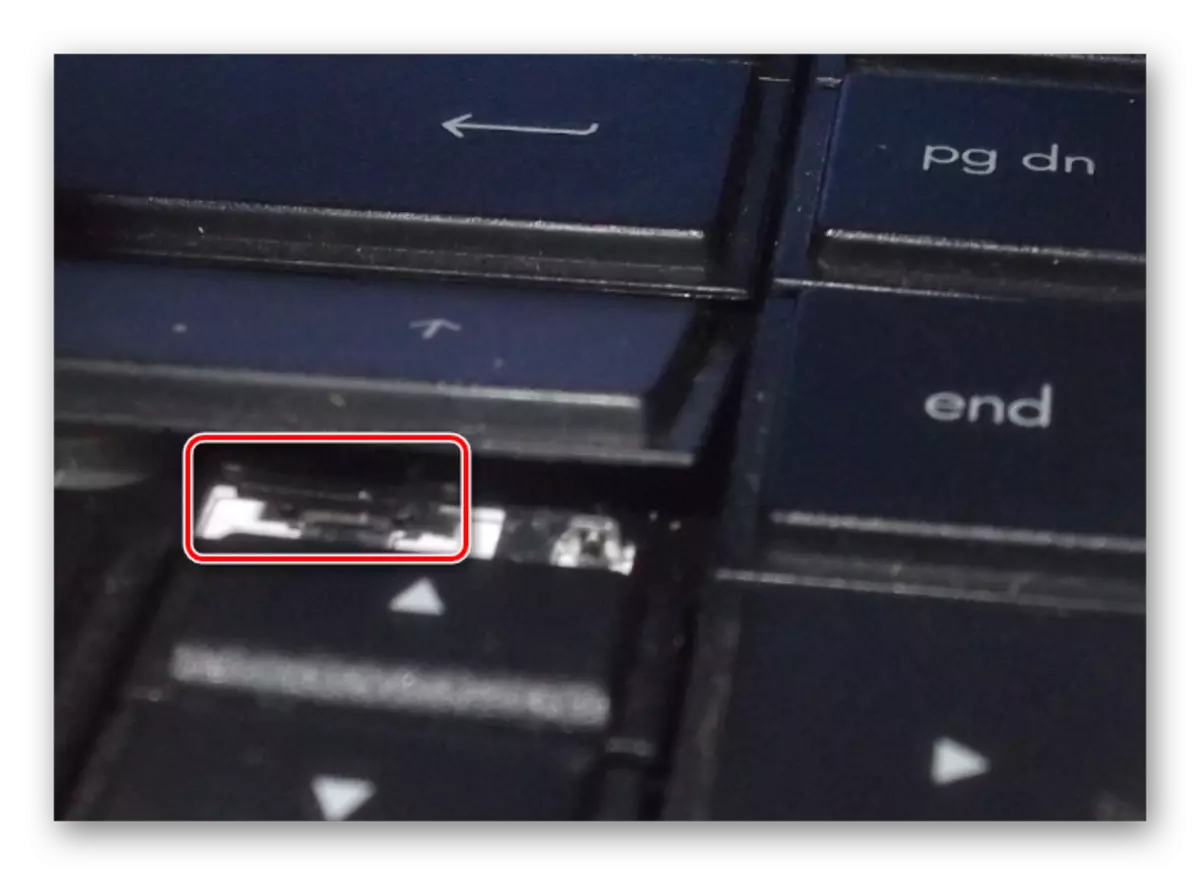
The Space key on the laptop keyboard in its design has a minimum of differences from an analog on a full-fledged computer peripheral device. It, like "SHIFT", is constrained at once two mounts placed on both sides.
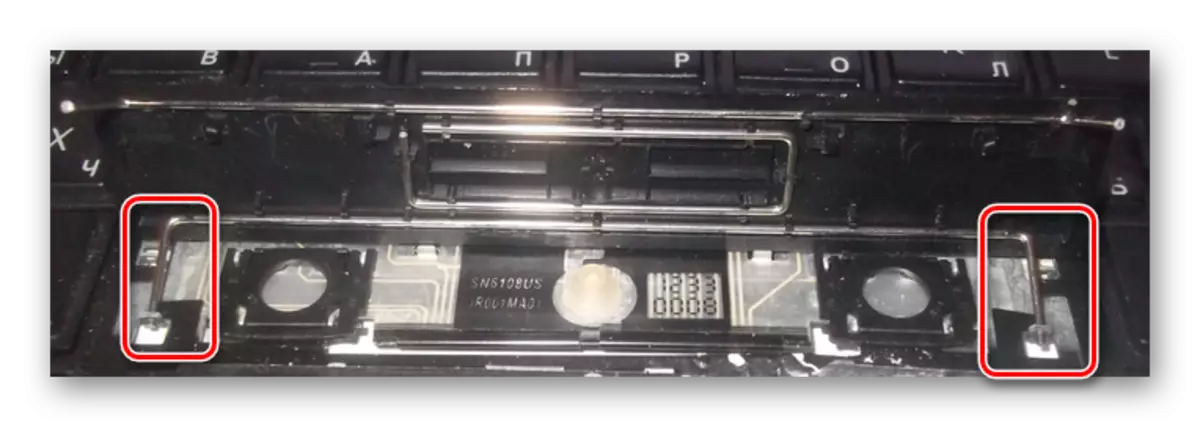
- In the field of the left or right edge, hook a "mustache" with a sharp end of a screwdriver and disconnect them from fastening. Plastic latches in this case have large sizes and therefore removing the key is greatly simplified.
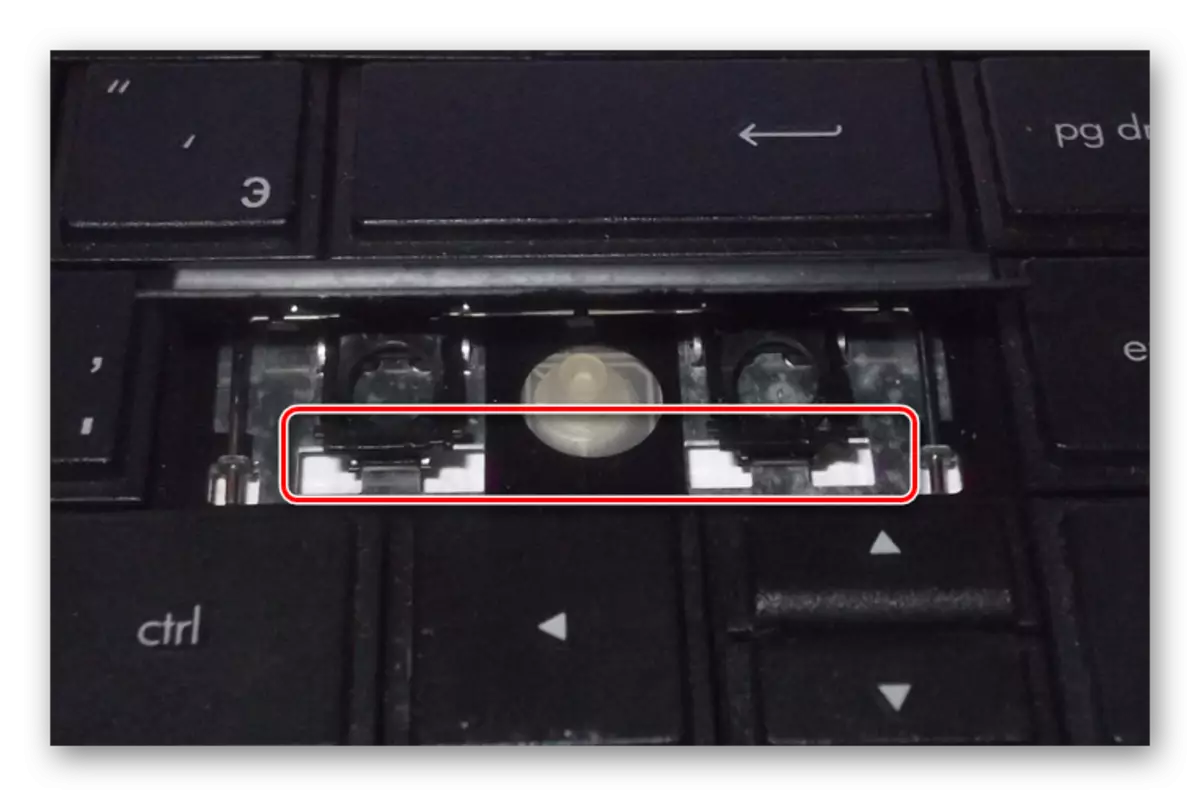
- You can remove the fixators on the previously written instructions.
- Problems with this key may occur only at the stage of its installation, since the "space" is equipped with two stabilizers at once.


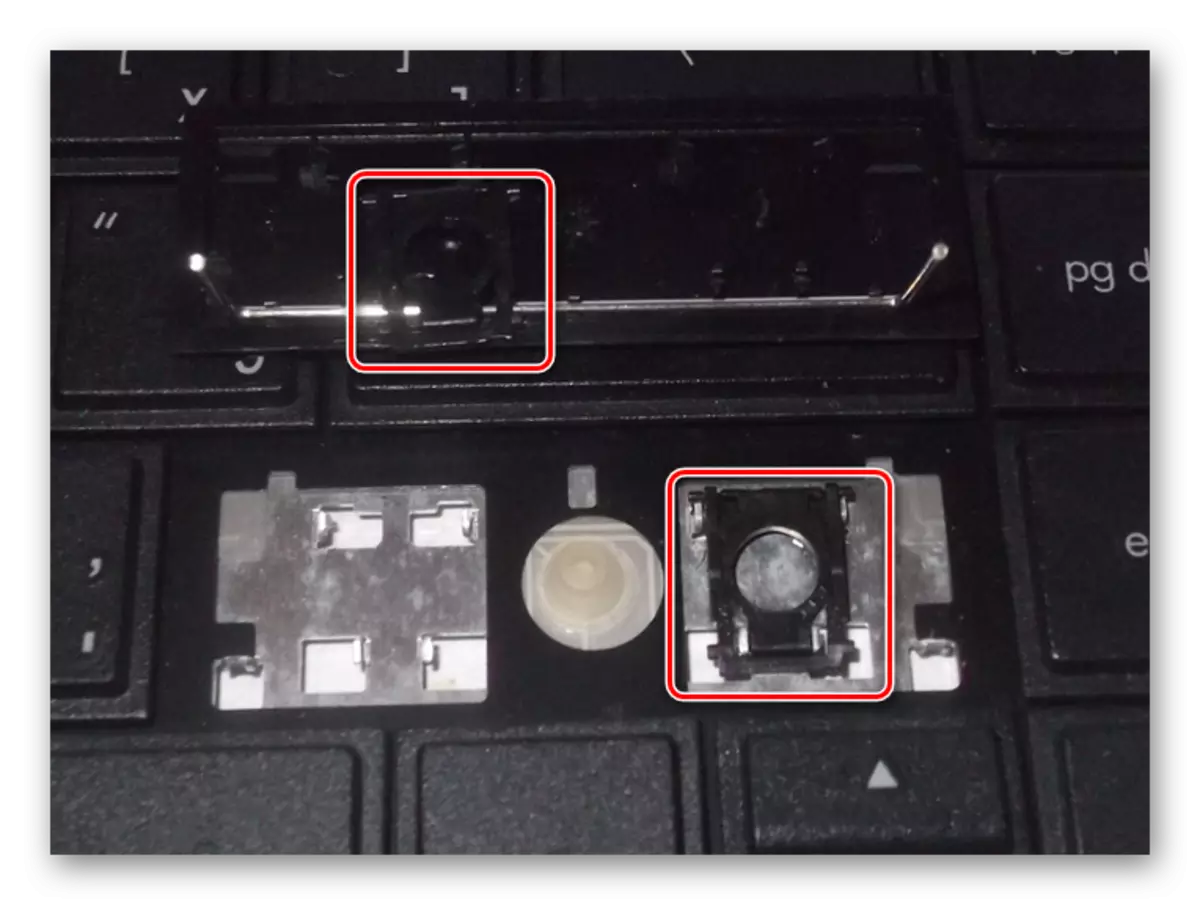
During extraction, as well as the subsequent installation, be extremely careful, since the attachments can be easily damaged. If this nevertheless was allowed, the mechanism will have to be replaced with the key.
Installation of keys
Purchase keys separately from the laptop are quite problematic, as they are not all suitable for your device. For the case of a replacement or if you need to return the previously extracted keys, we have prepared the appropriate instructions.
Normal
- Rotate the mount, as shown in the photo and secure the narrow part with the "mustache" at the bottom of the jack for the key.
- Lower the remaining part of the plastic lock and slightly push it on it.
- From above in the correct position, set the key and how to press it. You will learn about the successful installation by the characteristic click.

Wide
- In the case of fasteners of wide keys, you need to do exactly the same as with usual. The only difference is in the presence of one, but at once two locks.
- Schedule into metal holes stabilizer tips.
- As before, return the key to the original position and press it up to it. Here it is necessary to distribute the pressure so that most of its part falls on the area with fasteners, and not the center.


"Space"
- With the "Space" fasteners, you need to do the same actions as when installing other keys.
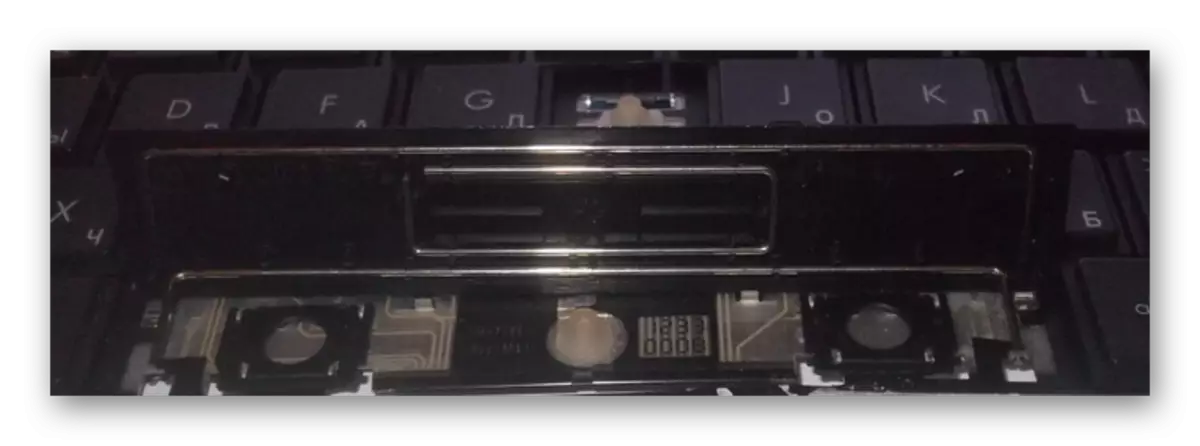
- Install the "space" on the keyboard so that the narrow stabilizer is directed from top to bottom.
- Curtain a wide stabilizer to the upper holes as well as it is shown by us.
- Now it is necessary to press the key twice before receiving clicks symbolizing the successful installation.

In addition to those considered by us, small keys may be present on the keyboard. Their extraction and installation process is completely similar to the usual.
Conclusion
Showing proper caution and attentiveness, you can easily remove and set the keys on the laptop keyboard. If the attachments on your laptop are very different from the article described in the article, be sure to contact us in the comments.