

Often, the sound equipment is initialized in Windows 7 immediately after its physical connection to the system. But unfortunately, there are such cases when an error is displayed that the sound devices are not installed. Let's figure out how to set the specified view of the devices on this OS after physical connection.
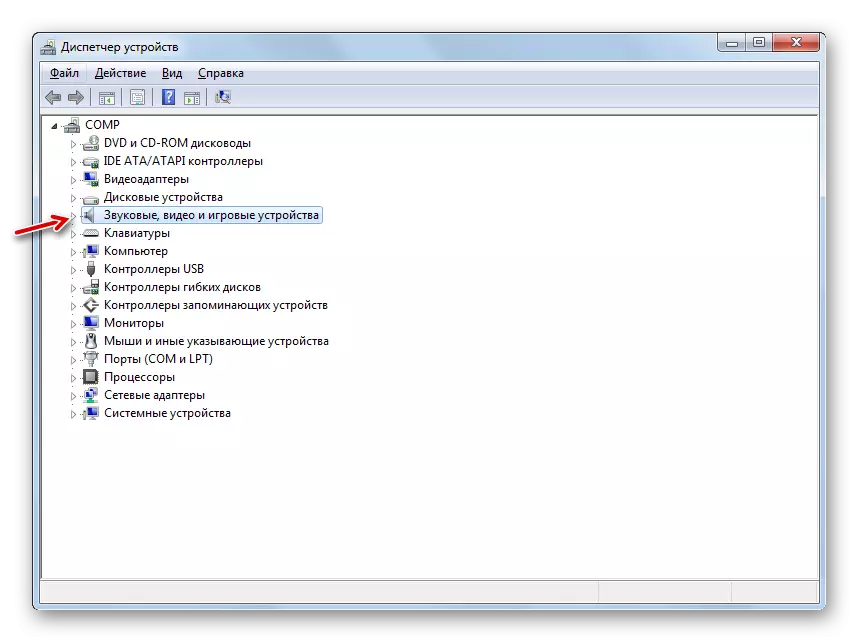
But there may be such a situation where the desired equipment is simply not displayed in the "Sound Devices" group. Either the specified group is generally absent. This means that the equipment is simply removed. In this case, you need to reinstate it. This can be done through the same "dispatcher".

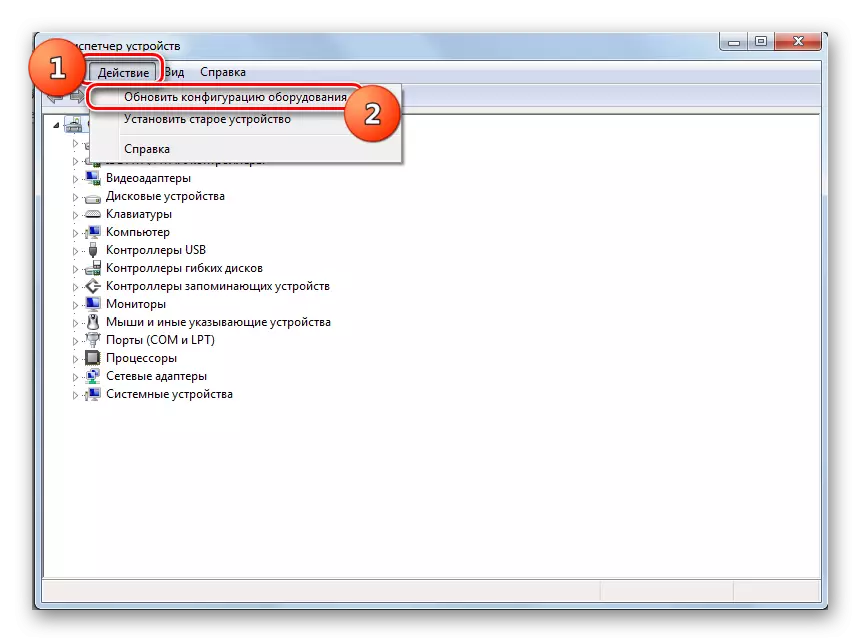
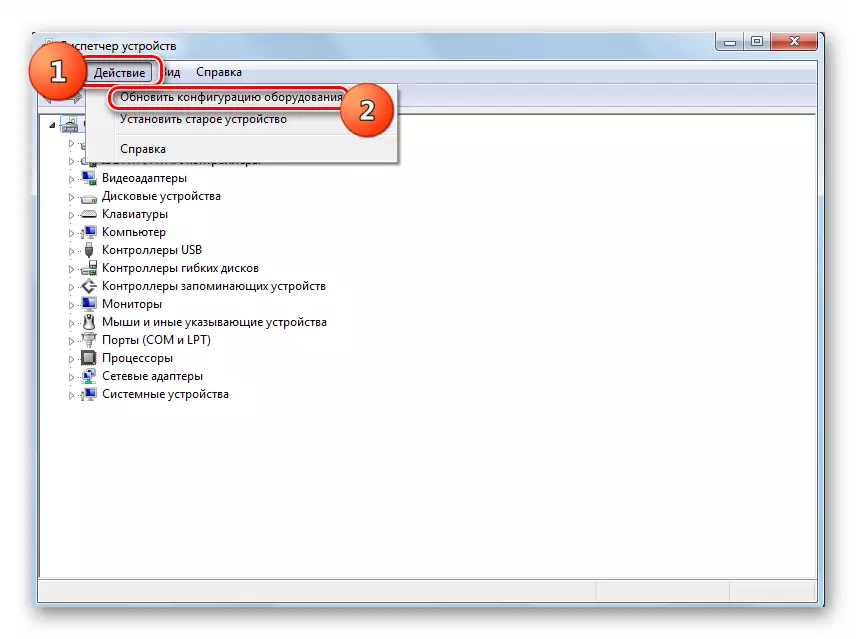
- Click on the "Action" tab and select "Update the configuration ...".
- After performing this procedure, the necessary equipment should be displayed. If you see that it is not involved, it is necessary to use it, as it has already been described above.
Method 2: Reinstall drivers
The sound device may not be installed if the driver is incorrectly installed on the computer or they are generally not the product of the developer of this equipment. In this case, it is necessary to reinstall them or replace them with the correct option.
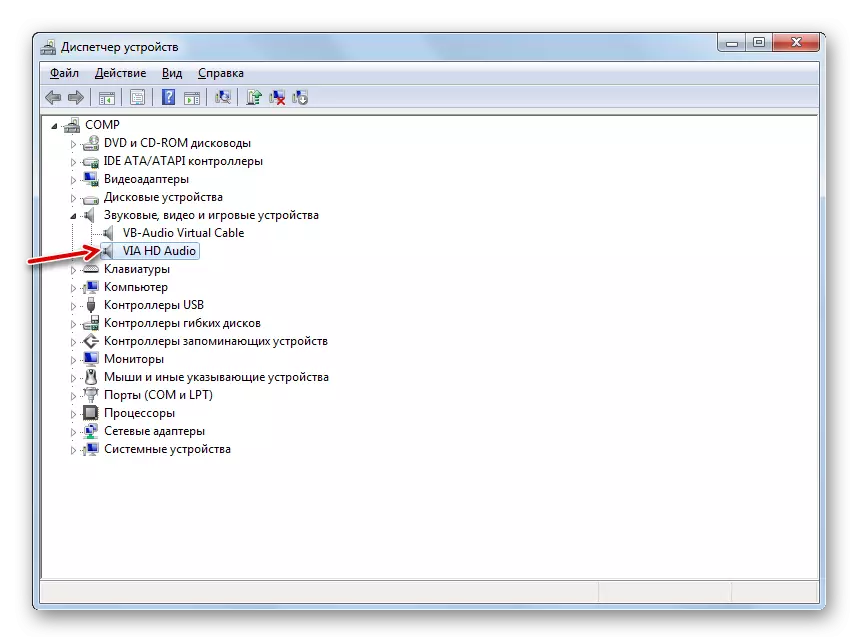
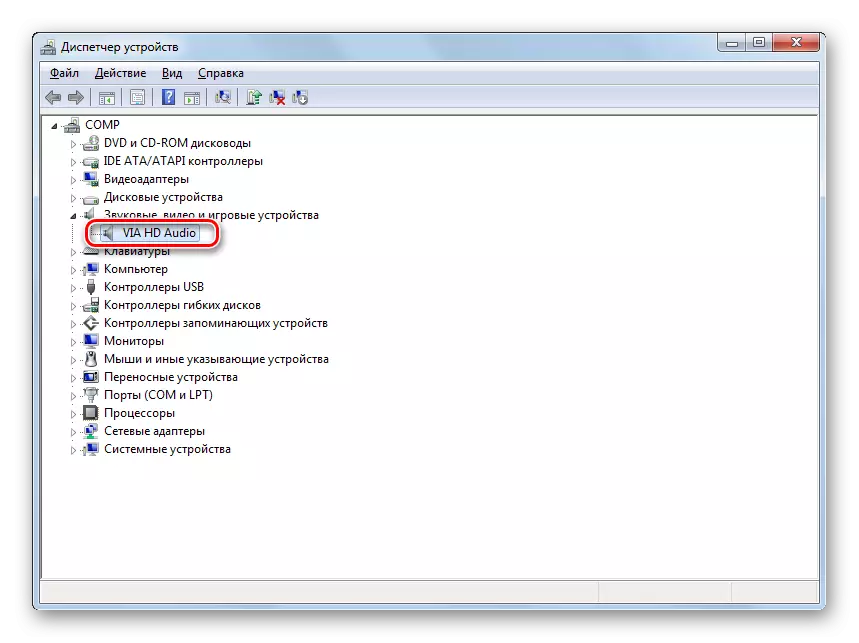
- If you have the necessary drivers, but they are simply incorrectly installed, then in this case you can reinstall them by non-hard manipulations in the Device Manager. Go to the "Sound Devices" section and select the desired object. Although in some cases if the driver is incorrectly identifying the required equipment may be in the "Other Devices" section. So if you do not find it in the first of the specified groups, then check the second. Click on the name of the PCM equipment, and then click on the "Delete" item.
- Next will appear the dialogue shell, where it is necessary to confirm its actions by pressing OK.
- Equipment will be deleted. After that, you need to update the configuration on the same scenario, which was described in the method 1.
- After that, the hardware configuration will be updated, and with it will happen, and reinstall the driver. Sound device must be installed.


But there are also situations where the system has no "native" device driver from the official producer and some other, for example, a standard system. It can also interfere with the installation of equipment. In this case, the procedure is somewhat more complicated than in the previously described situation.
First of all, you need to take care of the stock you have on hand the correct driver from the official manufacturer. The best option, if present on a support (e.g., CD), which is supplied together with the device itself. In this case it is enough to insert such a disk into the drive and complete all necessary procedures for installing additional software, including drivers, according to the guidelines displayed on the screen.
If you have on hand is still there the instance, you can make it the Internet search for ID.
Lesson: Search by ID driver
You can also take advantage of special programs for the installation of the drivers on the machine, for example, DriverPack.

Lesson: installation of drivers using DriverPack Solution
If you hold already have the correct driver, you need to do operations described below.
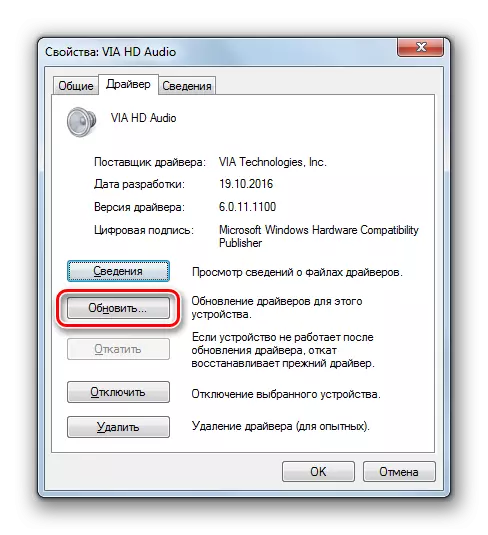
- Click in the "Device Manager" under the name of the equipment, the driver who needs to be updated.
- A window will open properties of the equipment. Navigate to the section "Driver".
- Next, click "Update ...".
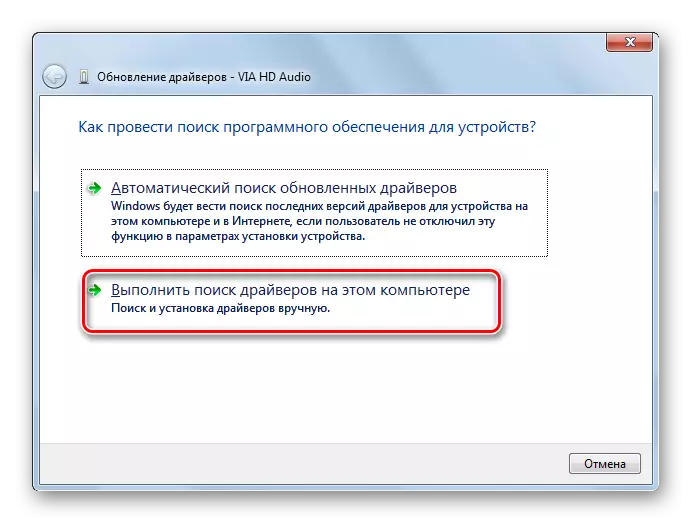
- The updated version of the selection window that opens, click the "Browse ...".
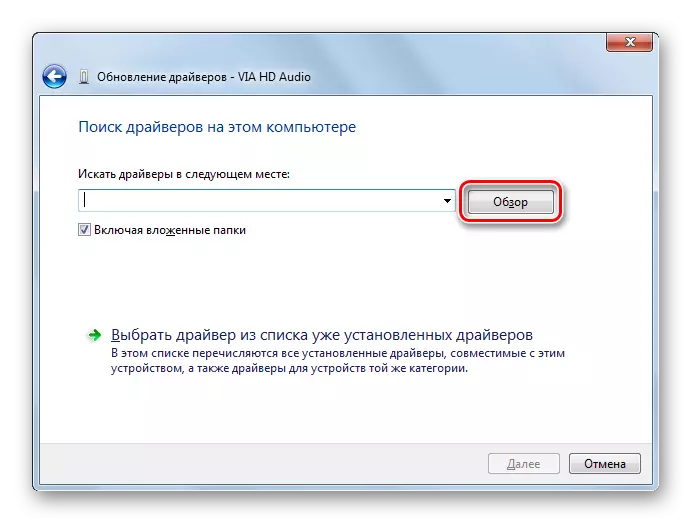
- Next you need to specify the path to the directory containing the required update. To do this, click "Browse ...".
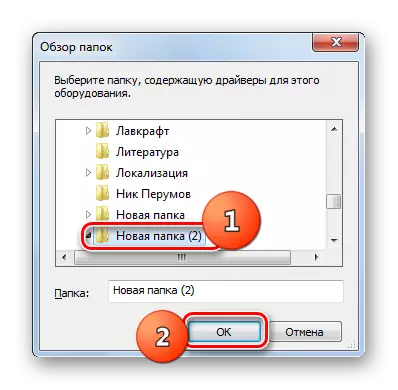
- In the window that appears in tree form will be presented to all of the hard disk directory and connected disk drives. You just need to find and select the folder that contains the required driver instance, and then perform the specified action click «OK».
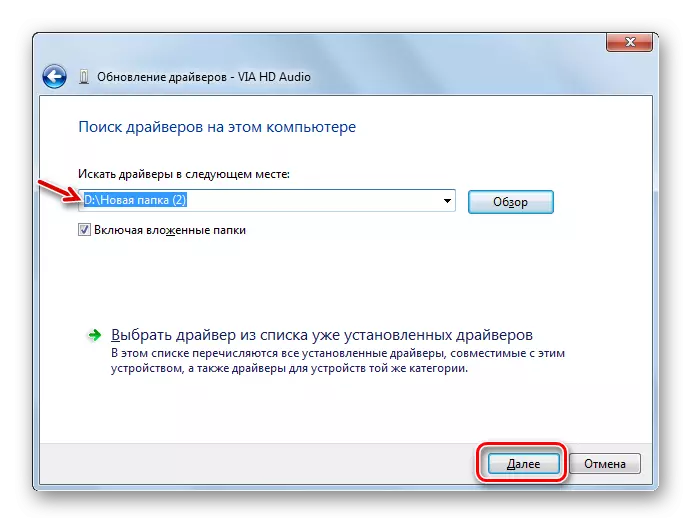
- Once the address of the selected folder is displayed in the window of the previous field, press "Next".
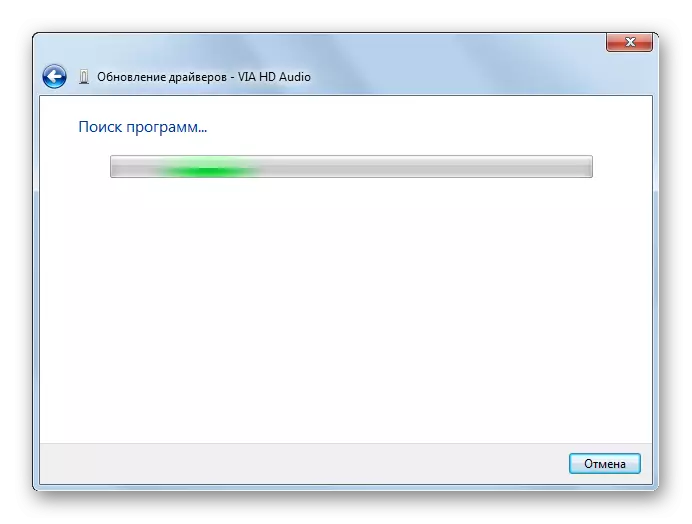
- The procedure for updating the driver of the selected audio equipment will be launched, which will not take much time.
- After completing it, in order for the driver to start working correctly, it is recommended to restart the computer. In this way, you can achieve the fact that the sound device will be correctly installed, which means it will begin to function successfully.

Method 3: Elimination of a viral threat
Another reason that the sound device cannot be installed may be the presence of viruses in the system. In this case, it is necessary to determine the threat and eliminate it as soon as possible.
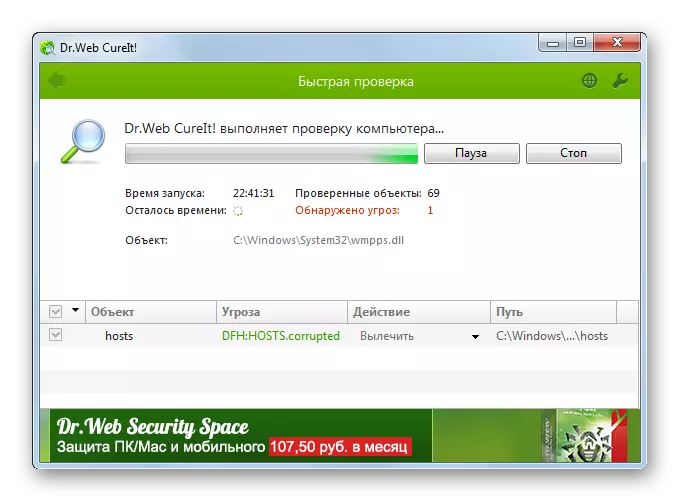
We recommend checking for viruses not using a standard antivirus, but using specialized antivirus utilities that do not require installation. One of these applications is Dr.Web Cureit. If this or other similar tool finds a threat, then in this case information about it will be displayed in its shell and recommendations on further actions will be given. Just follow them, and the virus will be neutralized.
Lesson: Virus checking for viruses
Sometimes the virus has time to damage the system files. In this case, after its elimination, it is required to verify the OS for the presence of this problem and to restore if necessary.
Lesson: Restore system files in Windows 7
In most cases, the installation of audio devices on the PC with Windows 7 is automatically produced when the equipment is connected to the computer. But sometimes it is still necessary to make additional steps to enable through the "Device Manager", the installation of the necessary drivers or the elimination of a viral threat.