

Sometimes it is required to have an additional copy of the OS on removable media. The standard installation will not work because of the system constraints, so you have to make additional manipulations using a different third-party software. Today we will turn on the whole process, starting with the preparation of an external hard disk and ending with Windows installation.
Install Windows for an external hard drive
Conditionally, all actions can be distributed three steps. To work, you will need three different programs that apply to the Internet for free, talk about them below. Let's start acquaintance with the instructions.Step 1: Prepare External HDD
Usually, the removable HDD has one partition where users save all the necessary files, but if you need to split OS and other files, that is, to create an additional logical disk where Windows will be installed, we advise you to get acquainted with the following instructions:
- To distribute the free space is the easiest way using the Aomei Partition Assistant program. Load it from the official site, put on your computer and run.
- Connect the HDD in advance, select it from the list of partitions and click on the "Changing section" function.
- Enter the appropriate volume into the string "unoccupied space before". We recommend choosing an approximately 60 GB value, but you can and more. After entering the value, click on "OK".


If for any reason Aomei Partition Assistant does not suit you, we recommend you to familiarize yourself with other representatives of such software in the other article on the link below. Similar to you will need to perform exactly the same actions.
Read more: Programs for working with hard disk sections
Now we use the built-in Windows function on working with logic disks. We will need it to create a new section from the newly selected free space.
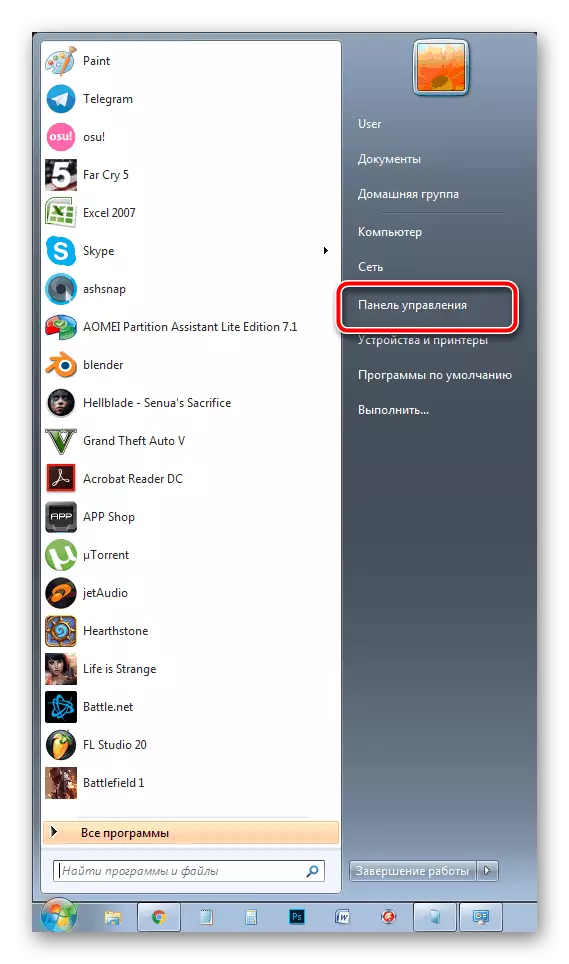
- Open "Start" and go to "Control Panel".
- Click on the "Administration" section.
- In the window that opens, you should choose "Computer Management".
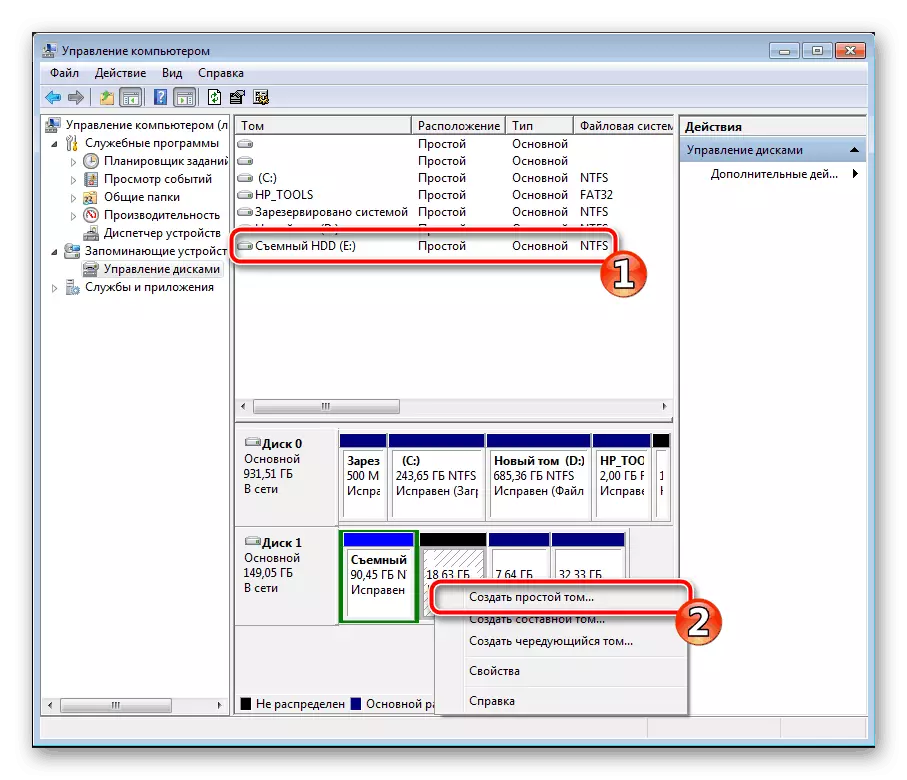
- Go to "Disk Management".
- Find the required volume, right-click on the free space of the main disk and select "Create a simple Tom".
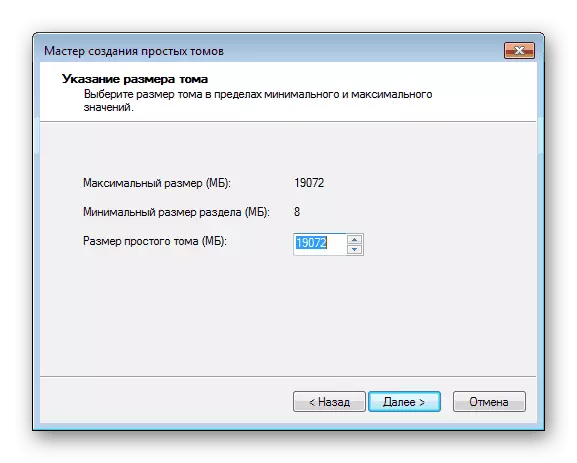
- A wizard will open to click on "Next" to go to the next step.
- In the second window, do not change anything and immediately move further.
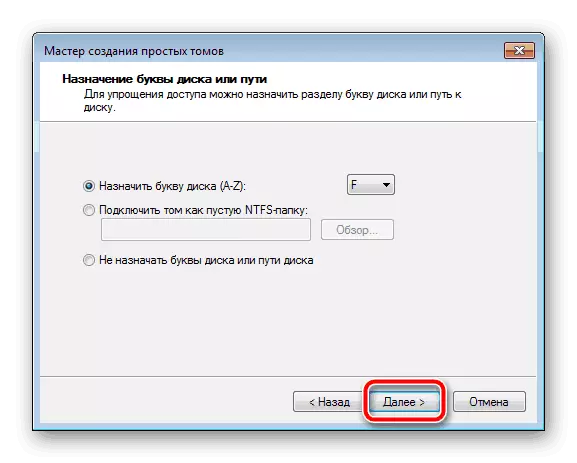
- You can assign your own letter if you want this, and then click on "Next".
- The latter action is to format a section. Check that its file system is NTFS, no longer change any parameters and complete the process by pressing the "Next".


That's all. Now you can proceed to the next algorithm of action.
Step 2: Prepare Windows for installation
As already mentioned above, the usual installation process when starting a computer is not suitable, so you have to upload the WinNT Setup program and perform certain manipulations. Let's deal with this Read more:
Download WinNT Setup from the official site
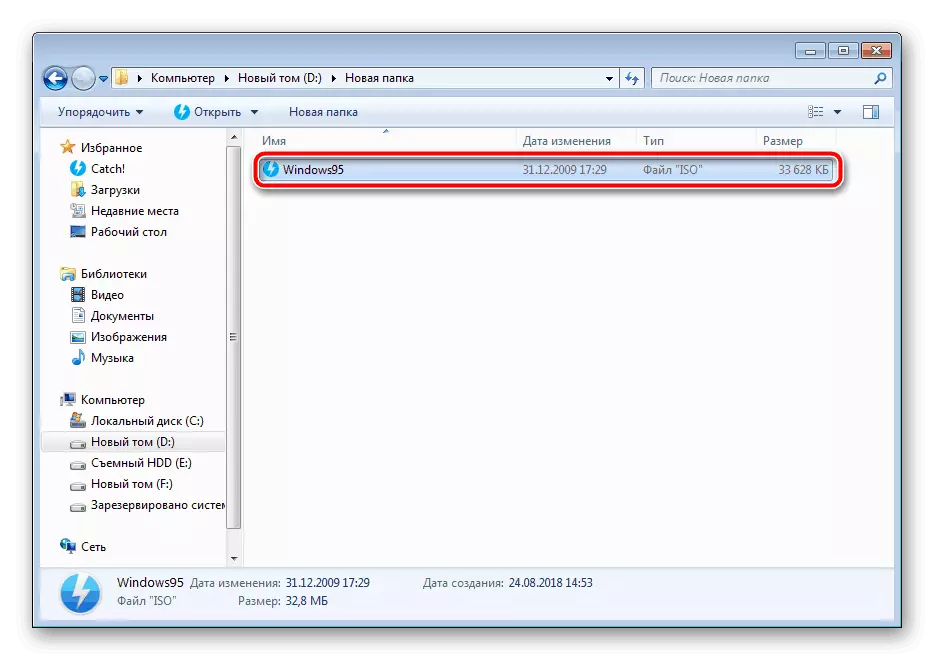
- Load a copy of the selected version of Windows in ISO format so that in the future you can mount the image.
- Use any convenient program to create a disk image. Detail with the best representatives of such software. Meet another material below. Just install such software and open a downloaded Windows copy to ISO using this software.
- In the section "Device with removable media" in My Computer, you should have a new disk with the operating system.
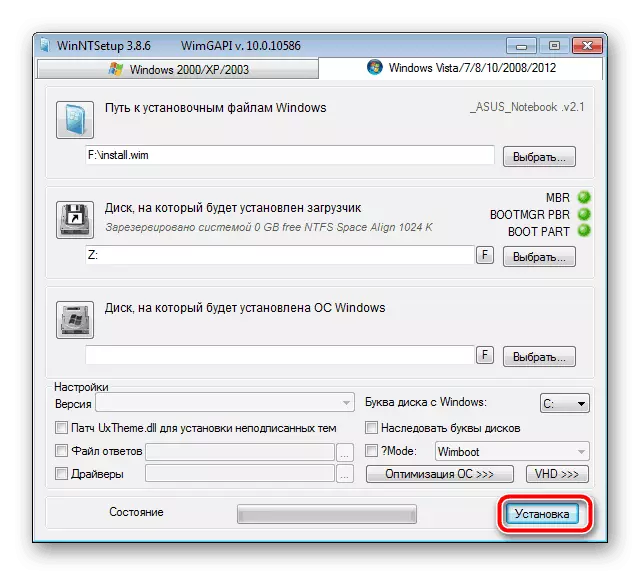
- Run WinNT Setup and in the "path to Windows installation files" click on "Select".
- Follow the disk with the mounted OS, open the root folder and select the install.win or install.esd file depending on the Windows version.
- Now, when a letter of a disc automatically appeared in the second section, where the bootloader will be installed (it is not recommended to change it), in the section below "The disk to which OS will be installed" click on "Select" and specify the partition of the hard disk that was created in first step.
- Click on "Installation".
- You will then open a new window, where next to the "Use Bootsect for bootloader" item, instead of "ALL", should be set "BIOS" if the computer uses classic BIOS. The owners of the UEFI from the drop-down menu will need to select the appropriate item, then click "OK".
Read more: Programs for creating a disk image


After restarting the computer, the option will be offered to download, select the desired option and follow the standard procedure for setting up a new platform.
Step 3: Install Windows
The last step is directly the installation process itself. You do not need to turn off the computer, somehow set up the boot from an external hard disk, because everything happens through the WinNT Setup program. It will only follow the standard instruction. We have on the site they are painted in detail for each version of Windows. Skip all preparatory manipulations and go directly to the installation description.
Read more: Step by step guide to install Windows XP, Windows 7, Windows 8
Upon completion of the installation, you can connect an external HDD and use the OS installed on it. In order not to download problems with removable media, you need to change the BIOS settings. The article below describes how to set all the necessary parameters on the example of the flash drive. In the case of a removable disc, this process does not change in any way, just remember its name.
See also: Configure BIOS to download from a flash drive
Above, we disassembled in detail the algorithm to install the Windows operating system to external HDD. As you can see, there is nothing complicated in this, you just need to correctly fulfill all the preliminary actions and move to the installation itself.
See also: How to make an external hard disk drive