
The cooling system is the weakest place in portable computers. With an active operation, it collects a large amount of dust on its components, which leads to an increase in operating temperatures and noise of fans. In this article we will talk about how to clean the laptop cooler.
Cleaning a cooler on a laptop
Cleaning the cooling system can be made both with a laptop disassembly and without such. Of course, the first way is more effective, since we have the opportunity to get rid of all the dust accumulated on fans and radiators. If the laptop does not appear possible, then you can use the second option.Method 1: Disassembly
Disassembling a laptop is the most difficult operation when cleaning the cooler. Dismantling options are very much, but the basic principles work in all cases:
- Make sure that the entire fastener (screws) has been removed.
- Gently disconnect the loops in order to avoid damage to the cables themselves and connectors.
- When working with plastic elements, try not to make great efforts and use a non-metallic tool.
We will not describe the process in detail in this article, as there are several articles on our site on this topic.
Read more:
We disassemble the laptop at home
Lenovo G500 laptop disassembly
Change the thermal paste on a laptop
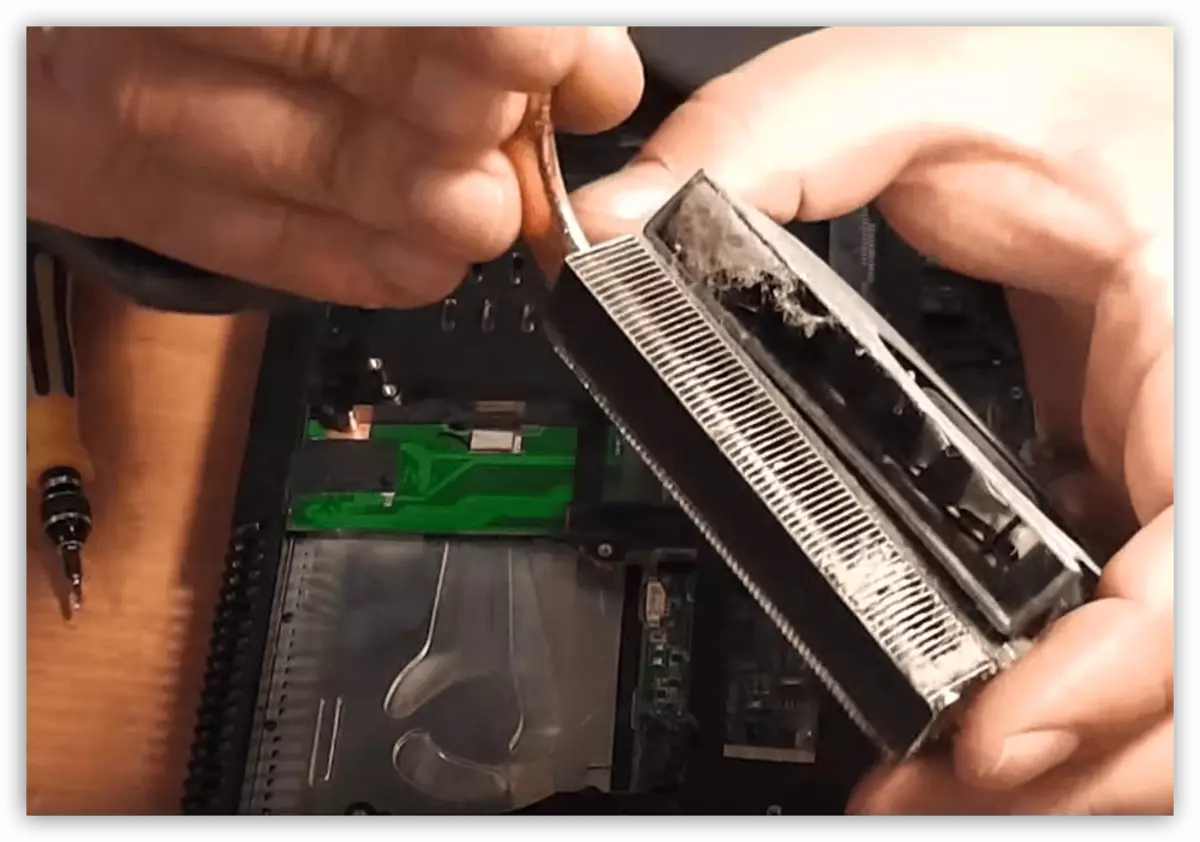
After disassembling the housing and dismantling the cooling system, it should be removed from the brush to remove dust from the blades of the fan and radiators, as well as release the ventilation holes. You can use a vacuum cleaner (compressor) or special cylinders with compressed air that are sold in computer stores. True, here you need to be careful - there were cases of breaking small (and not very) electronic components from their places with a strong stream of air.
Read more: We solve the problem with overheating laptop
If there is no possibility to disassemble the laptop on their own, then this task can be imposed on a specialized service. In the case of the presence of a warranty, it must be done in obligatory. However, this procedure takes quite a long time, so temporarily get rid of cooling problems is possible without disassembling the patient.
Method 2: no disassembly
This method will work only if the actions described below are performed regularly (about once a month). Otherwise disassembly not avoid. We need a vacuum cleaner and a thin wire, a toothpick or another similar subject.
- Turn off the battery from the laptop.
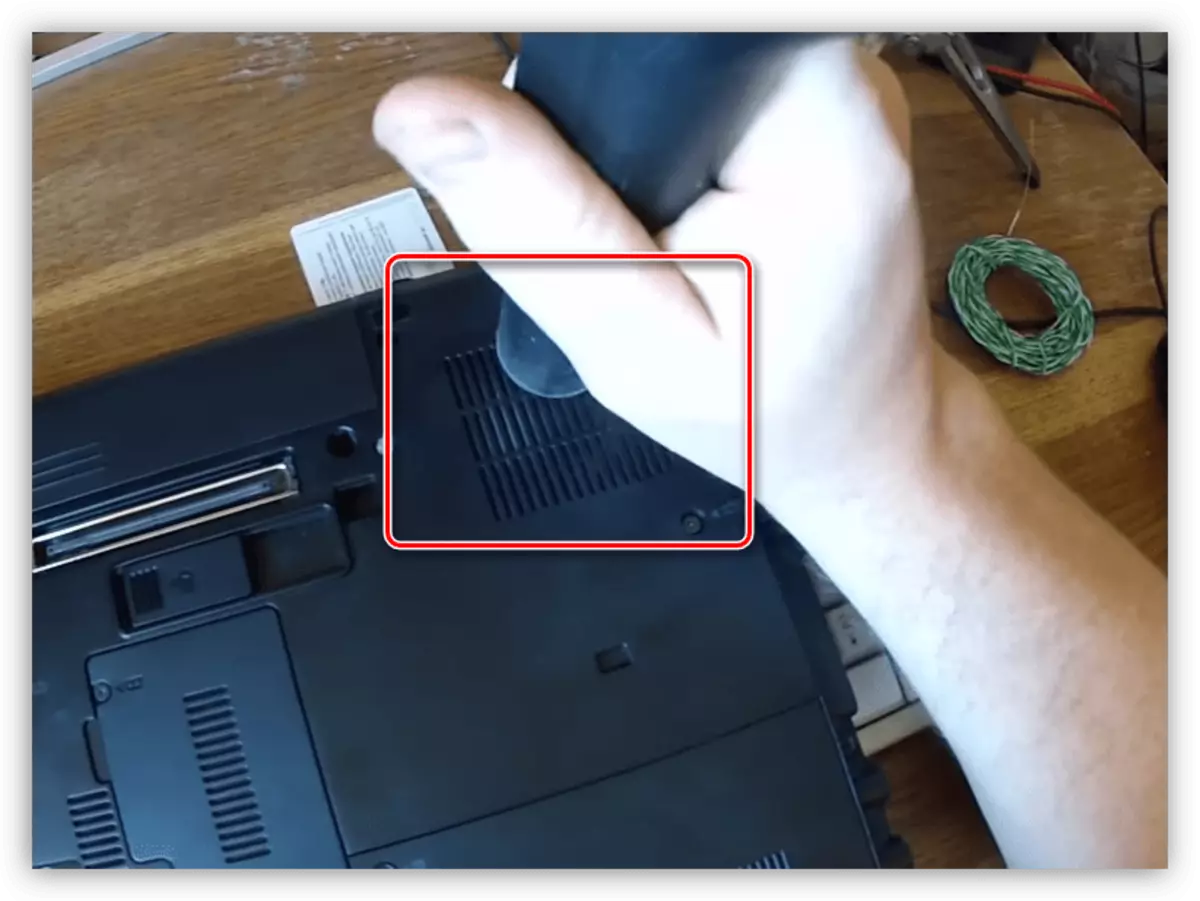
- We find ventilation holes on the bottom cover and just vacuuming.
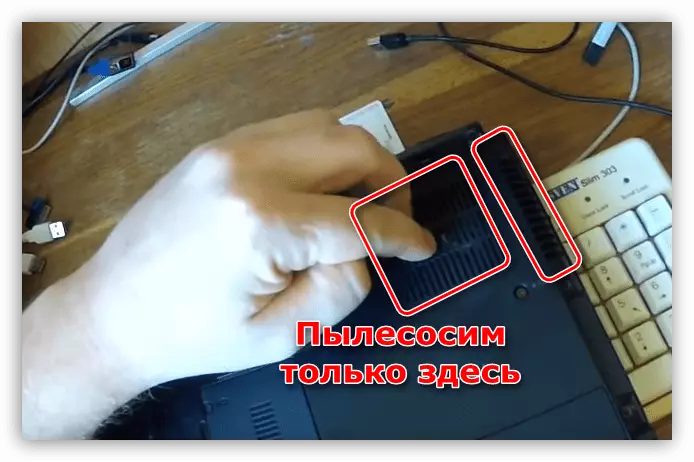
Please note that if there are side air intakes, then it is necessary to do this in the way as shown in the screenshot. So the vacuum cleaner does not care for excess dust into the radiator.
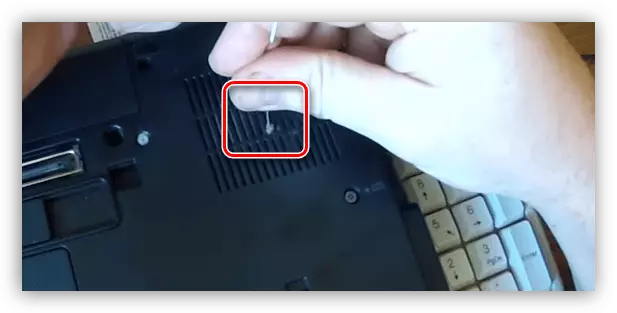
- With the help of a wire, we remove dense rollers, if any.
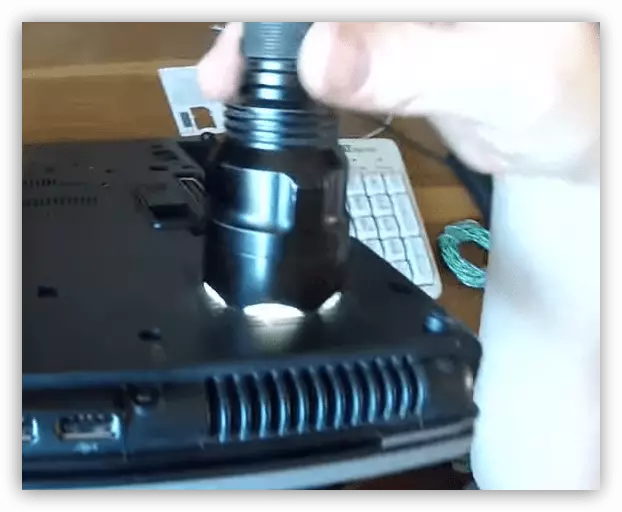
- Using a regular flashlight, you can check the quality of work.
Tip: Do not attempt to use a vacuum cleaner as a compressor, that is, swinging it to blowing air. Thus, you risk blending all the dust into the housing, which has accumulated on the cooling system radiator.
Conclusion
Regular cleaning of the dust laptop cooler allows you to increase the stability and viability of the entire system. Monthly use of the vacuum cleaner is the easiest way, and the disassembly option allows you to perform the maintenance as efficiently as possible.