
Now almost every device on the Android operating system supports memory cards (MicroSD). However, sometimes problems associated with its detection in the device. The causes of such a problem may be somewhat, and to solve them require certain manipulations. Next, we consider the methods of correcting such an error.
We solve the problem with the detection of an SD card on Android
Before you pass to the execution of the instructions below, we recommend that you implement the following actions:- Restart the device. Perhaps the problem arising is a single case, and the next time the device starts it will simply disappear, and the flash drive will work correctly.
- Connect again. Sometimes the removable media is not displayed because contacts have been moved or clogged. Pull it out and insert it back, after which check the correctness of the detection.
- Maximum volume. Some mobile devices, especially old, support only certain amounts of memory. We advise you to familiarize yourself with this feature on the official website of the manufacturer or in the instructions in order to make sure that the SD card with so much memory is functioning normally with your device.
- Check on other devices. It may well be that the flash drive is damaged or broken. Insert it into another smartphone or tablet, laptop or computer to make sure the performance. If it is not read on any equipment, it should be replaced with a new one.
If the scanning of errors does not help, then more cardinal measures should be taken.
Method 3: Formatting Media
To perform this method, you will also need to connect an SD card to a computer or laptop using adapters or special adapters.
Read more:
Connecting a memory card to a computer or laptop
What to do when the computer does not recognize the memory card
Please note that when performing this procedure from removable media, all information will be erased, so before you advise you to save important data in any other convenient location.
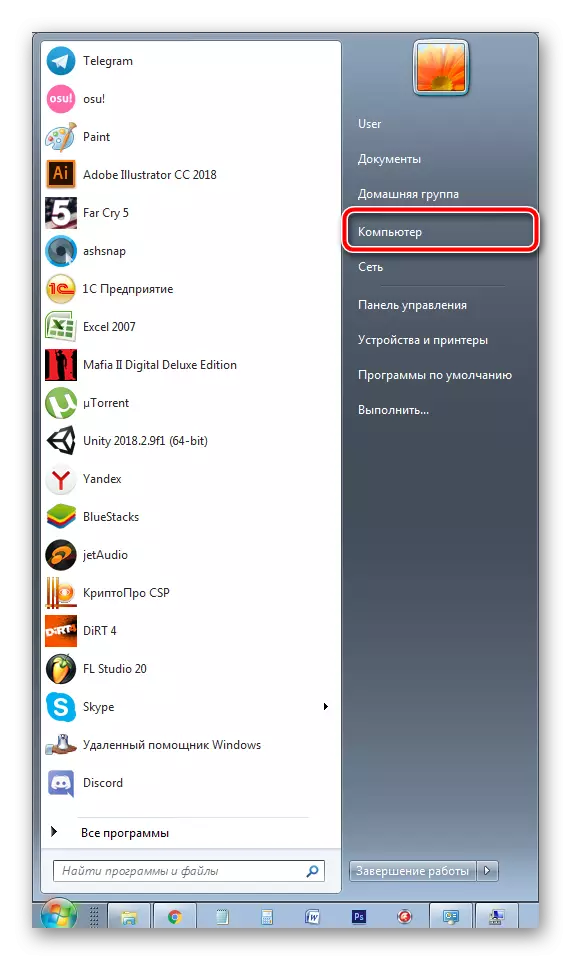
- Open the Start menu and go to the "Computer" section.
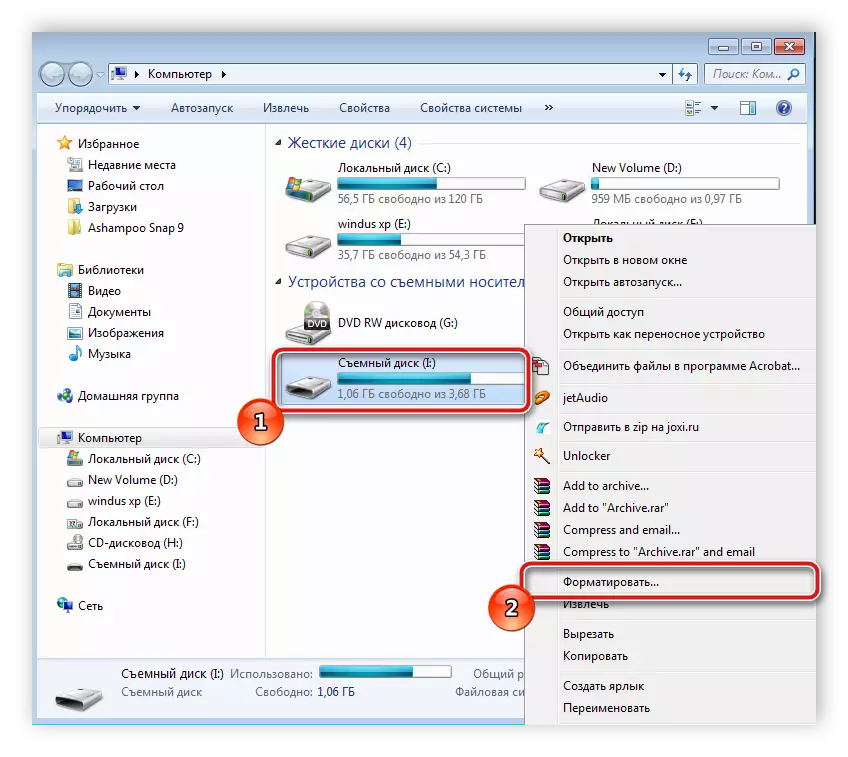
- In the list of devices with removable media, find the memory card, press the PCM on it and select "Format".
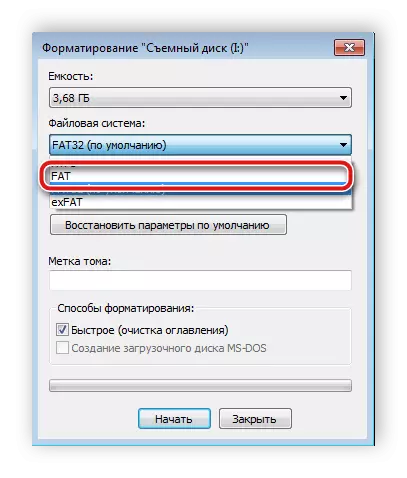
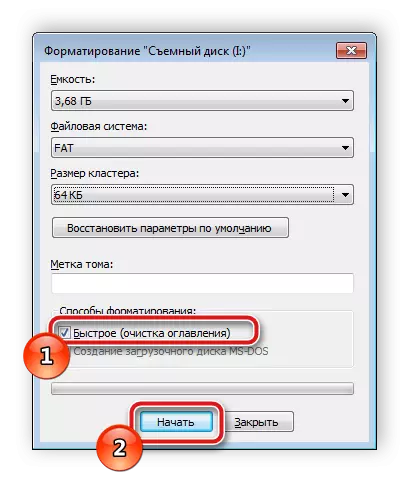
- Select Fat file system.
- Put a tick near the "Fast (Cleaning Table" clause "and run the formatting process.
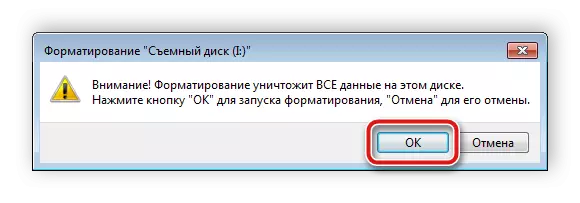
- Check out the warning, click on "OK" to agree with him.
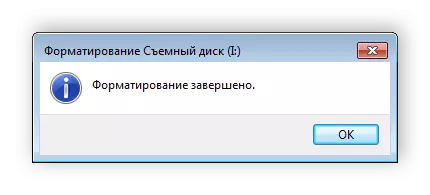
- You will be notified of the formatting completion.
If you have any difficulties with formatting, we recommend reading the other of our article on the link below. There you will find seven ways to solve this problem, and can easily correct it.
Read more: Guide to the case when the memory card is not formatted
Most often, deleting data from the card helps in cases where it stopped being found after connecting to other equipment. It is enough for you to execute the instructions above, after which you immediately insert the media into the smartphone or tablet and check its performance.
Method 4: Creating a pure volume
Sometimes due to the fact that the card has a hidden section, its memory is not enough to save information from the smartphone. Among other things, in this case there are problems with detection. To eliminate them, you need to connect the map to the PC and perform the following steps:
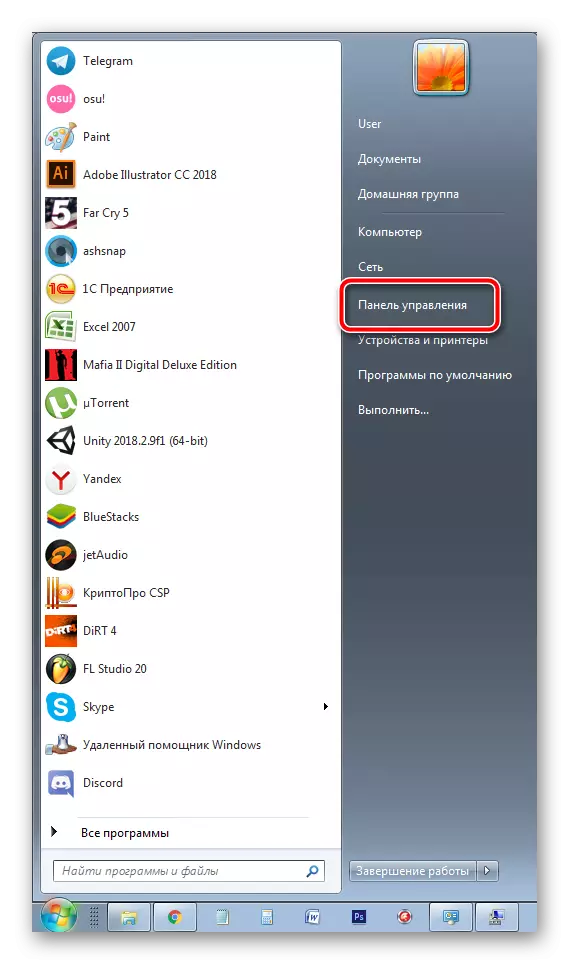
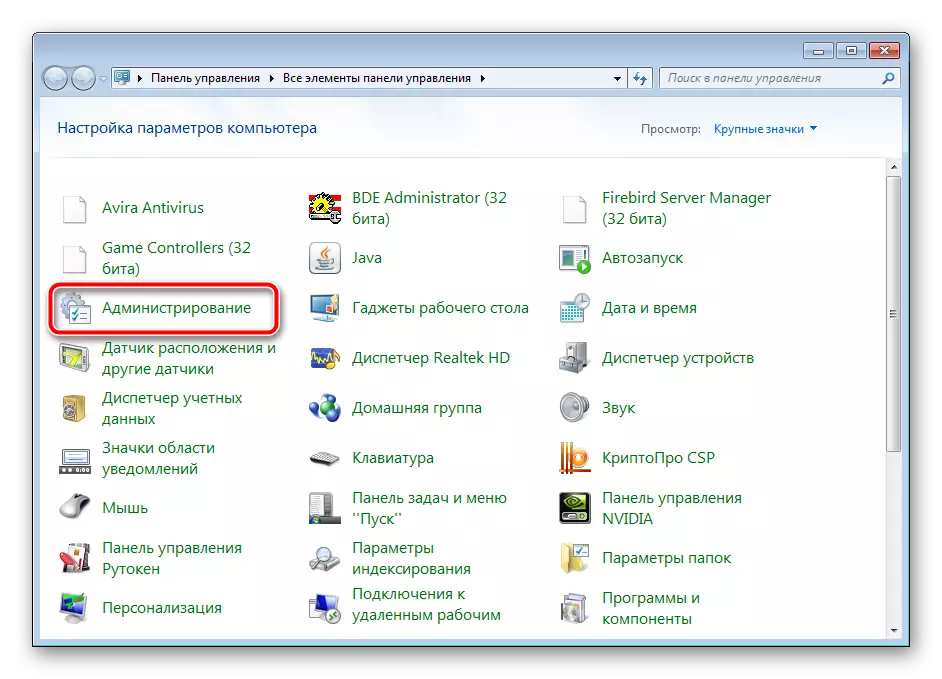
- Through the "Start" menu, go to the control panel.
- Here, select the category "Administration".
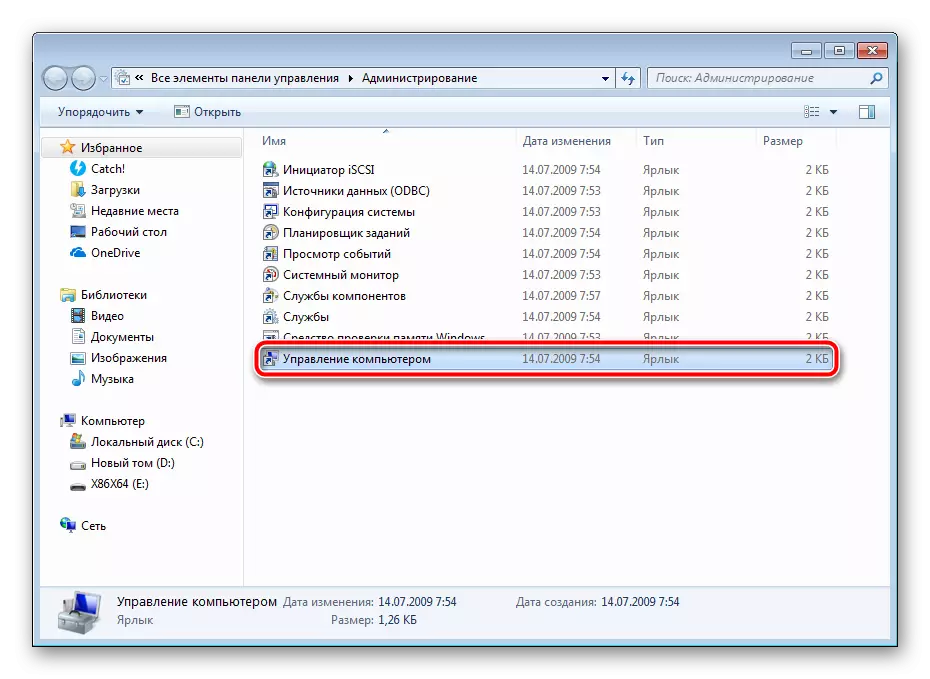
- Among the list of all components, find it and double-click on "Computer Management".
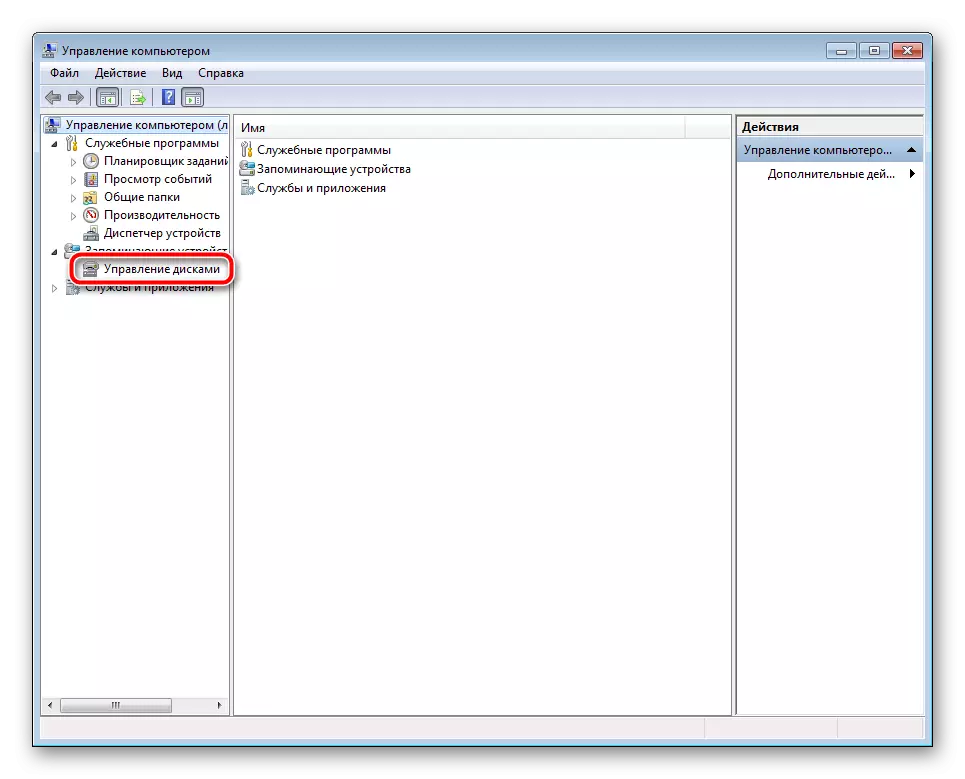
- In the window that opens, you should select "Disk Management".
- Here, see the disk number, which is your flash drive, and also pay attention to the full amount of memory. Write down or remember this information because it will be useful further.
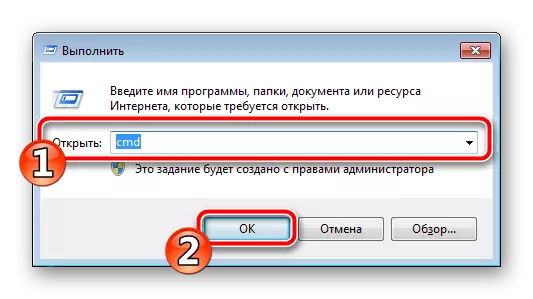
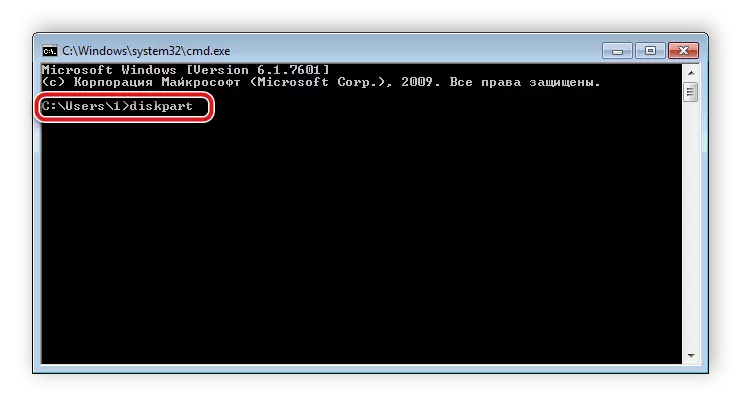
- Combination Win + R keys Run the "Run" snap. Enter in the CMD line and click on "OK".
- In the window that opens, enter the DiskPart command and press ENTER.
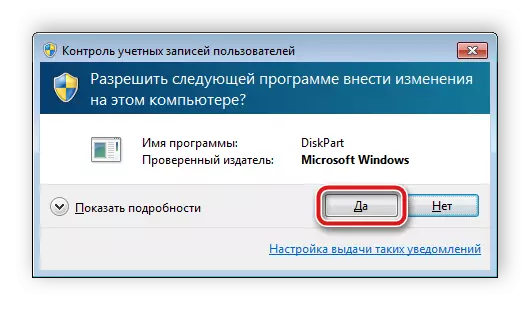
- Provide permission to start the utility.
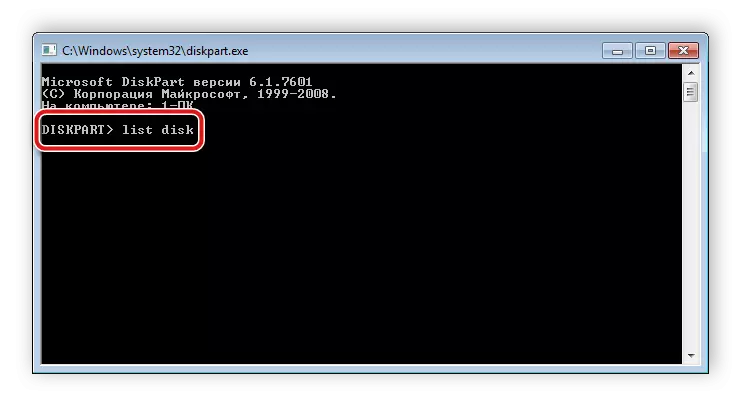
- Now you switched to the program to work with the disk partitions. It has an identical "command line" view. Here you need to enter List Disk and click on ENTER.
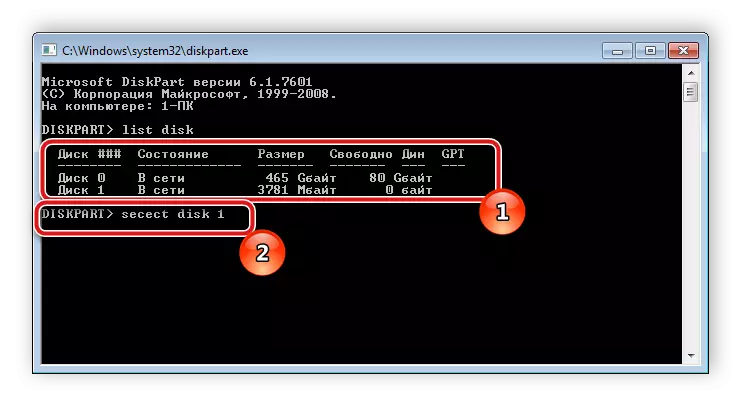
- Check out the list of disks, find your flash drive there, then enter the SELECT DISK 1, where 1 is the disk number of the required media.
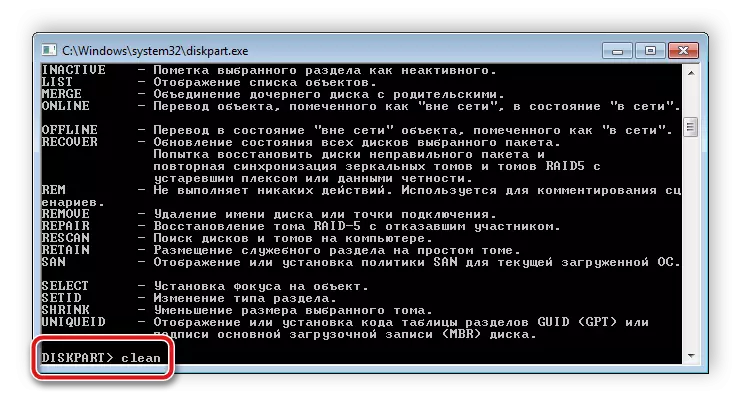
- It remains only to clear all the data and sections. This procedure is performed using the Clean command.
- Wait for the process to complete and you can close the window.

Now we have achieved that the SD card is completely clean: all information, open and hidden sections have been removed from it. For normal operation, a new volume should be created in the phone. This is done like this:
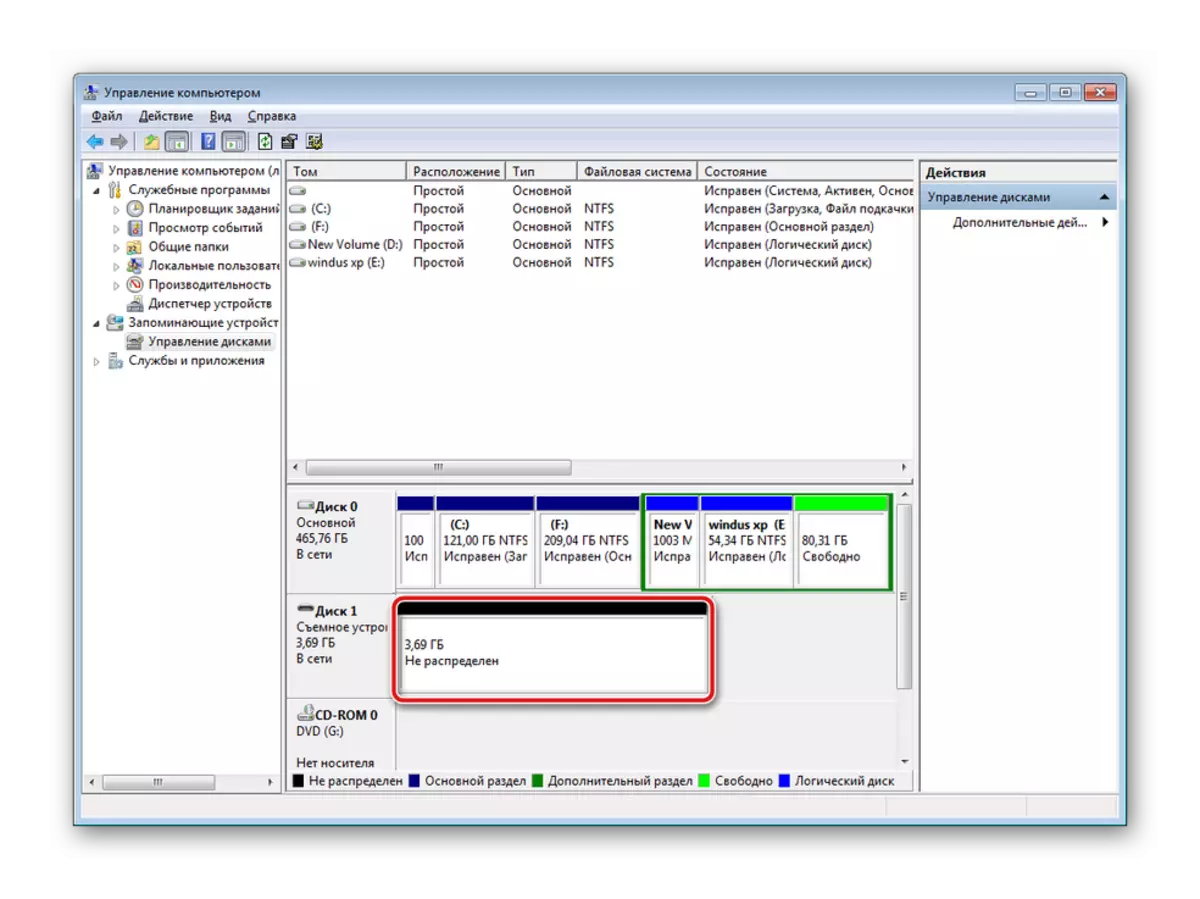
- Repeat the first four steps from the previous instruction to return to the disk management menu.
- Select the desired removable media, click on the mark with its Right-click and select "Create a New Tom".
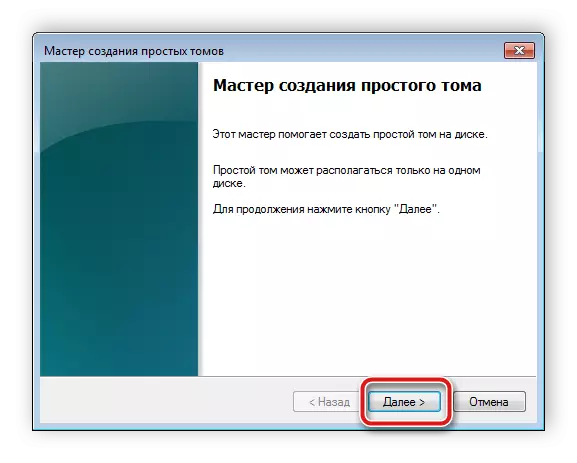
- You will find a wizard of creating a simple volume. To start working with it, click on "Next".
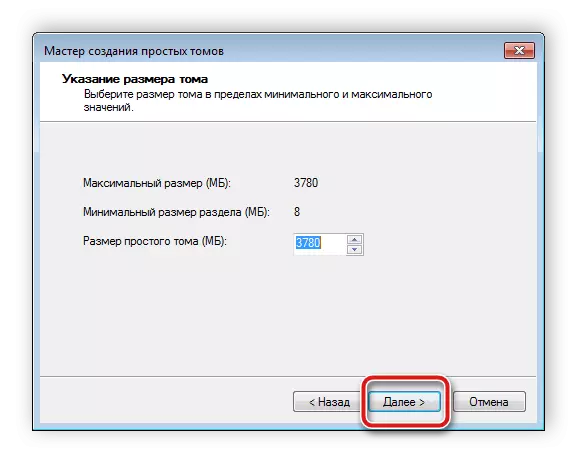
- Specify the size of the volume is not necessary, let it take all the free space, so the flash drive will work better with the mobile device. Therefore, just go to the next step.
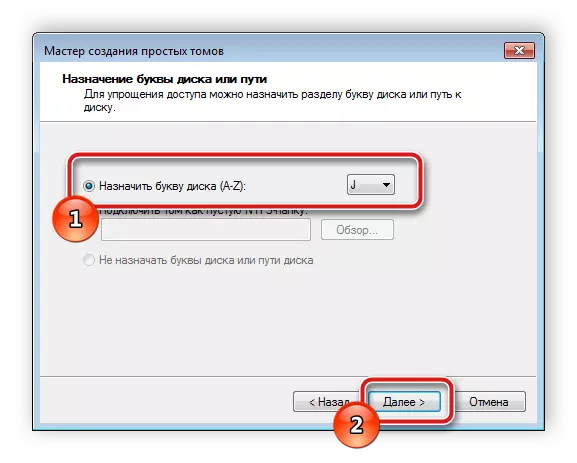
- Assign any free letter for Tom and click "Next".
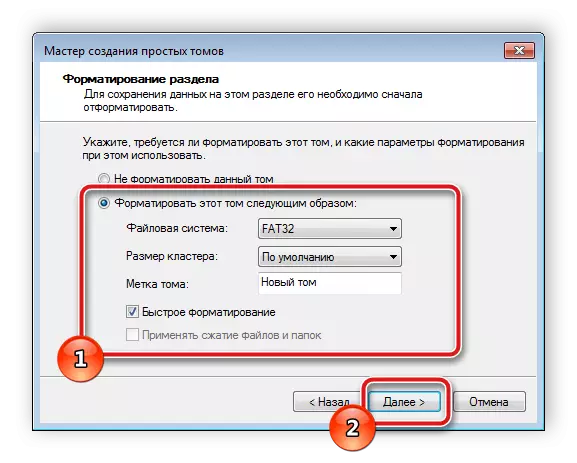
- Formatting should be done in the event that the default format is not FAT32. Then select this file system, leave the cluster size "default" and move on.
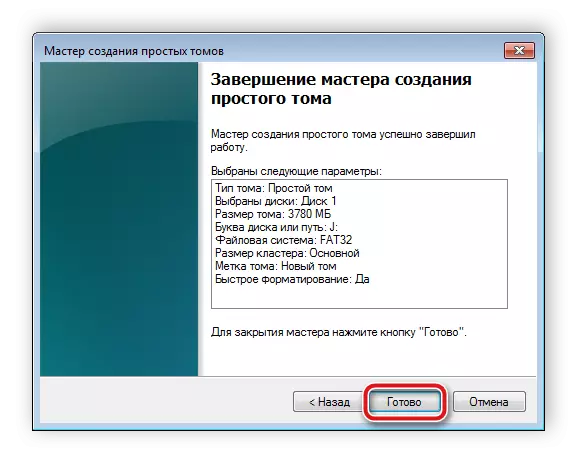
- Upon completion of the procedure, you will display information about the selected parameters. Check out them and complete the work.
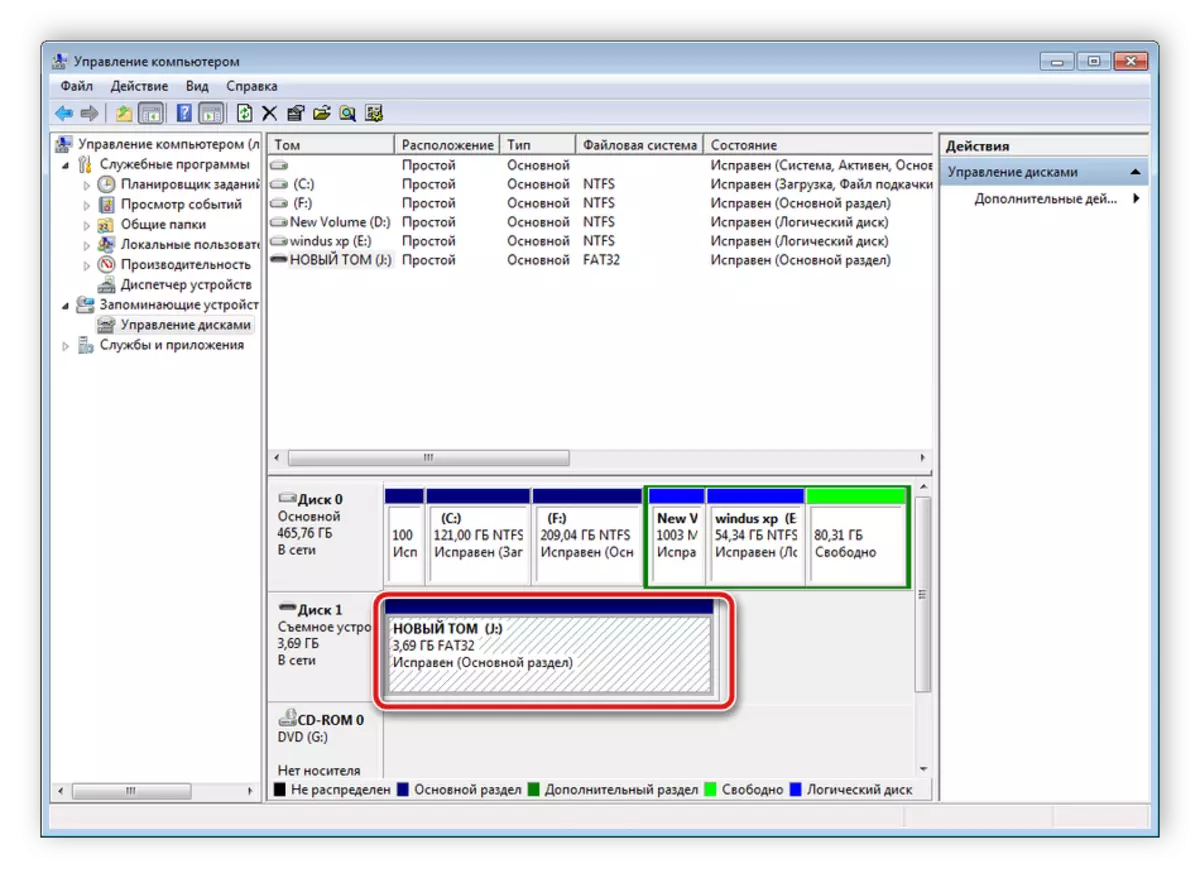
- Now in the "Disk Management" menu you see a new volume that takes up all the logical space on the memory card. So the process was completed successfully.
It remains only to remove the PC or laptop flash drive and paste it into the mobile device.
READ ALSO: Instructions for switching a smartphone memory to a memory card
On this, our article comes to an end. Today we tried as in detail as much as possible and accessible about the methods of correcting errors with the discovery of the memory card in the mobile device based on the Android operating system. We hope our instructions were helpful, and you managed to cope with the task.
READ ALSO: What is a memory card rate class