

Almost on any modern website on the Internet there is a special icon displayed on the browser tab after full resource loading. This picture is created and installed by each owner alone, although it is not mandatory. As part of this article, we will talk about the options for installing Favon on sites created by various means.
Adding Favicon to the site
To add the type of icon in question to the site, you will have to begin to create a suitable image of a square shape. This can be done both using special graphic programs, such as Photoshop, and resorting to some online services. In addition, the prepared icon is preferably converted to the ICO format and reduce to size 512 × 512 px.Note: Without adding a custom image, the document icon is displayed on the tab.
In both considered methods for the appearance of the icon on the browser tab, it will take some time.
Option 2: WordPress tools
When working with WordPress, you can resort to the previously described version by adding the said code to the "Header.php" file or using special tools. Thanks to this, the guaranteed icon will be presented on the site tab, regardless of the browser.
Method 1: Control Panel
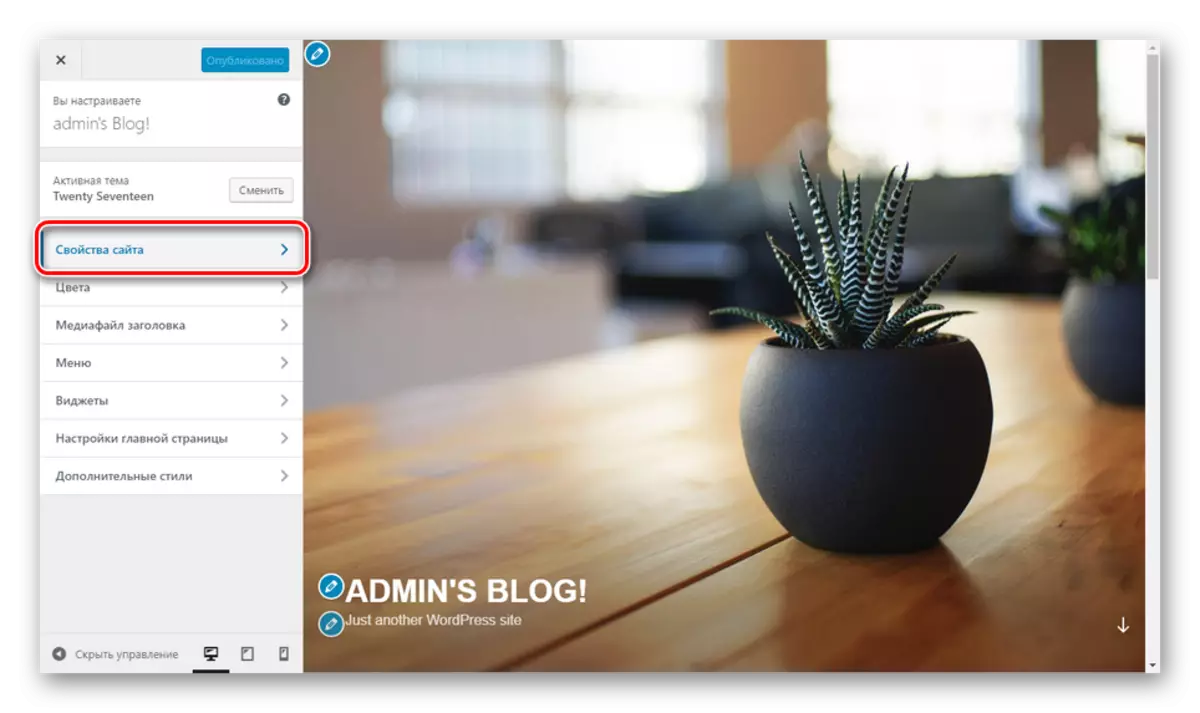
- Through the main menu, expand the "Appearance" list and select the "Configure" section.
- On the page that opens, you must use the "Site Properties" button.
- Scroll through the "Settings" section to Niza and in the "Site Icon" block, click the Select Image button. In this case, the picture must have a resolution of 512 × 512 px.
- Through the Select Image window, download the desired picture in the gallery or select the previously added.
- After that, you will be returned to the "site properties", and the selected image will appear in the "icon" block. Immediately you can familiarize yourself with the example, go to edit it or remove if necessary.
- By setting the right action through the corresponding menu, click the "Save" or "Publish" button.
- To see the logo on the tab of any page of your site, including the "Control Panel", reboot it.


Method 2: ALL IN ONE FAVICON
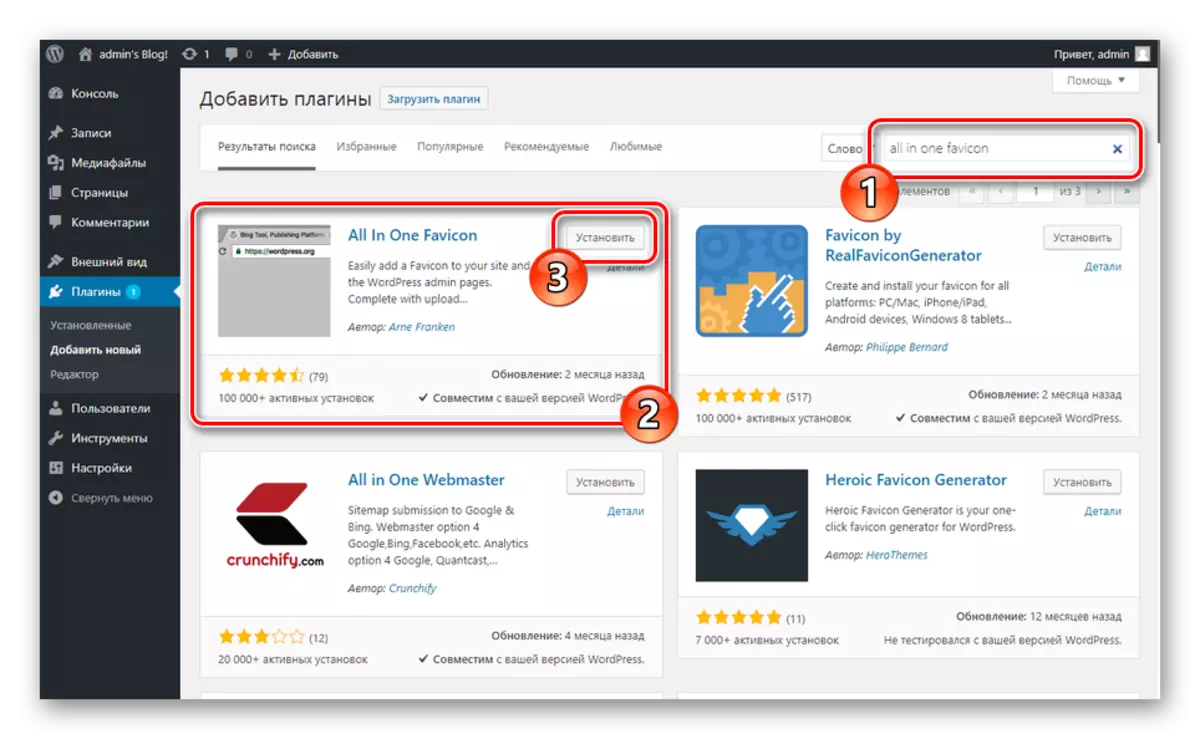
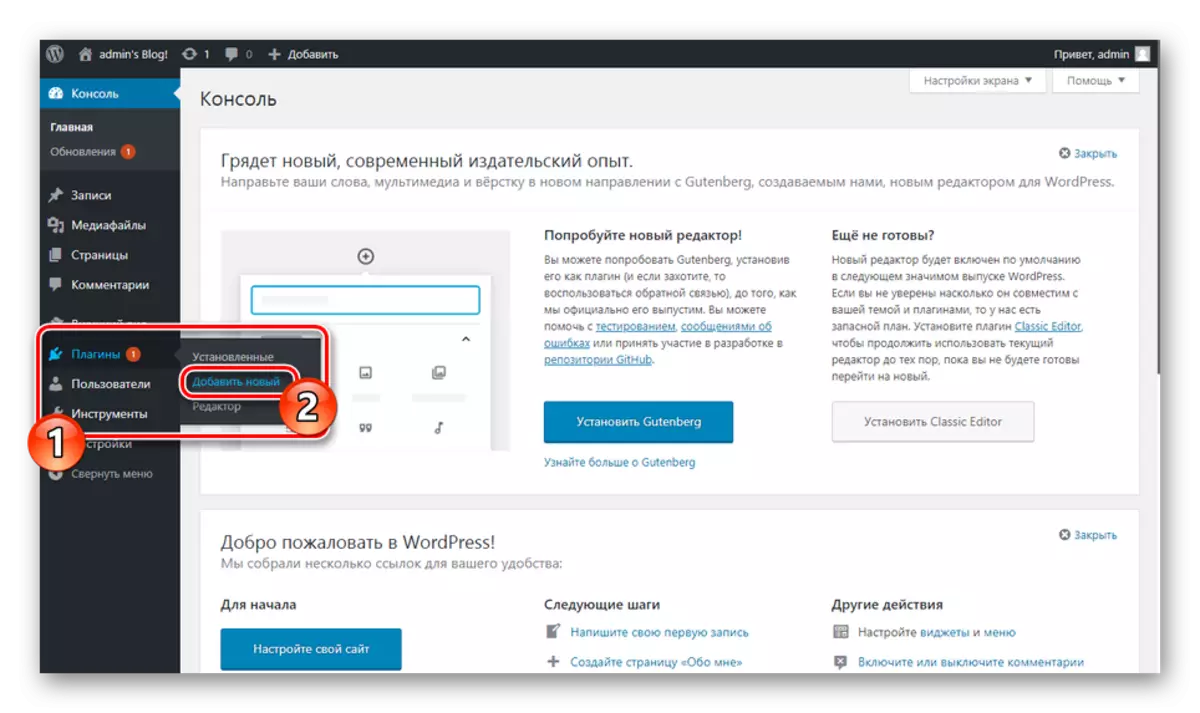
- In the "Control Panel" site, select "Plugins" and go to the Add New page.
- Fill in the search field in accordance with the name of the desired plug-in - All in One Favicon - and in the block with a suitable extension, click the Set button.
The adding process will take some time.
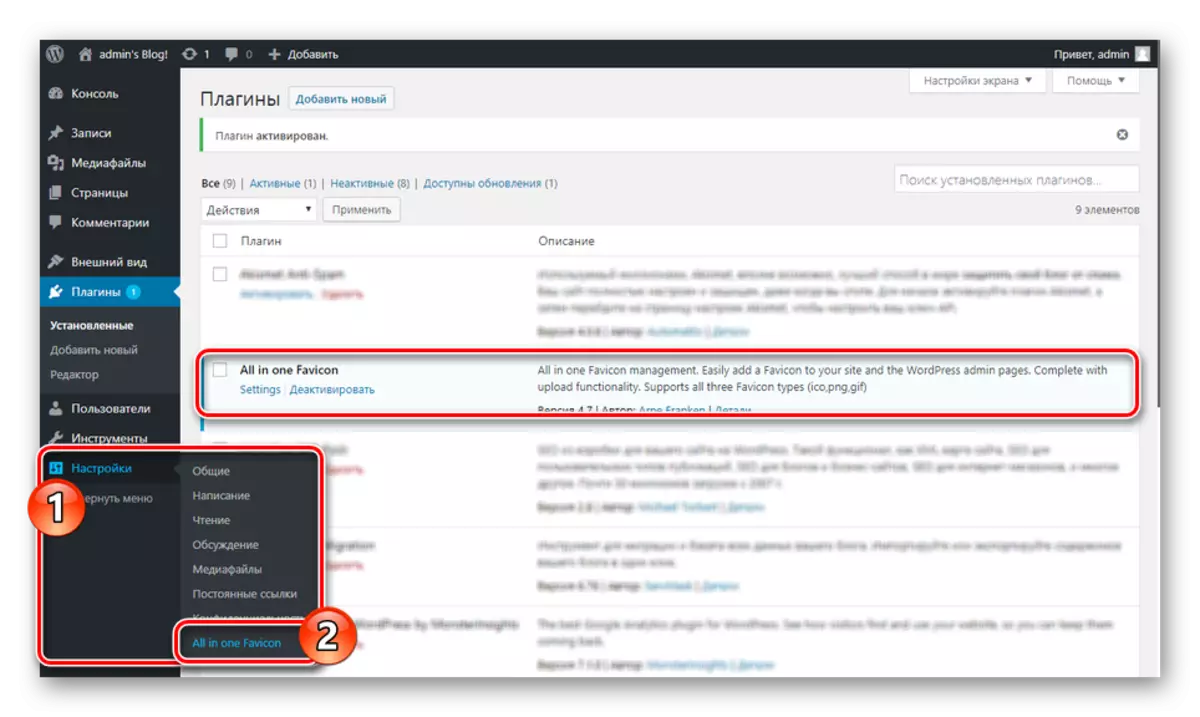
- Now you need to click on the "Activate" button.
- After automatic redirection, you need to go to the settings section. You can do this through the "Settings" by selecting the "ALL IN ONE FAVICON" from the list by using the "Settings" link on the "Plugins" page in the block with the desired extension.
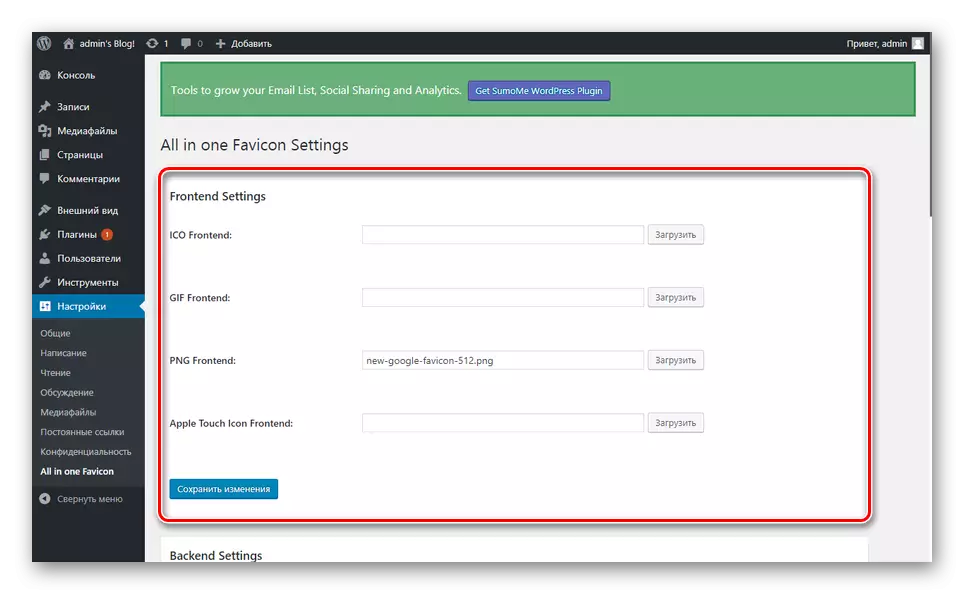
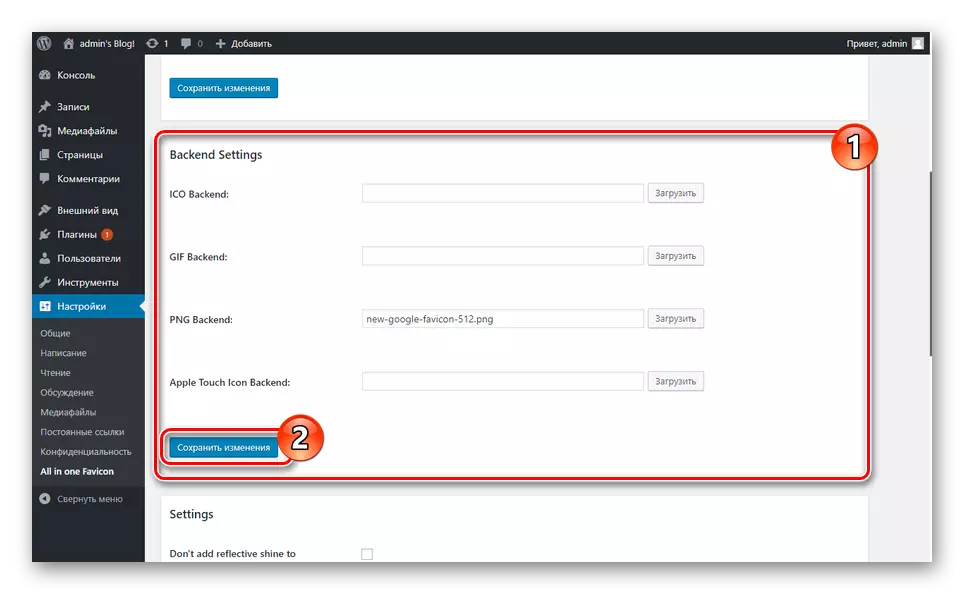
- The section with the parameters of the plug-in should add an icon in one of the presented lines. This needs to be repeated both in the "Frontend Settings" and in "Backend Settings".
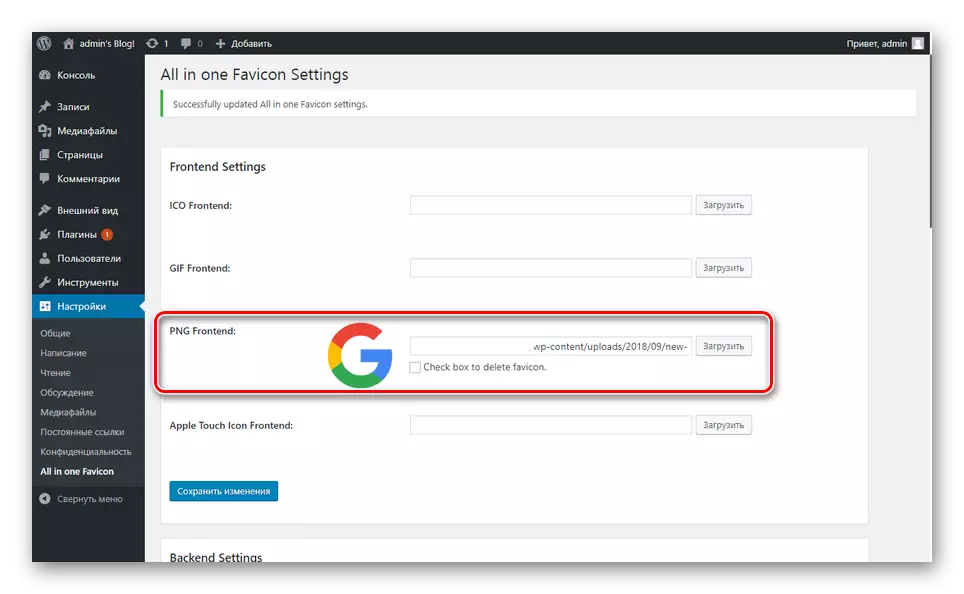
- Click the Save Changes button when the image is added.
- When the page update is completed, a unique link will be assigned a unique link and it will be displayed on the browser tab.


This option is the easiest to implement. We hope you managed to install Favicon to the site through the WordPress control panel.
Conclusion
Selecting a method for adding an icon depends solely on your preferences, since in all embodiments you can achieve the desired result. If difficulties arise, recheck the actions performed and you can set the corresponding question to us in the comments.