

After a certain amount of time, the inkwell in the printer devastates, the time of its replacement occurs. Most cartridges in Canon products have FINE format and are mounted approximately by the same principle. Next, we step by step will analyze the process of installing a new inkwell in the printing devices mentioned above the company.
Insert the cartridge to the Canon printer
The need for replacement is required when stripes appear on finished sheets, the picture becomes fuzzy or there is no one of the colors. In addition, the end of the paint may indicate a notification that is displayed on the computer when trying to send a document to print. After purchasing a new inkwell, you need to execute the following instructions.If you are encountered with the advent of the sheets on the sheet, it does not mean that the paint began to end. There are a number of other reasons for their occurrence. Detailed information on this topic can be found in the material on the following link.
It is recommended to install the cartridge immediately after you removed the old one. In addition, you should not use equipment without inkwell.
Step 2: Installing the cartridge
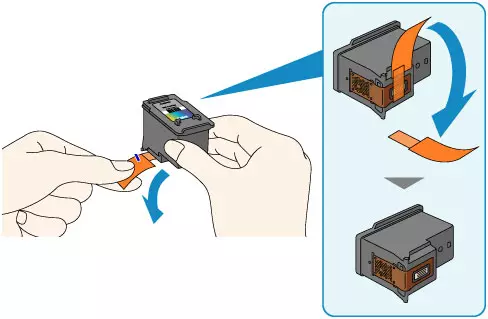
During unpacking, we carefully contact the component. Do not touch the metal contacts with your hands, do not drop the cartridge to the floor and do not shake it. Do not leave it in the open form, immediately insert into the device, and it is done like this:
- Remove the cartridge from the box and completely get rid of the protective tape.
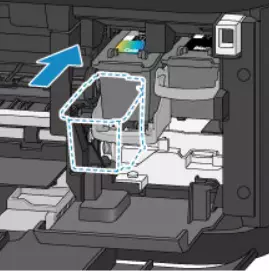
- Install it in your place until it stops until it touches the back wall.
- Raise the locking lever up. When it reaches the right position, you will hear the appropriate click.
- Close the paper receive tray cover.

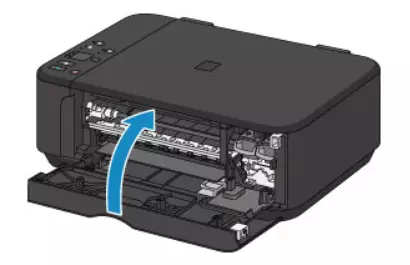
The holder will be moved to a standard position, after which you can immediately start printing, but if you are using only inks of certain colors, you will need to perform the third step.
Step 3: Select the cartridge used
Sometimes users do not have the opportunity to immediately replace the cartridge or the need for printing is only one color. In this case, you should specify the periphery, which paint he needs to use. It is done through the built-in software:
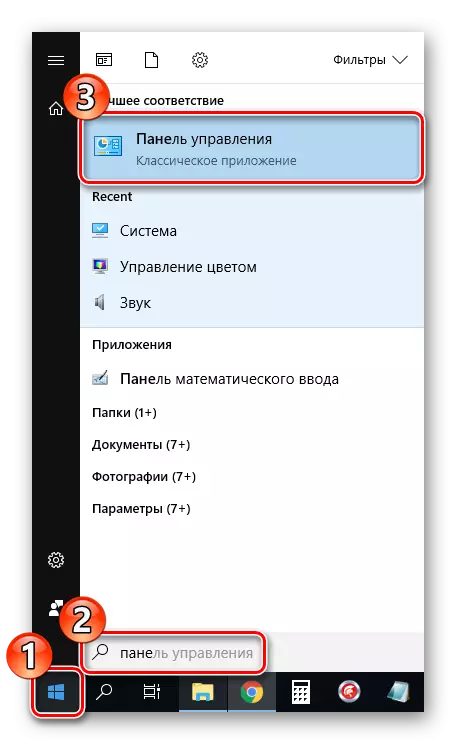
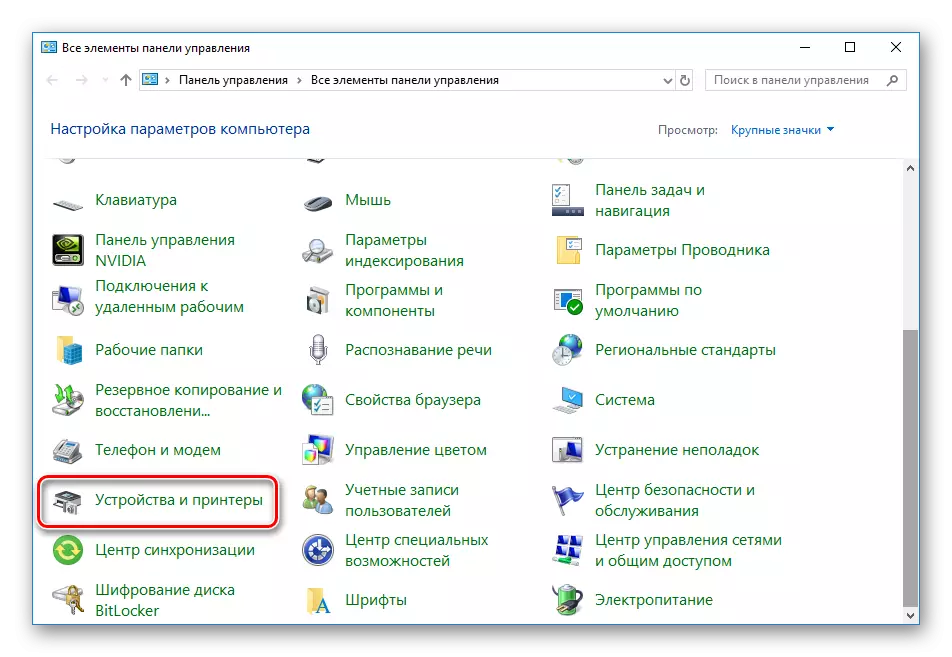
- Open the Control Panel menu through the Start.
- Go to "Devices and Printers".
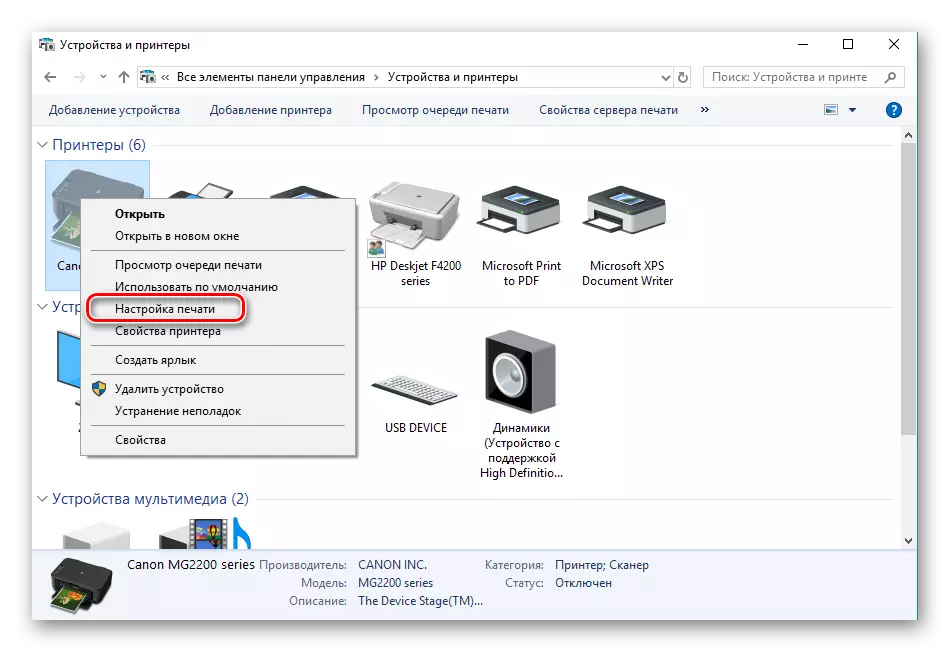
- Find your Canon product, click on it PCM and select "Print Setup".
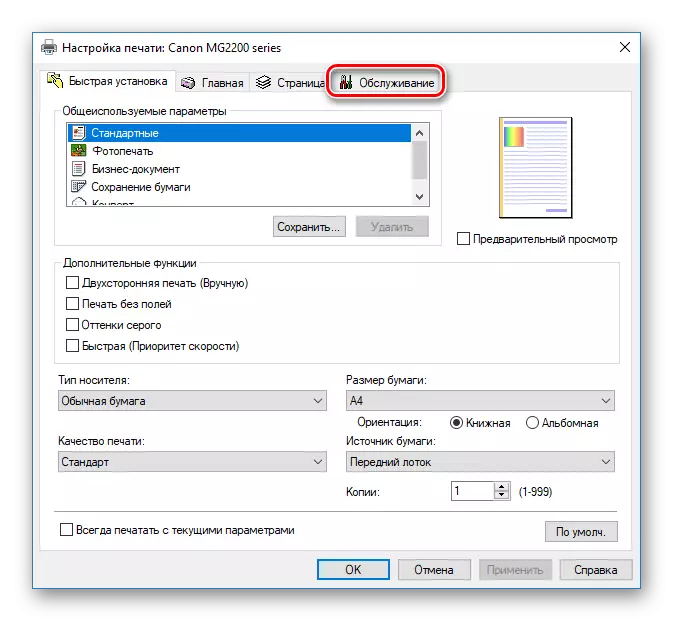
- In the window that opens, find the "Service" tab.
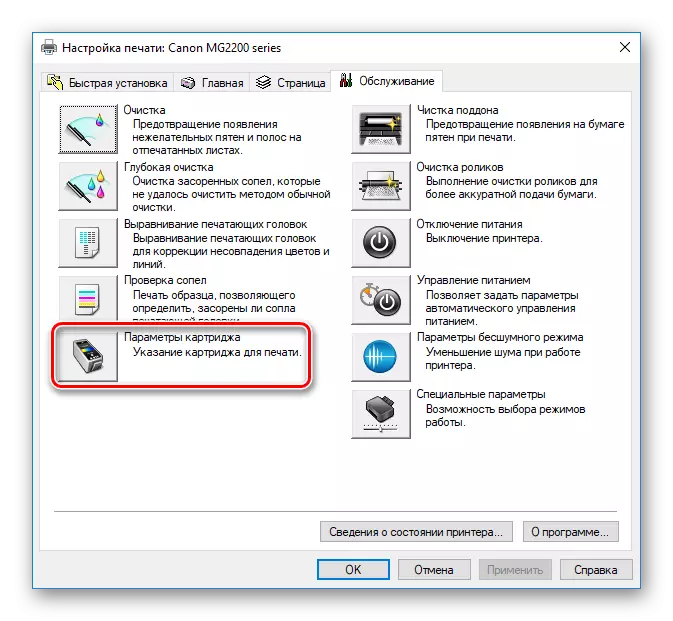
- Click on the "Cartridge" tool.
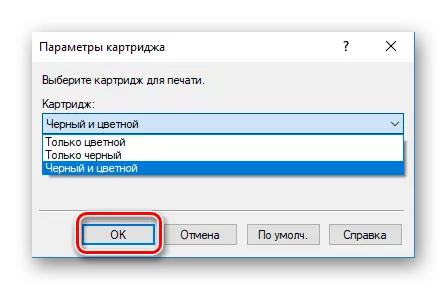
- Select the required inkner to print and confirm the action by clicking on "OK".
Now you need to restart the device and you can go to the printout of the necessary documents. If, when you try to implement this step, you did not find your printer in the list, pay attention to the article below. In it you will find instructions for correcting this situation.
Read more: Adding a printer in Windows
Sometimes it happens that new cartridges have been stored too long or exposed to the external environment. Because of this, the nozzle is often drying. There are several methods of how to restore the work of the component, adjusting the collapse of the paint. Read more about this in another material.
Read more: Printer Cleaning Printer Cartridge
On this, our article comes to an end. You have been familiar with the cartridge installation procedure in the Canon printer. As you can see, everything is done literally for several actions, and this task will not be difficult even for an inexperienced user.
See also: Proper printer calibration