

Paint in the printer cartridge periodically ends, so it should be fed to receive high-quality documents when printing. However, sometimes it happens so that after installing a new cartridge or its filling, the print quality is worse on the contrary. There are several reasons for this problem, each of which has its own way of solving. It is about this that will be discussed below.
We solve the problem with the quality of printer print after refueling
The following methods except for the first are suitable only to the owners of inkjet devices. If you have a laser printer in use, it is better to contact the service center to solve the problem, as the design of such inks is a bit more complicated, and the malfunction can be in completely different components, it is able to diagnose exclusively a professional.Method 1: Disable economical mode
Periodically, users intend to either accidentally include economical or quick printing mode in the printer settings. In addition, sometimes system failures that provoke a change in configuration occur. Translate the device to normal mode - the case of a couple of minutes, so we will consider this method first. You will need to do the following:
- Connect the printer to the network, computer and turn it on.
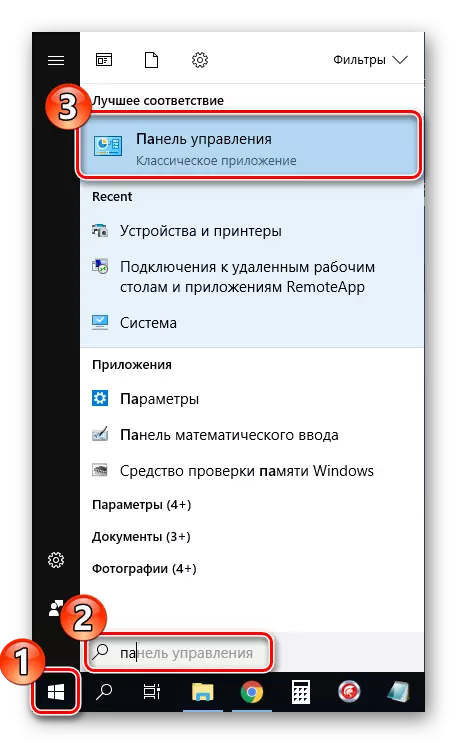
- Open the "Control Panel" through the Start menu.
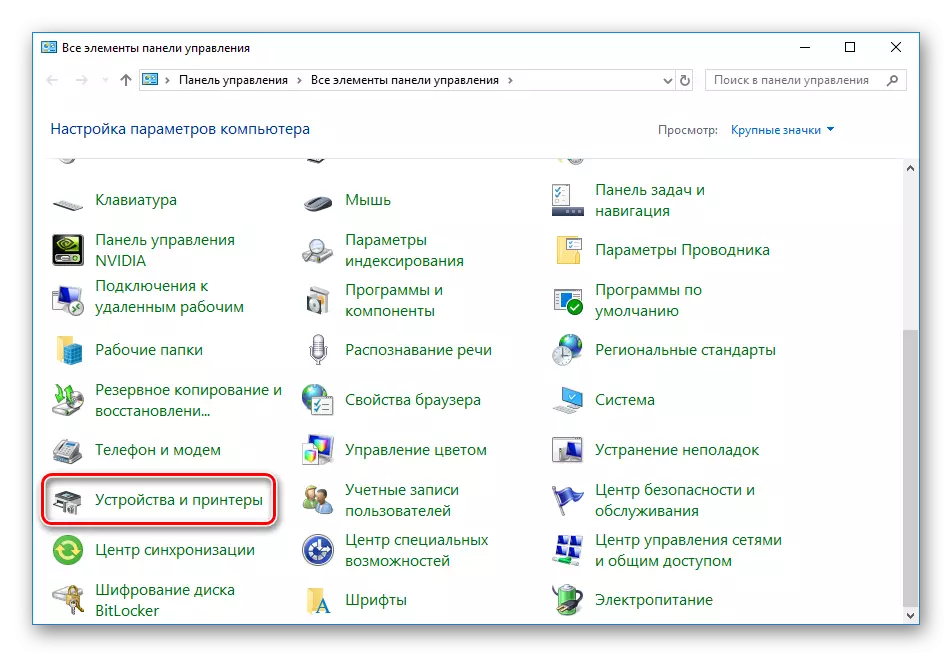
- Go to "Devices and Printers".
- Lay your device there, click on it right-click and select "Print Setup".
- Go back to the device settings menu through devices and printers.
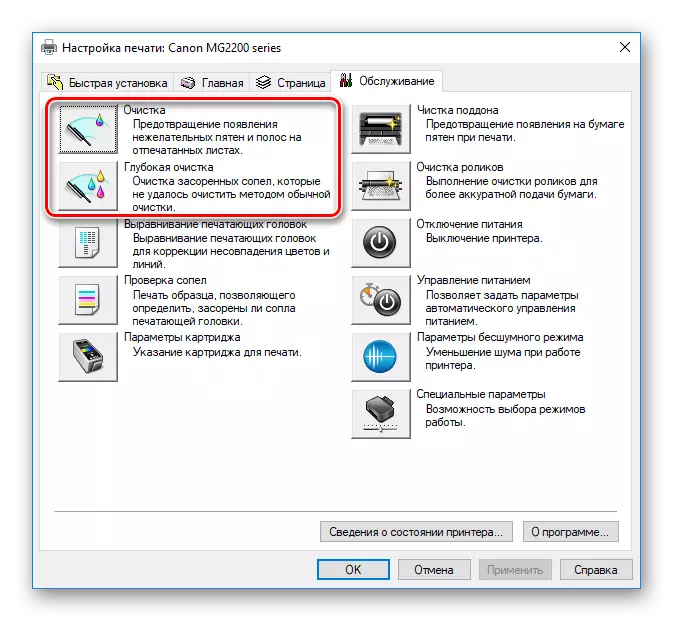
- In the window that opens, switch to the "Service" or "Service" tab. There you will see functions for cleaning print heads and nozzles. Click on one of the tools.
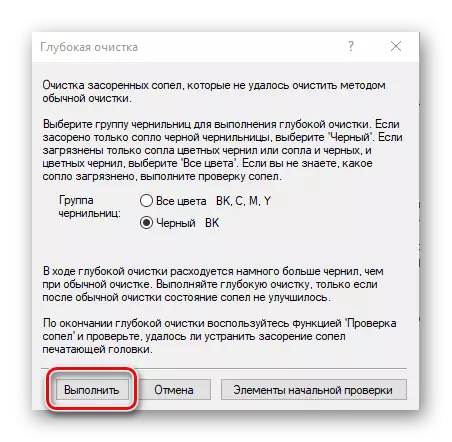
- Carefully follow the manual that you will see on the screen.
It happens that the peripherals are not displayed in the list, then you need to manually add it or correct the problem. To deal with this will help you another article on the following link.
Now you can restart the printer and try to print to familiarize yourself with the quality of the finished document.
Method 2: Software Cleaning
Most printers in their drive have several additional features that allow calibration to or clean the components. In case of poor quality, we are interested in the "Cleaning Head" tools or "cleaning". To start this process, do the following:
After the procedure, check the print quality. If it is still unsatisfactory, repeat the action several times. In the absence of the result, proceed to the following method.
You need to repeat this process several times, after which you can run test printing and check whether the quality has normalized.
Method 5: Cleaning cartridges
To resort to the use of this method is only when the first four did not bring any result, since the likelihood that the new ink is needed cleaning, extremely small. Most often, the paint dries away if you have long kept the capacity in the open state. There are two options as you can clean the nozzle and adjust the seal. Read more about this in another article below.
Read more: Printer Cleaning Printer Cartridge
Above you have been familiar with five available fixed print quality methods after refueling the cartridge. All of them have different efficiency and will be effective only in a certain situation. We hope our article helped you cope with the task.
See also:
Solving paper capture problems on the printer
Correction of the error with the detection of the printer cartridge
Proper Calibration of Printer