

To date, the video recorder's connection to the computer may require under certain conditions, which is particularly related to the creation of a video surveillance system. We will not consider the process of choosing a suitable registrar, paying the most attention to the connection procedure.
Connecting the DVR to PC
Depending on the device you are being used, the process of connecting the video recorder may vary greatly. At the same time, sometimes all the necessary actions for the most part are similar to the procedure described by us on the example of IP cameras.The procedure for working with the chambers themselves does not apply to the topic of the article and therefore we will miss this stage. In completing the above, it is important to consider that it is best to use the services of a specialist to properly connect such a device.
Option 3: Connecting through patch cord
Devices of type Stand-Alone DVR are capable of functioning independently of the computer by connecting to a separate monitor. However, despite this, they can also be connected to a PC through a special cable and setting the right network settings.
Step 1: Connection
- In most cases, the following patch cord is included with the device. However, if your DVR has not been equipped with them, you can buy a cable at any computer store.
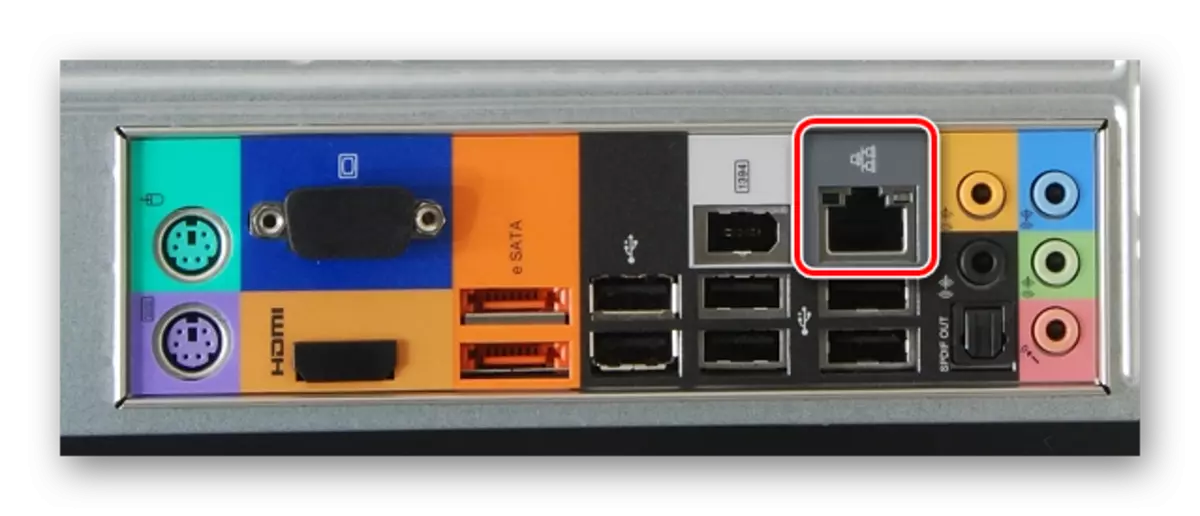
- Connect one of the patch cord plugs to the rear wall of the DVR.
- The same must be done with the second plug by connecting it to the corresponding connector on the system unit.


Step 2: Computer Setup
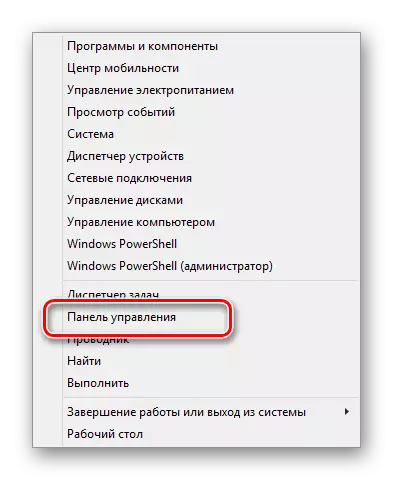
- On the computer through the Start menu, go to the "Control Panel" section.
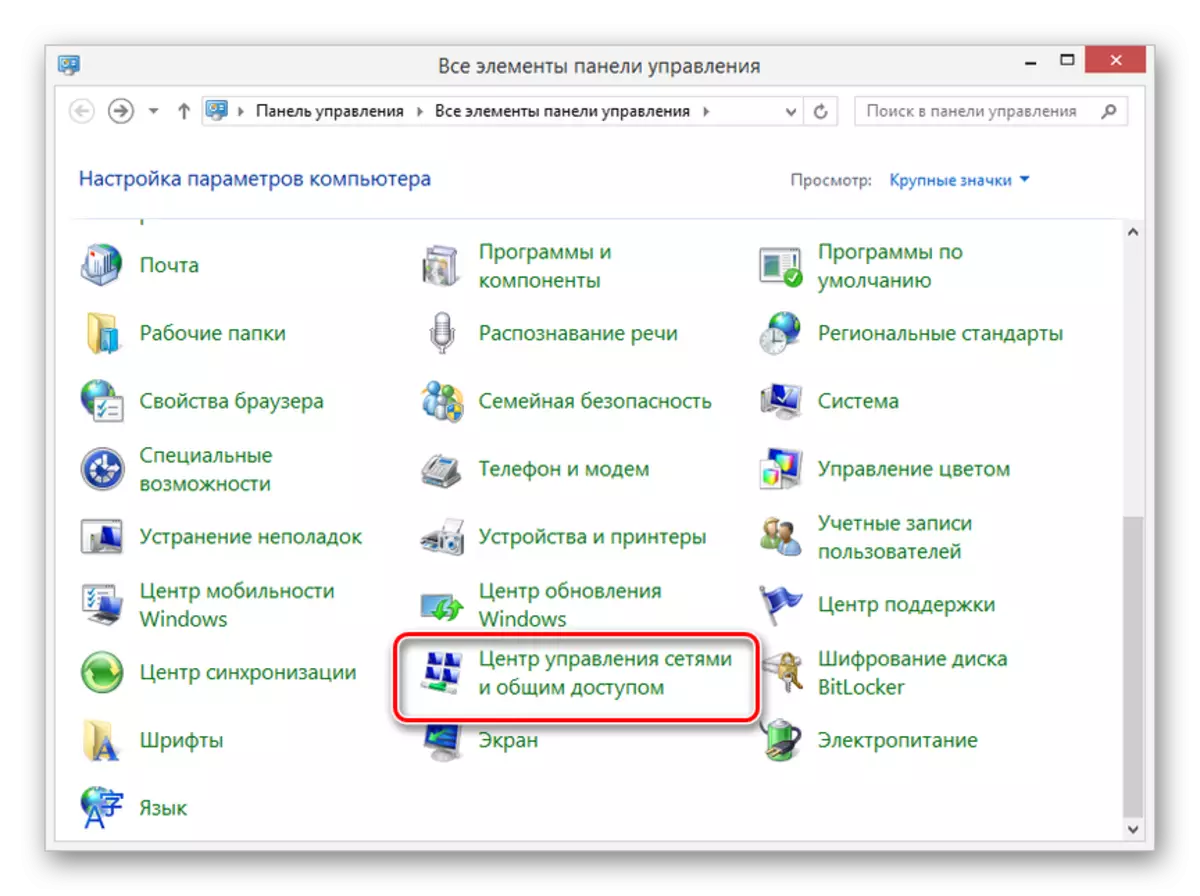
- From the list presented, you must select "Network Management Center and Common Access".
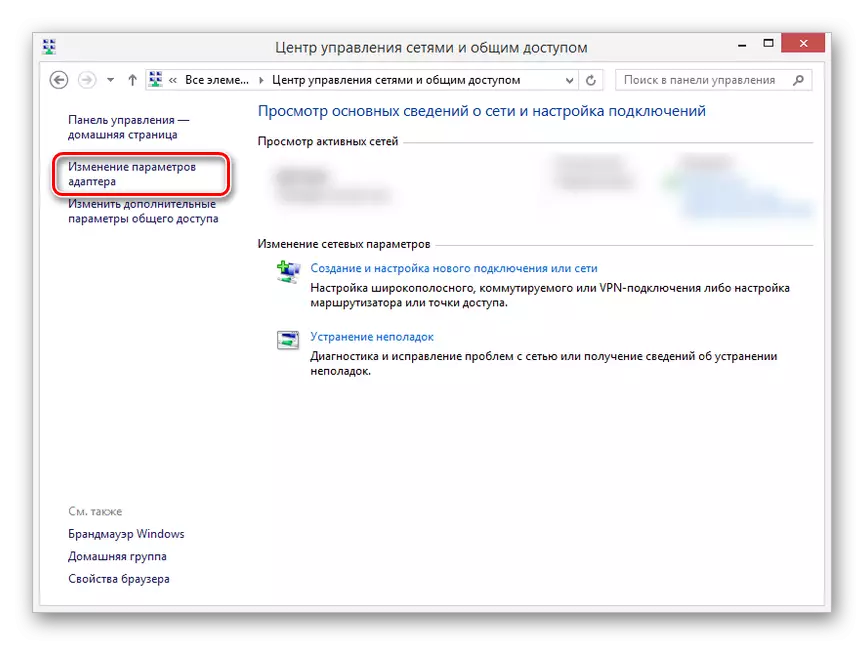
- Through the Advanced Menu, click the Adapter Parameters string.
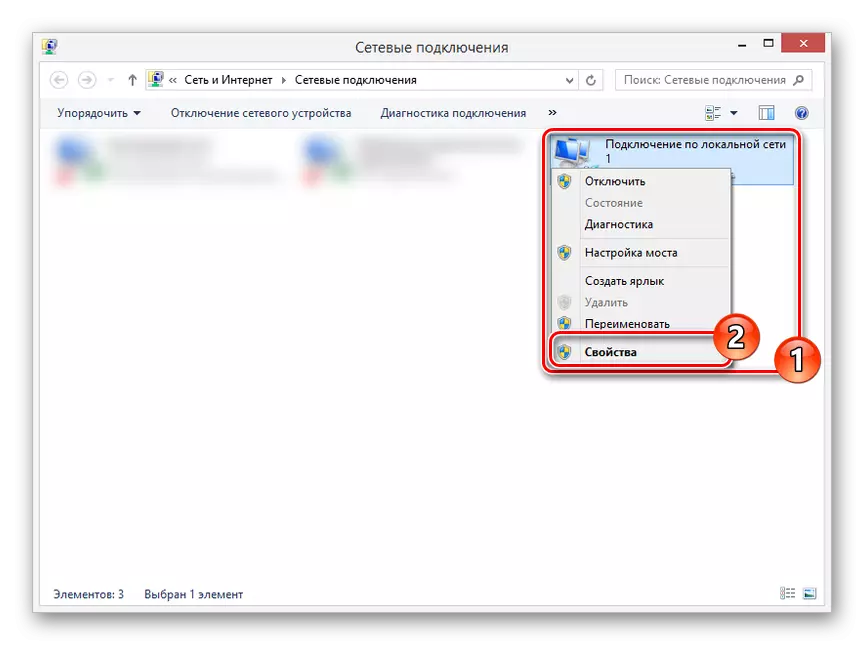
- Click the PCM by the "Local Connection" block and select "Properties".
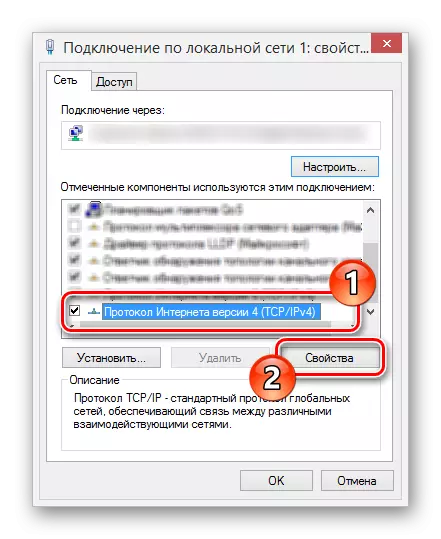
- From the list, select "TCP / IPv4" and use the "Properties" button. Open the menu you can also double clicking the LX on the same item.
- Install the marker next to the "Use the following IP address" line and enter the data presented in the screenshot.

The "DNS server" fields can be left empty. Click the "OK" button to save the settings and restart the system.
Step 3: Configuring the Registrar
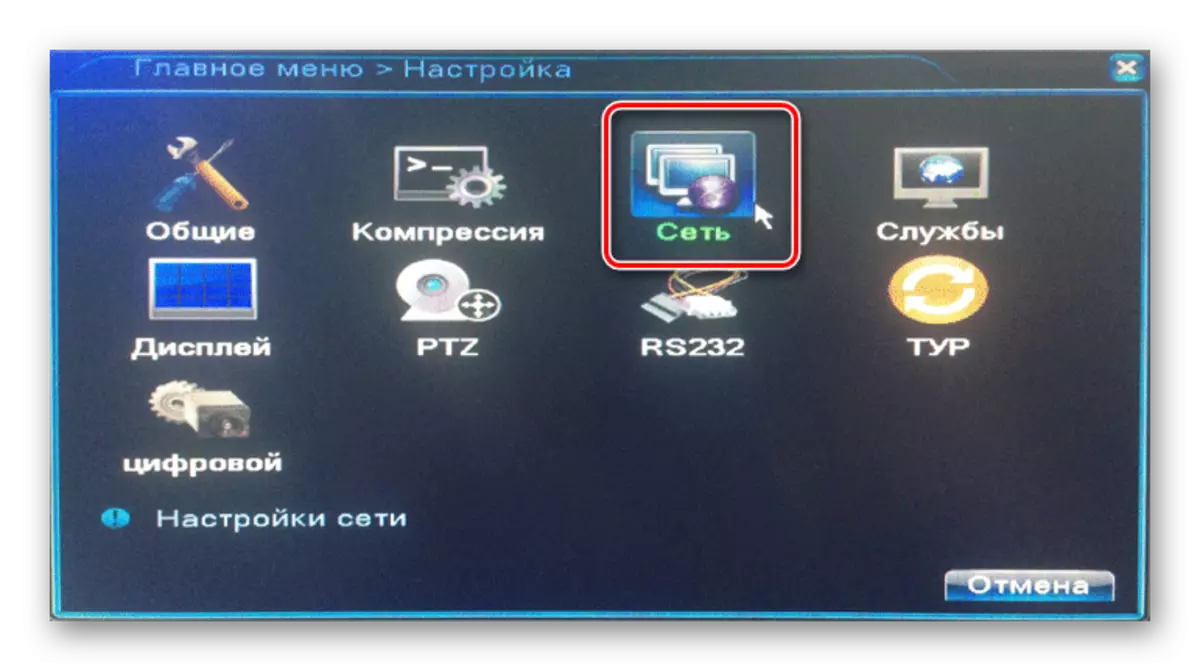
- Through the main menu of your DVR, go to the "Settings" section and open the window with network settings. Depending on the equipment model, the location of the desired partition may differ.
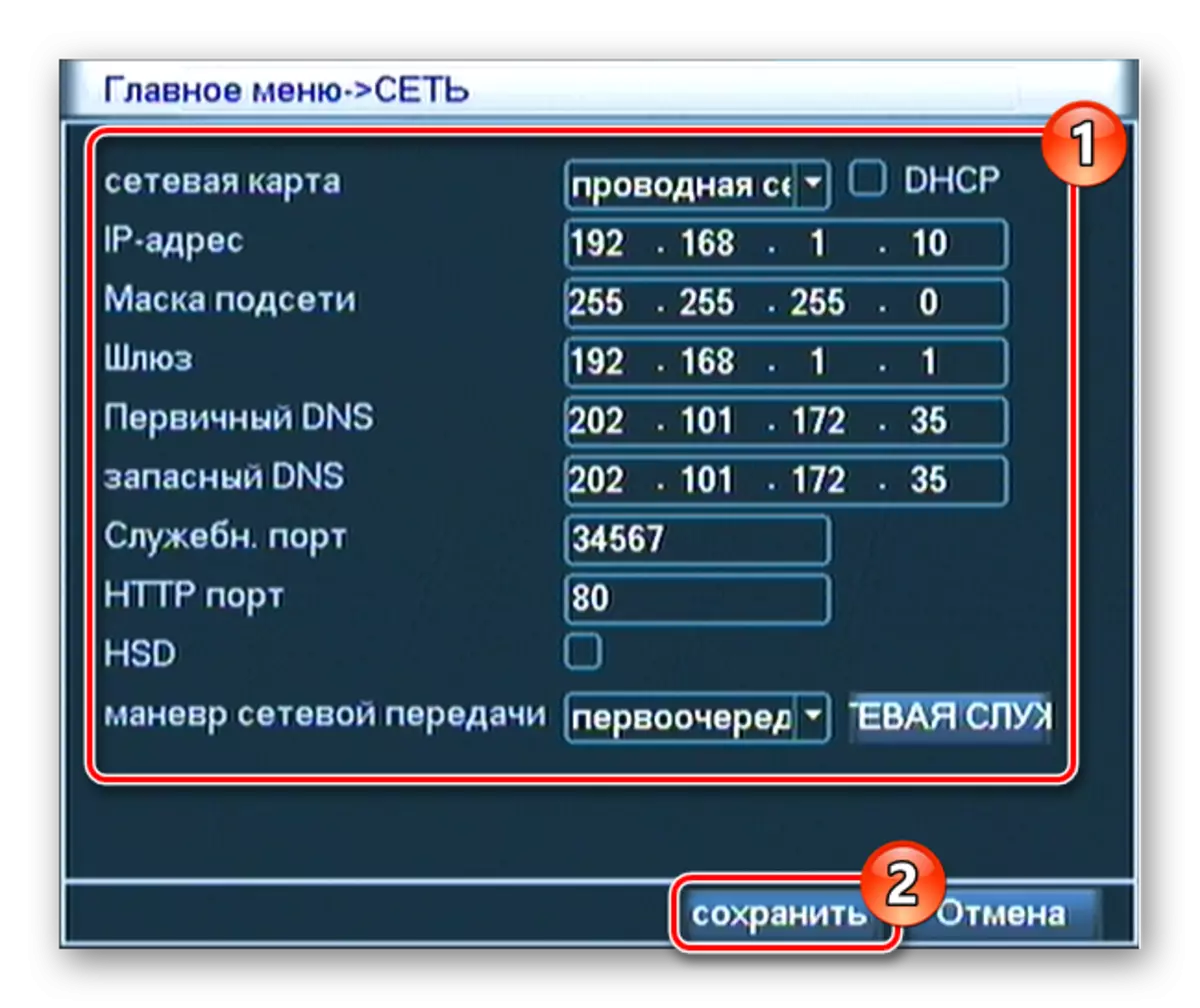
- In the presented fields, it is necessary to add data specified in the screenshot, given that on the PC all settings were installed in full compliance with the instructions. After that, confirm the saving of changes and restart the DVR.
- View the image from the connected video surveillance cameras or somehow change the previously set settings you can by entering the specified IP address and port in the address bar of the browser on the PC. It is best for these purposes to use Internet Explorer, when you enter, specifying the data from the control panel.

On this, this section of the article we finish, because later you can easily connect to the video recorder from the computer. The settings themselves are largely similar to the standard recorder menu.
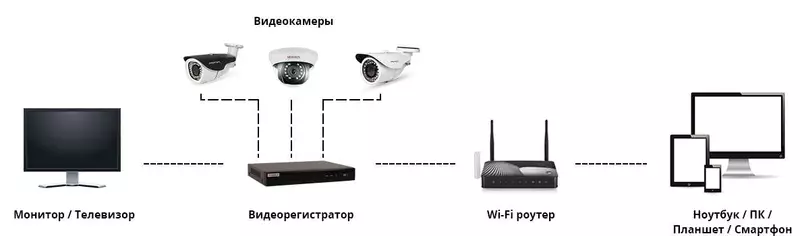
Option 4: Connecting through a router
In many cases, connect the Stand-Alone DVR device to the PC through the network router, including Wi-Fi support models. To do this, you will need to connect a router with a computer and the registrar, then change some network settings on both devices.
Step 1: Connecting the router
- This stage has a minimum of differences from the procedure for directly connecting the DVR to the PC. Connect the system unit with a router with a patch cord and exactly the same repeat with the registrar.
- The connection interfaces used do not have. However, to continue, in compulsory, include each involved device.
Step 2: Setting up the registrar
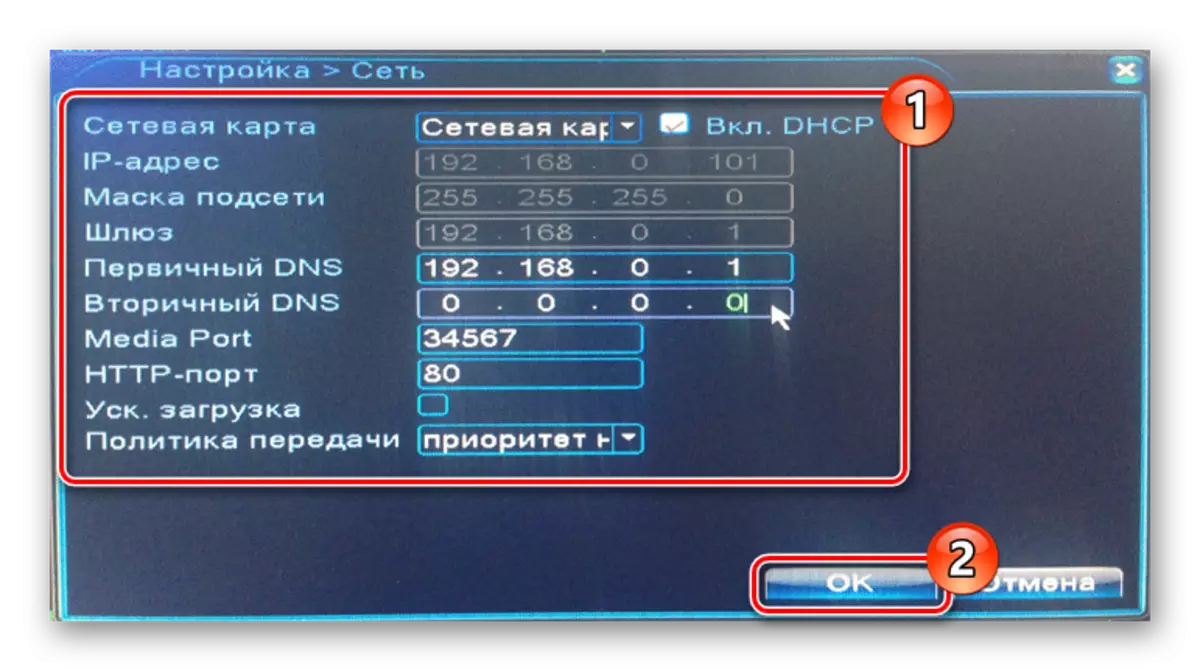
- Using the standard DVR settings, open the network settings, remove the "Enable DHCP" checkbox and change the values to those that are presented by us in the image below. If in your case there is a "Primary DNS server" string, it must be fill in accordance with the IP address of the router.
- After that, save the parameters and you can go to the router settings via the Internet browser.
Step 3: Routher Setup
- In the browser's address bar, enter the IP address of your router and make authorization.
- An important nuance is to specify different ports for the router and the registrar. Open the Safety section and on the Remote Control page change the "Web Management Port" value to "9001".
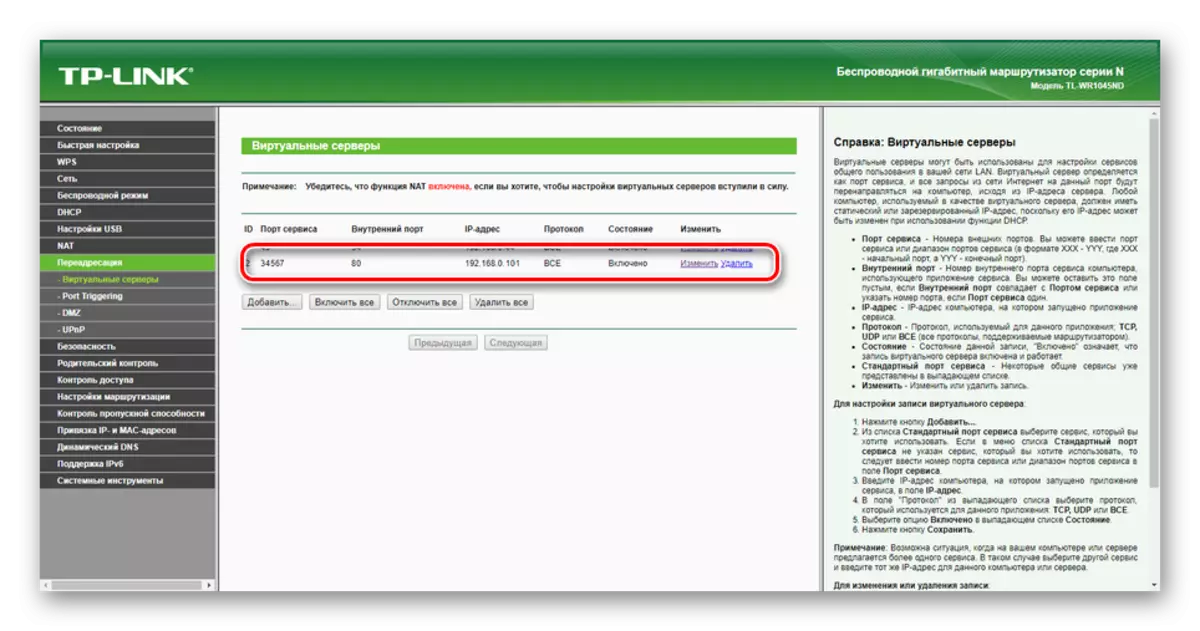
- Open the Forwarding page and click on the "Virtual Servers" tab. Click the "Edit" link in the field where the IP address of the DVR is specified.
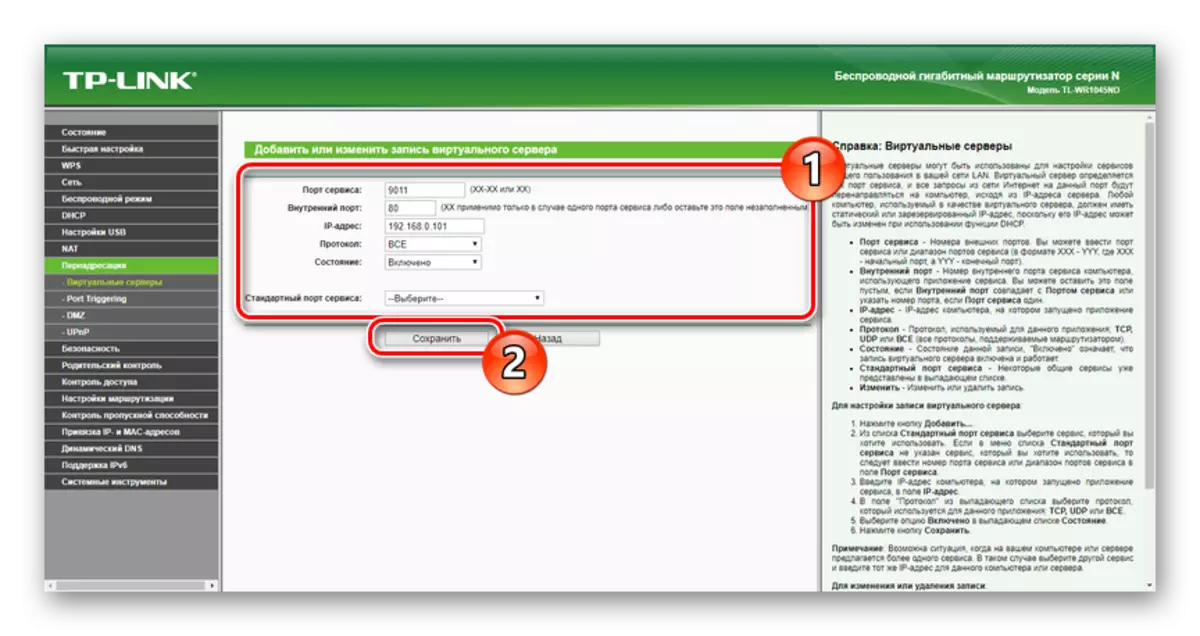
- Change the value "Service Port" to "9011" and "Internal Port" on "80".
Note: In most cases, IP addresses must be reserved.
- For the subsequent receipt of access to the device from a computer, you need to switch through the IP address previously specified in the registrar settings.


On our site you can find a sufficiently large number of instructions for the configuration of those or other routers. We are completing this section and the article as a whole.
Conclusion
Thanks to the instructions provided, you can connect a completely any video recorder to the computer, regardless of its varieties and interfaces. In case of issues, we will also be happy to assist you in the comments below.