

Mikrotik routers are popular and installed in homes or offices from many users. The main security of work with such equipment is the right configured Firewall. It includes a set of parameters and rules to protect the network from strangers and hacking.
Configure Firewall router Mikrotik
The router setup is carried out using a special operating system that allows you to use a web interface or a special program. In two these versions there are all necessary for editing the firewall, so it does not matter what you prefer. We will focus on the browser version. Before you start, you need to log in:
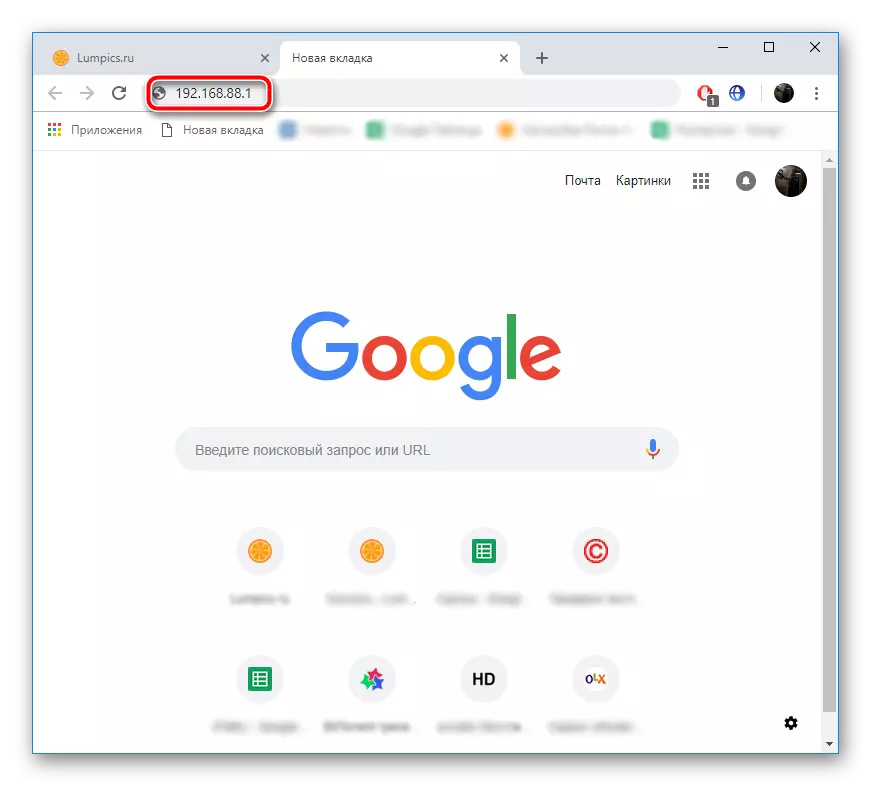
- Through any convenient browser, go to 192.168.88.1.
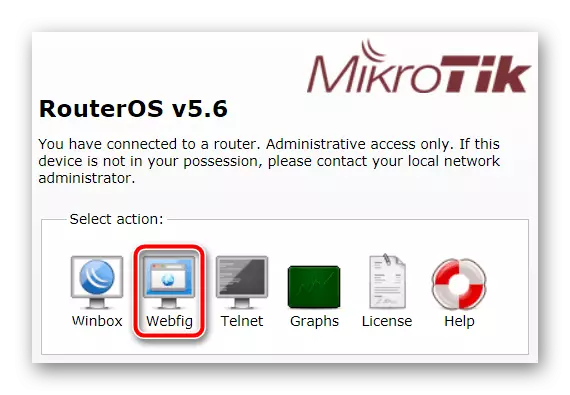
- In the starting web interface of the router, select "Webfig".
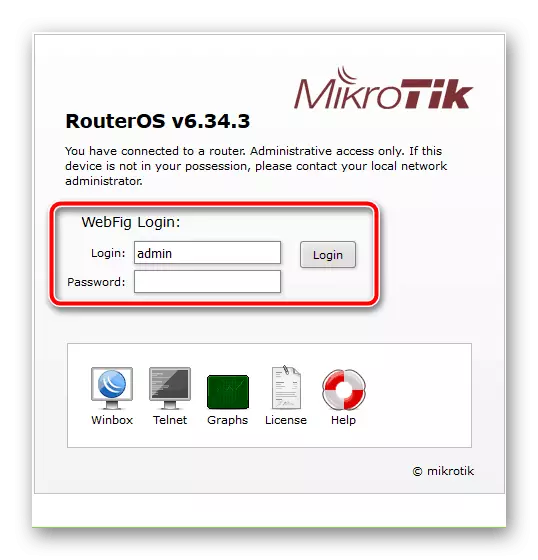
- You will display the login form. Enter the login and password in the strings, which are the default values of the Admin.
You can find out more about the complete setting of routers of this company in another article on the link below, and we will turn directly to the configuration of the protective parameters.
Read more: How to set up Mikrotik router
Cleansing sheet rules and creating new
After entering, you will display the main menu, where the panel with all categories is present to the left. Before adding your own configuration, you will need to do the following:
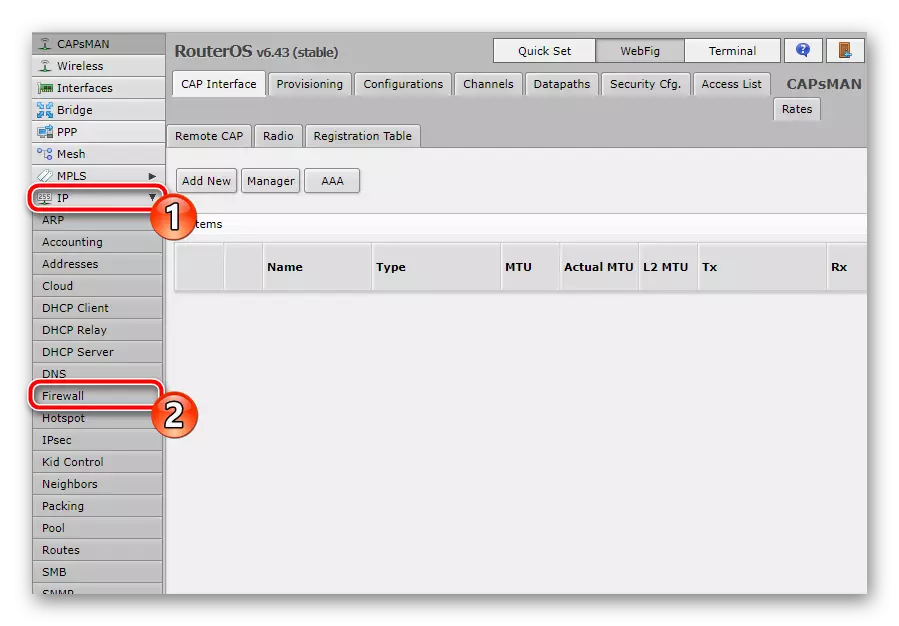
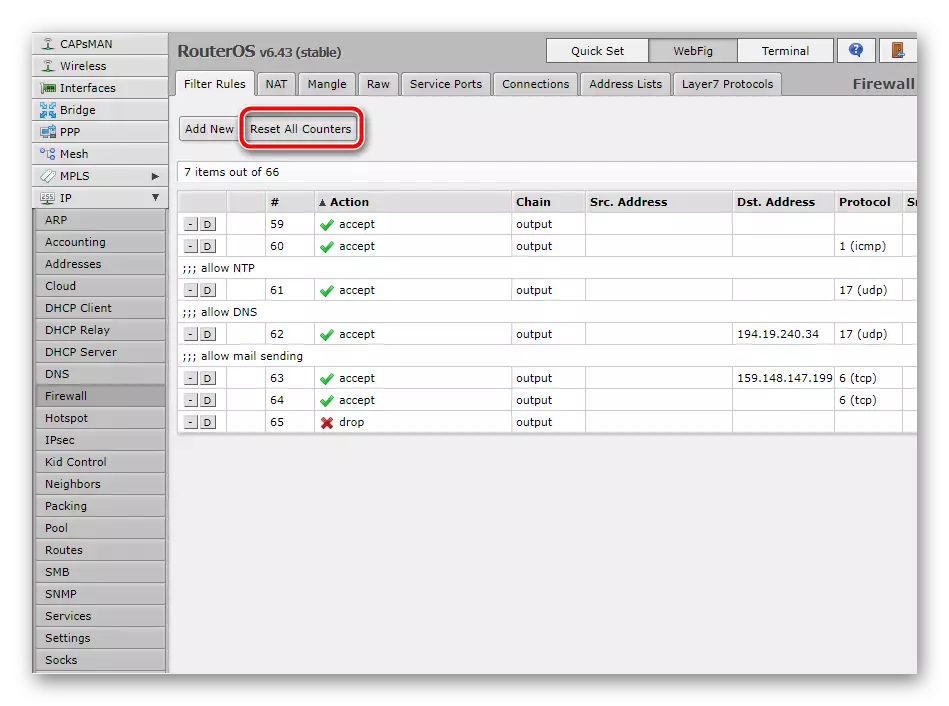
- Expand the "IP" category and go to the "Firewall" section.
- Clean all the rules present by pressing the appropriate button. It is necessary to produce this in order to continue the conflict in the future when creating your own configuration.
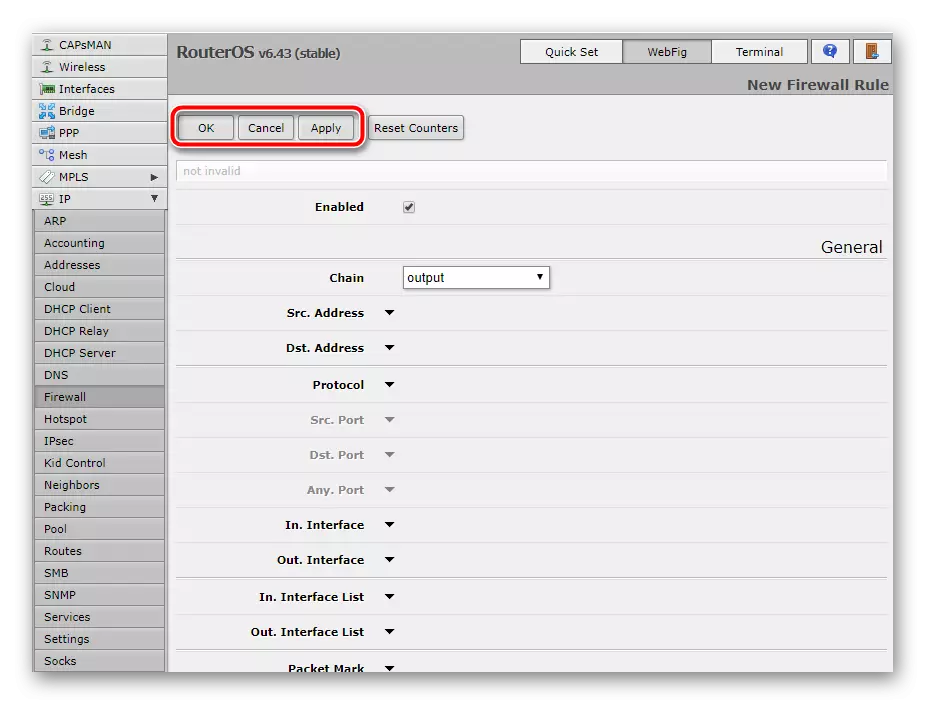
- If you entered the menu through the browser, the transition to the setup creation window is carried out through the "add" button, you should click on the program in the program.
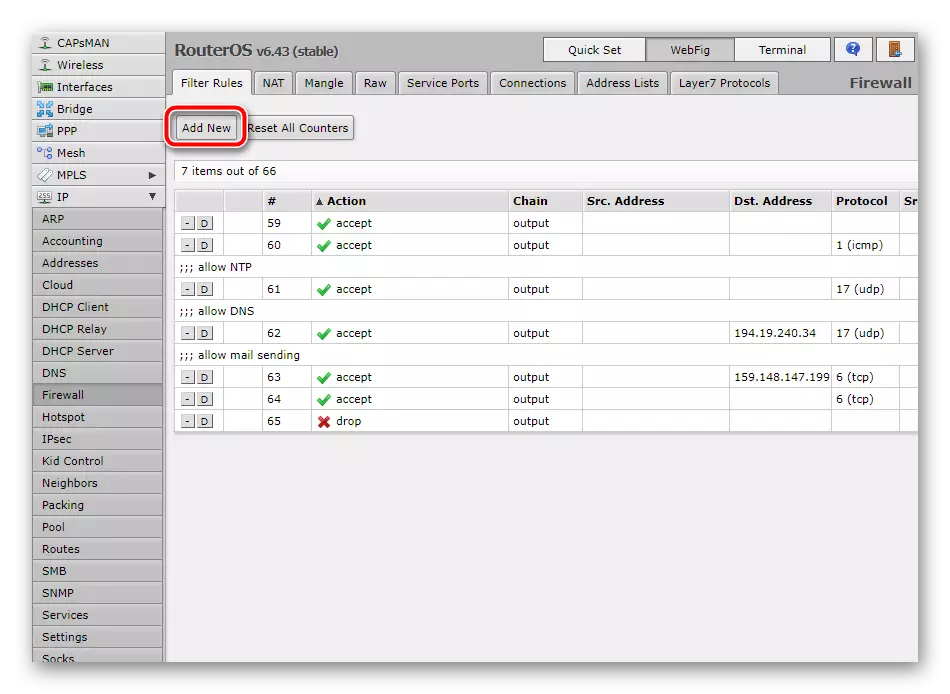
Now, after adding each rule, you will need to click on the same creation buttons to re-deploy the edit window. Let's stay in more detail on all basic security settings.
Check communication device
The router connected to the computer is sometimes checked by the Windows operating system for active connection. You can run such a process manually, but this appeal is available only if the firewall is present permits communication with the OS. It is configured as follows:
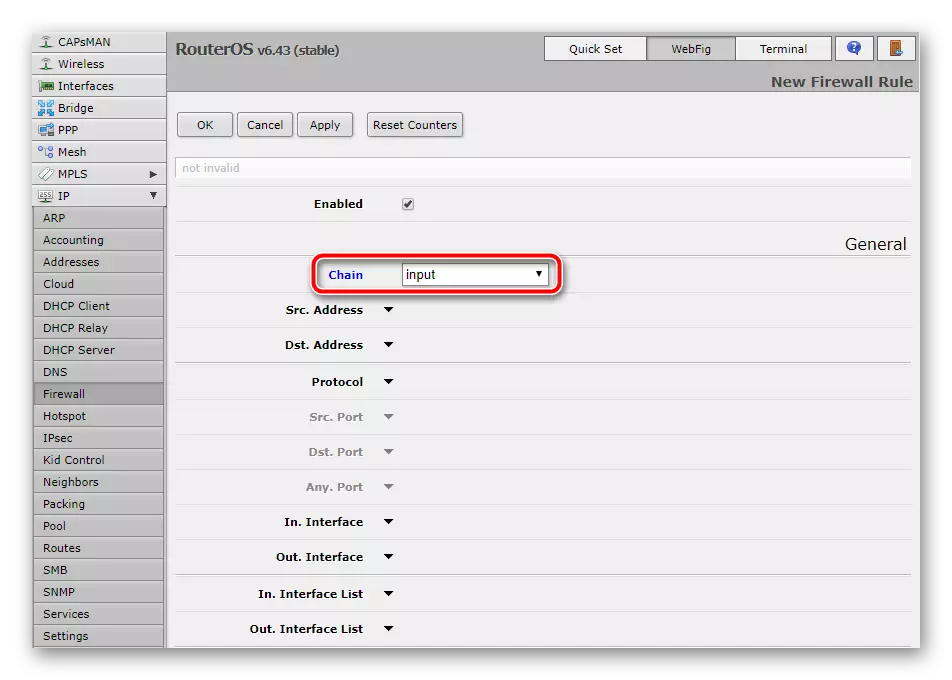
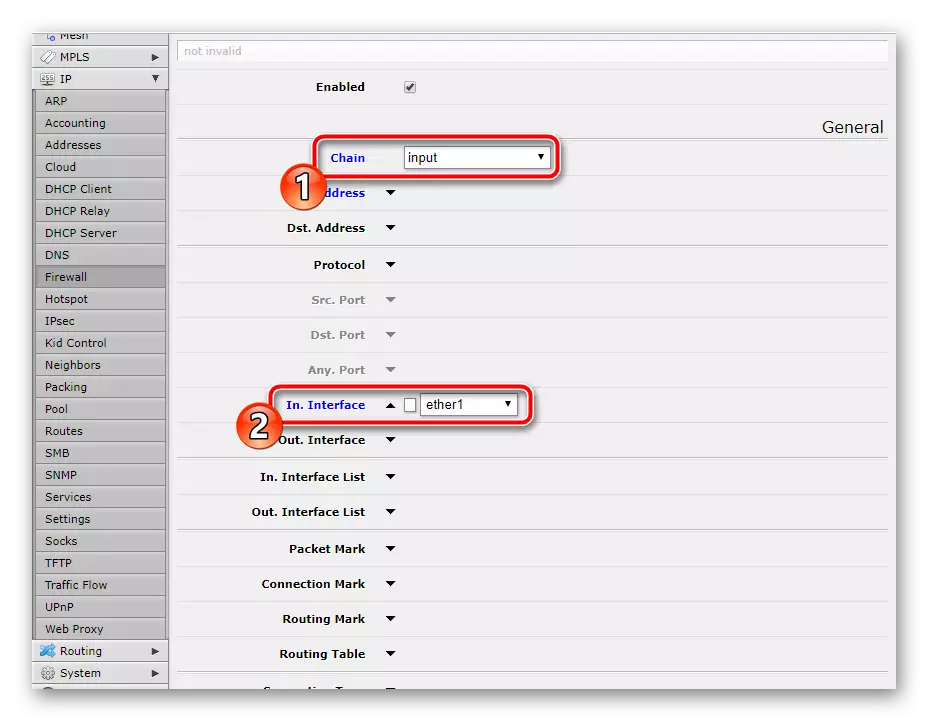
- Click on "Add" or red plus to display a new window. Here in the "Chain" line, which is translated as "Network" specify "INPUT" - incoming. So it will help determine that the system refers to the router.
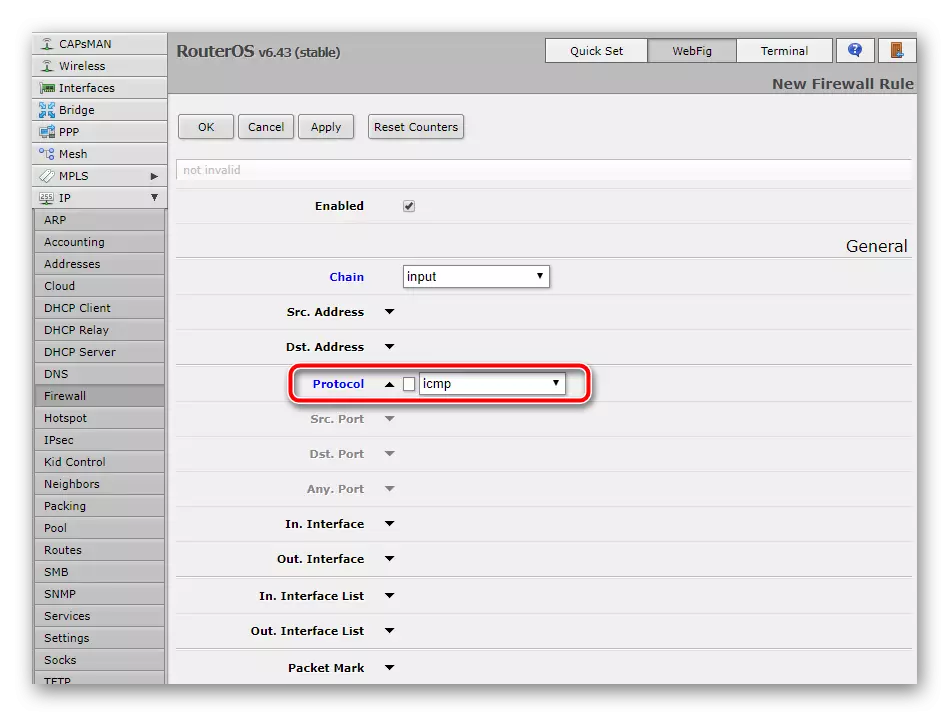
- To the "Protocol" item, set the "ICMP" value. This type serves to transmit messages associated with errors and other non-standard situations.
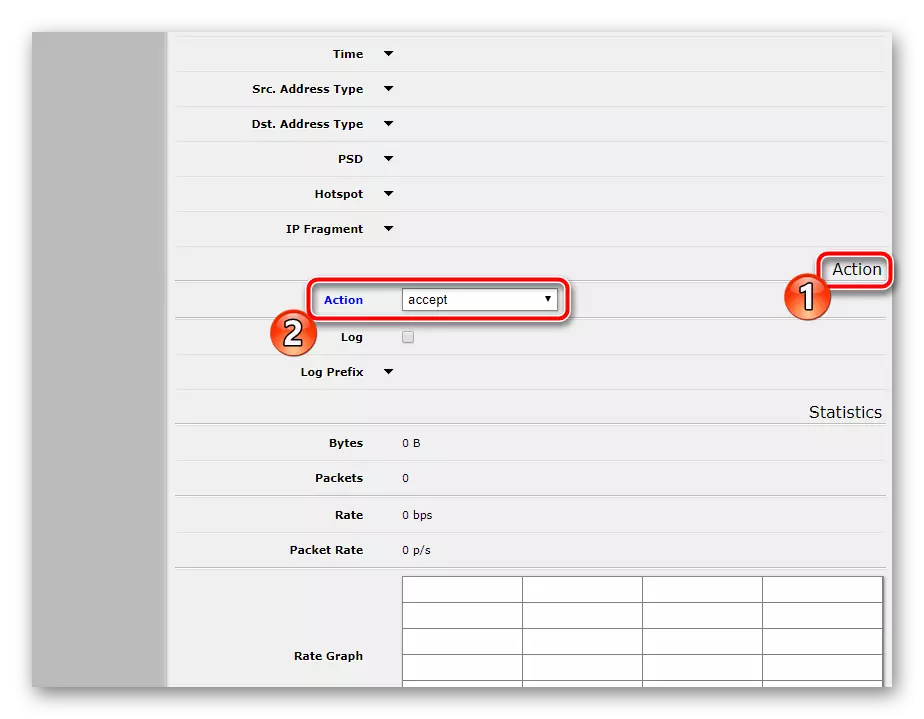
- Move into the section or tab of the Action, where install "Accept", that is, this editing allows you to conduct a Windows device kick.
- Climb up to apply the changes and complete the editing of the rule.
However, on this, the entire process of messaging and checking equipment through Windows does not end. The second item is the transfer of data. Therefore, create a new parameter where you specify "CHAIN" - "FORWARD", and the protocol, specify how it was done in the previous step.

Do not forget to check "Action" so that "Accept" is delivered there.
Permission of installed connections
Other devices are connected to the router with Wi-Fi or cables. In addition, a home or corporate group can be used. In this case, you will need to resolve the installed connections so that there are no problems with Internet access.
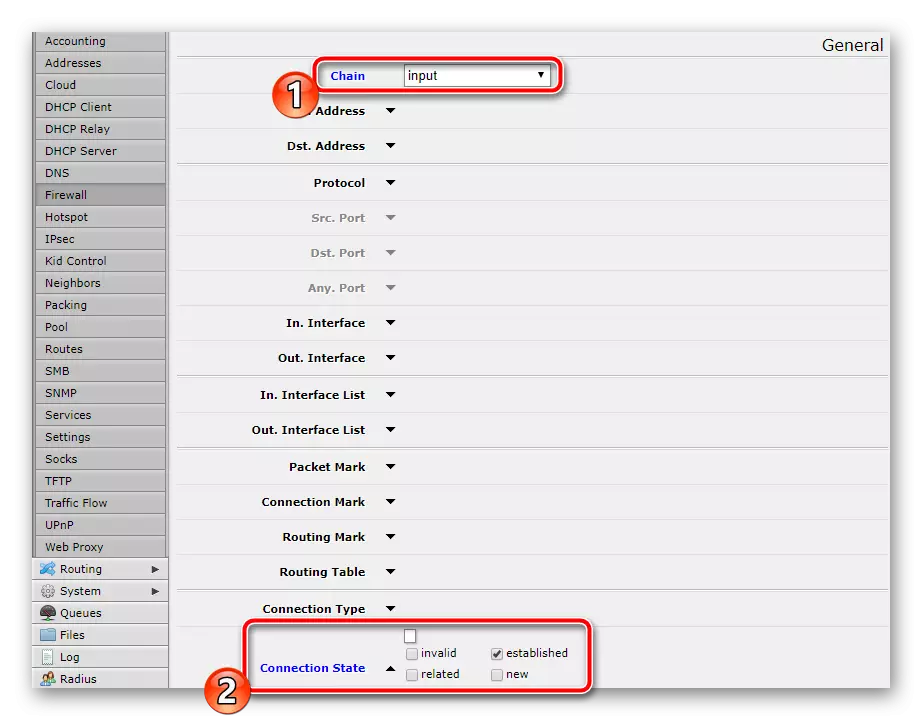
- Click "Add". Specify the type of incoming network type. Run down a bit down and check the "Established" opposite the "Connection state" to specify the connection set.
- Do not forget to check "Action" so that the item you need is selected, as in previous rules configurations. After that, you can save the changes and go further.
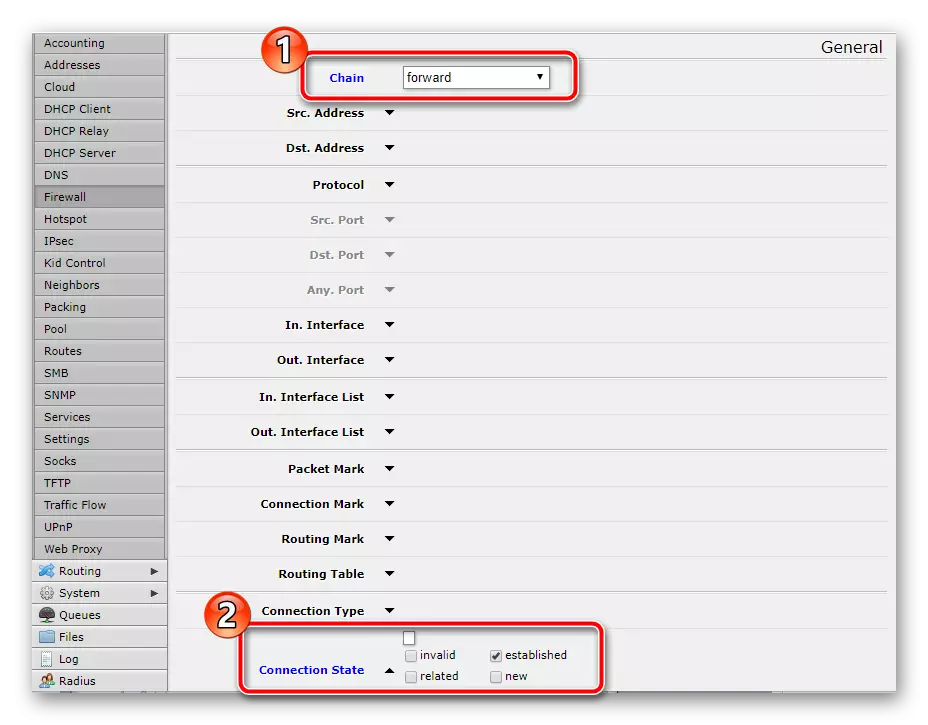
In another rule, put the "Forward" near "Chain" and tick the same point. The action should also be confirmed by selecting "Accept", only after that go further.
Resolution related connections
Approximately the same rules need to be created for related connections, in order not to conflict when an authentication is attempted. The whole process is carried out literally in several actions:
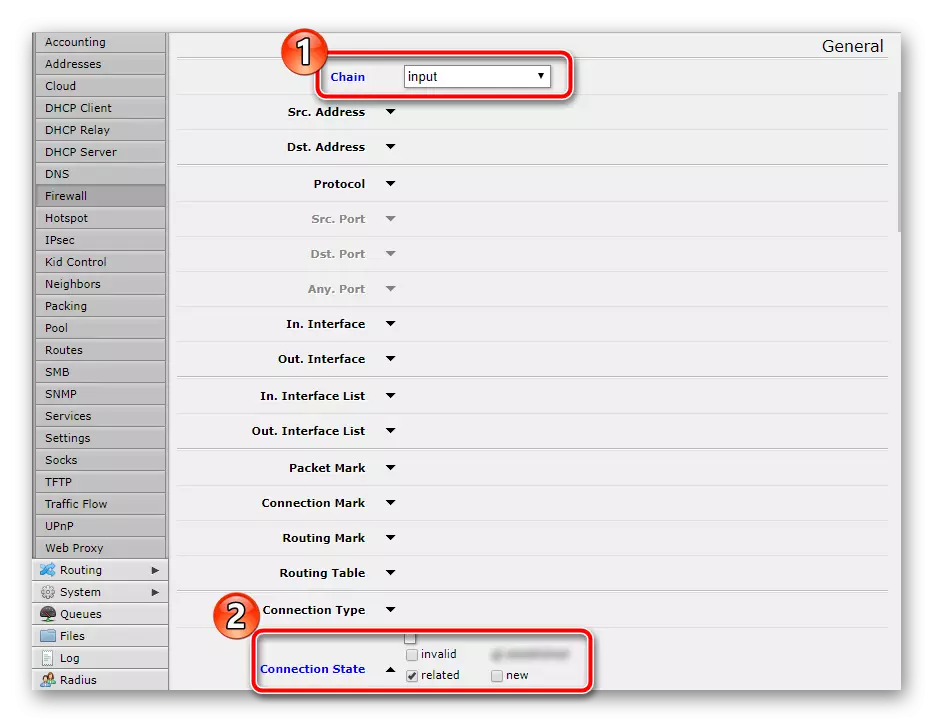
- Determine for the rule the value "chain" - "Input", go down and tick the "Related" checkbox opposite the inscription "Connection State". Do not forget about the "Action" section, where the same parameter is activated.
- In the second new configuration, leave the connection type as the same, but the network is set "Forward", also in the Actions section you need an "Accept" item.
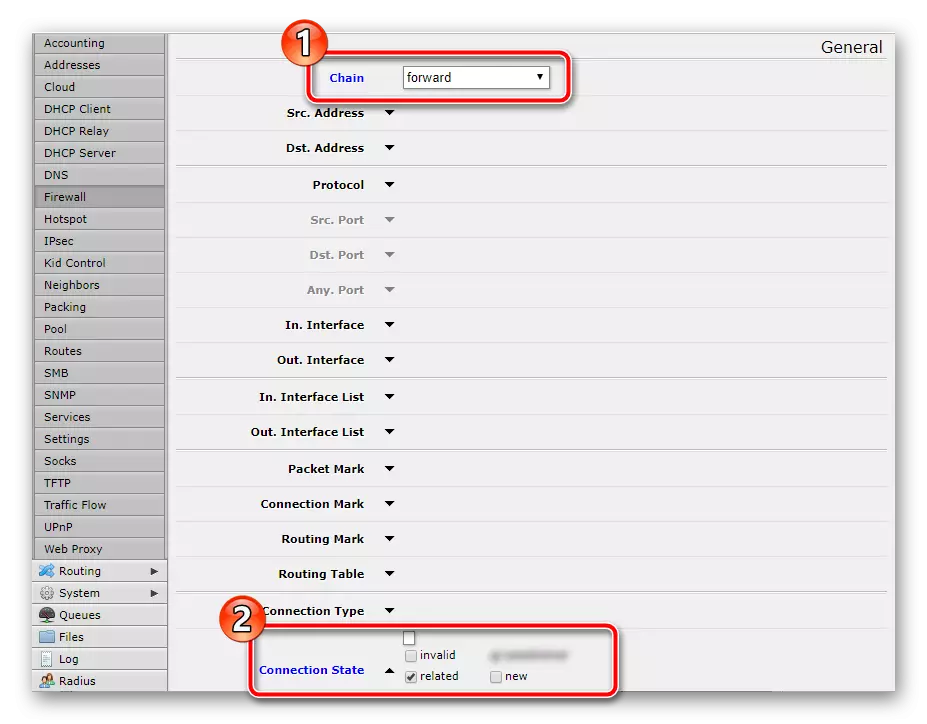
Be sure to keep the changes so that the rules are added to the list.
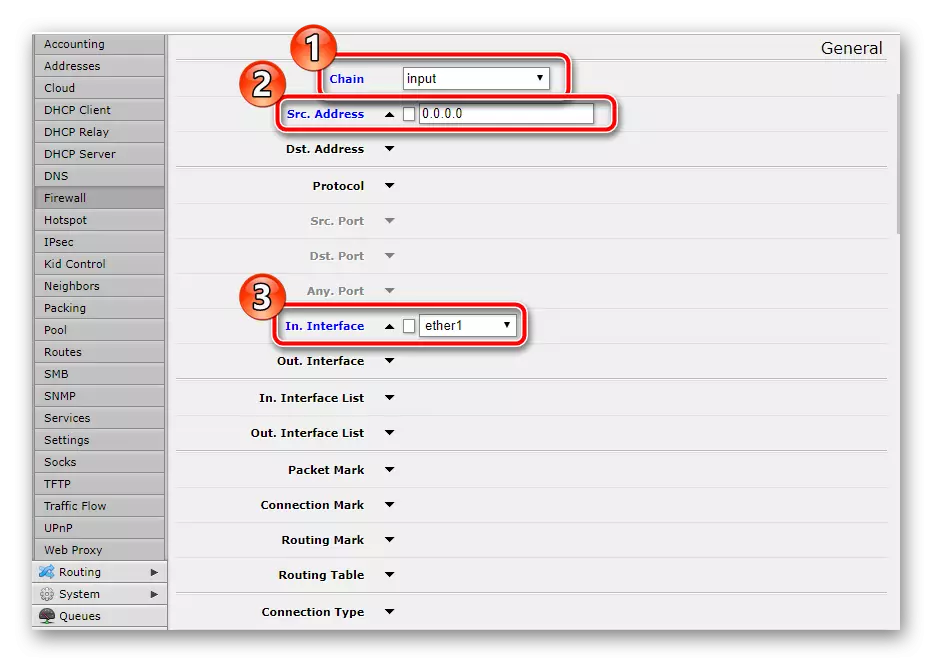
Connection Resolution from LAN
Local network users will be able to connect only when it is installed in the Firewall rules. To edit, you will first need to find out where the provider cable is connected (in most cases it is Ether1), as well as the IP address of your network. Read more about this in another material on the link below.
Read more: How to find out the IP address of your computer
Next, you need to configure only one parameter. This is done as follows:
- In the first line, put "INPUT", then drop to the next "src. Address »And type the IP address there. "IN. Interface »Specify" Ether1 "if the input cable from the provider is connected to it.
- Move into the "Action" tab to put the "Accept" value there.
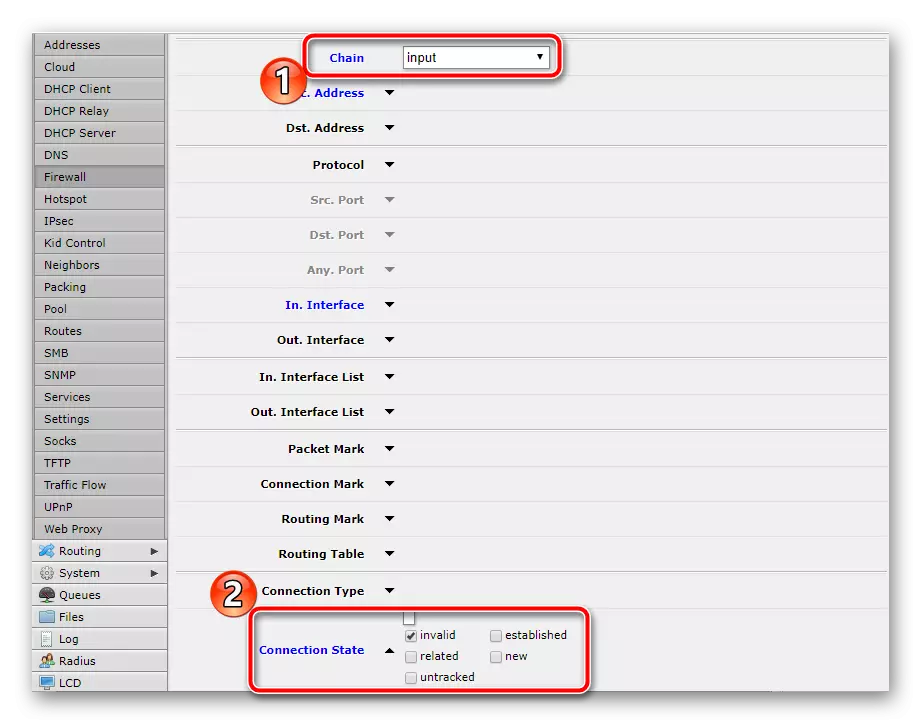
Prohibition of erroneous connections
Creating this rule will help you prevent erroneous compounds. It is automatically determined by unreliable connections by certain factors, after which they are reset and the access will not be provided. You need to create two parameters. This is done as follows:
- As in some previous rules, you first specify "INPUT", then drop down and check the "Invalid" checkbox near the "Connection state".
- Go to the tab or section "Action" and set the "Drop" value, which means discharge of compounds of this type.
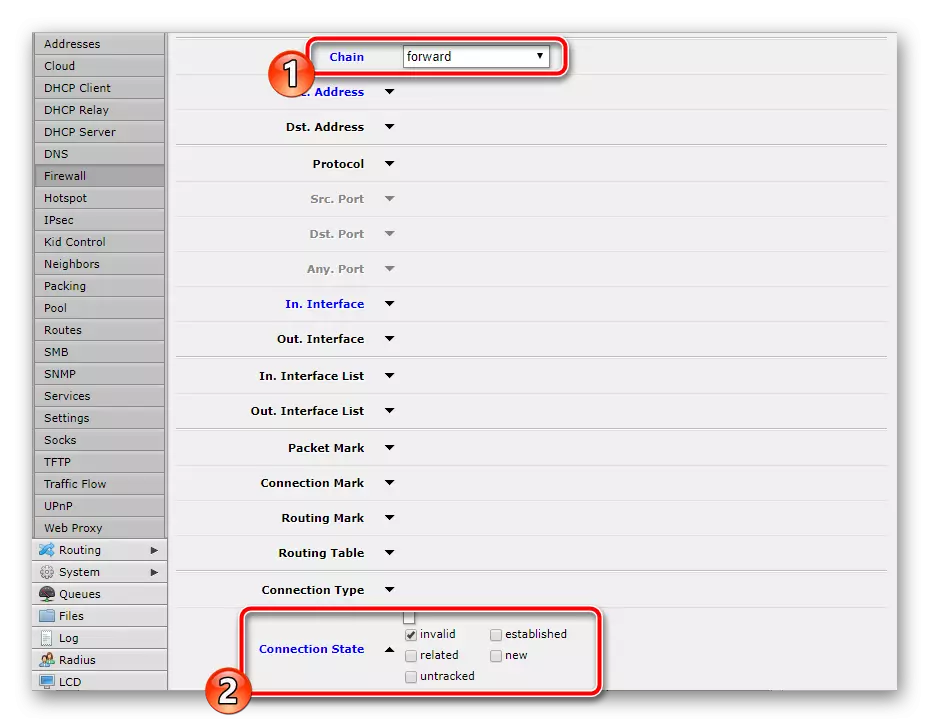
- In a new window, change only "Chain" on "Forward", the rest, as in the previous one, including the action "Drop".
You can also ban other attempts to connect from external sources. This is done by setting just one rule. After "chain" - "Input" Slip "In. Interface "-" Ether1 "and" Action "-" DROP ".
Permission of traffic from the local network on the Internet
Work in the Routeros operating system allows you to develop multiple traffic configurations. We will not dwell on this, since such knowledge will not be useful to normal users. Consider only one firewall rule that allows you to pass traffic from the local Internet:
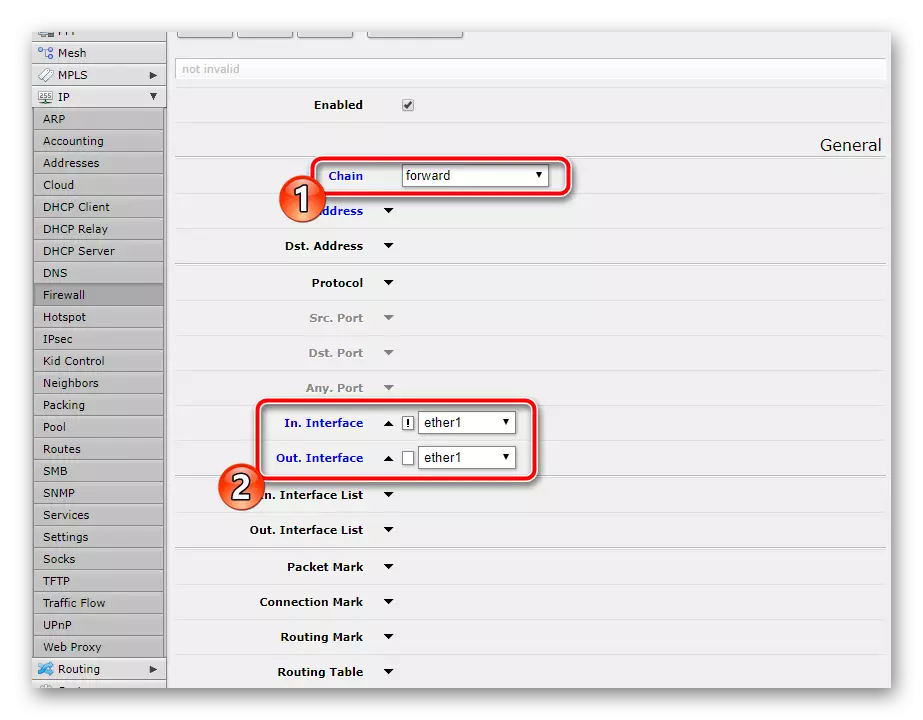
- Select "Chain" - "Forward". Set "in. Interface "and" Out. Interface "Values" Ether1 ", after which mark the exclamation mark" In. Interface.
- In the "Action" section, select the action "Accept".
To prohibit the rest of the connections, you can also just with just one rule:
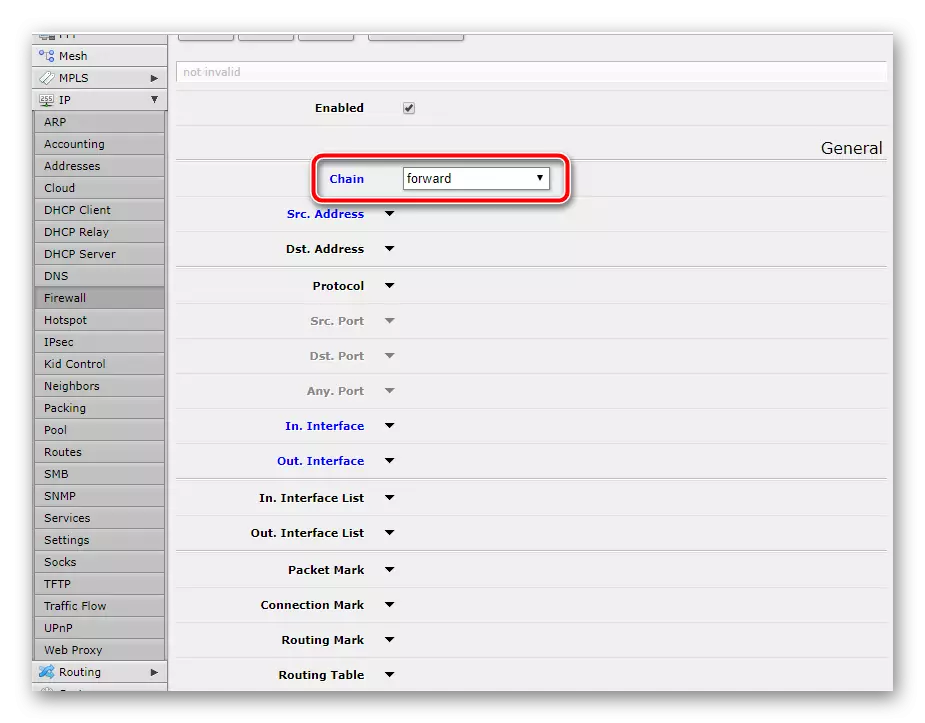
- Select only the "Forward" network, not exposing anything else.
- In Action, make sure that "Drop" is worth.
According to the final configuration, you should have about such a Firewall scheme, as in the screenshot below.
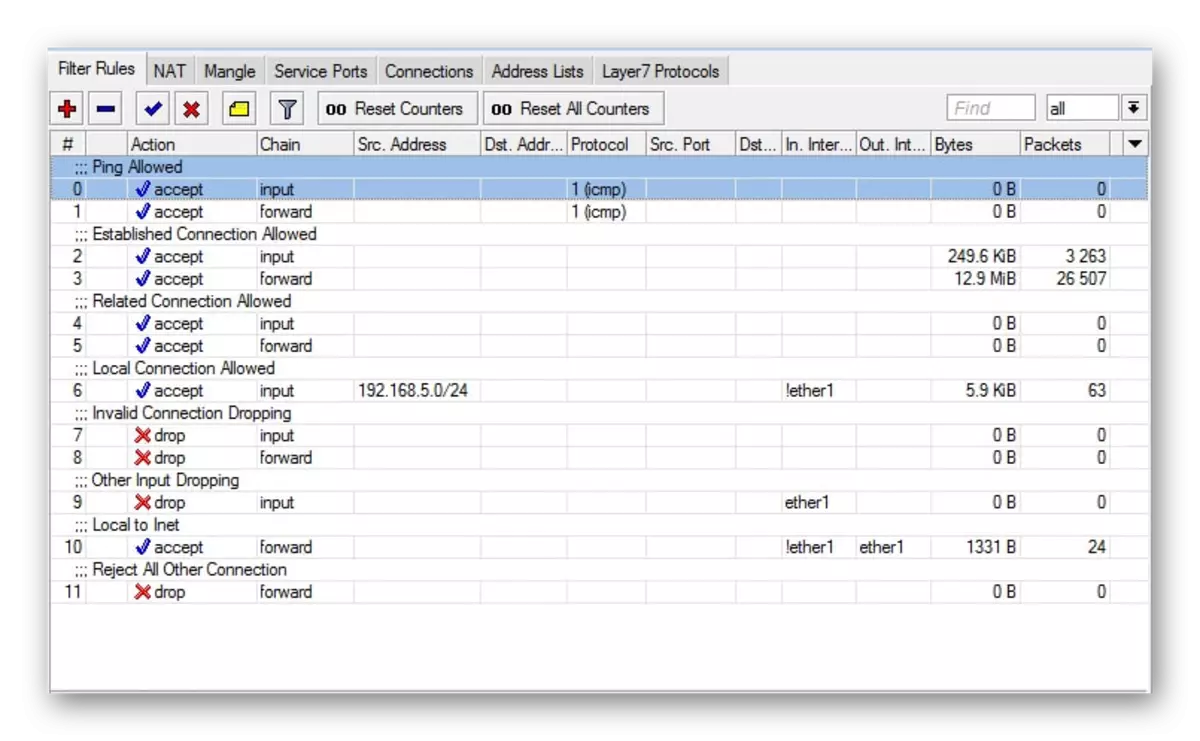
On this, our article comes up to the logical conclusion. I would like to note that you do not have to apply all the rules, because they may not always be required, however, we demonstrated the basic setting that is suitable for most ordinary users. We hope the information provided was useful. If you have any questions on this topic, ask them in the comments.